Big Push to get the 216 Started

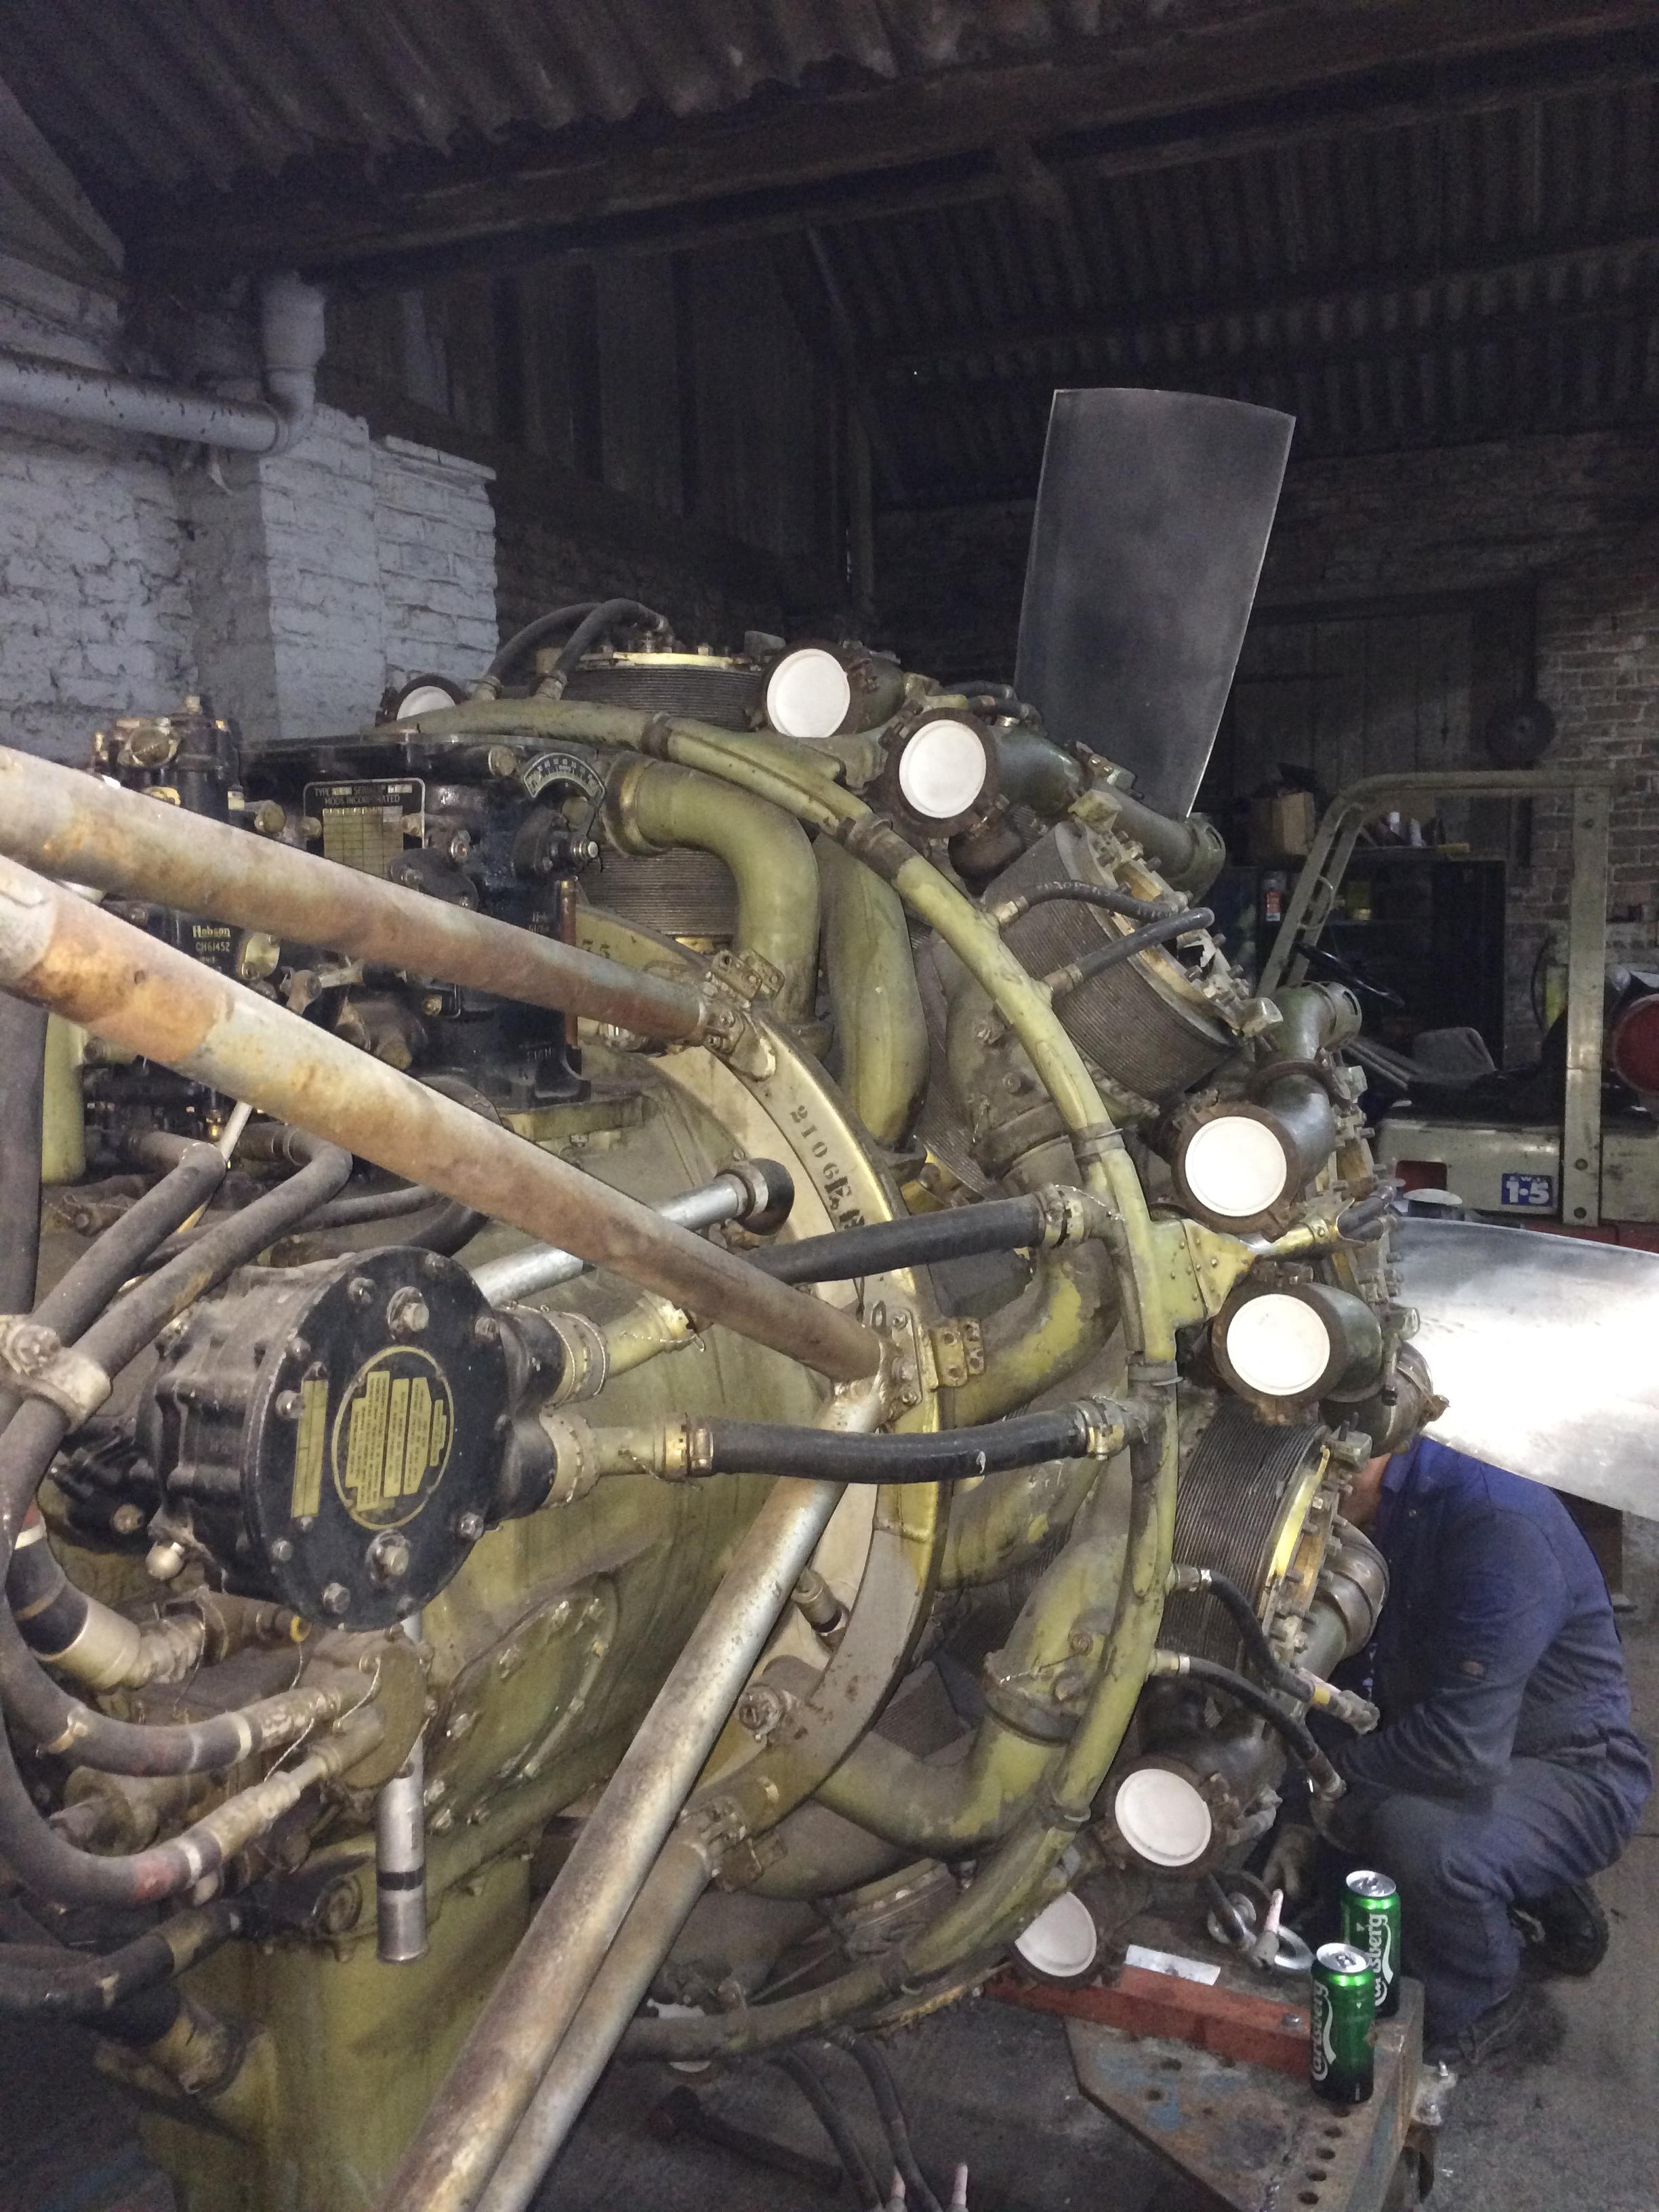
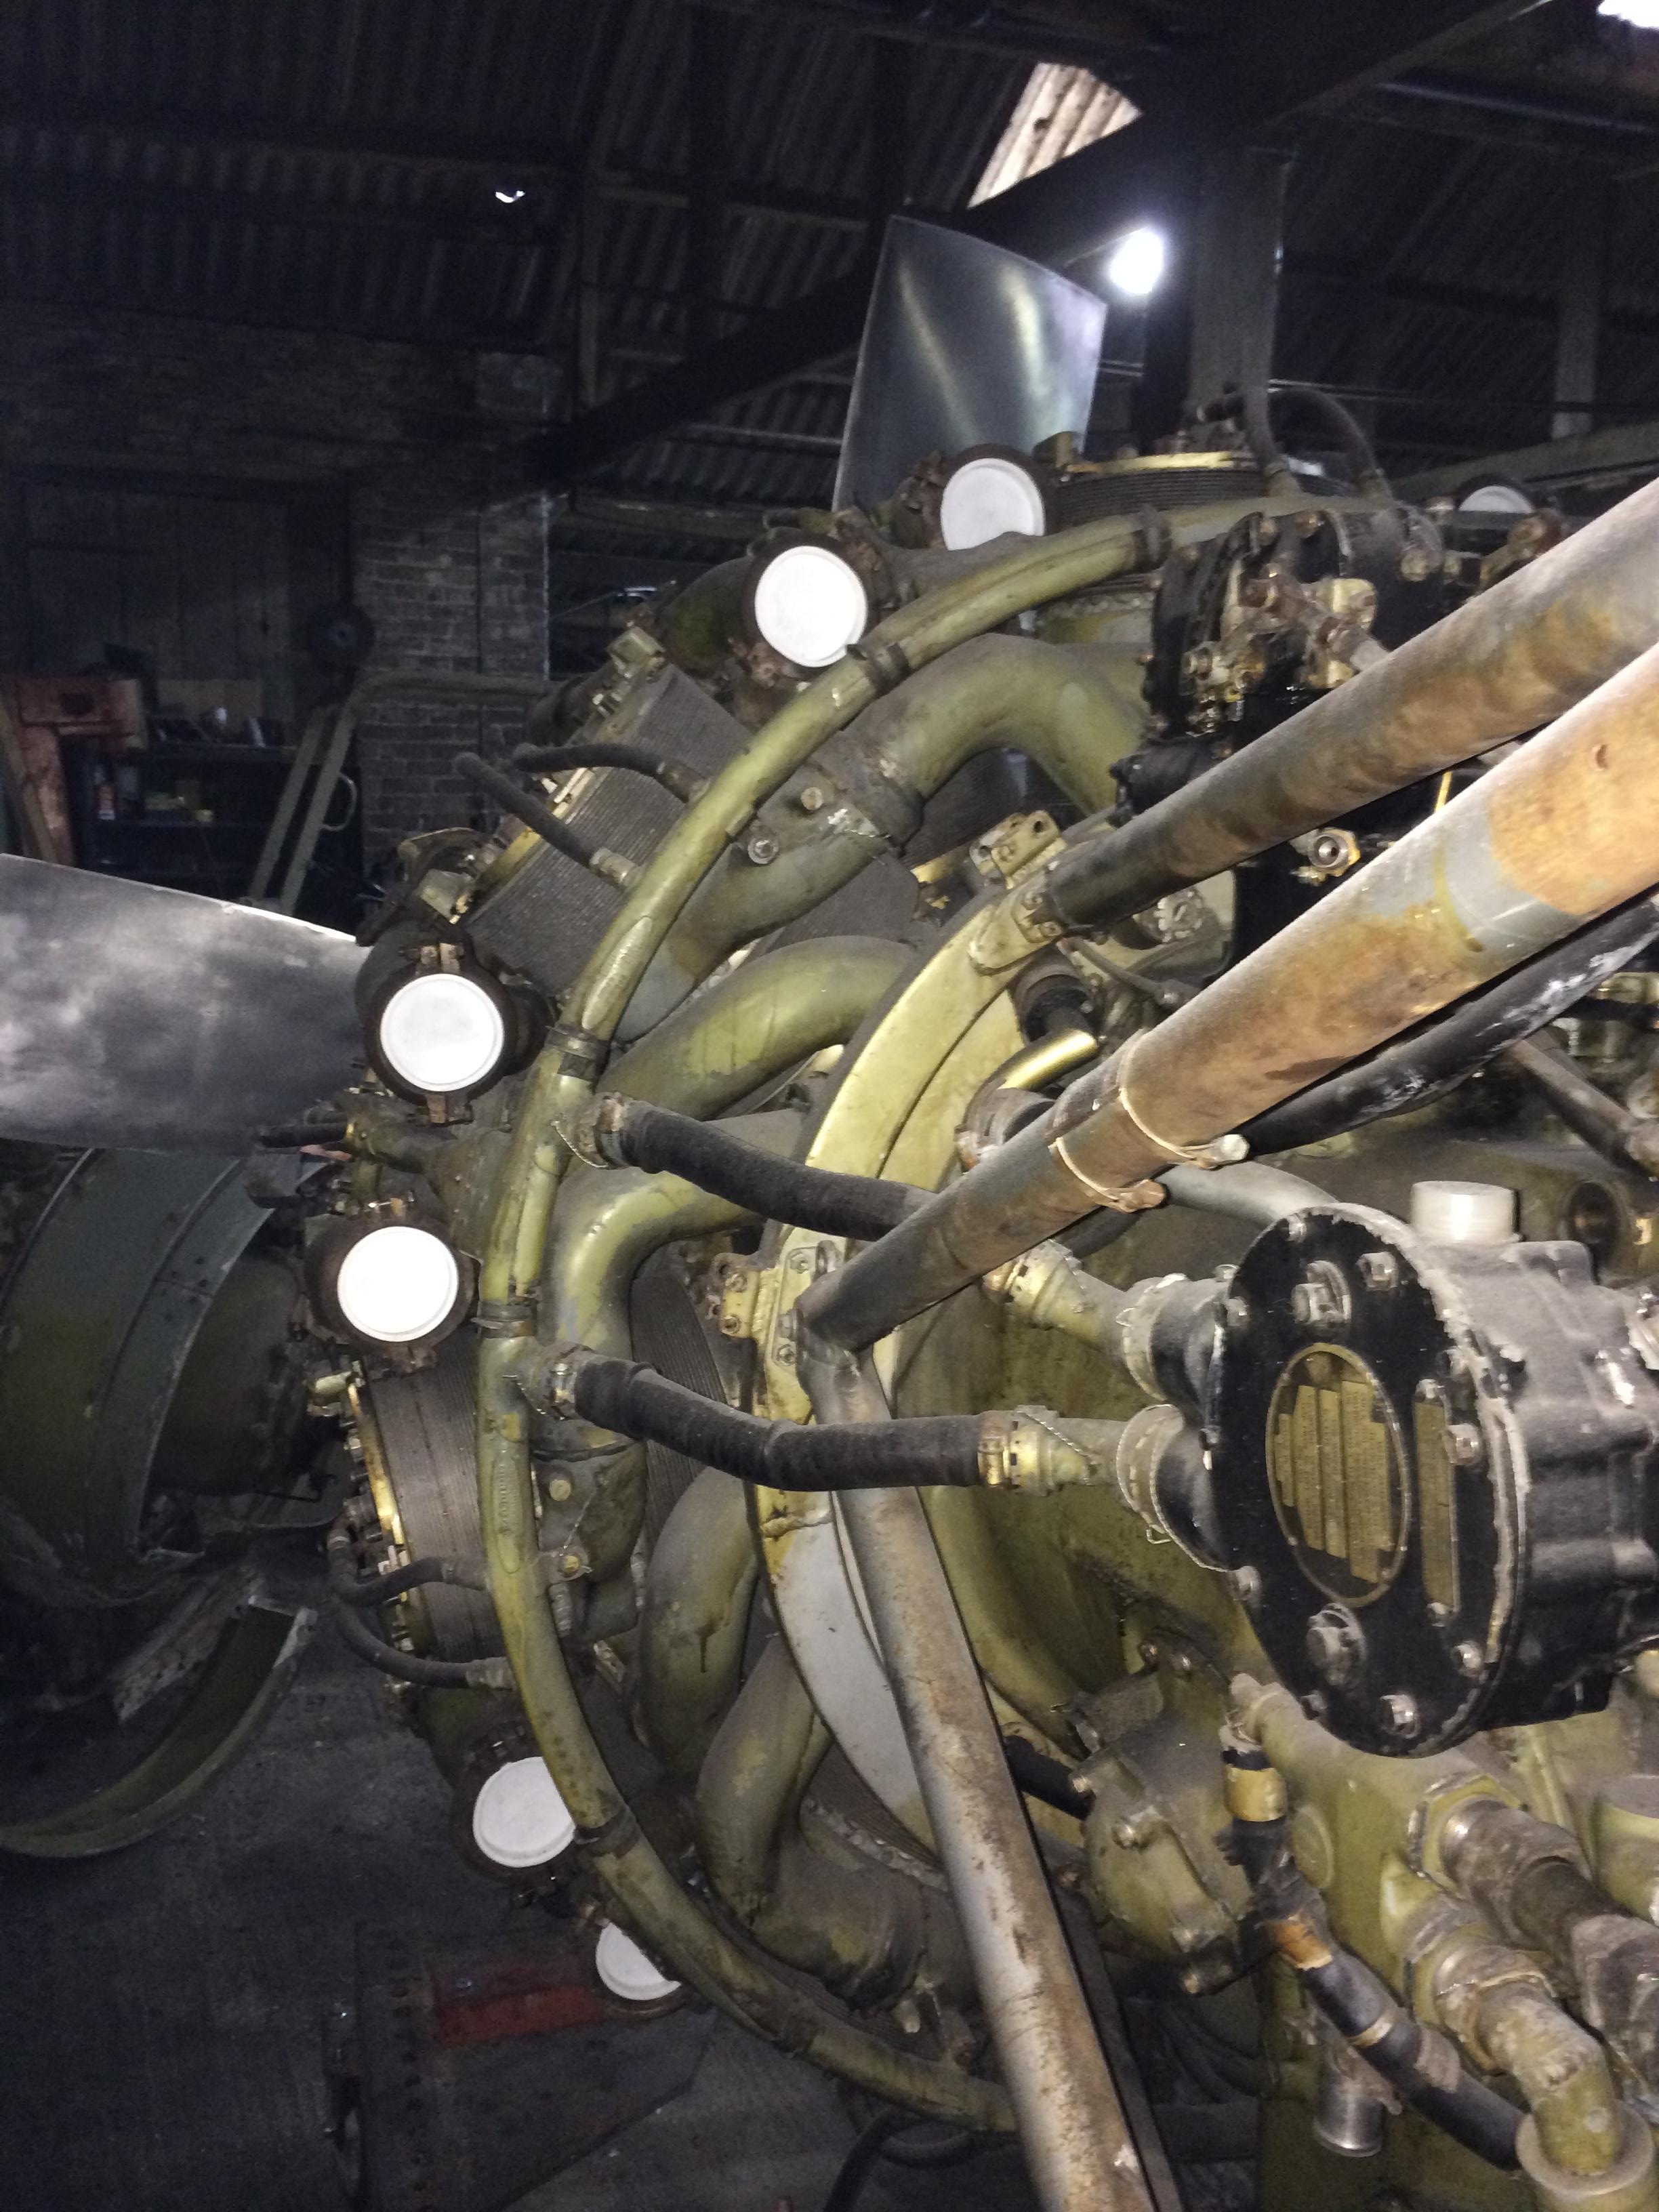
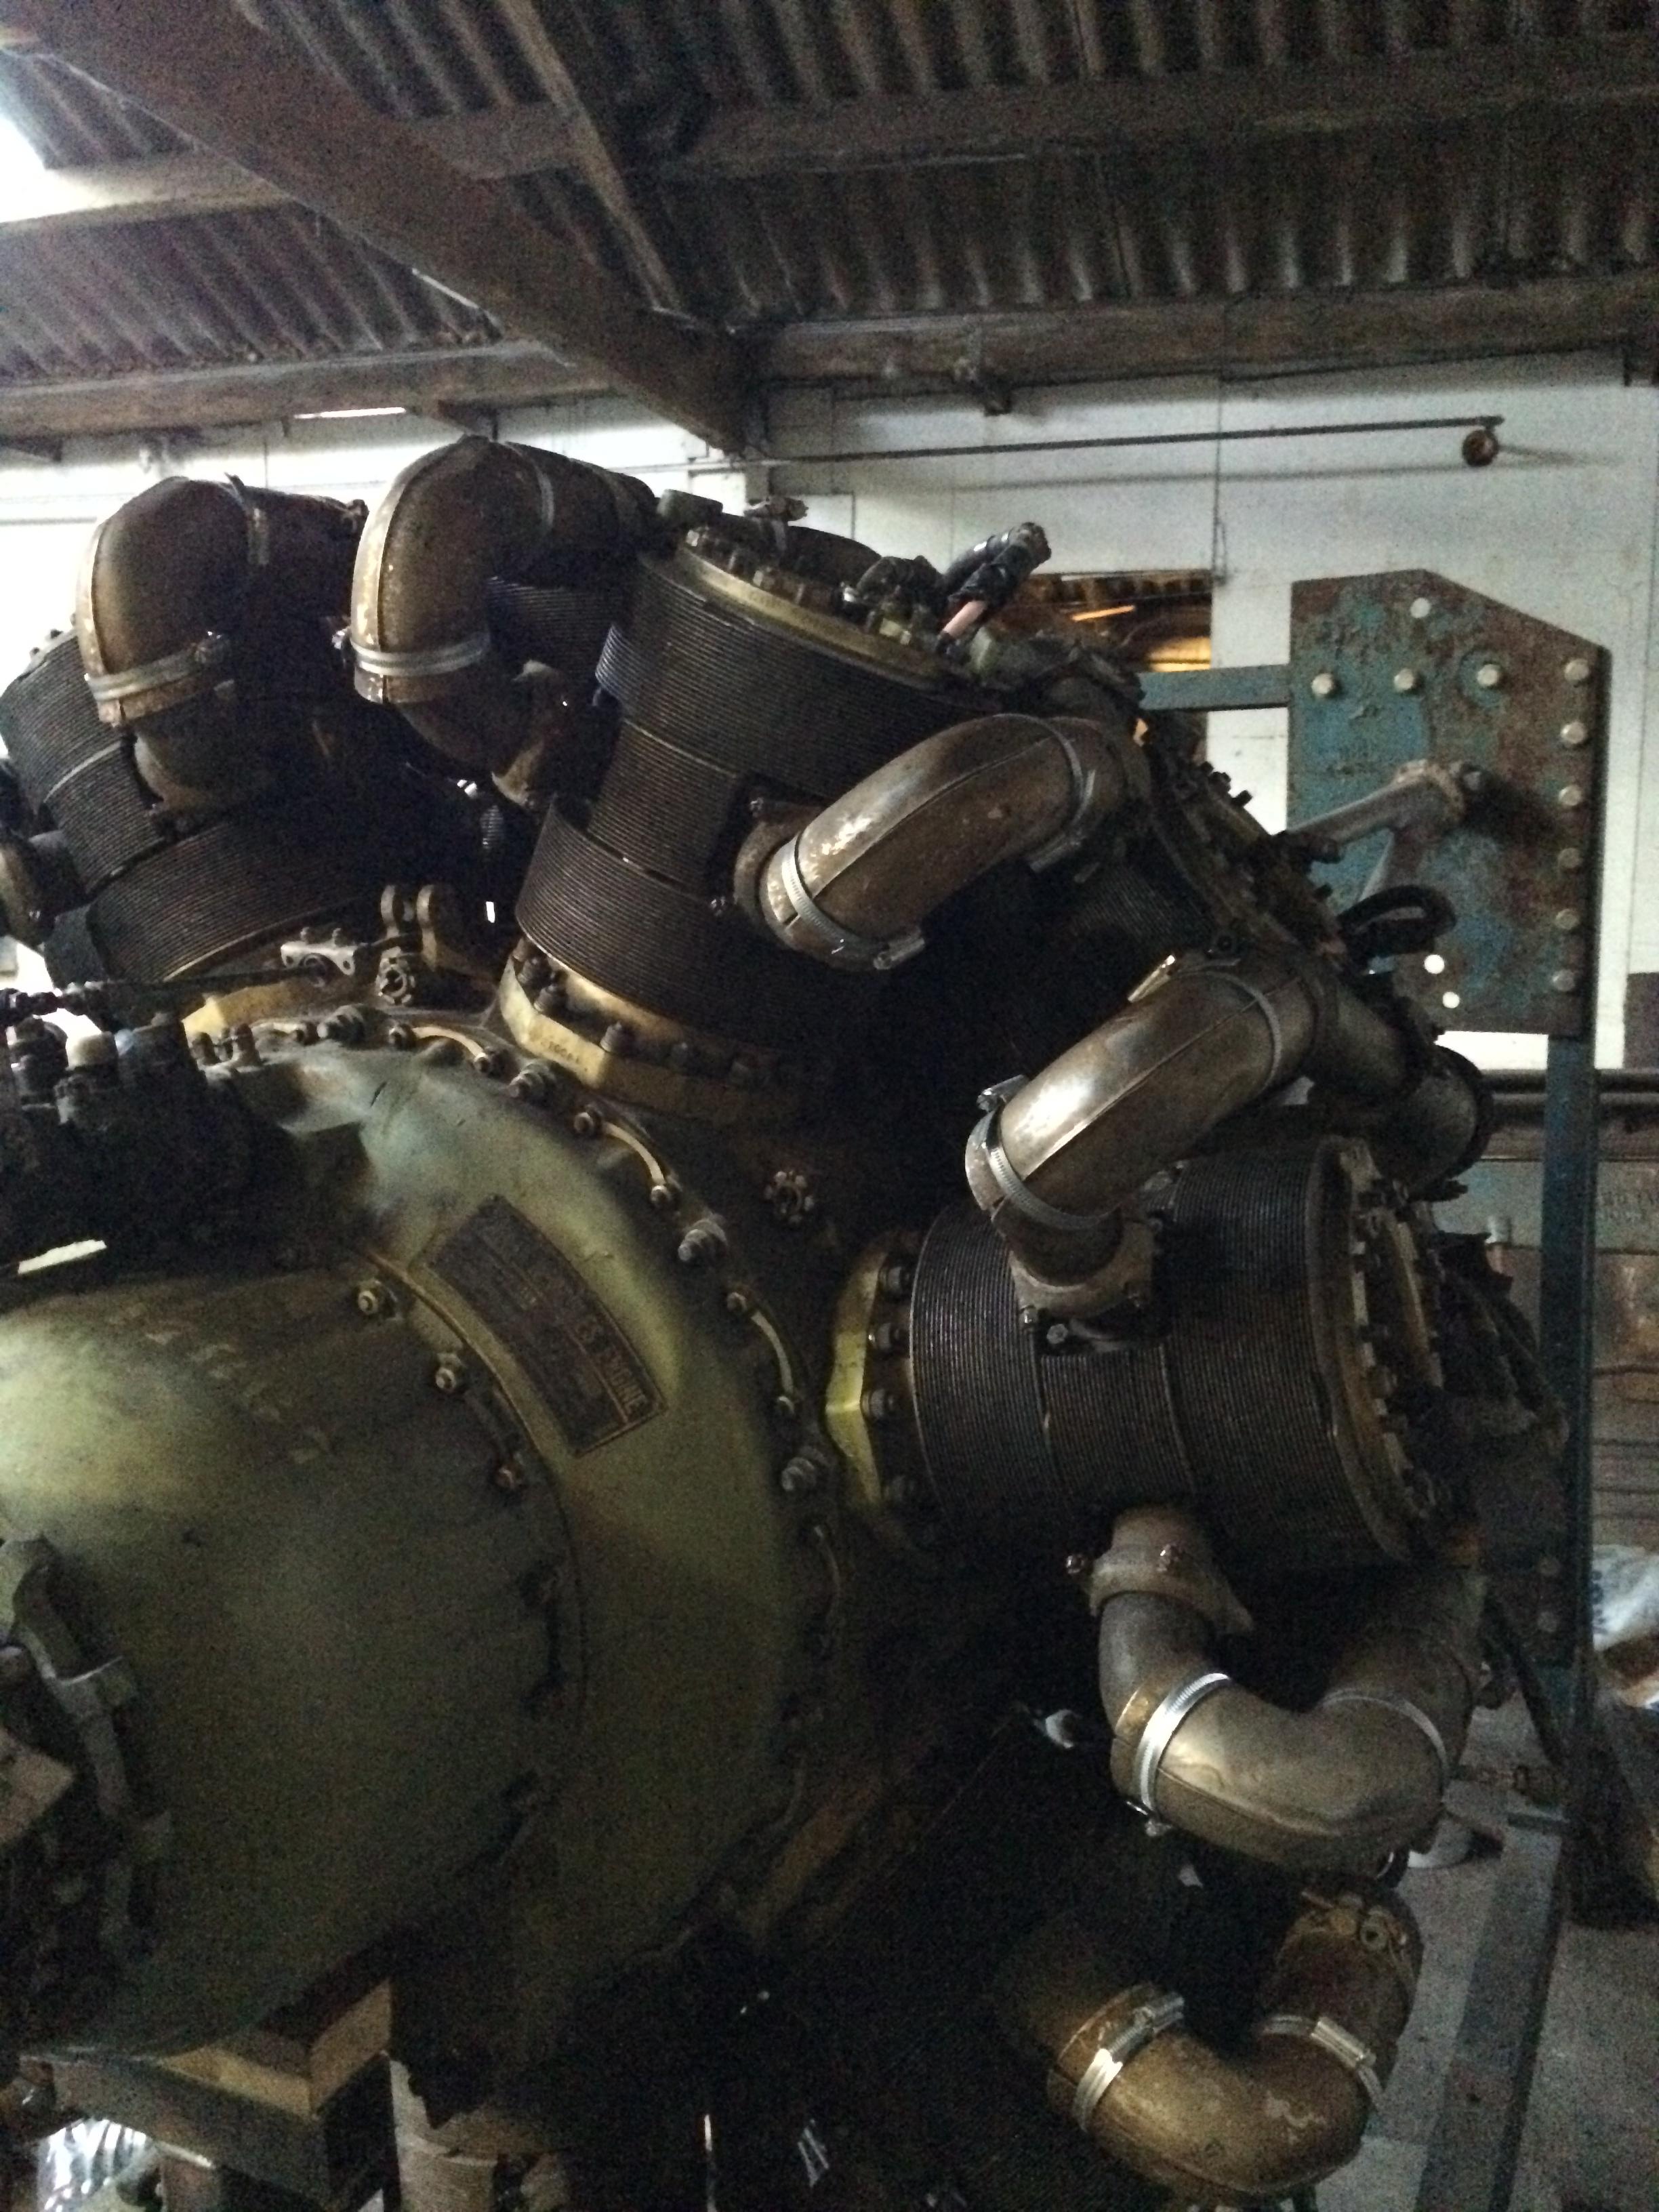
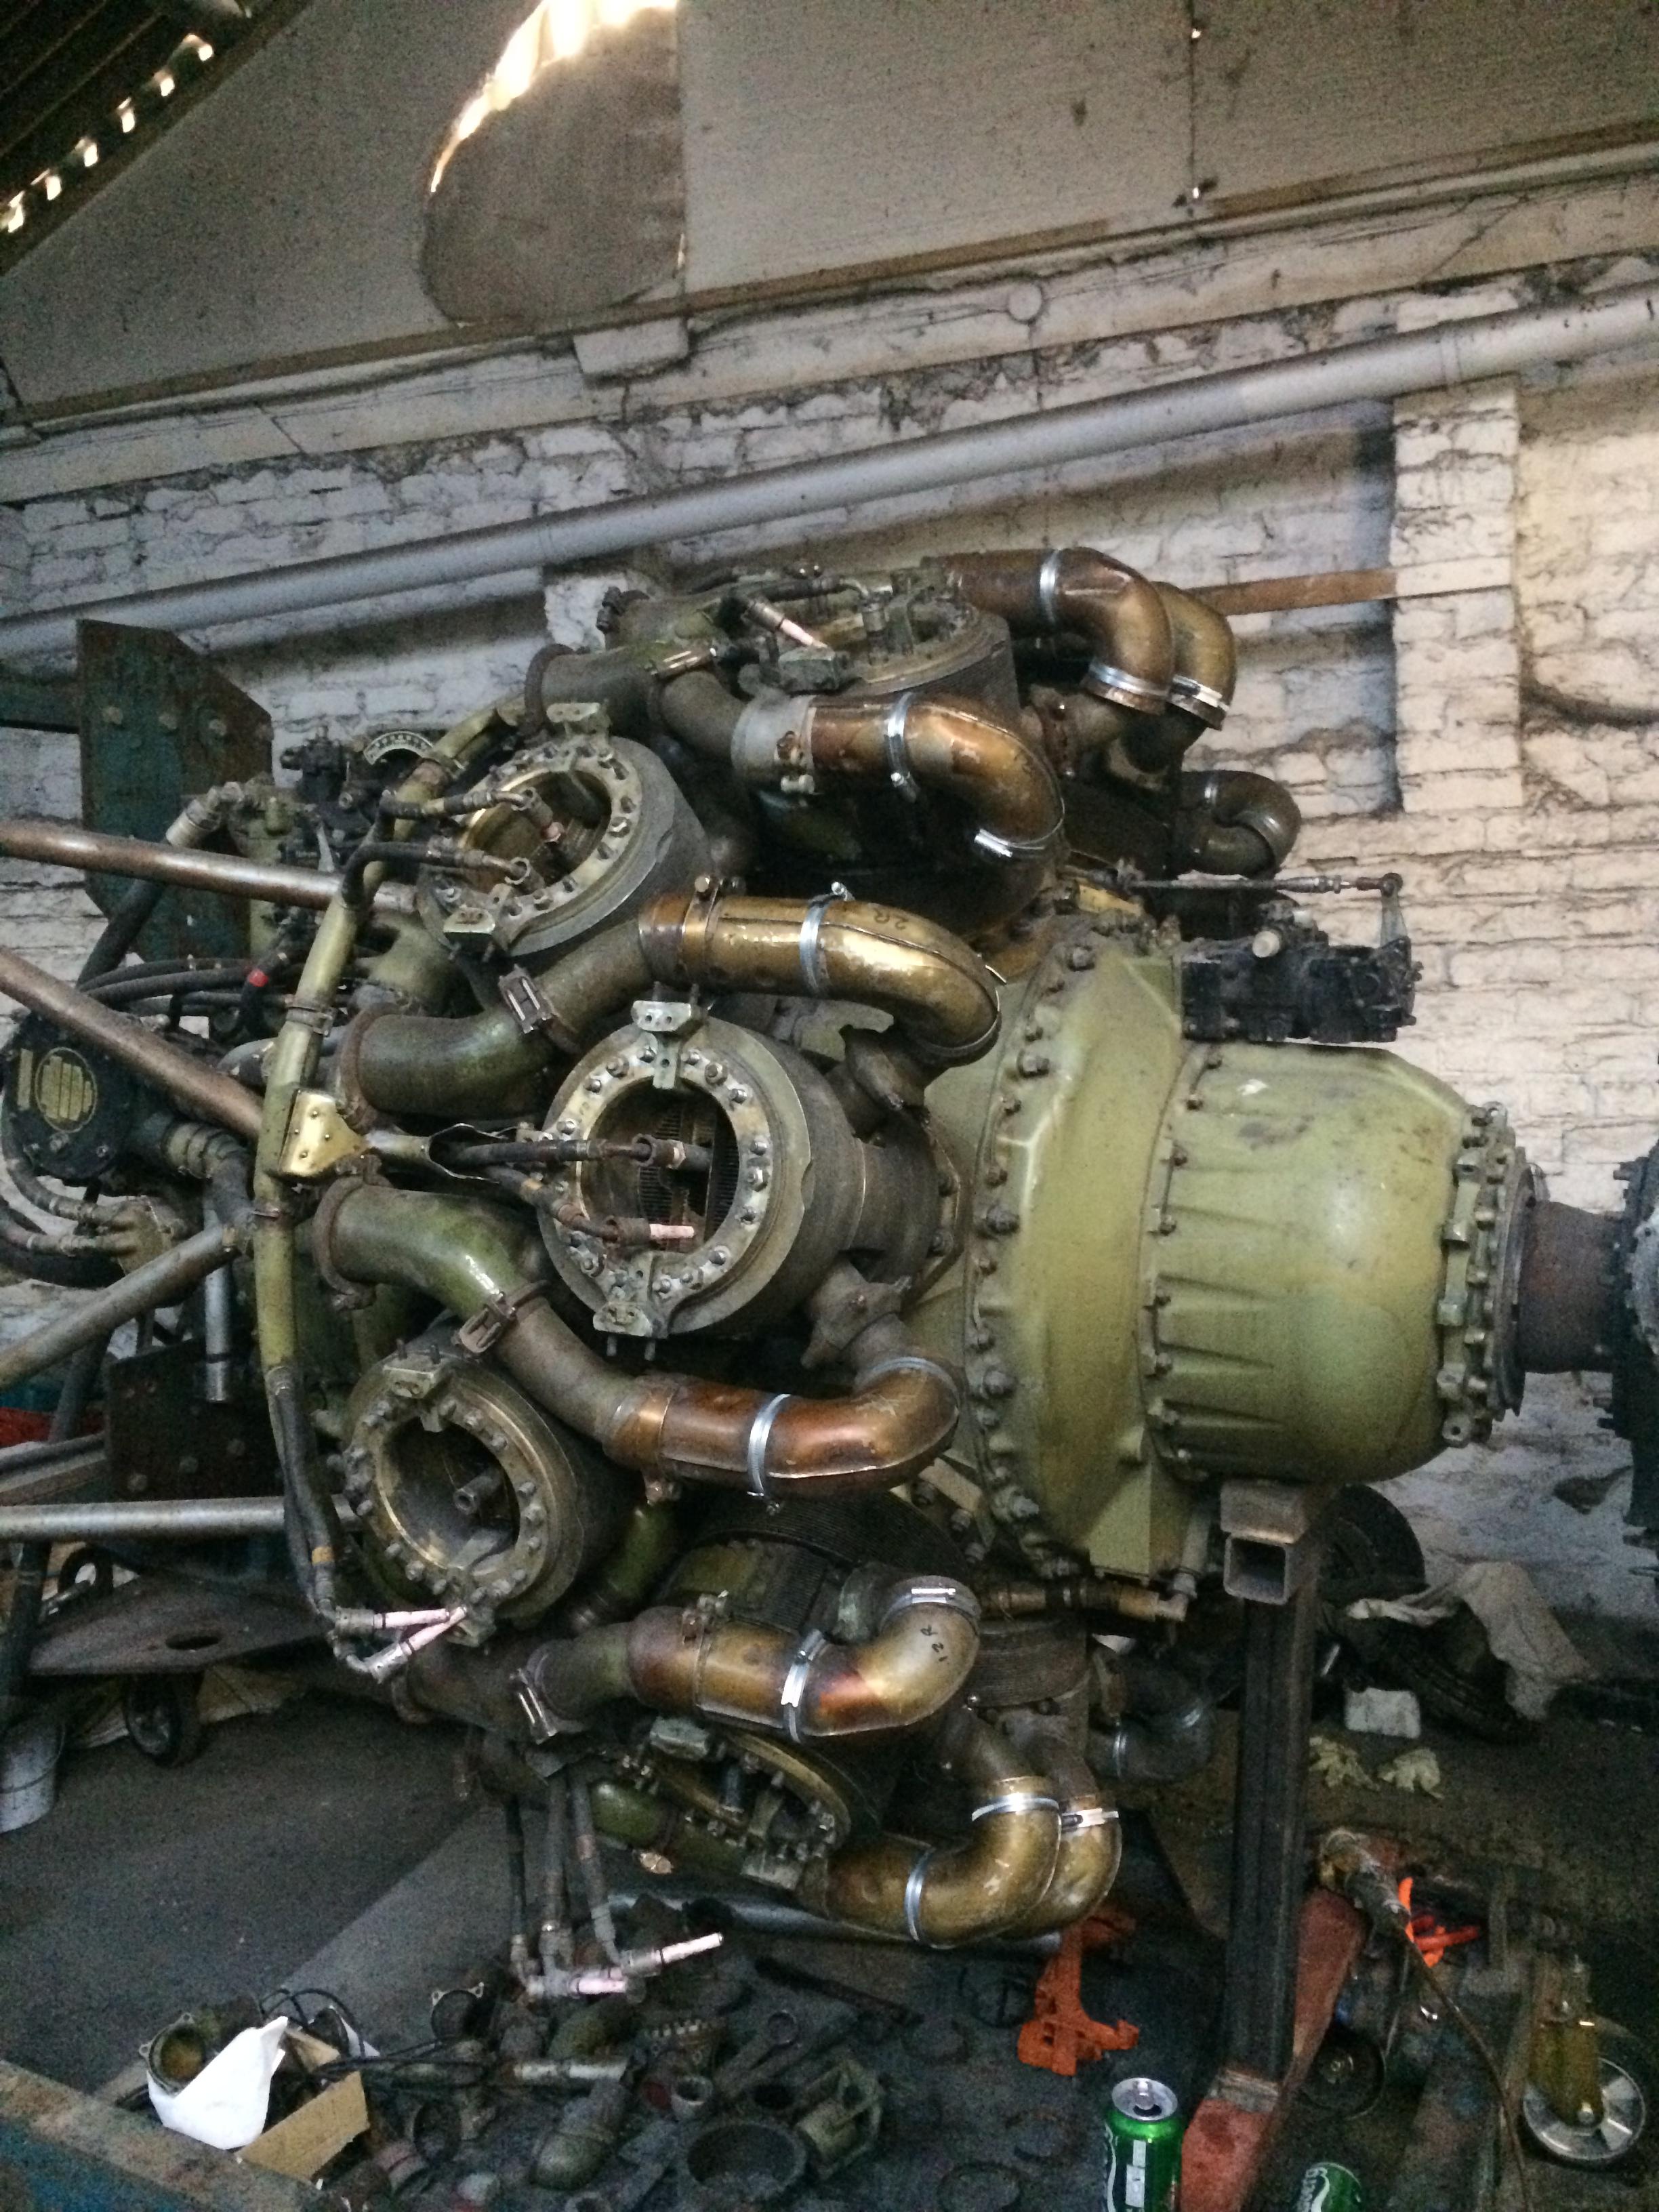
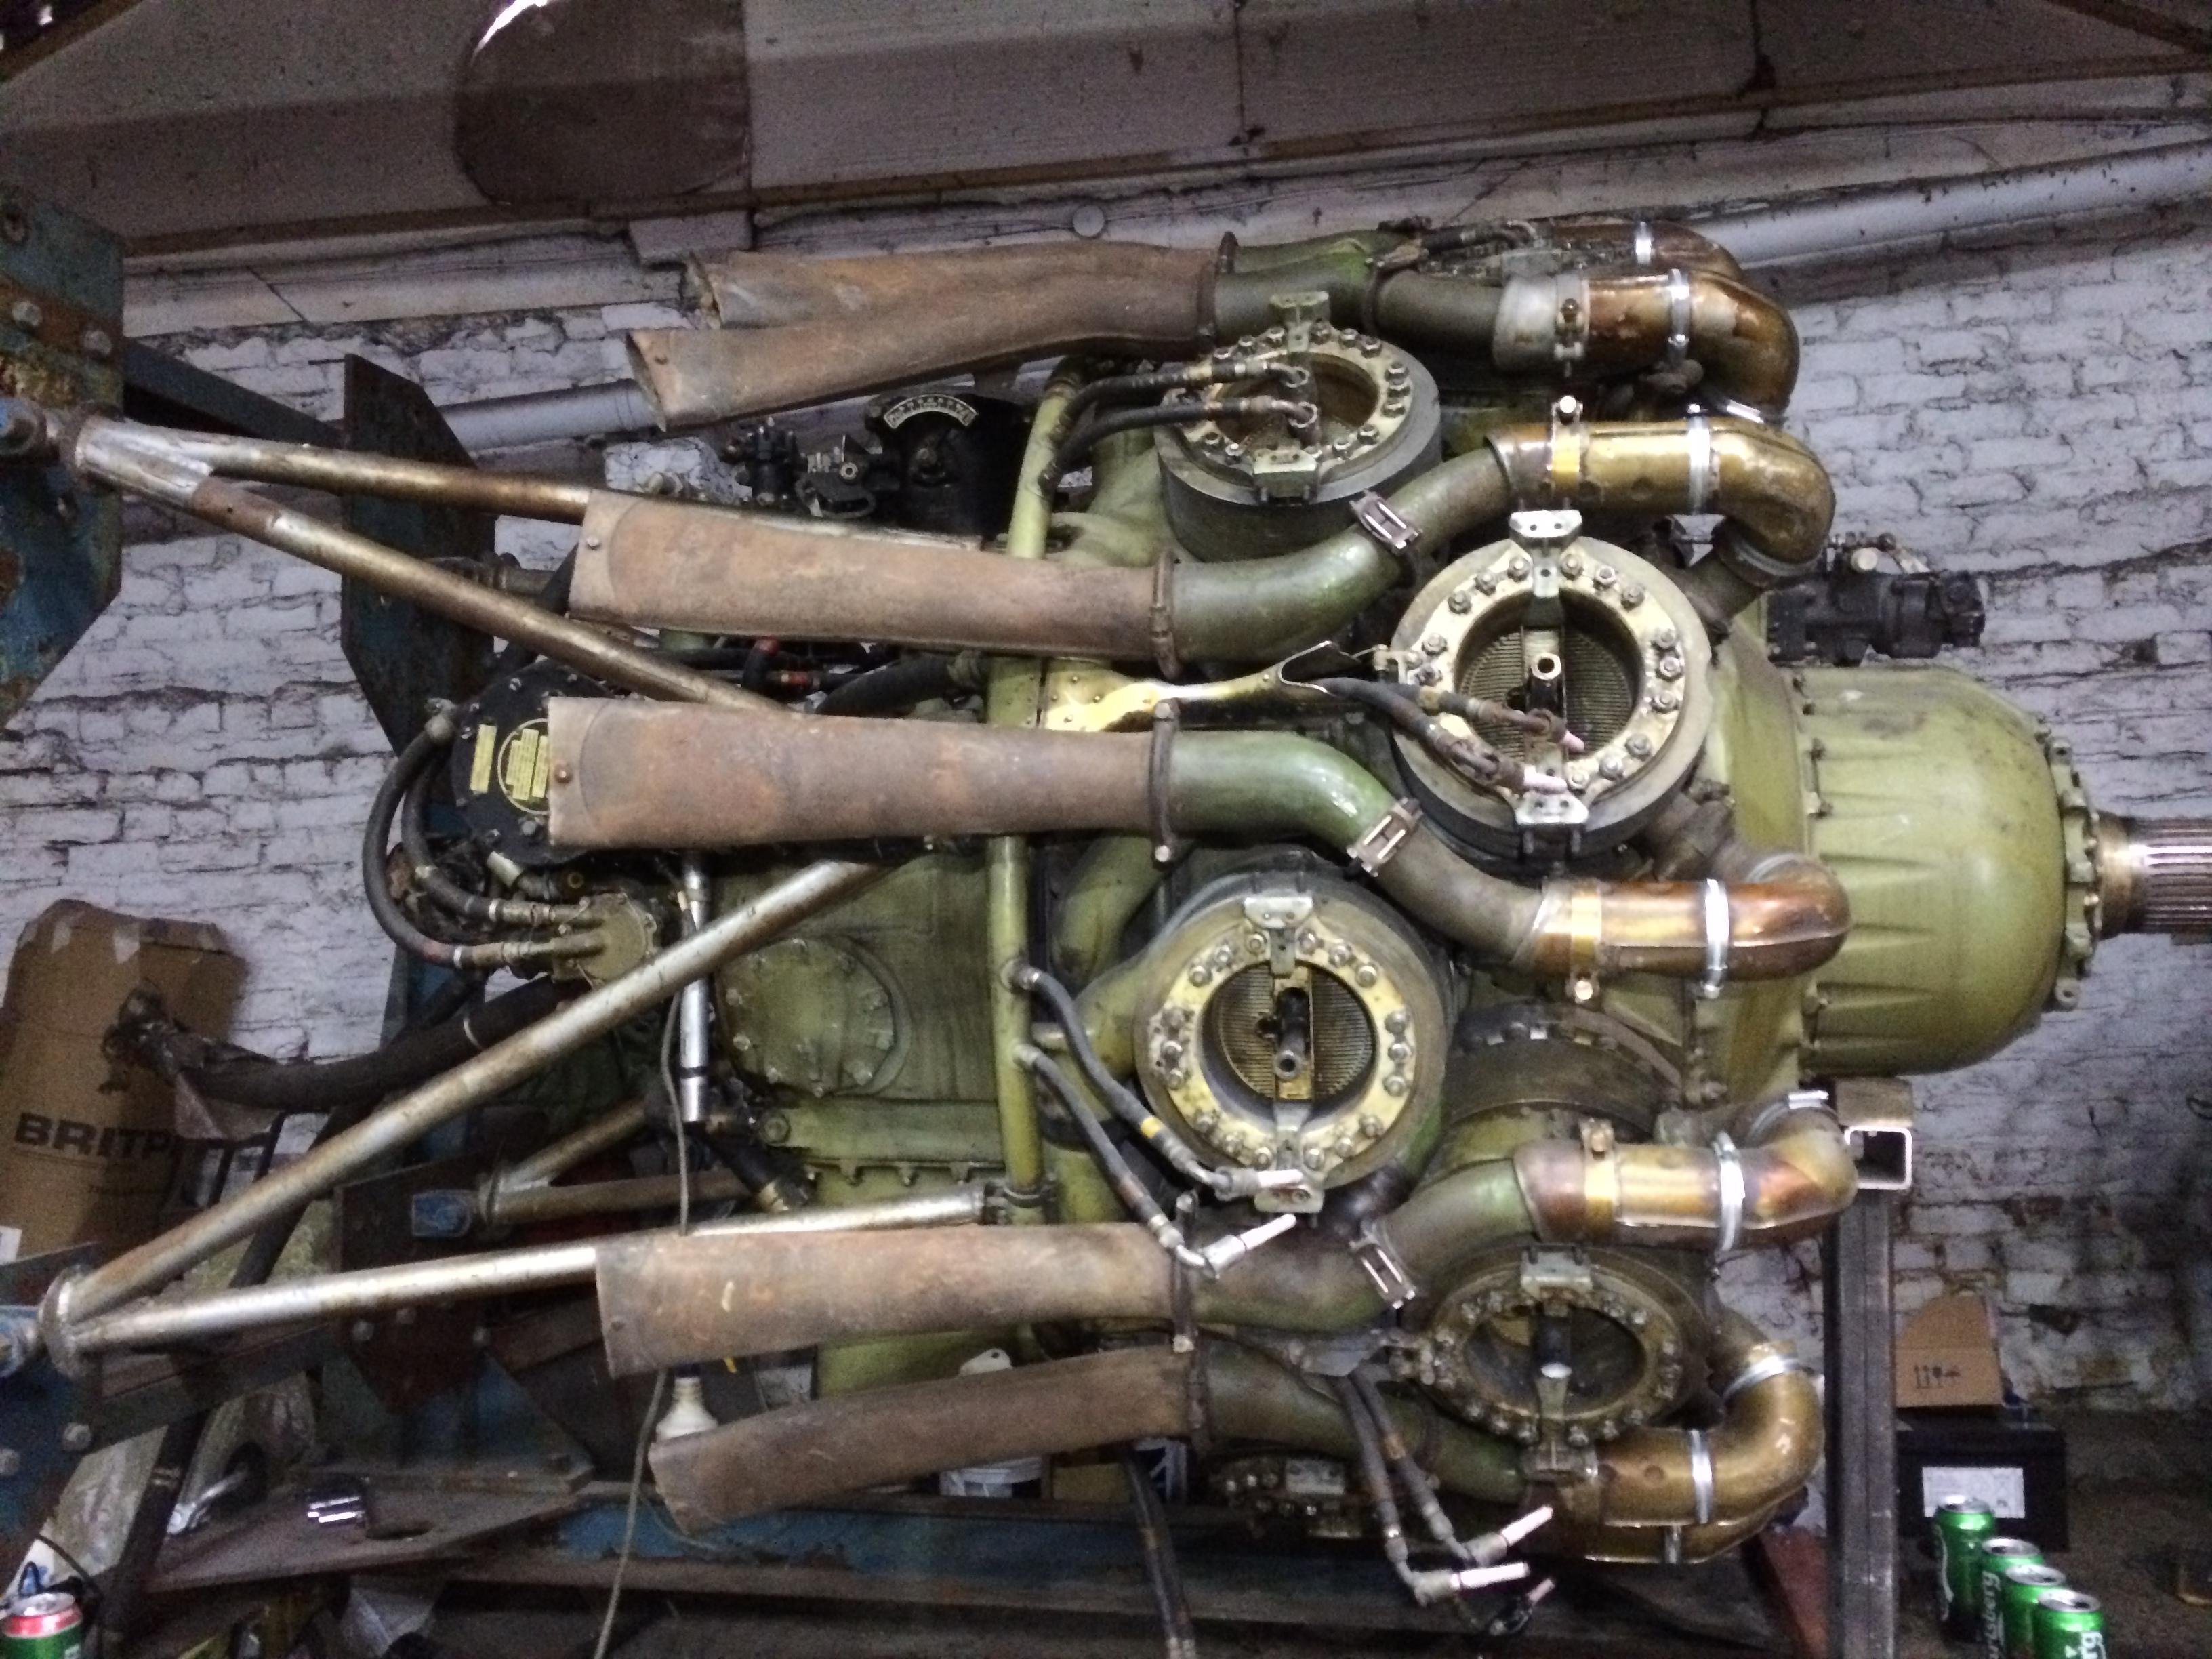
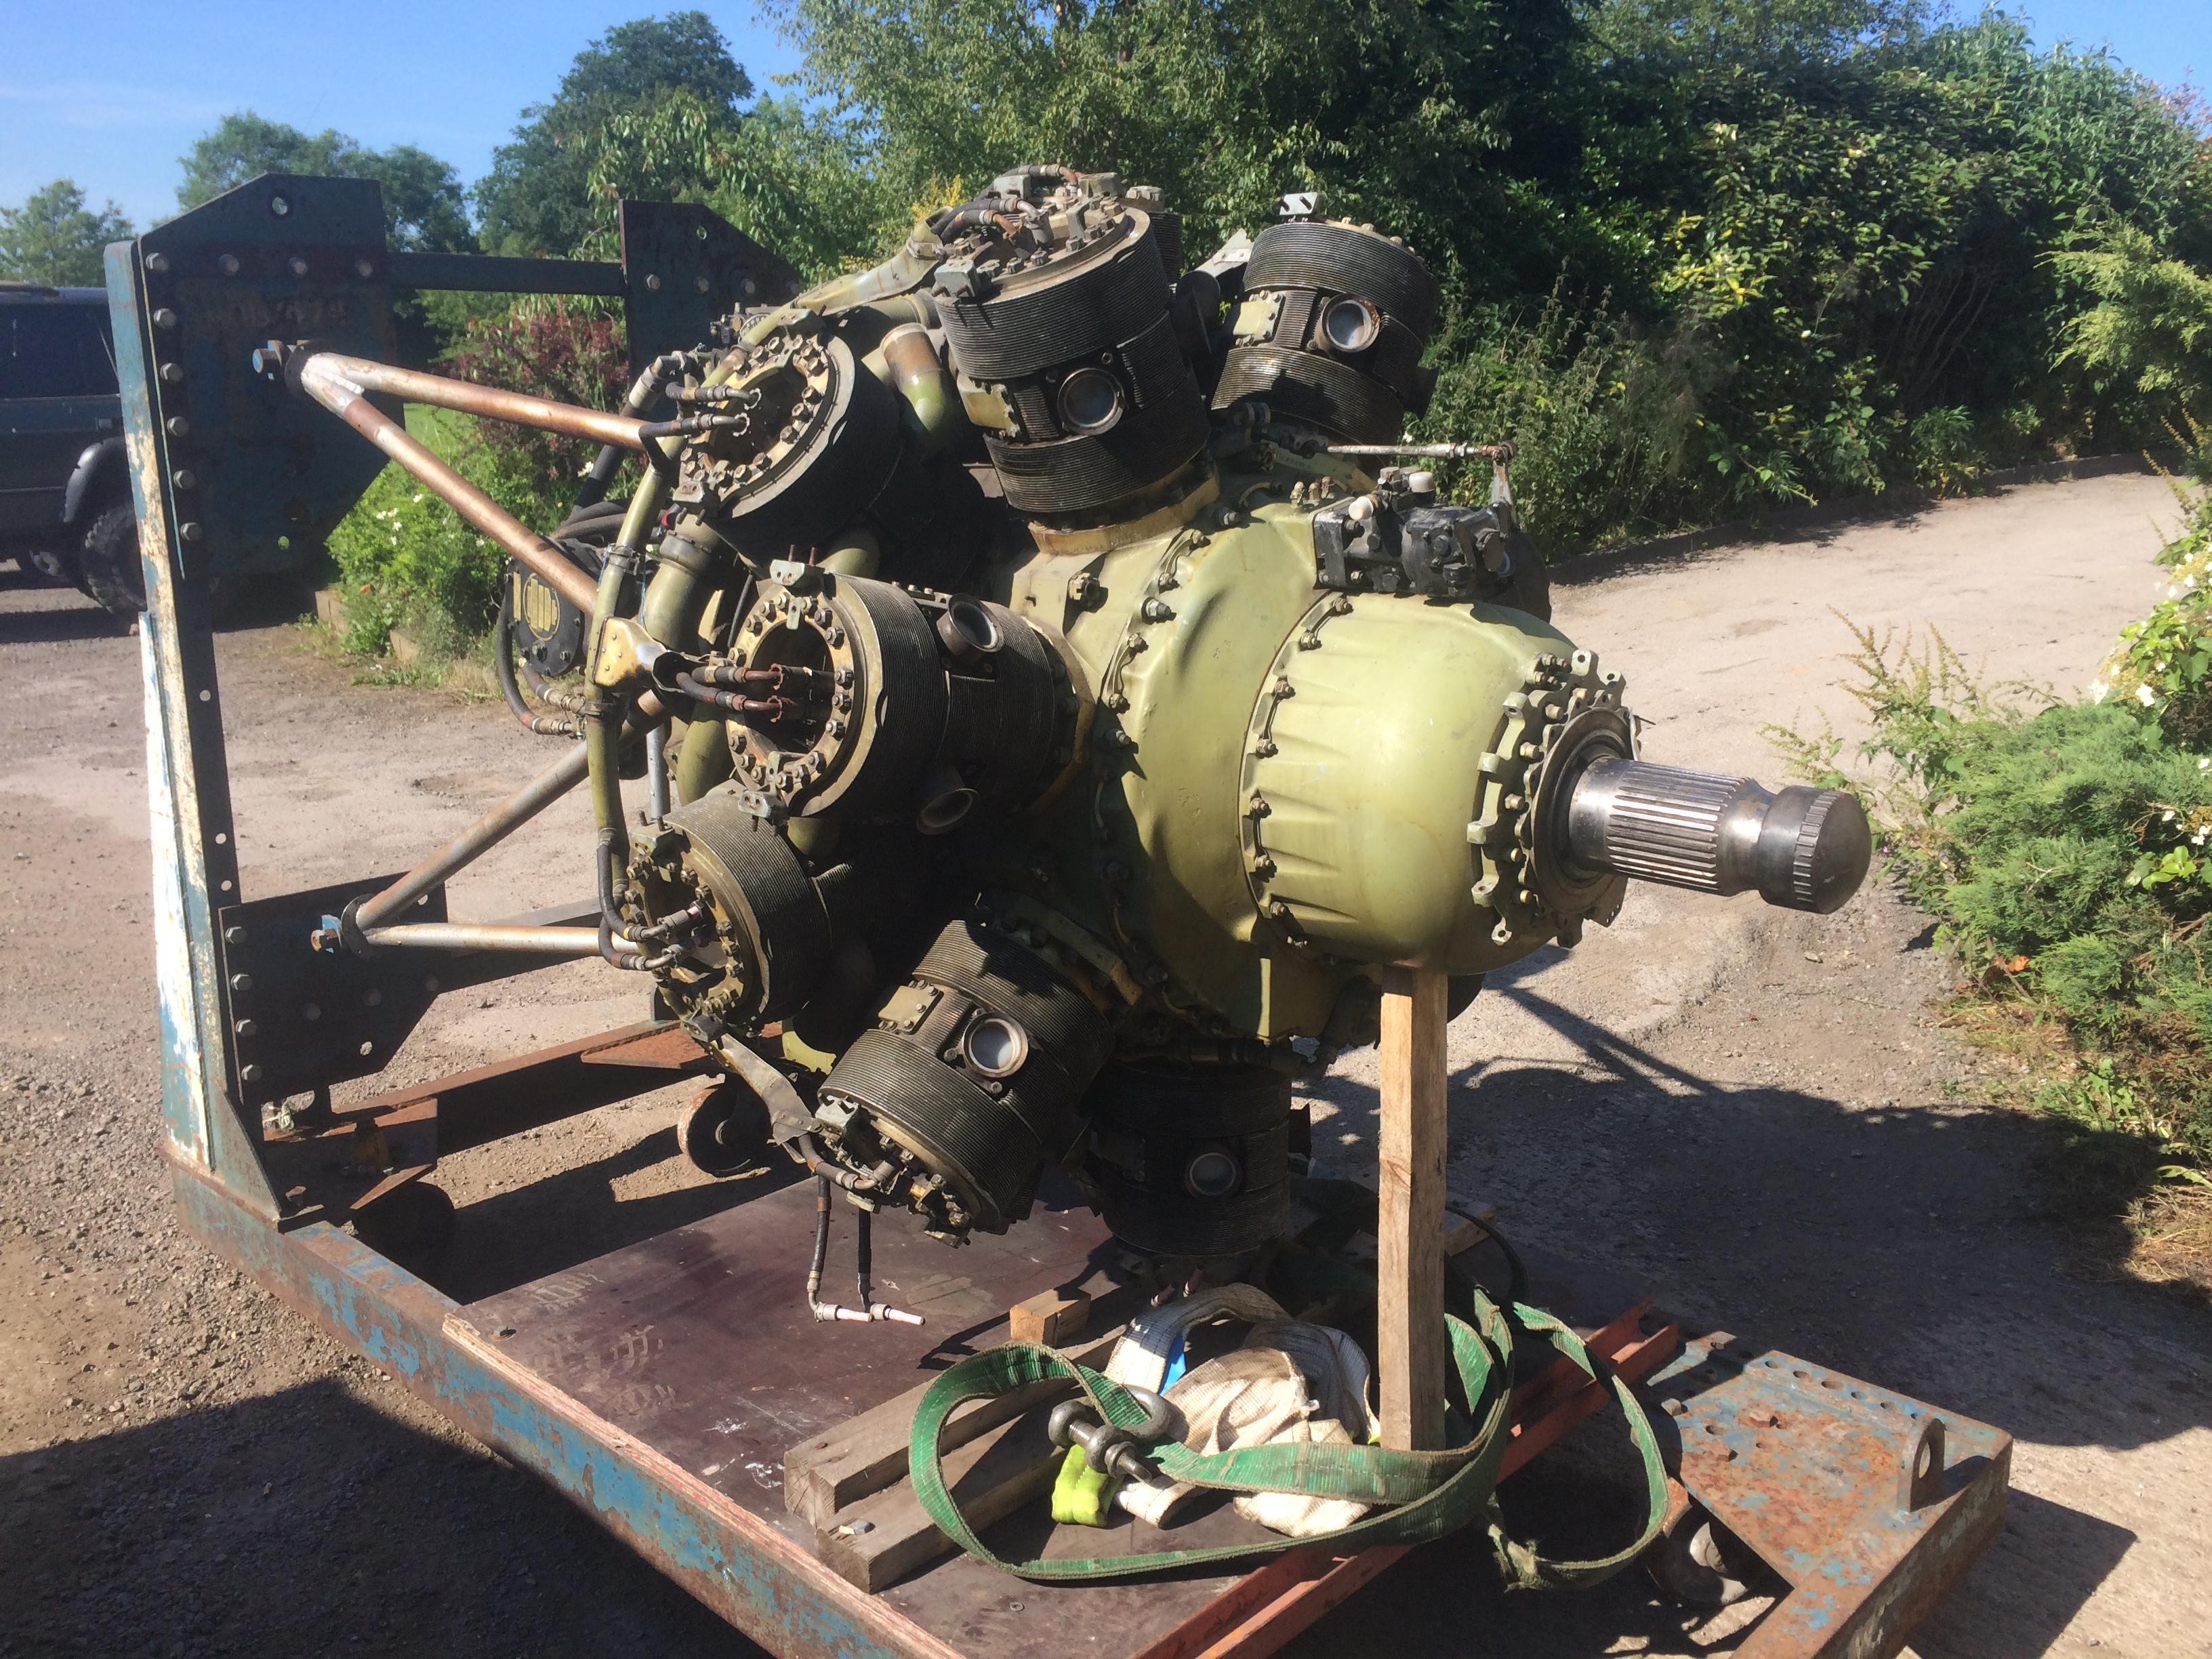
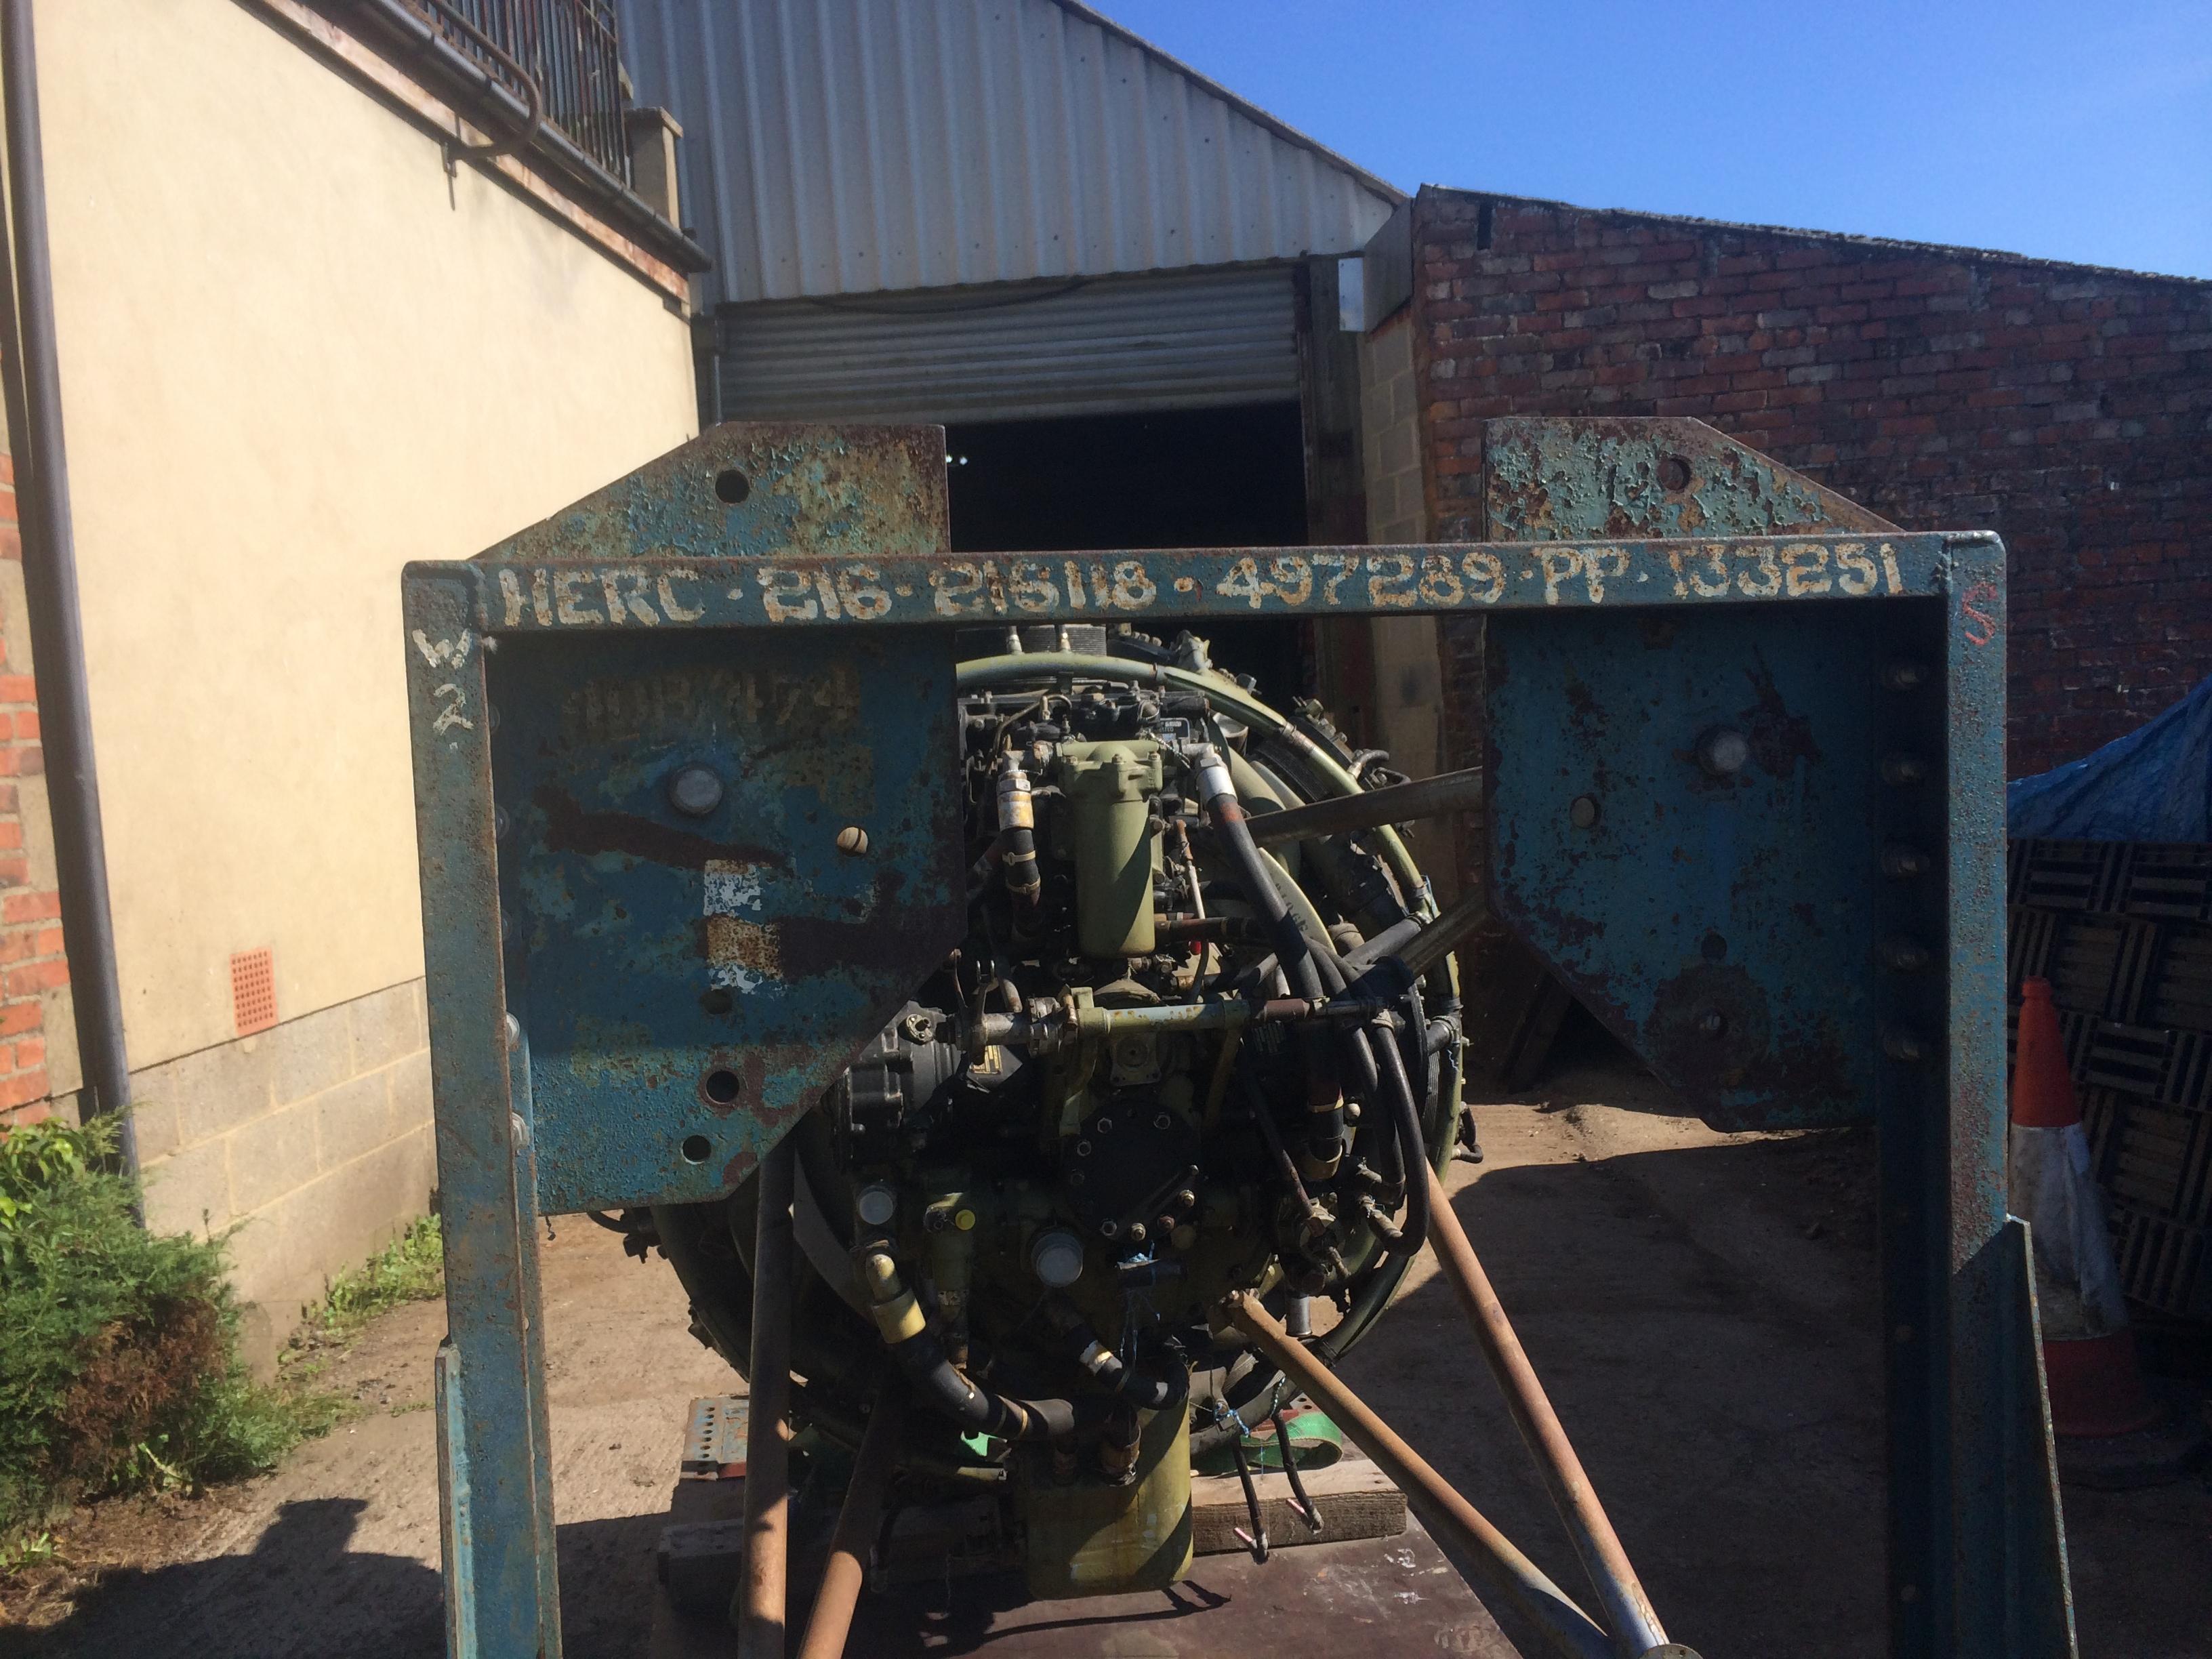
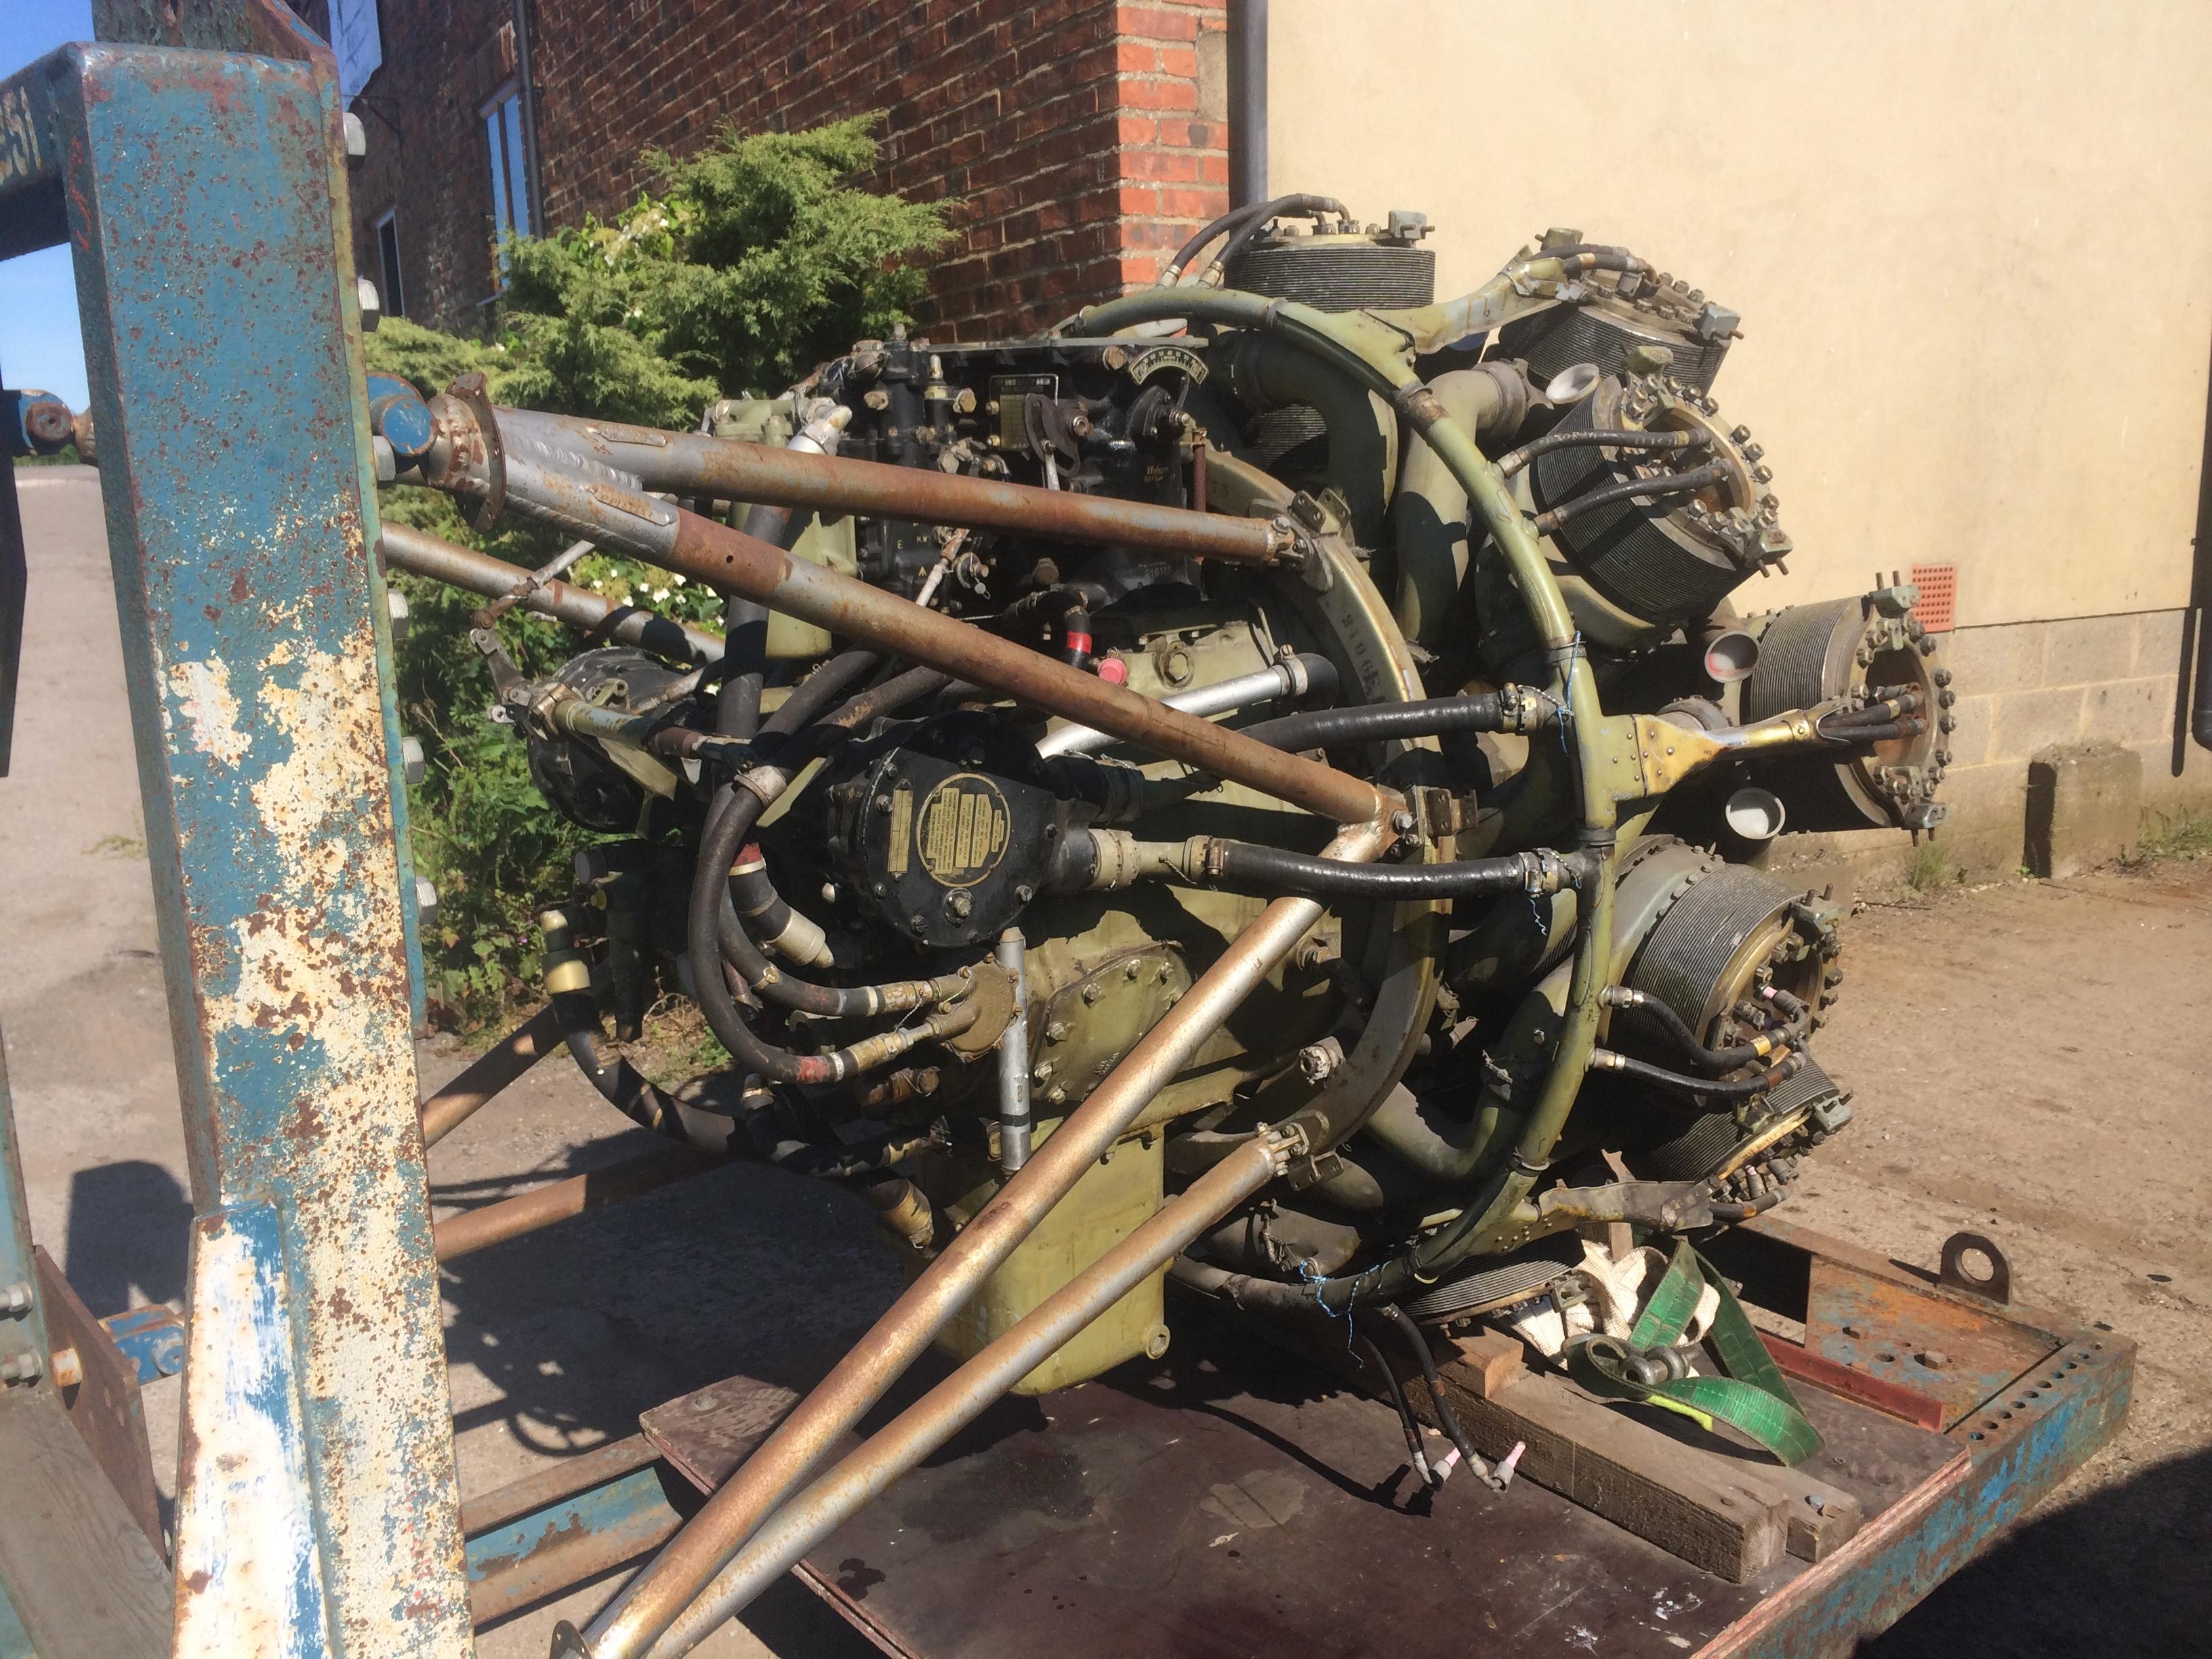
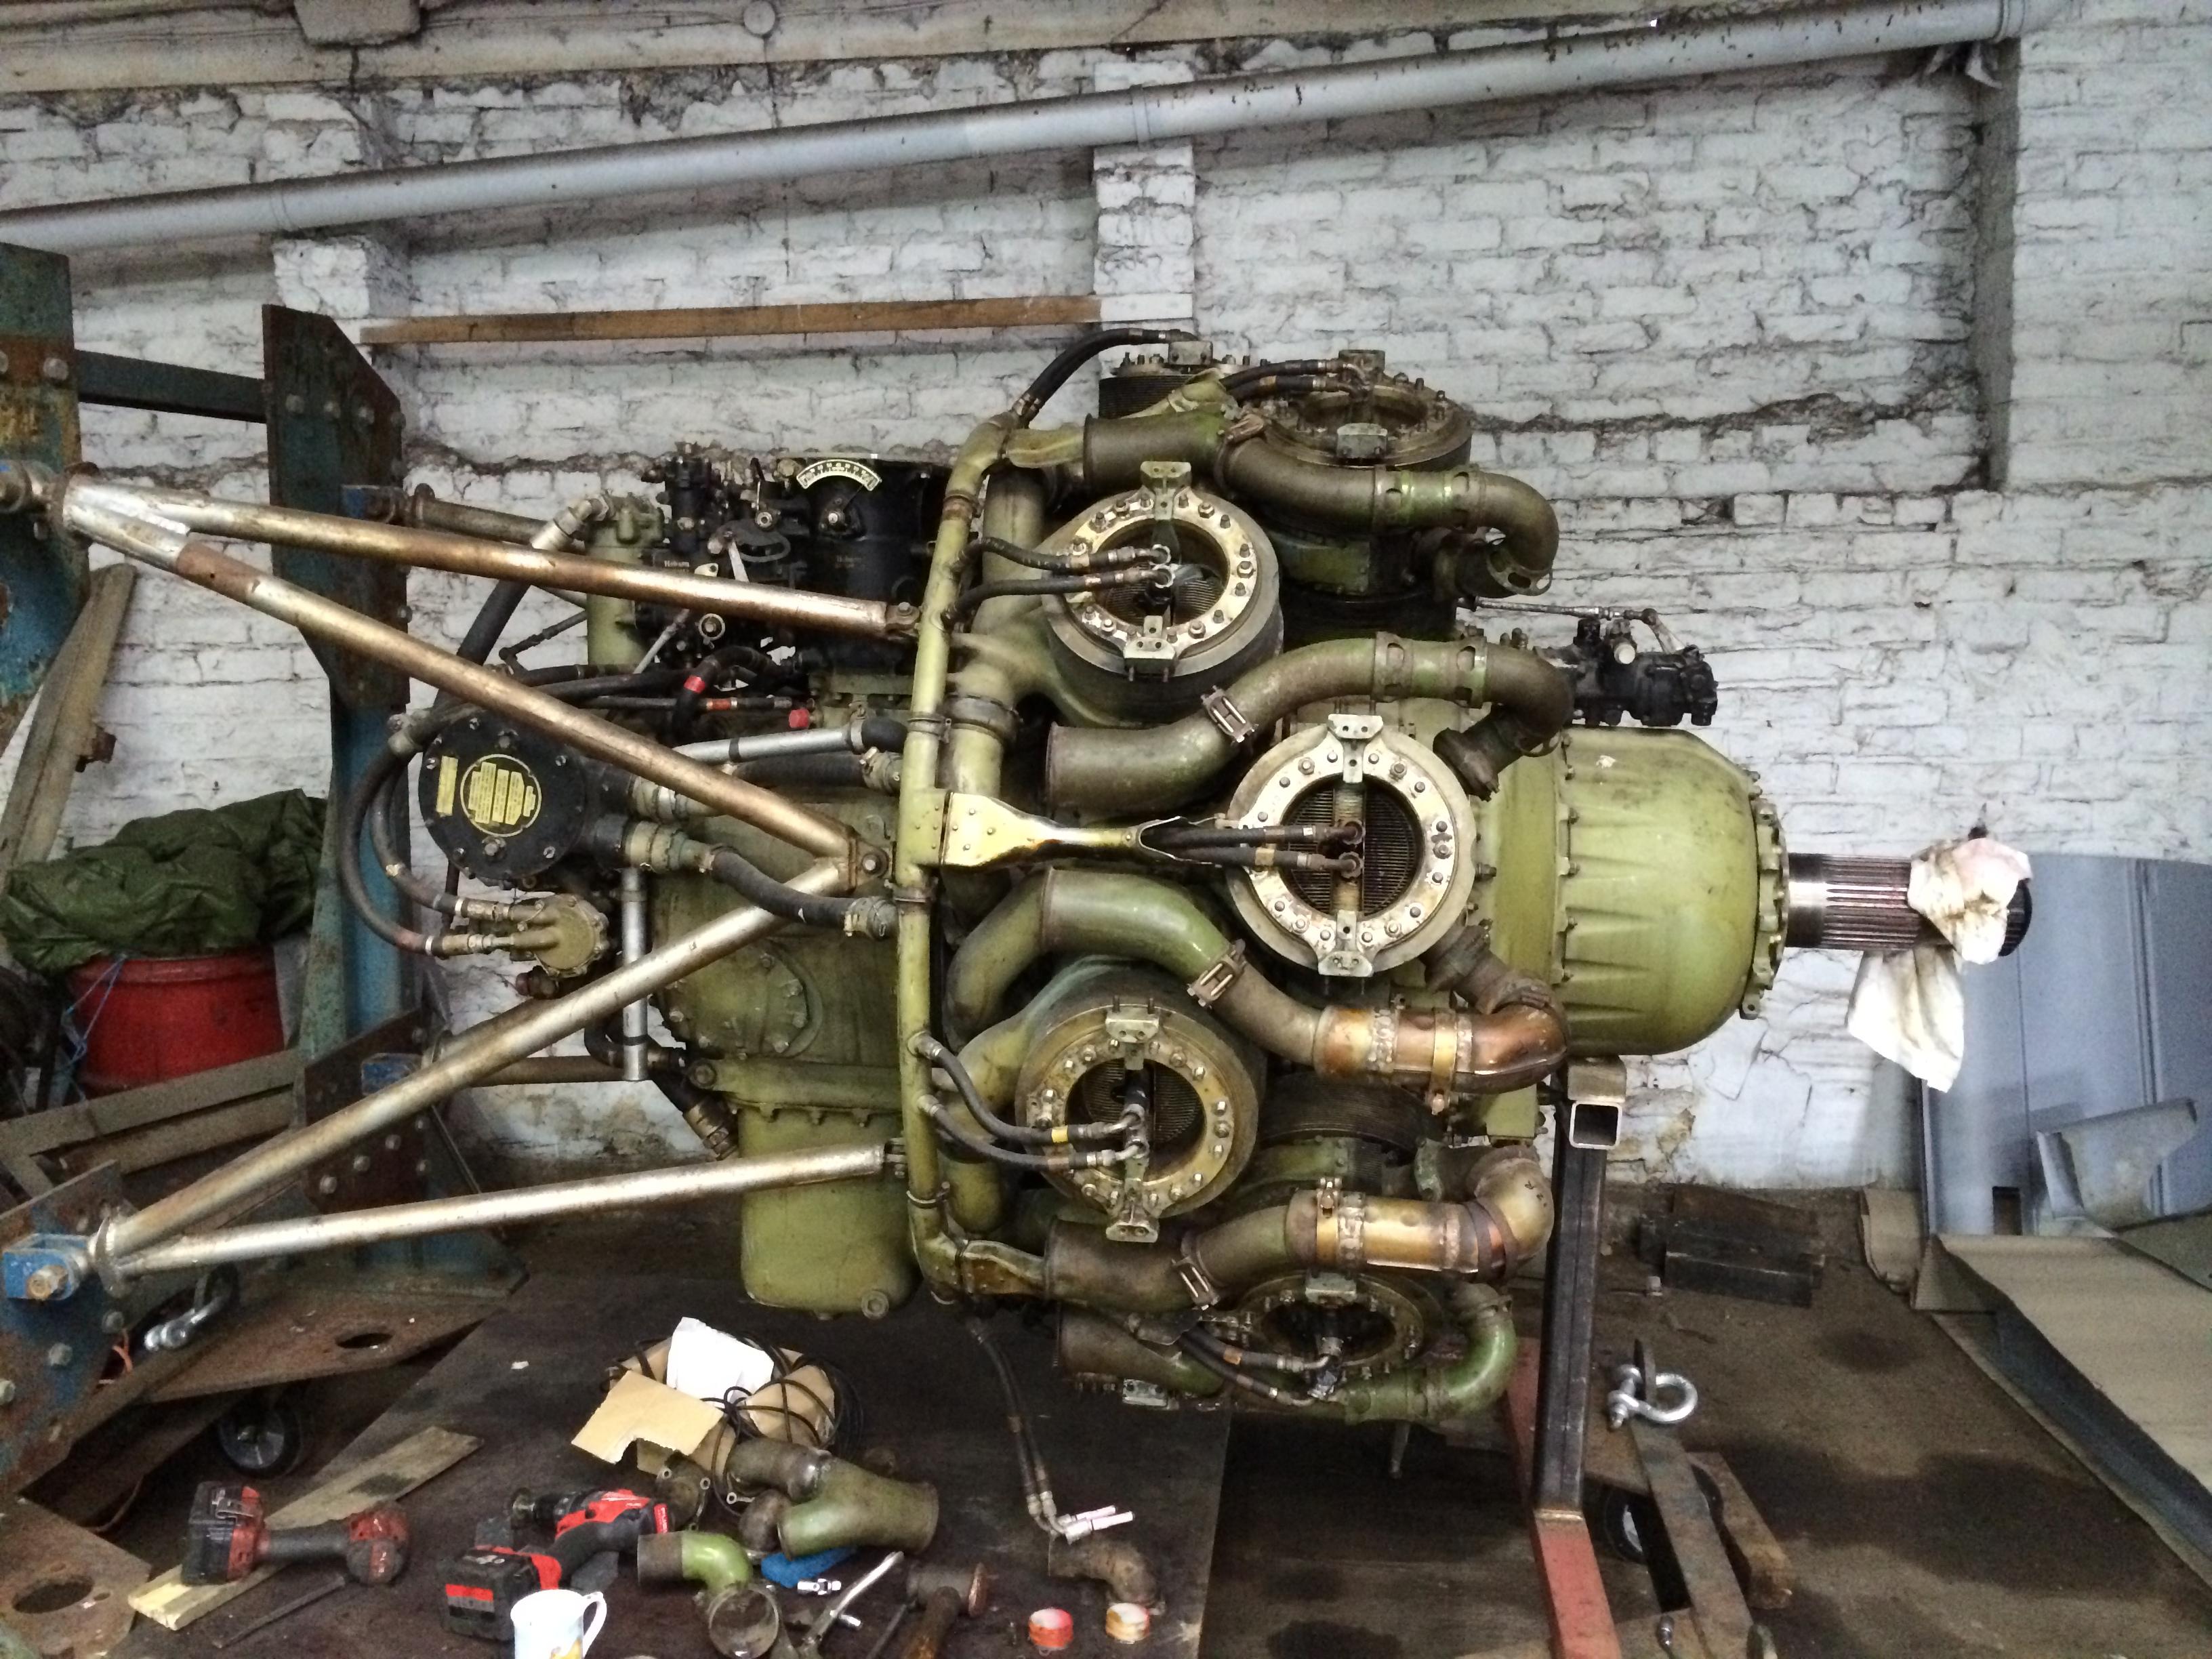
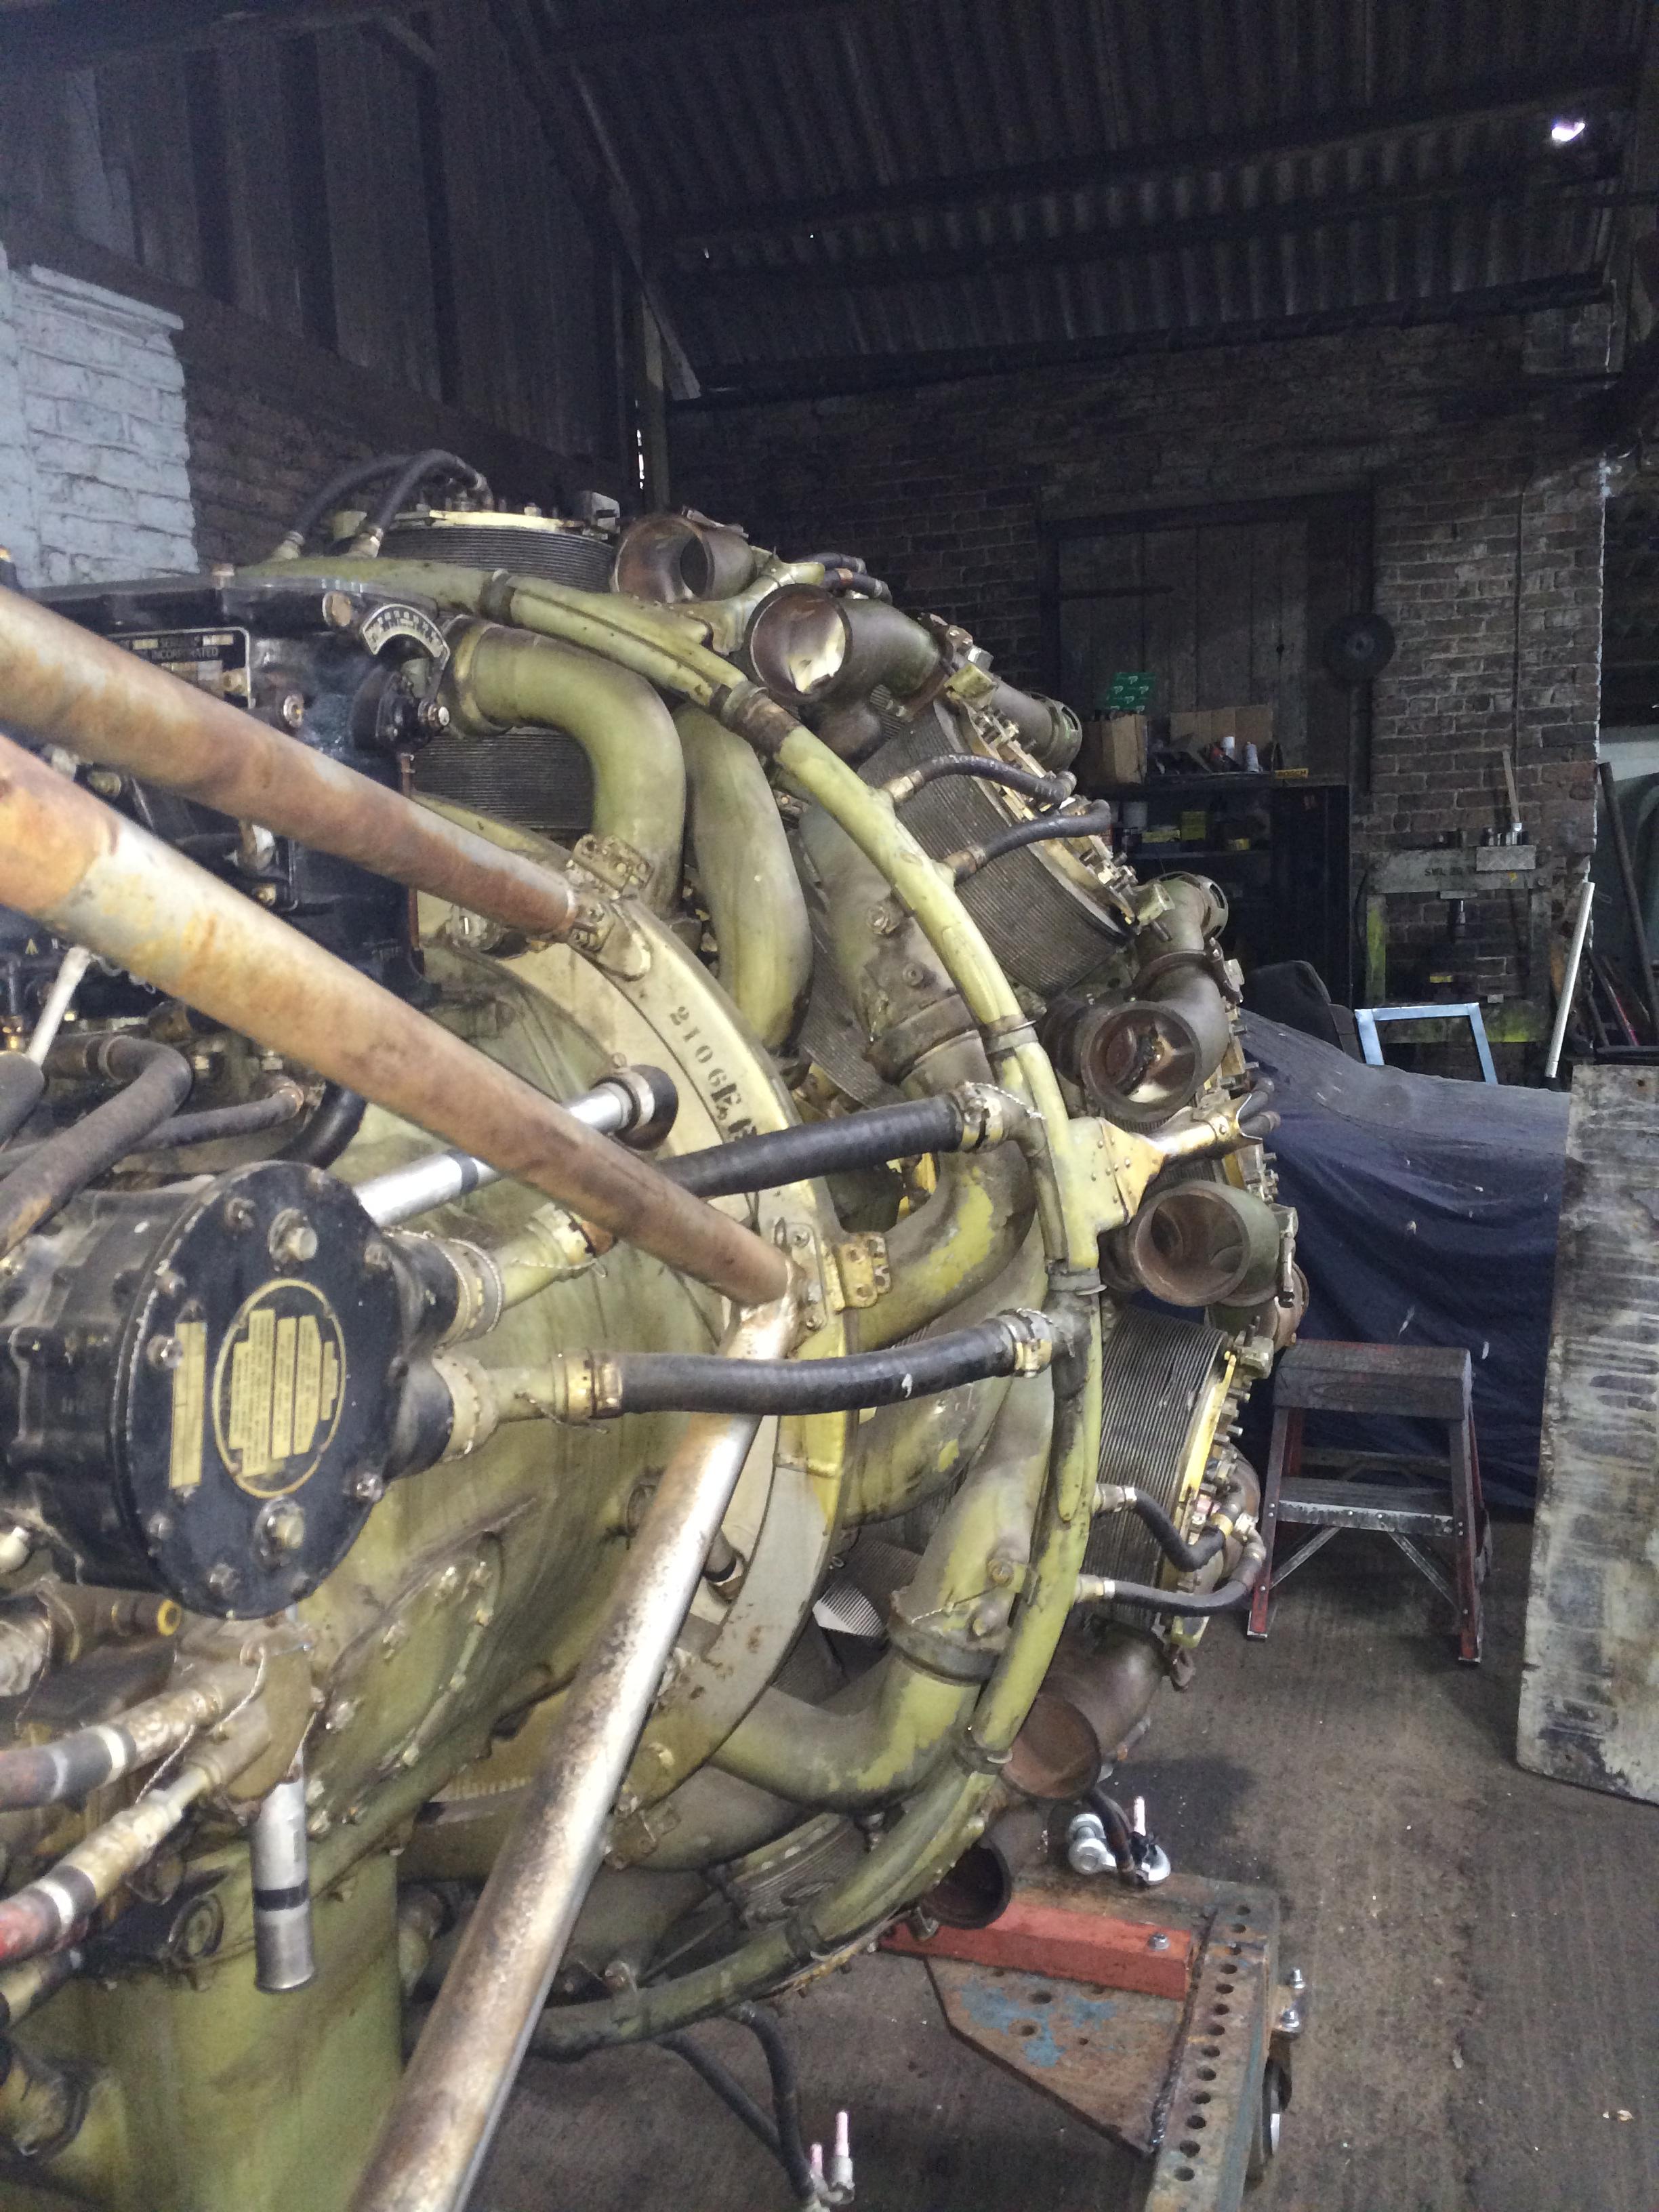
About six weeks ago Pete and I decided to give the 216 it’s first run by the end of September, well we are burning the midnight oil to get it ready for it’s first run in a long time, and Brian Mills is bringing along his 216 . so with a bit of luck the sound of a pair of Bristol Hercules will be heard again in the Val of York. There is quite a bit to do and a lot of jobs are running alongside each other so I will touch base on a few of them.

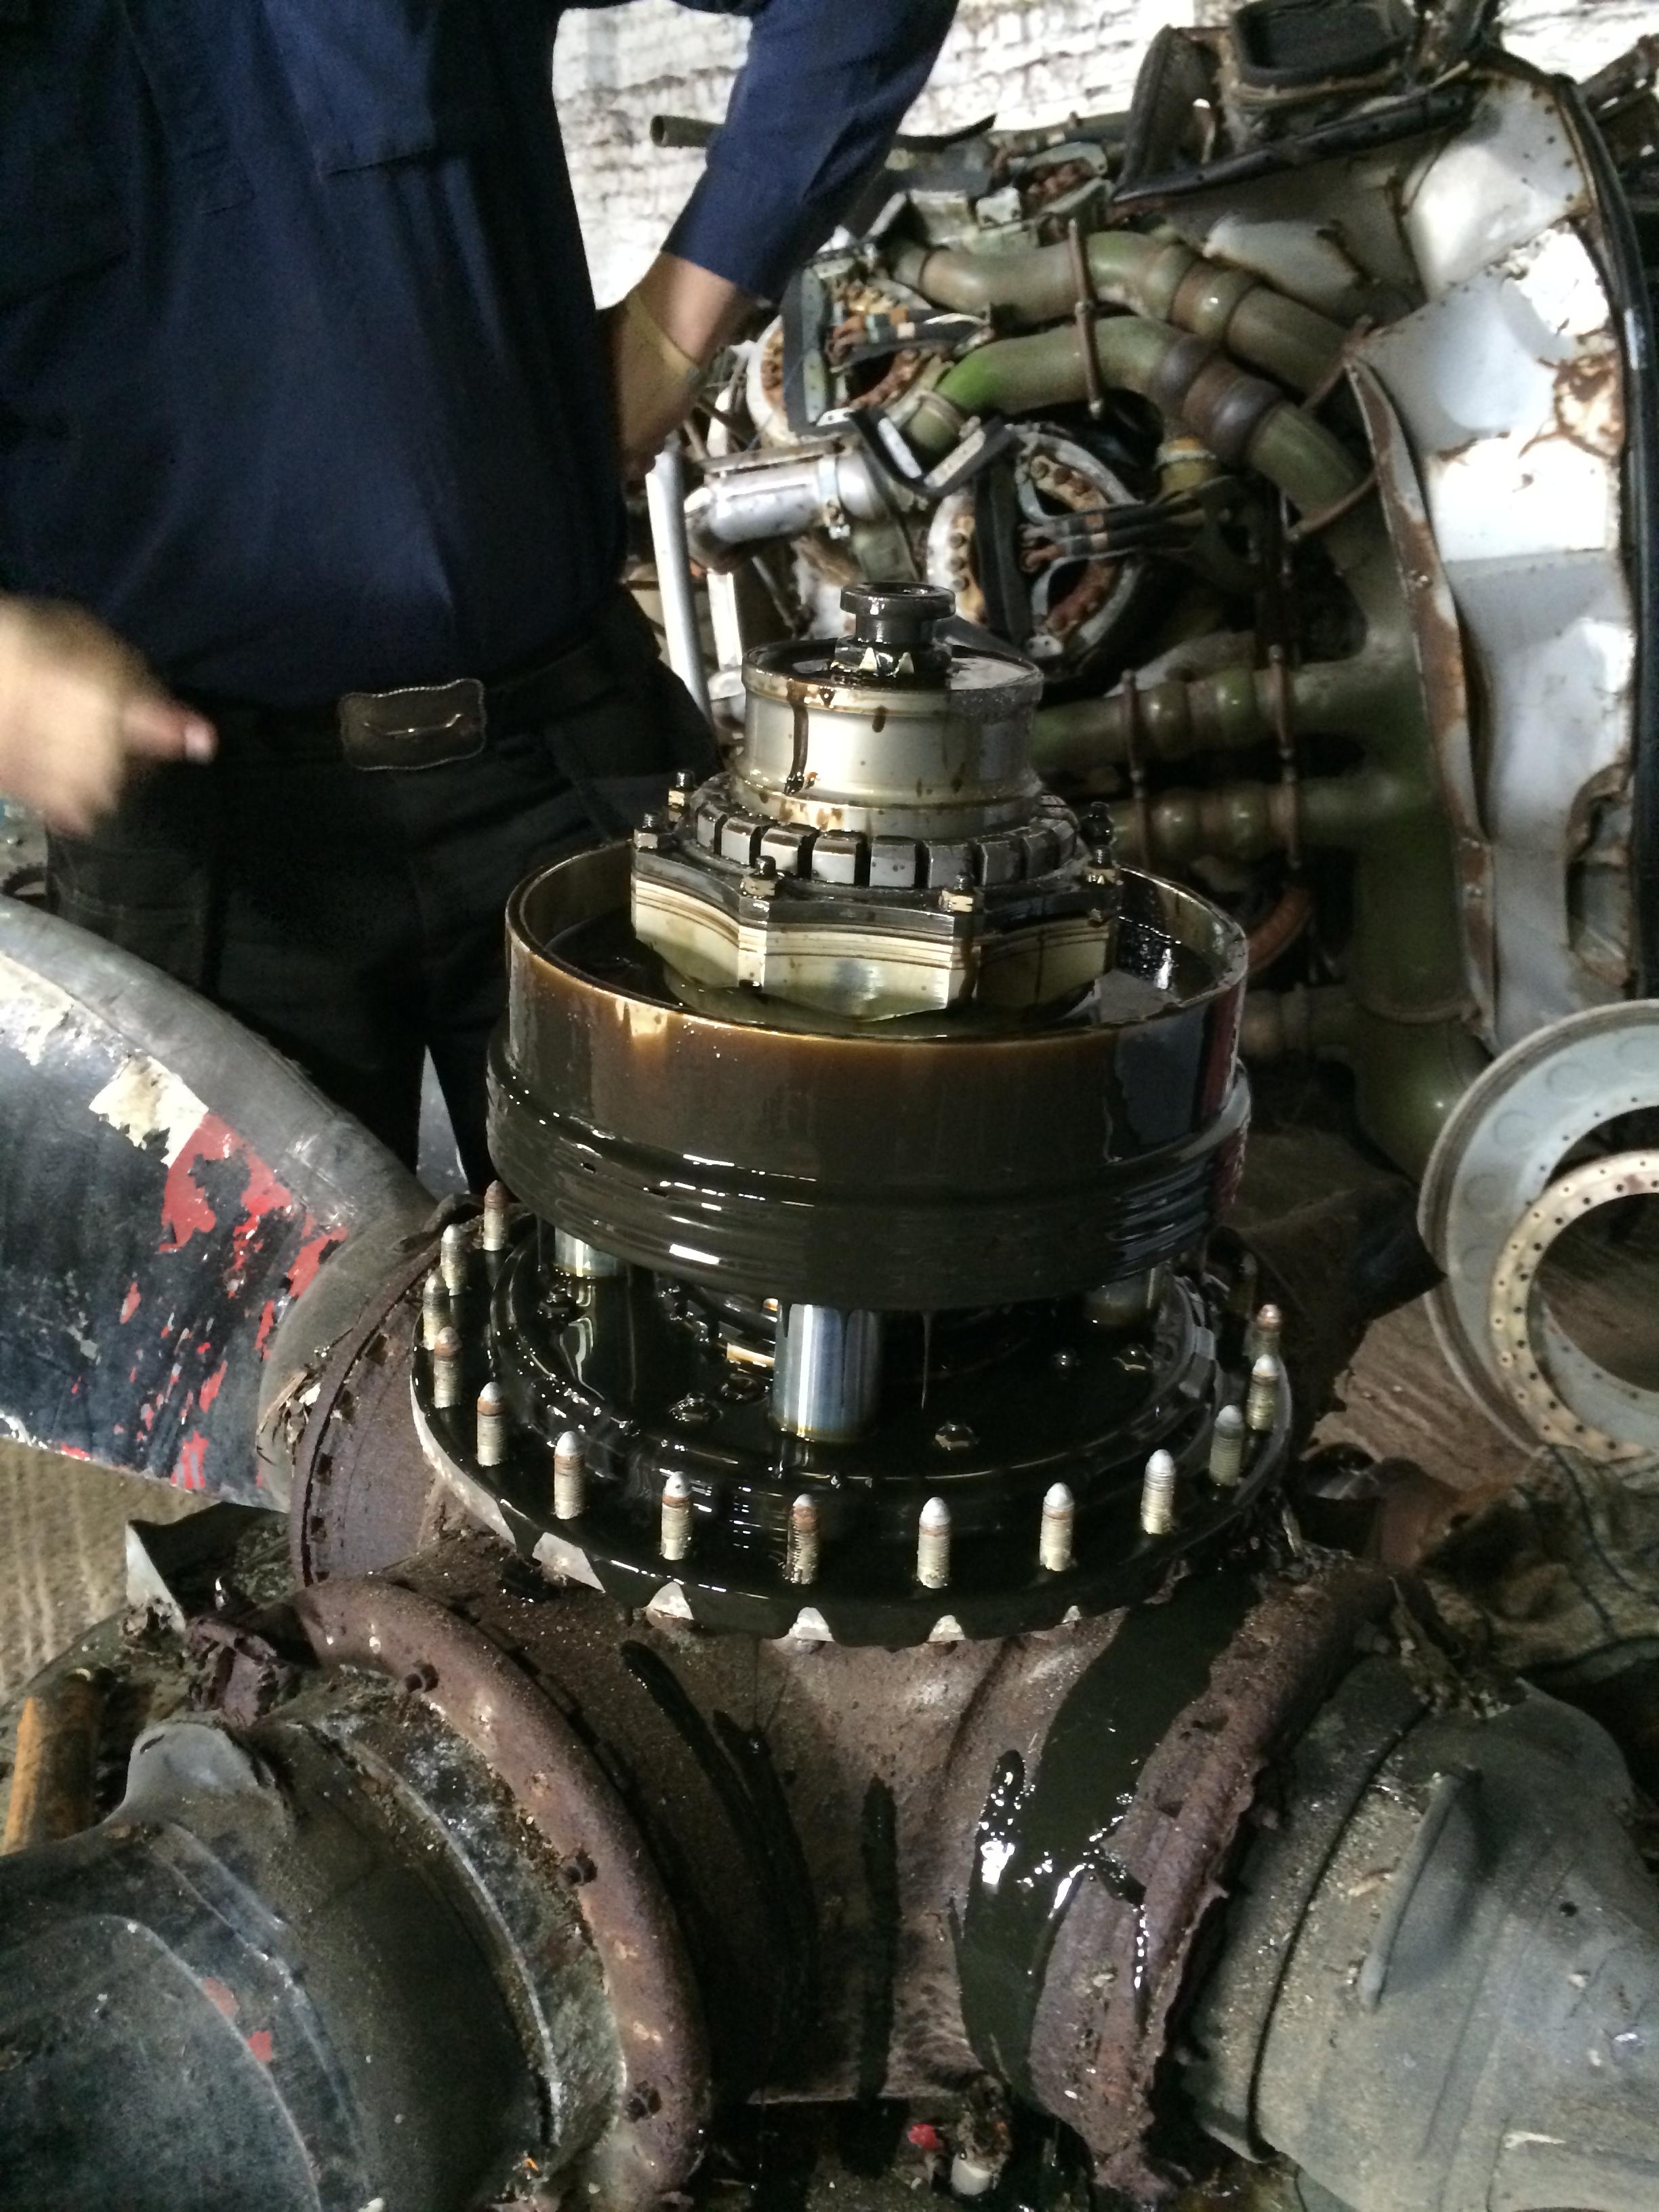
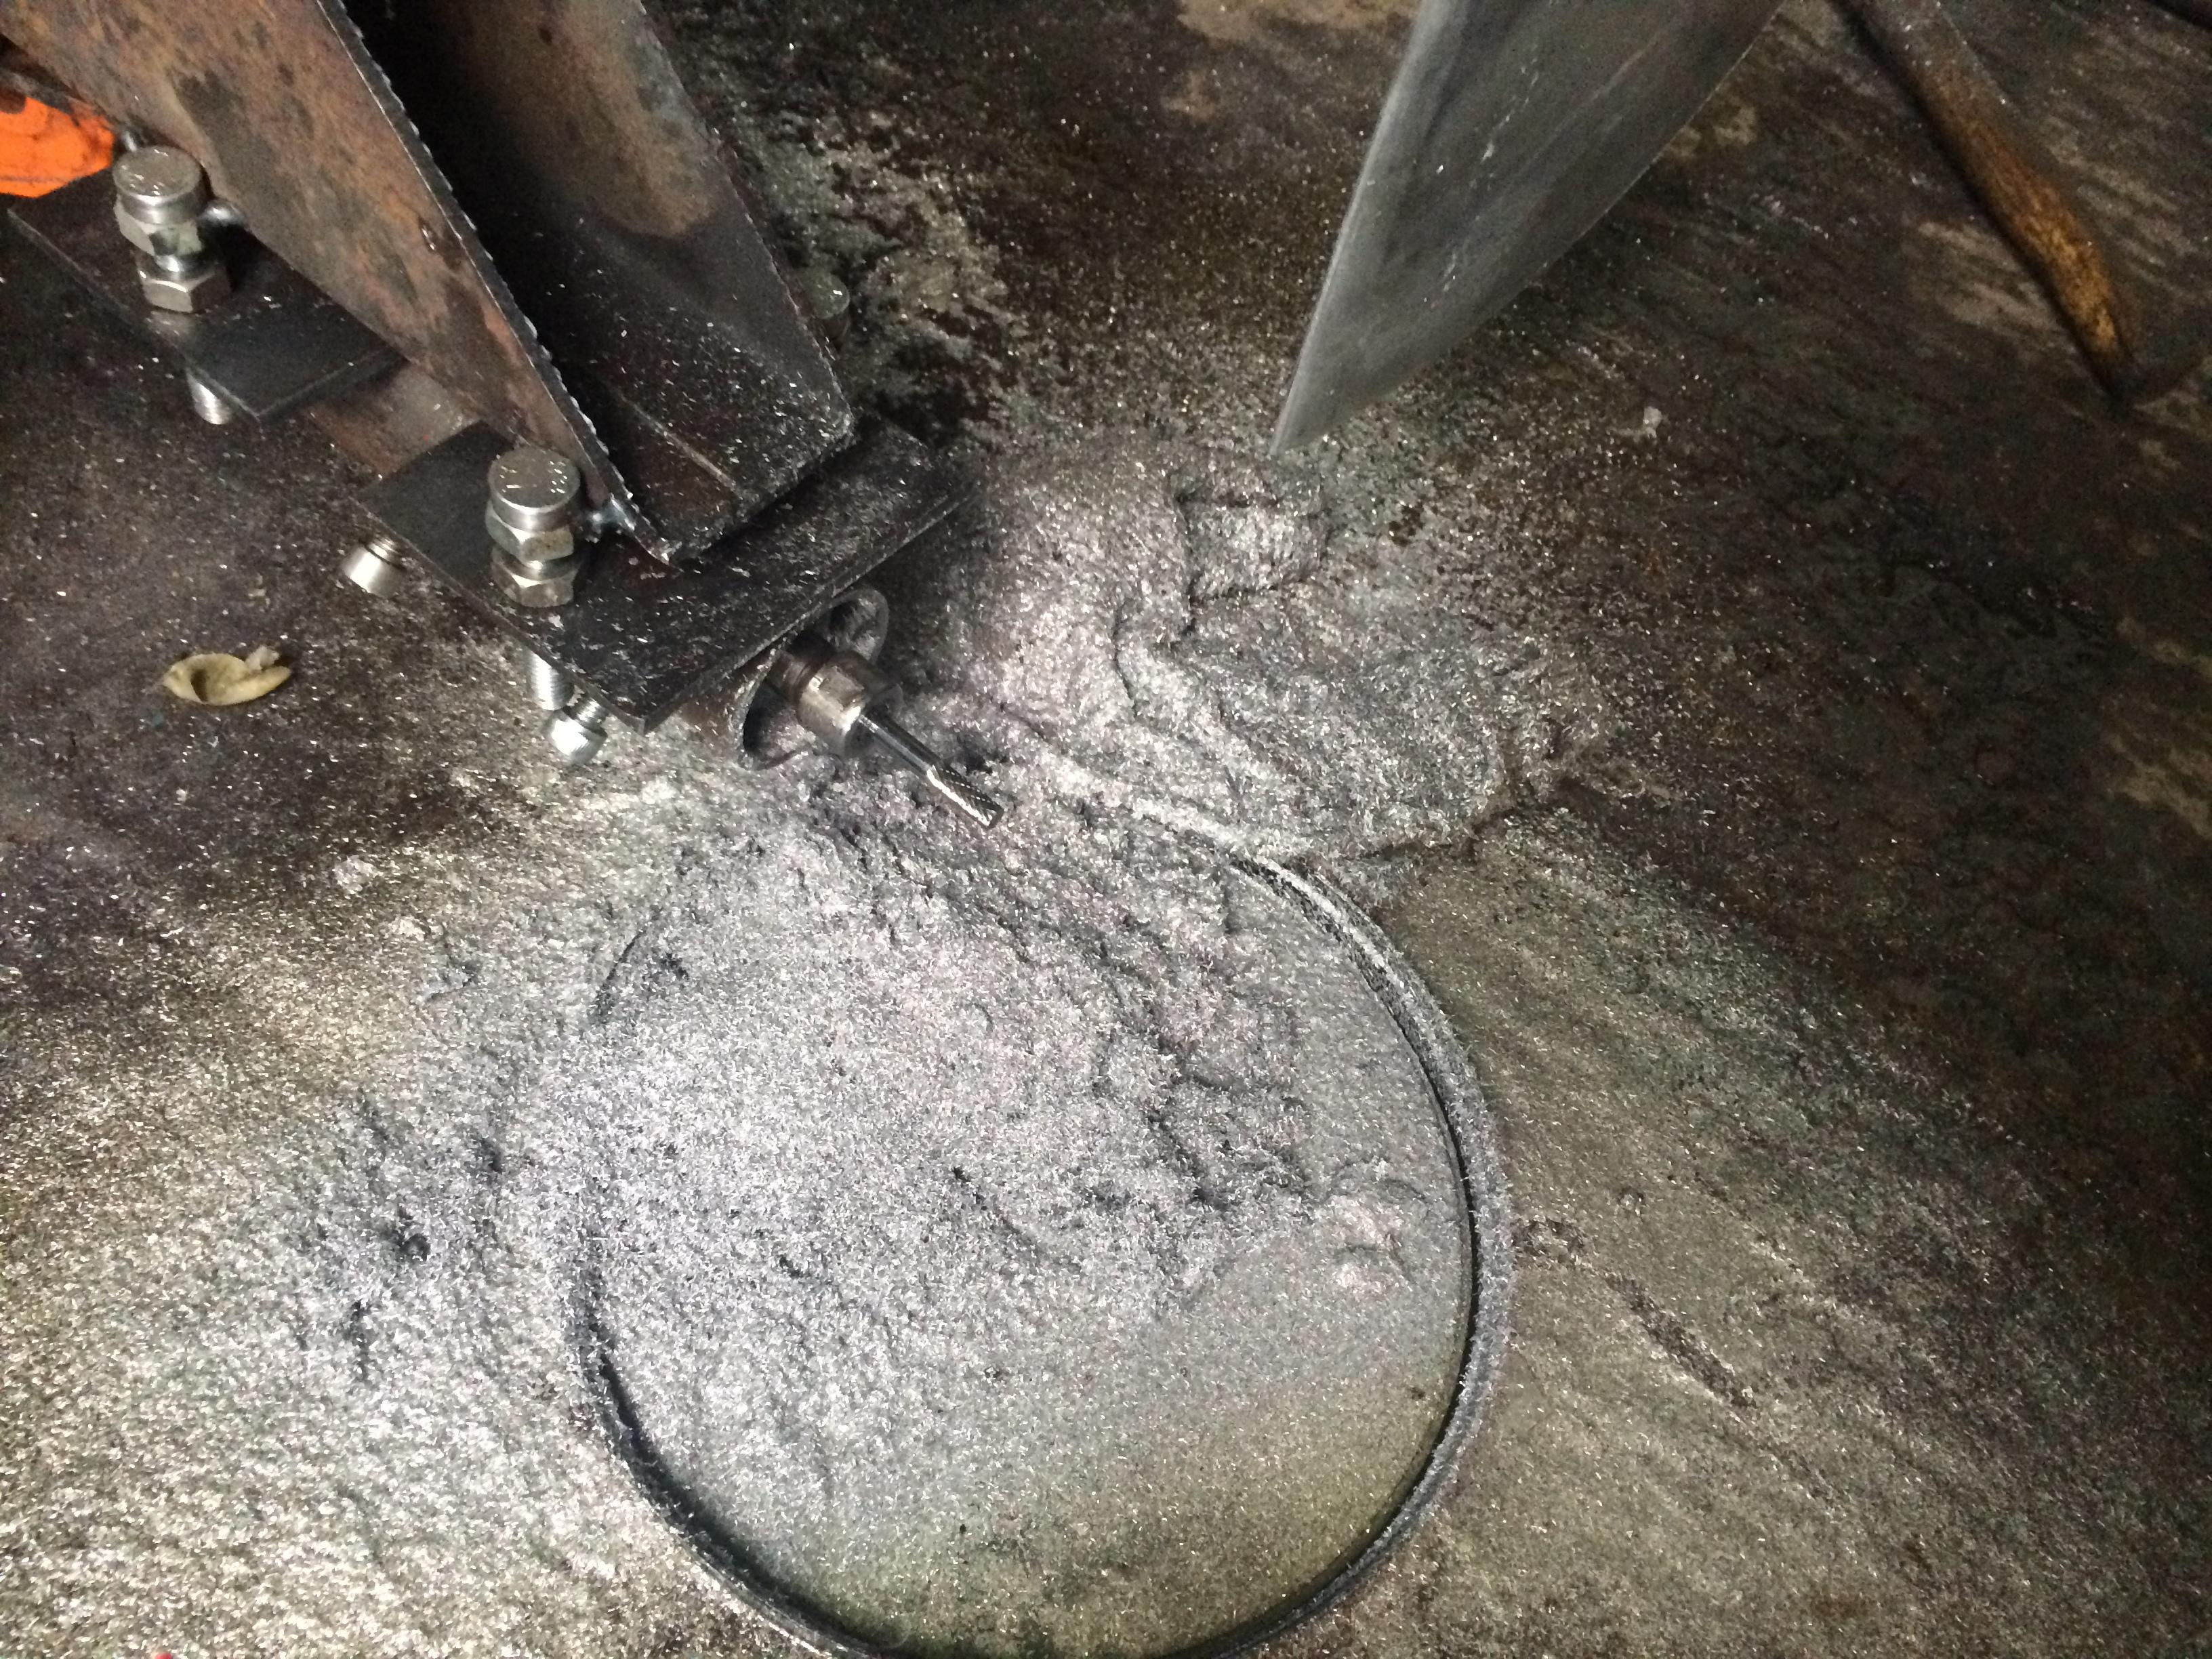
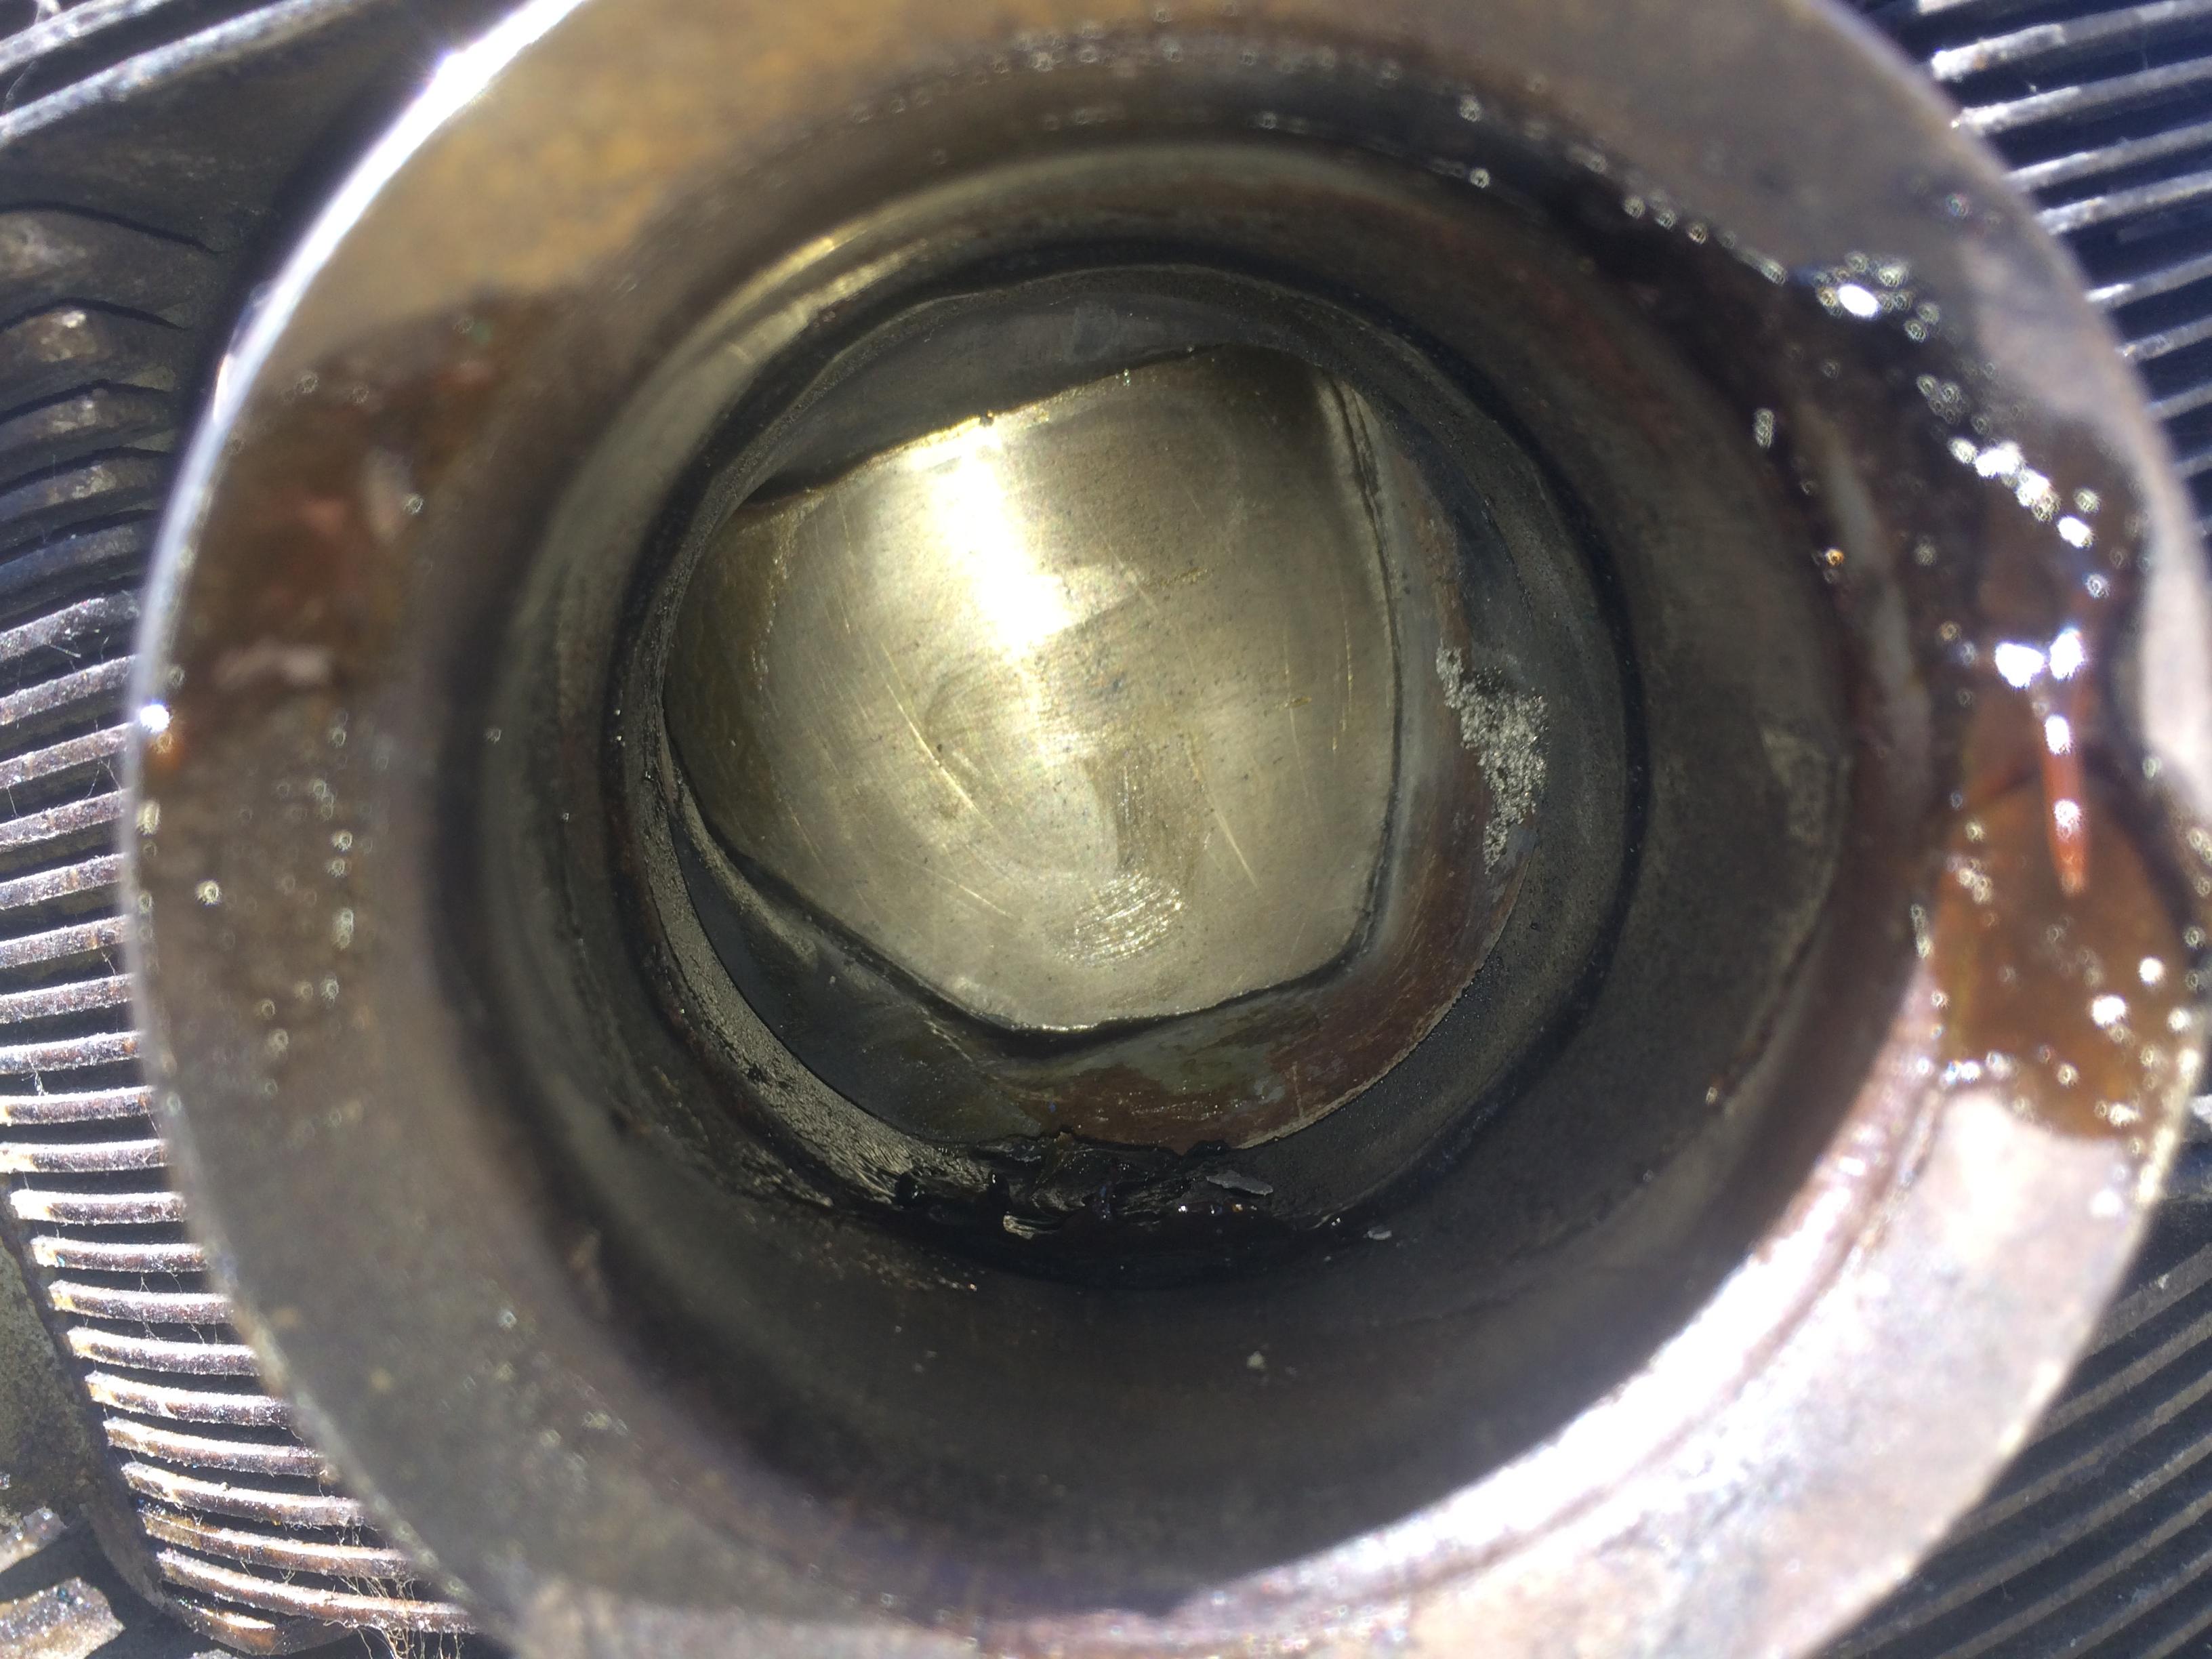
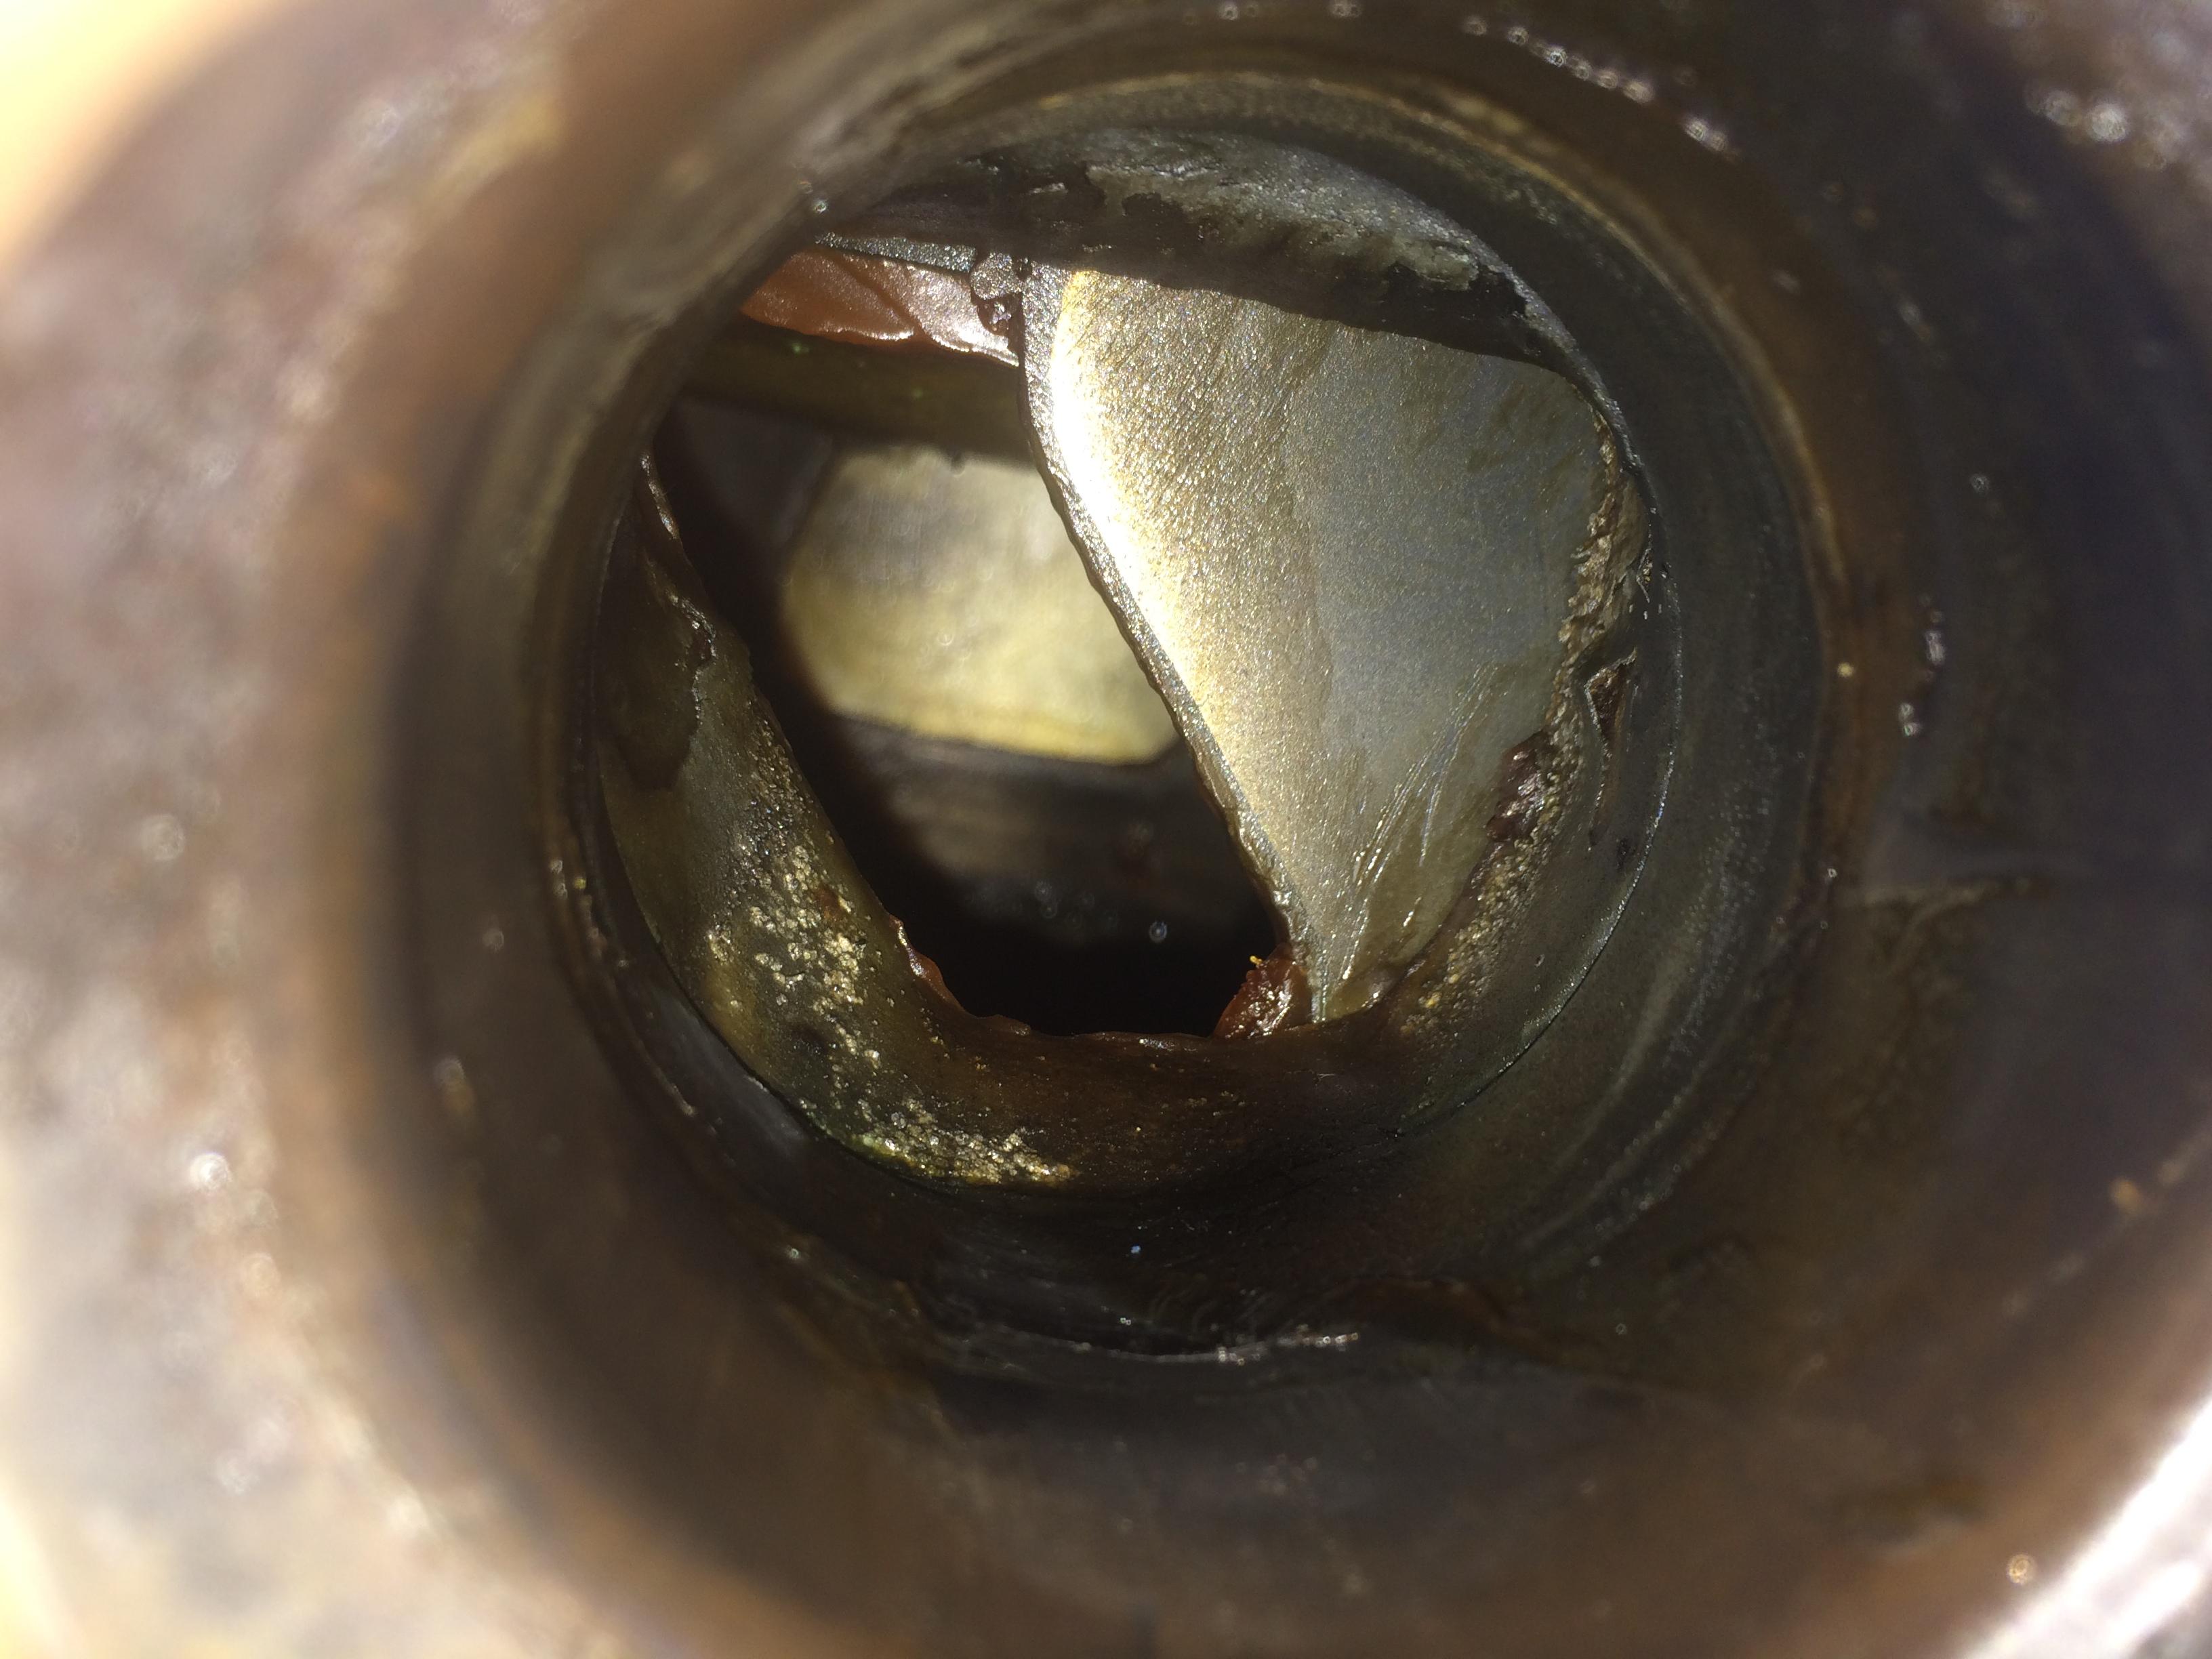
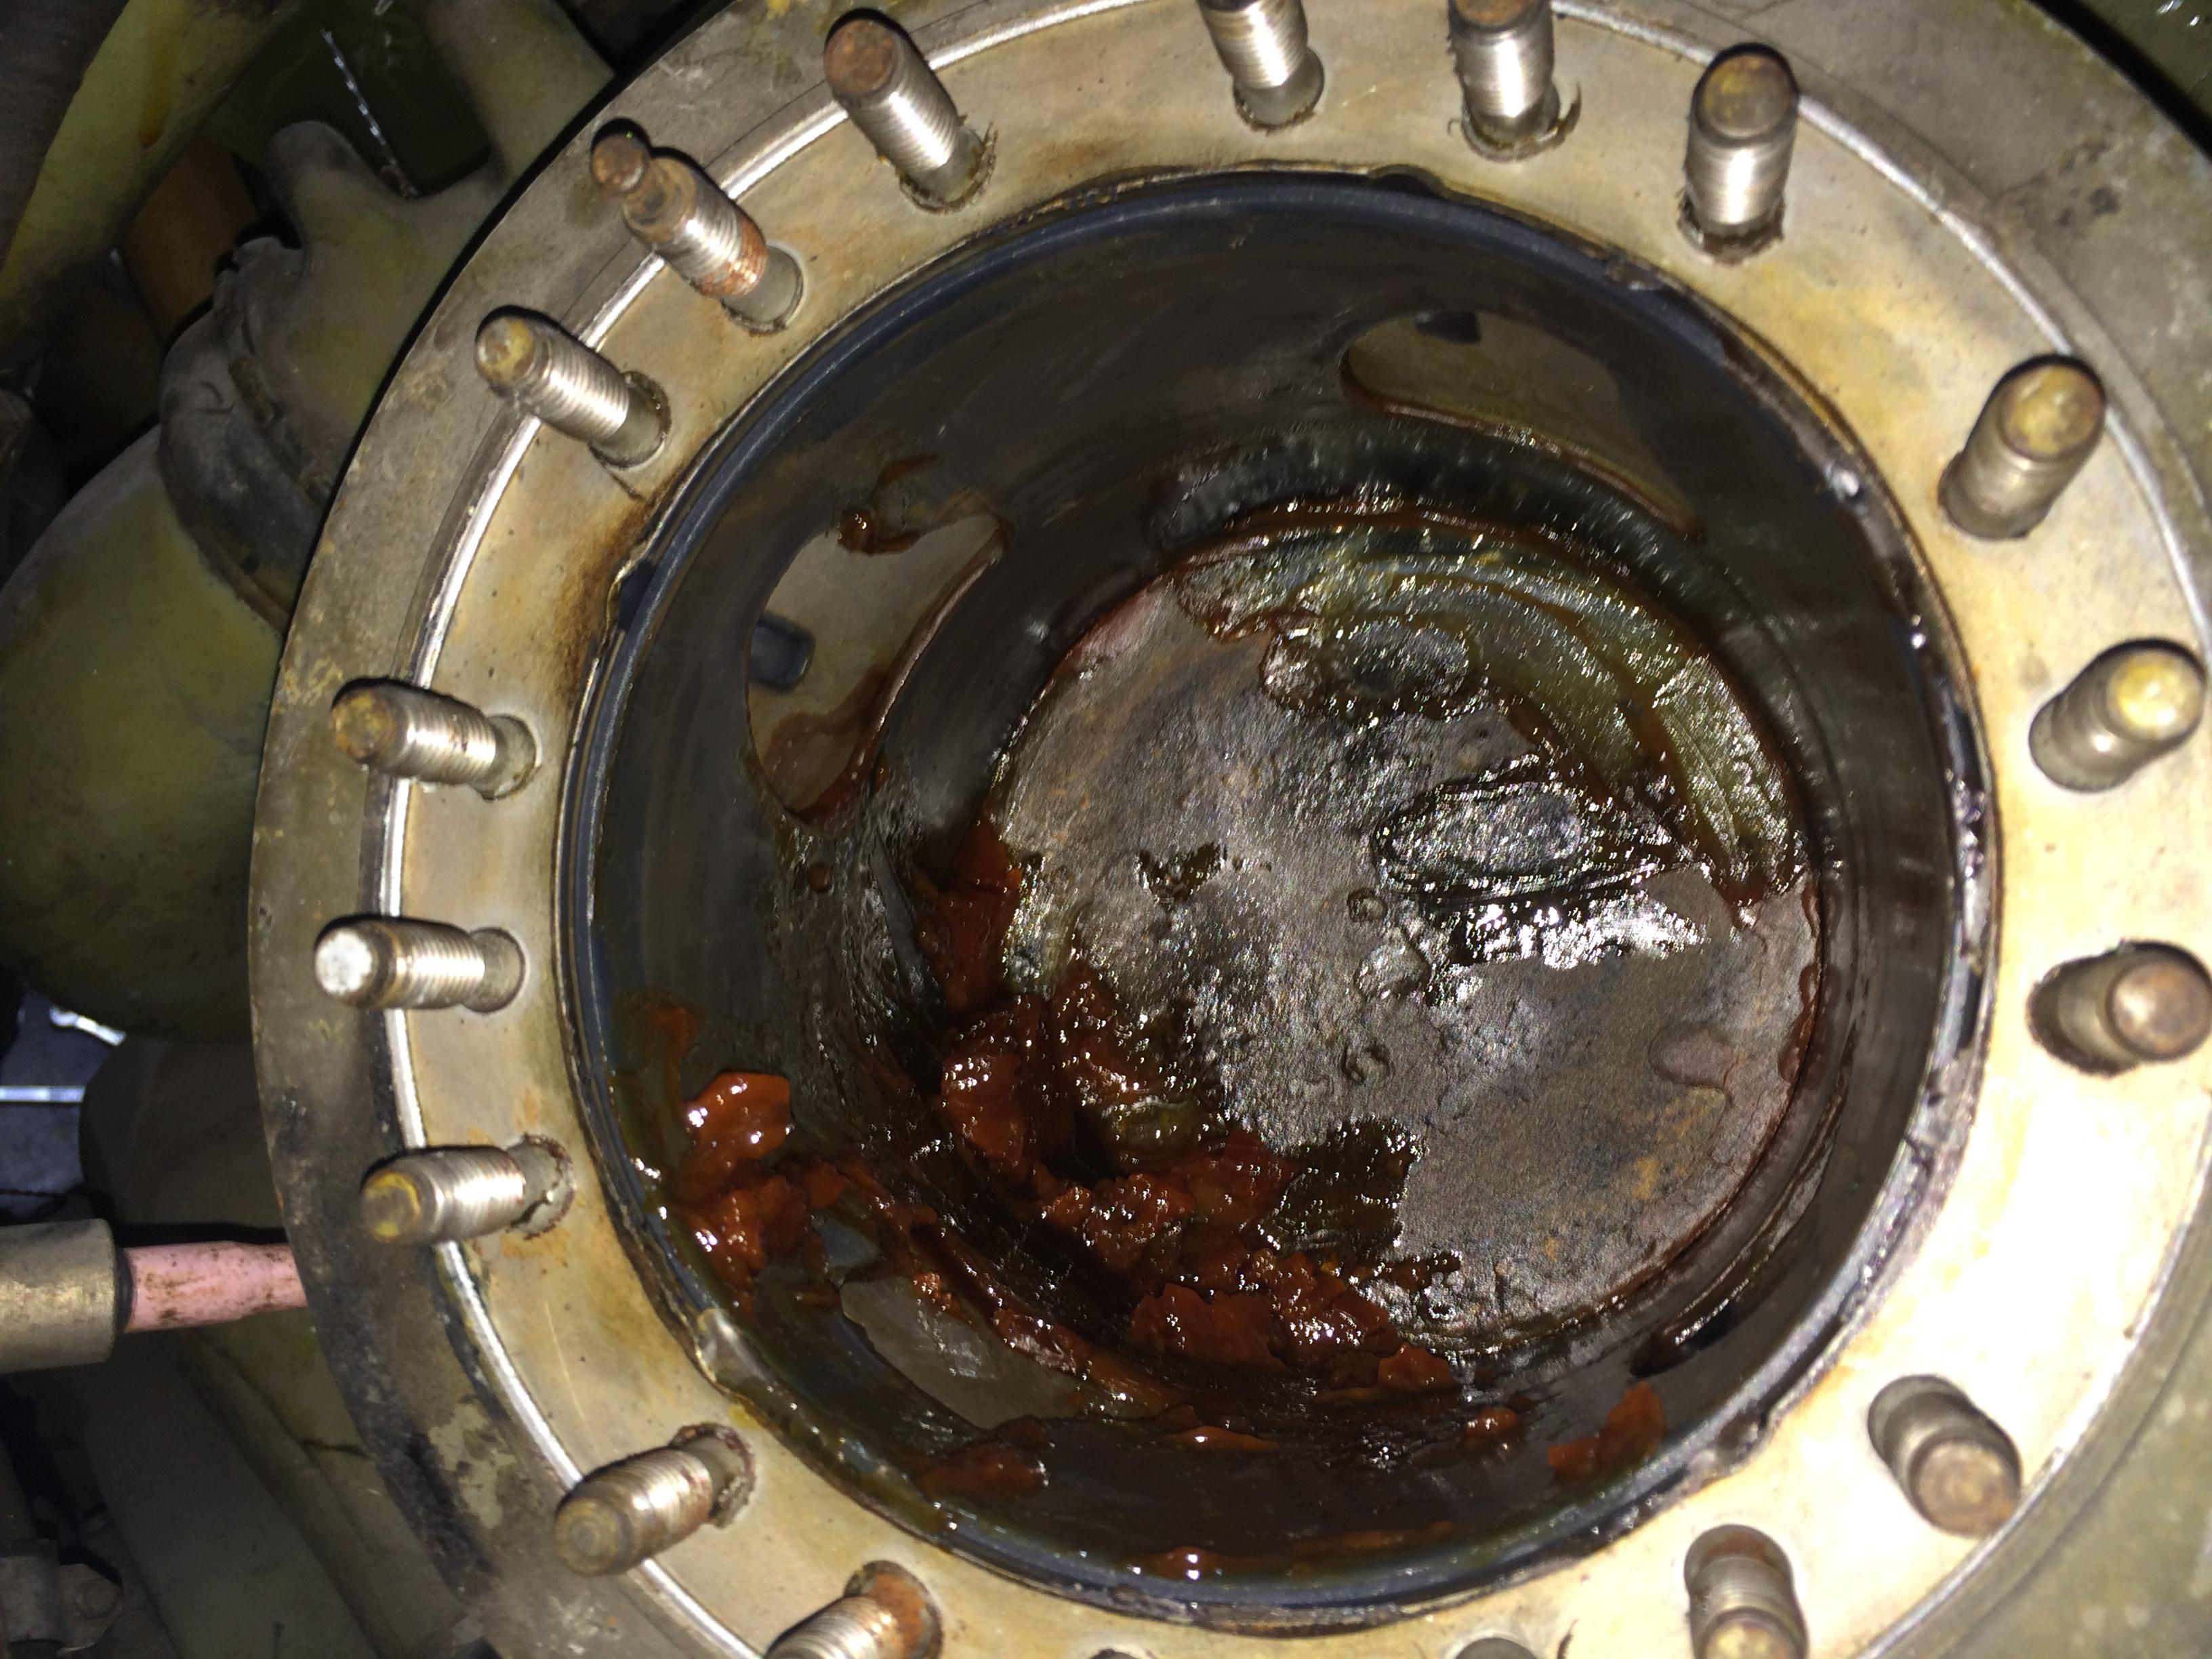
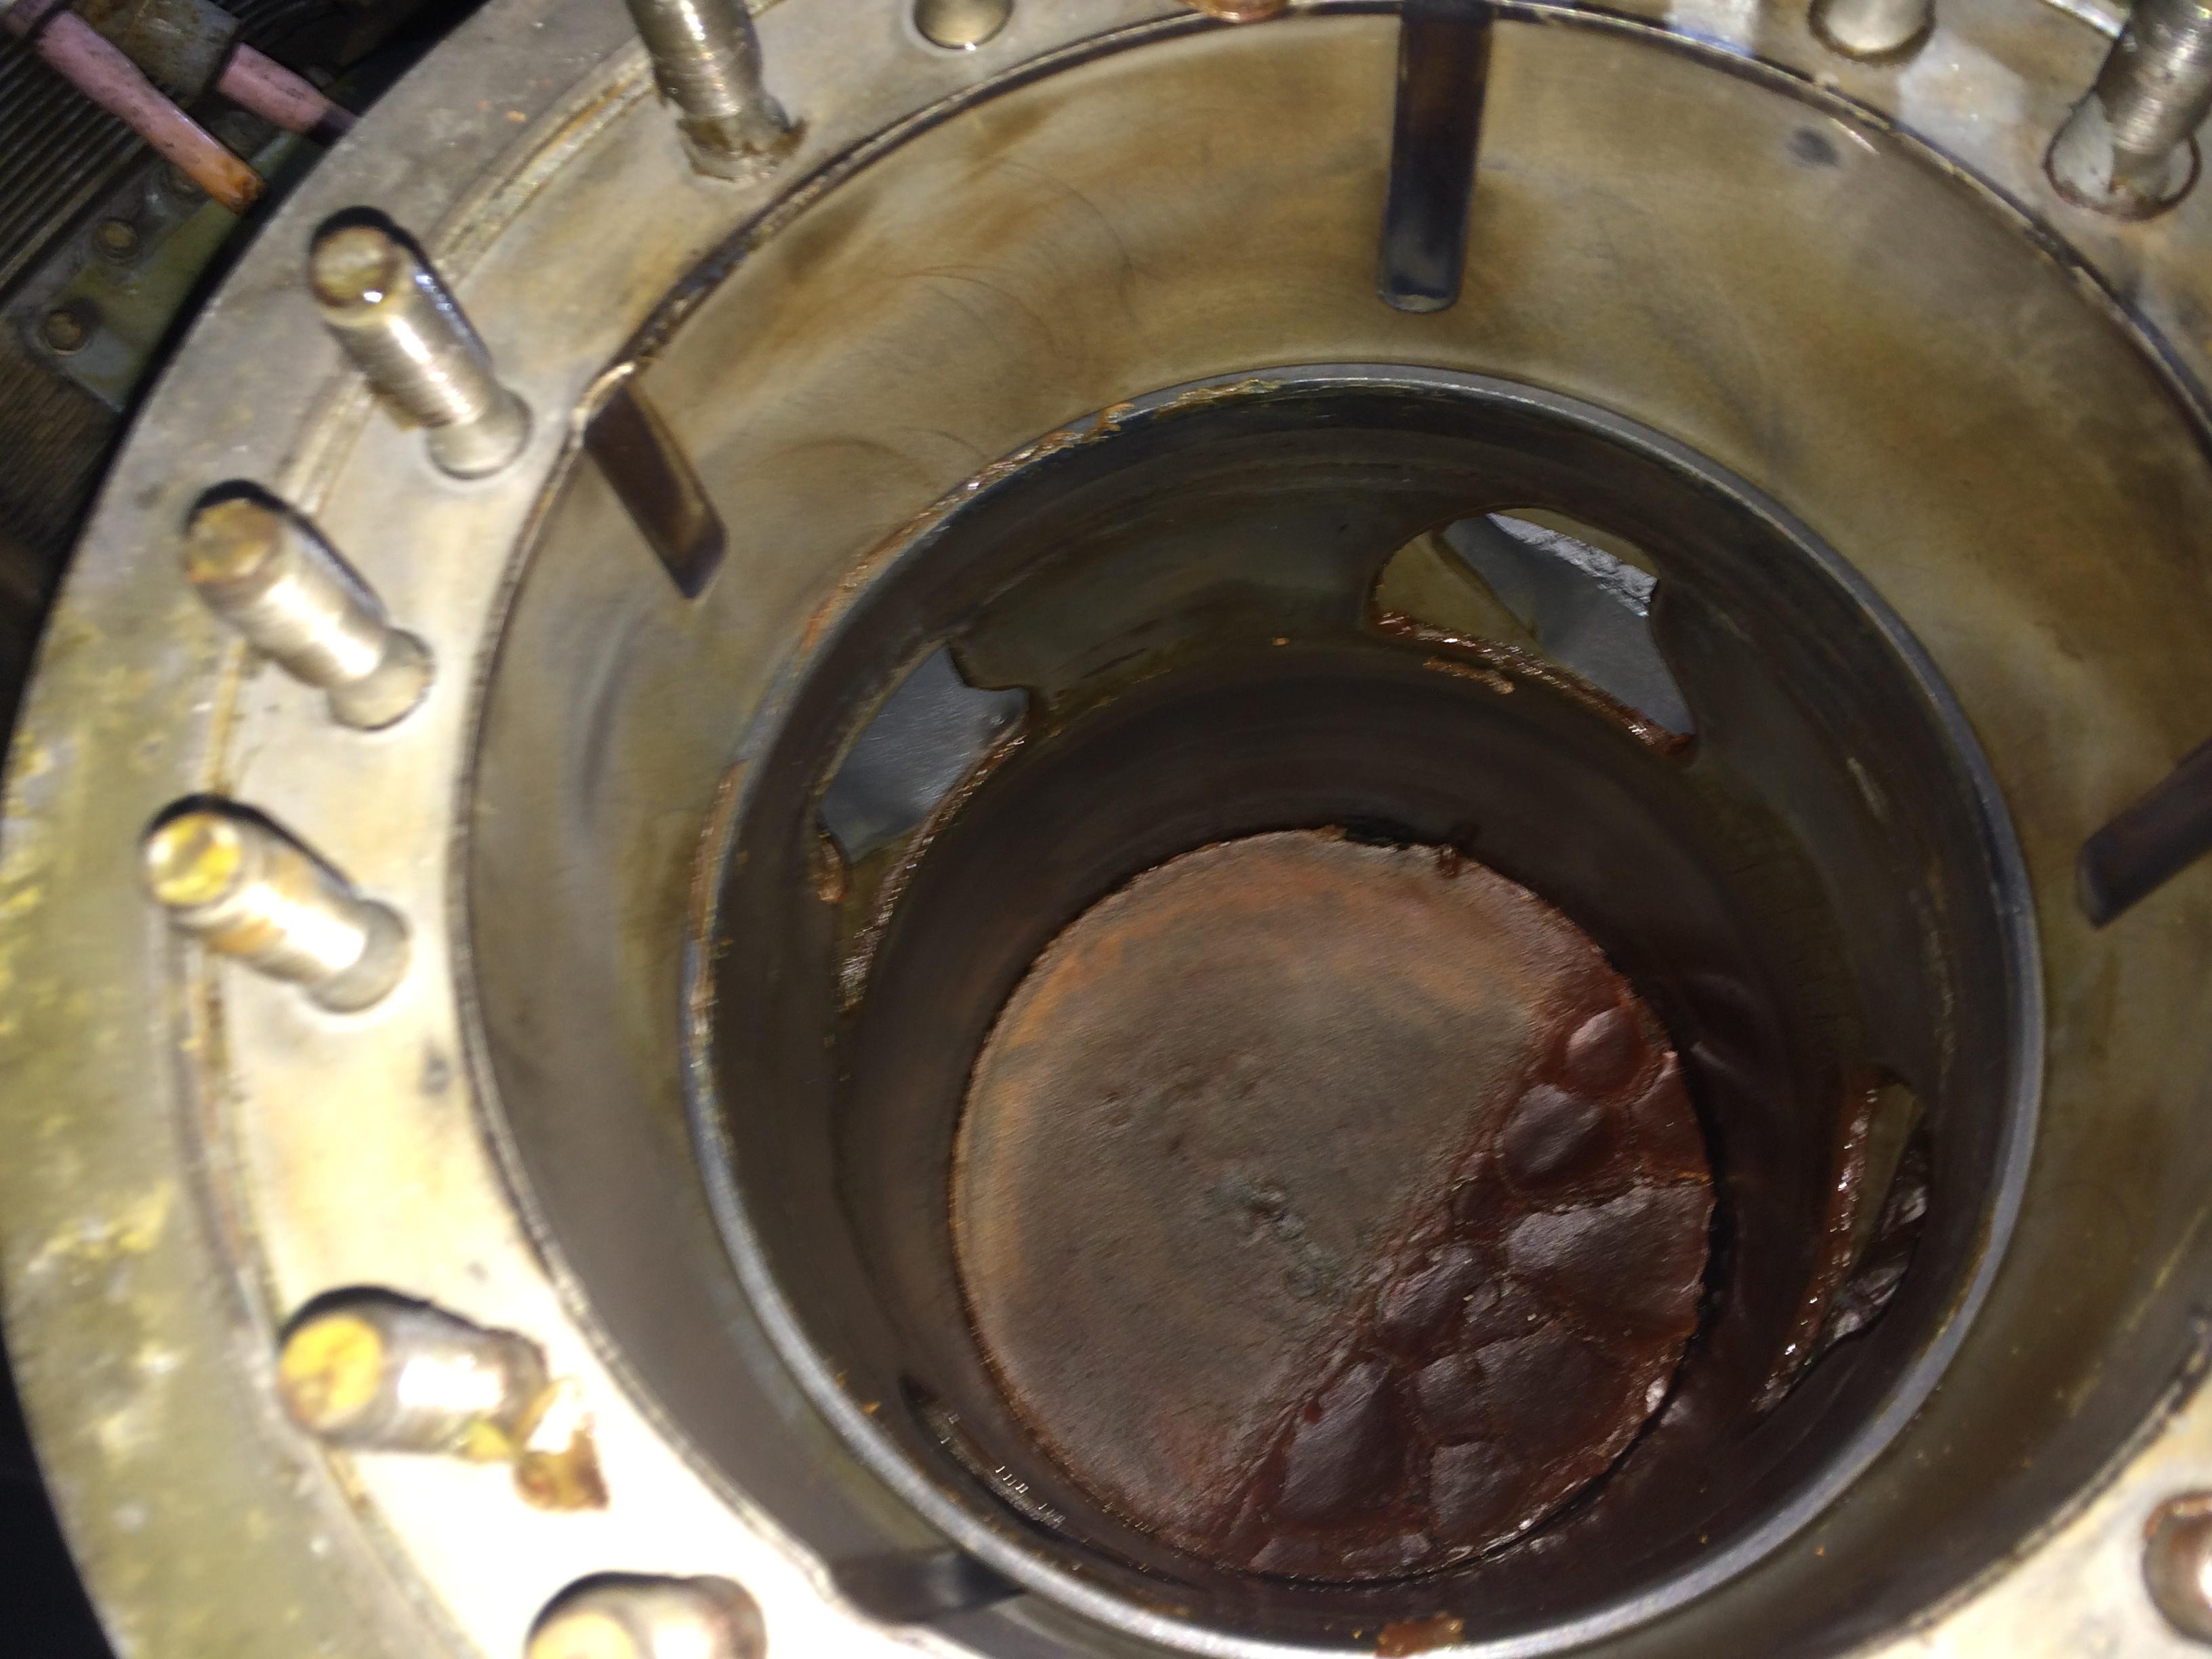
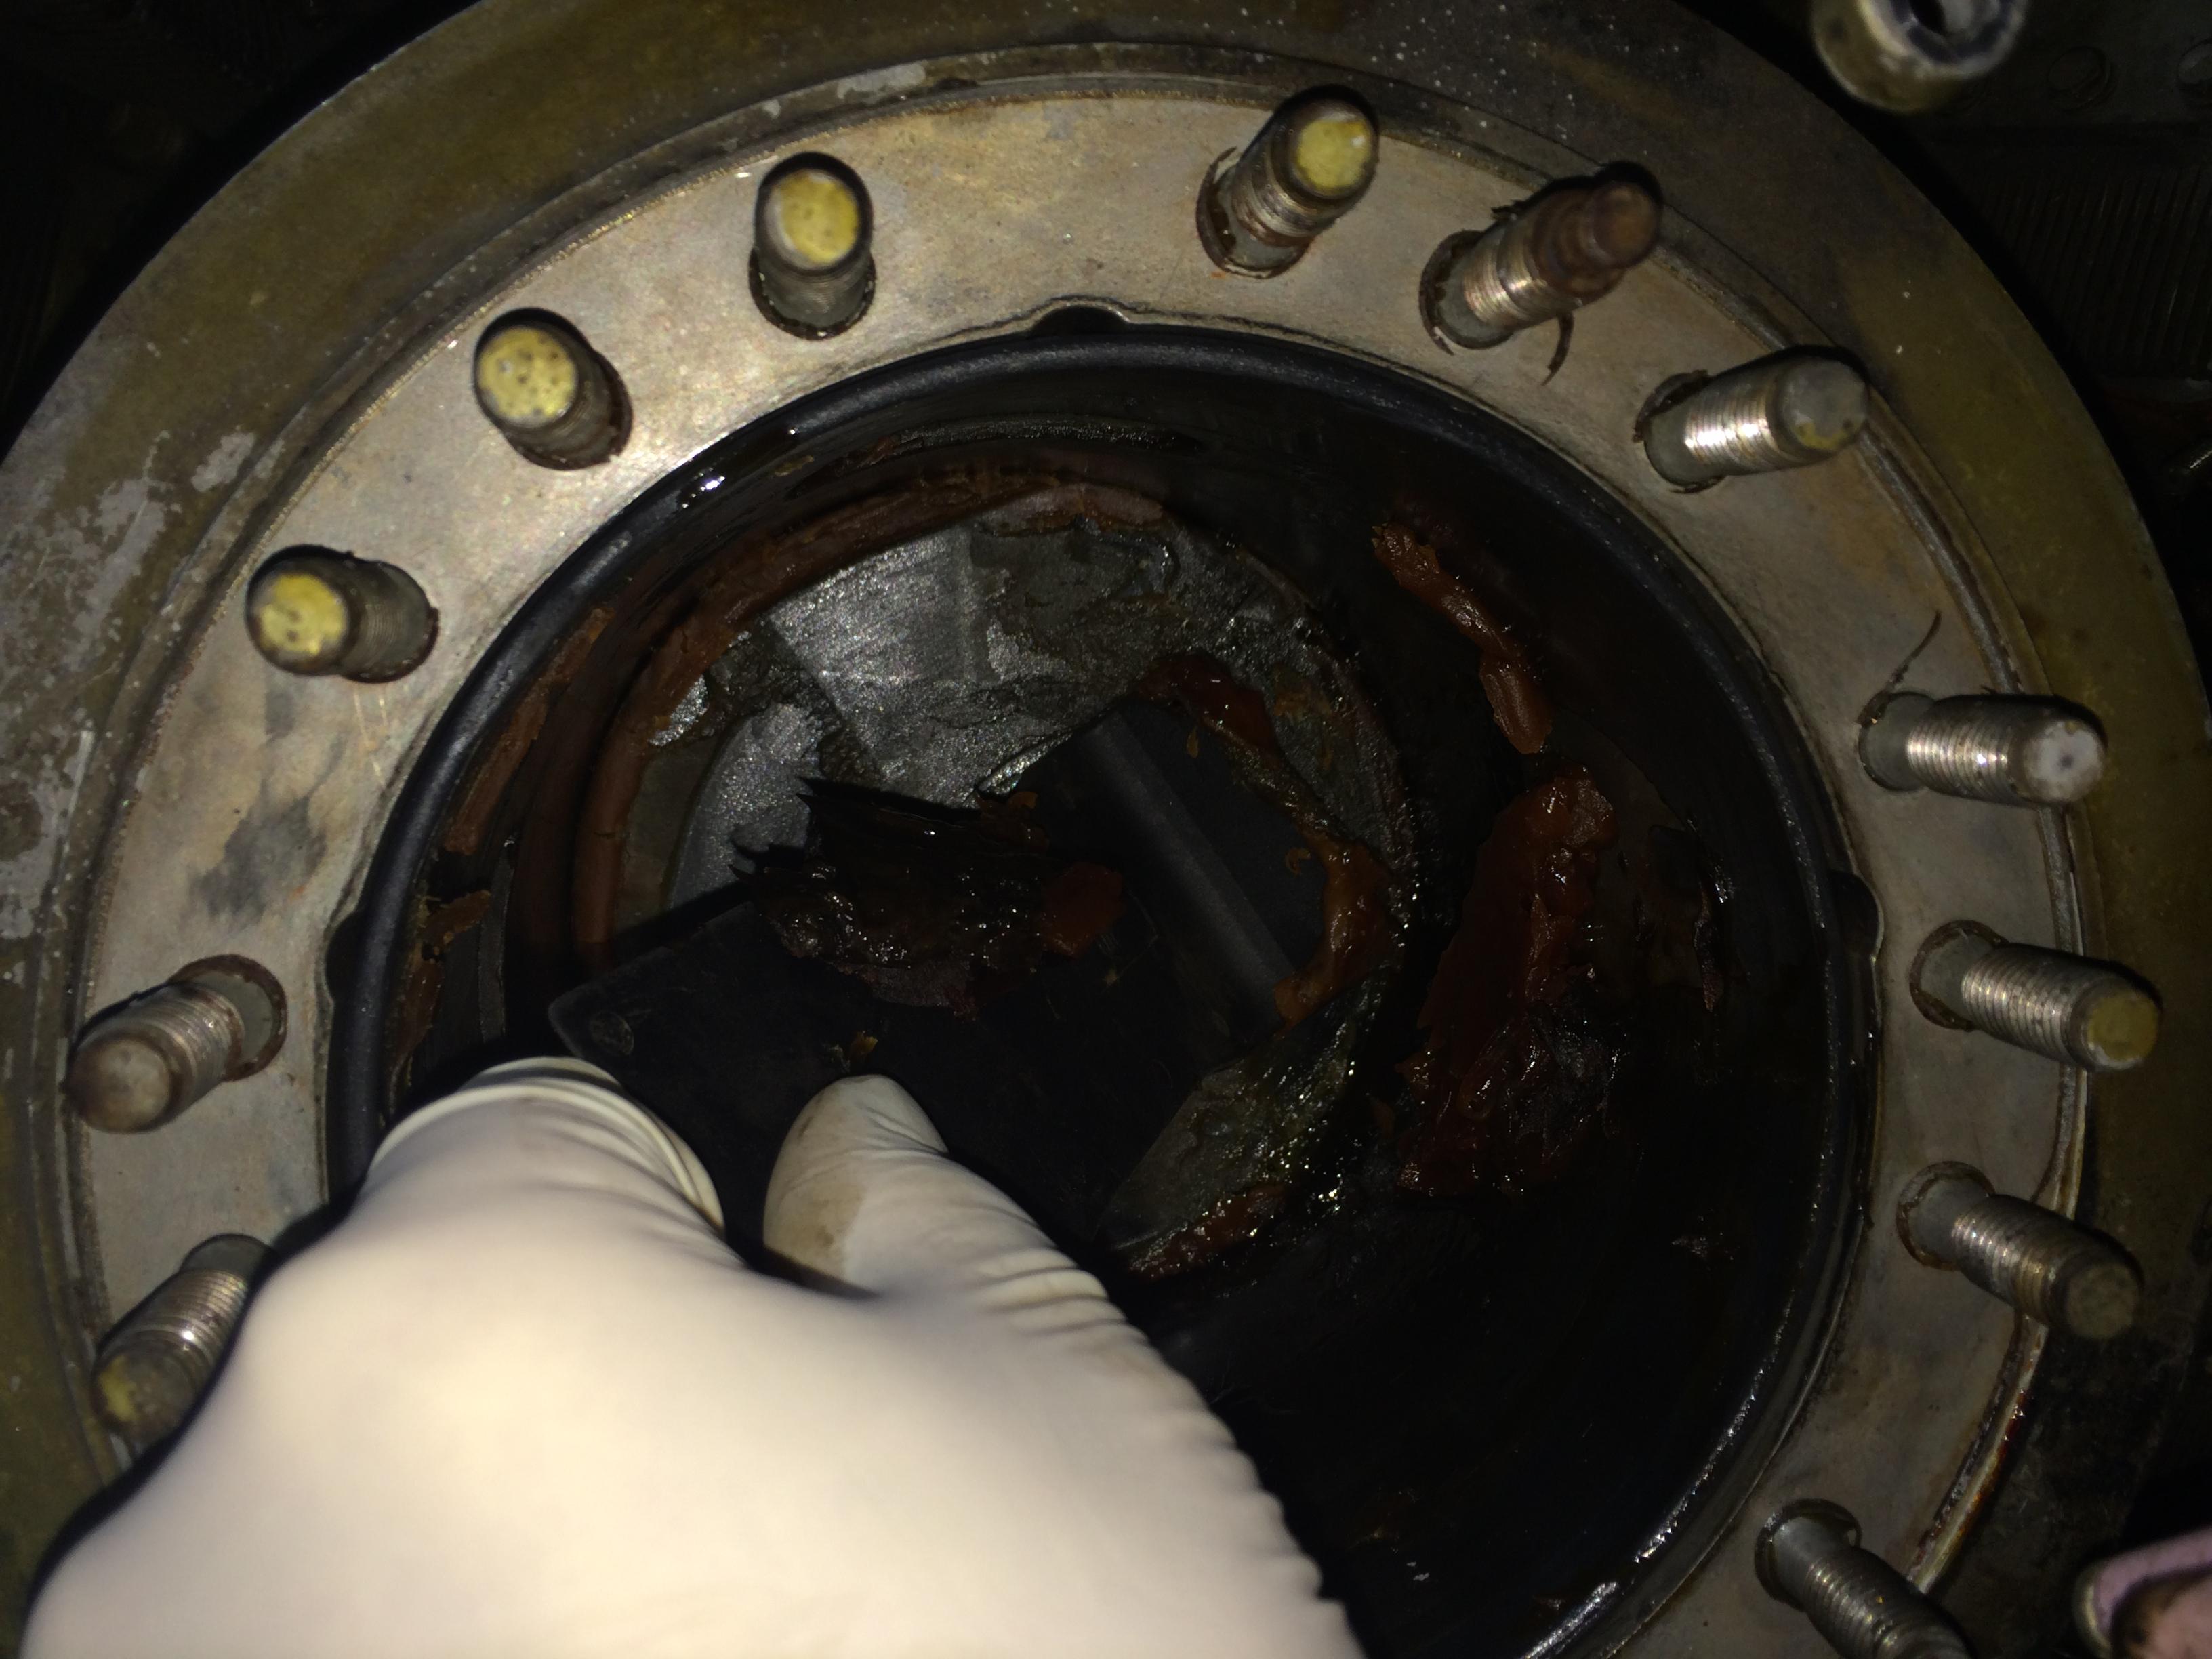
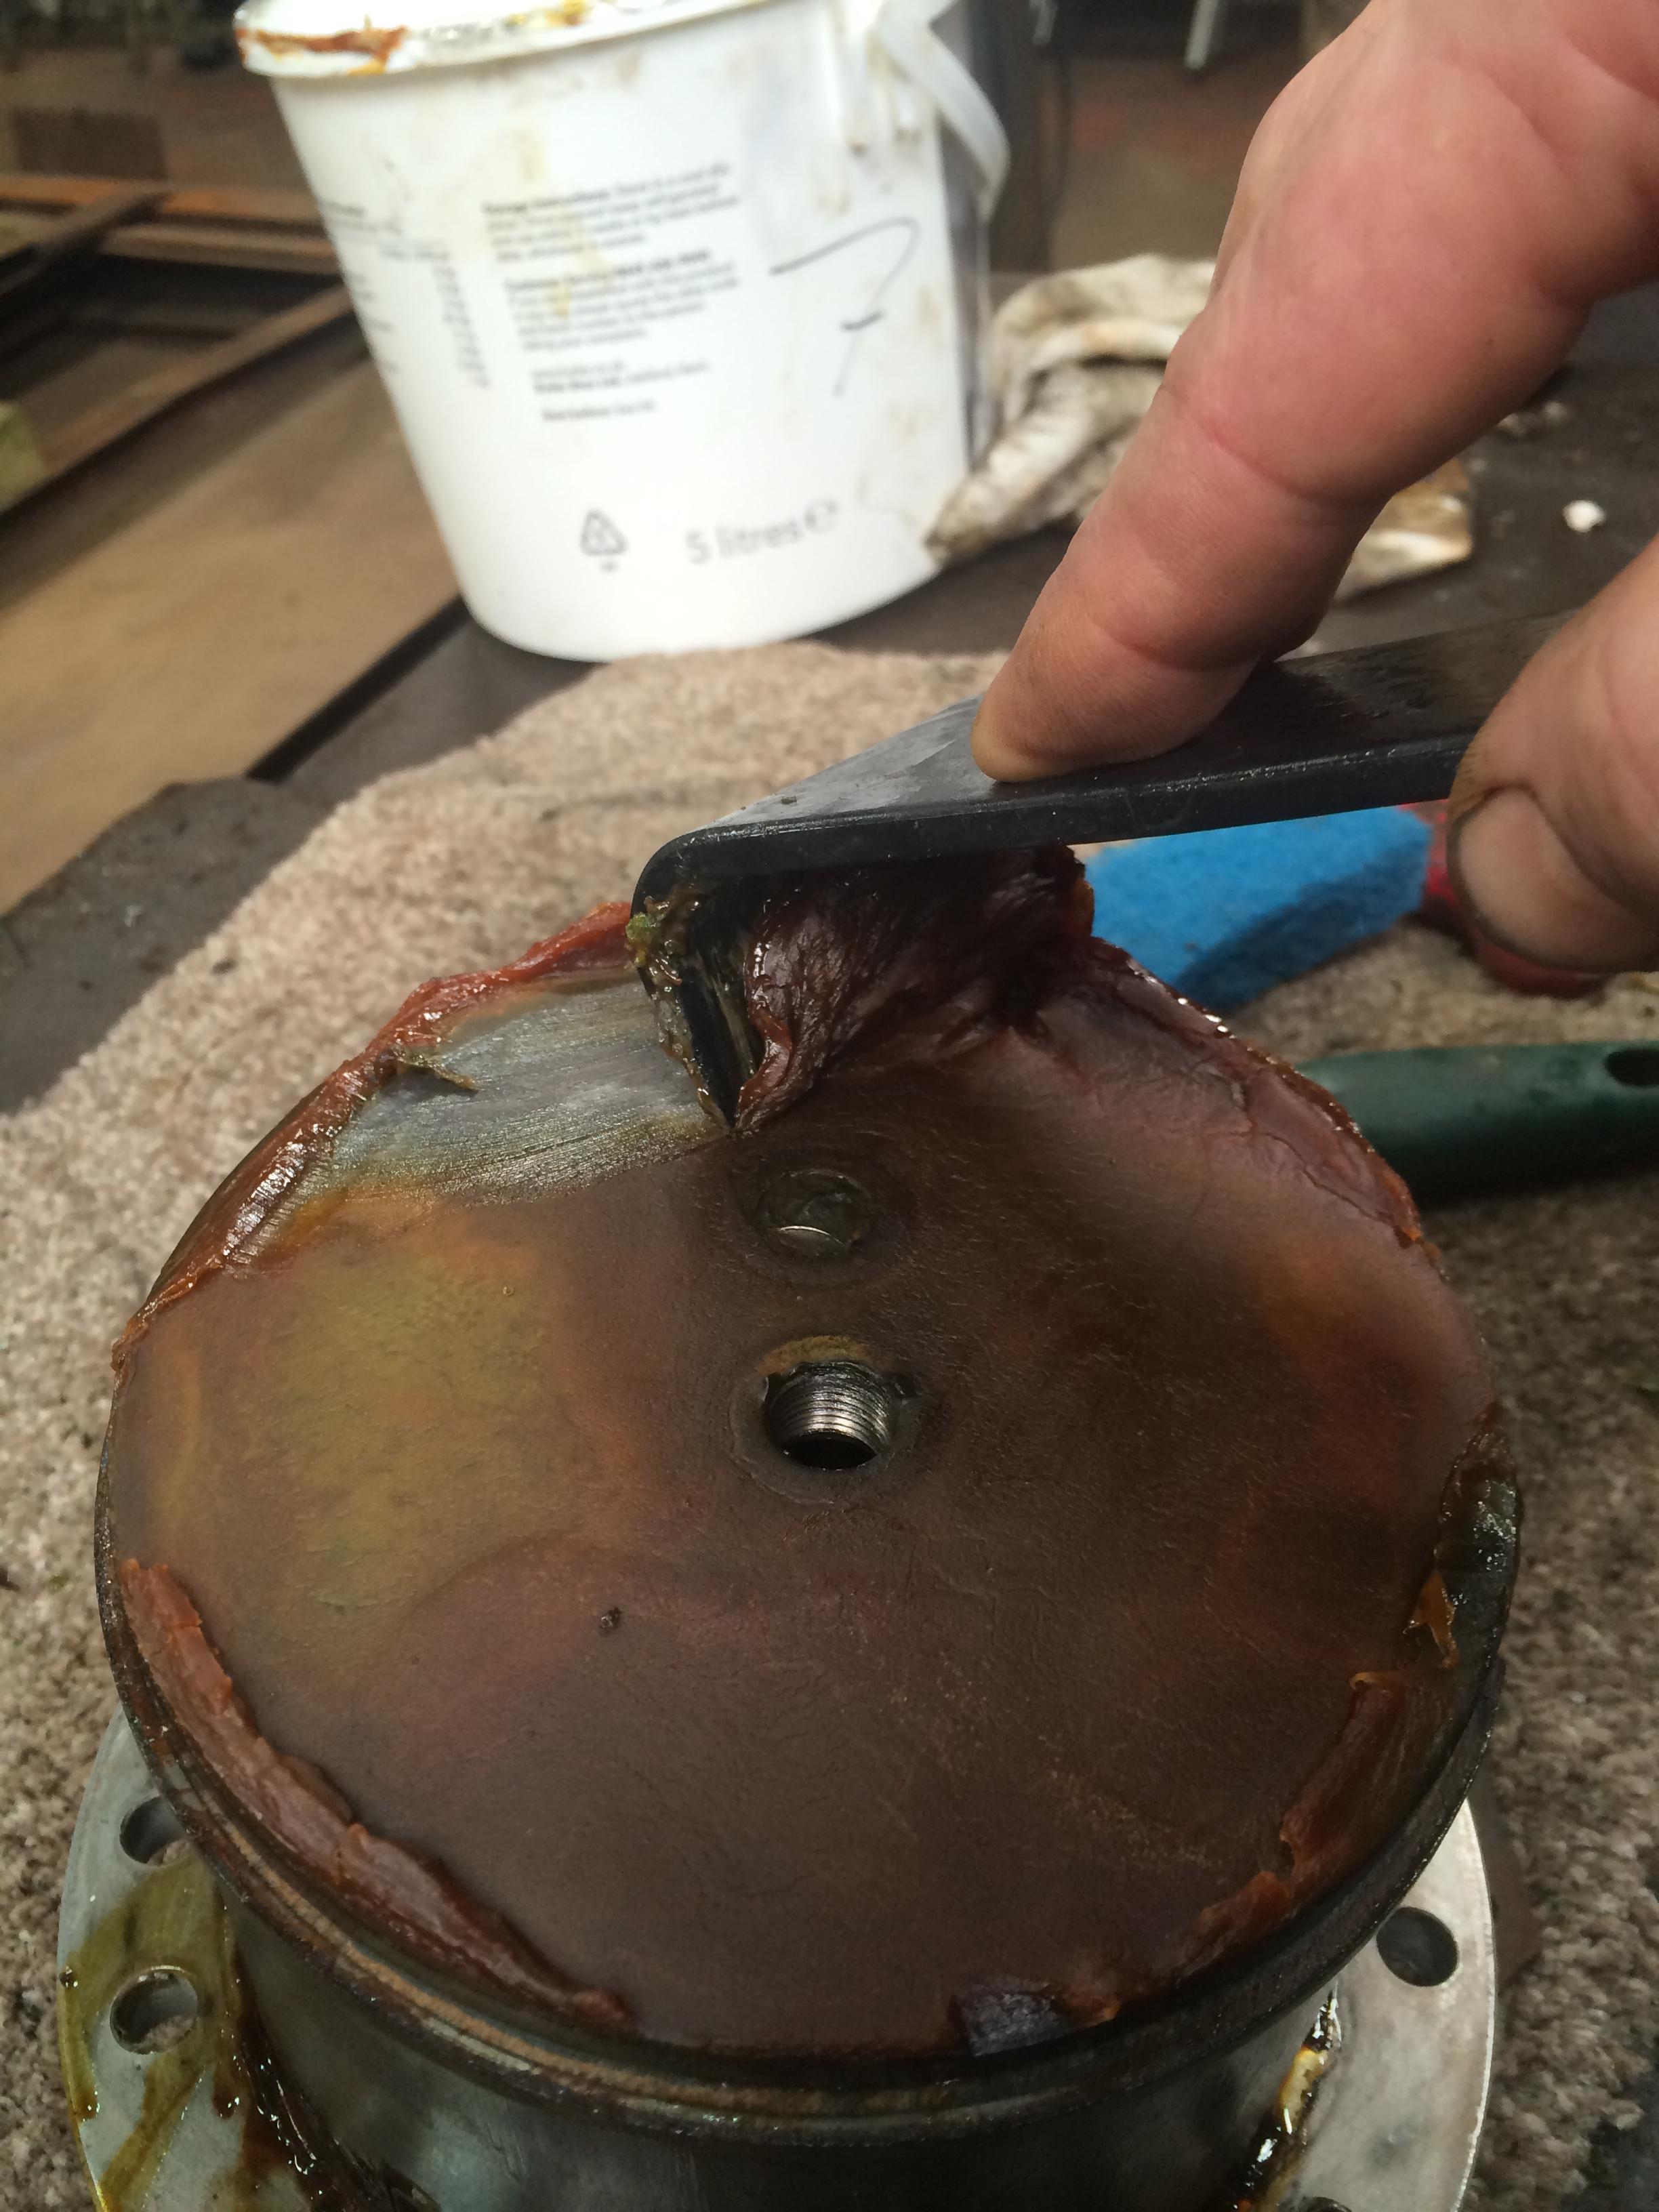
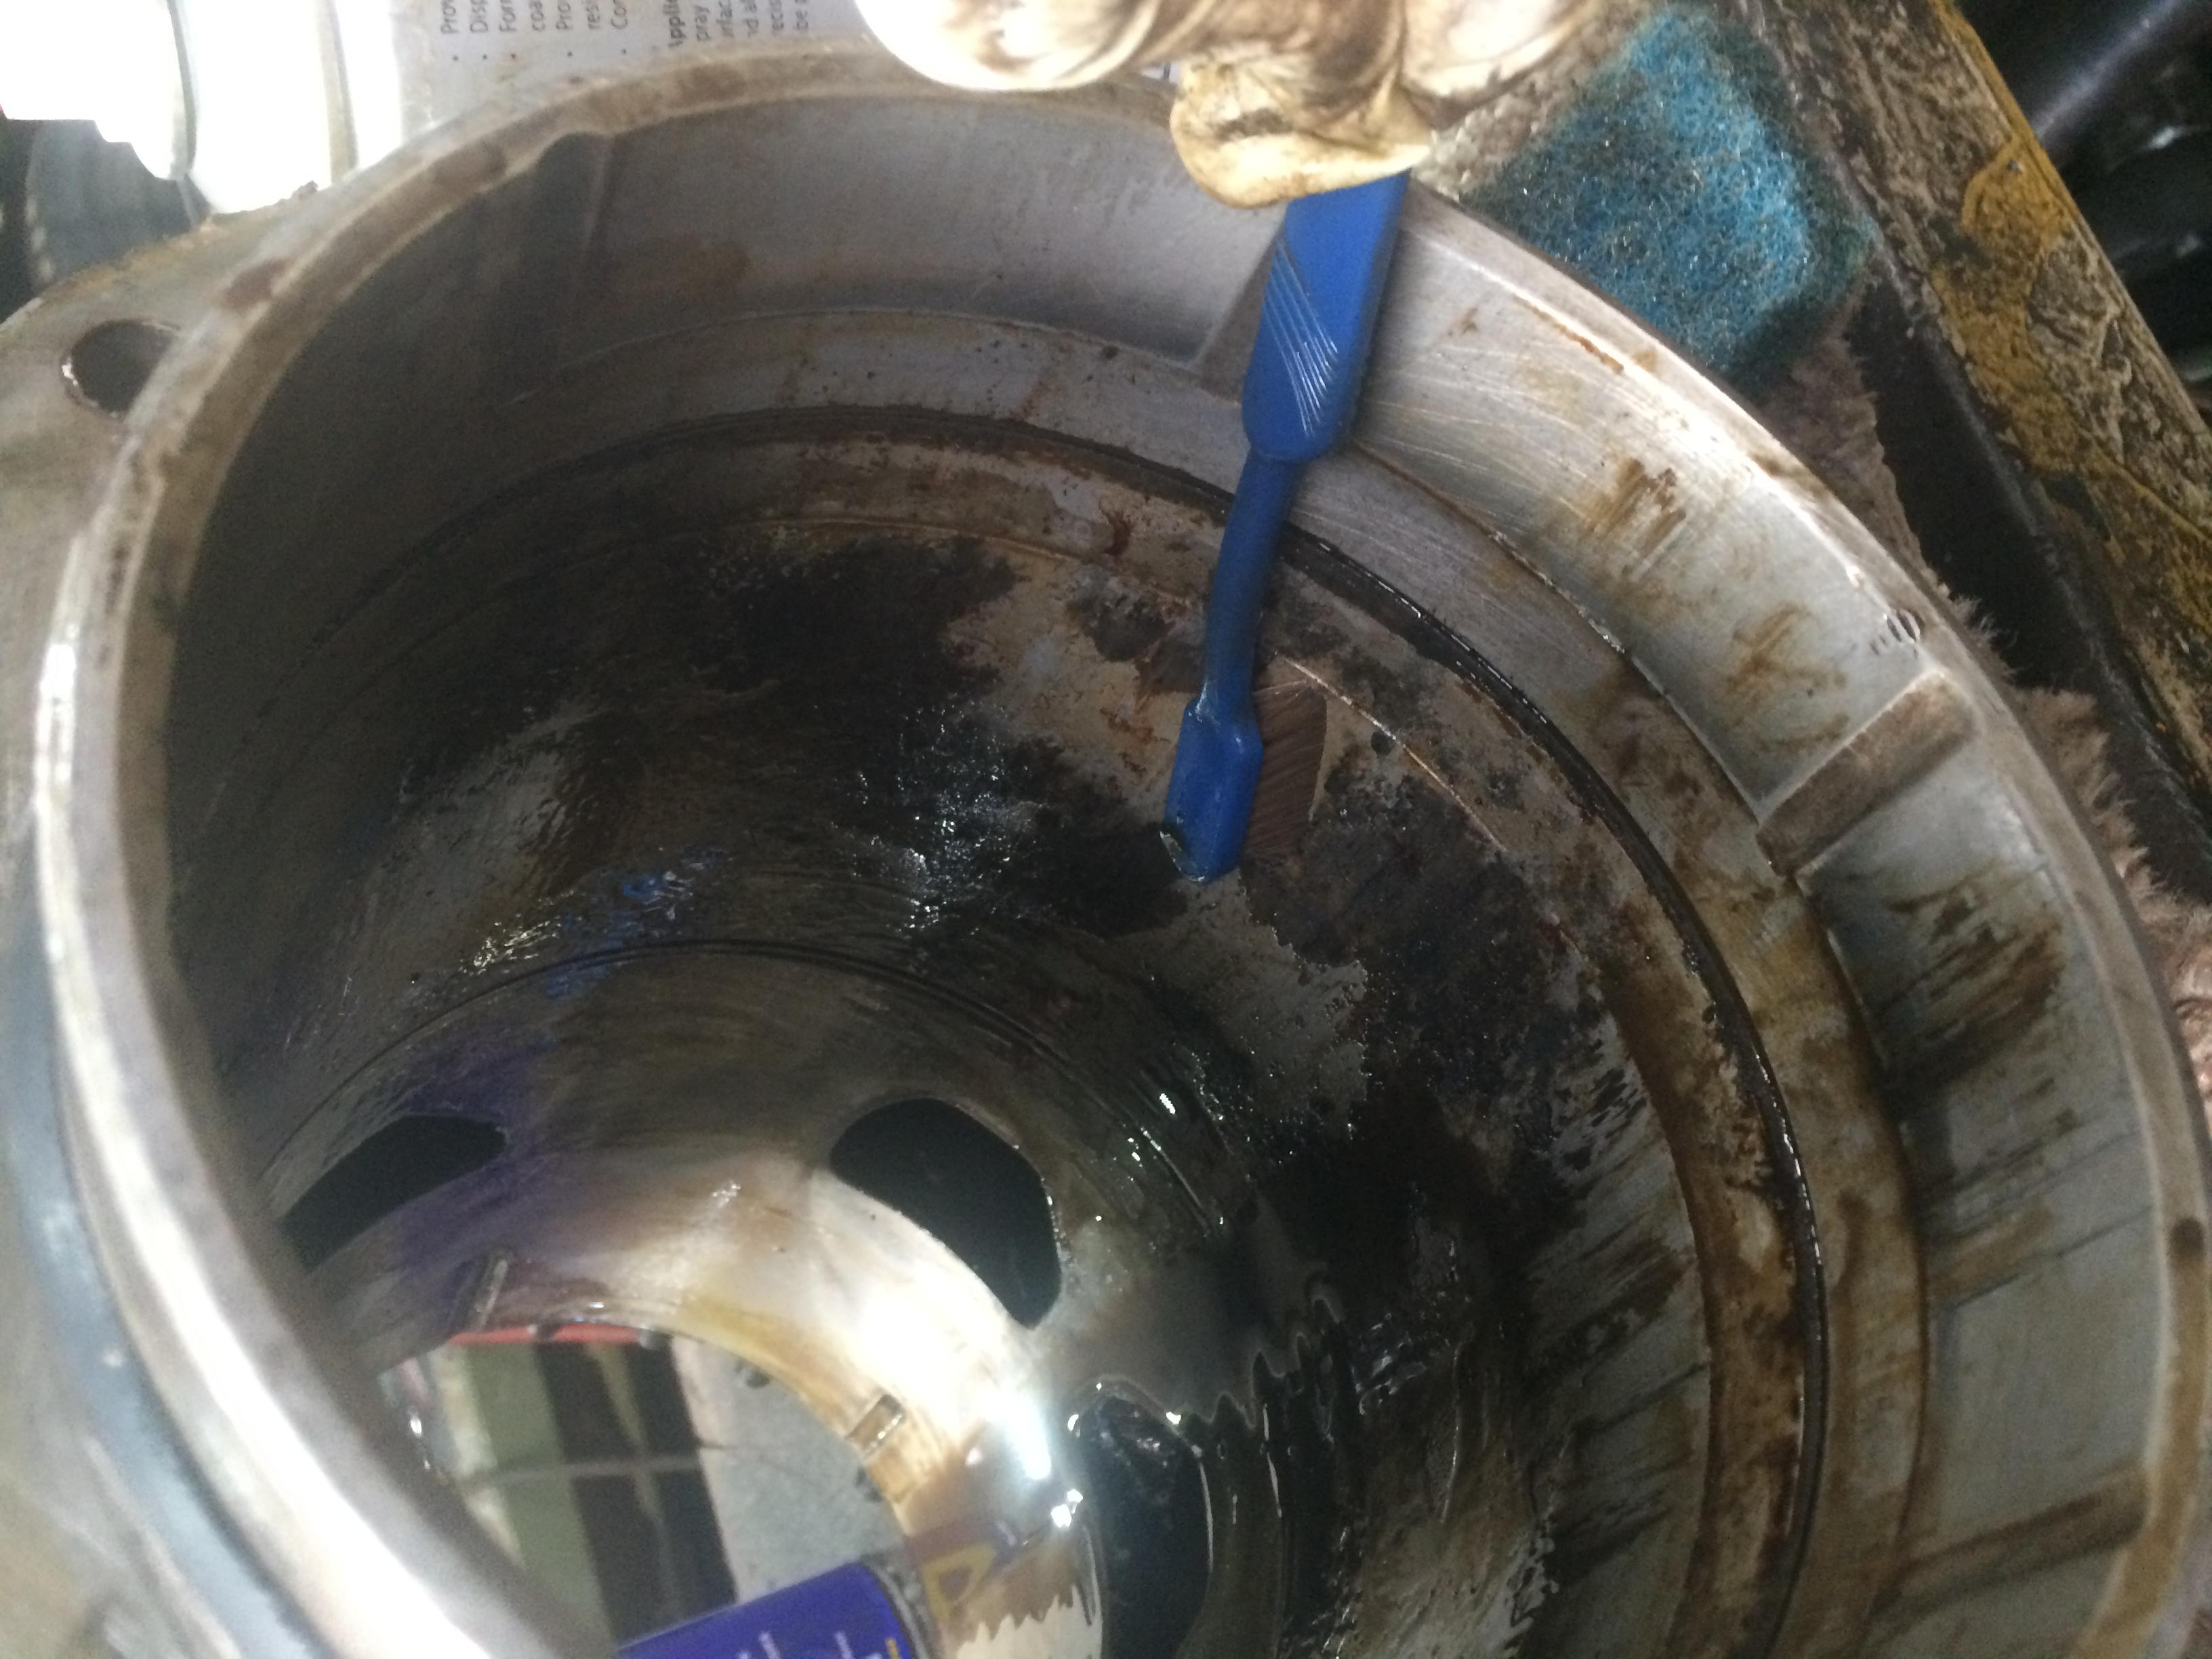
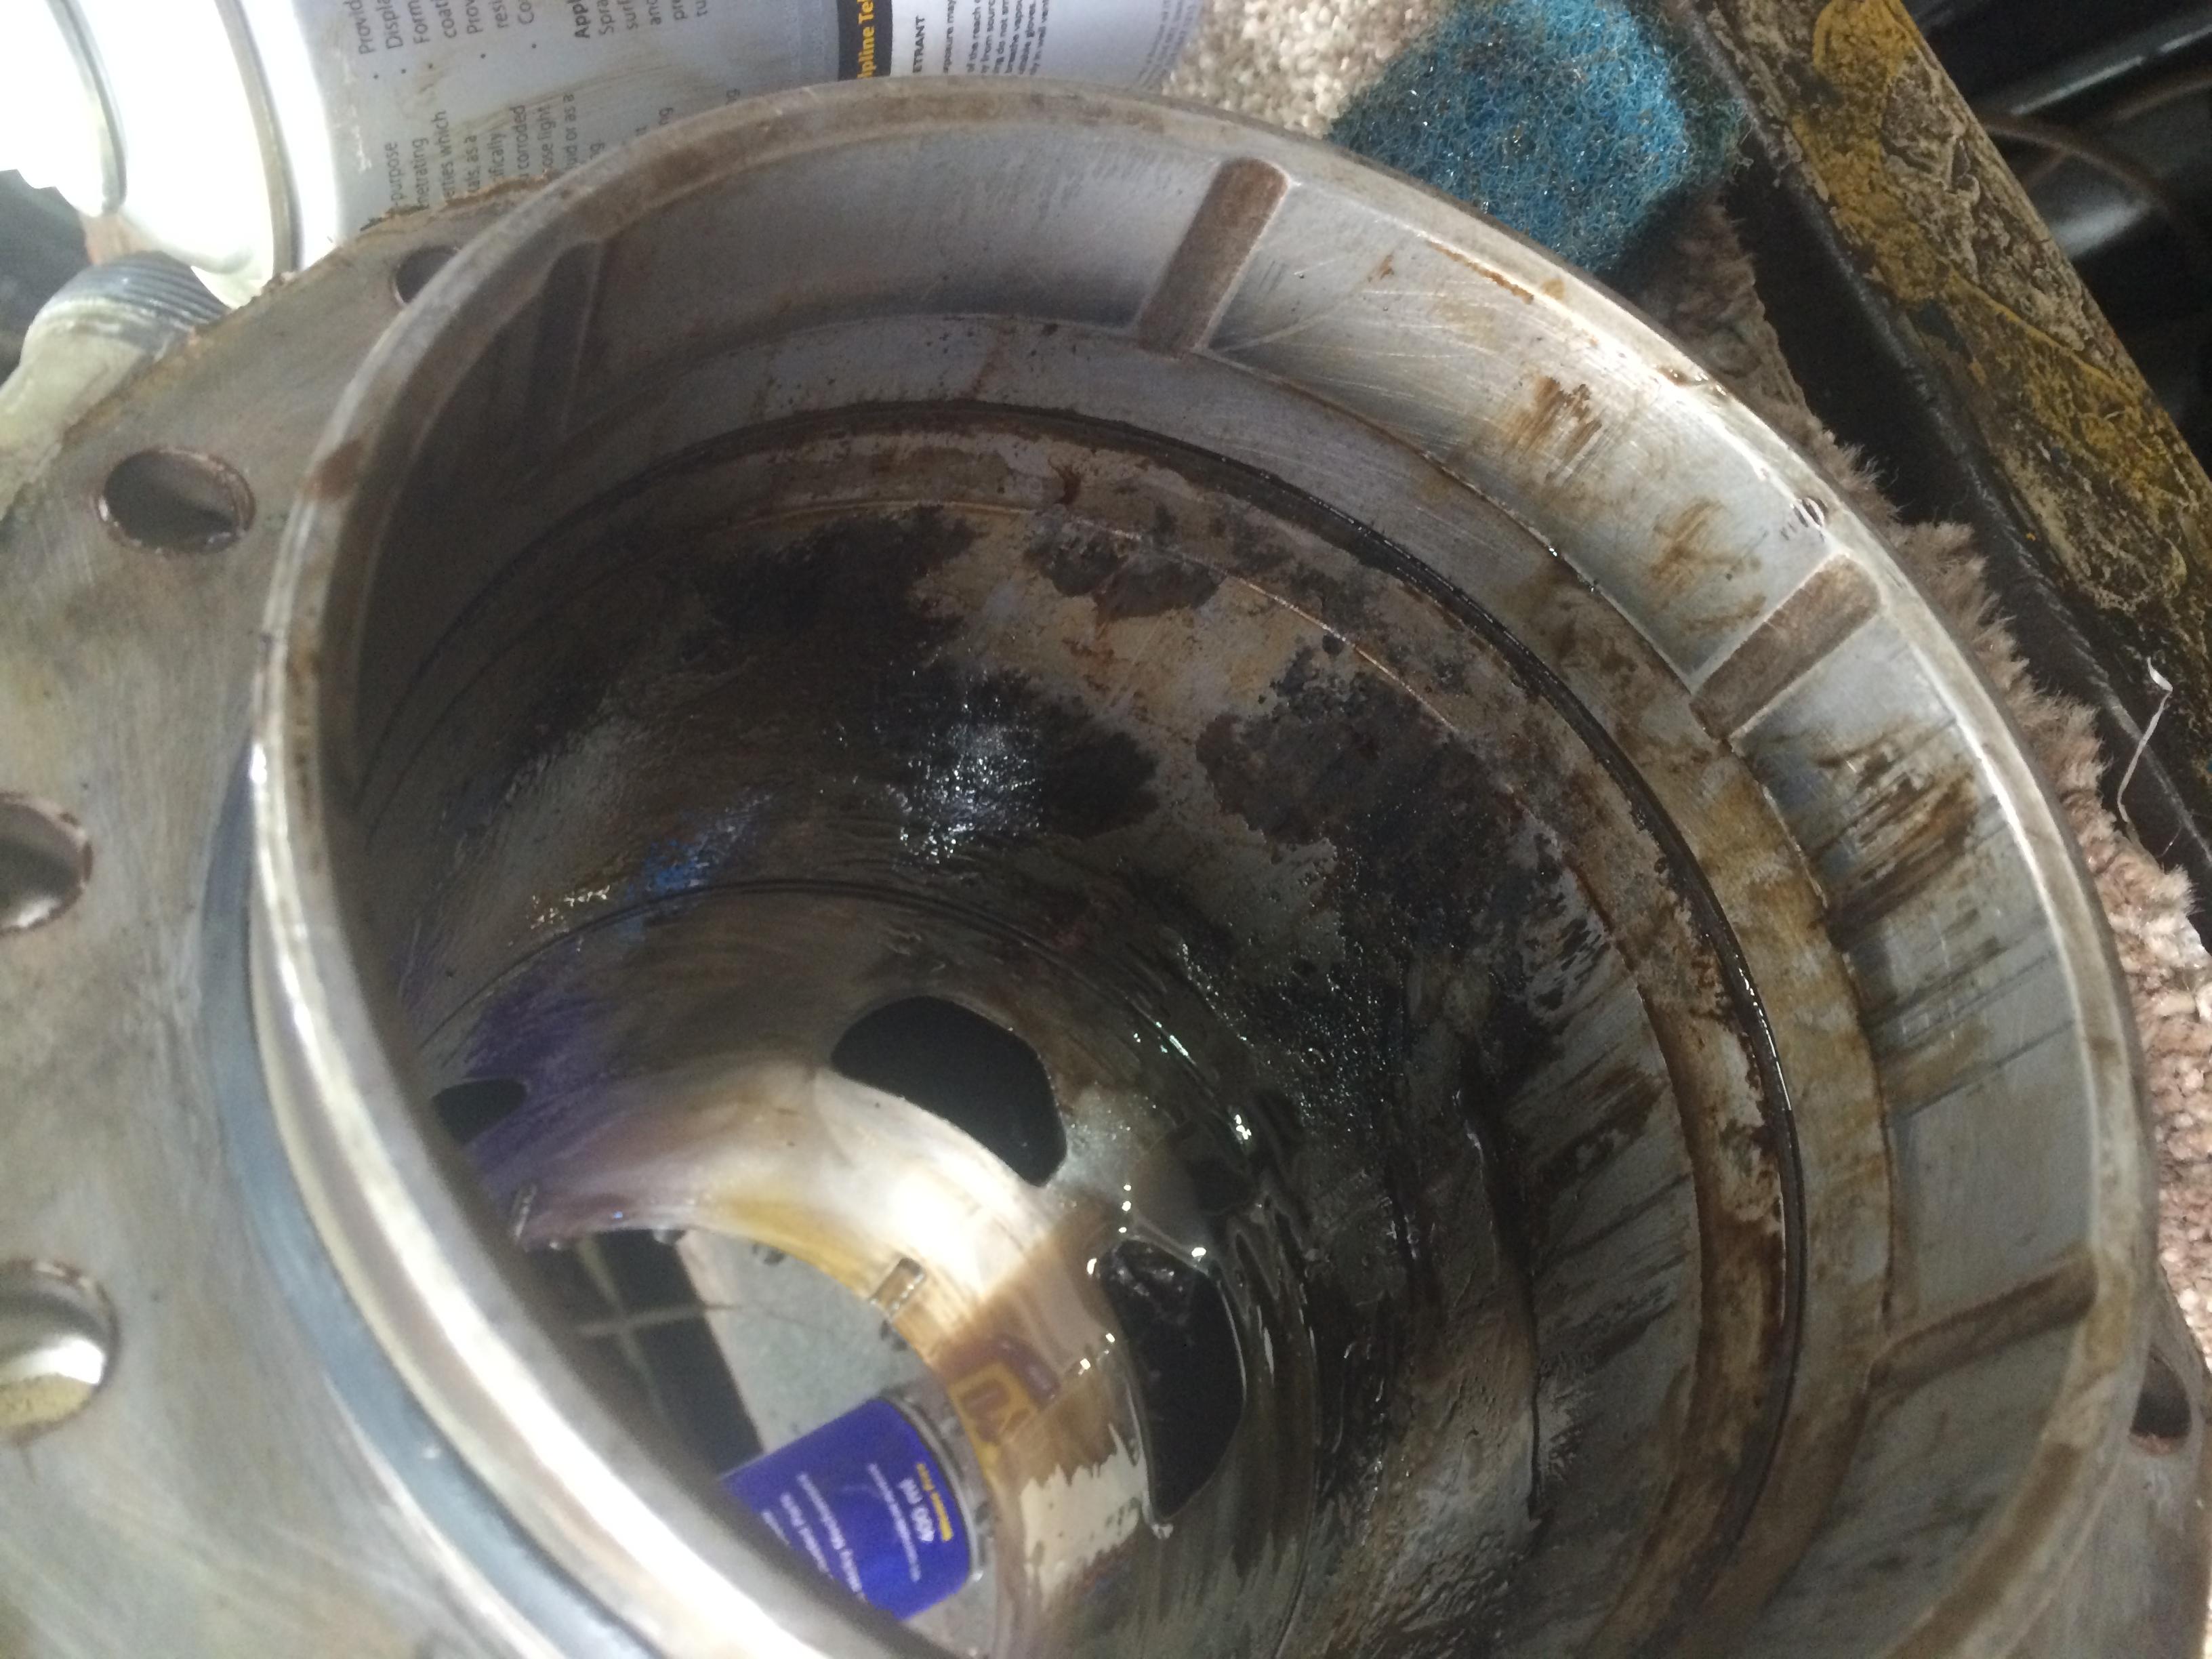
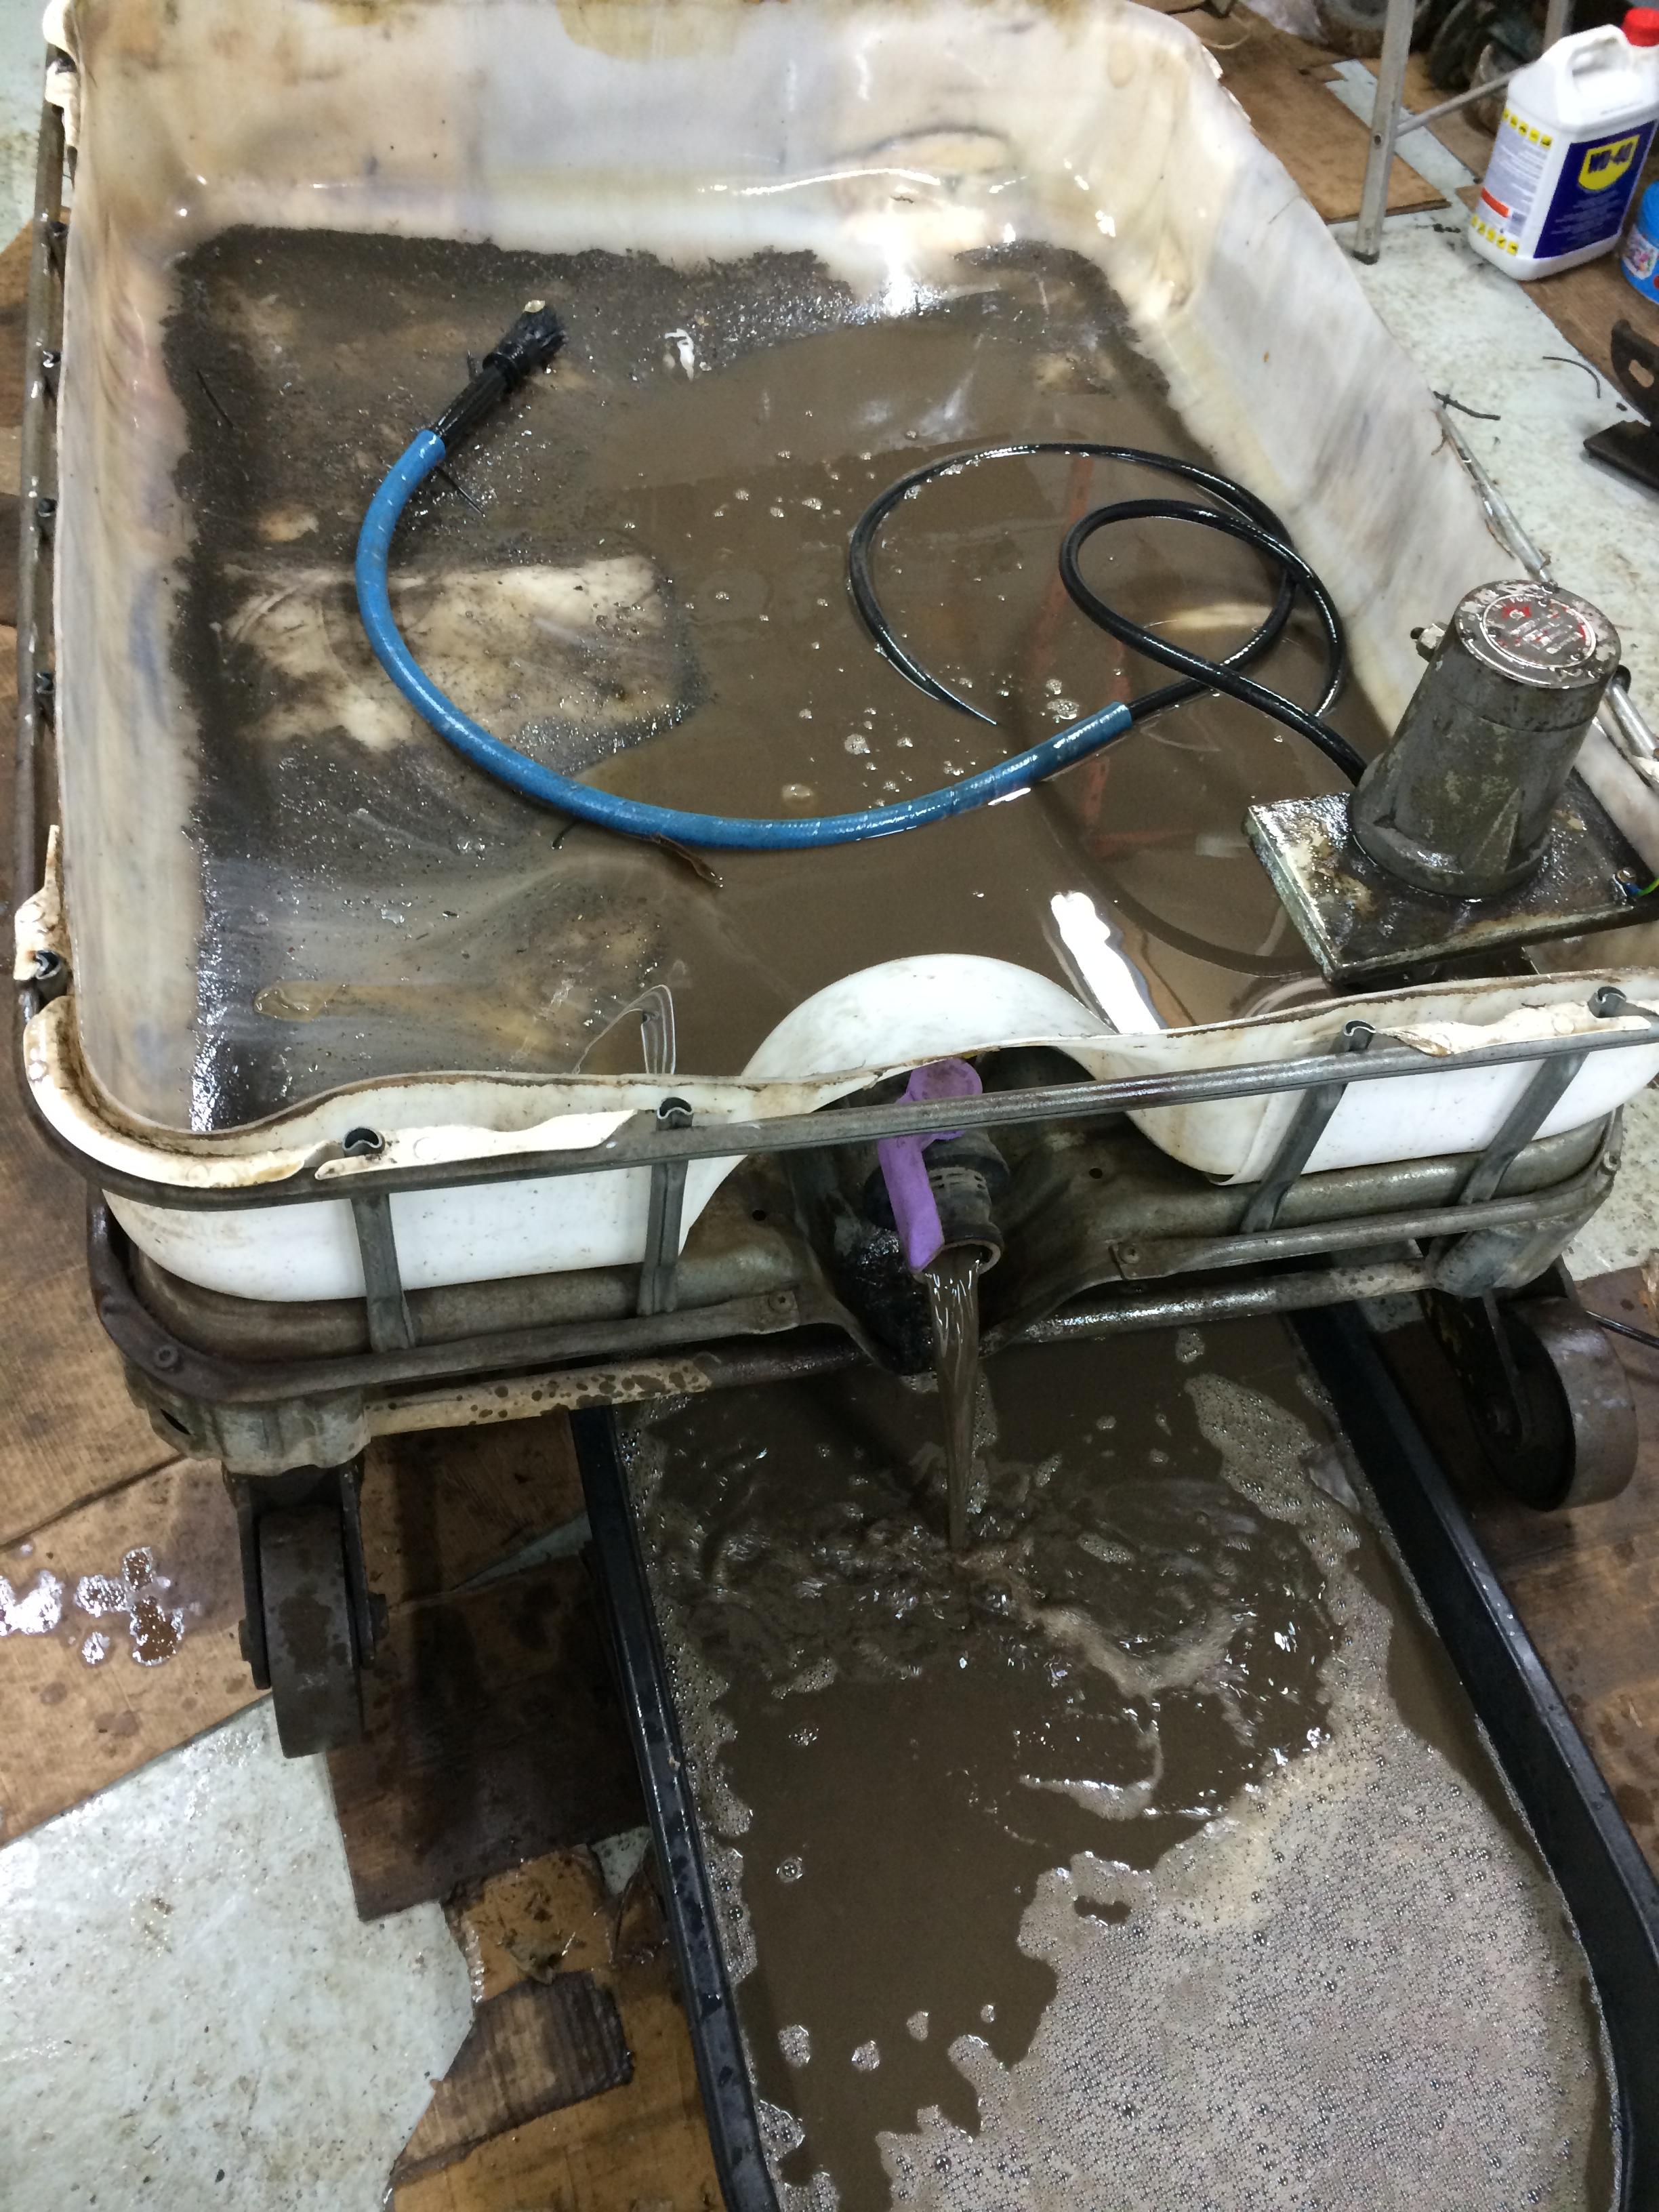
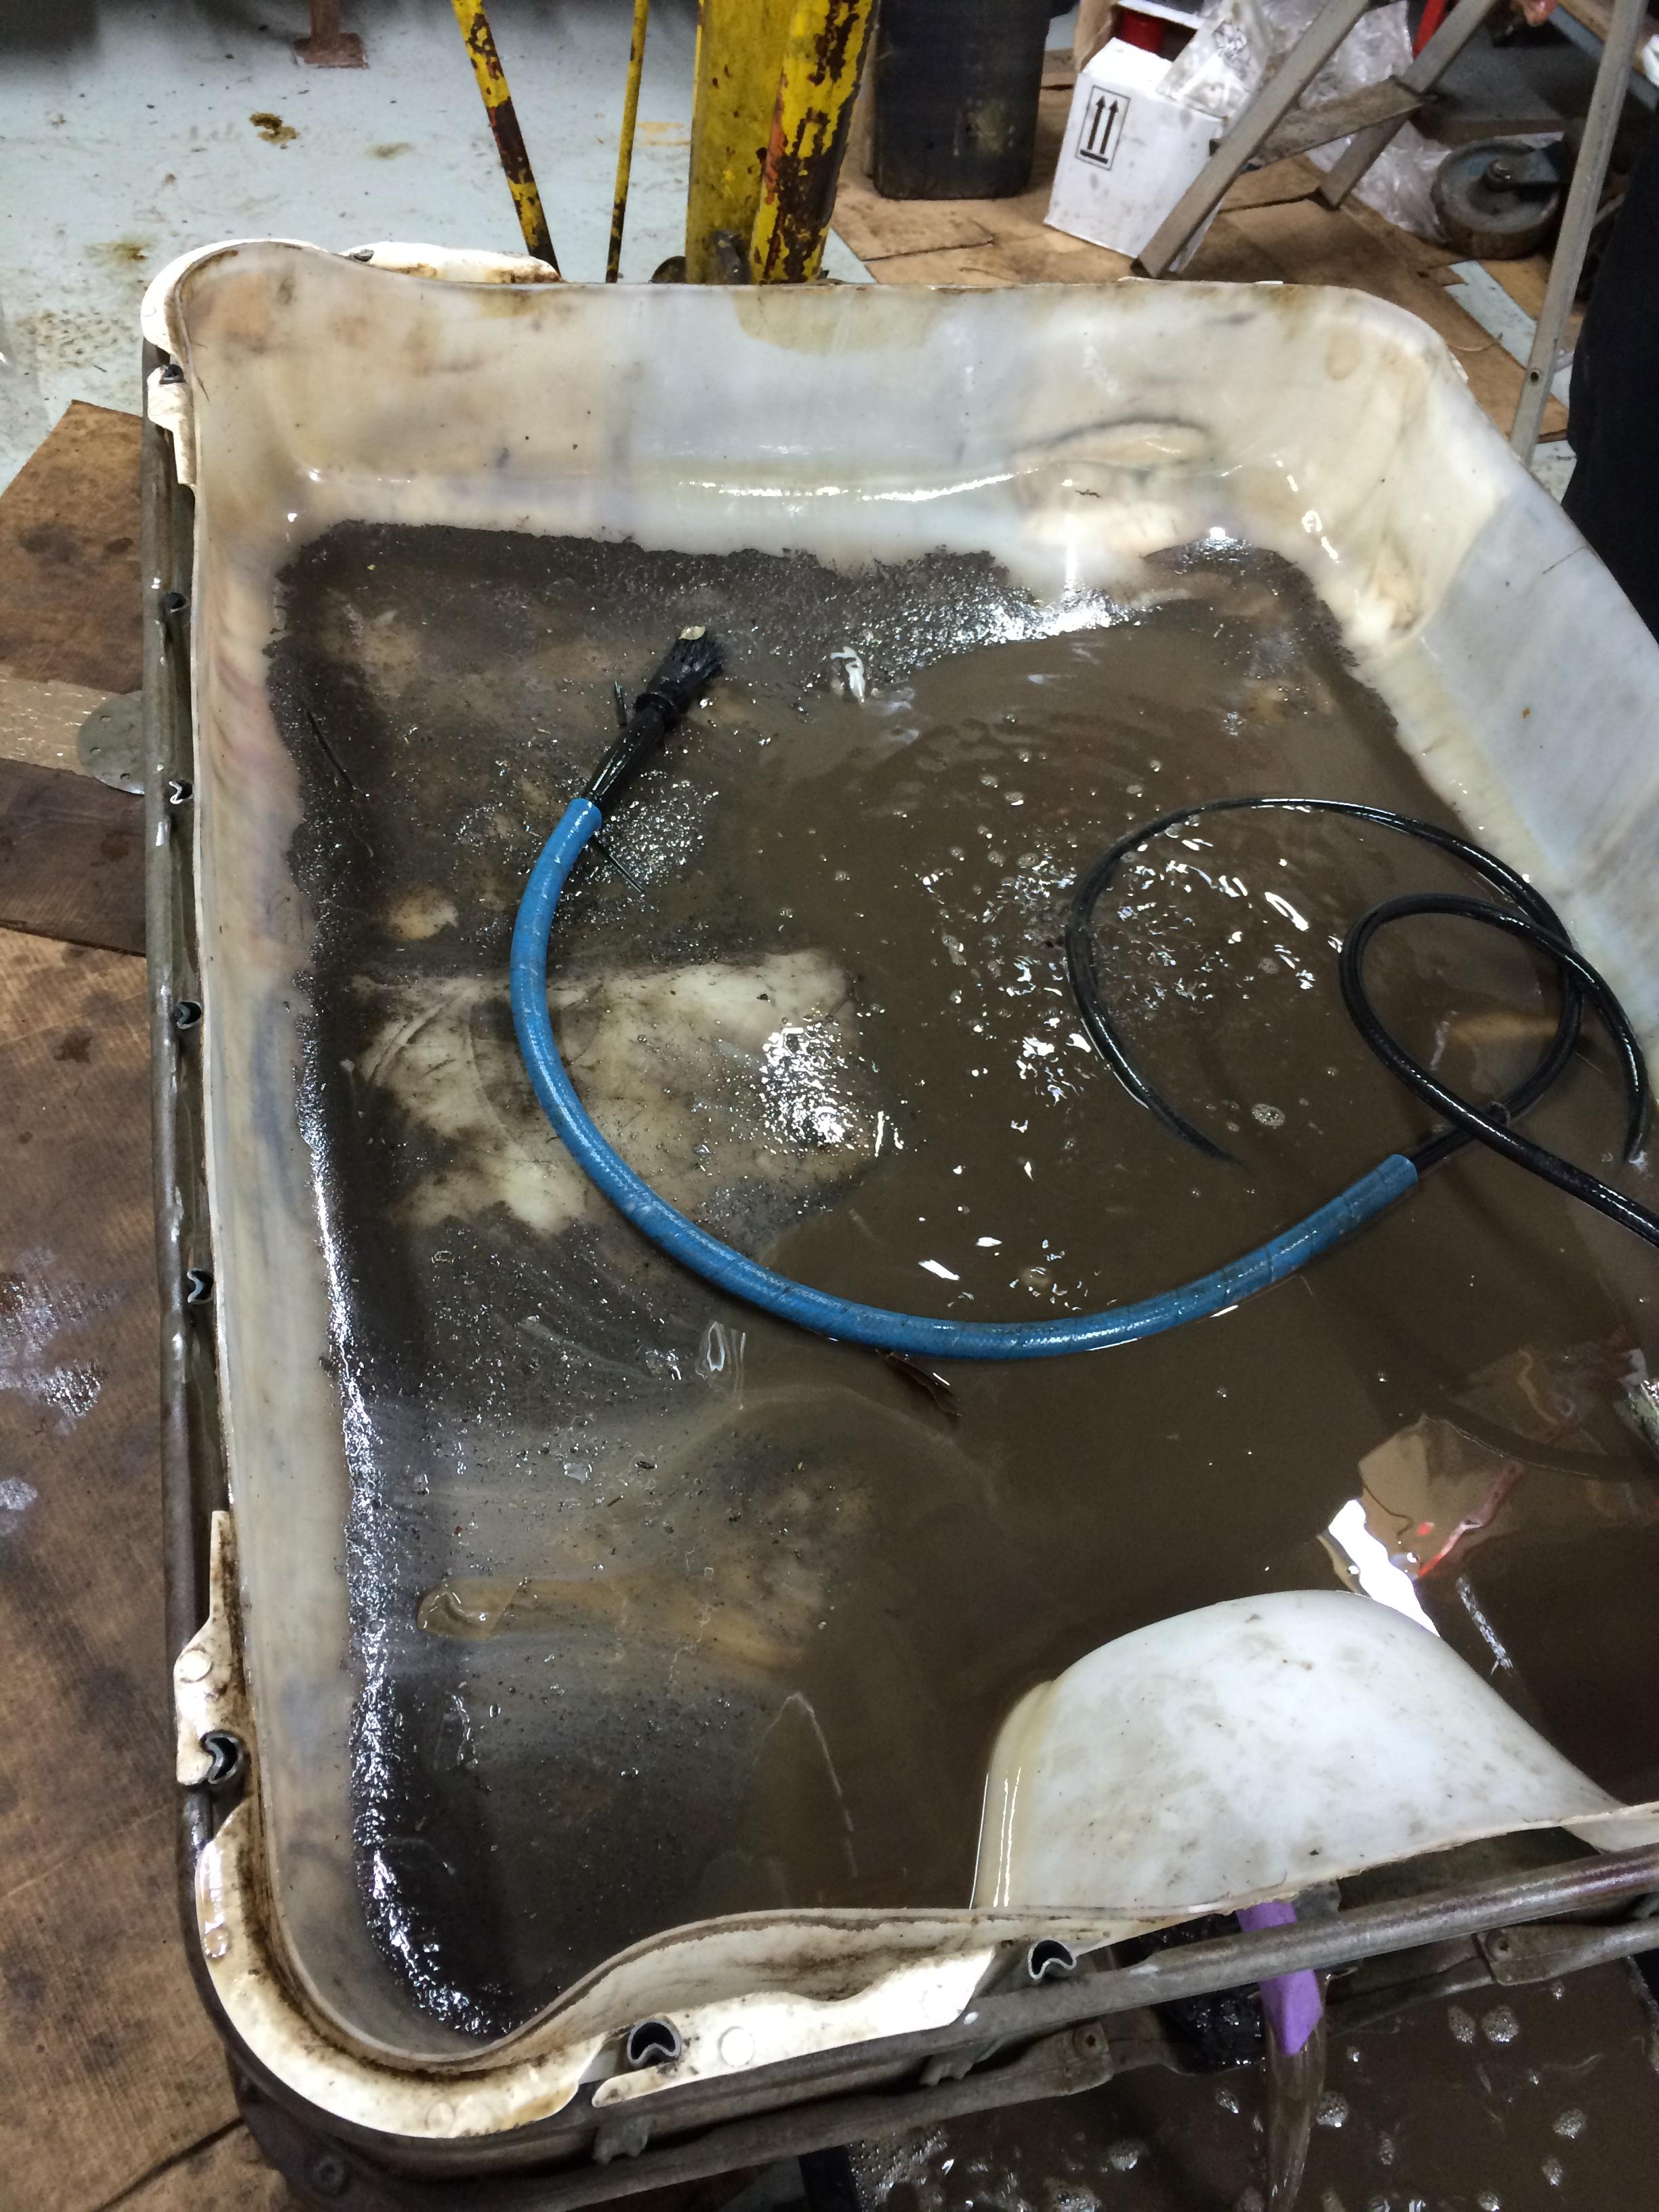
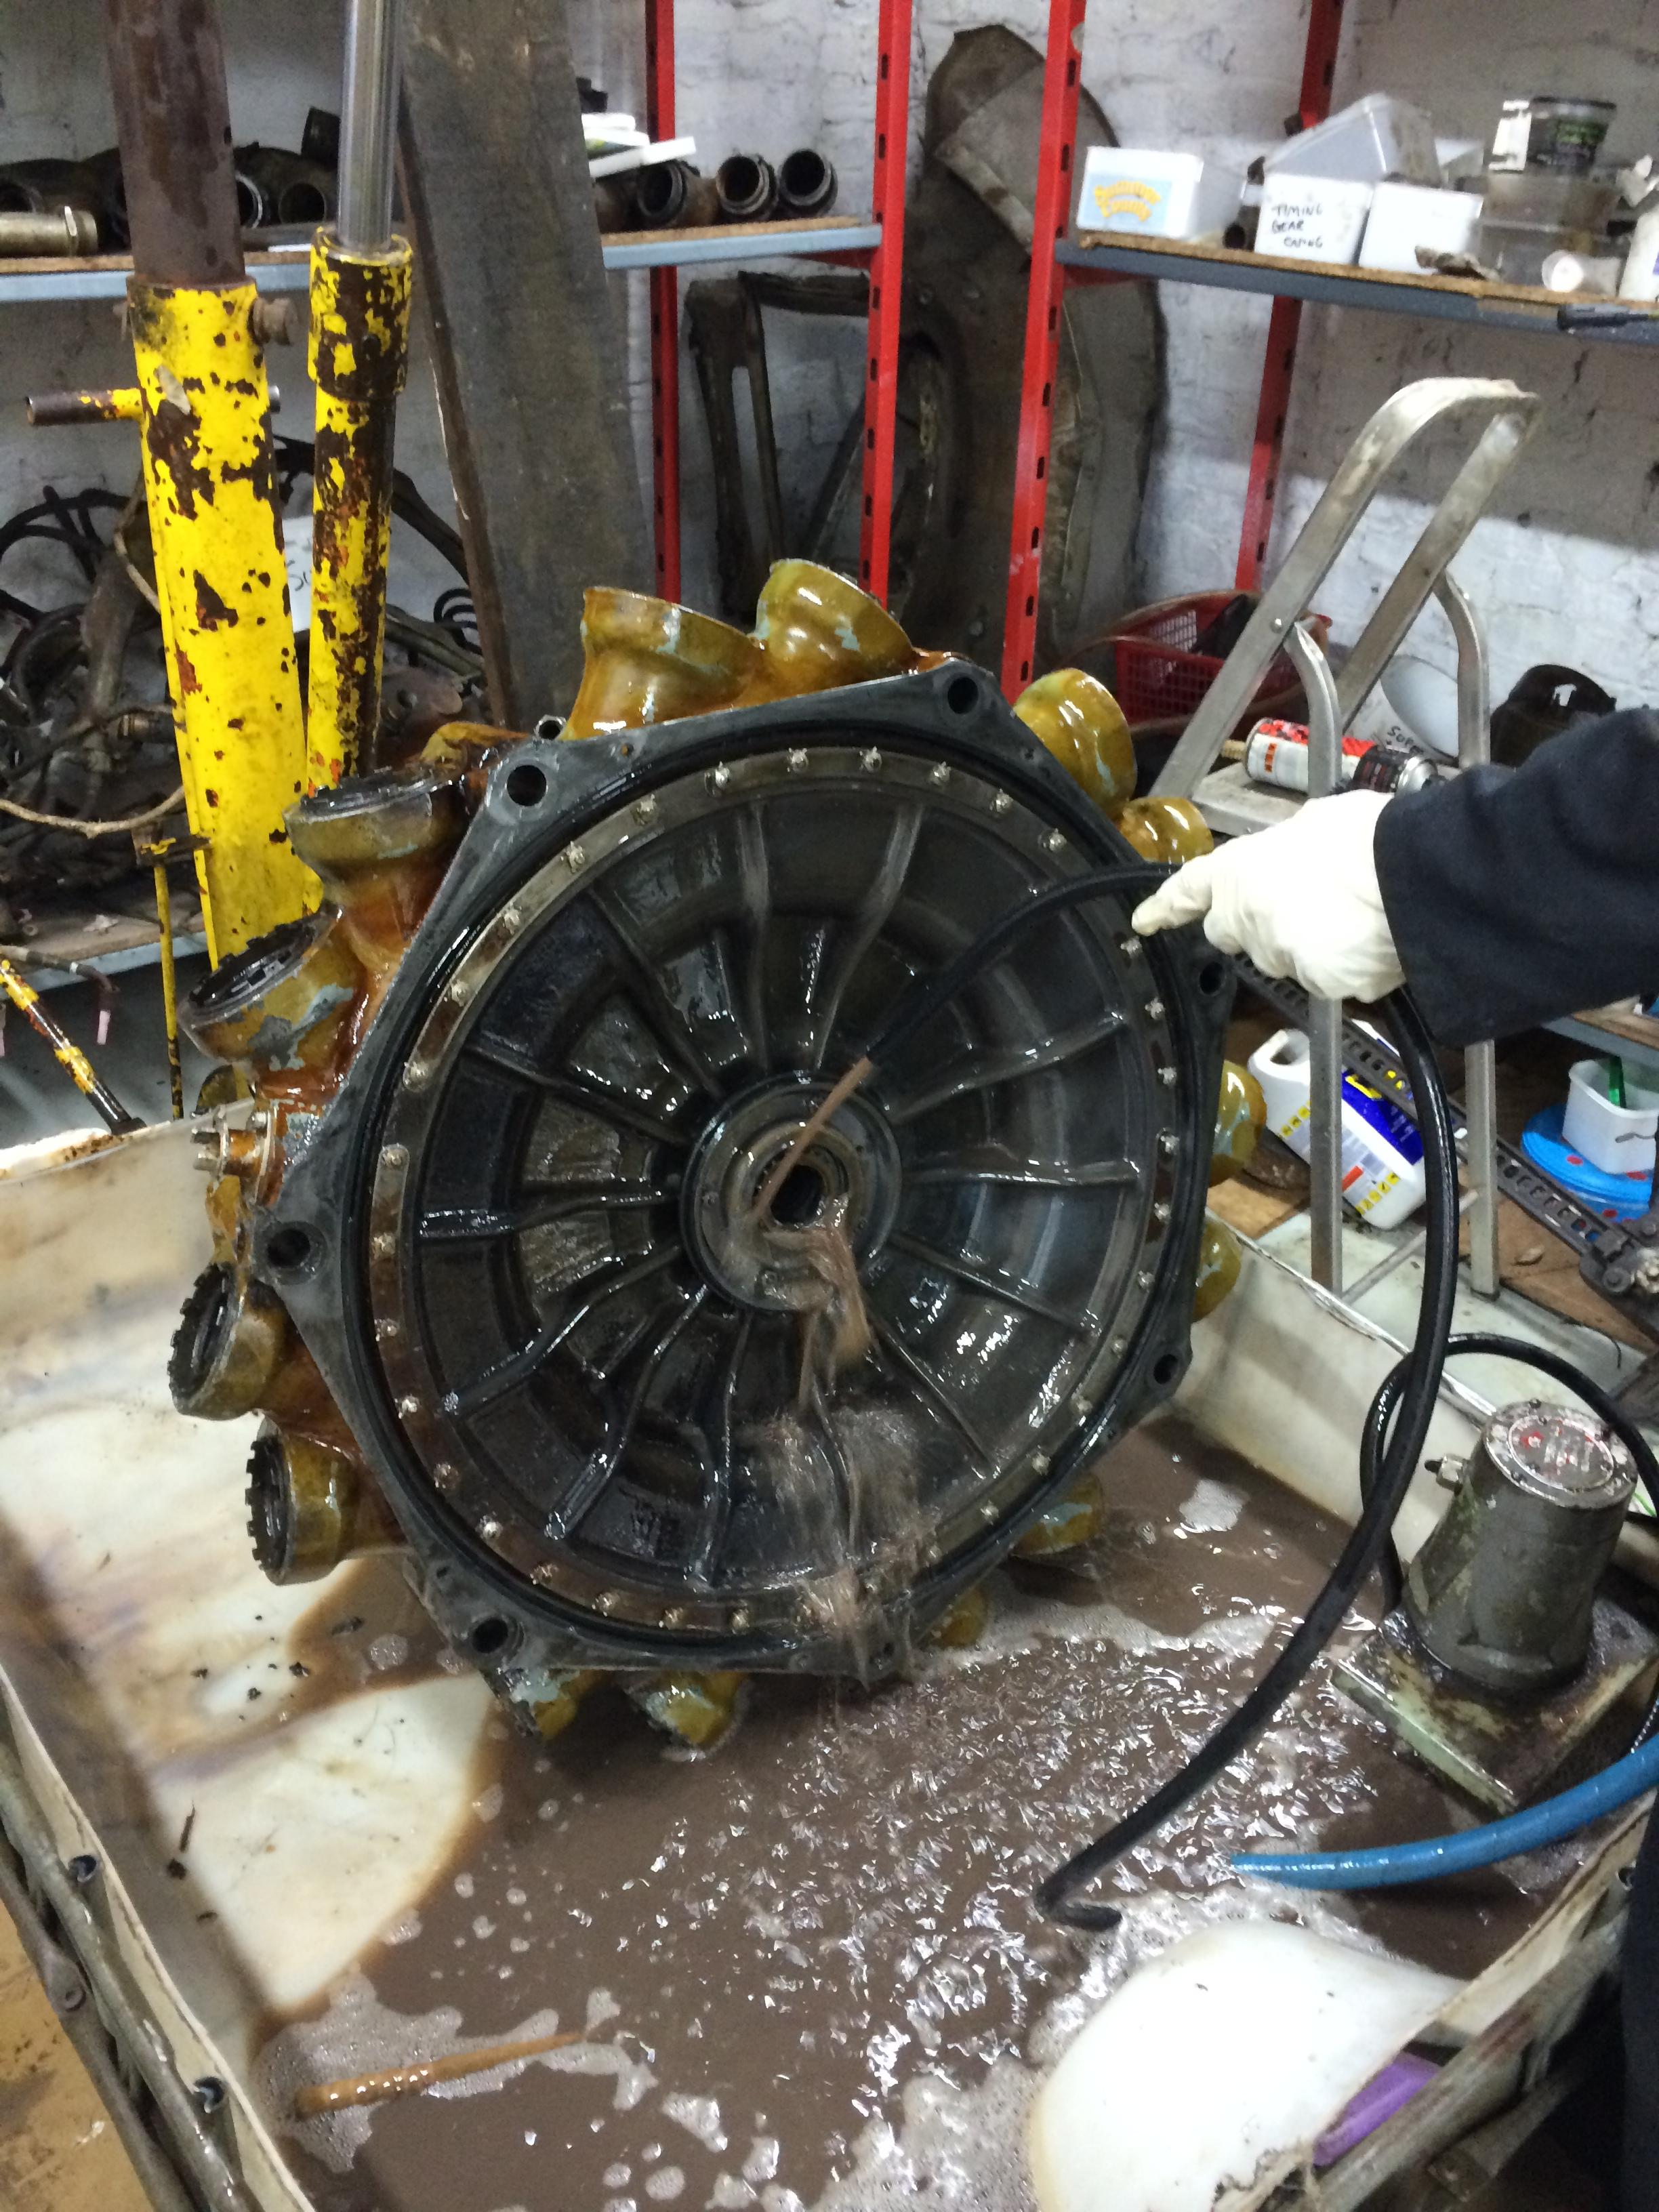
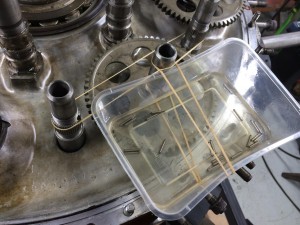
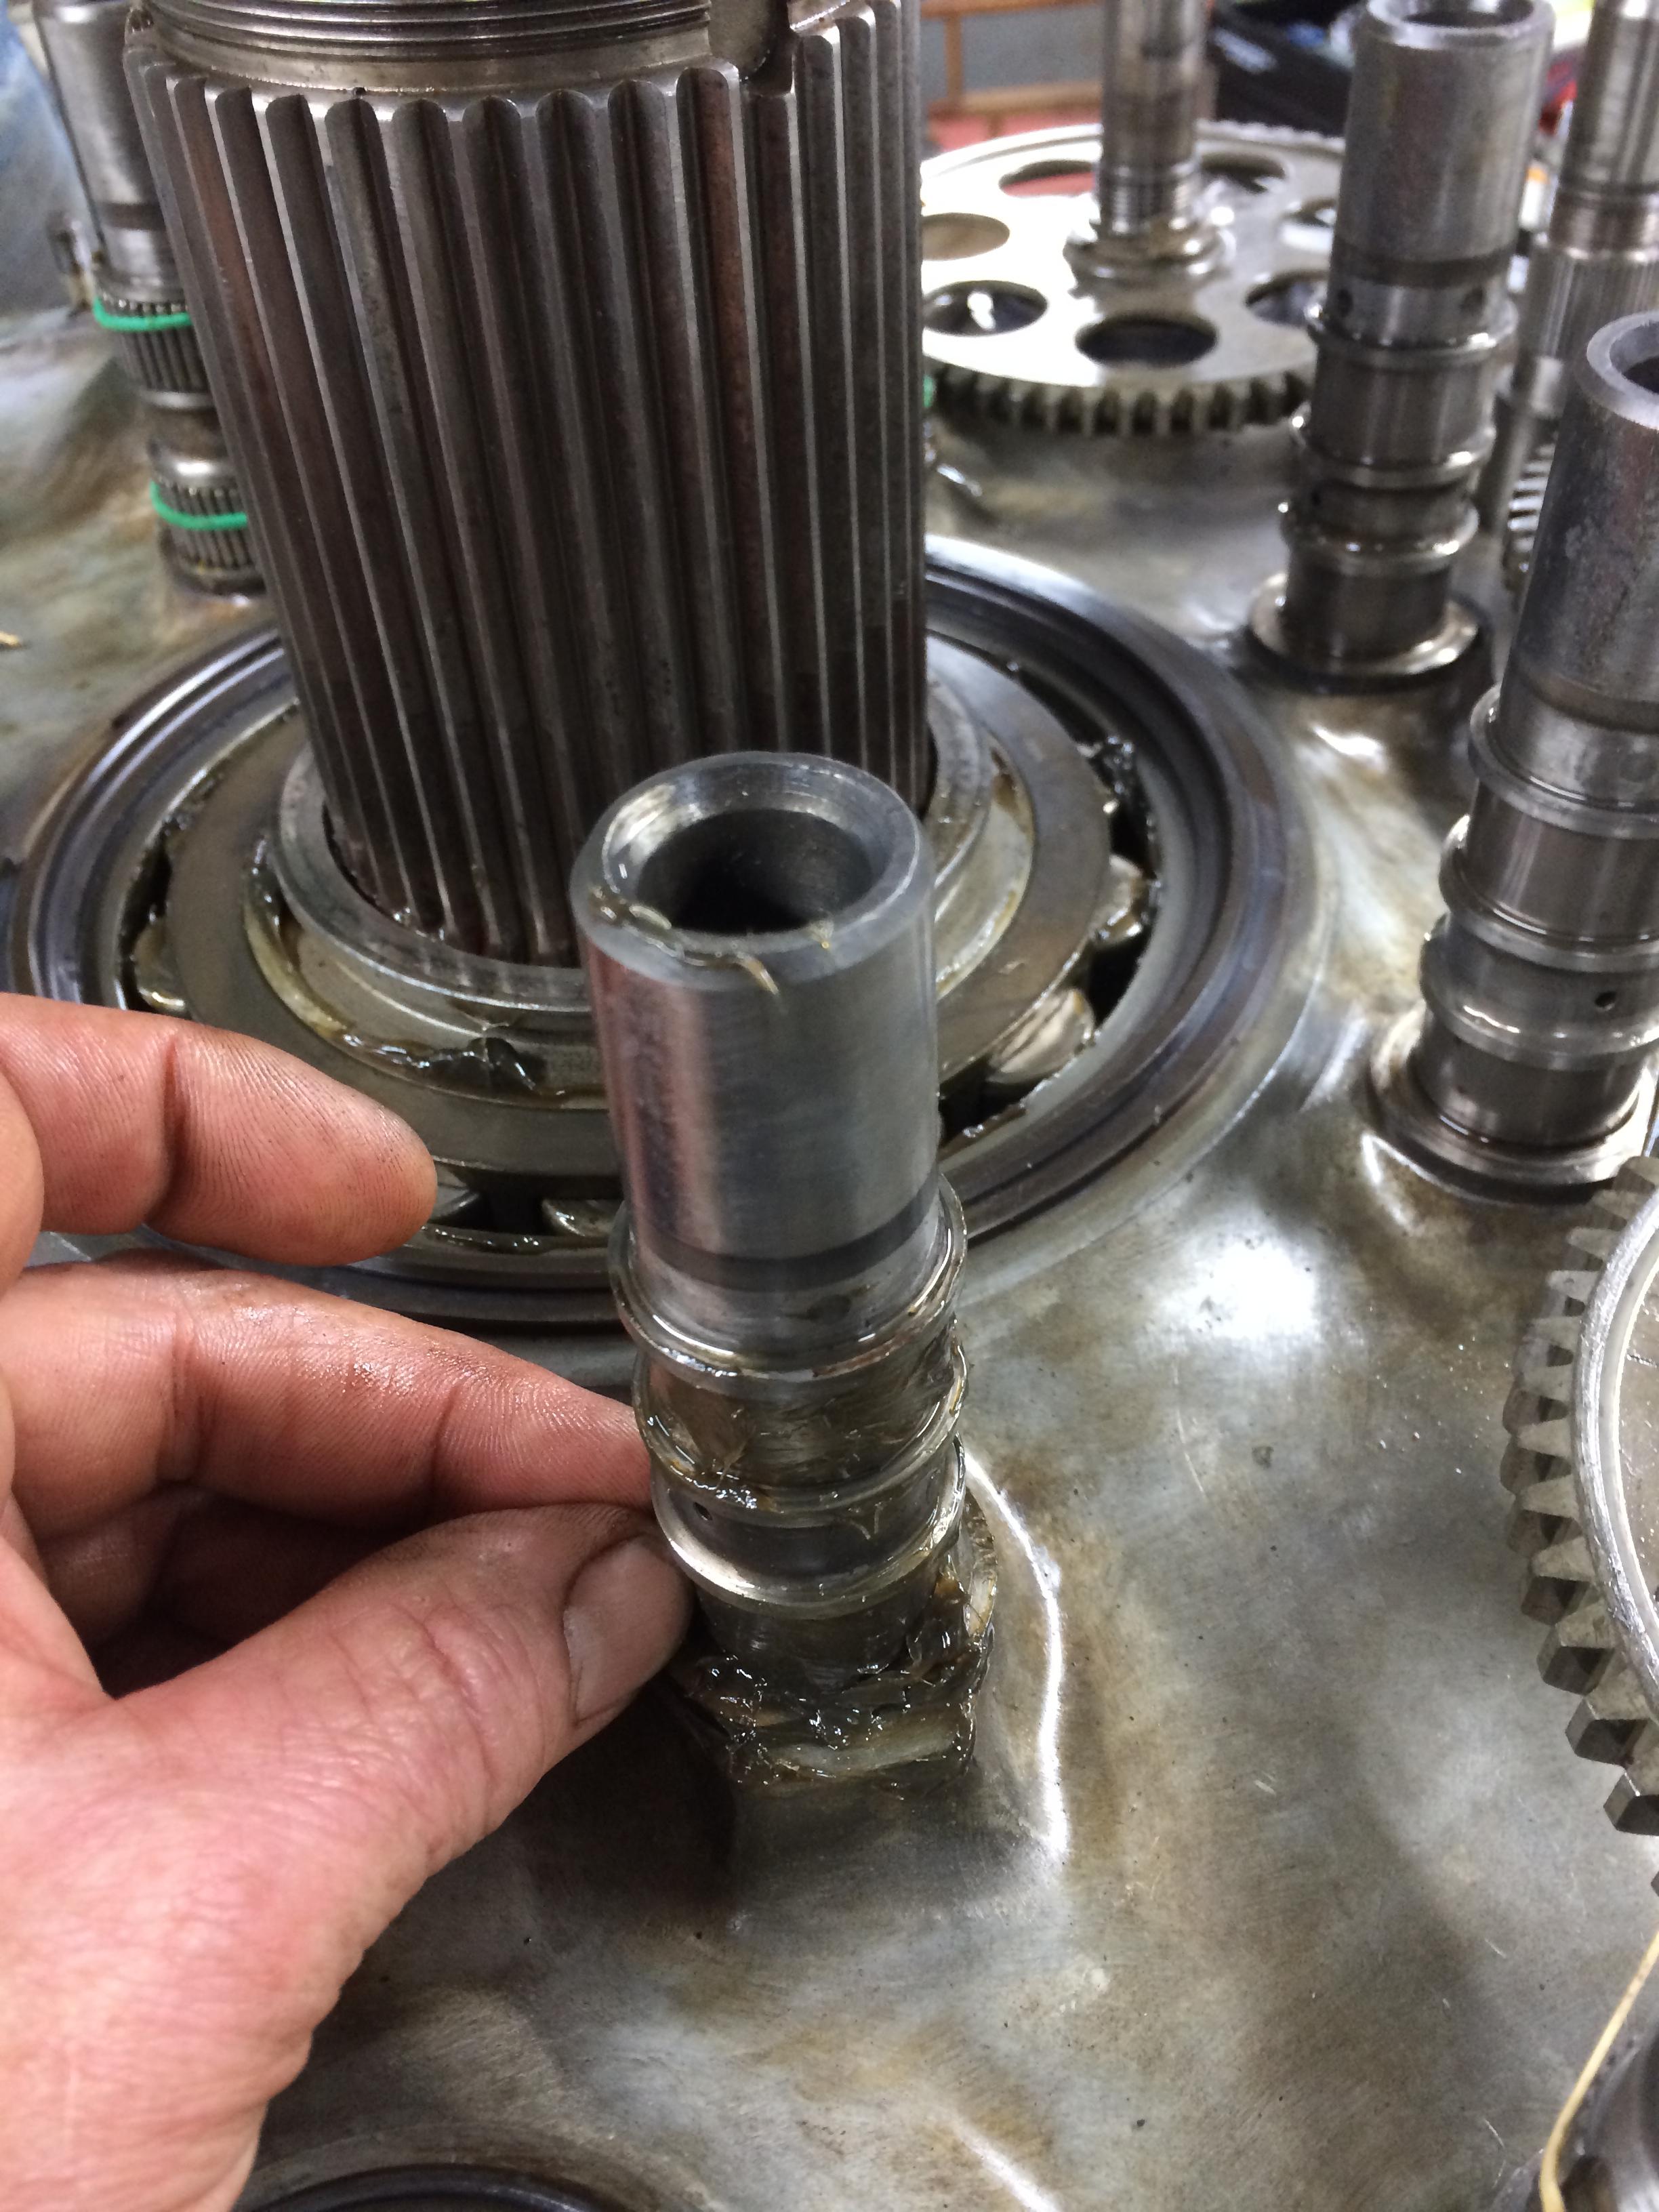
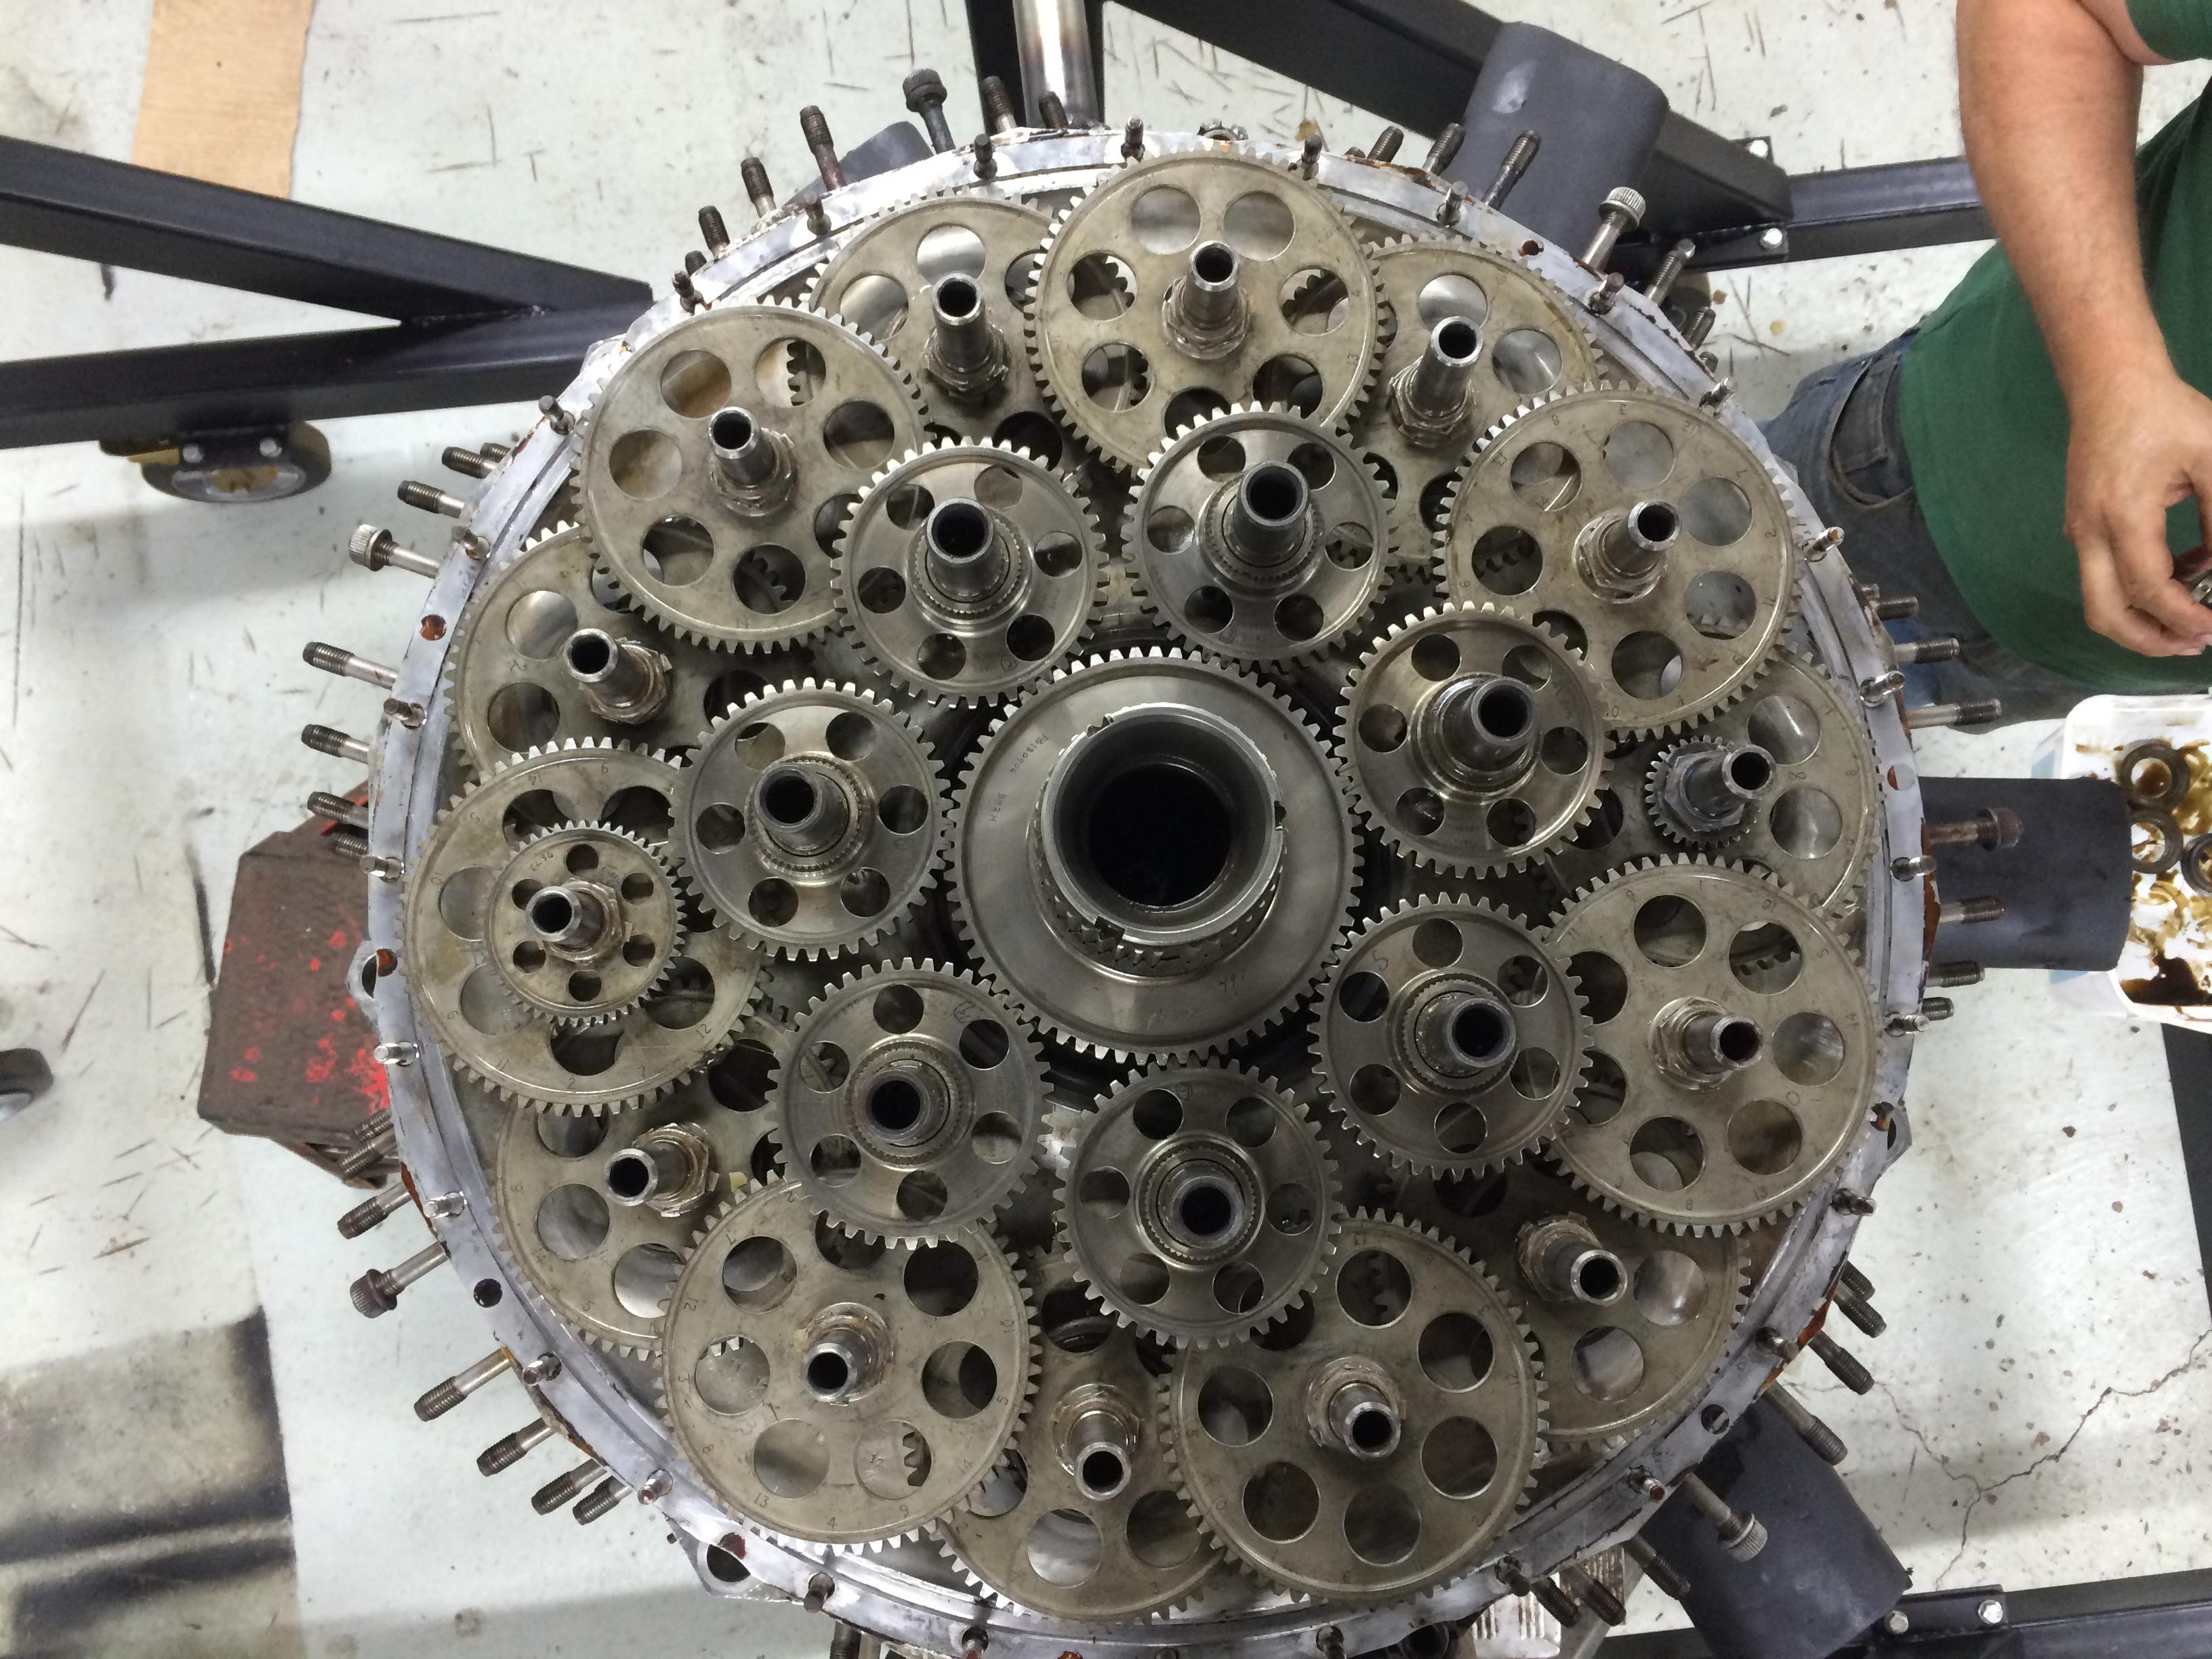
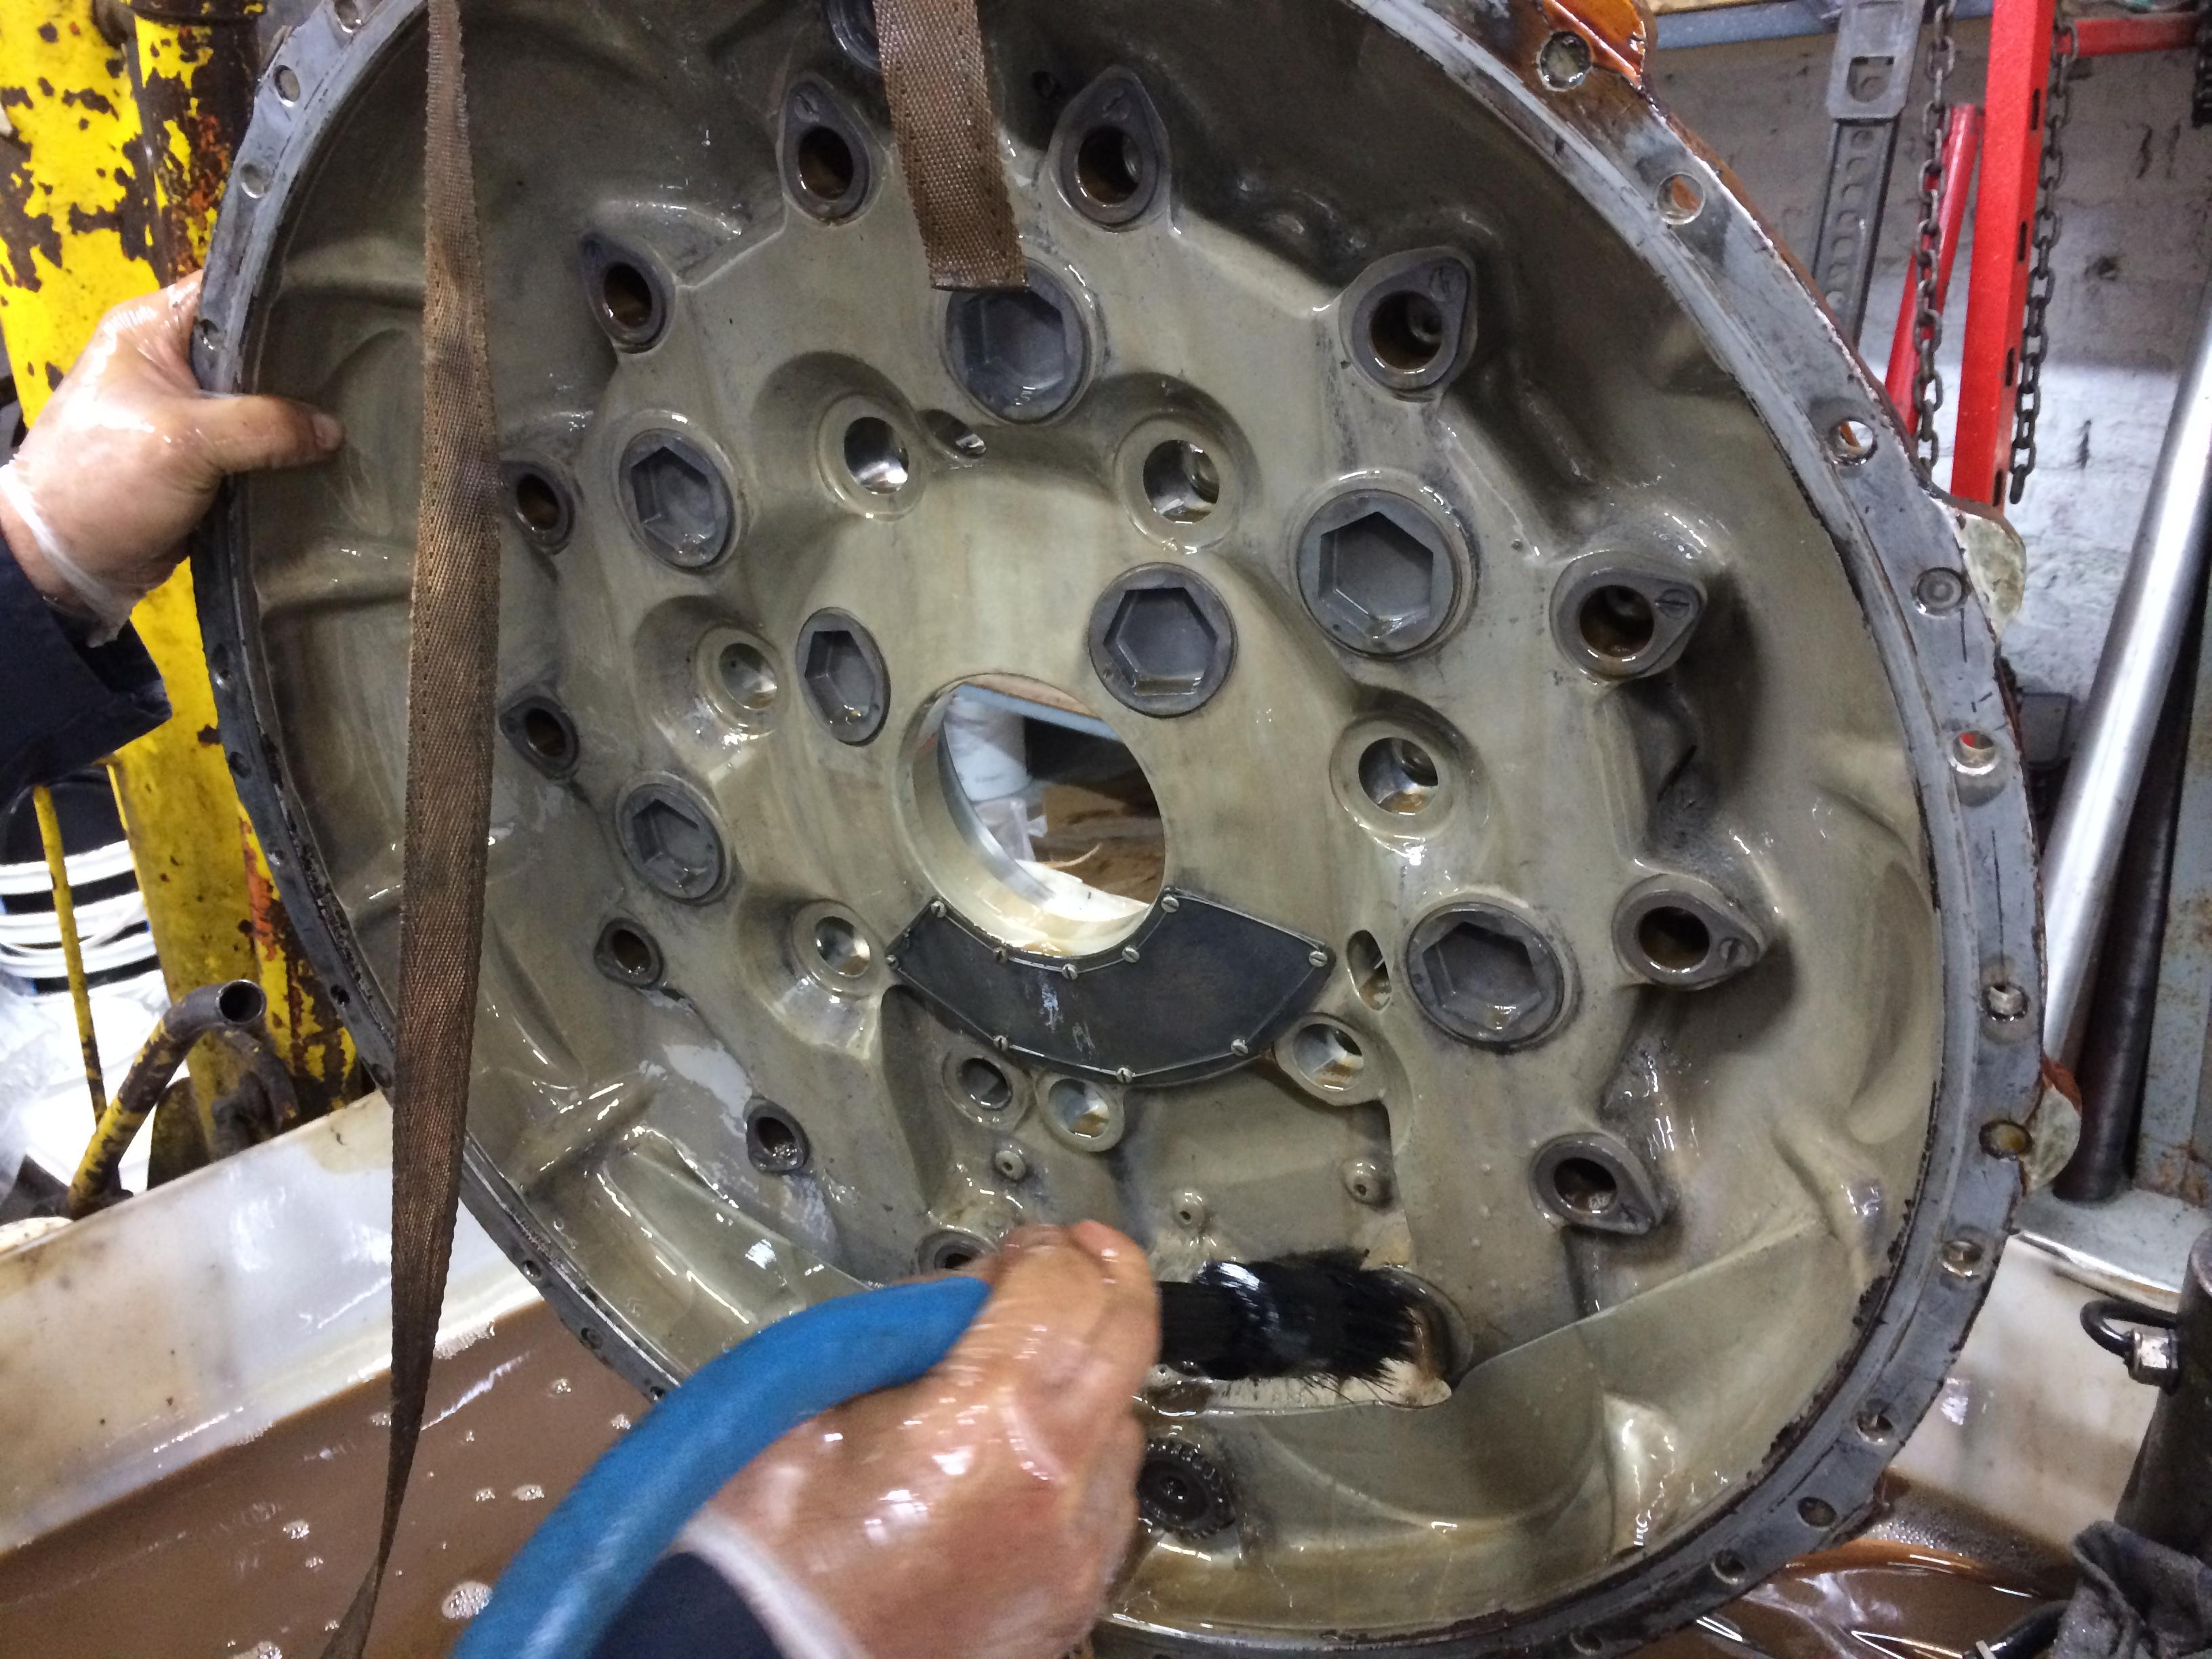
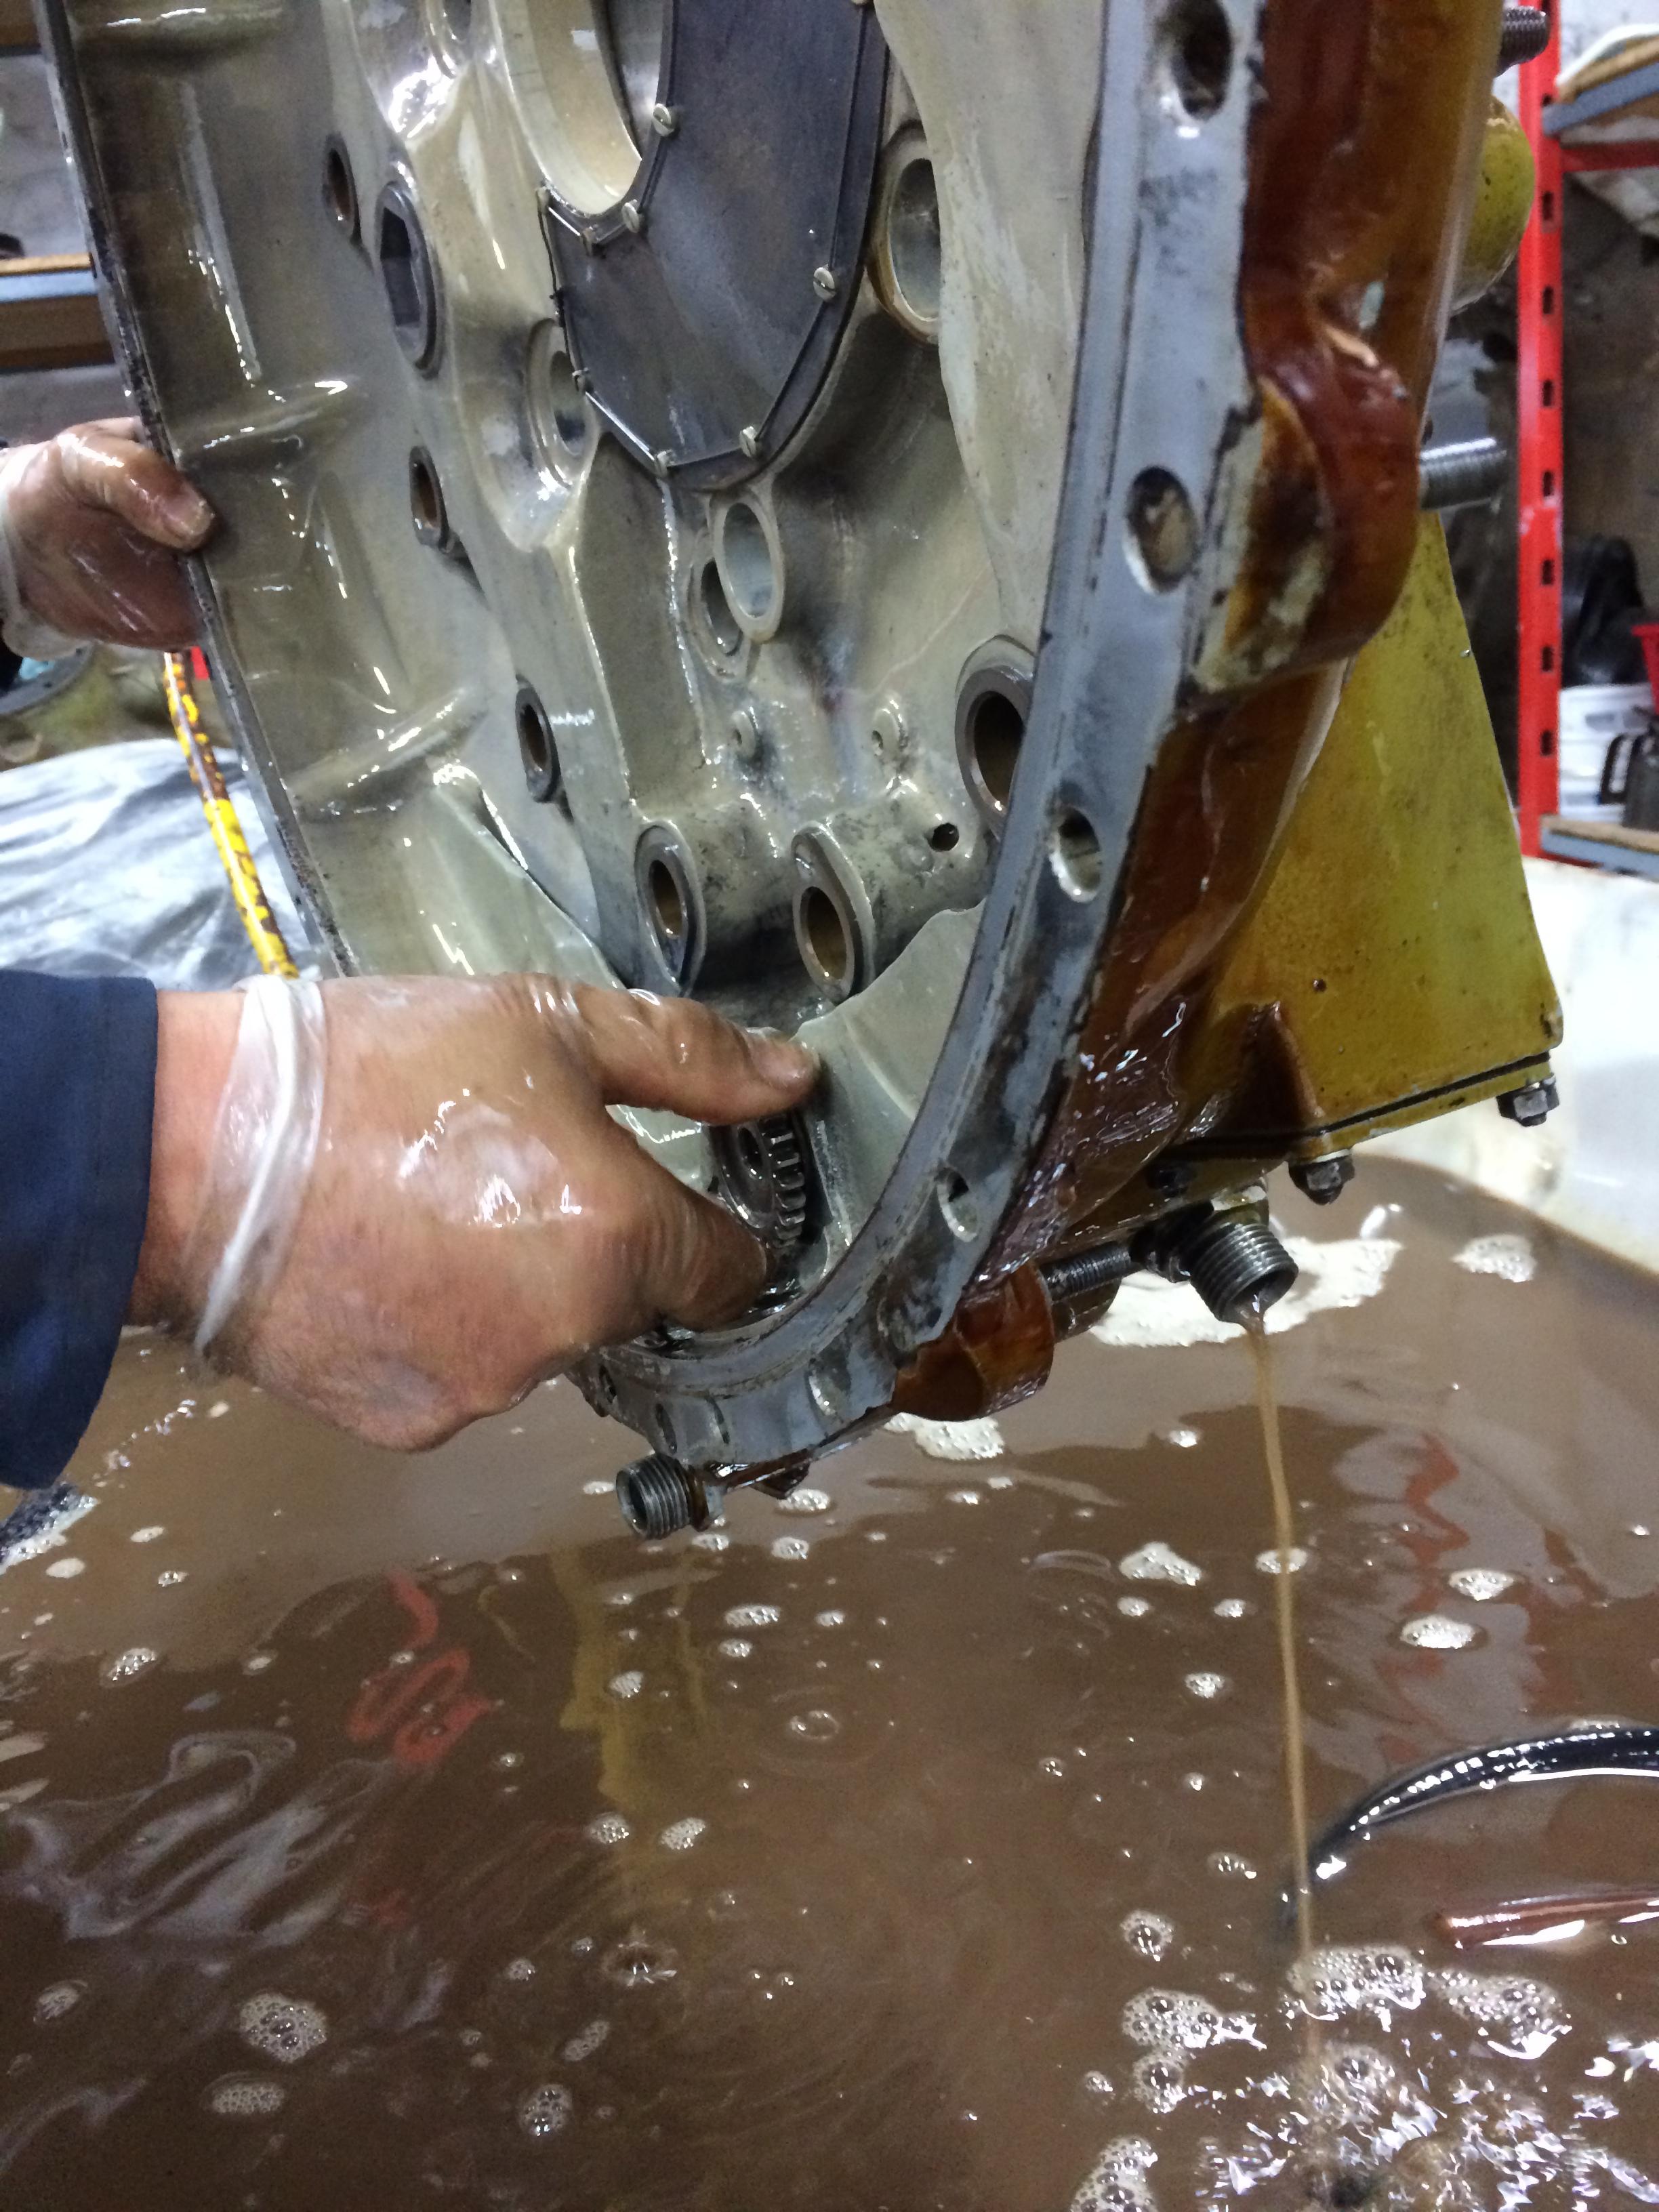
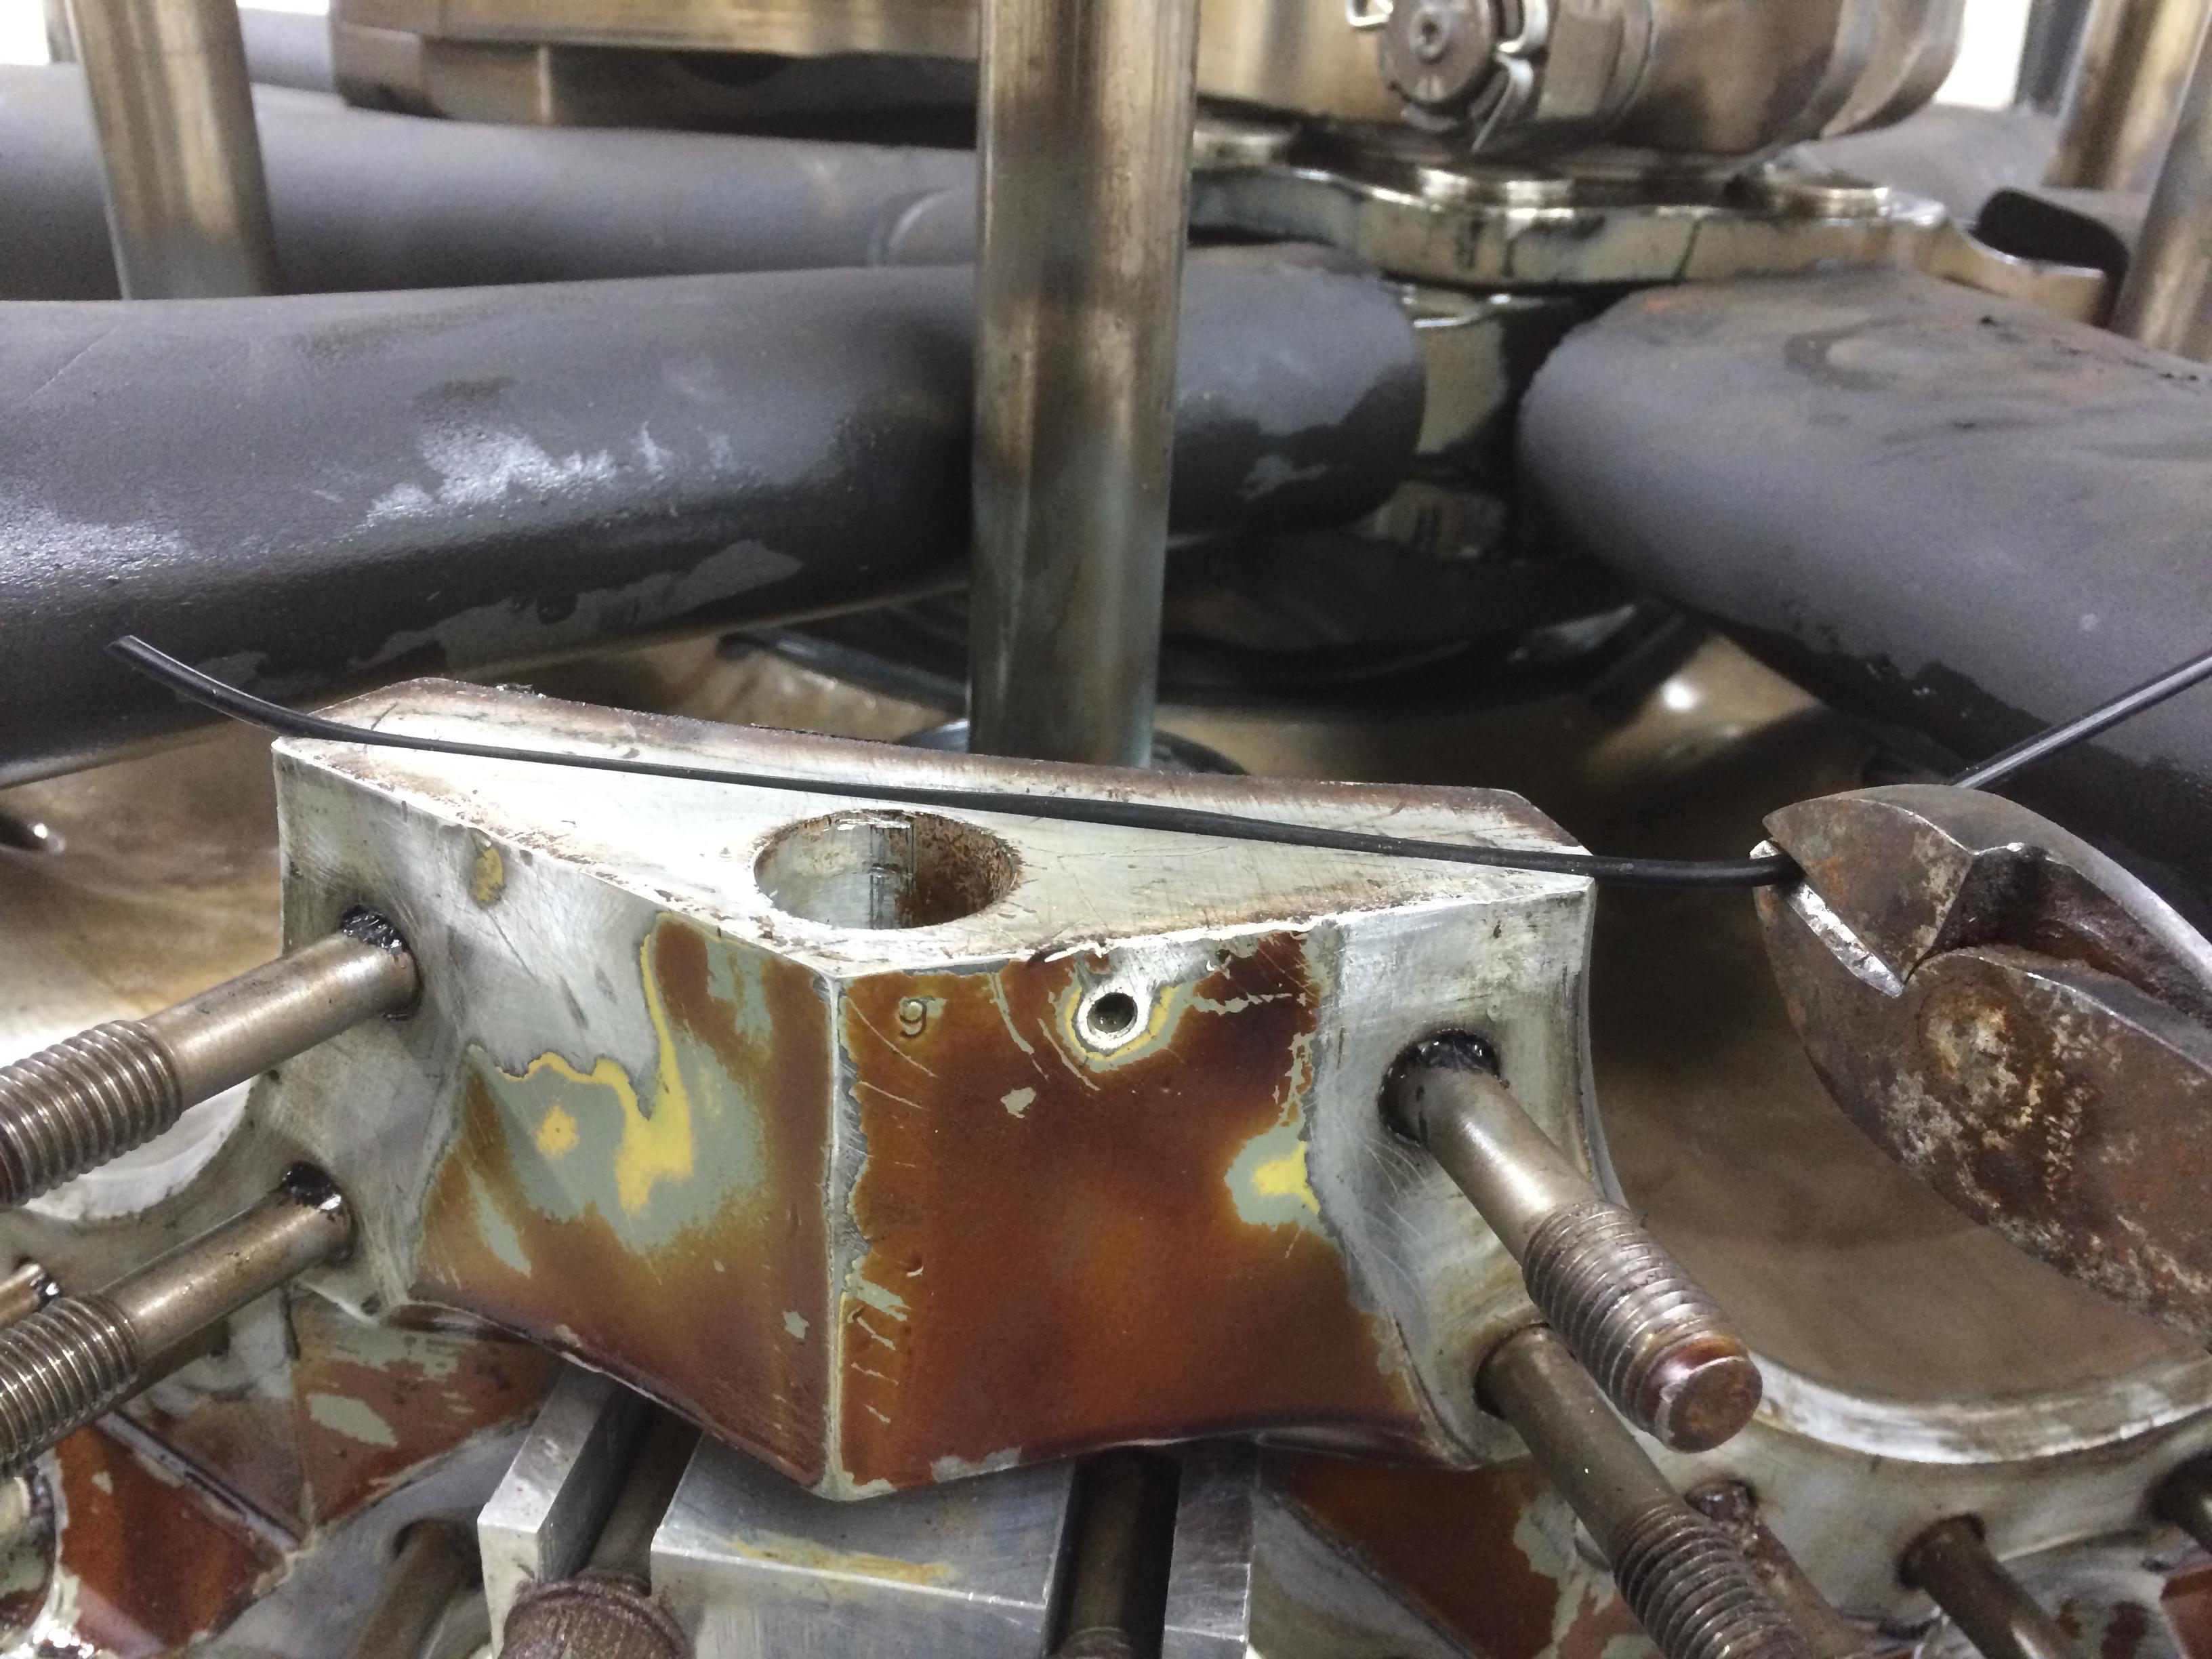
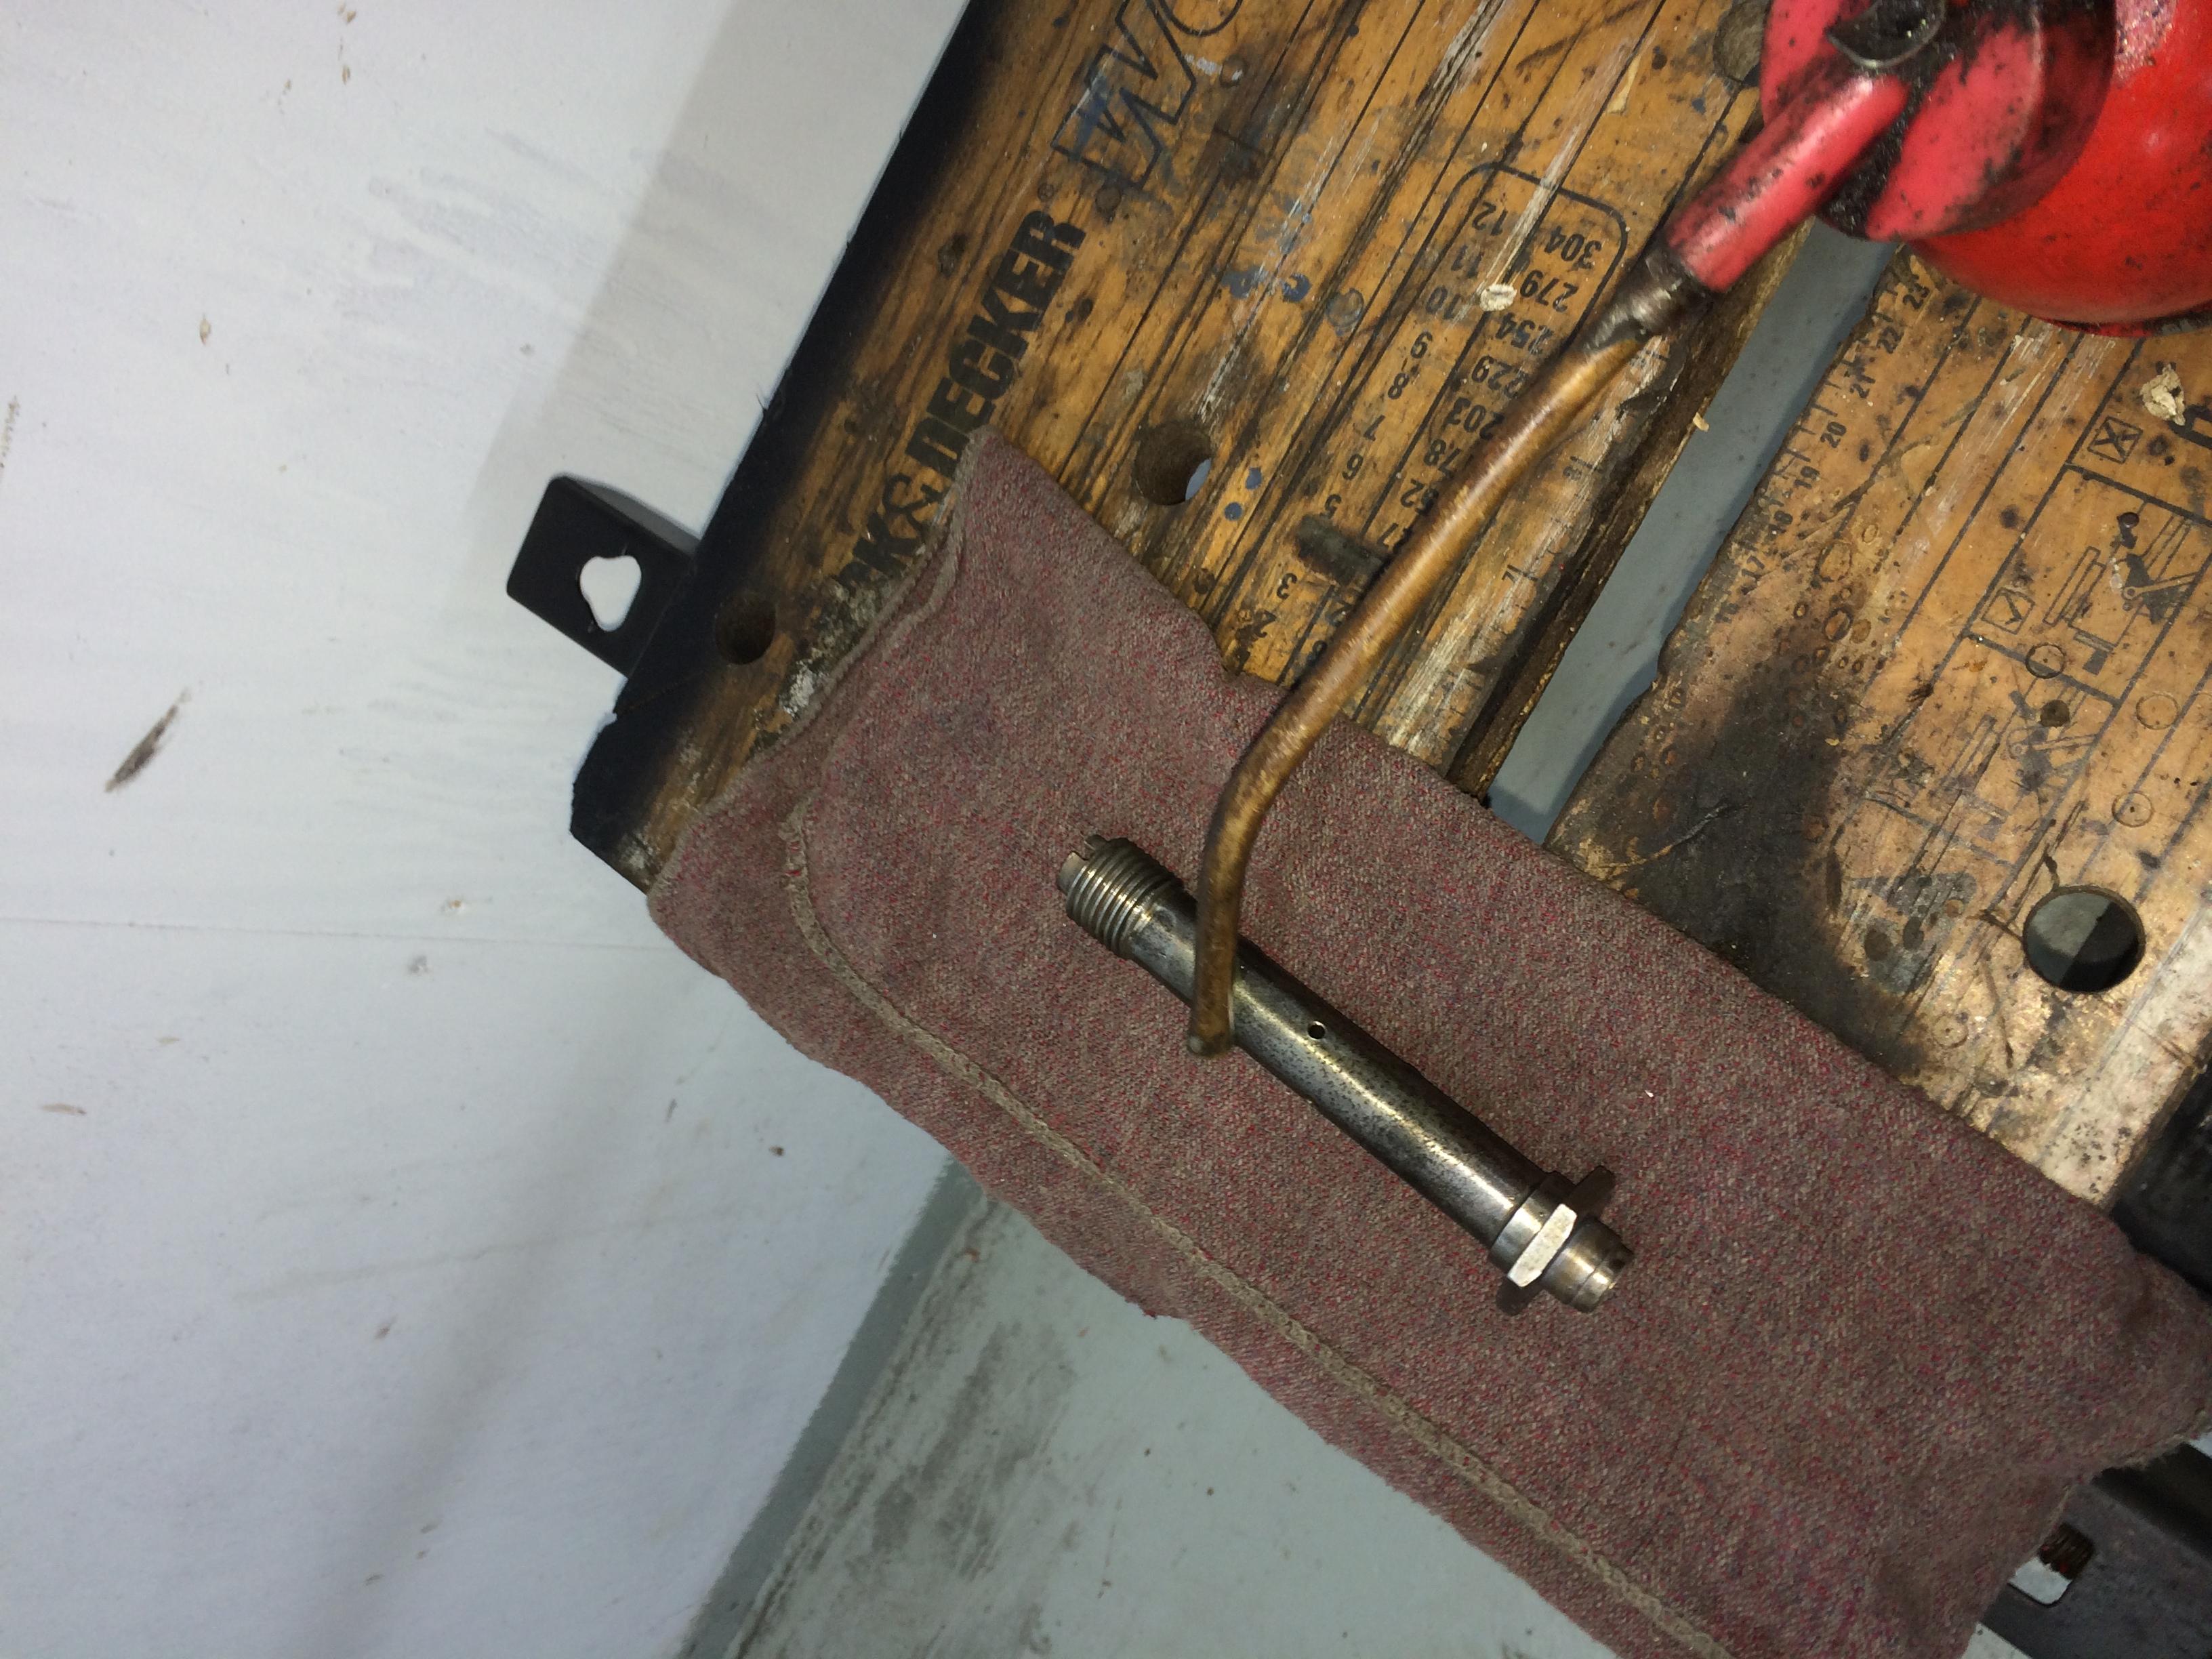
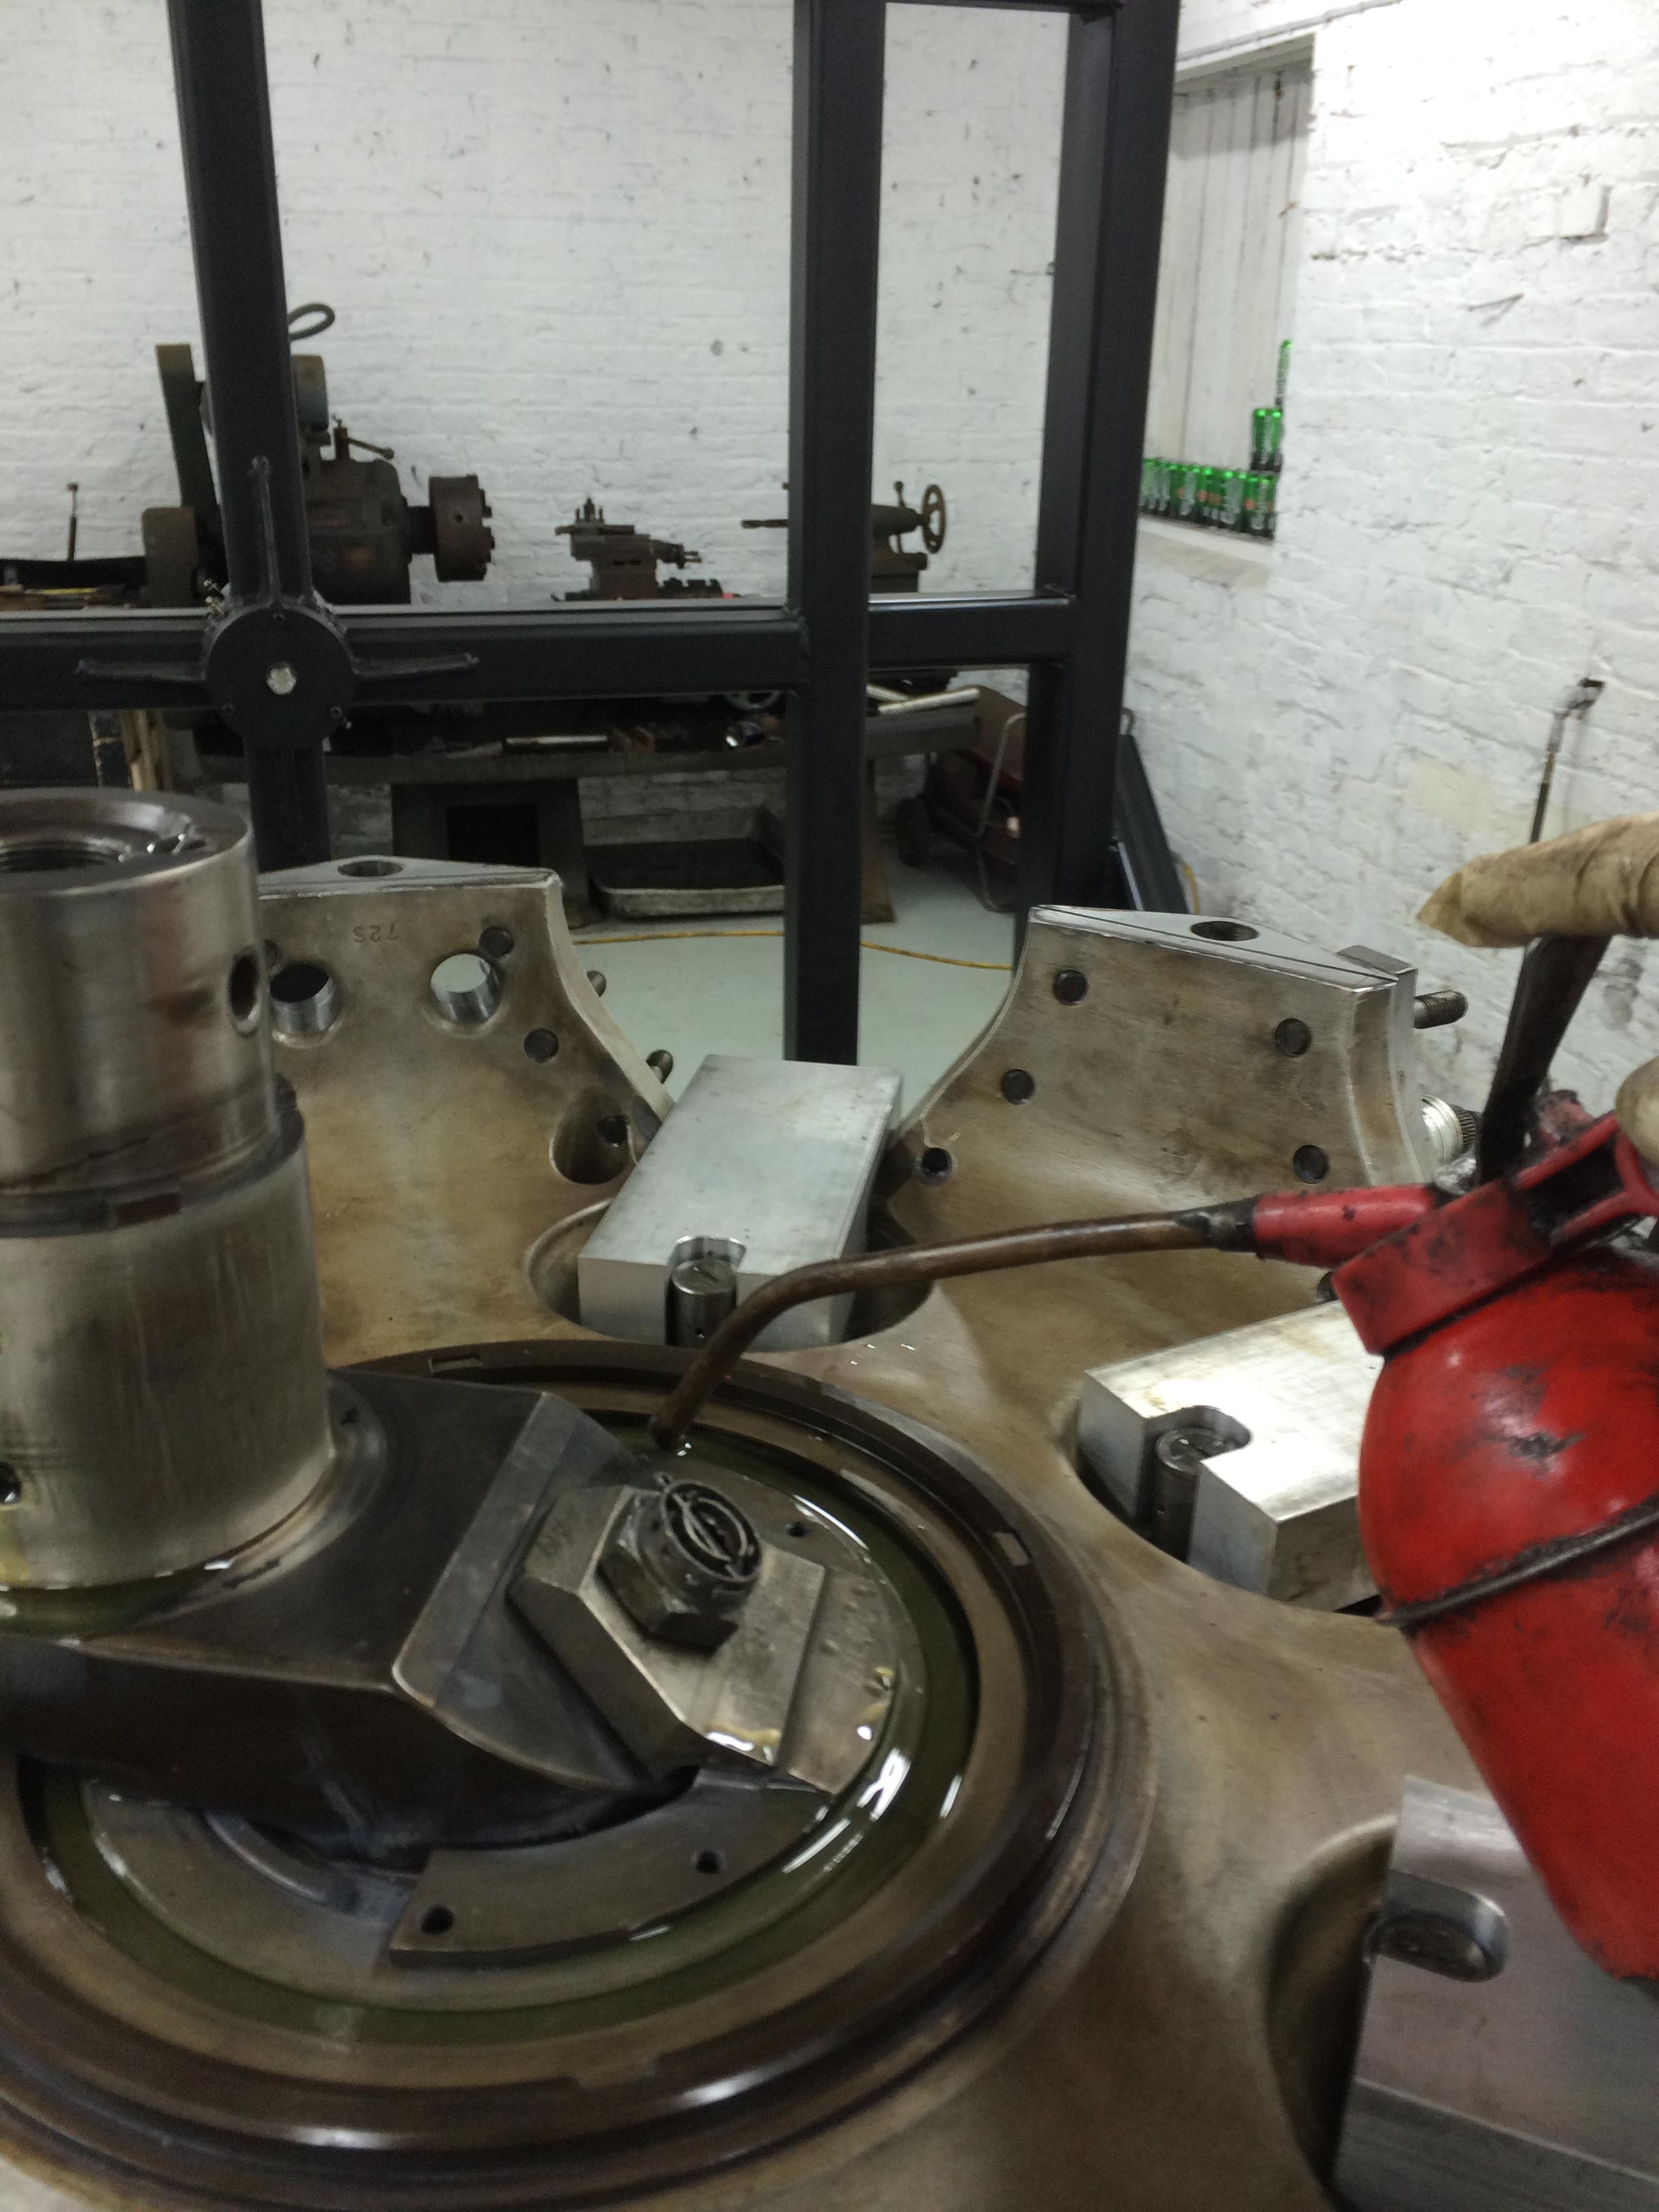
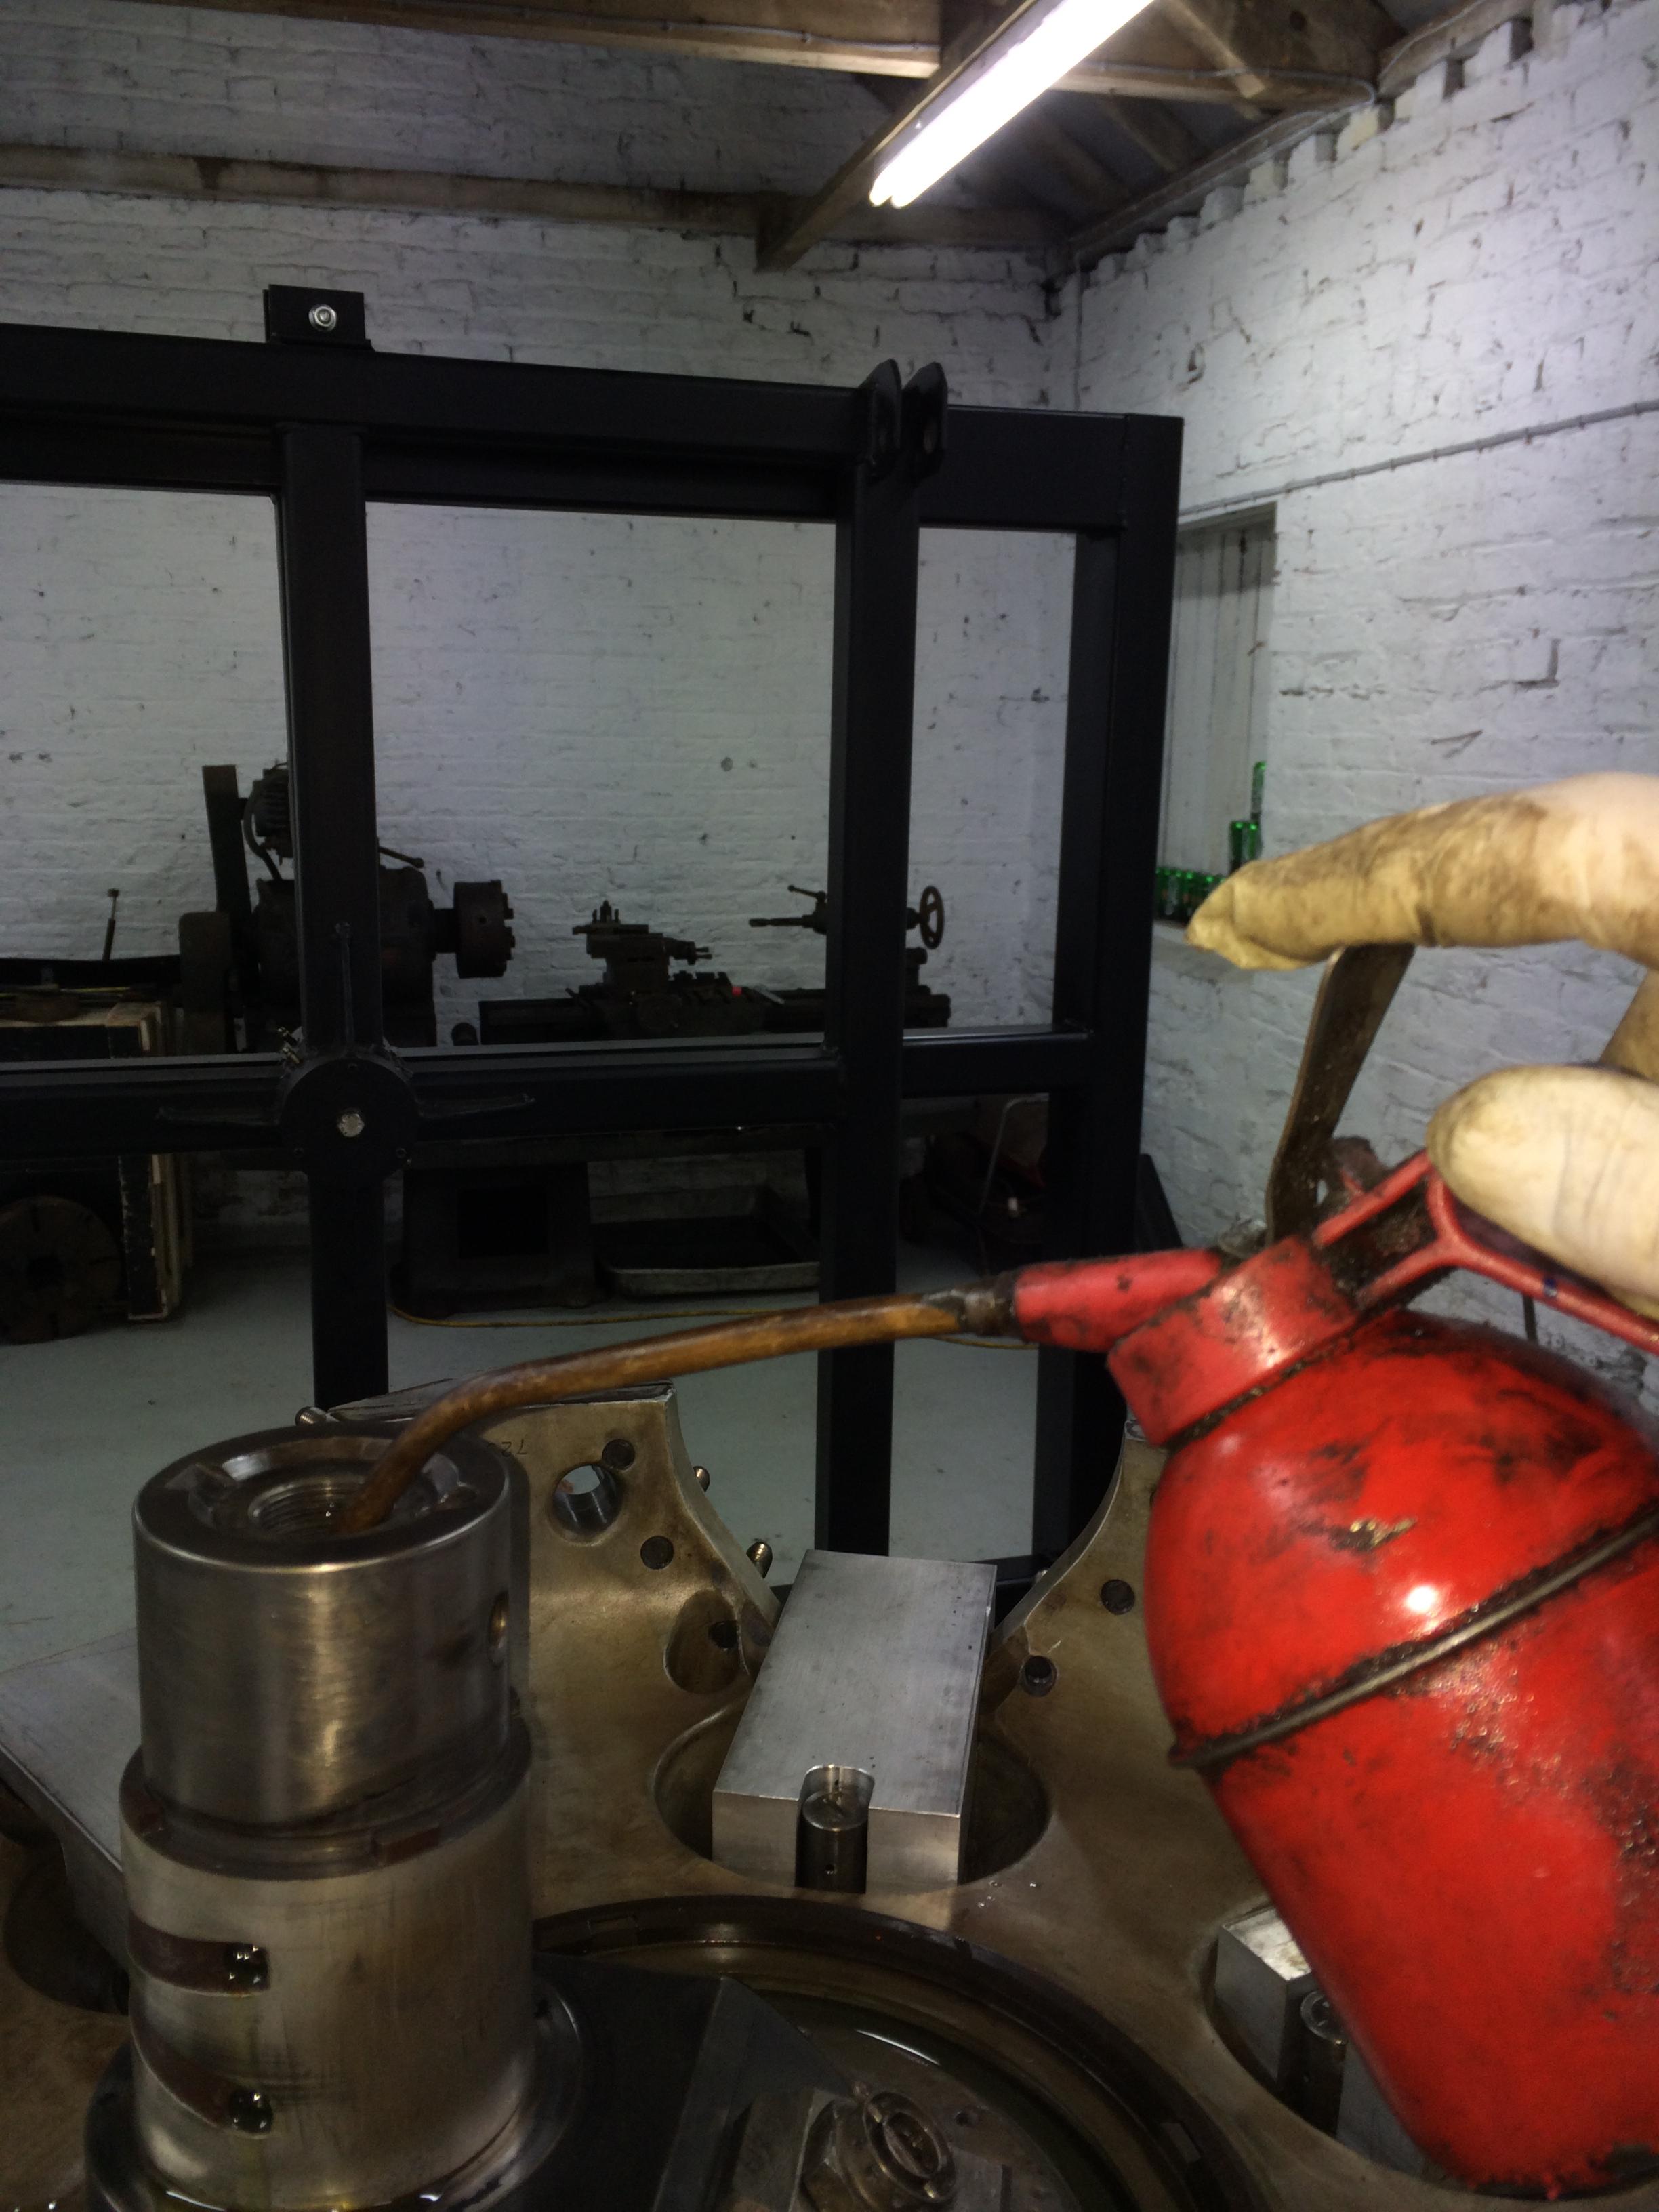
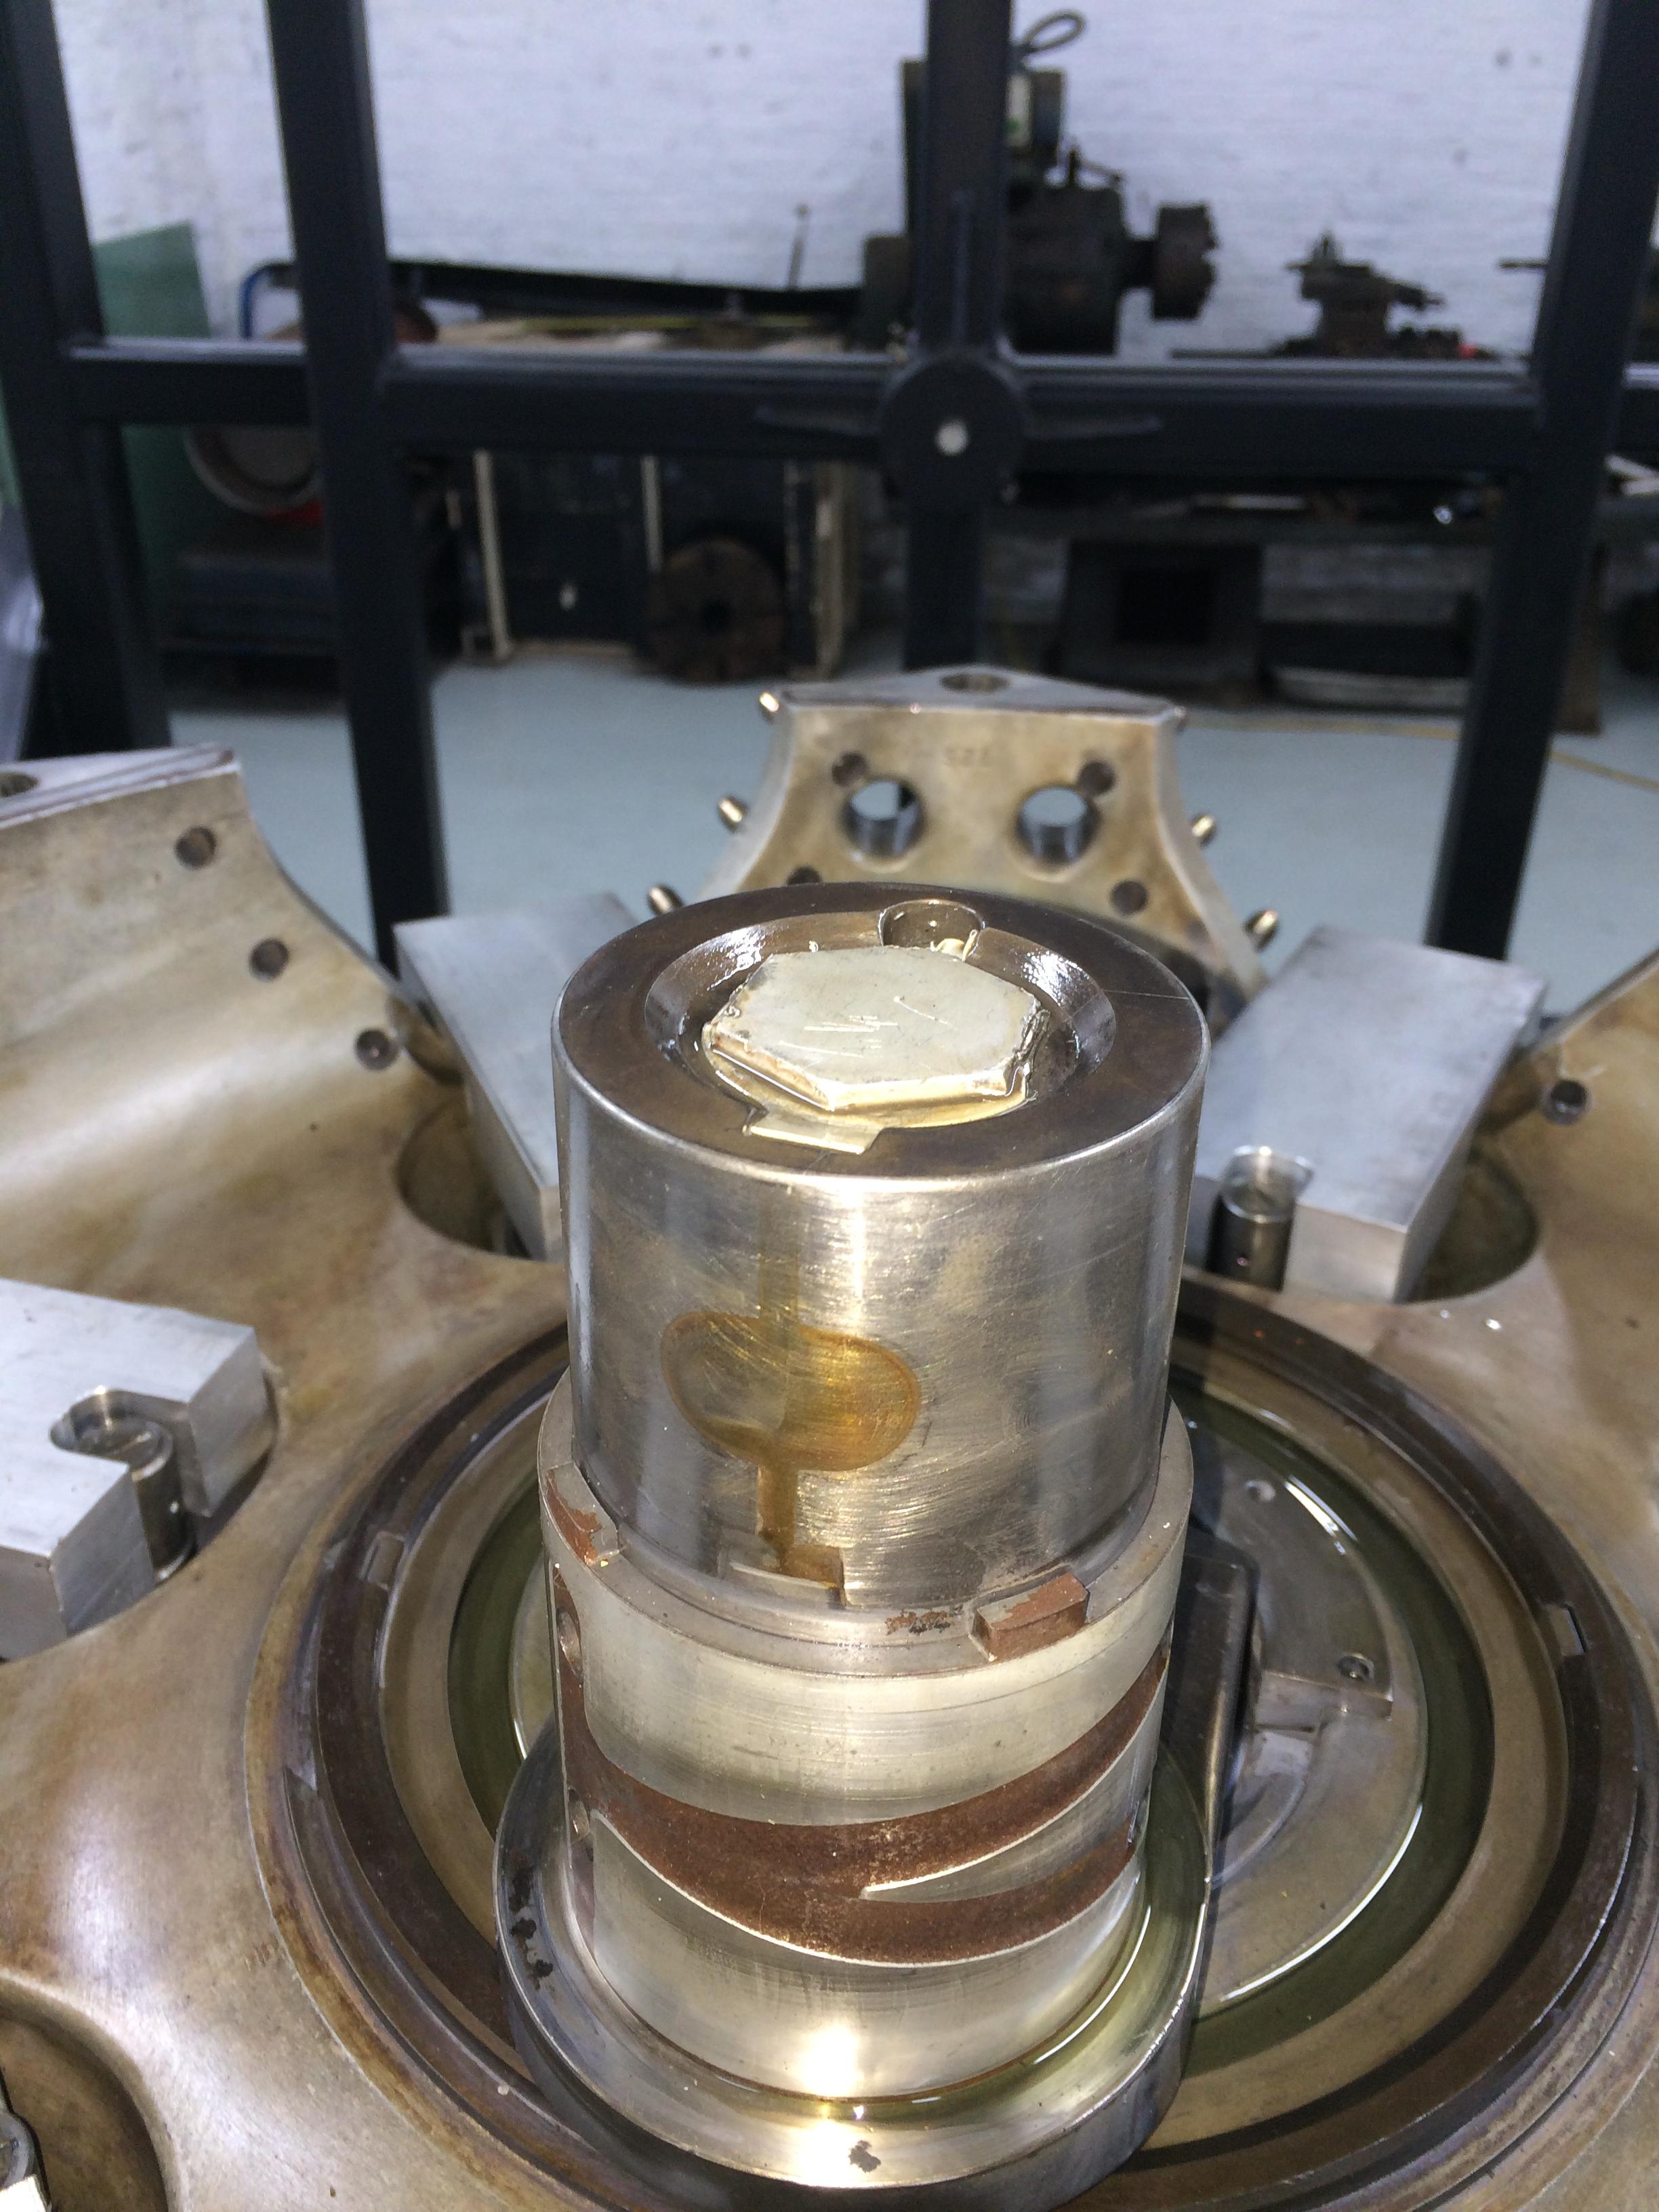
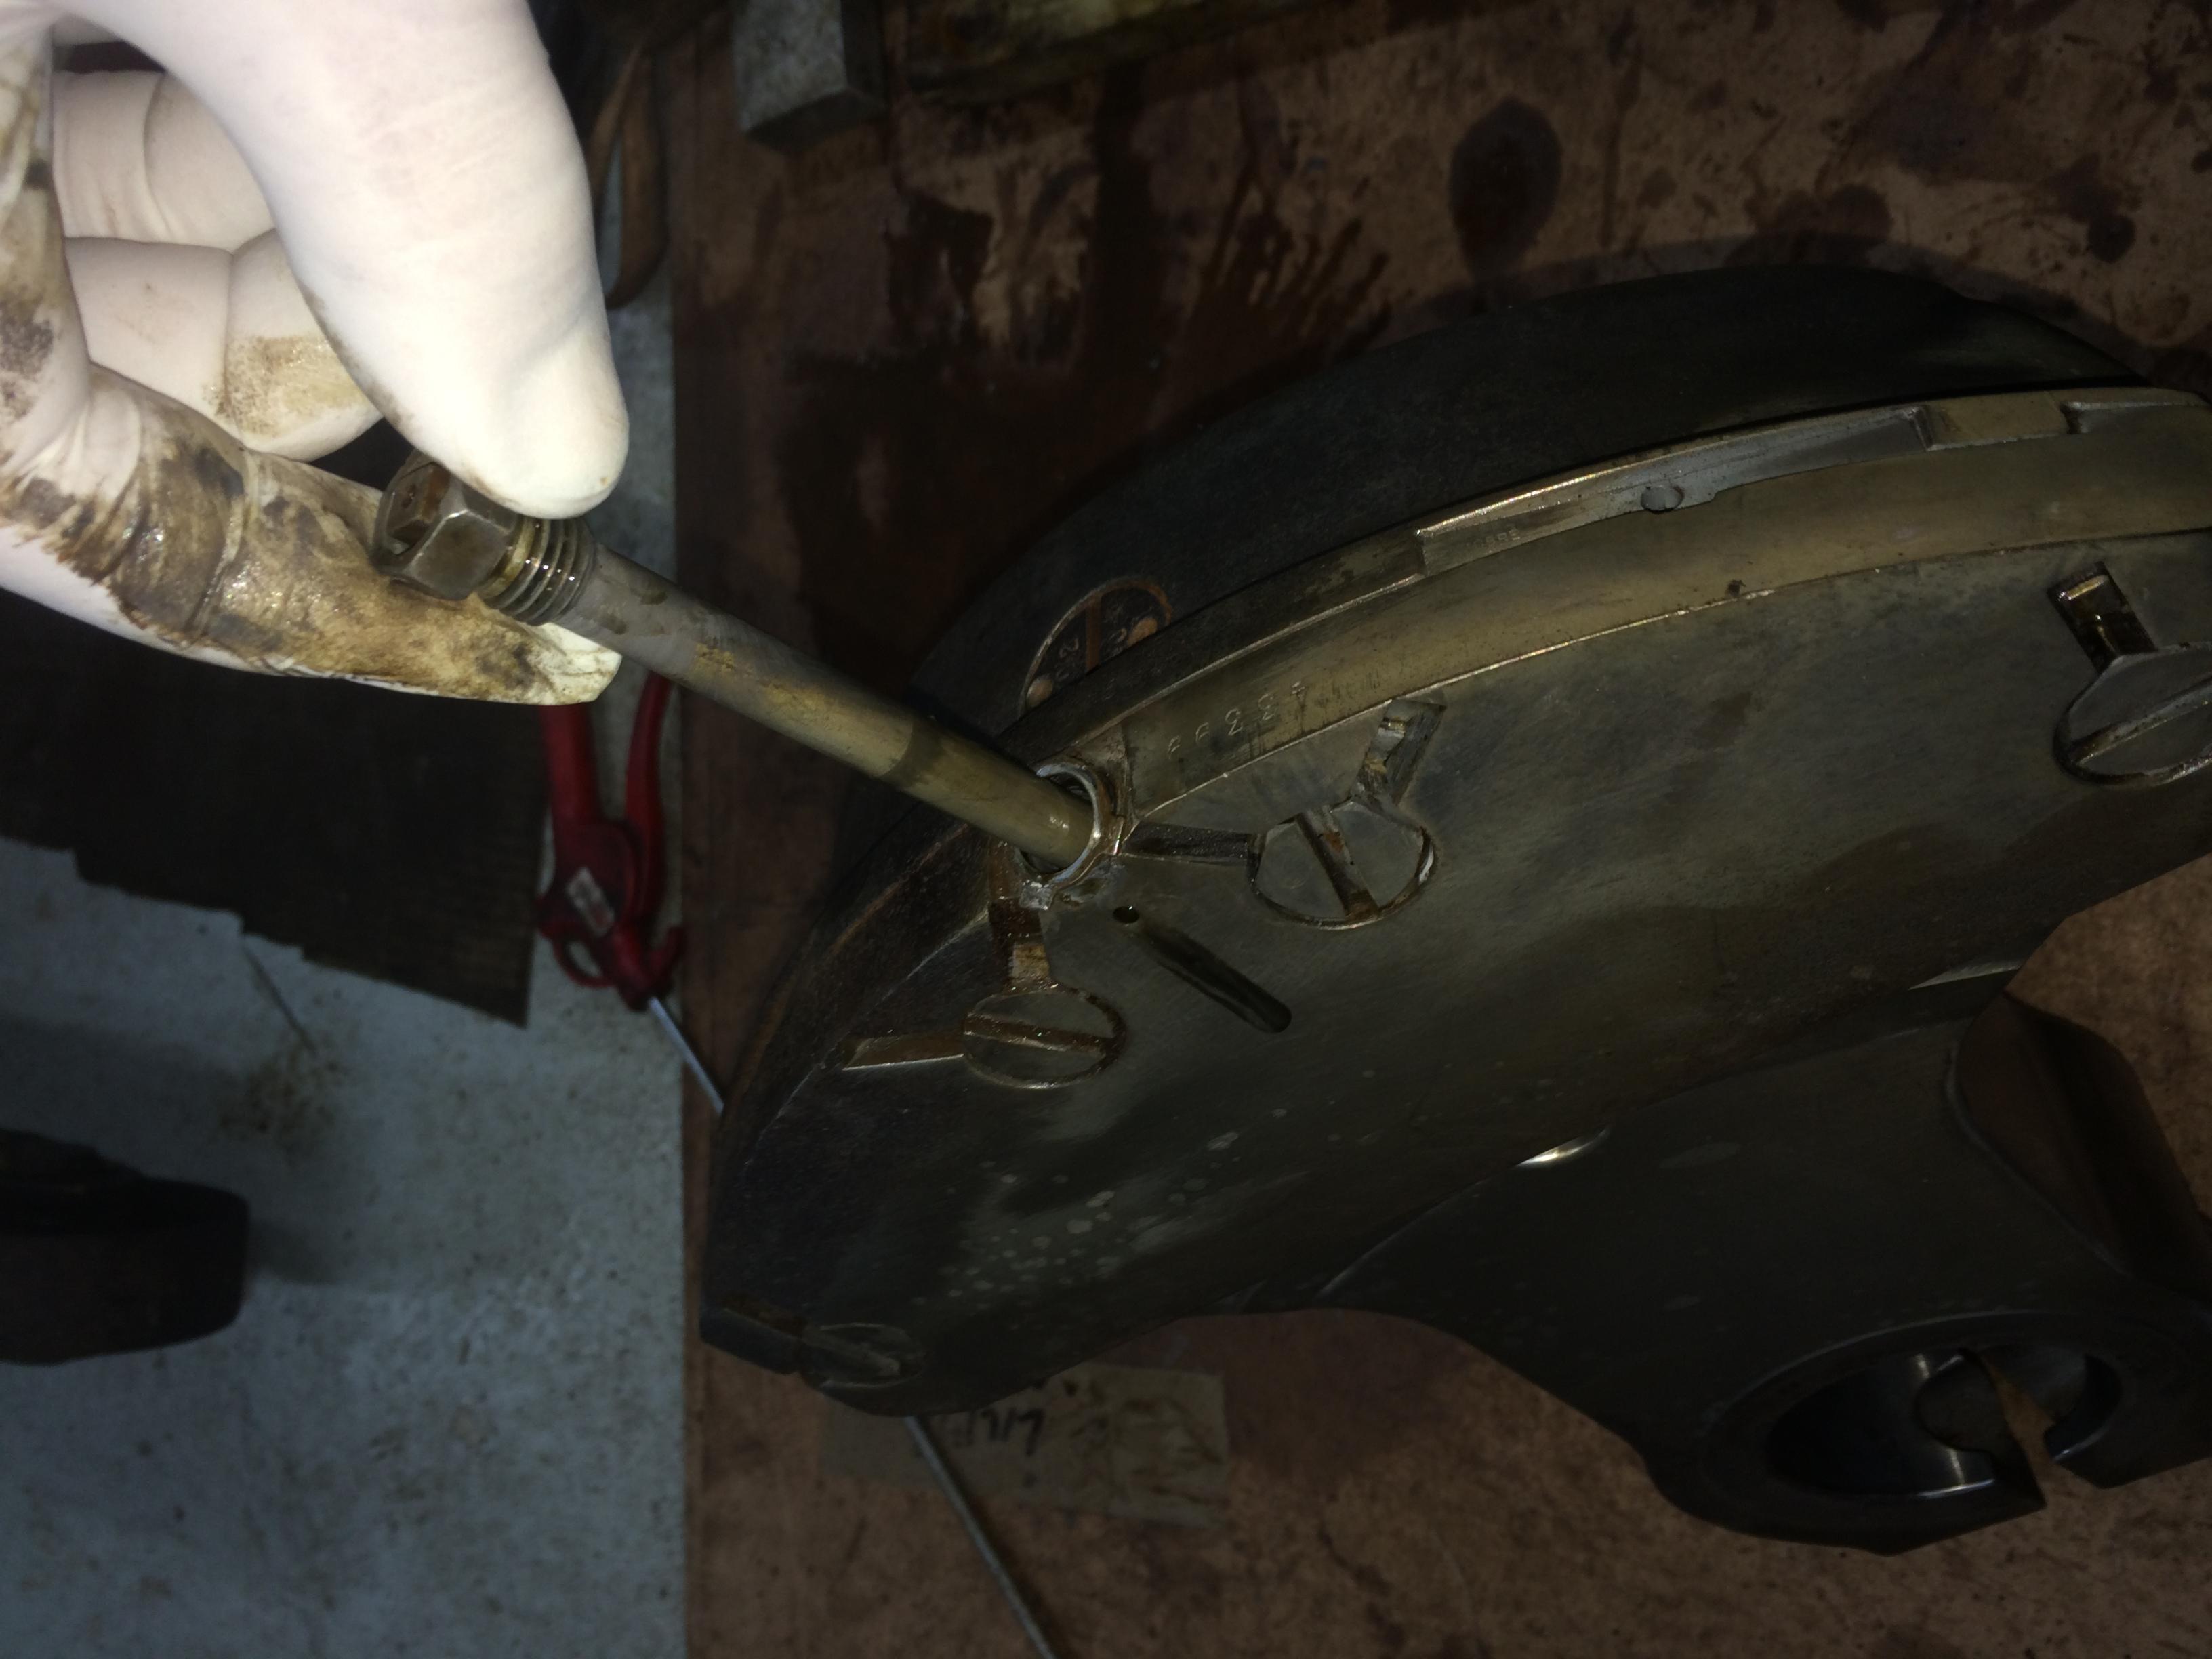
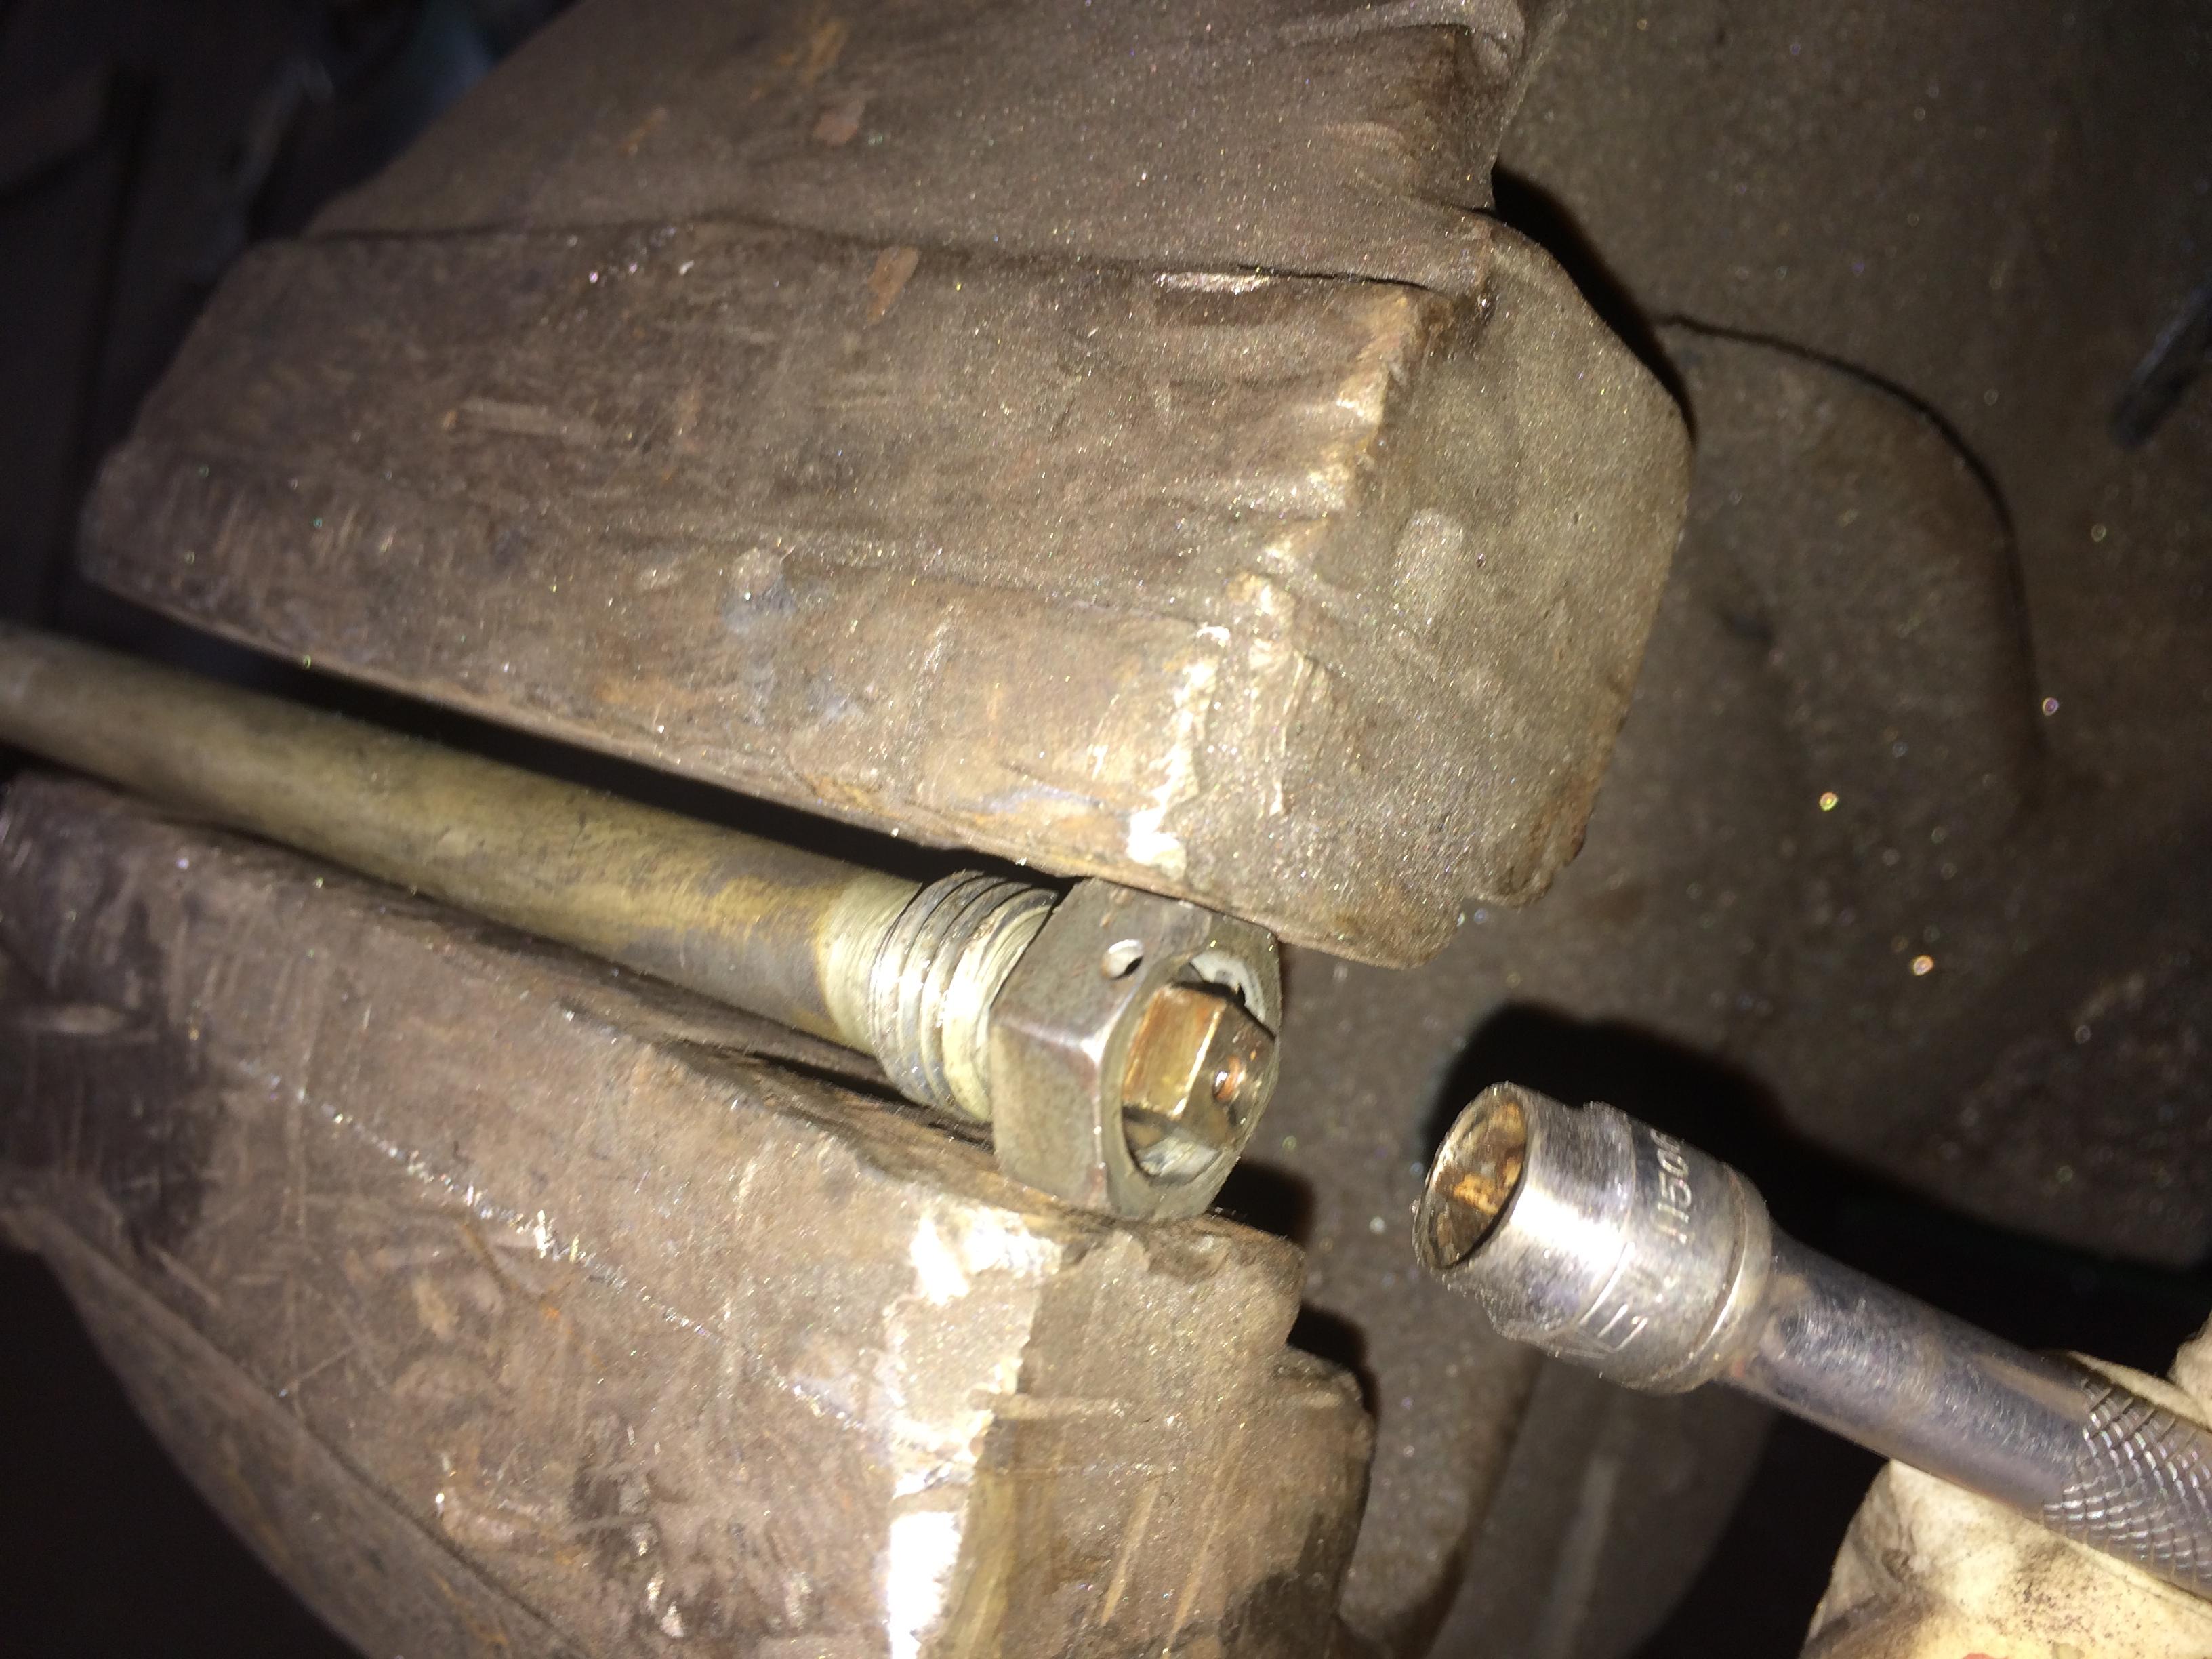
Oil Priming the engine before a start up after laying dormant for so long is essential,

216 Oil Prime 004 216 Oil Prime 003

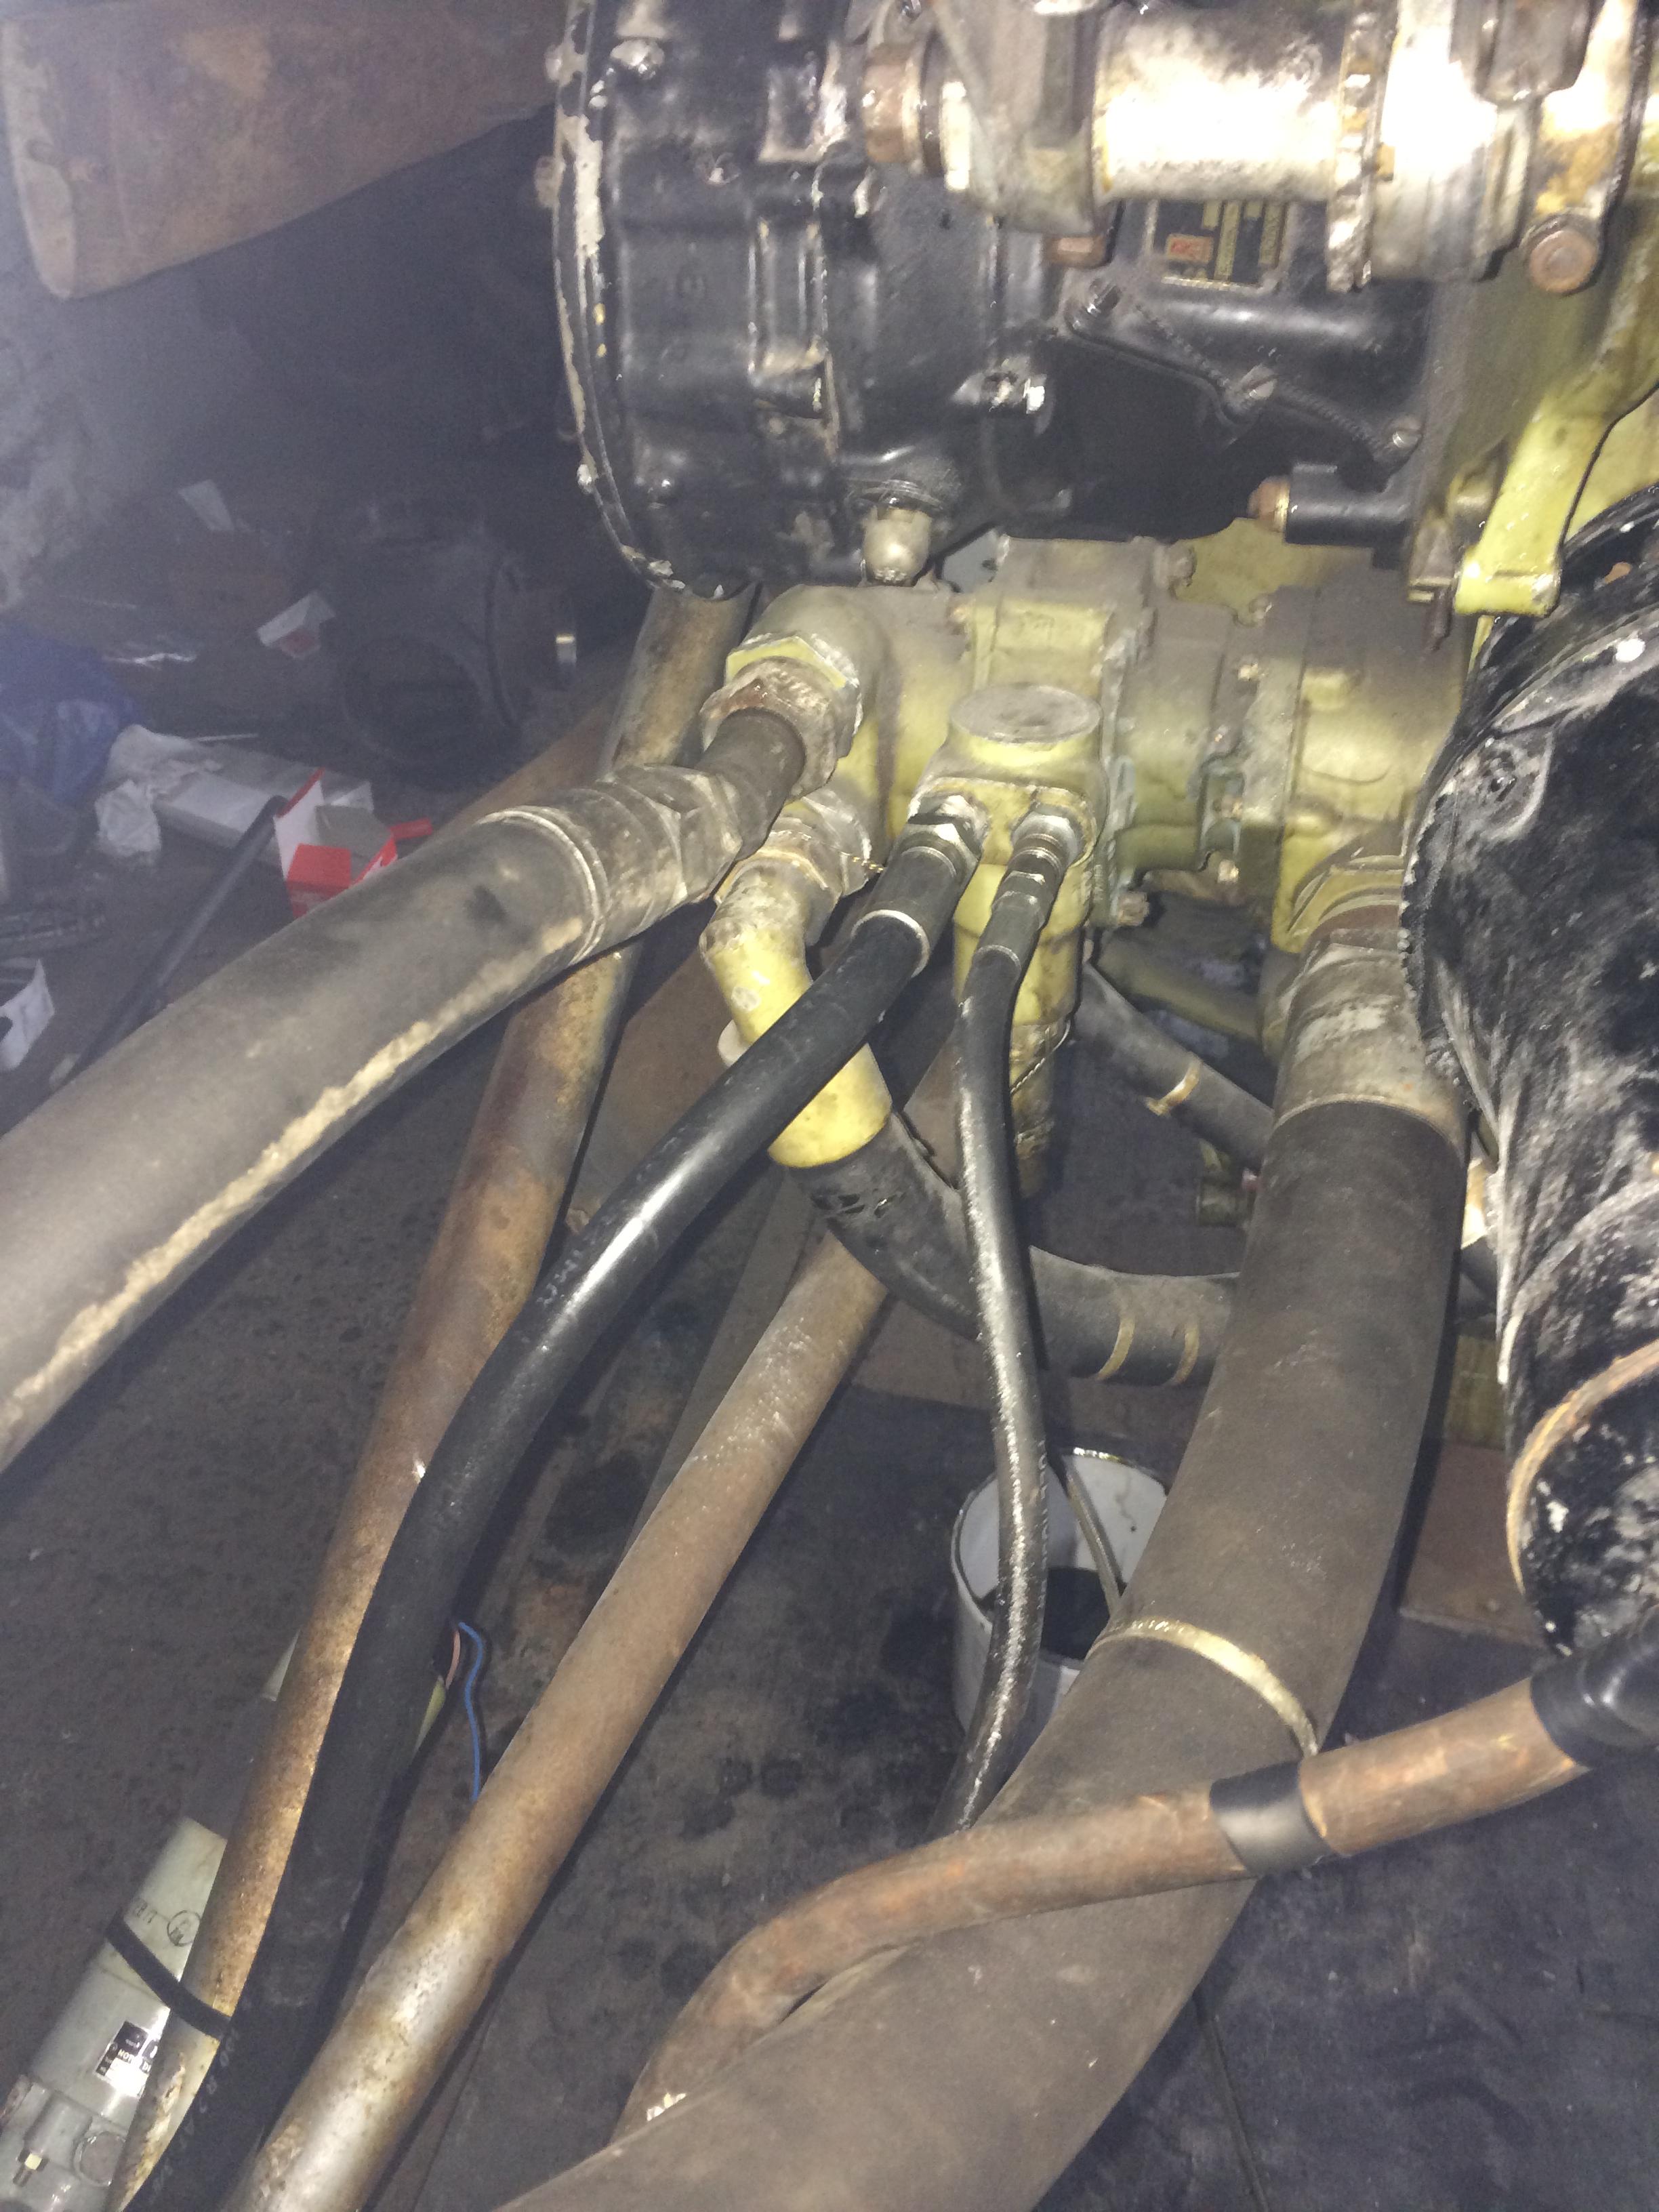
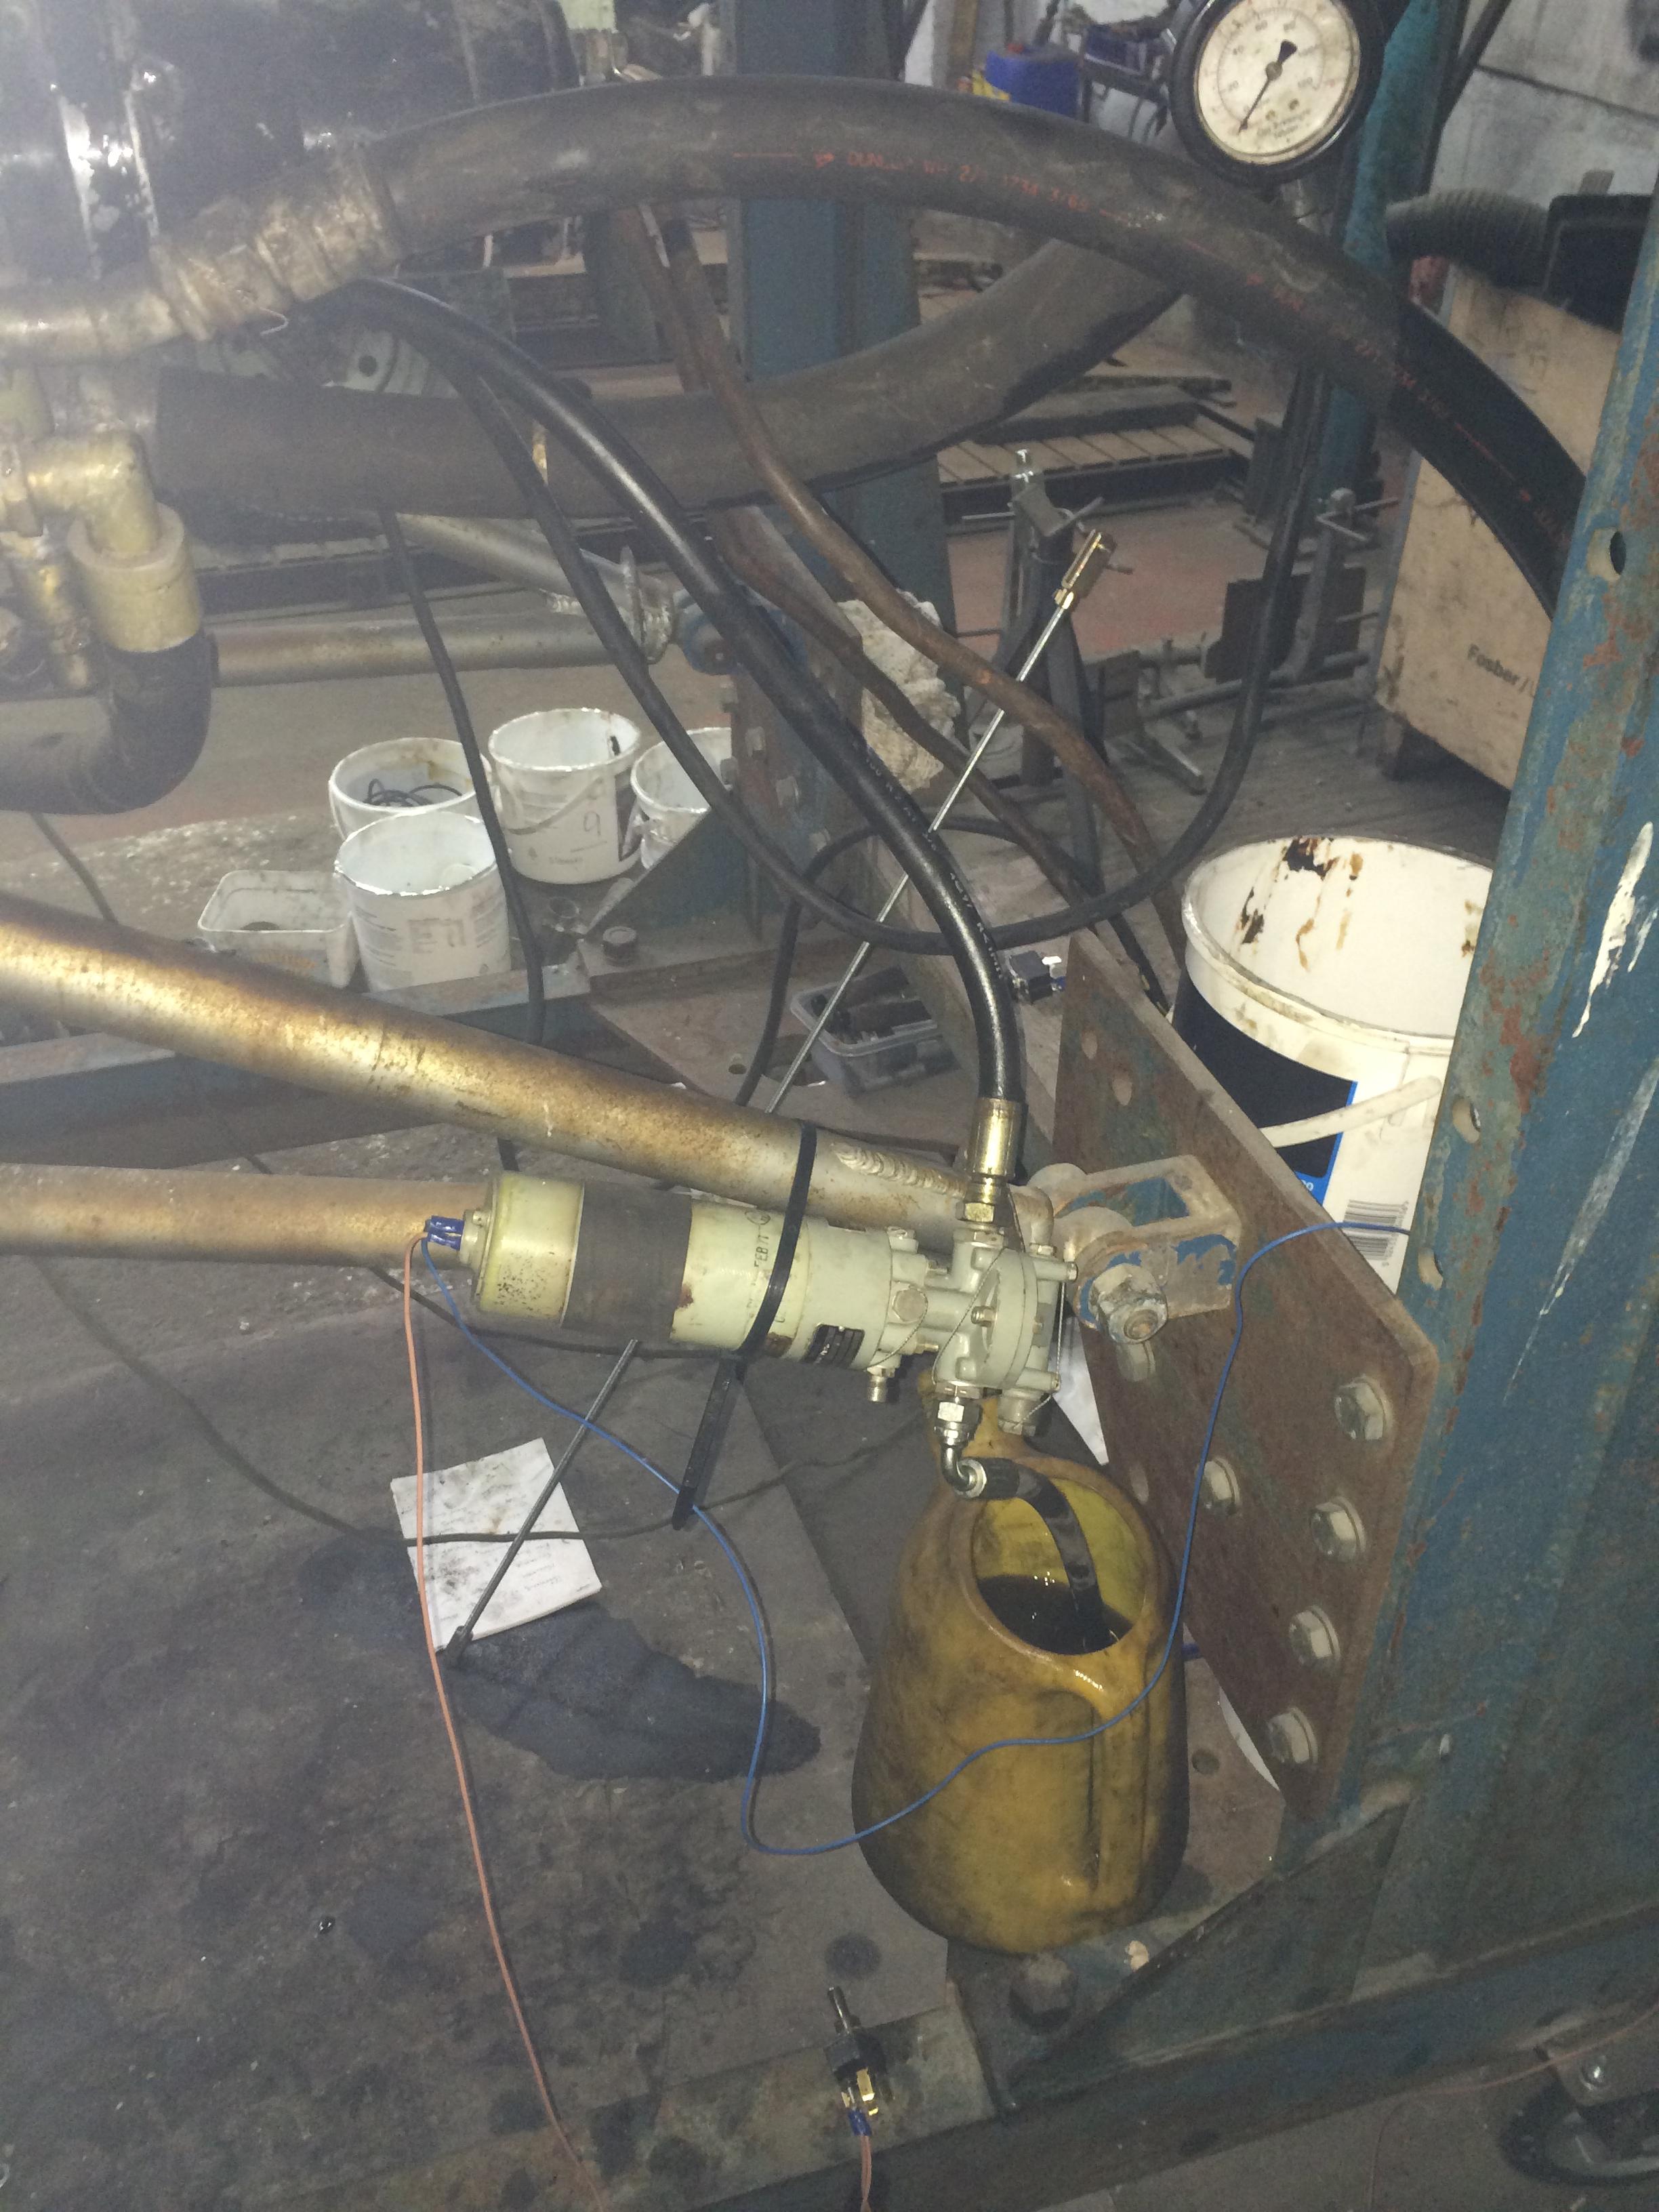
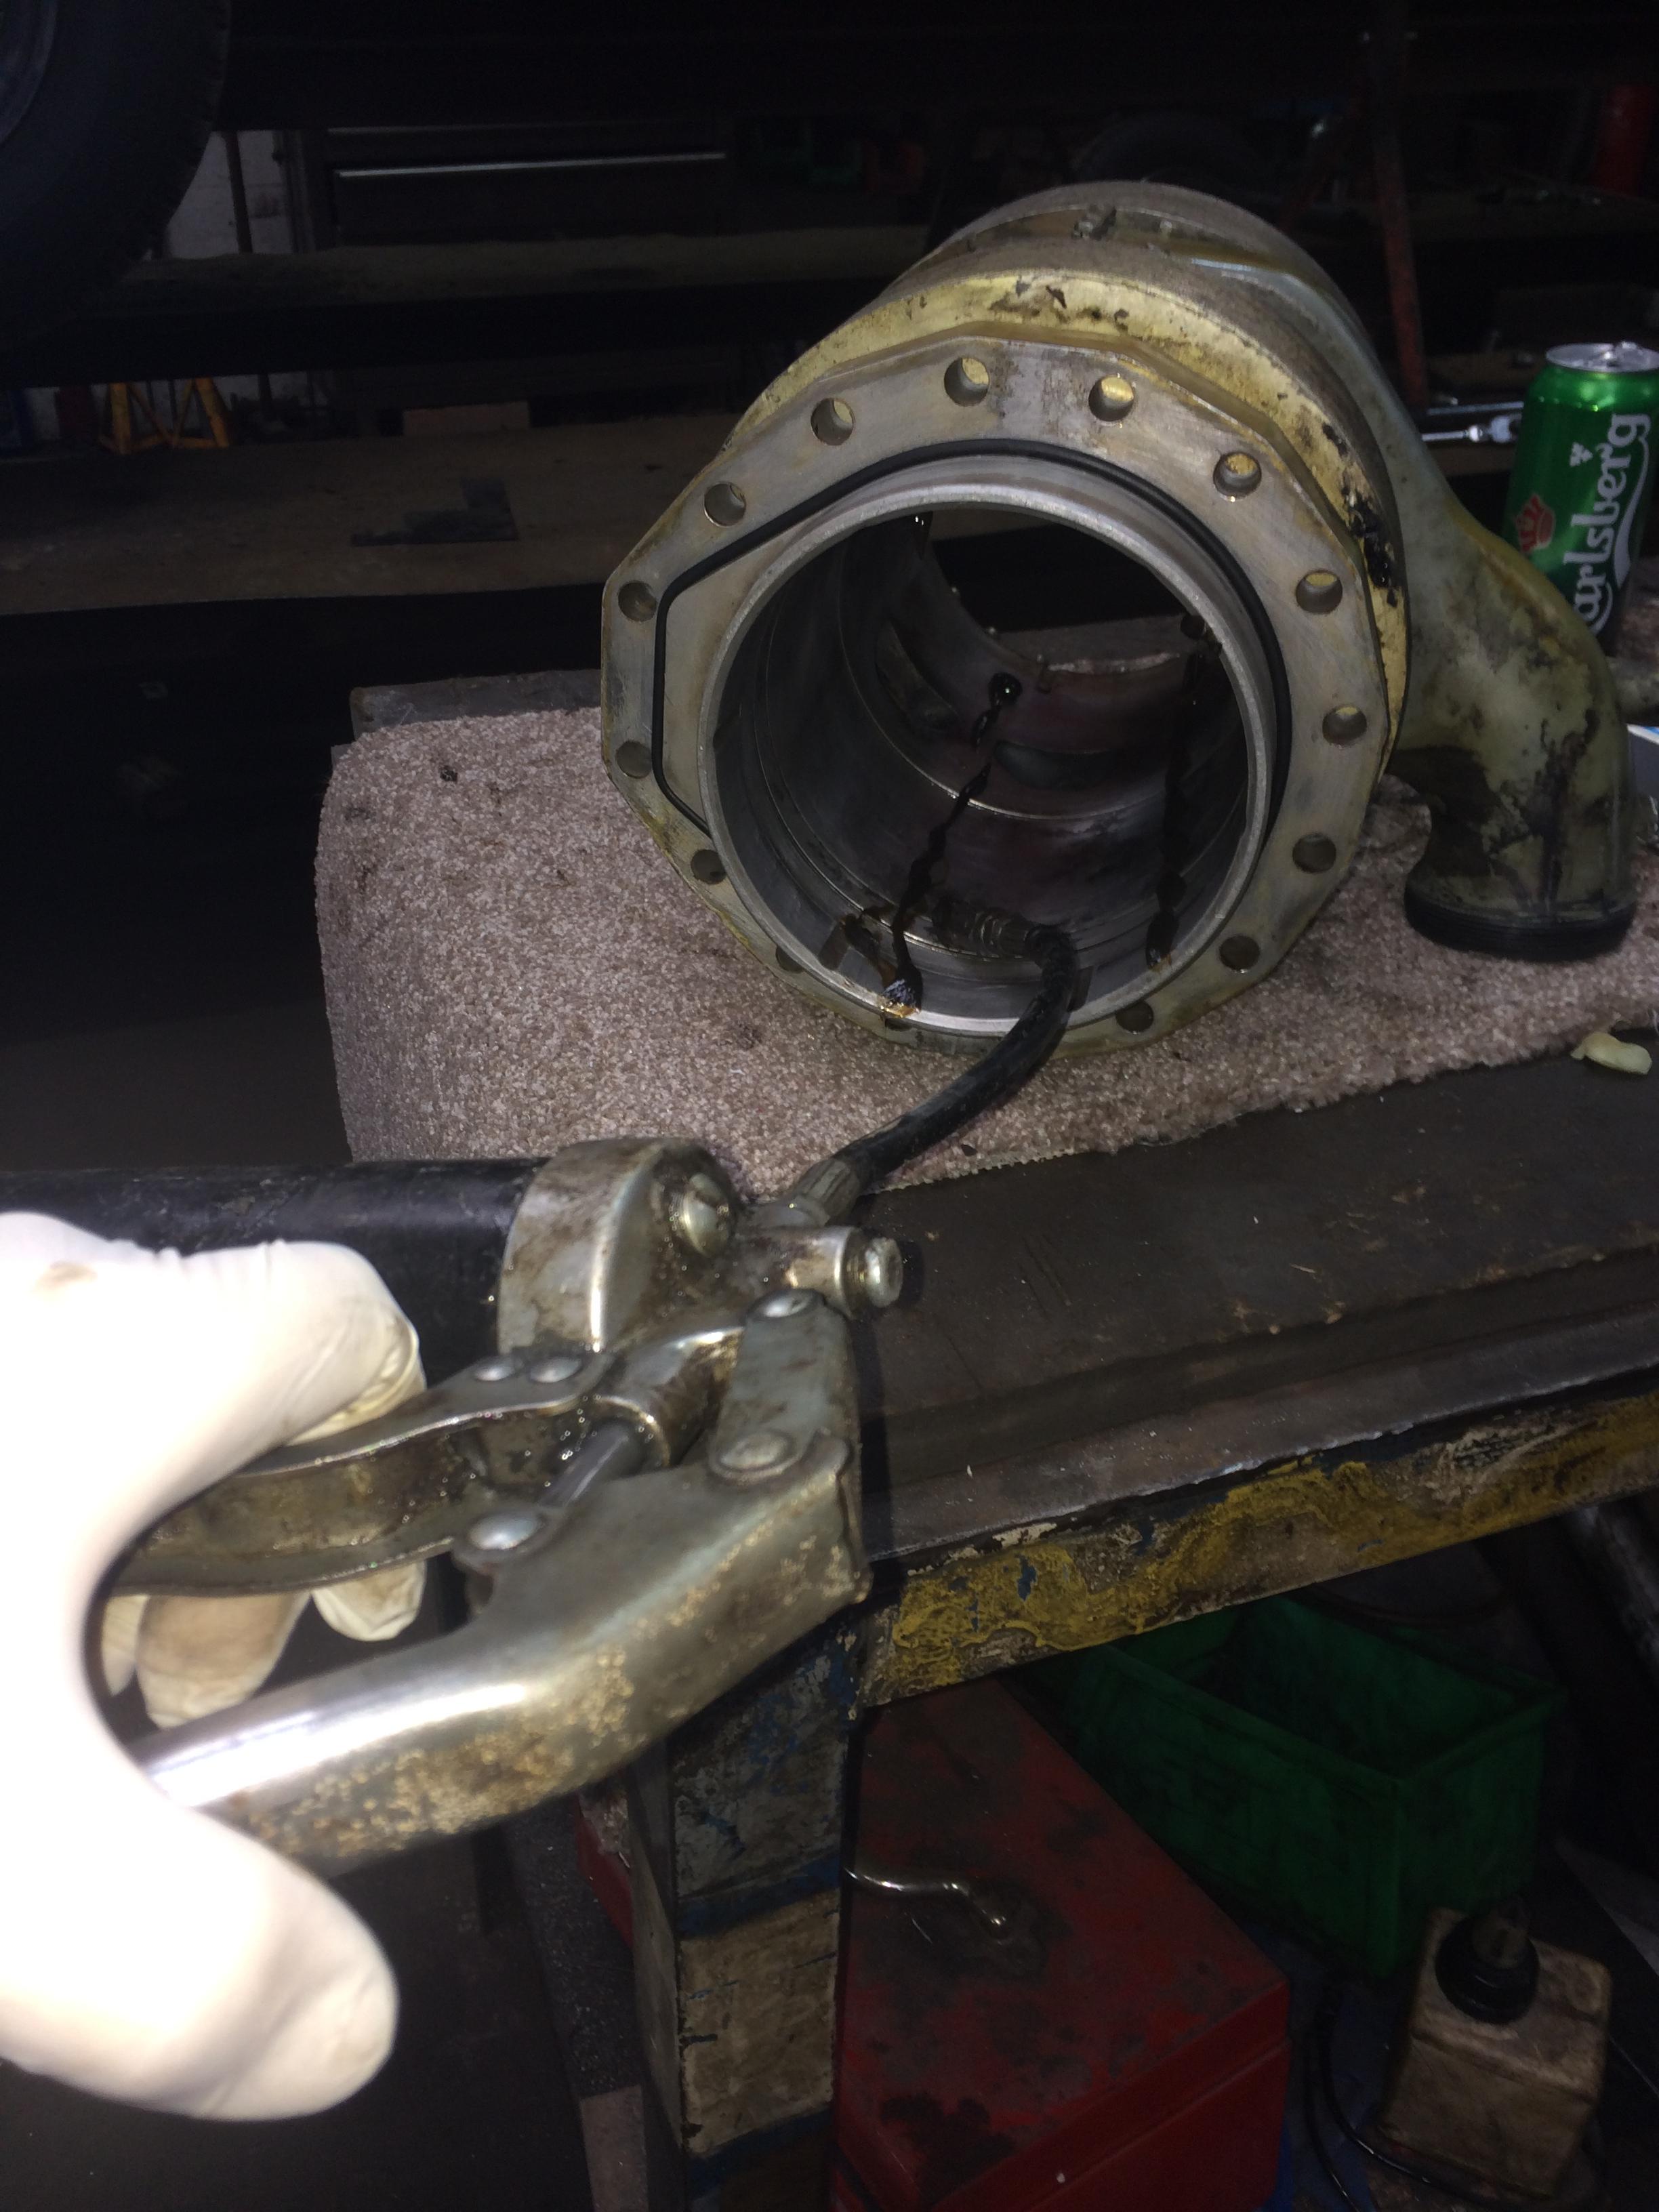
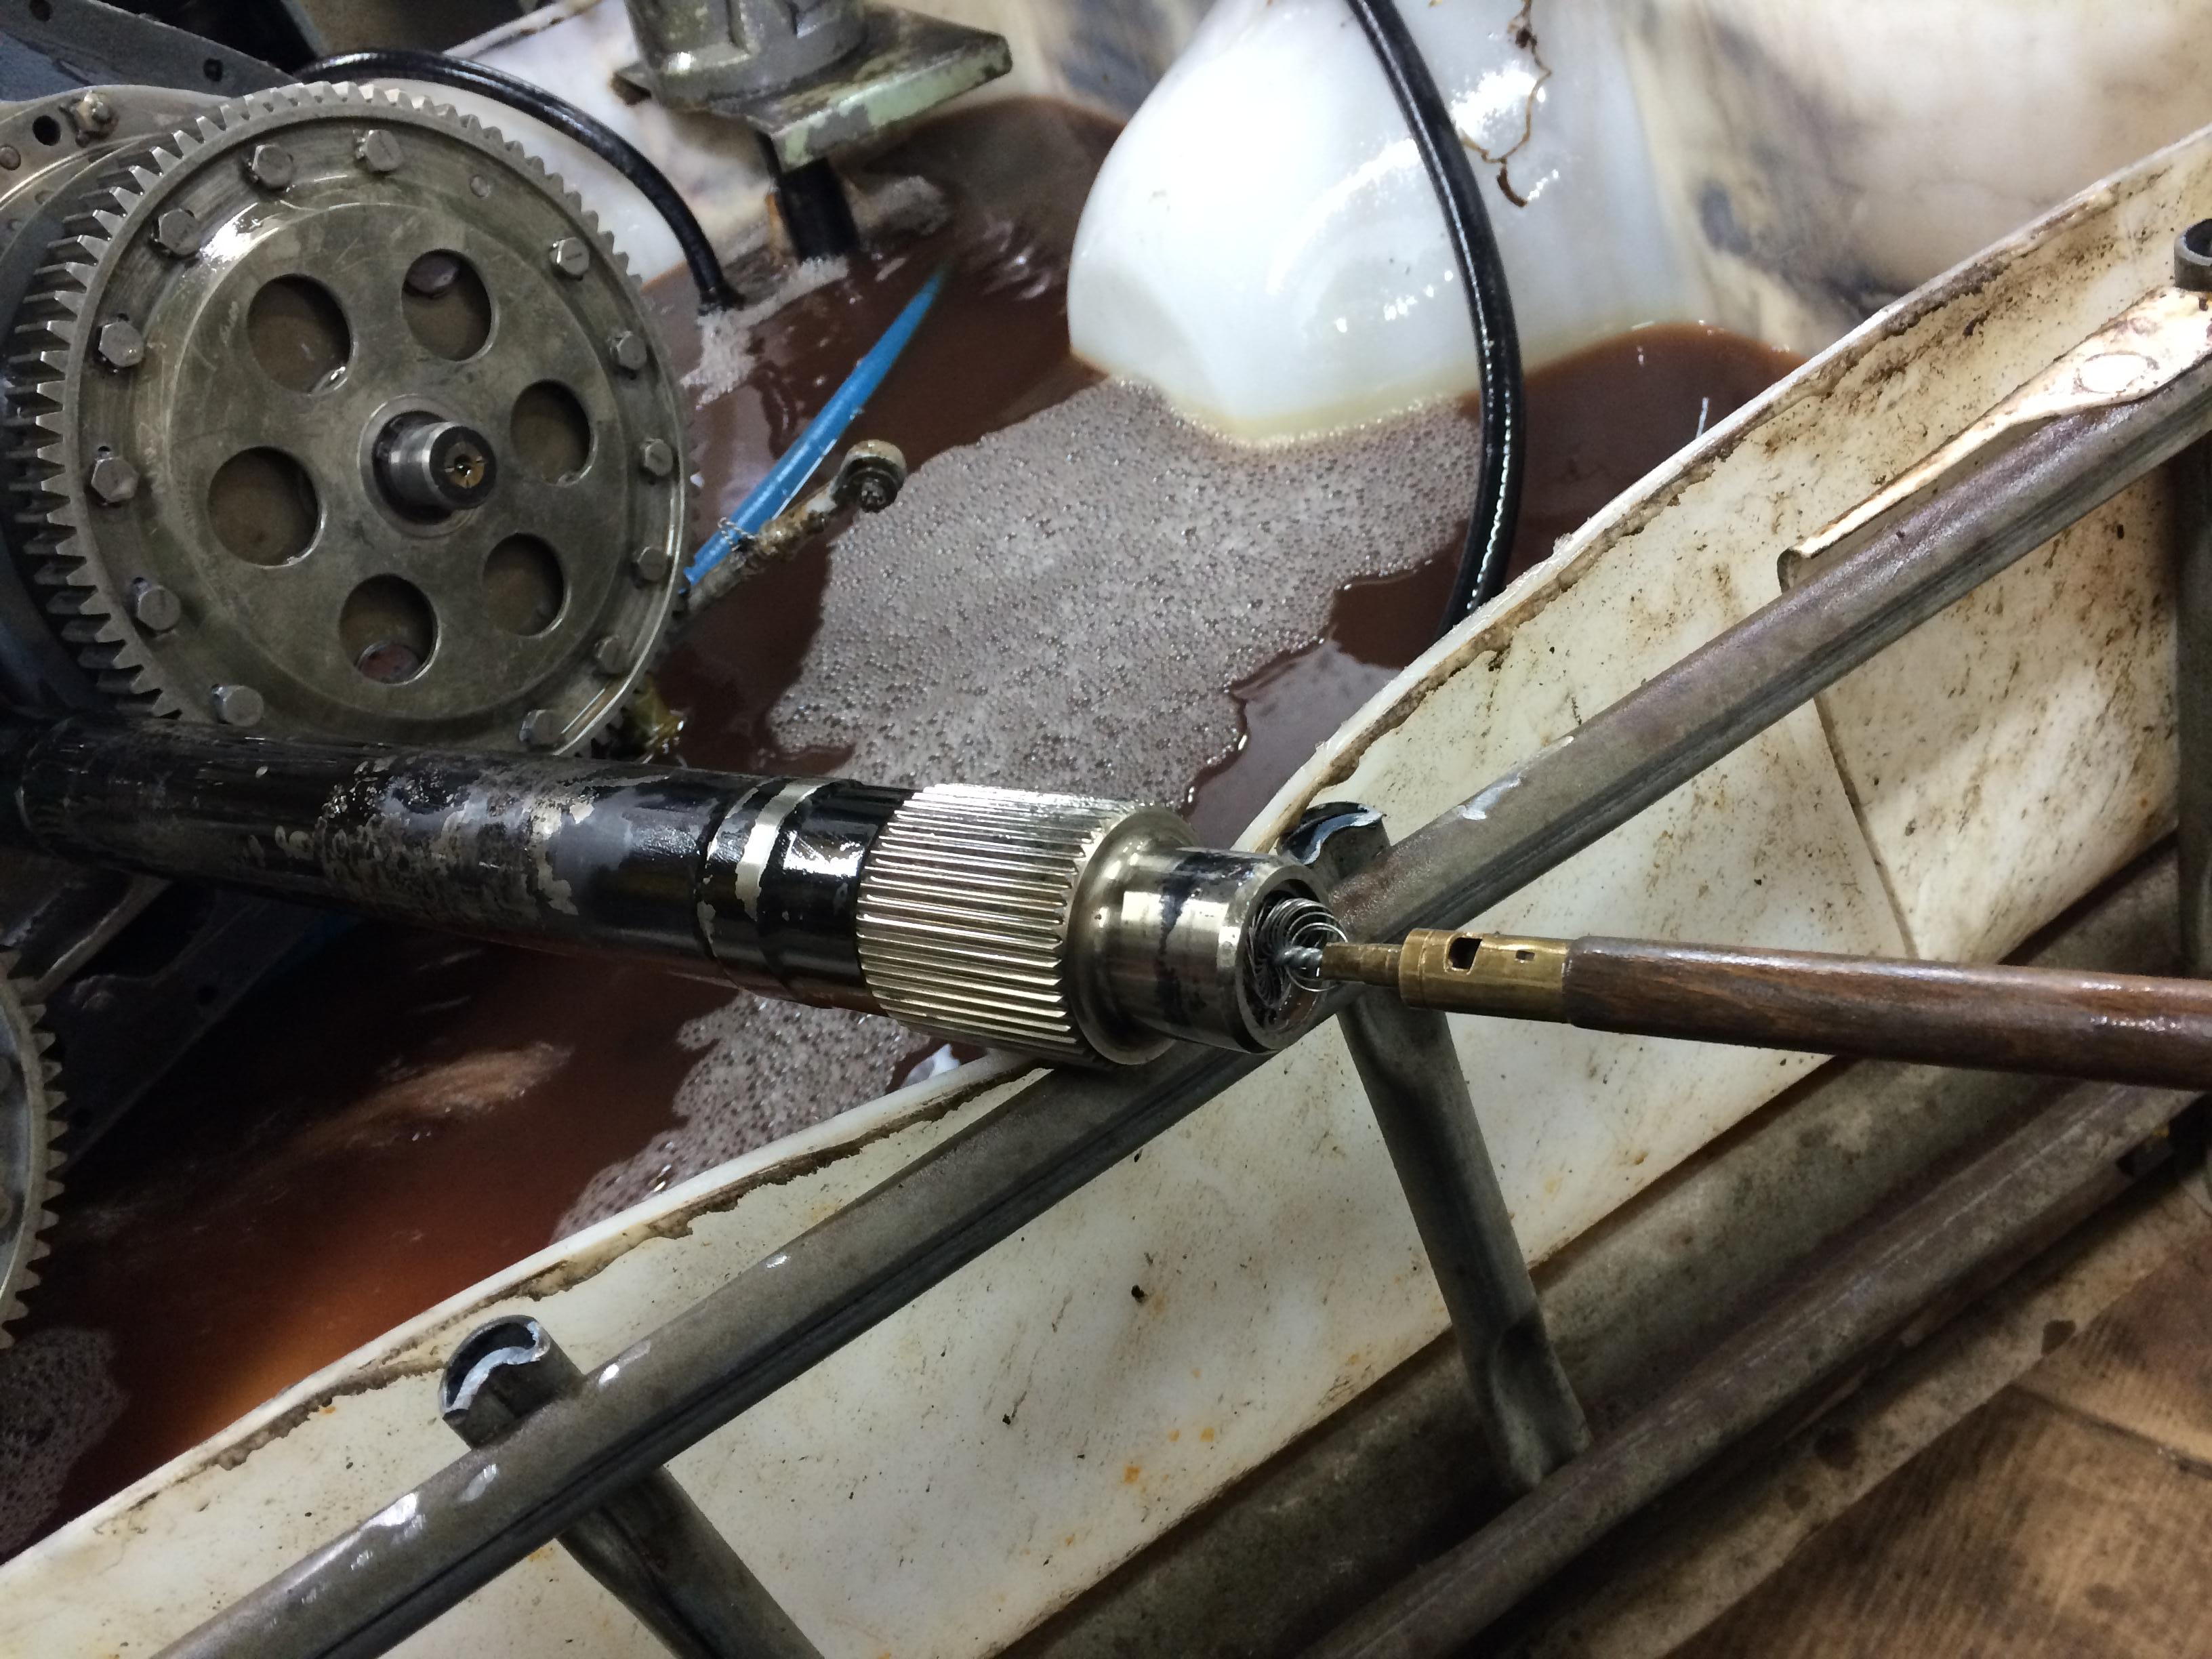
Basically we rigged up a Plessey pump to the priming port on the oil pump and fit a pressure gauge, fill the oil tank inlet pipe and start to prime.

216 Oil Prime 001 216 Oil Prime 006

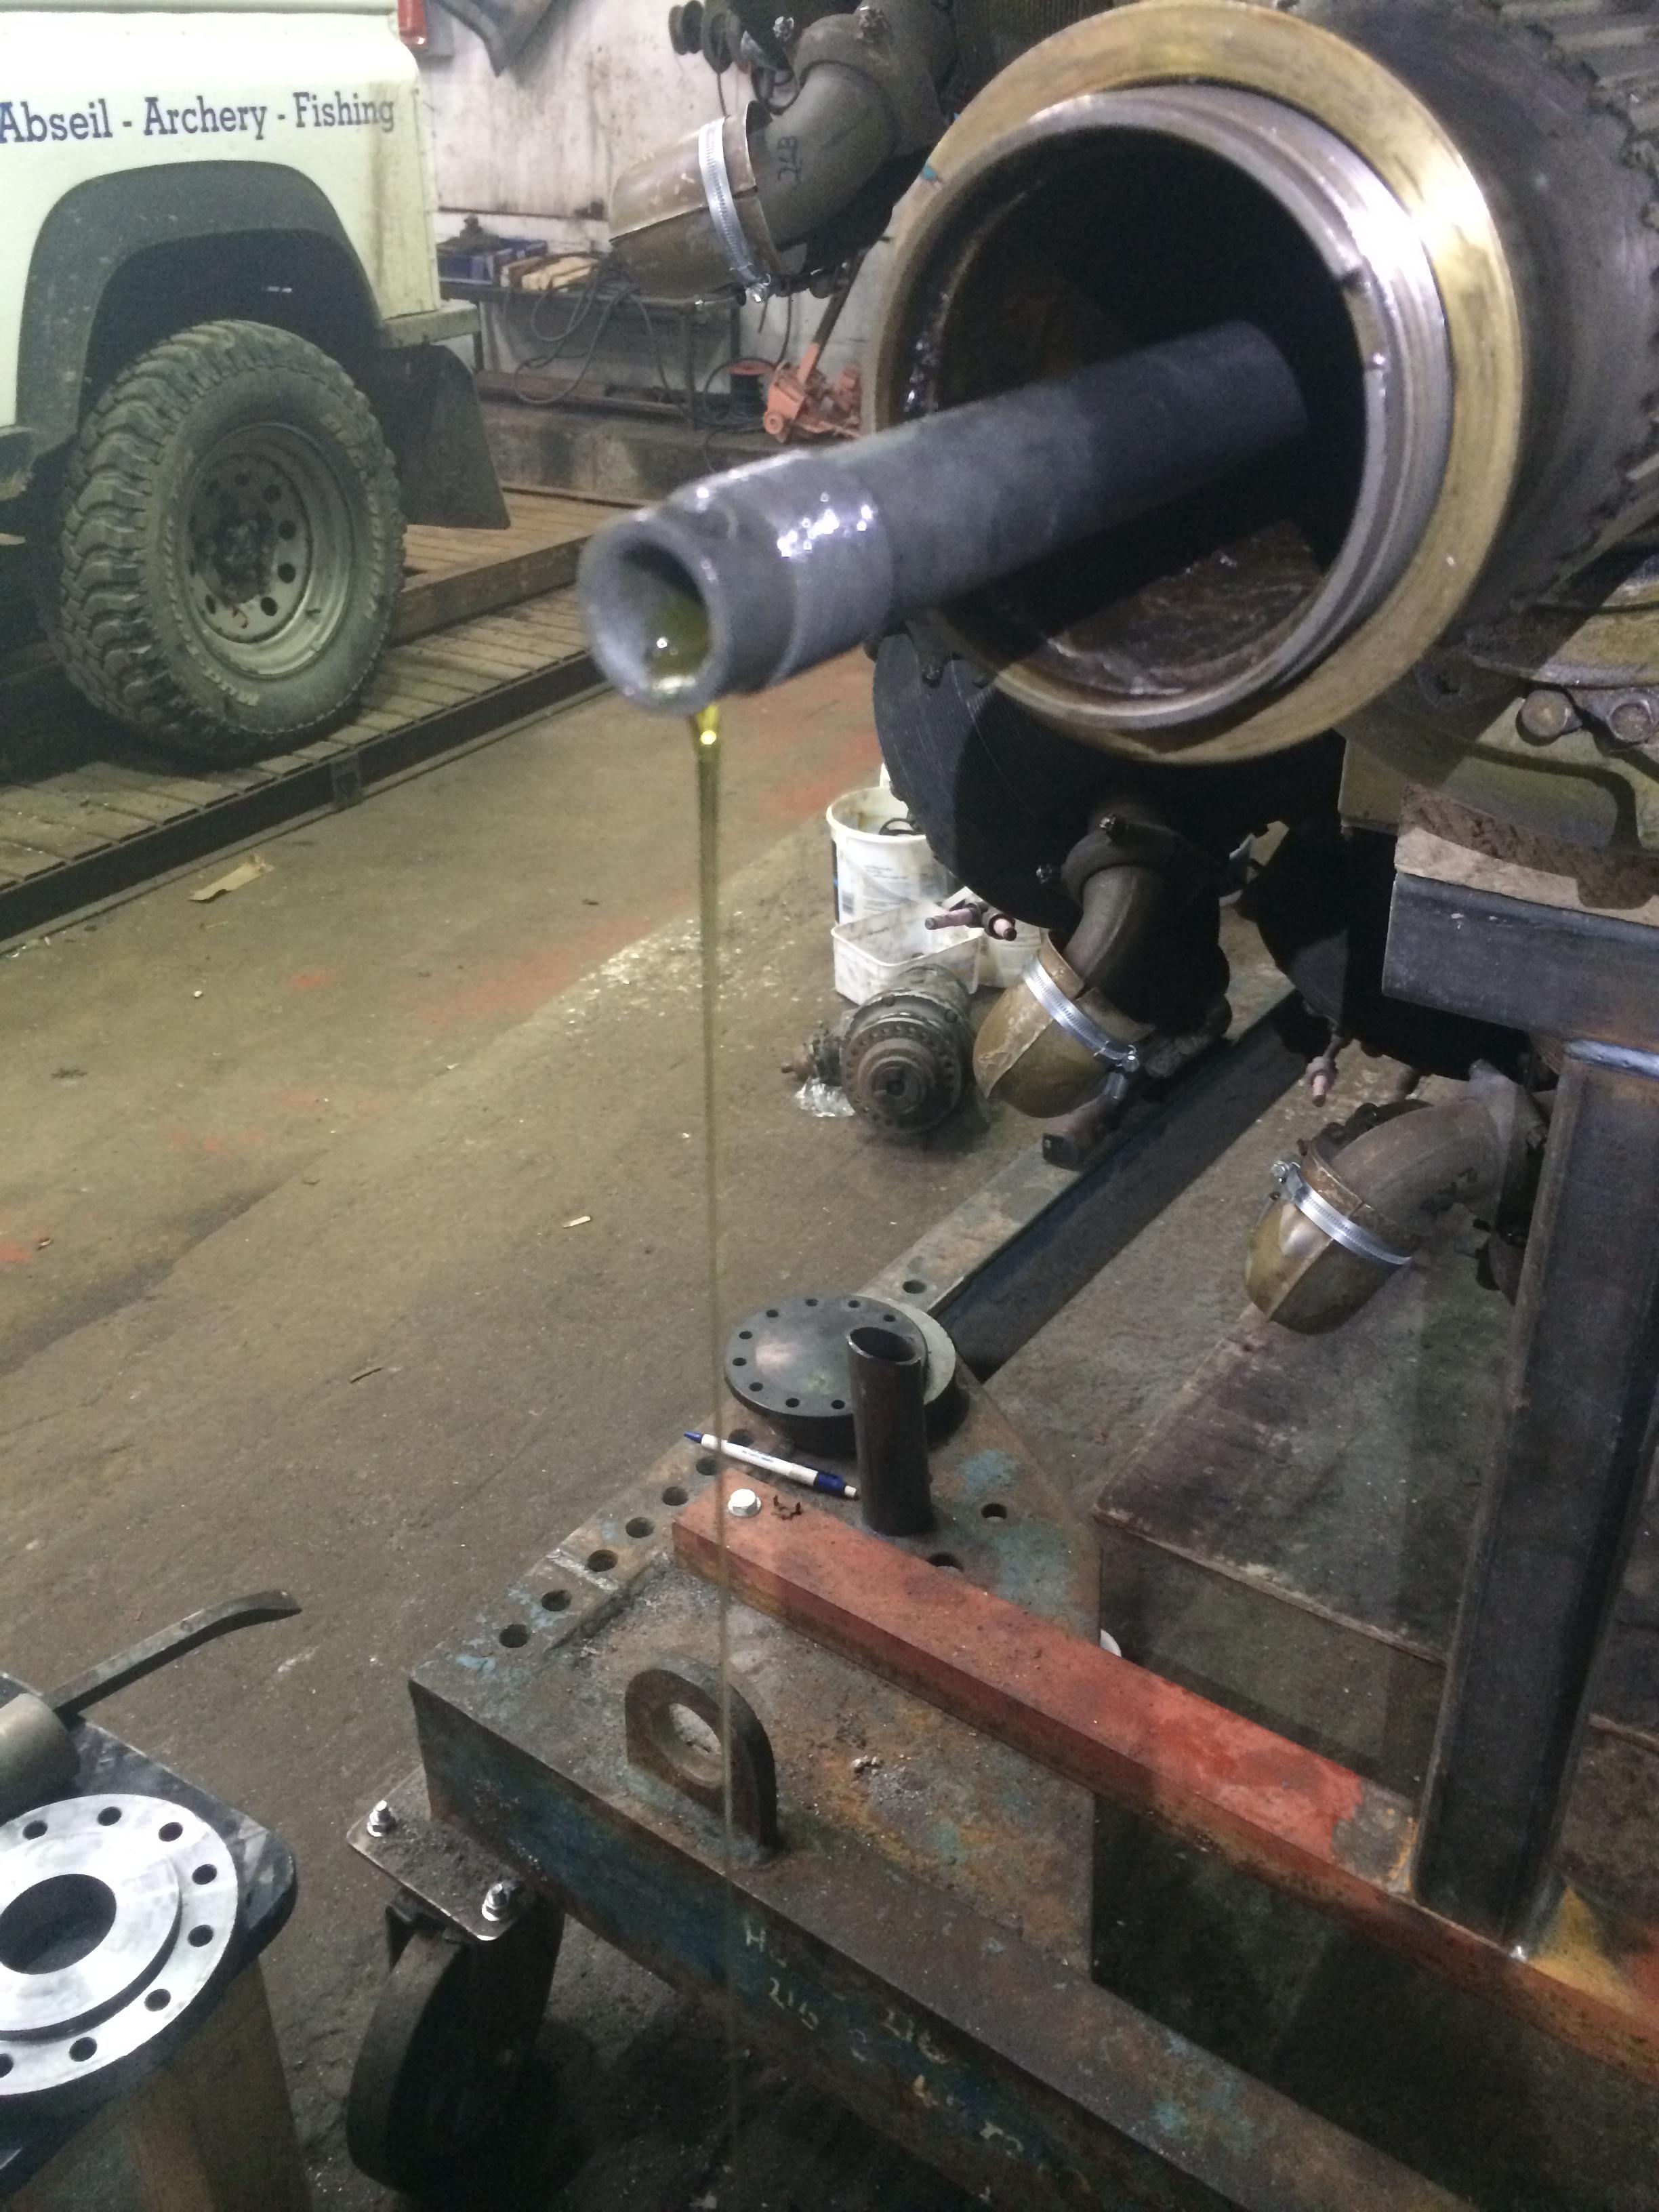
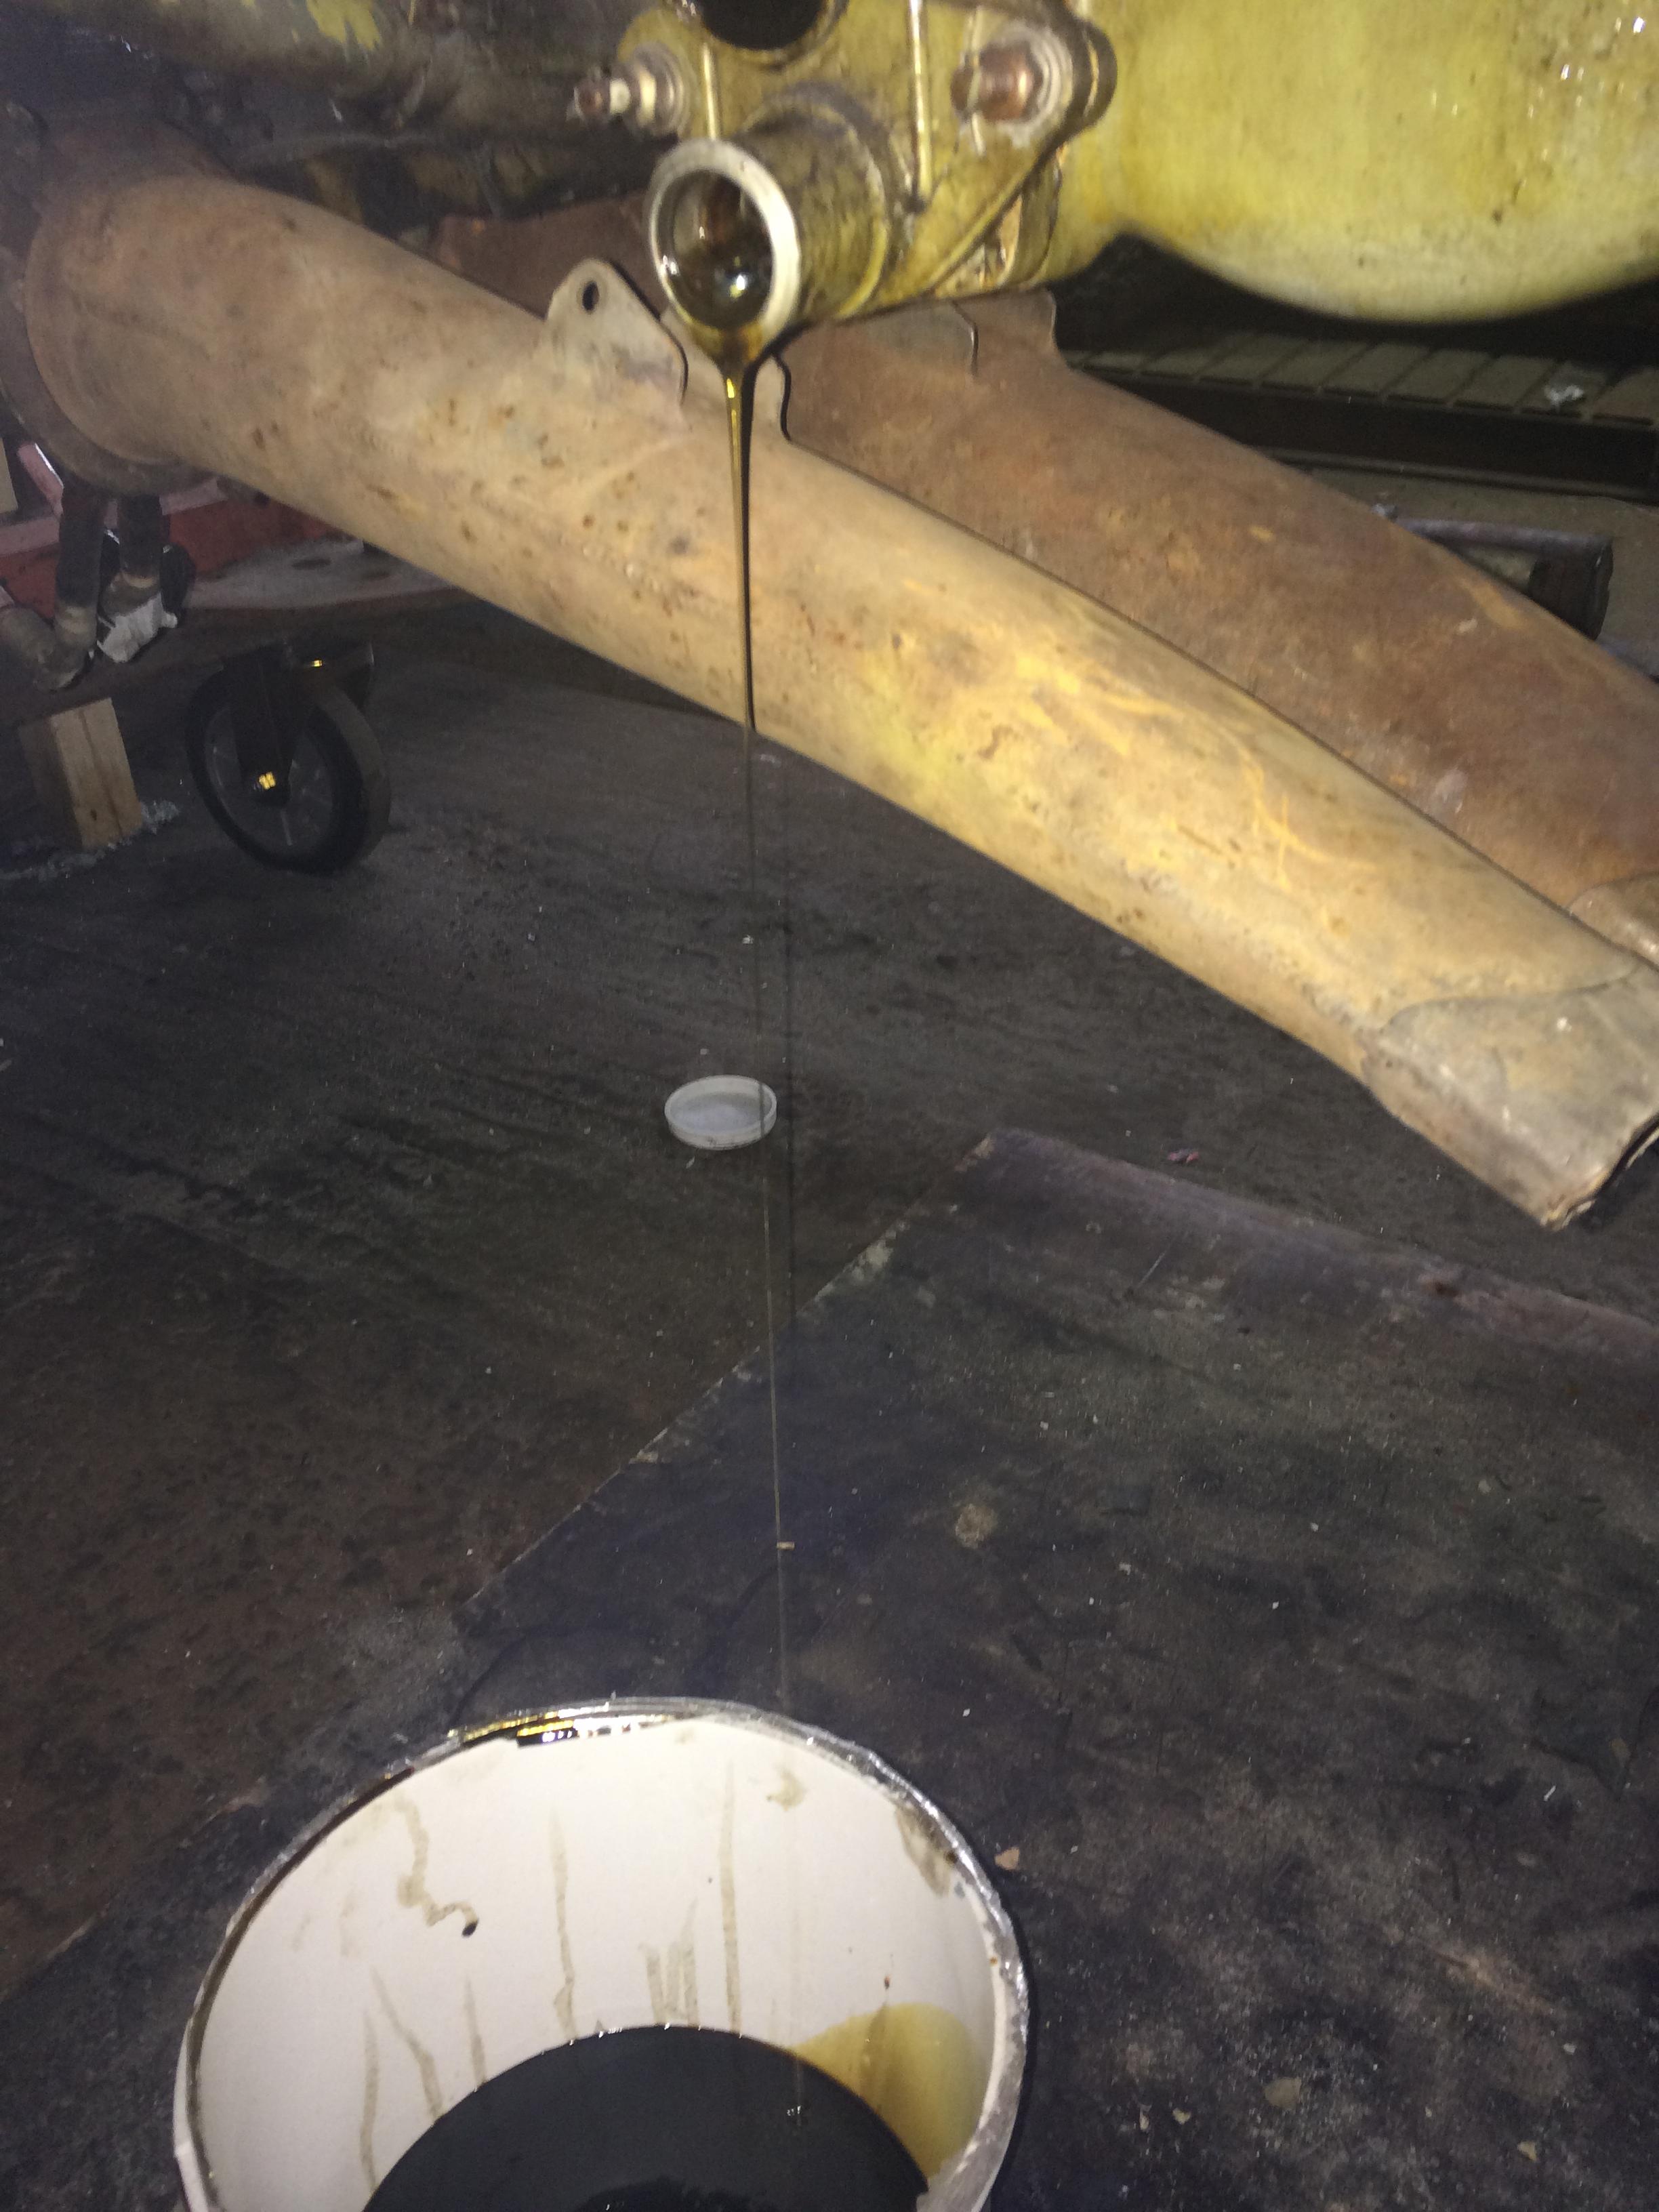
After about ten ltr’s of oil it started to come out of the sump and CSU conections and oil pressure started to build up to over 20 psi.

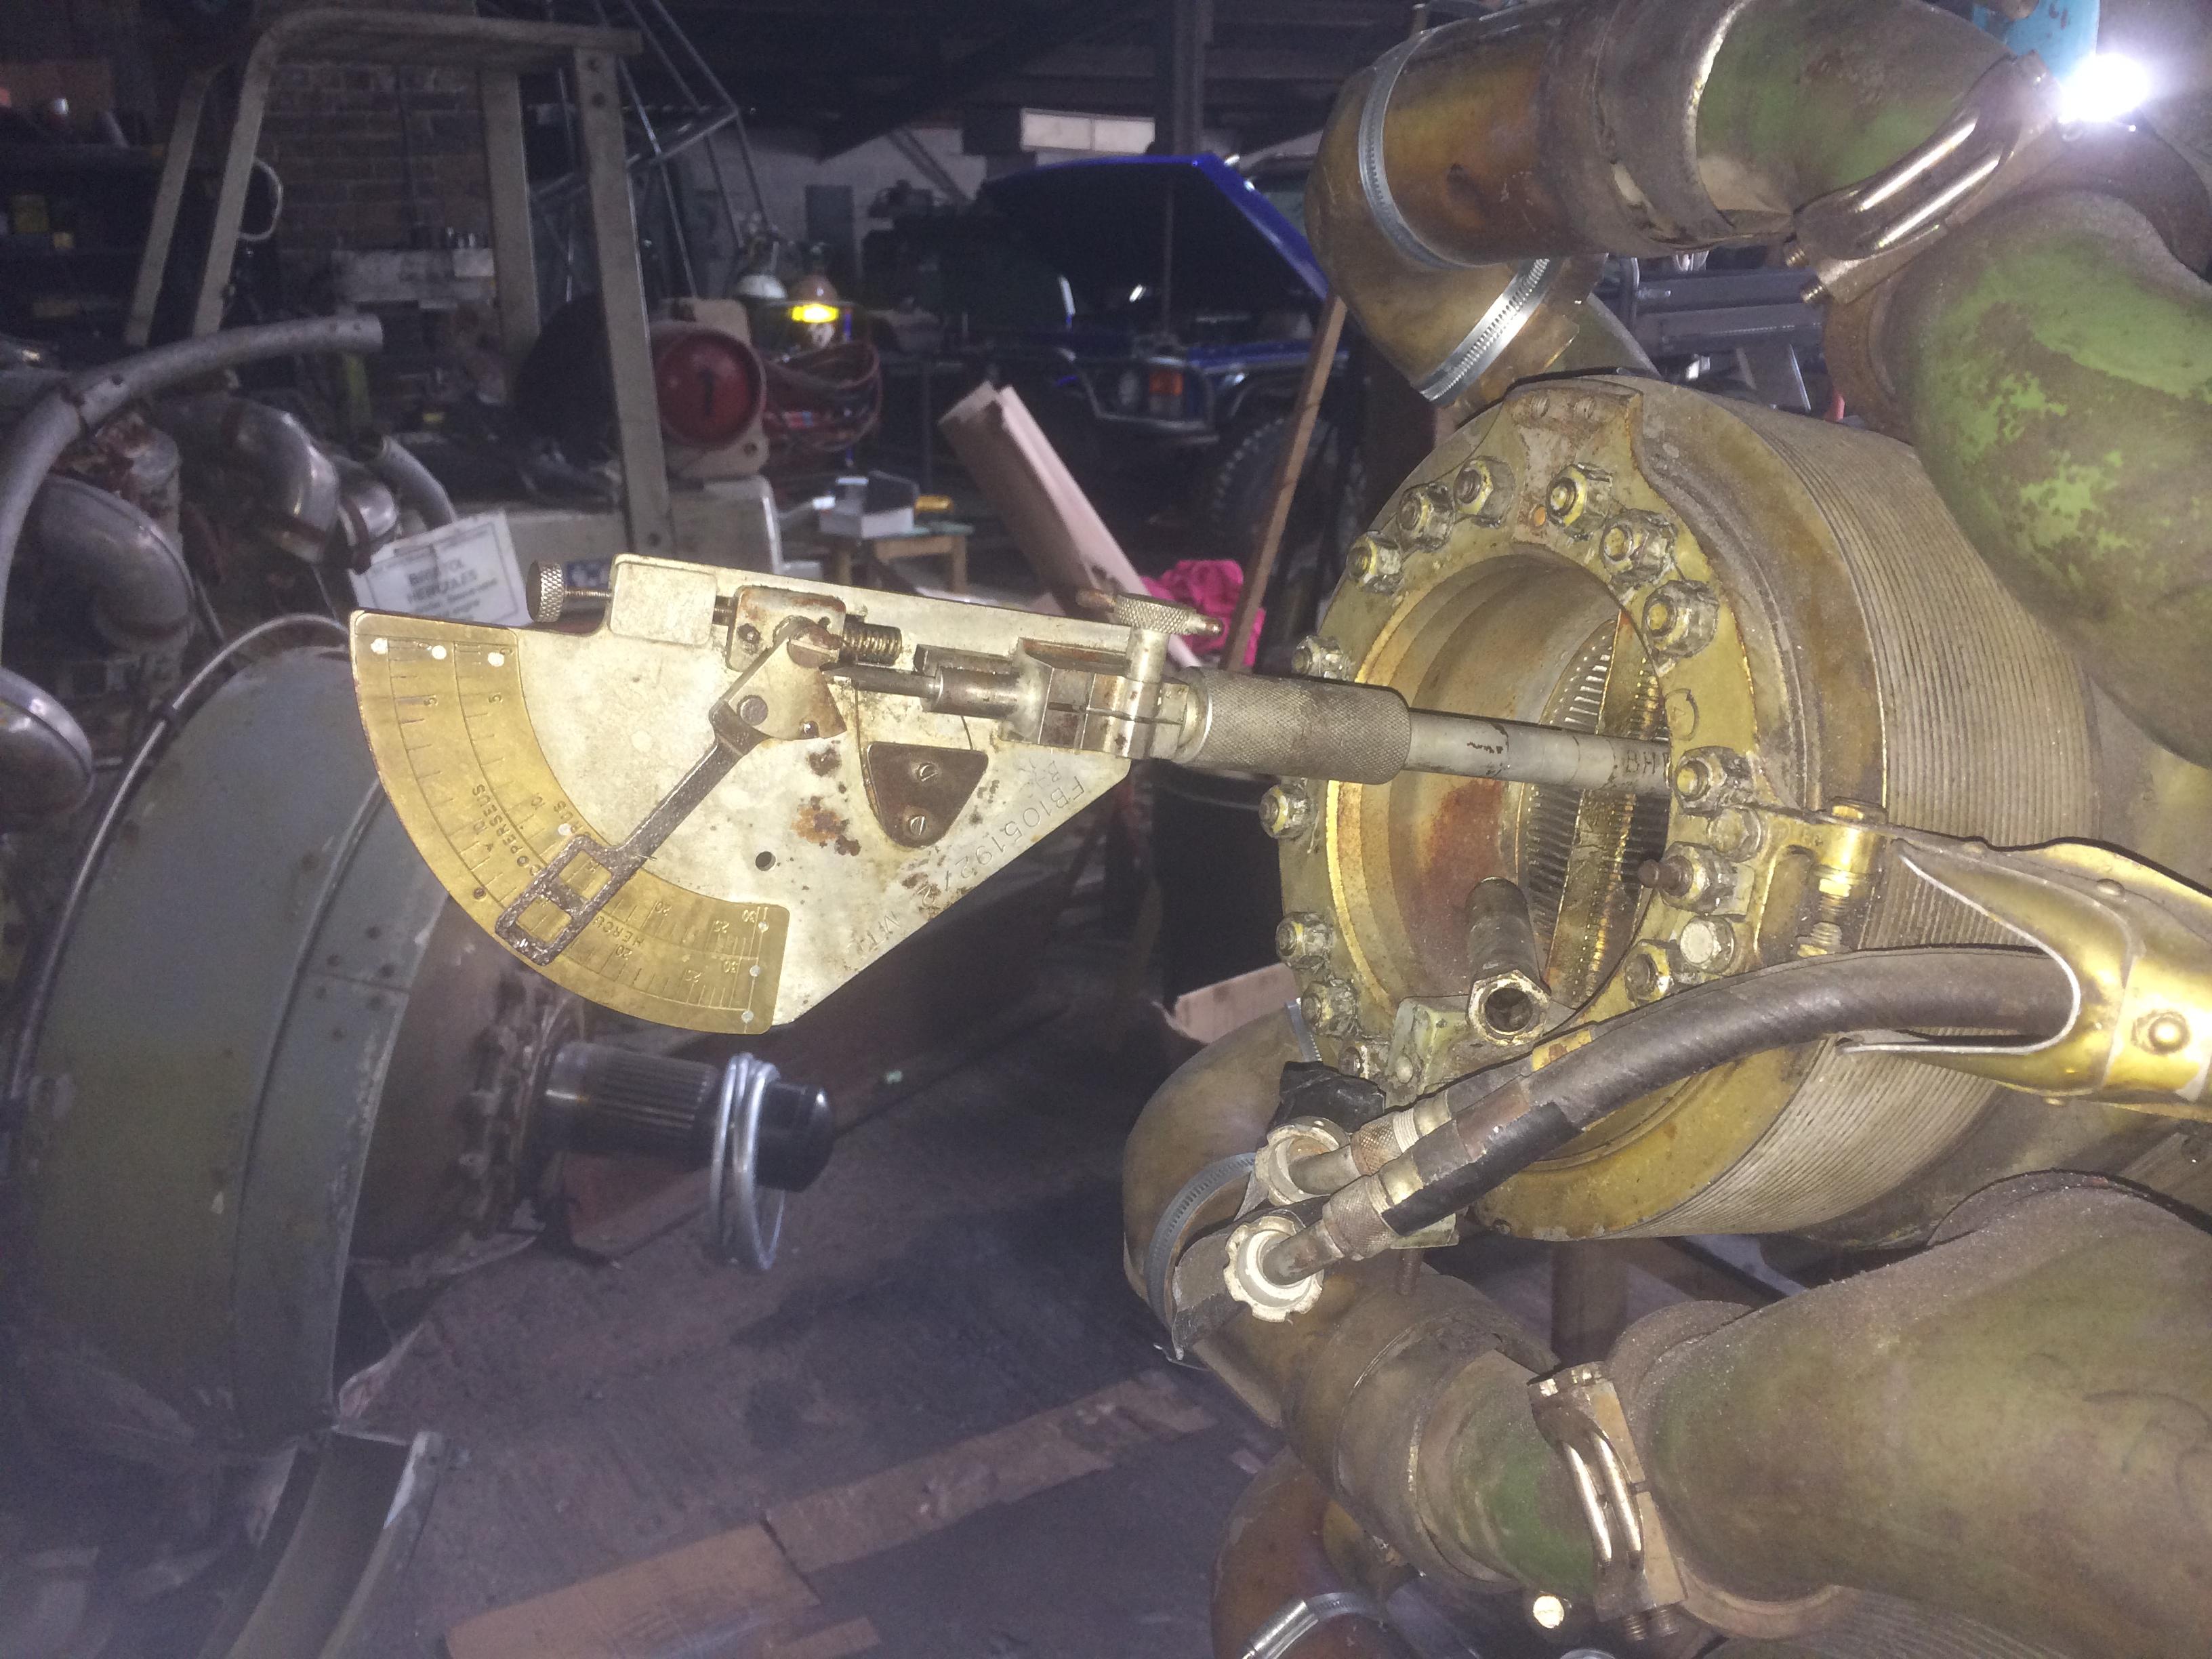
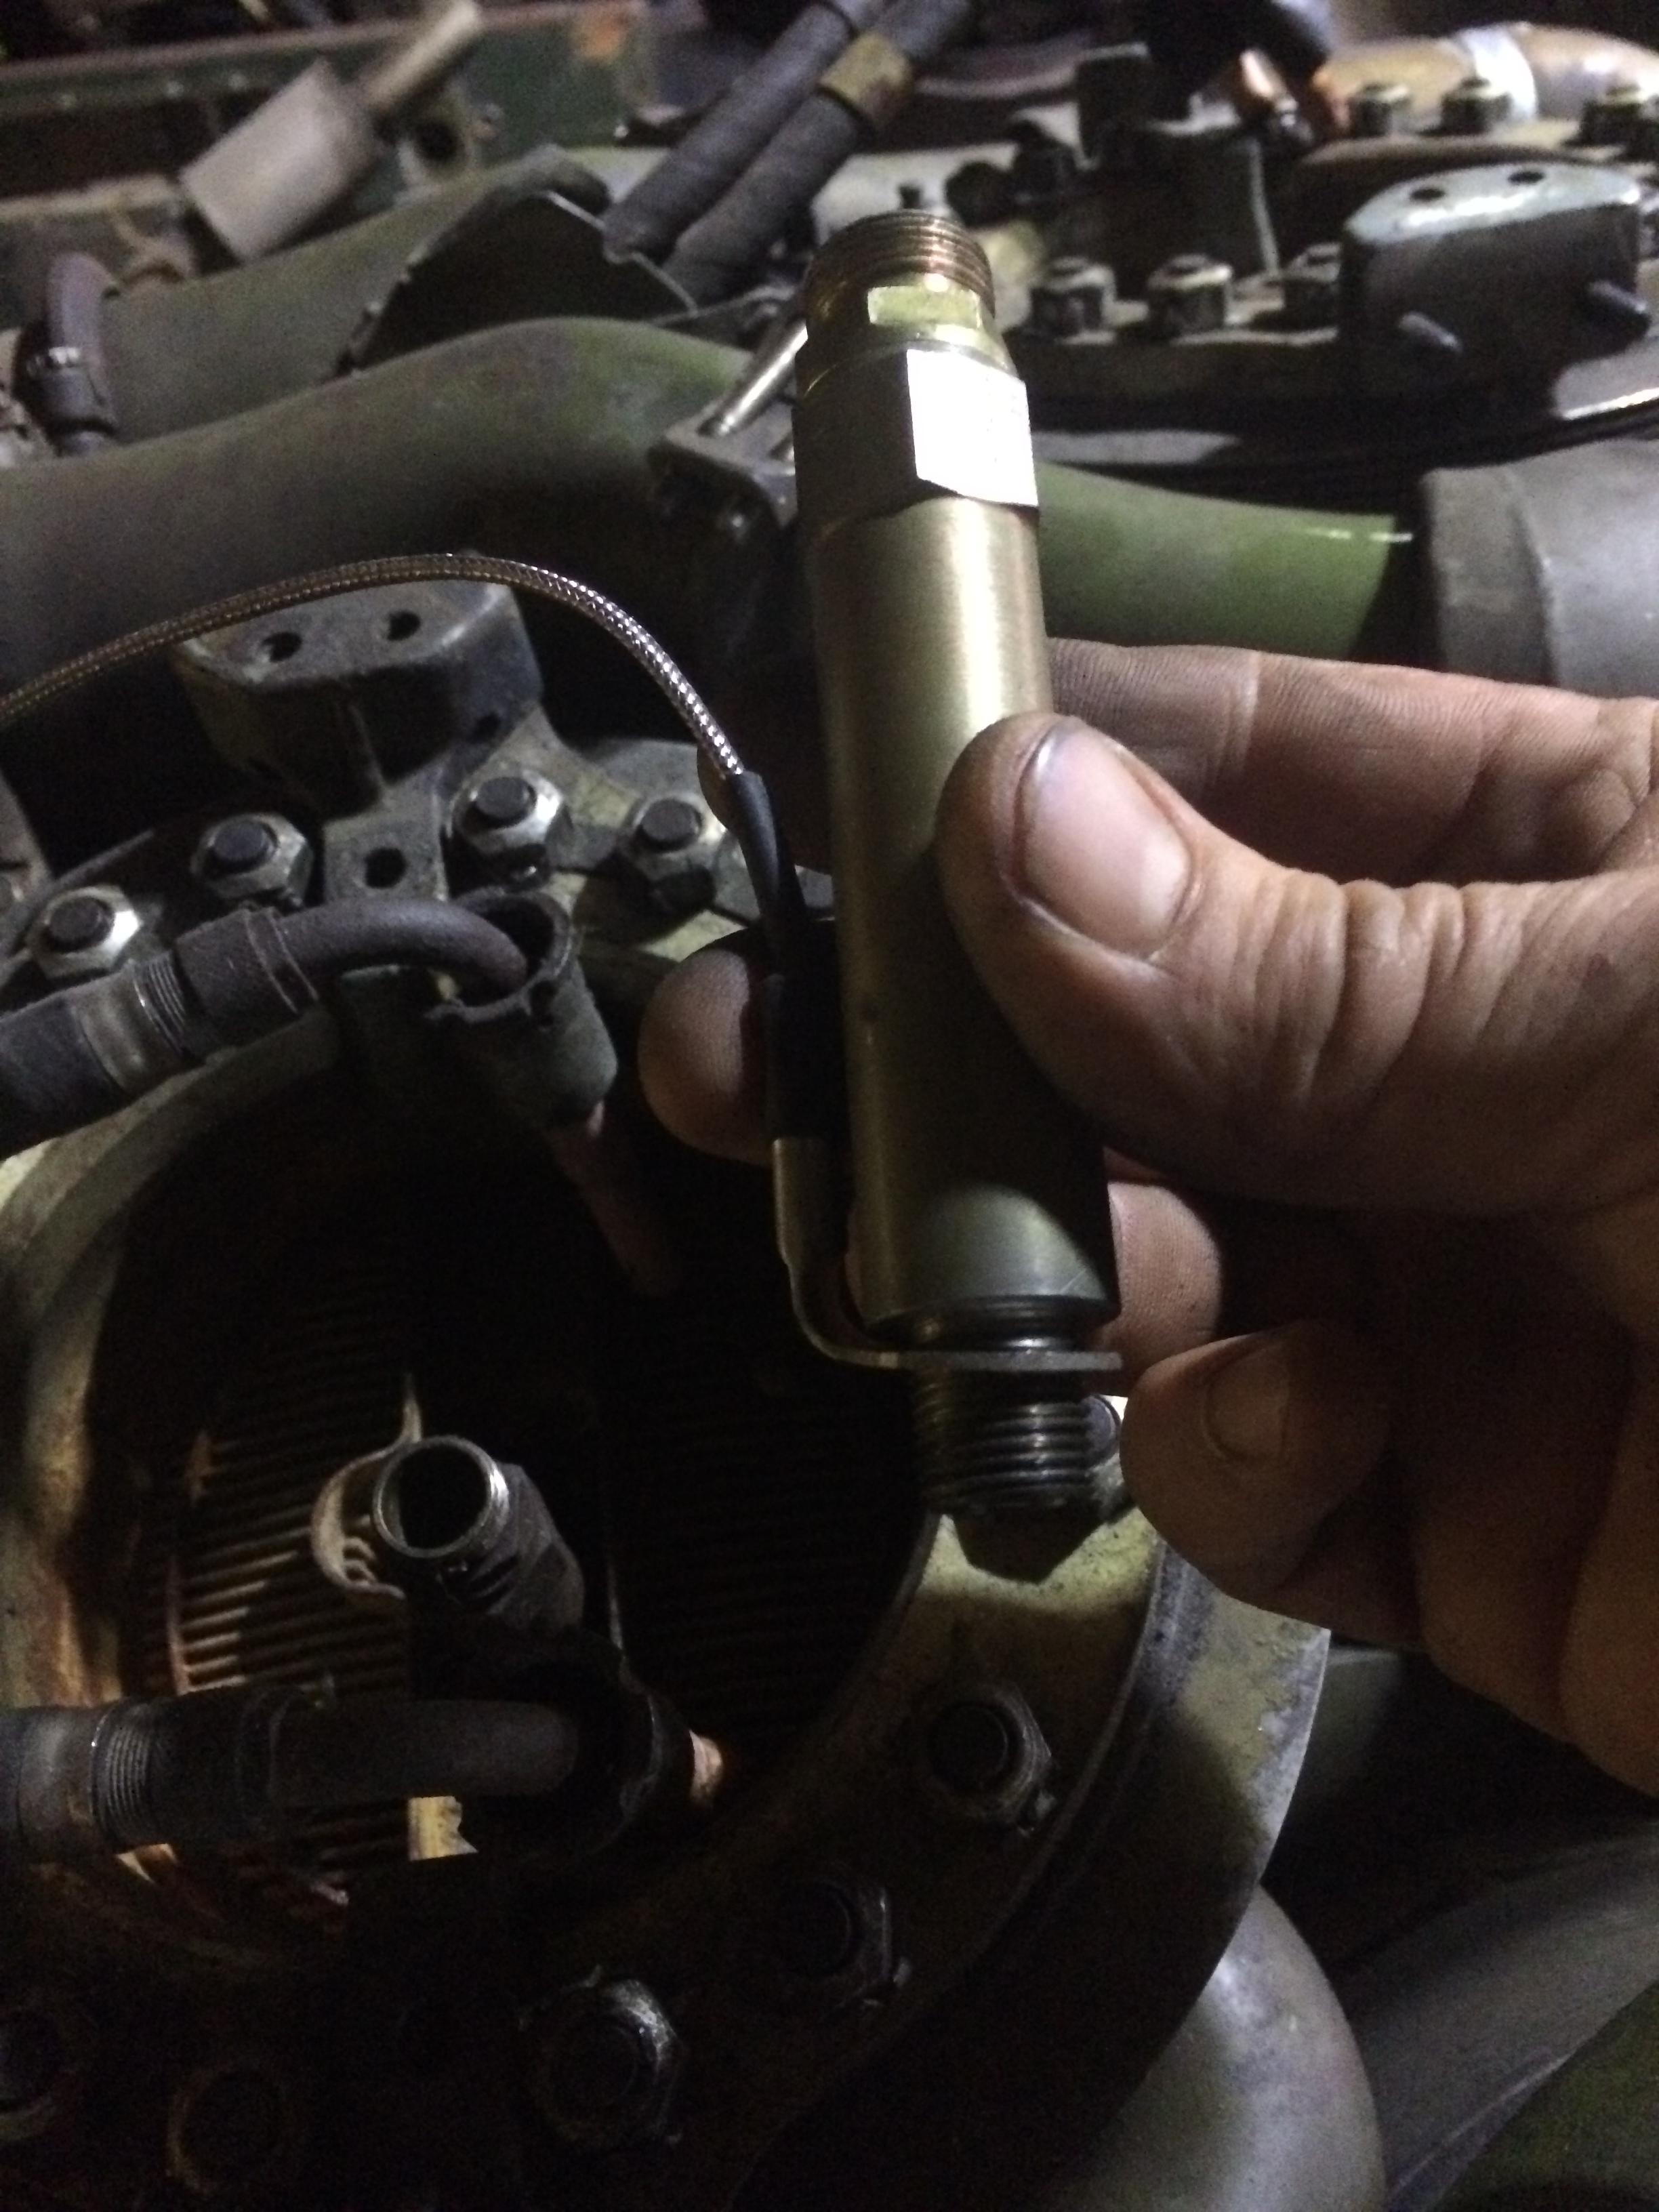
We need a good ignition sparks, so after cleaning the points and checking the time with a special tool I managed to find on Ebay a few months ago, and using a brand new Rotax booster coil, we get a good spark while cranking.

09 Sept 2014 3b 09 Sept 2014 075


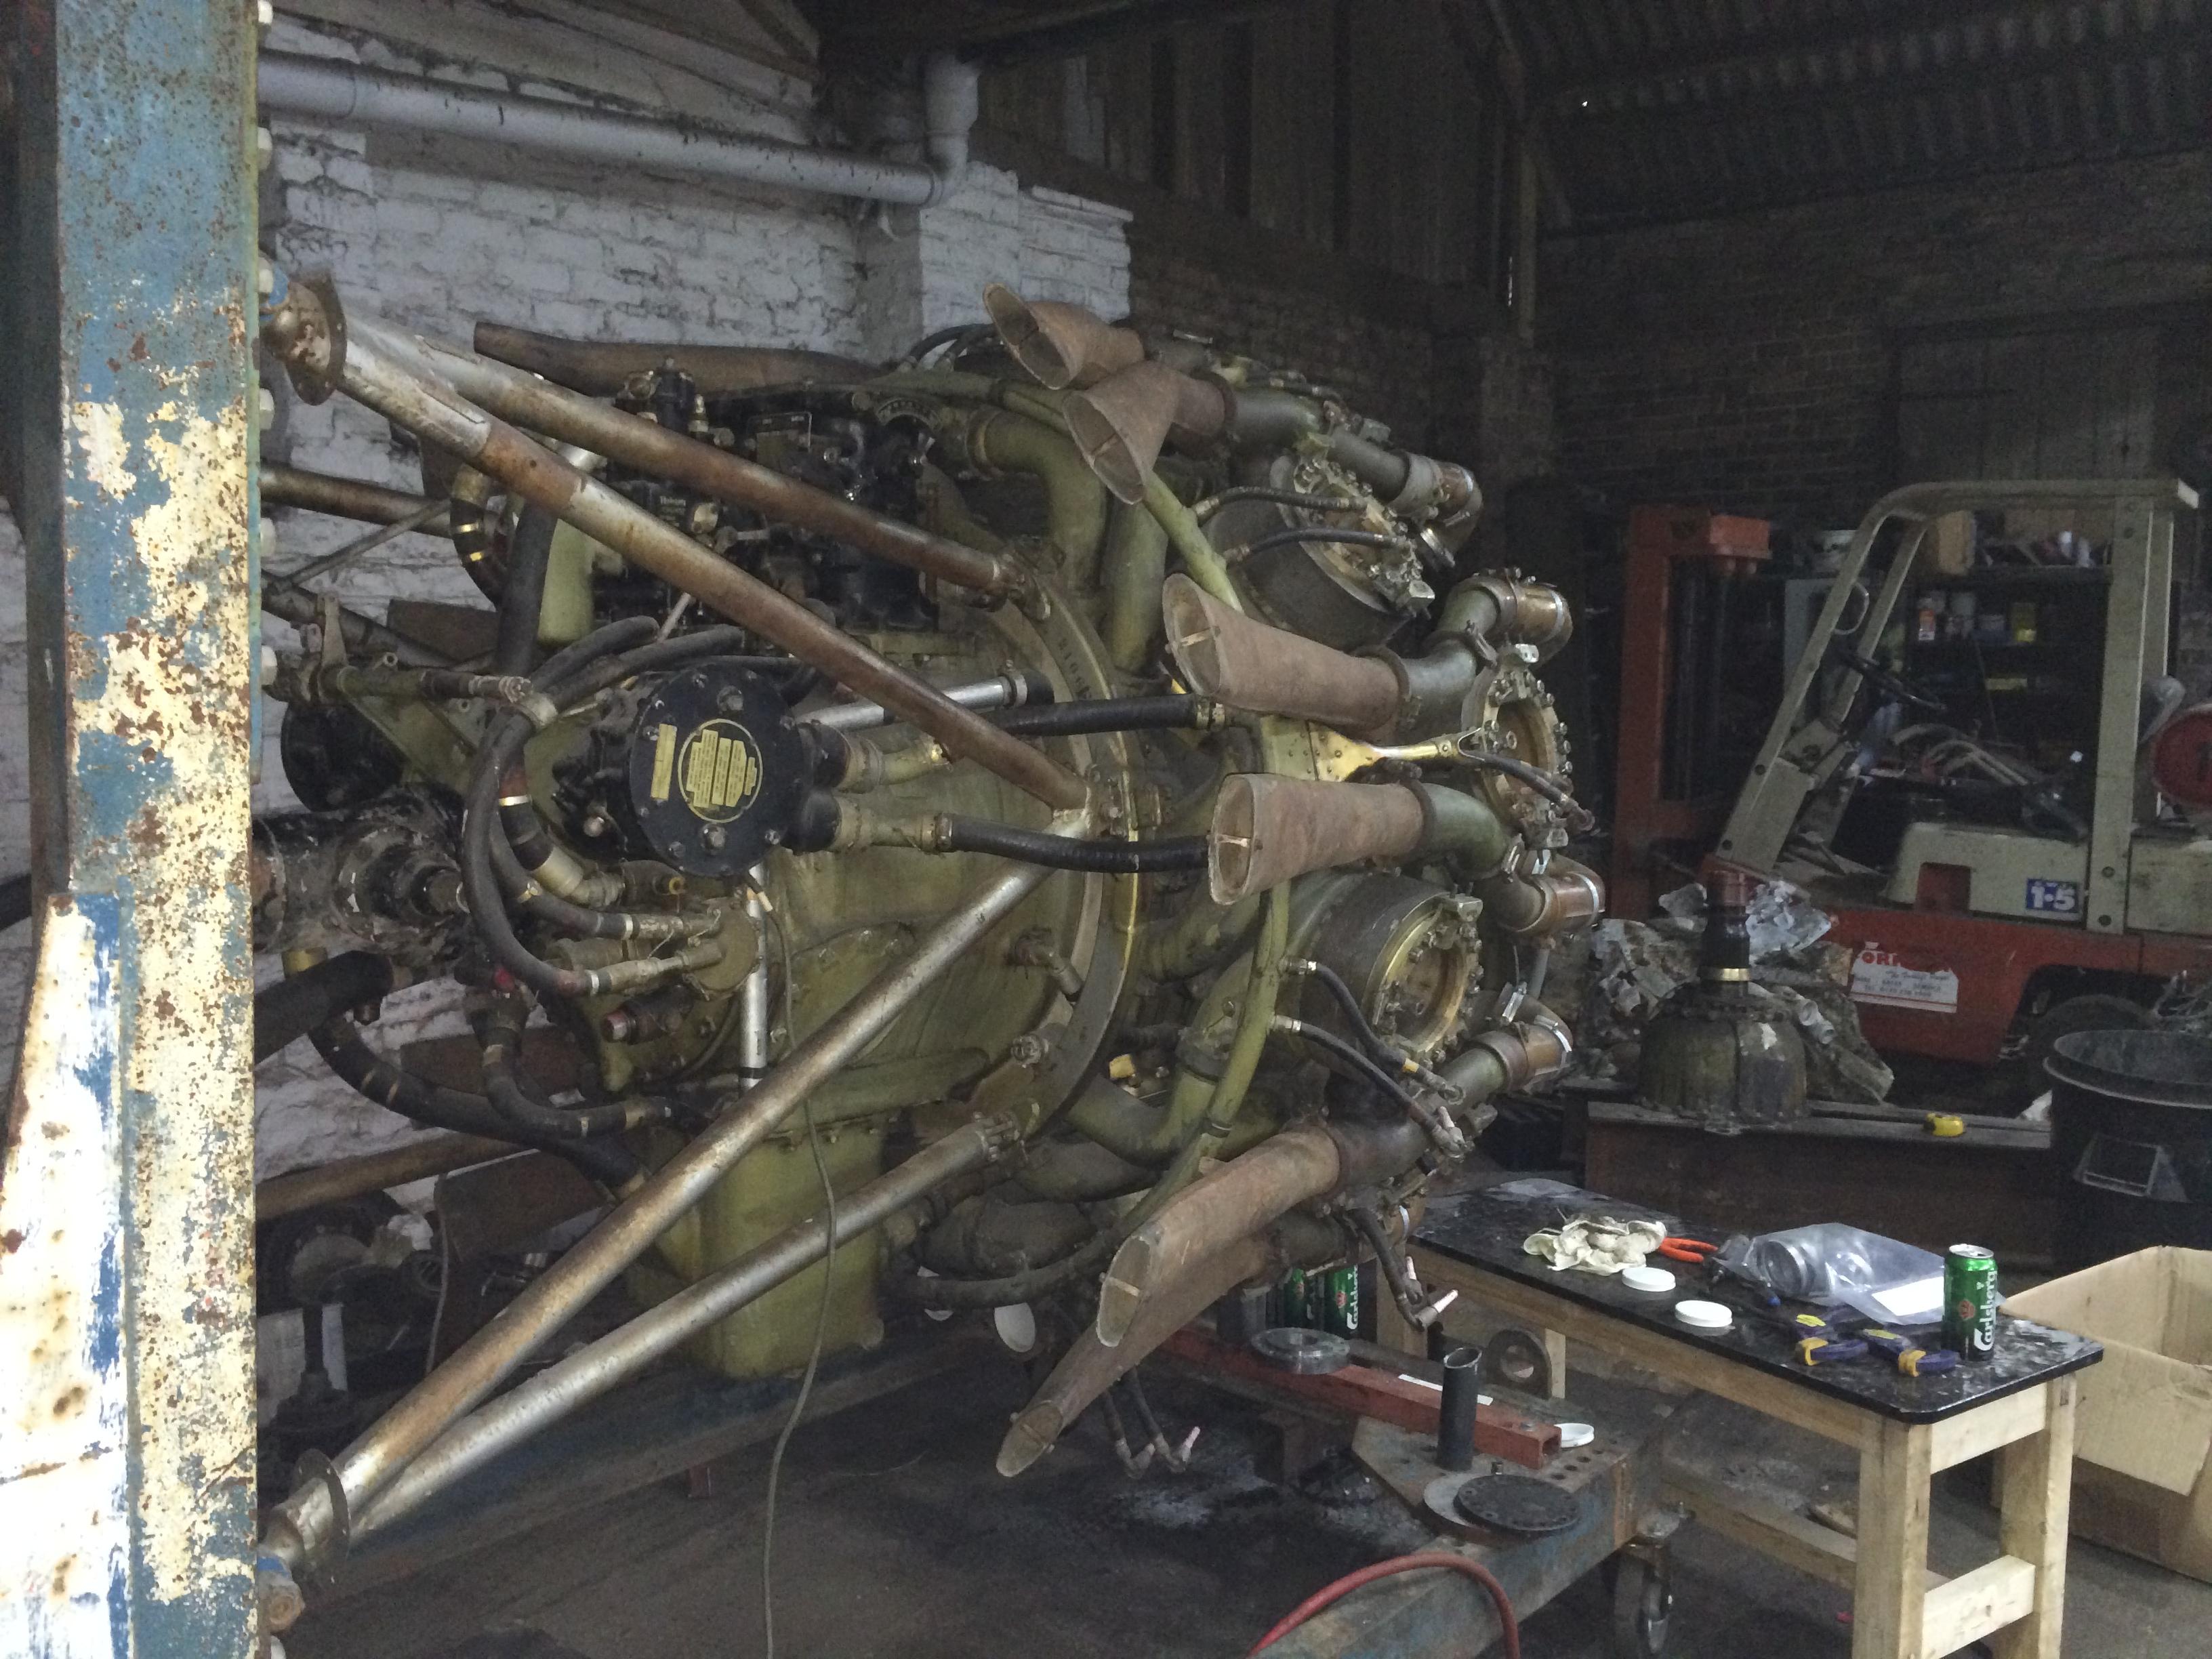
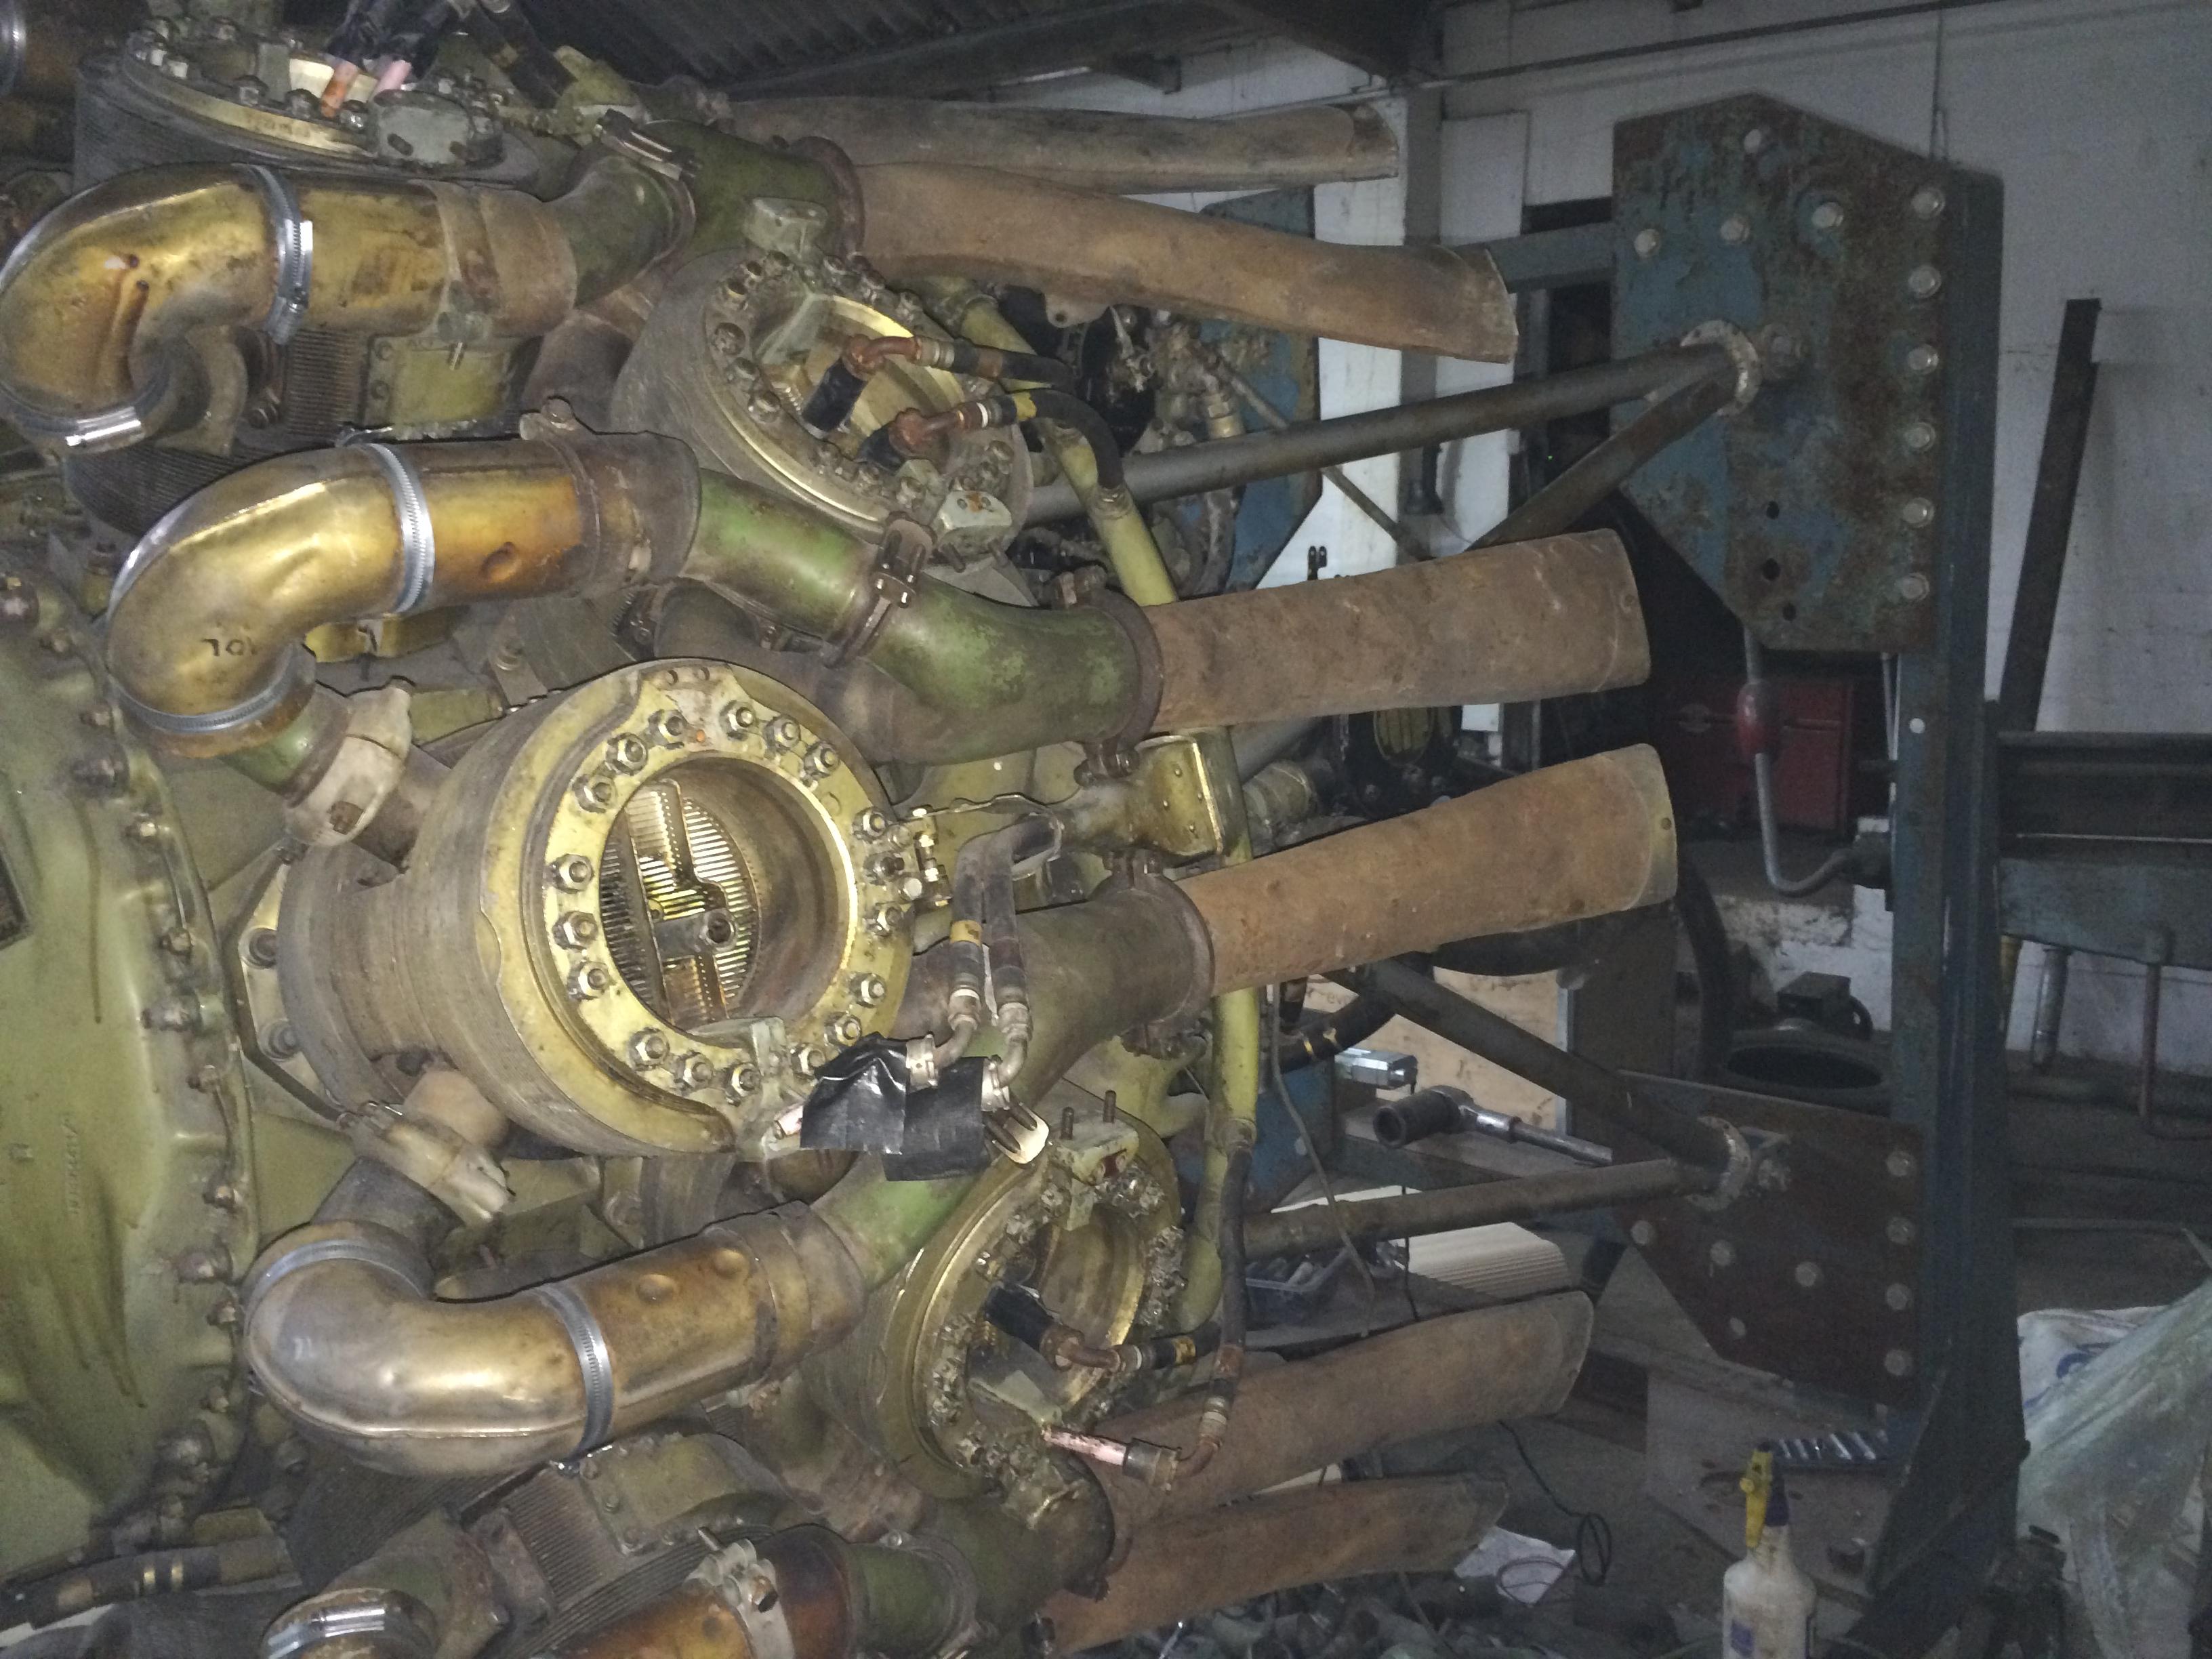
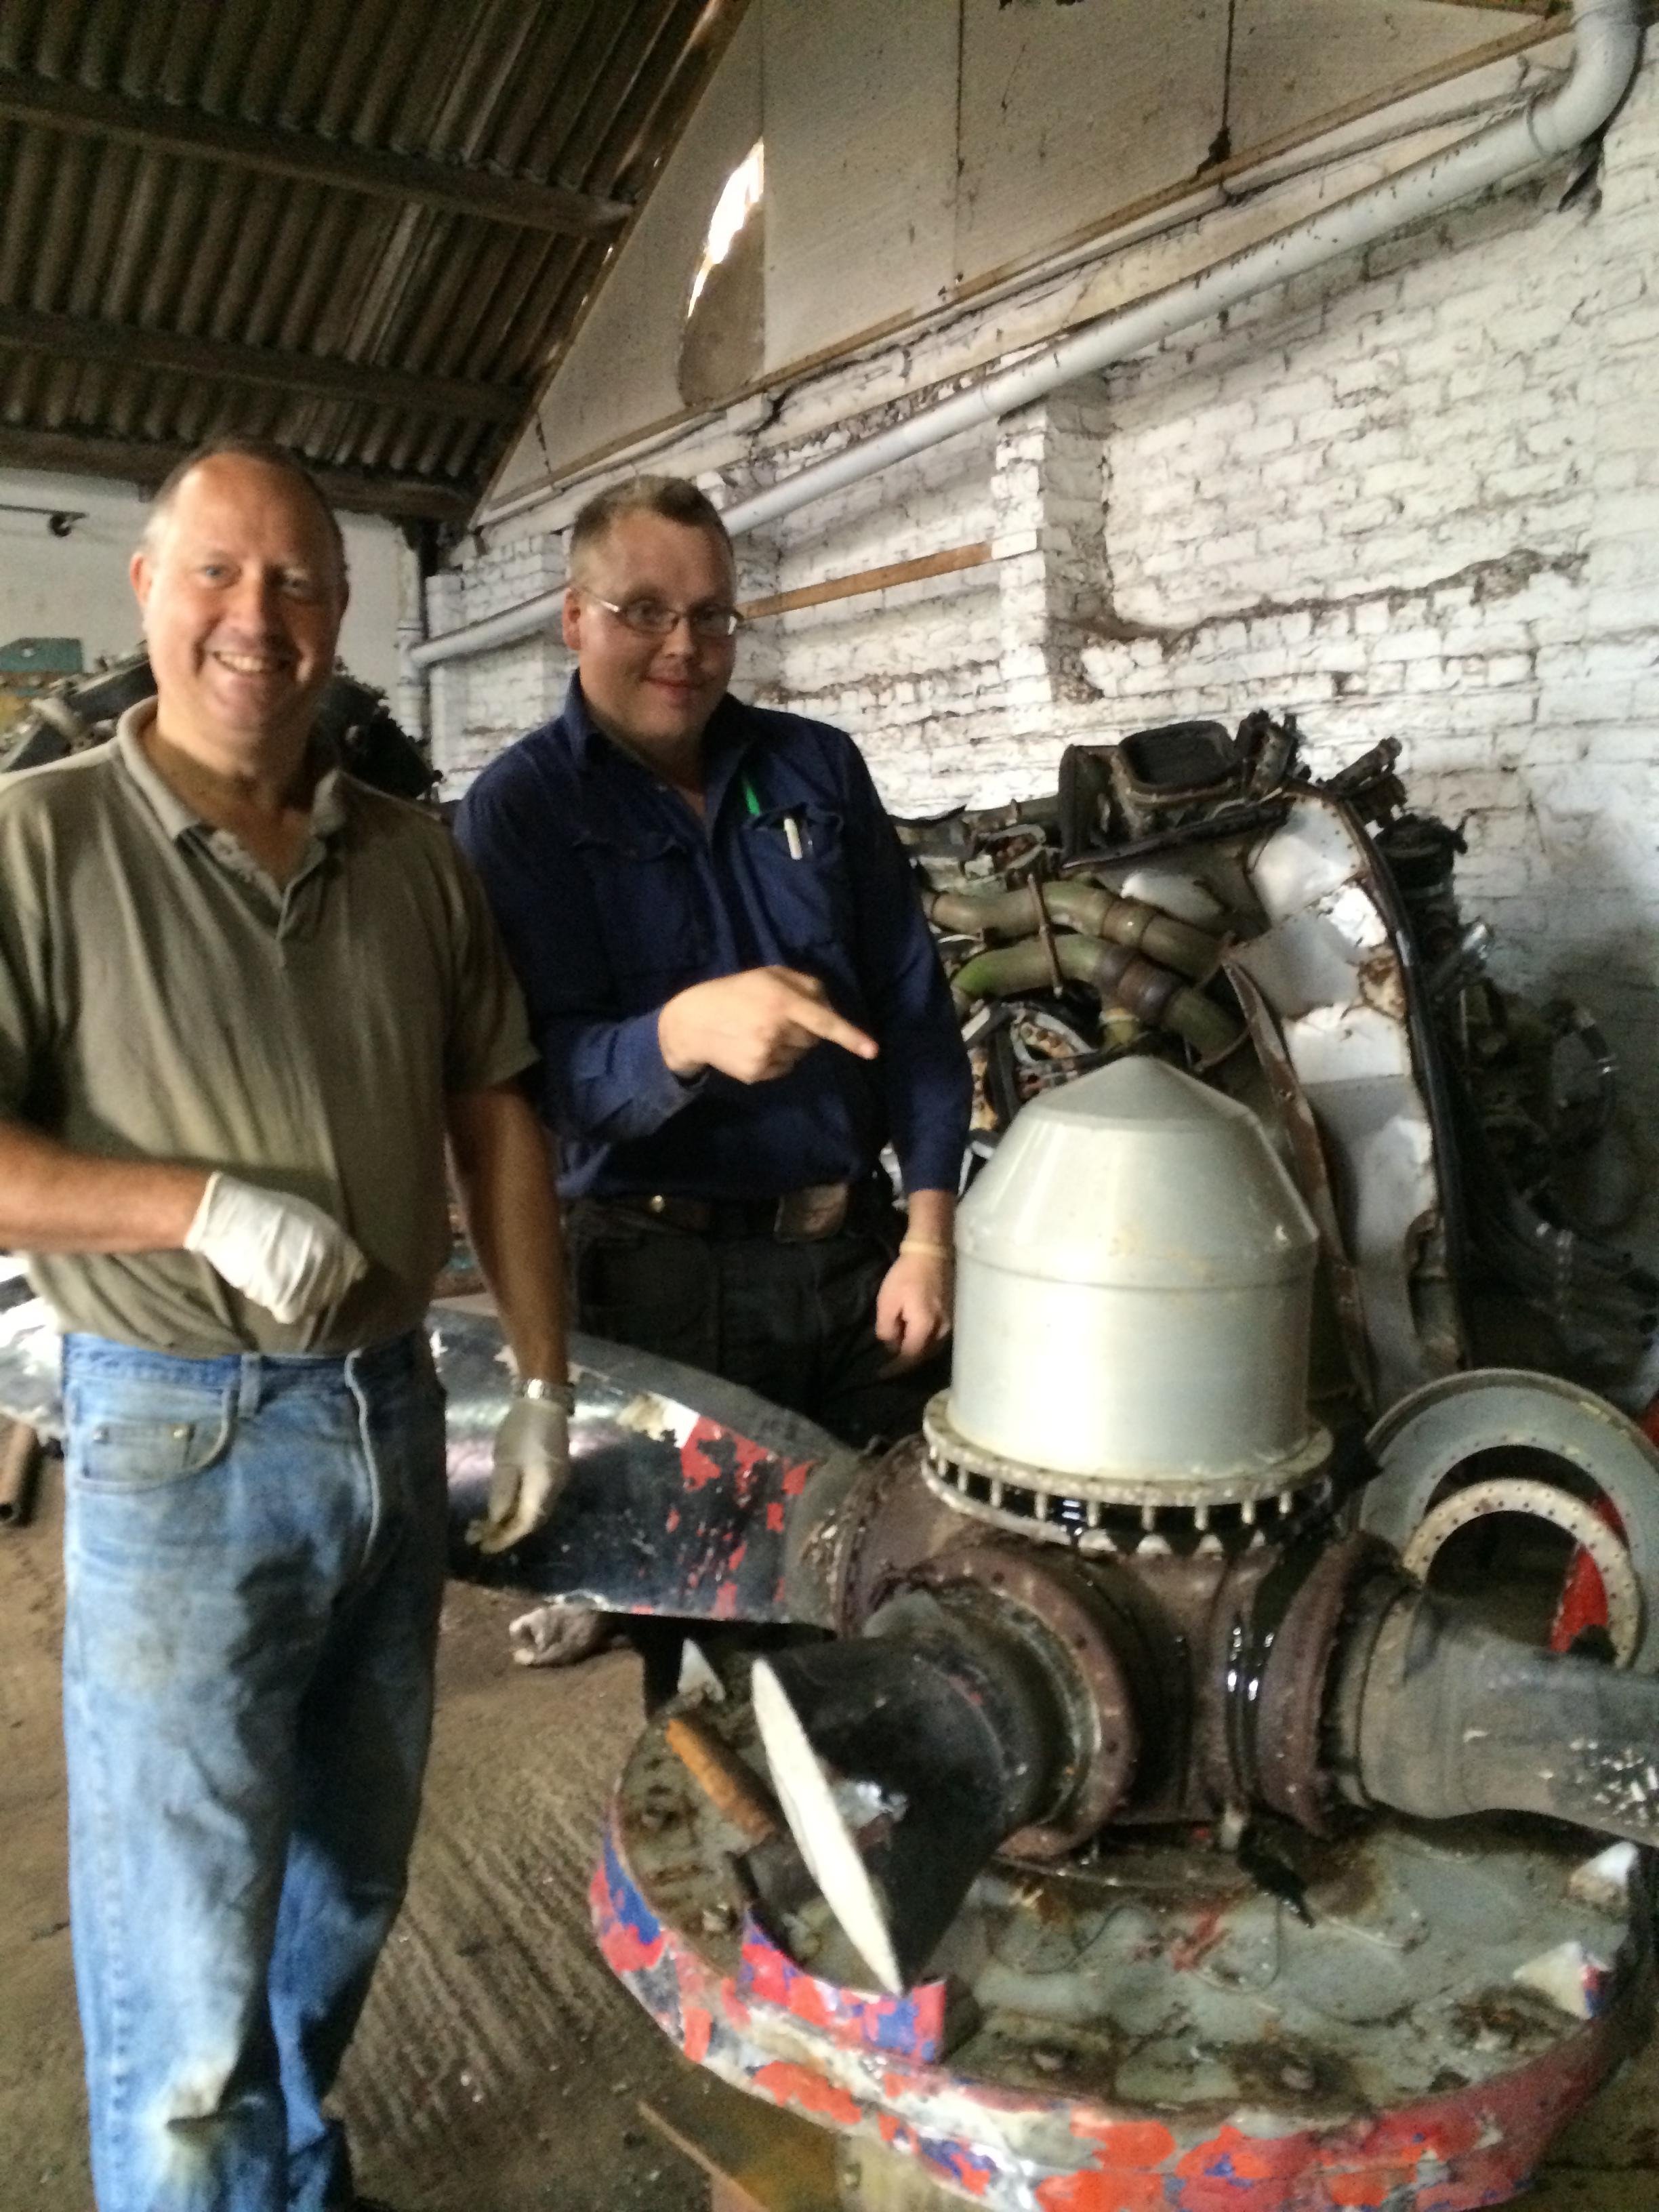
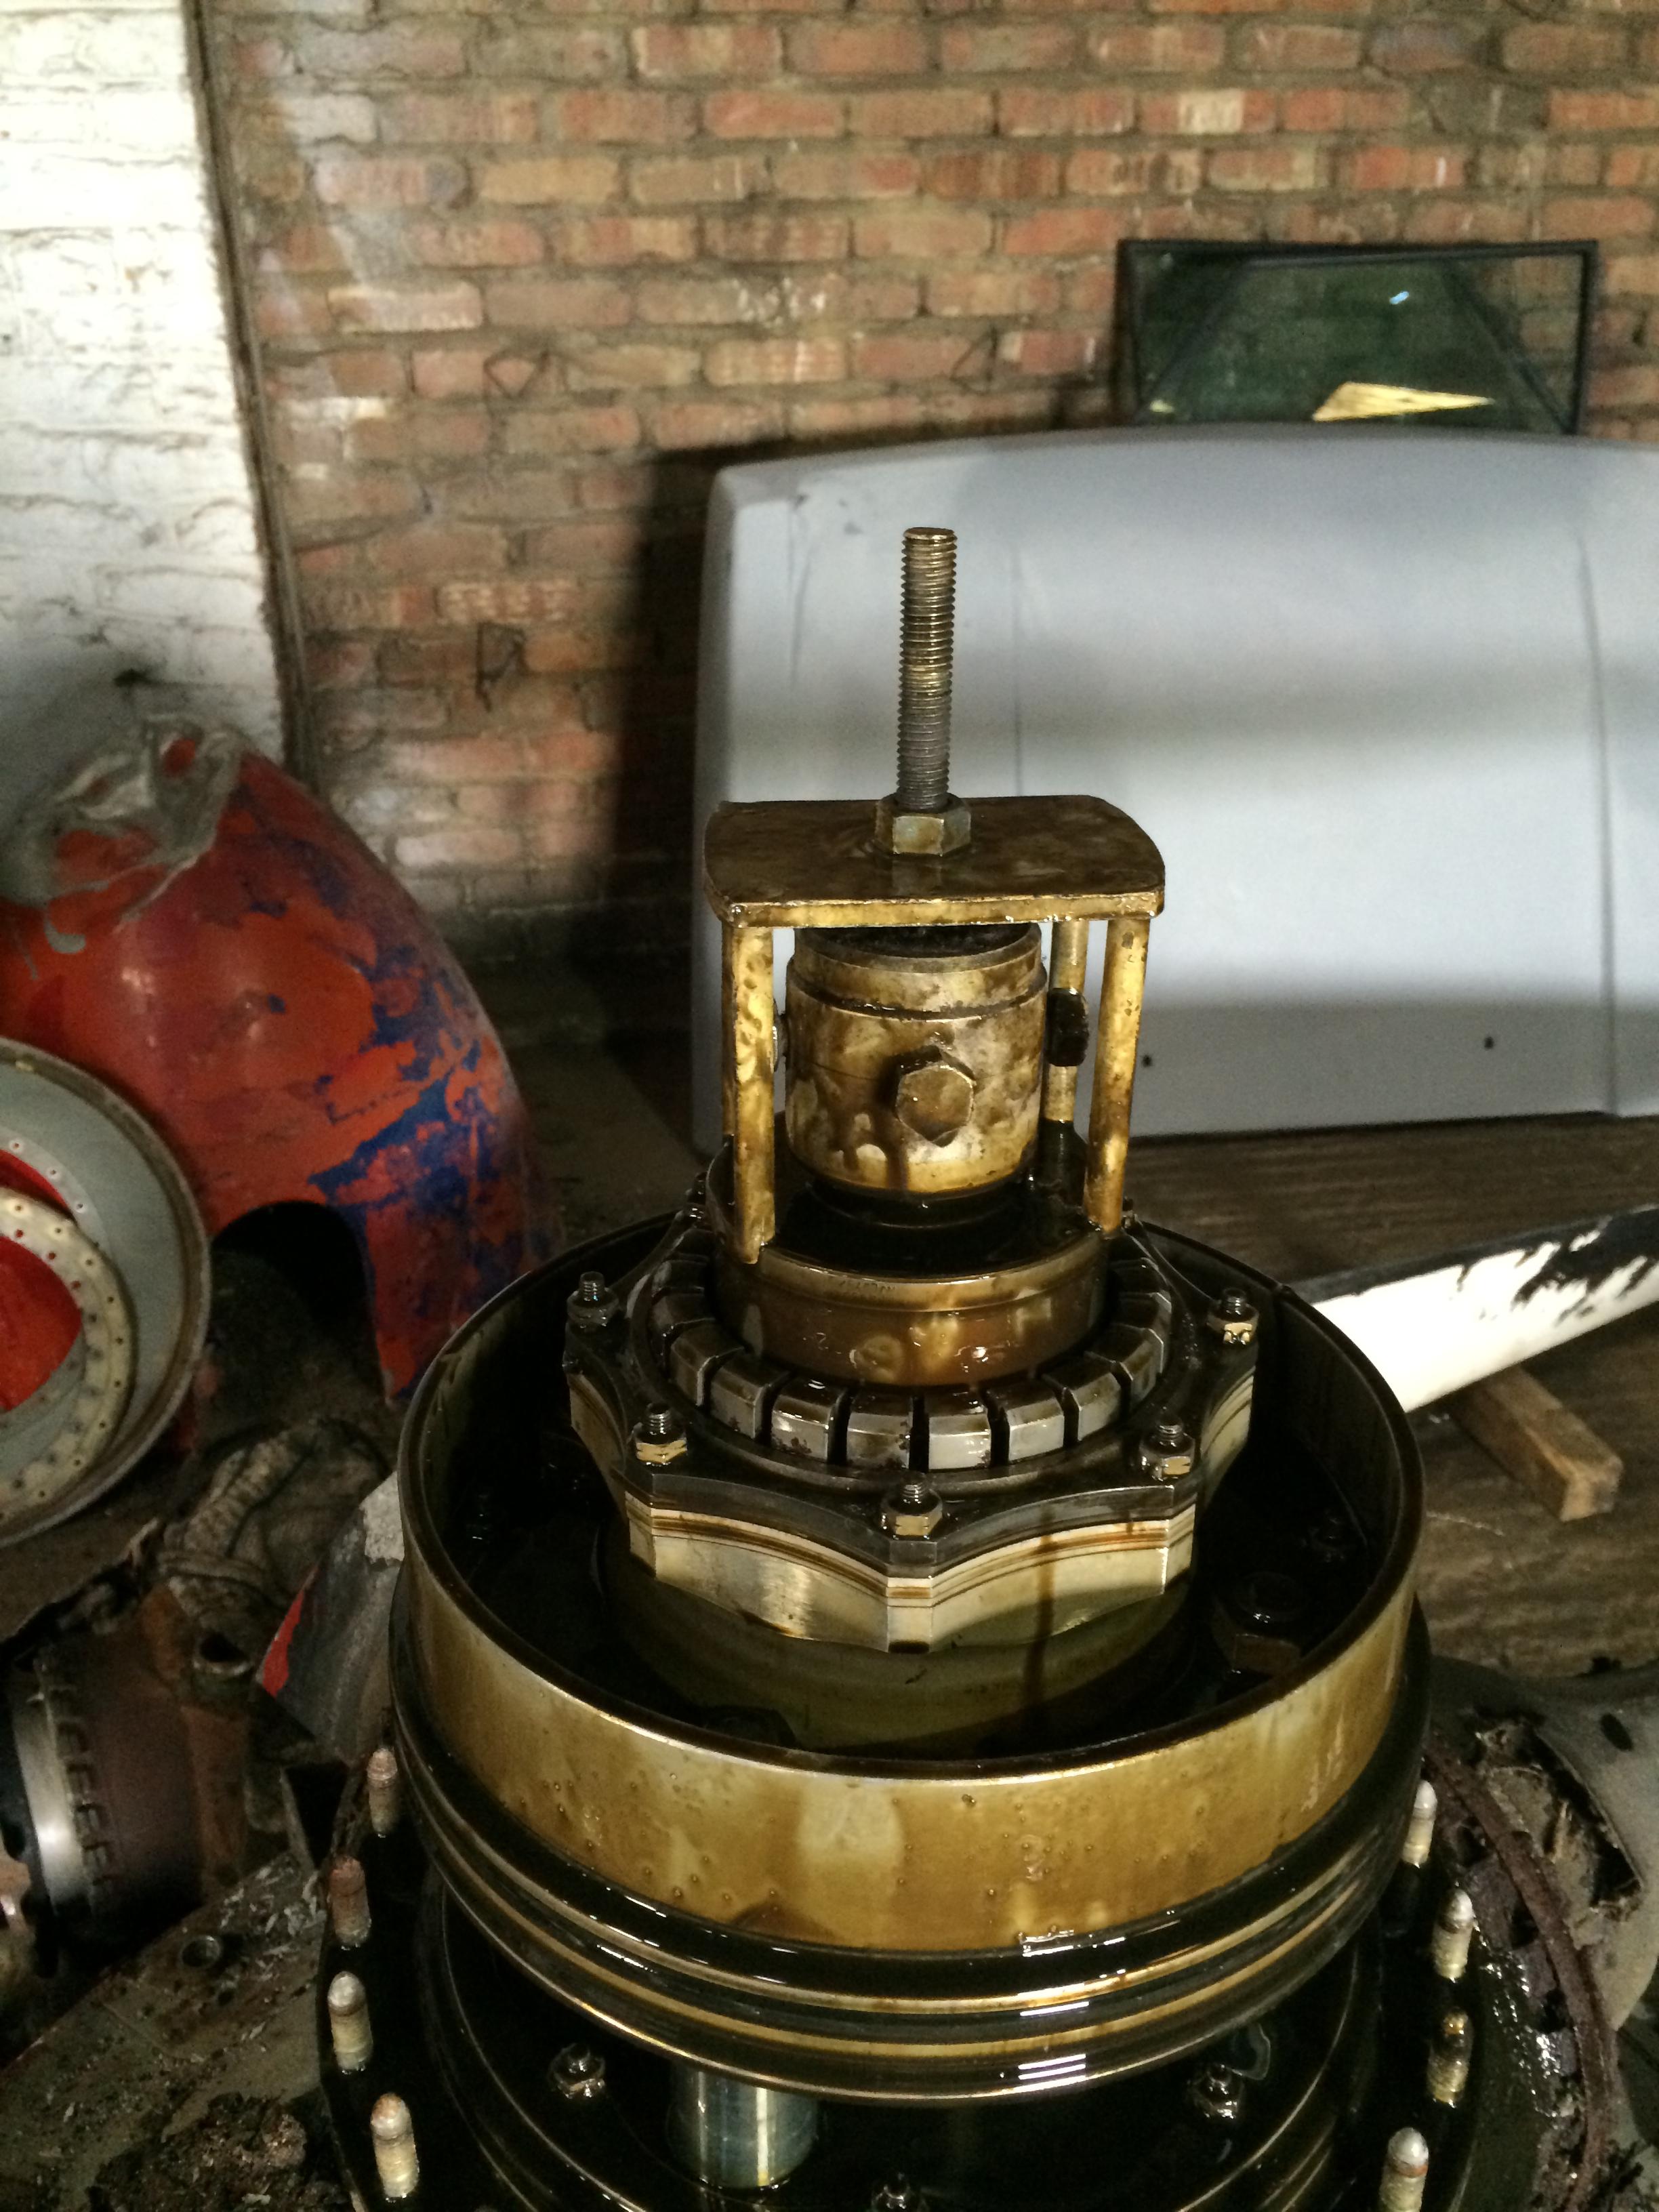
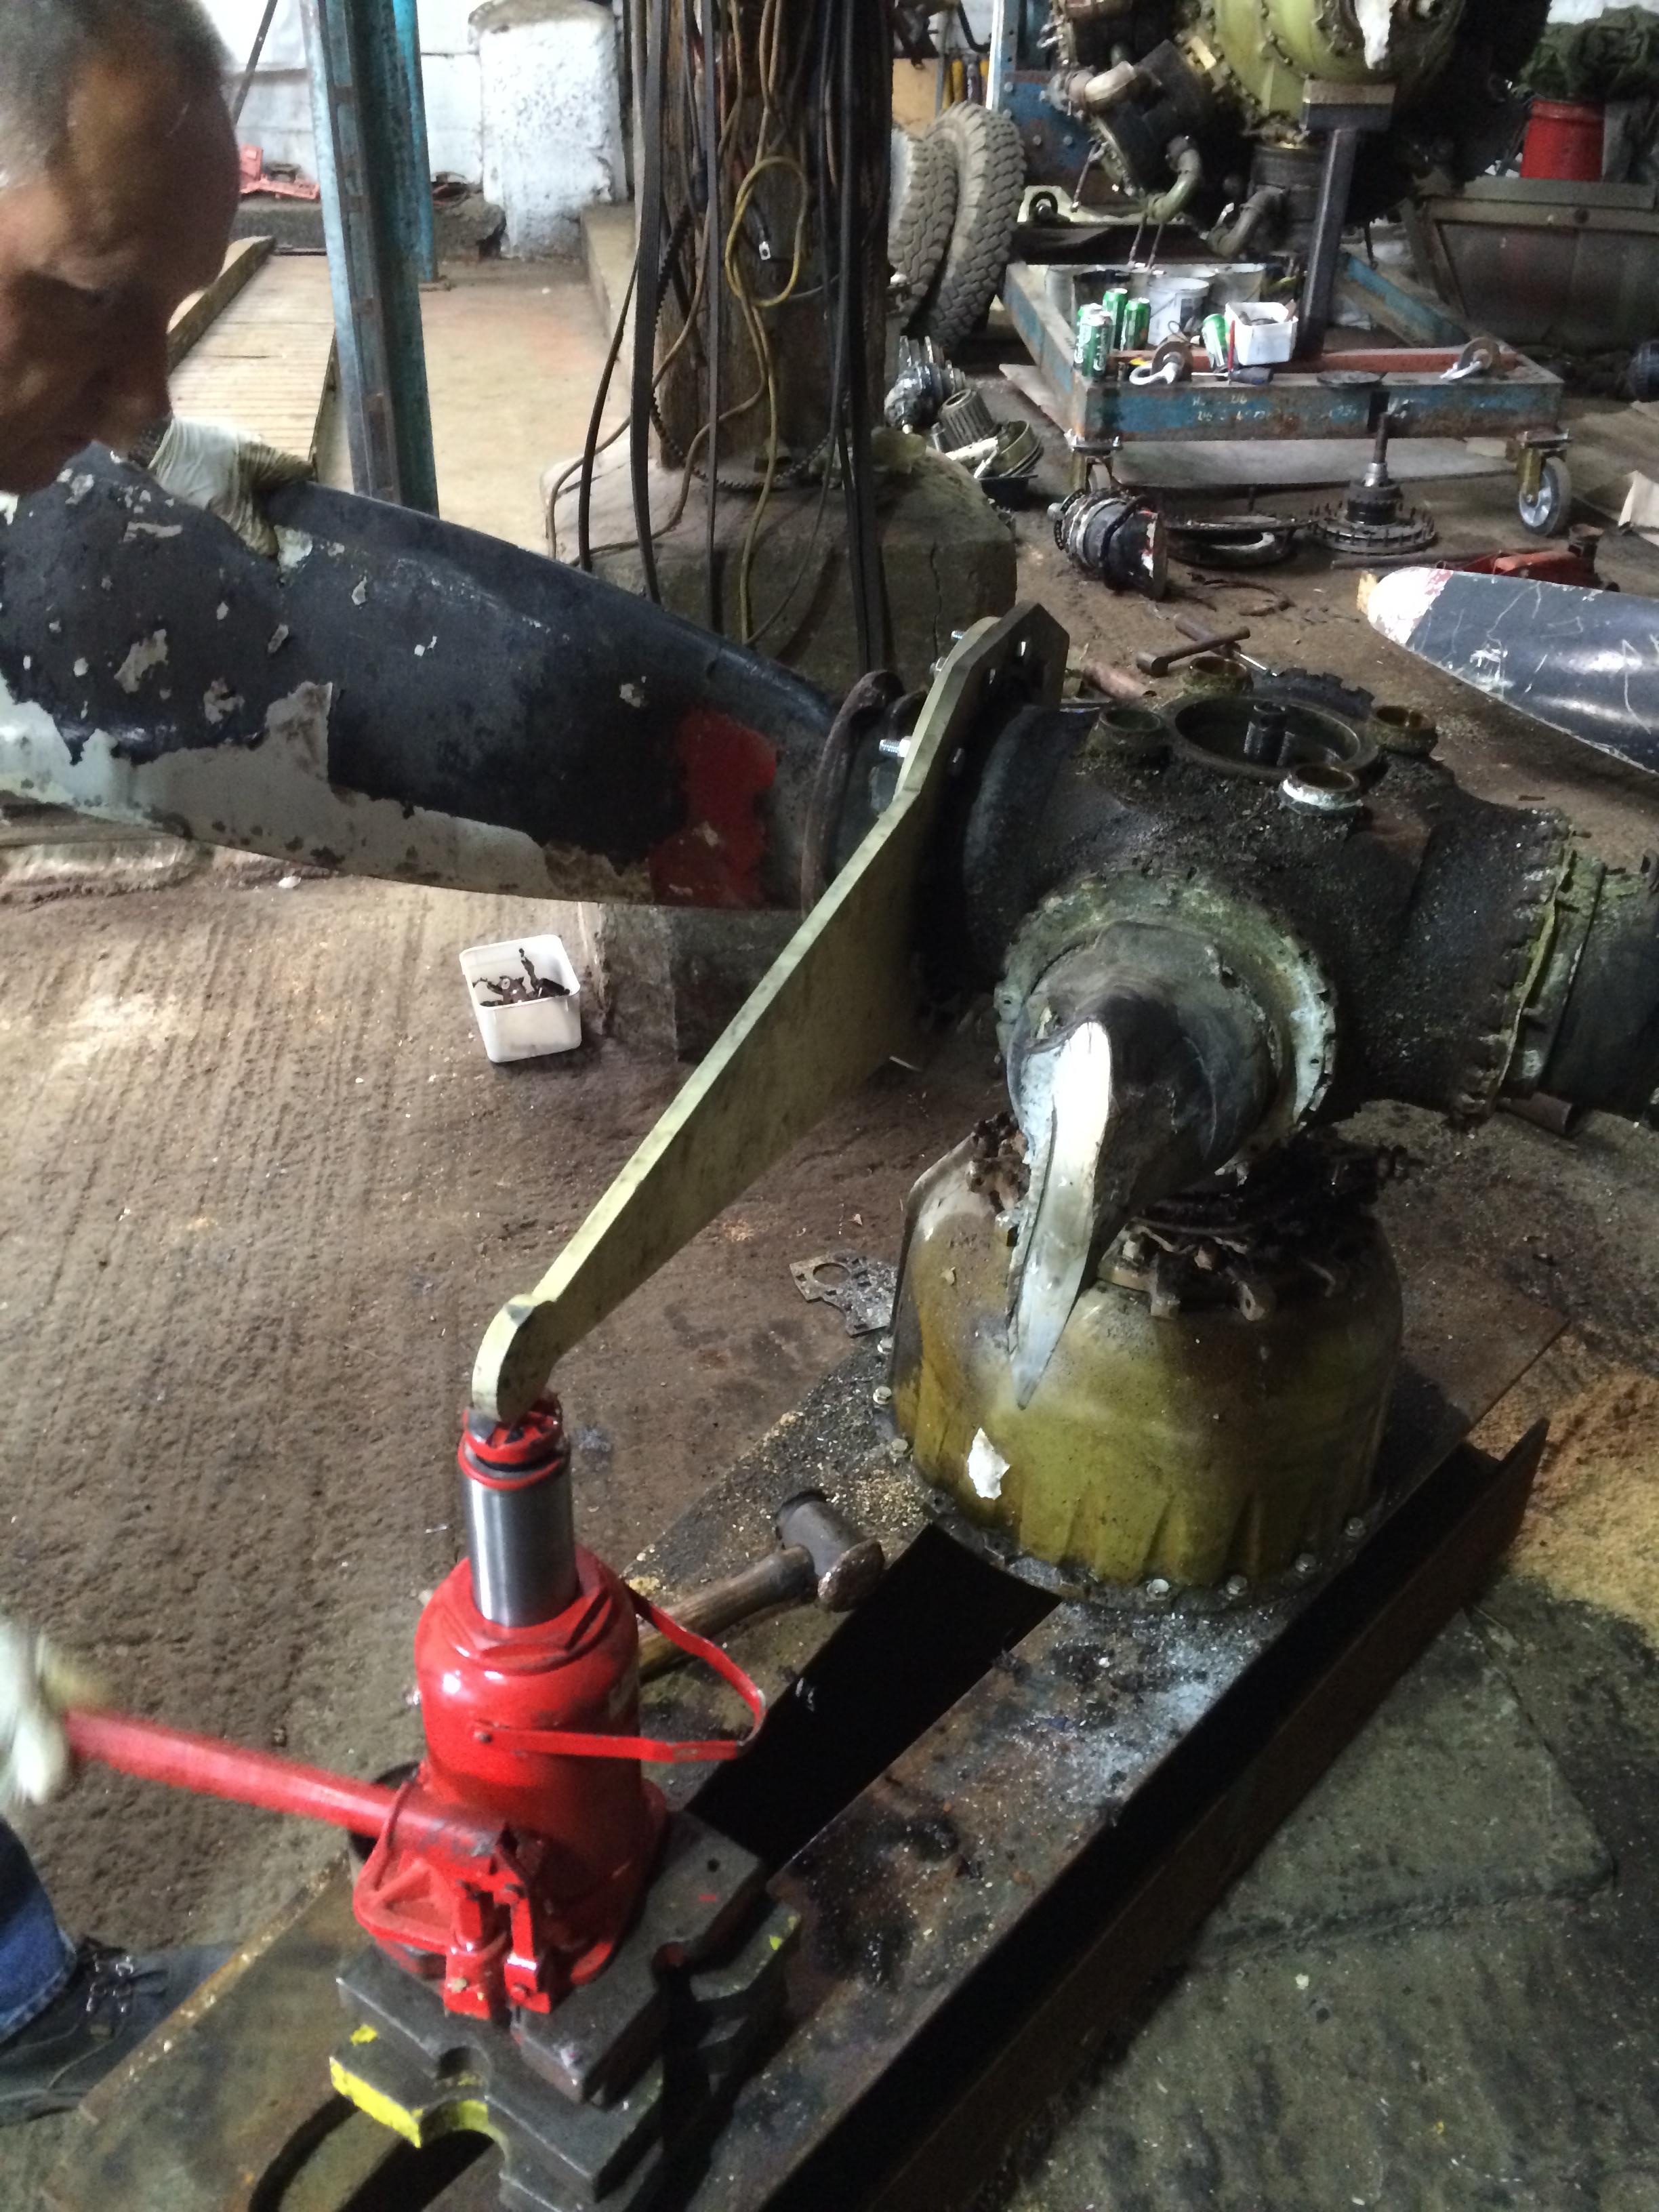
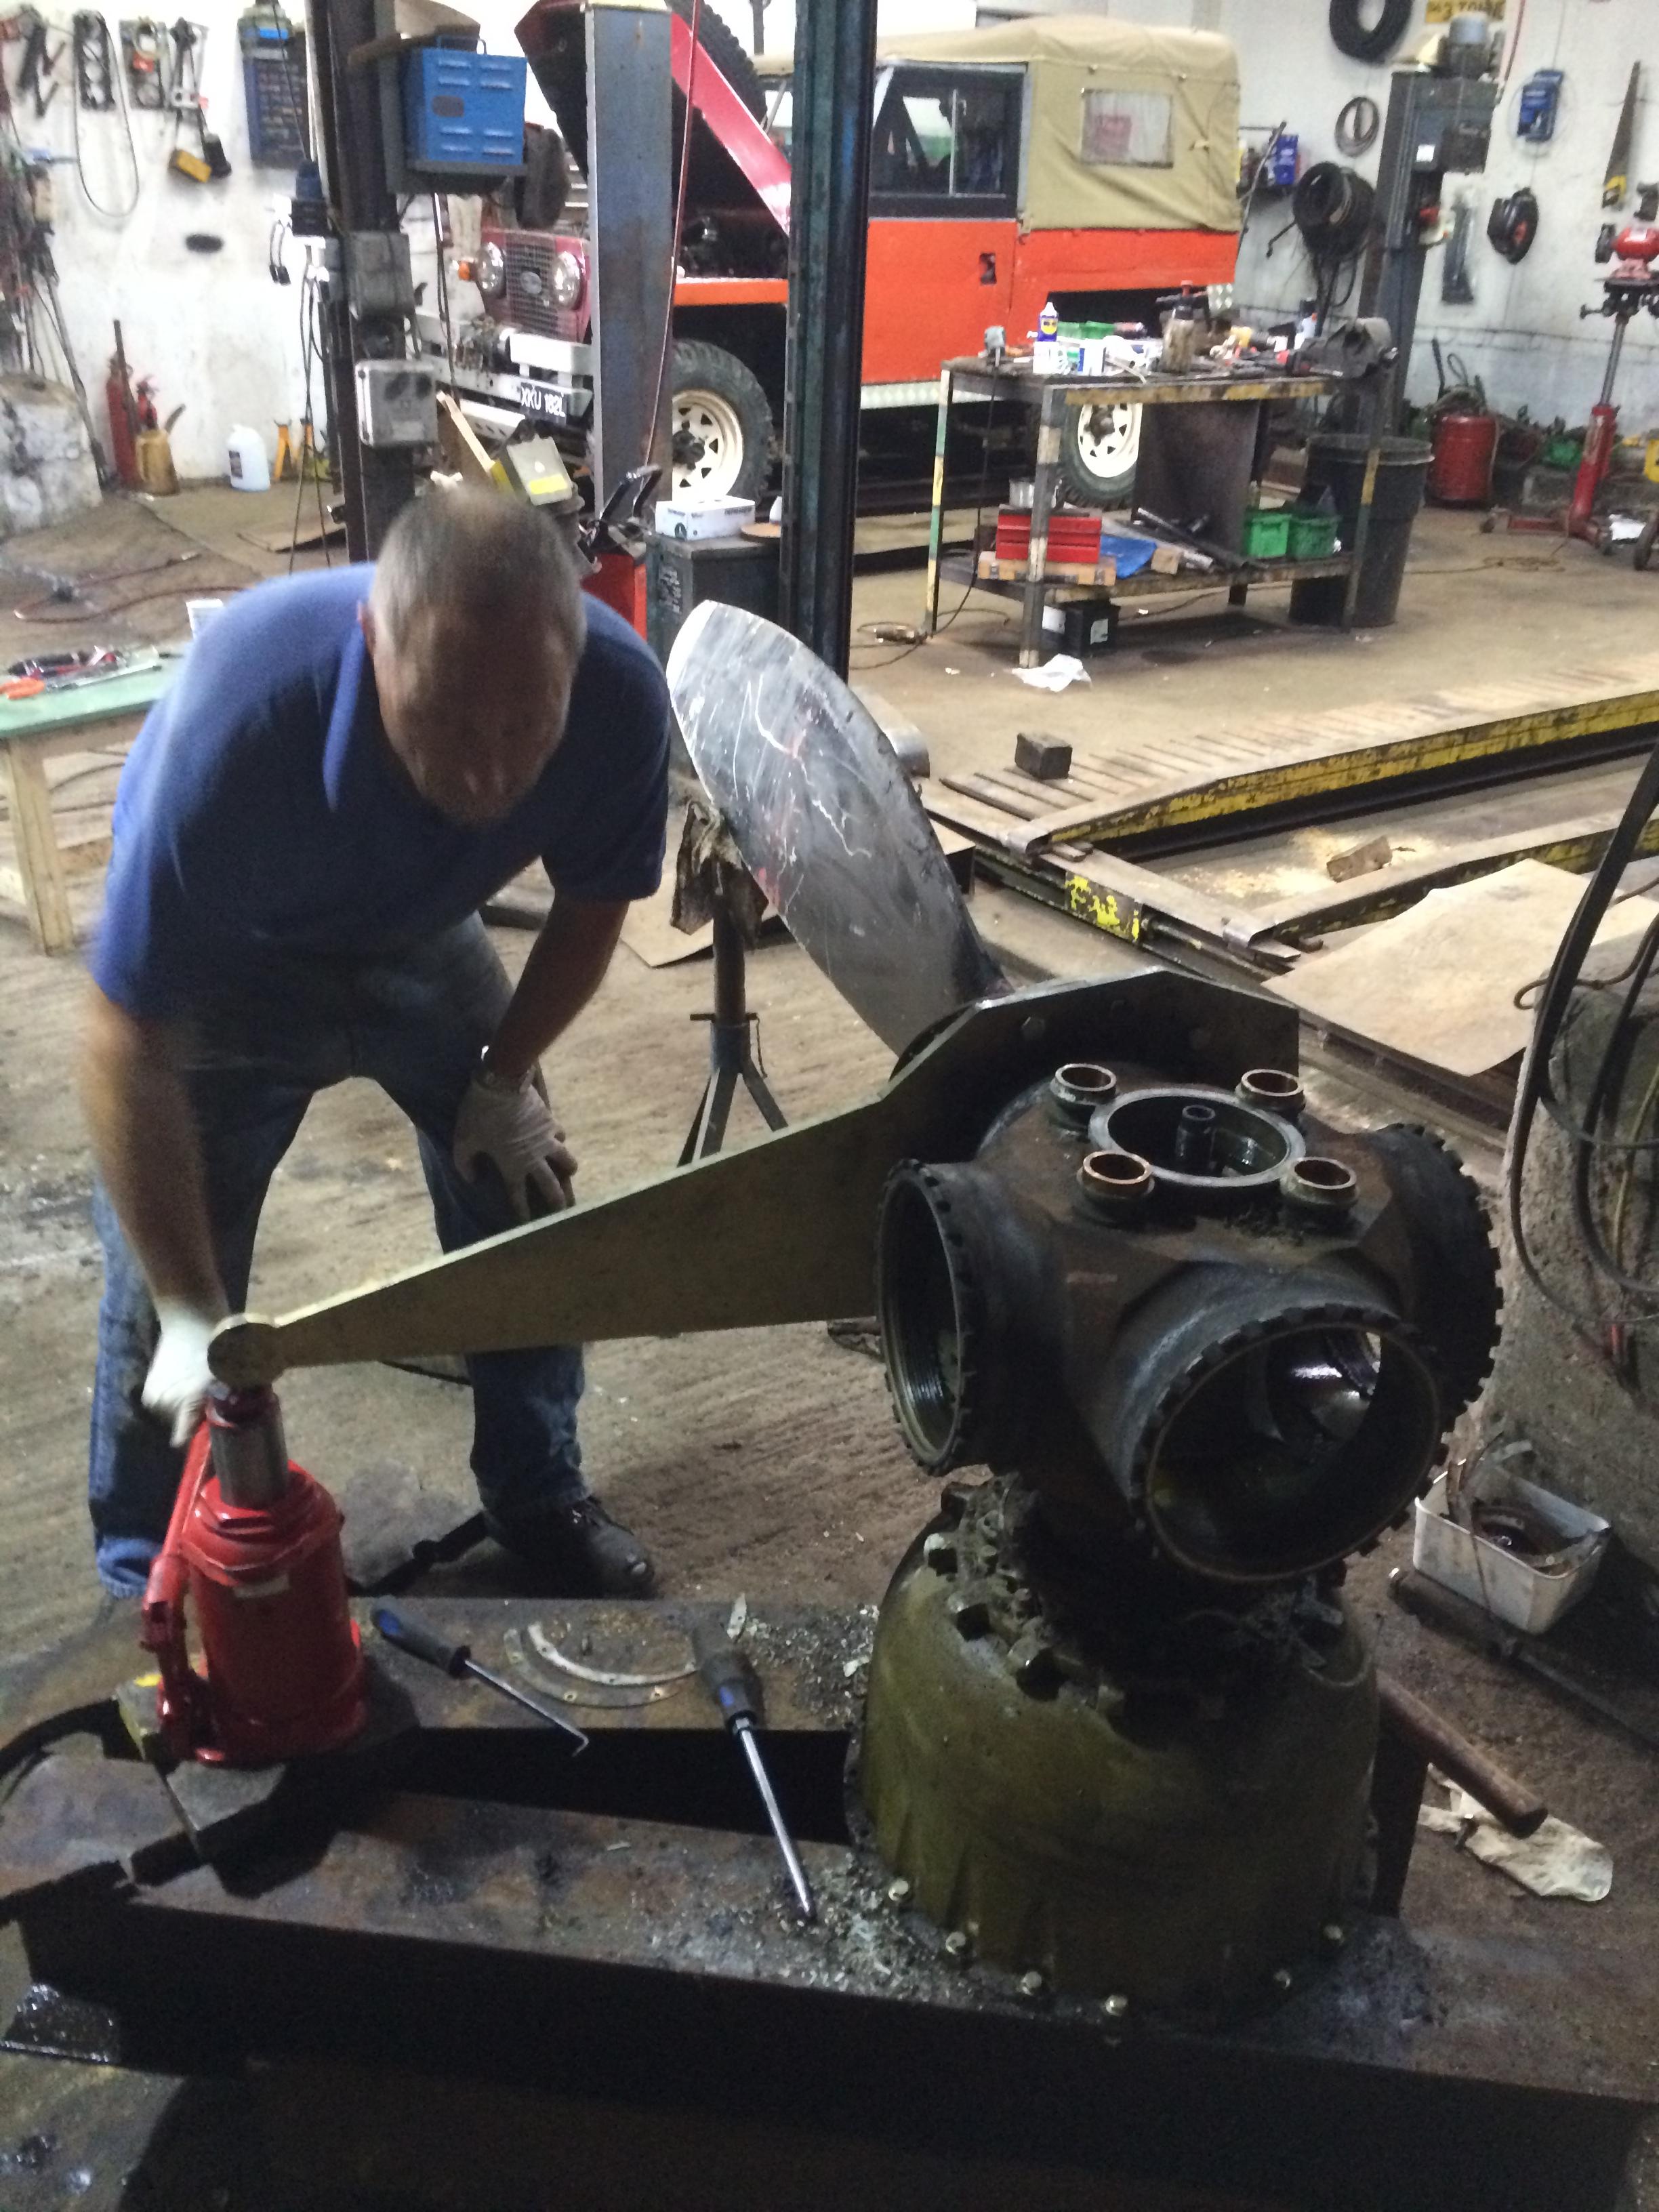
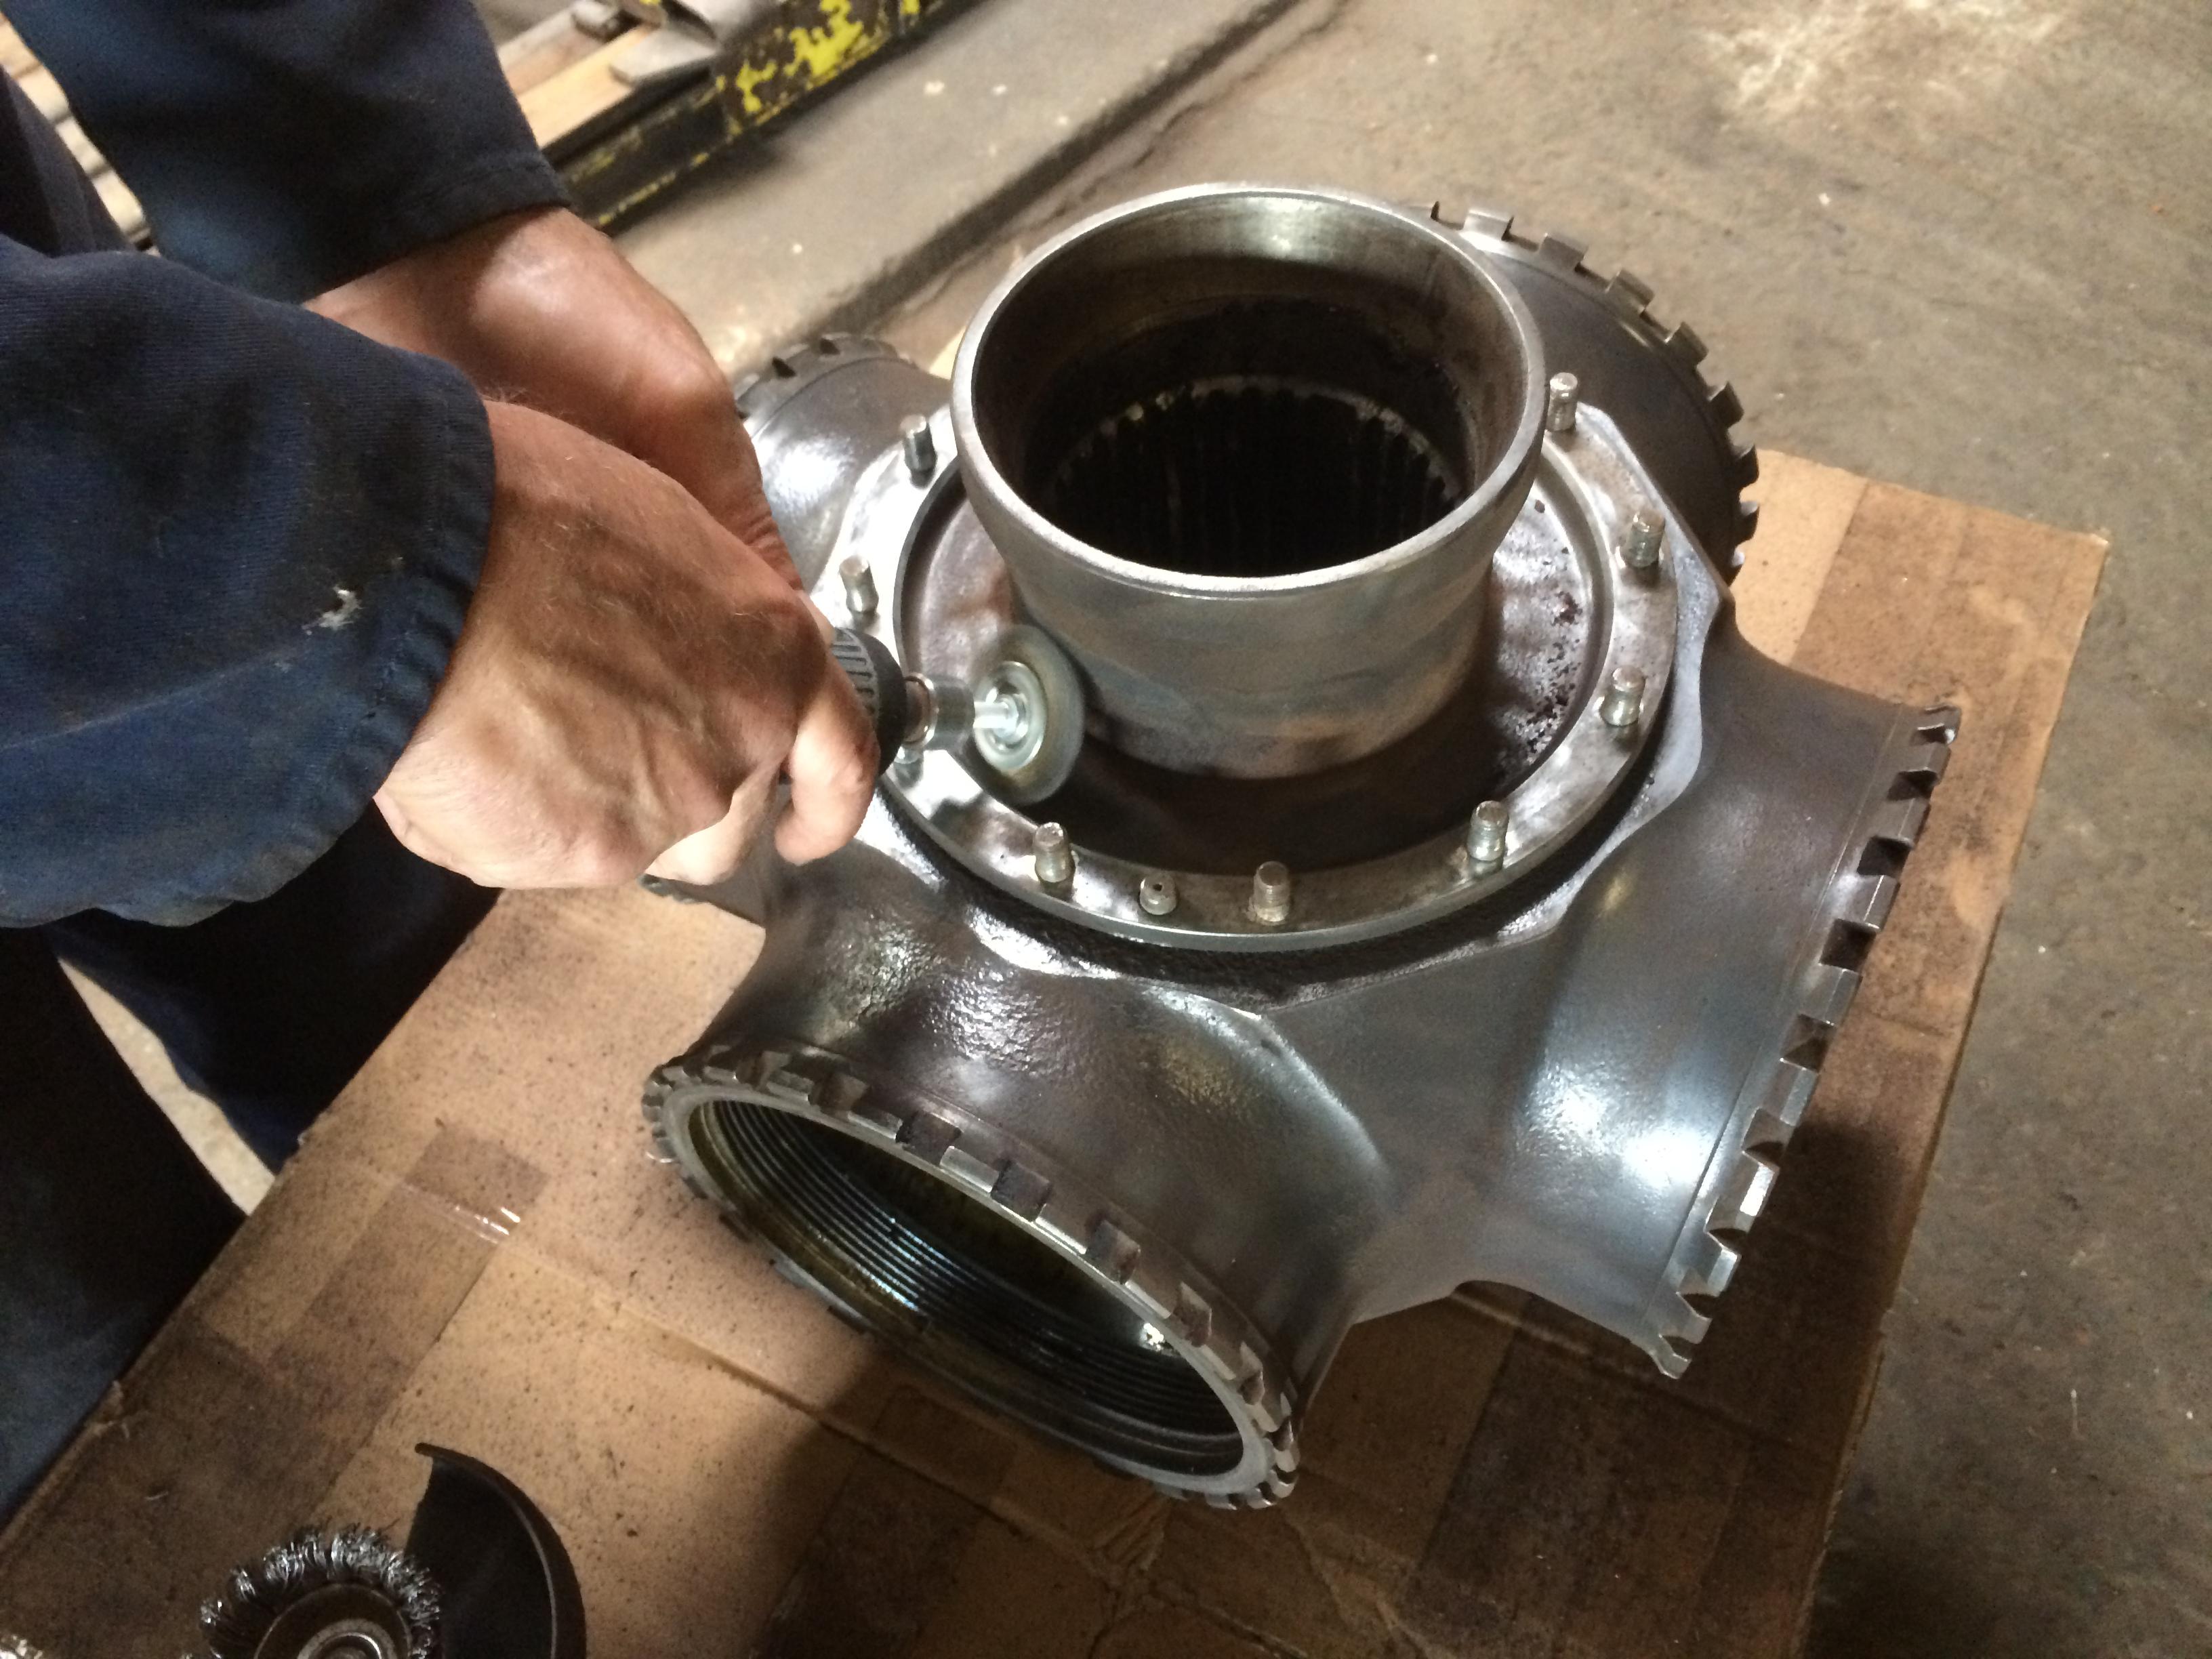
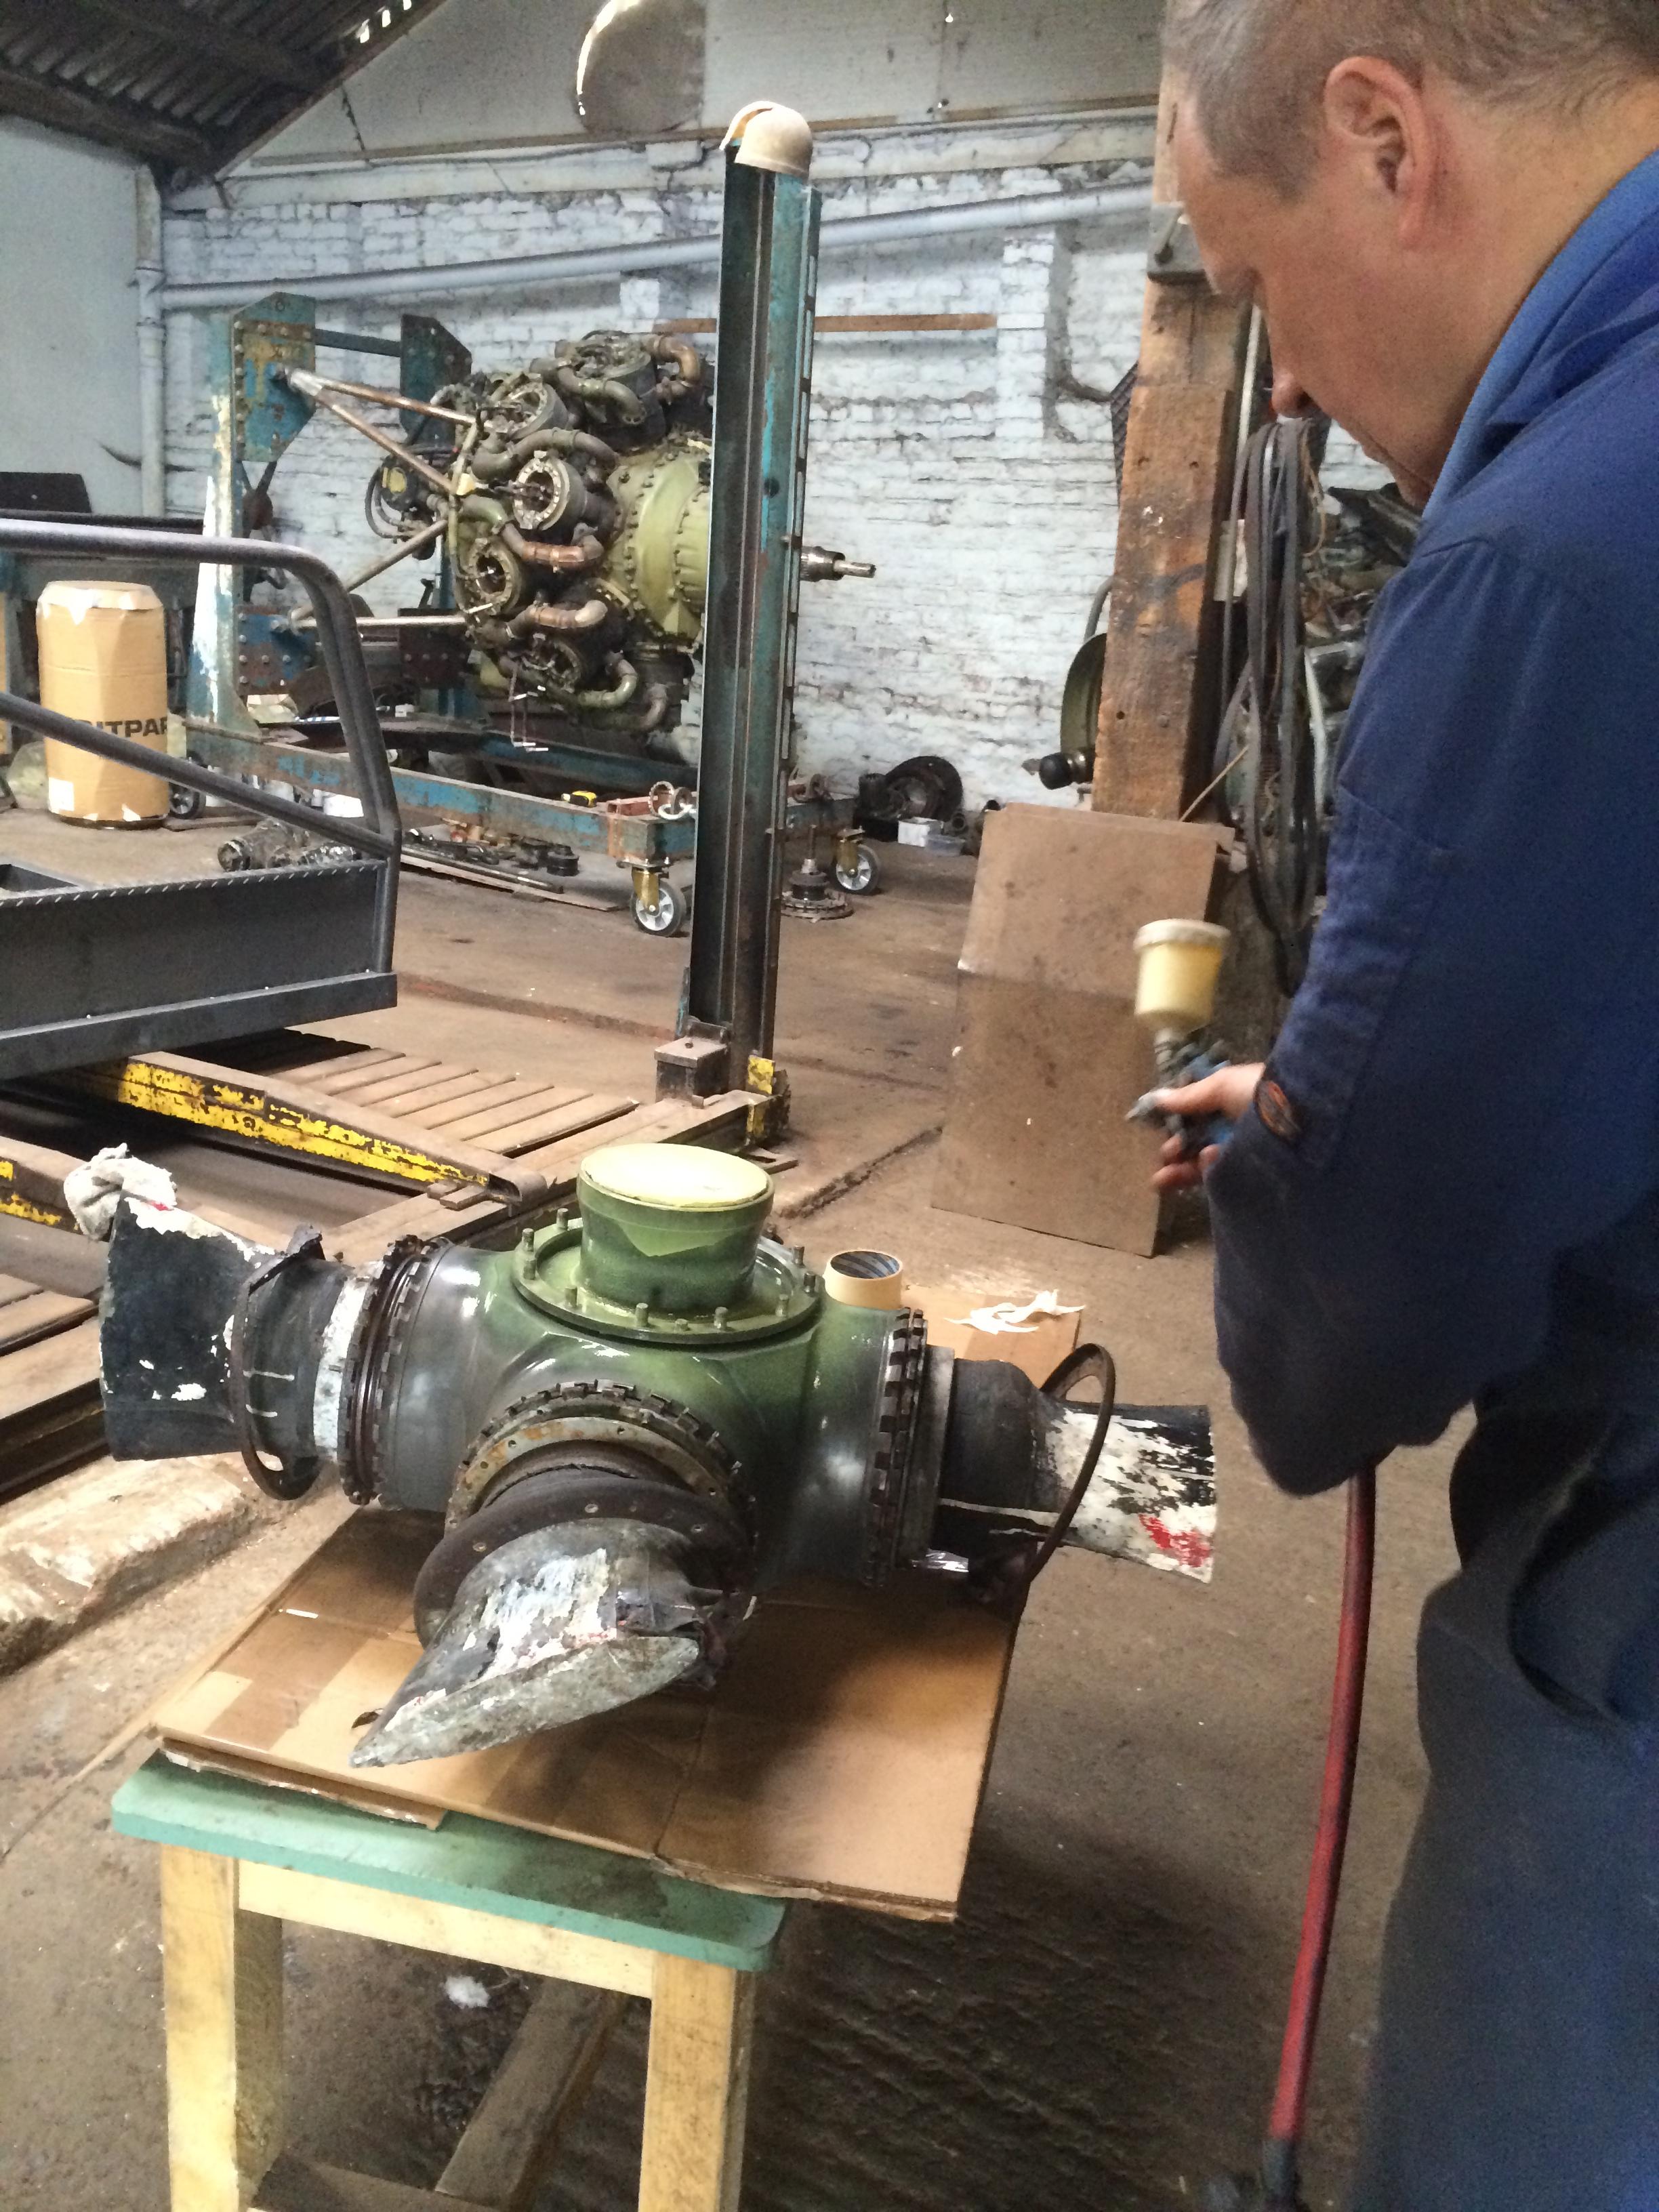
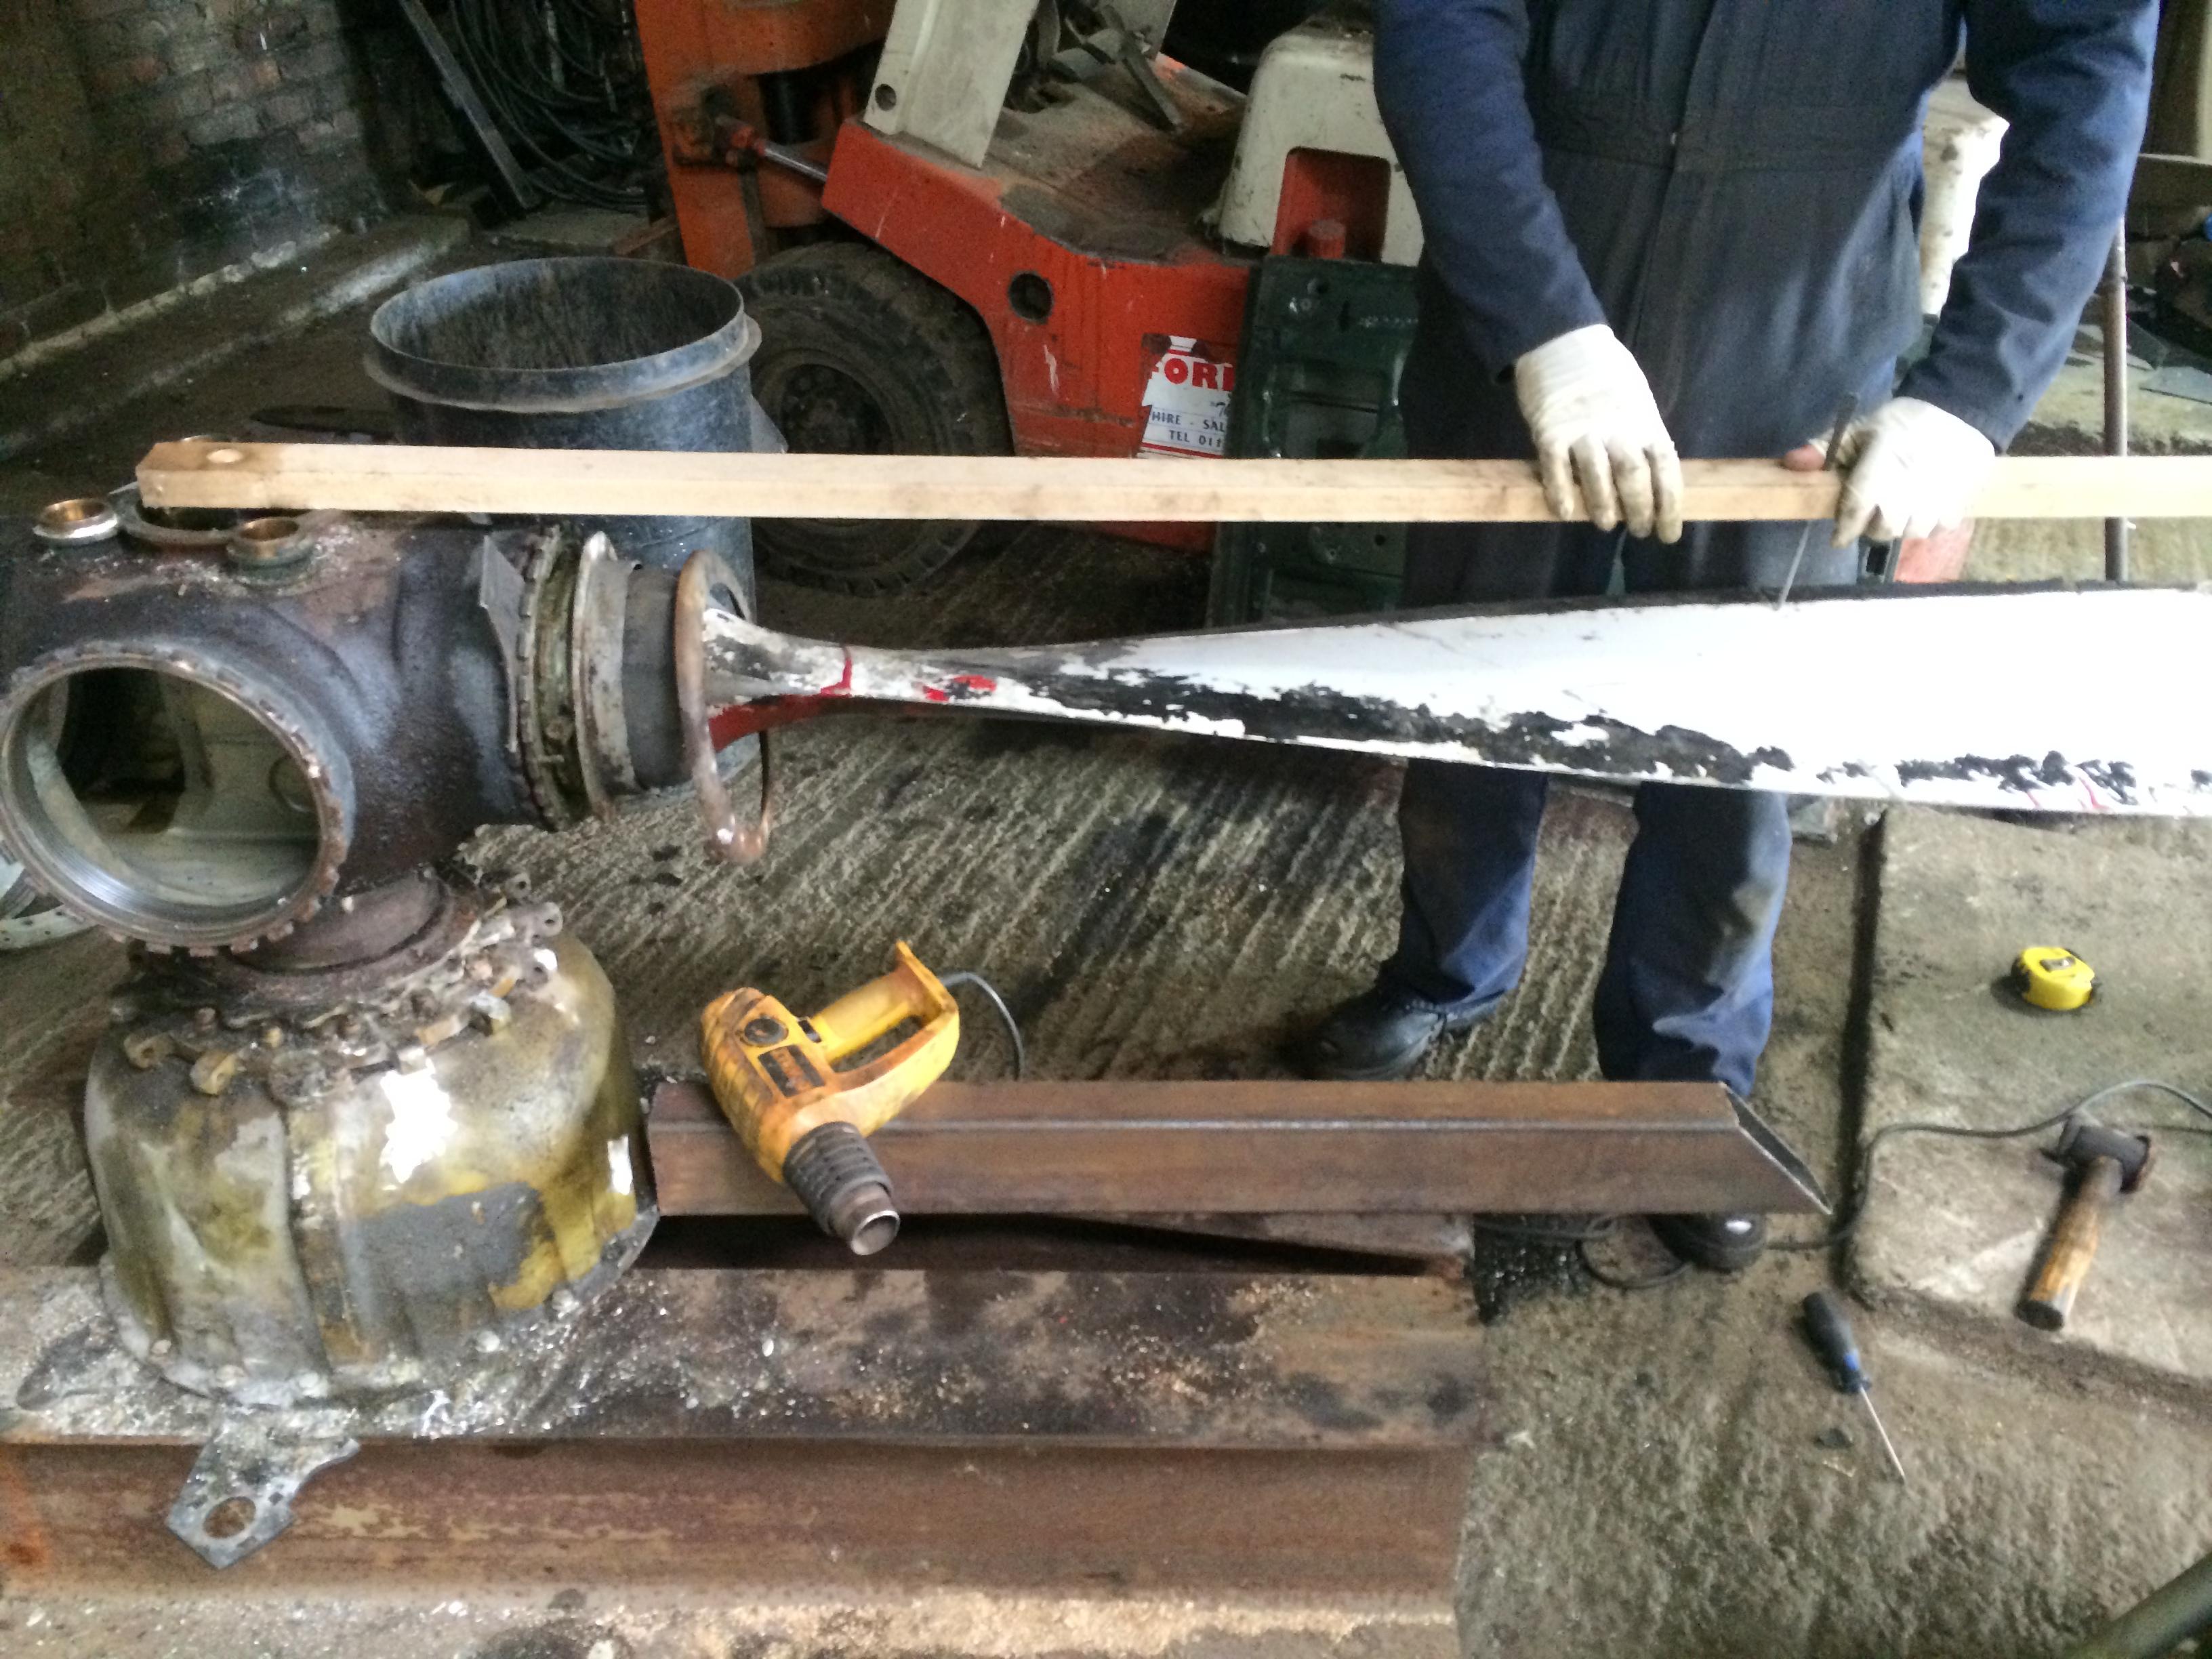
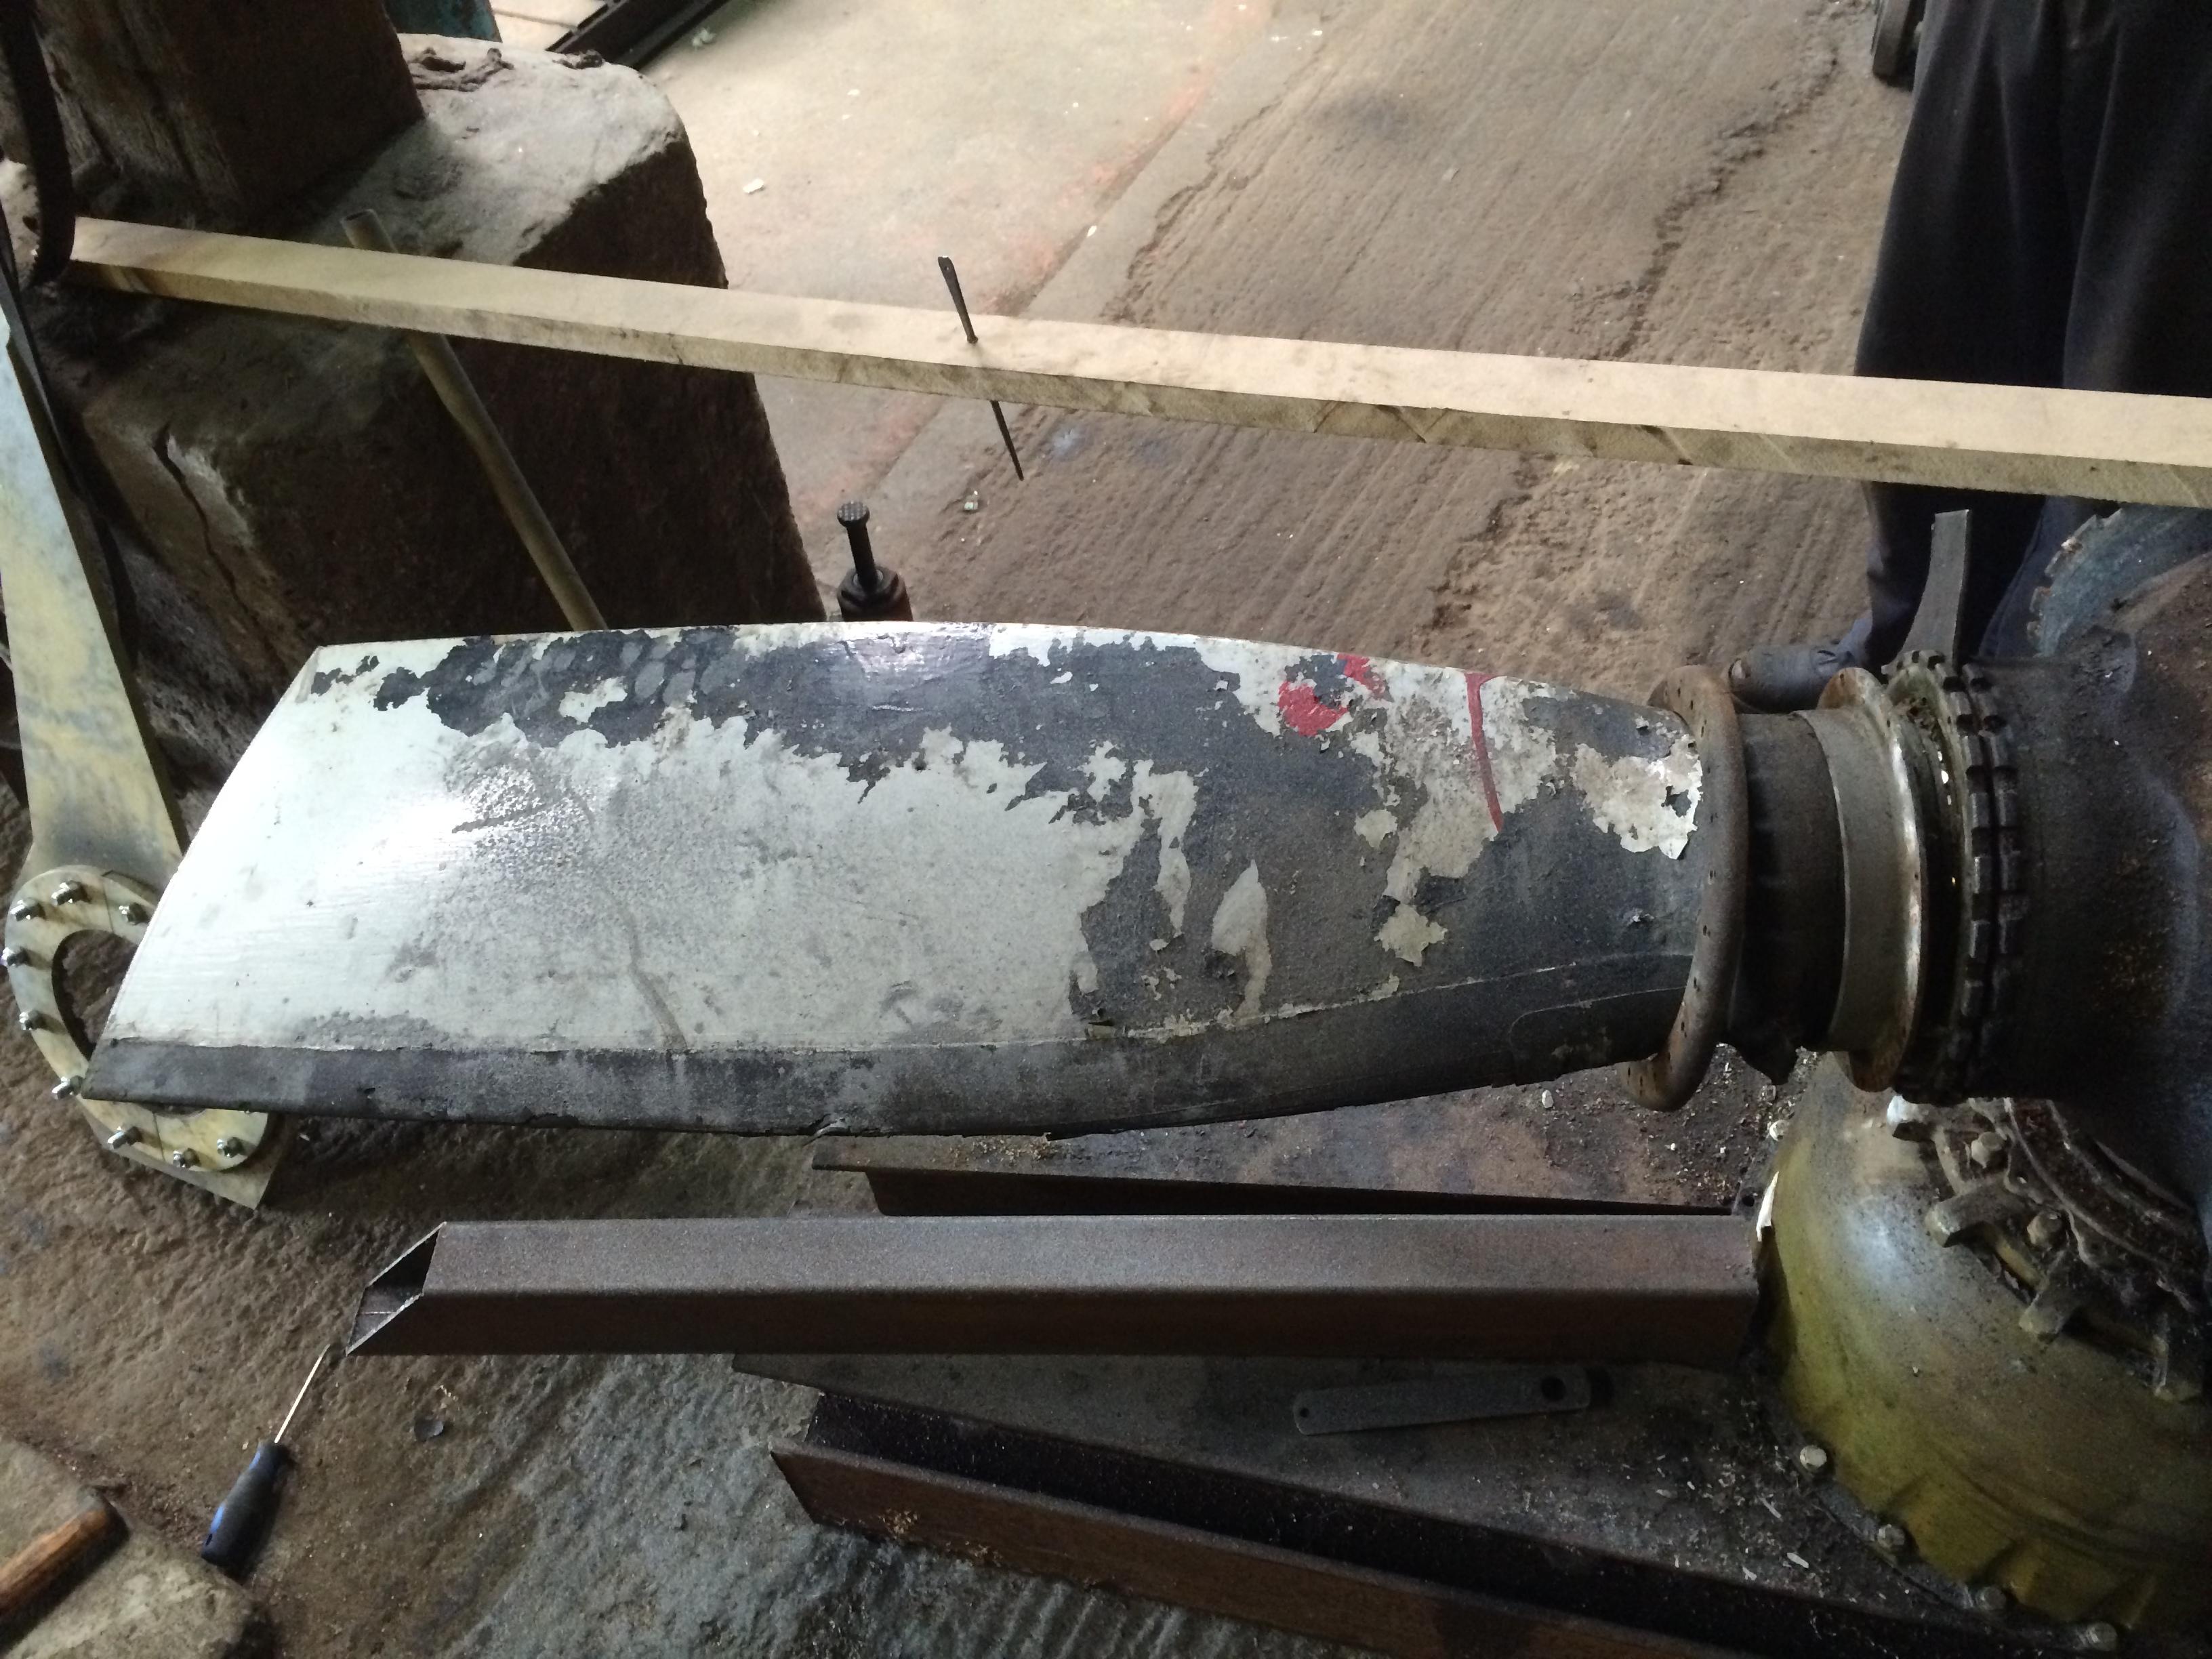
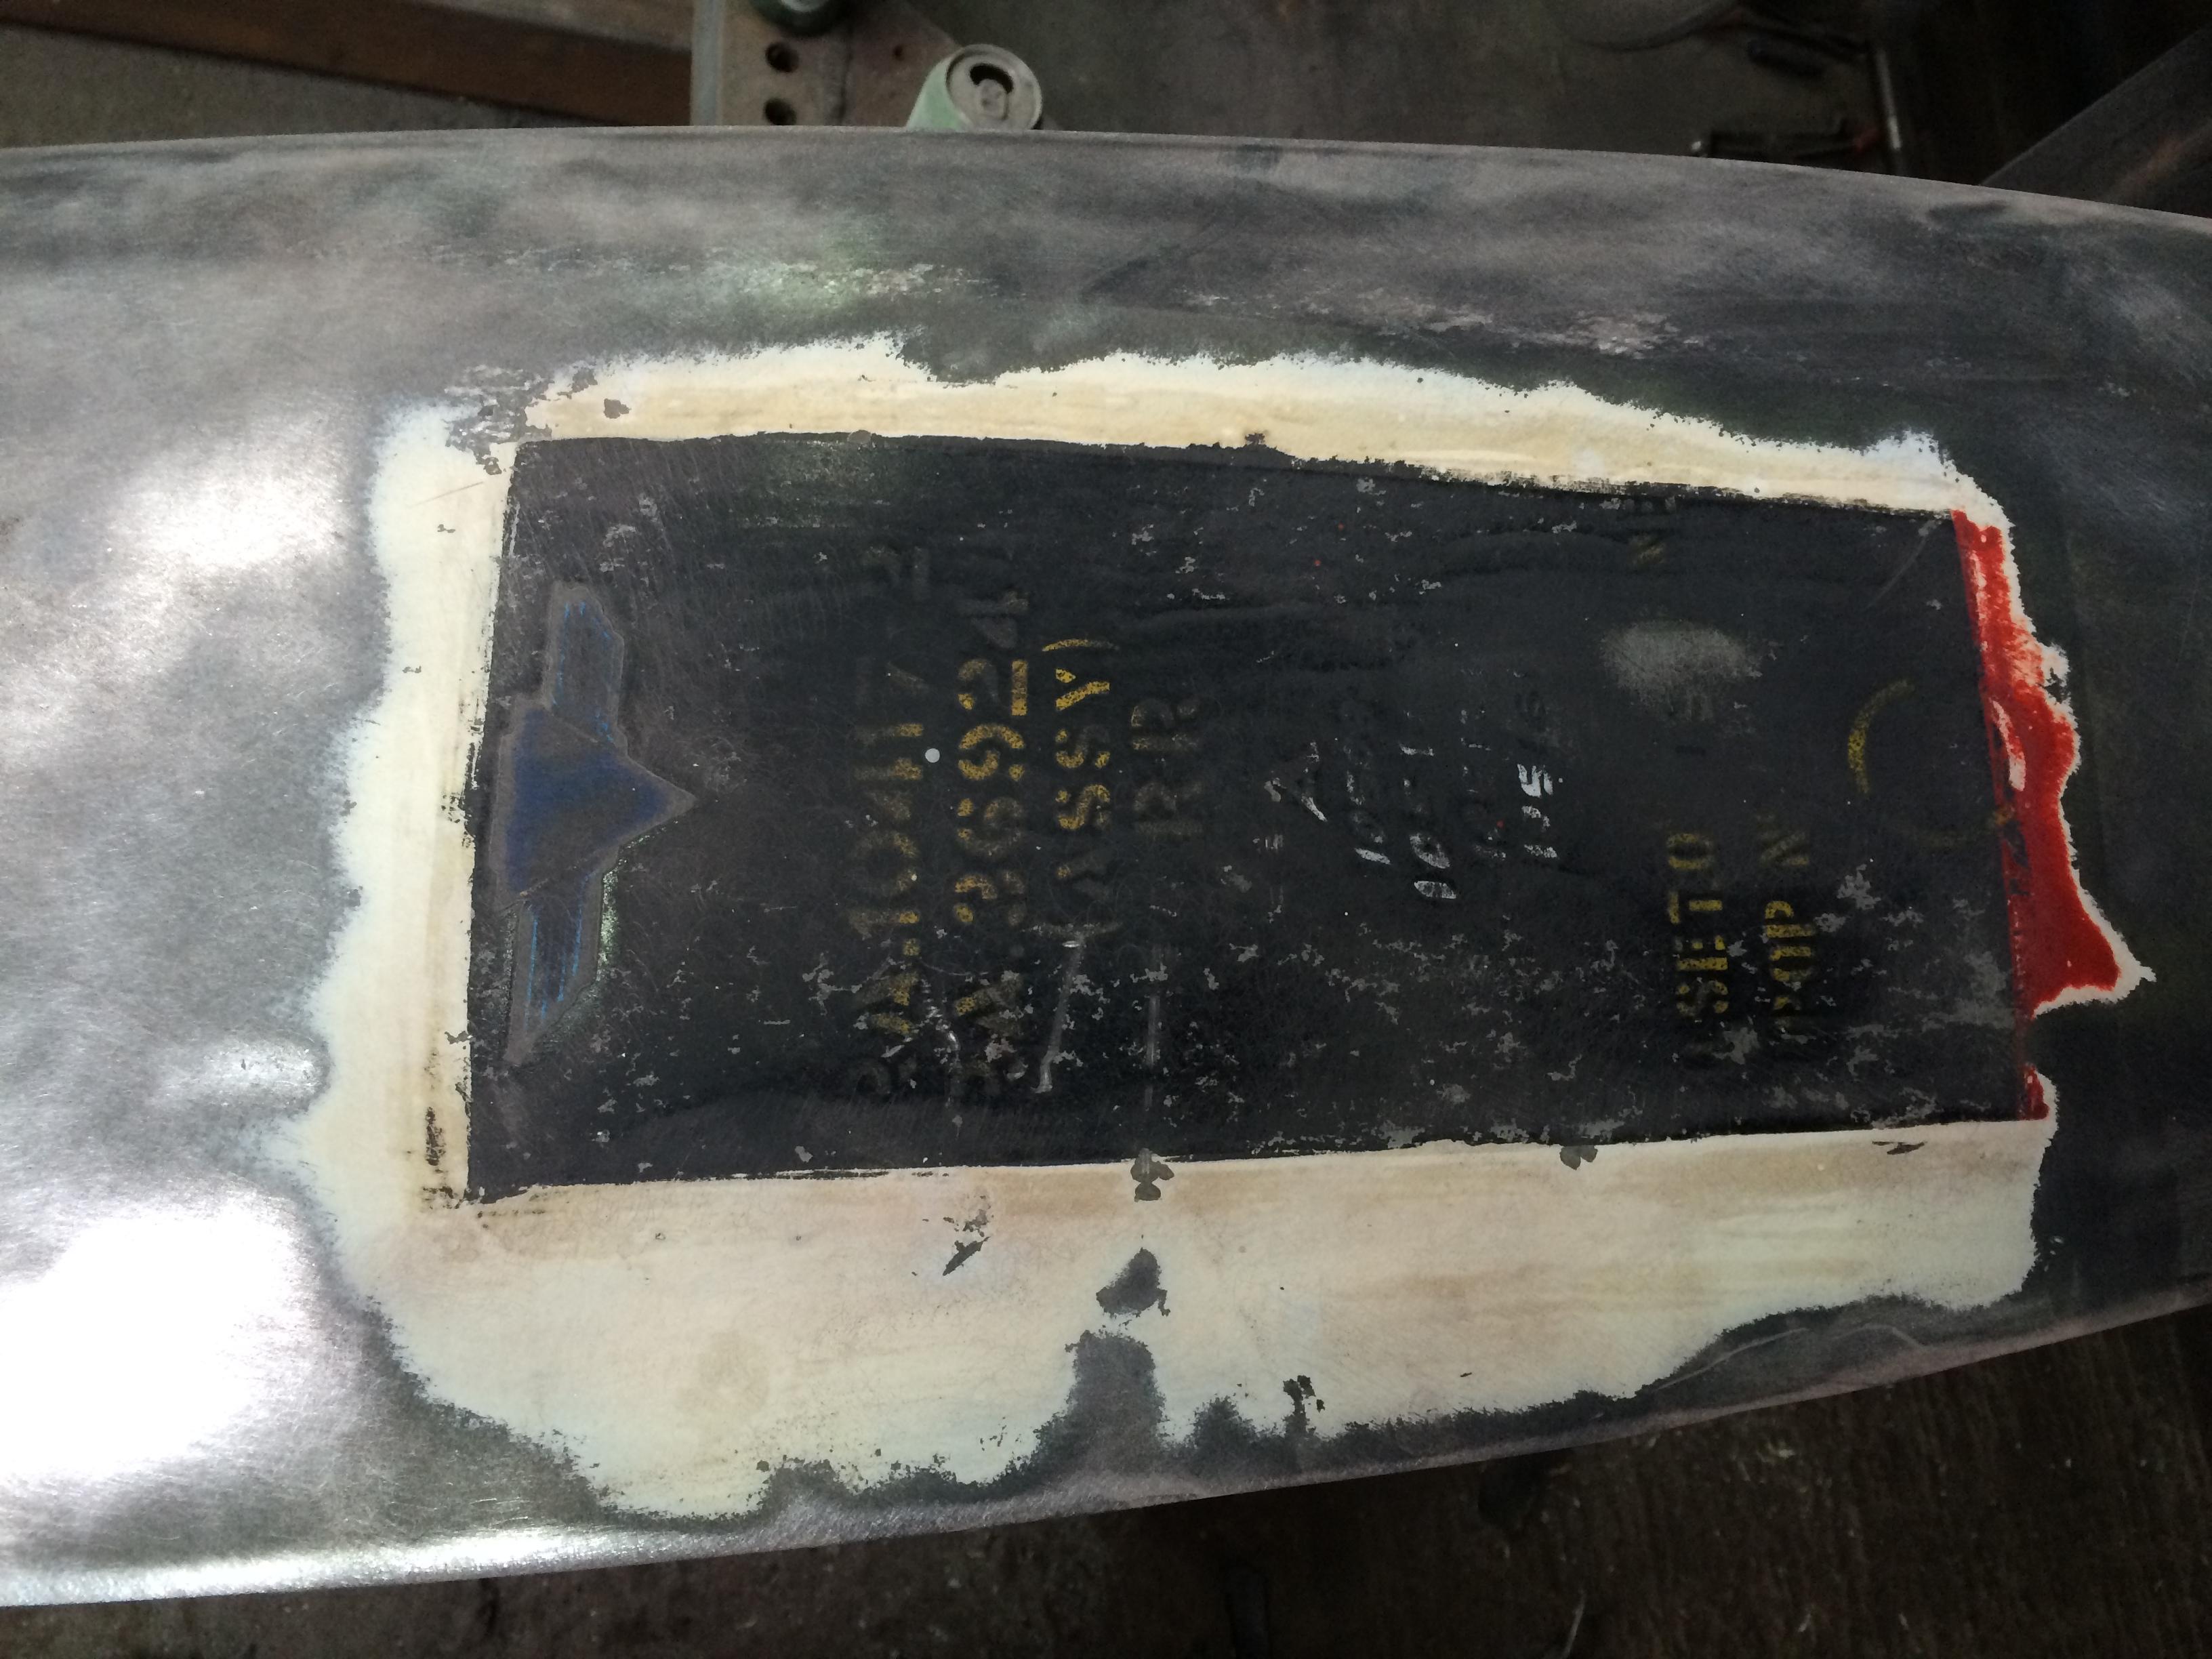
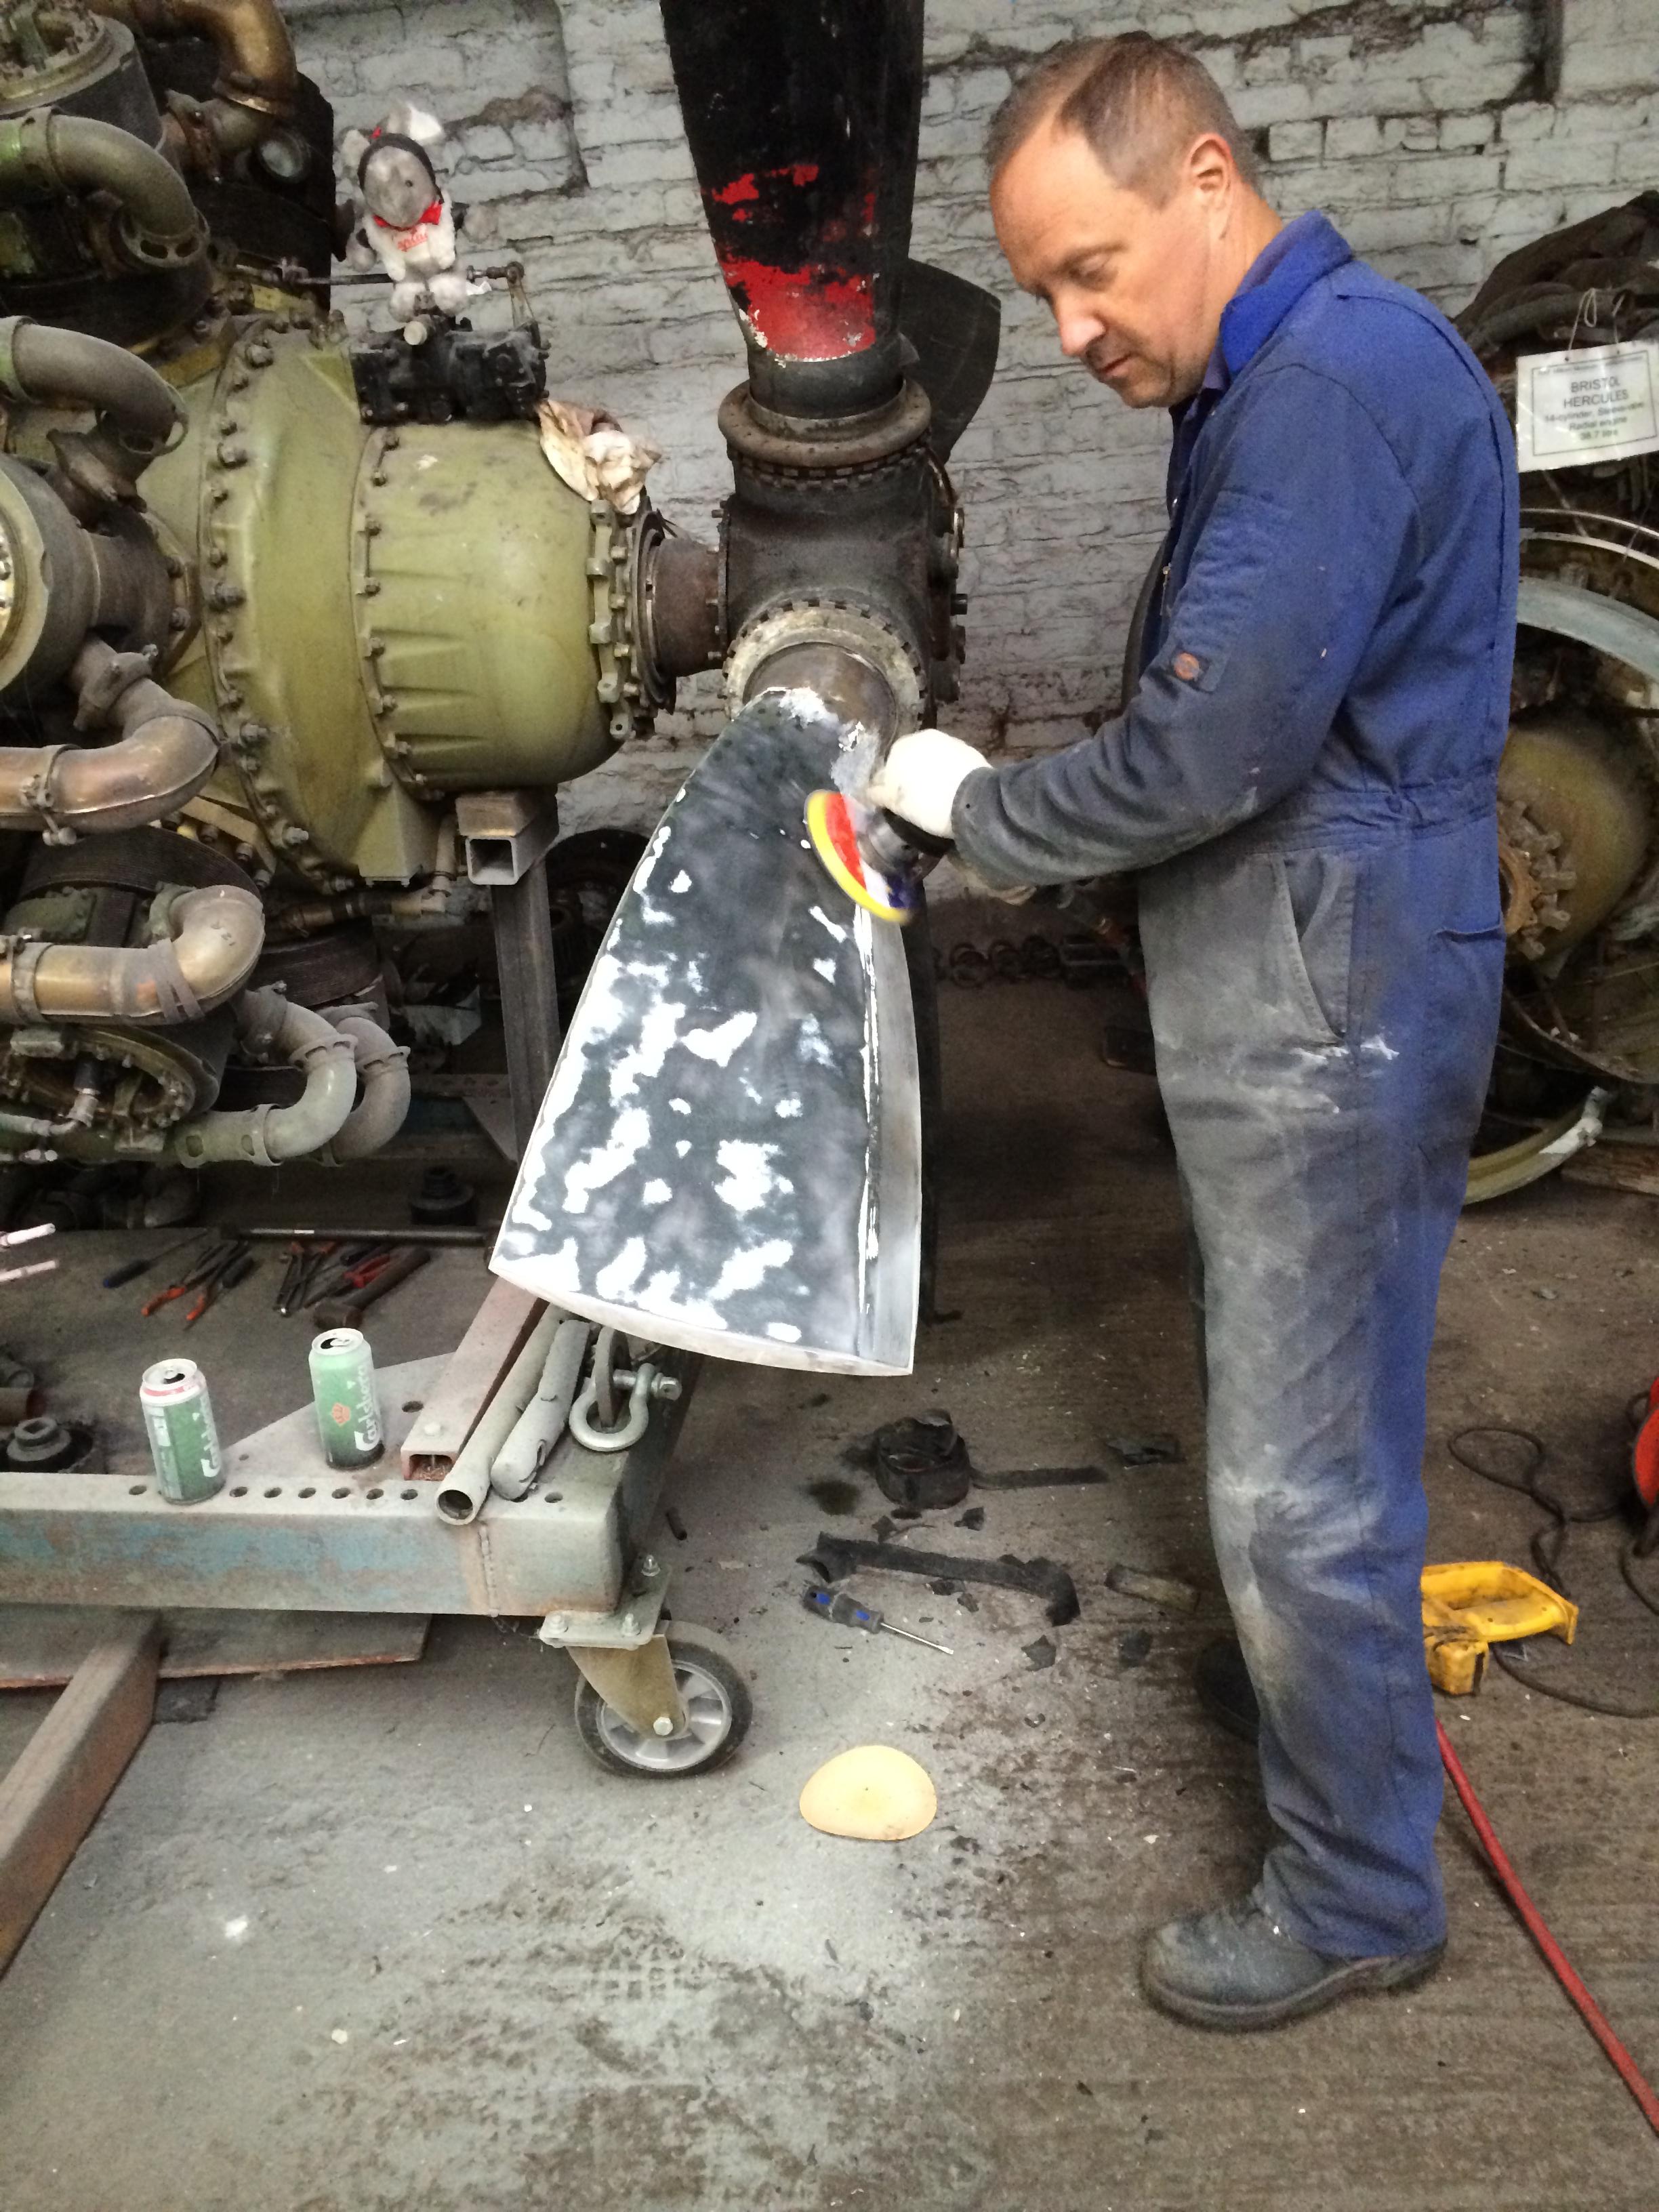
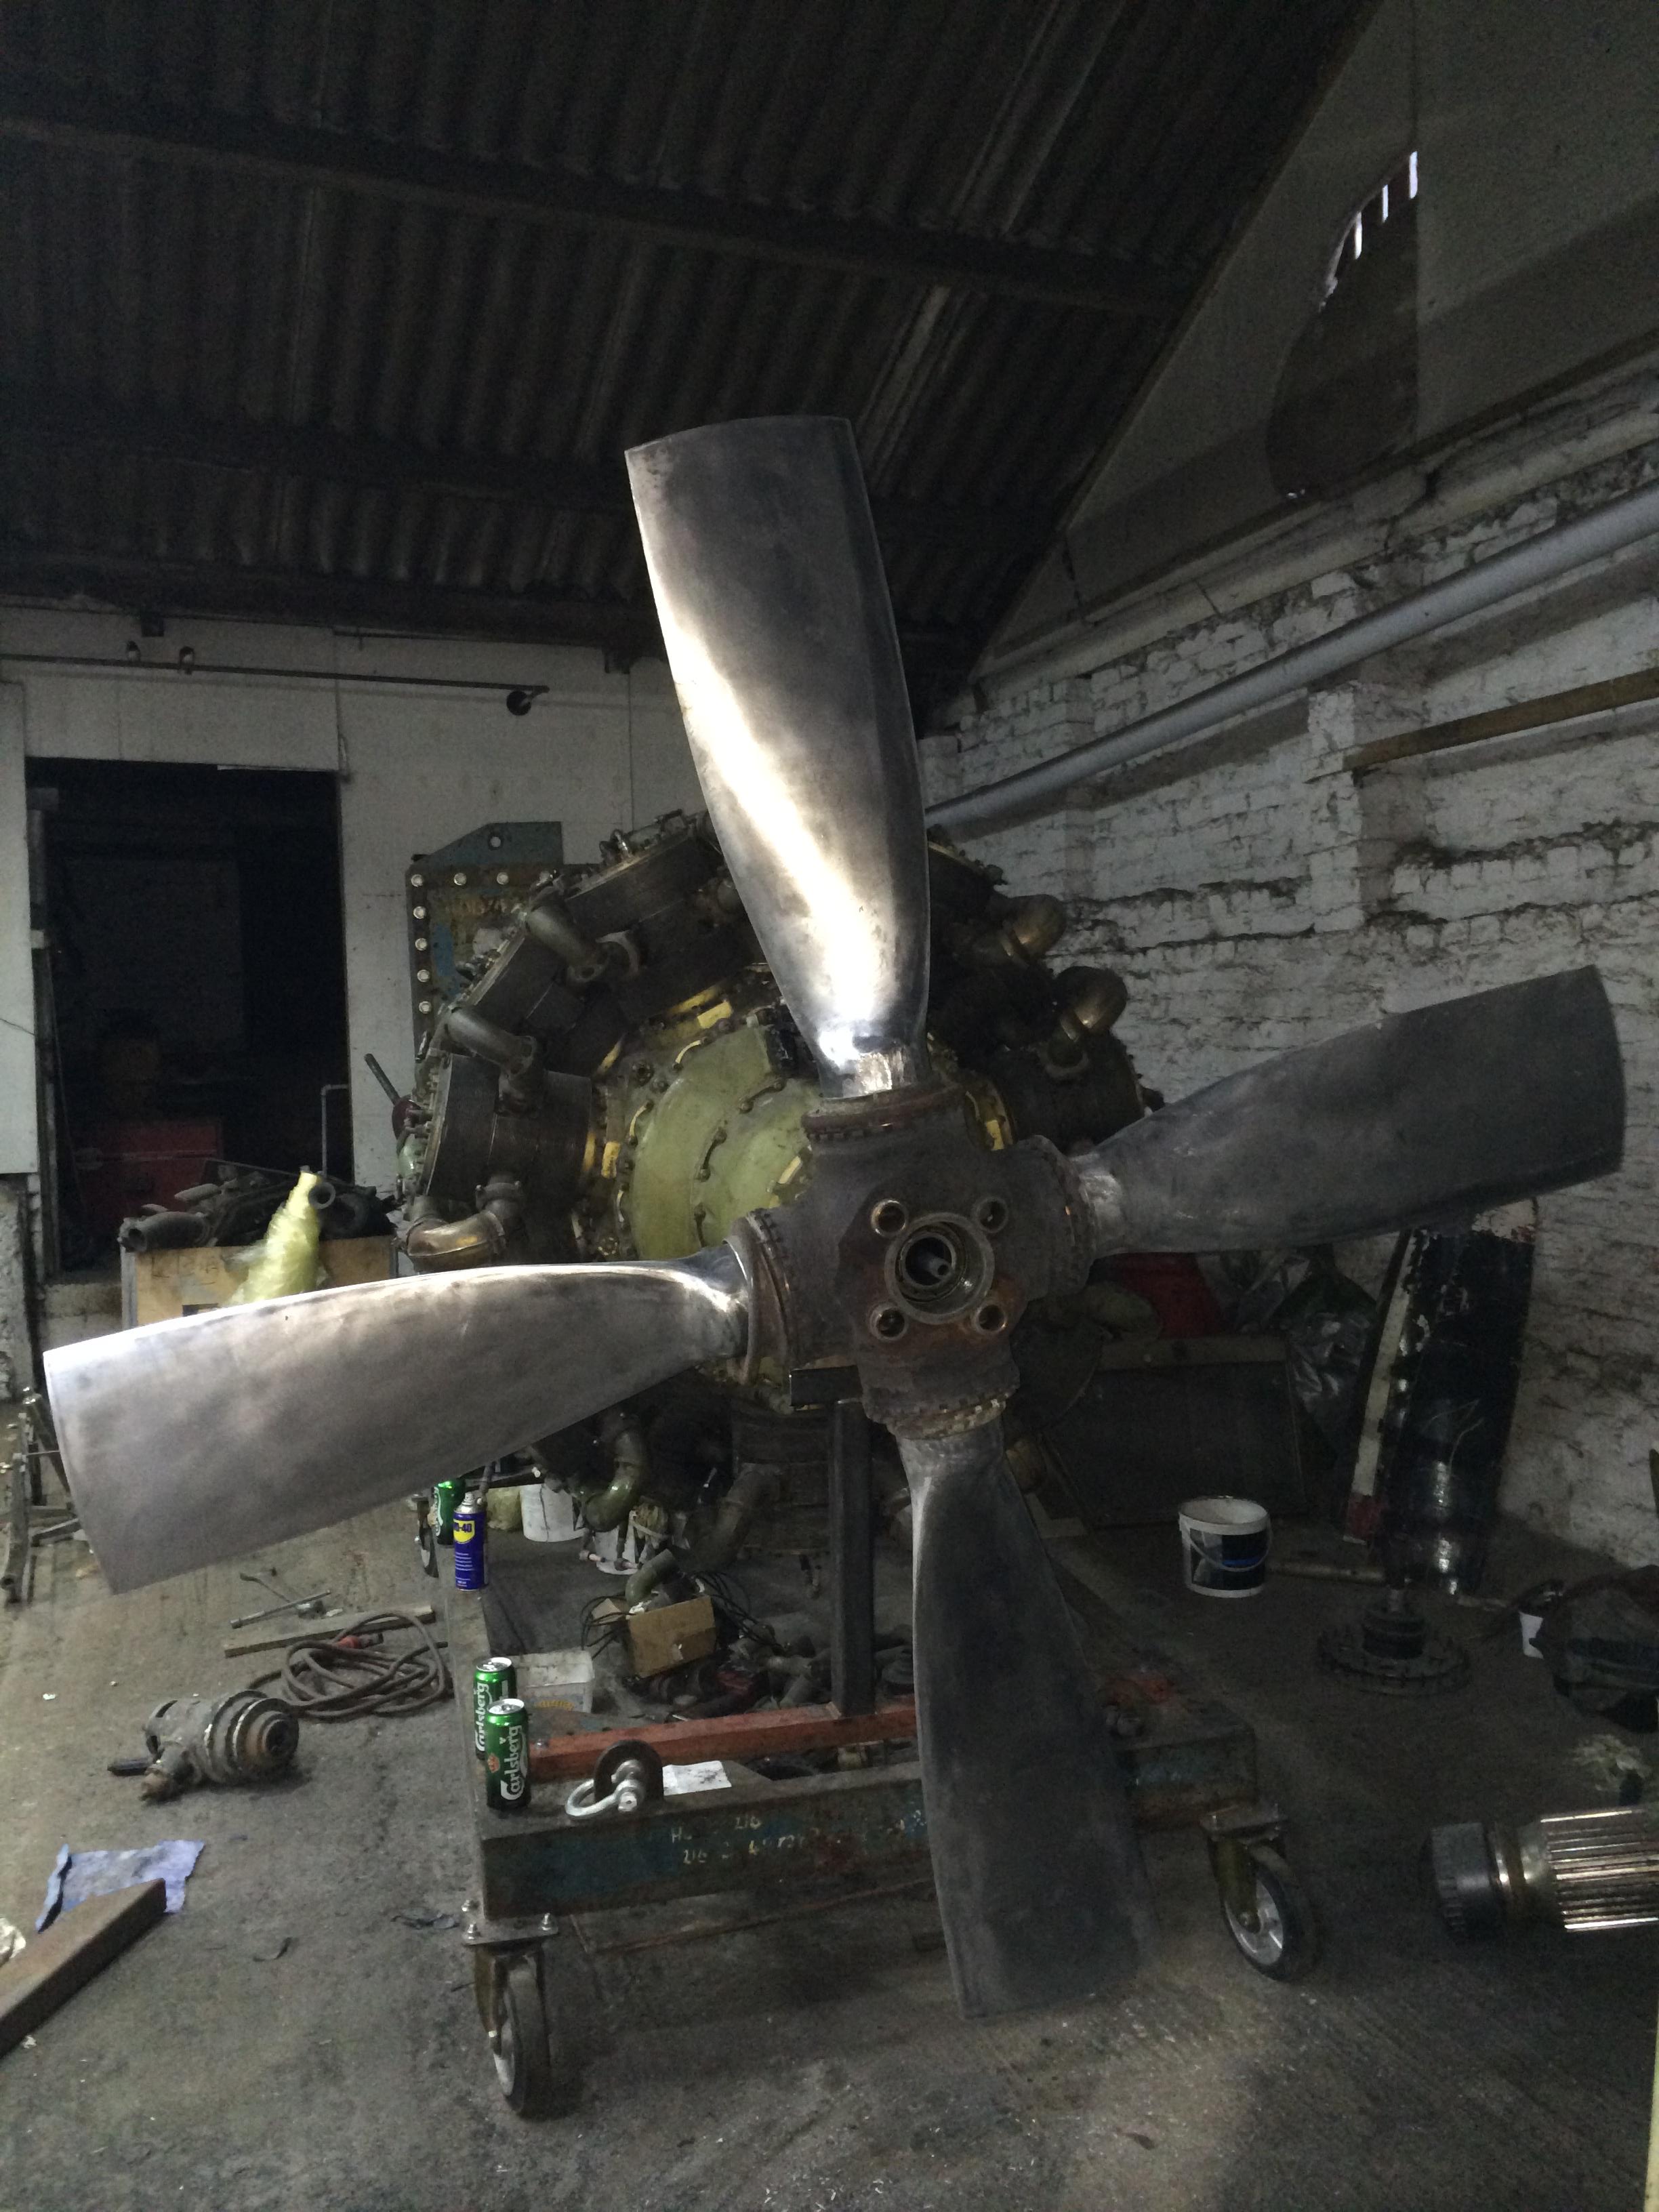
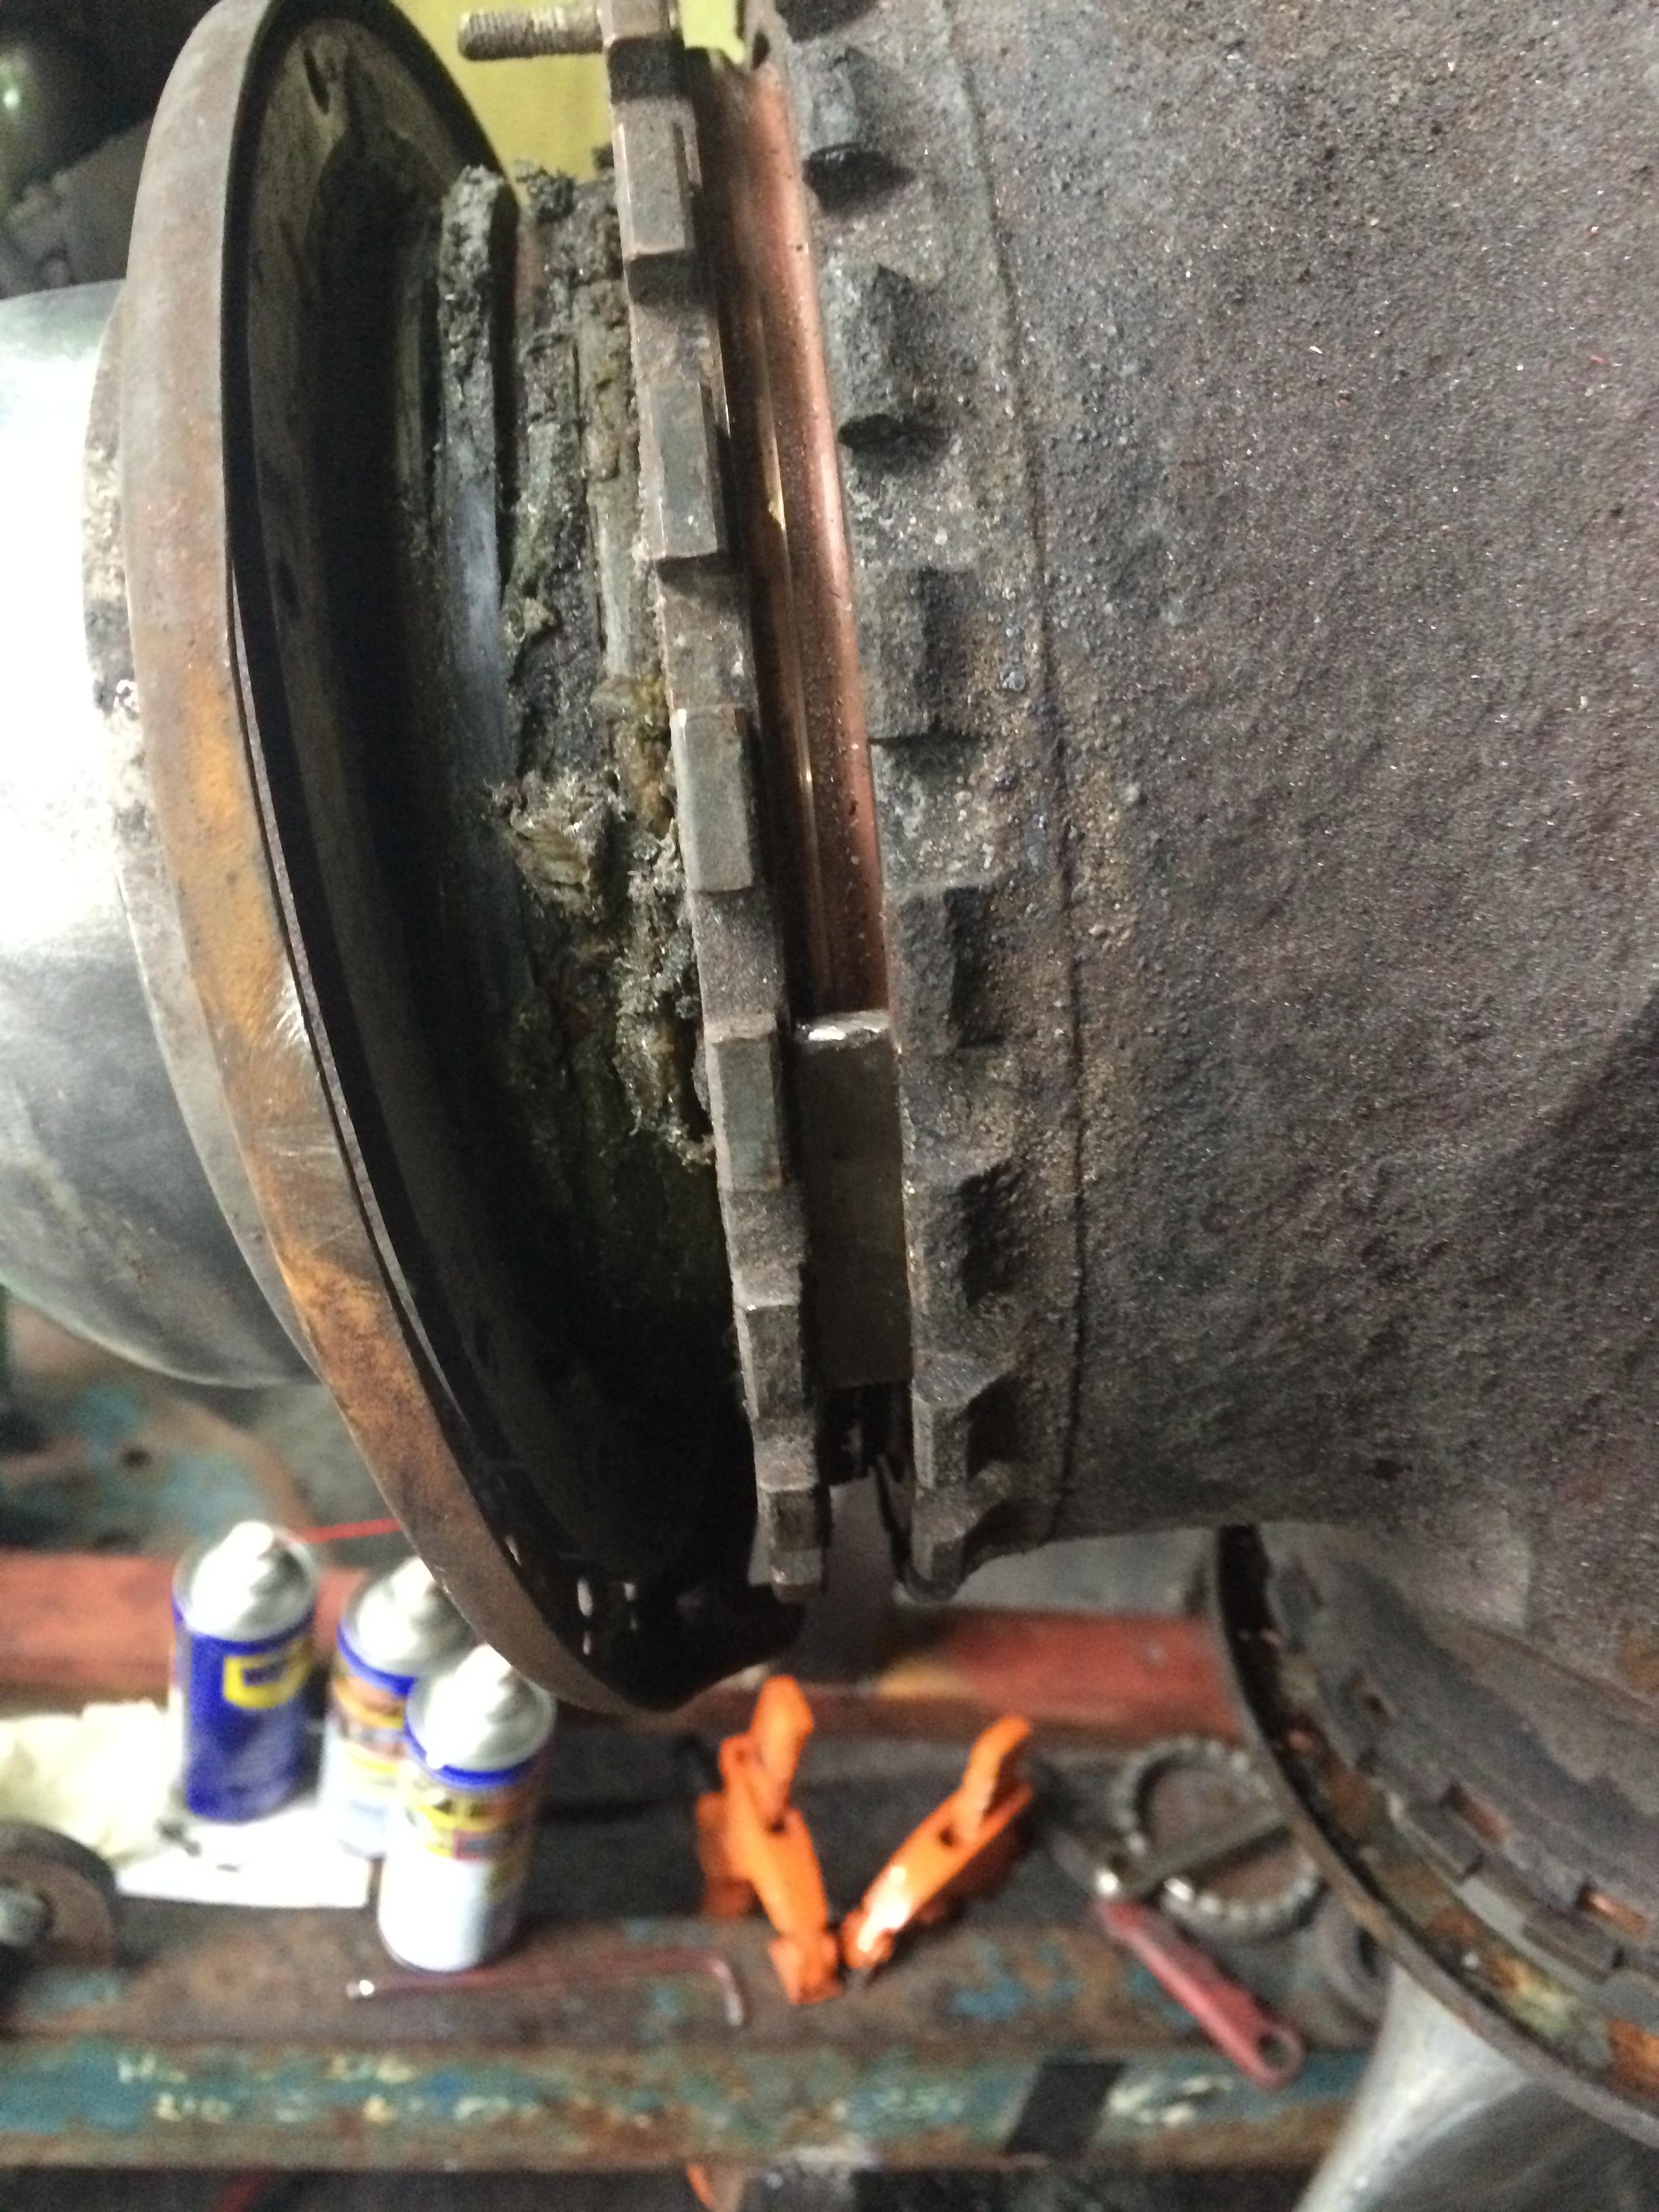
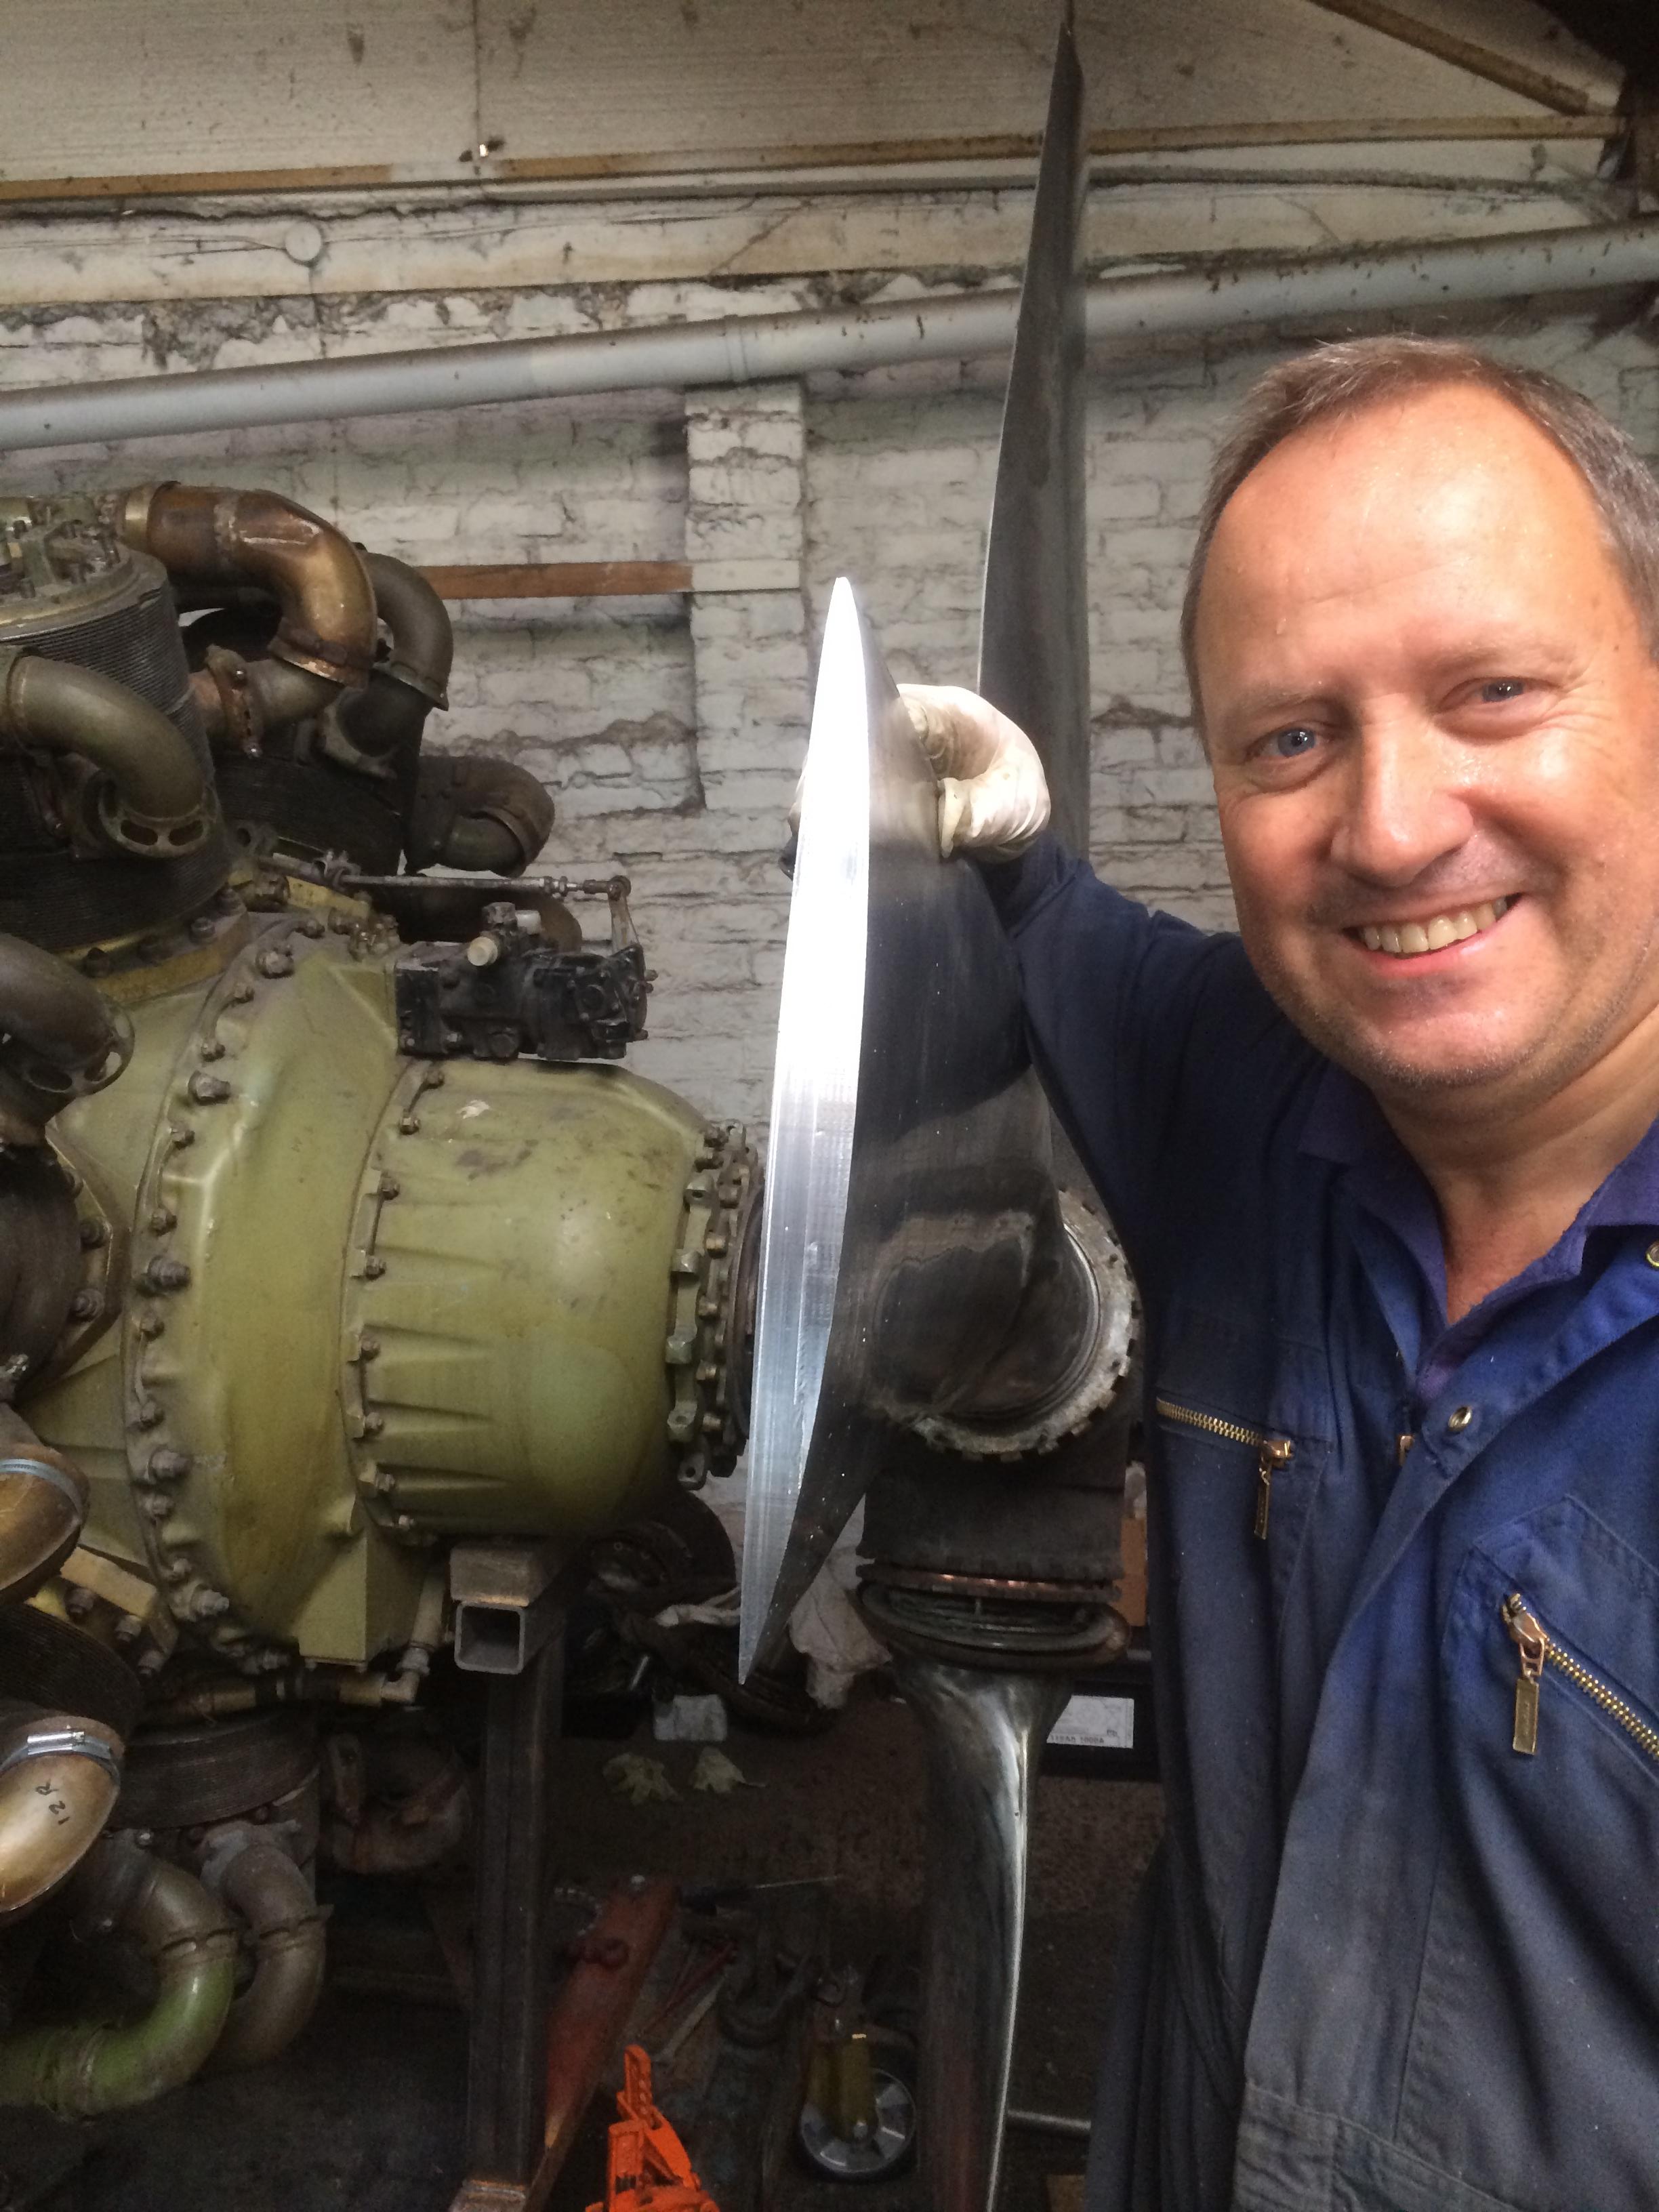
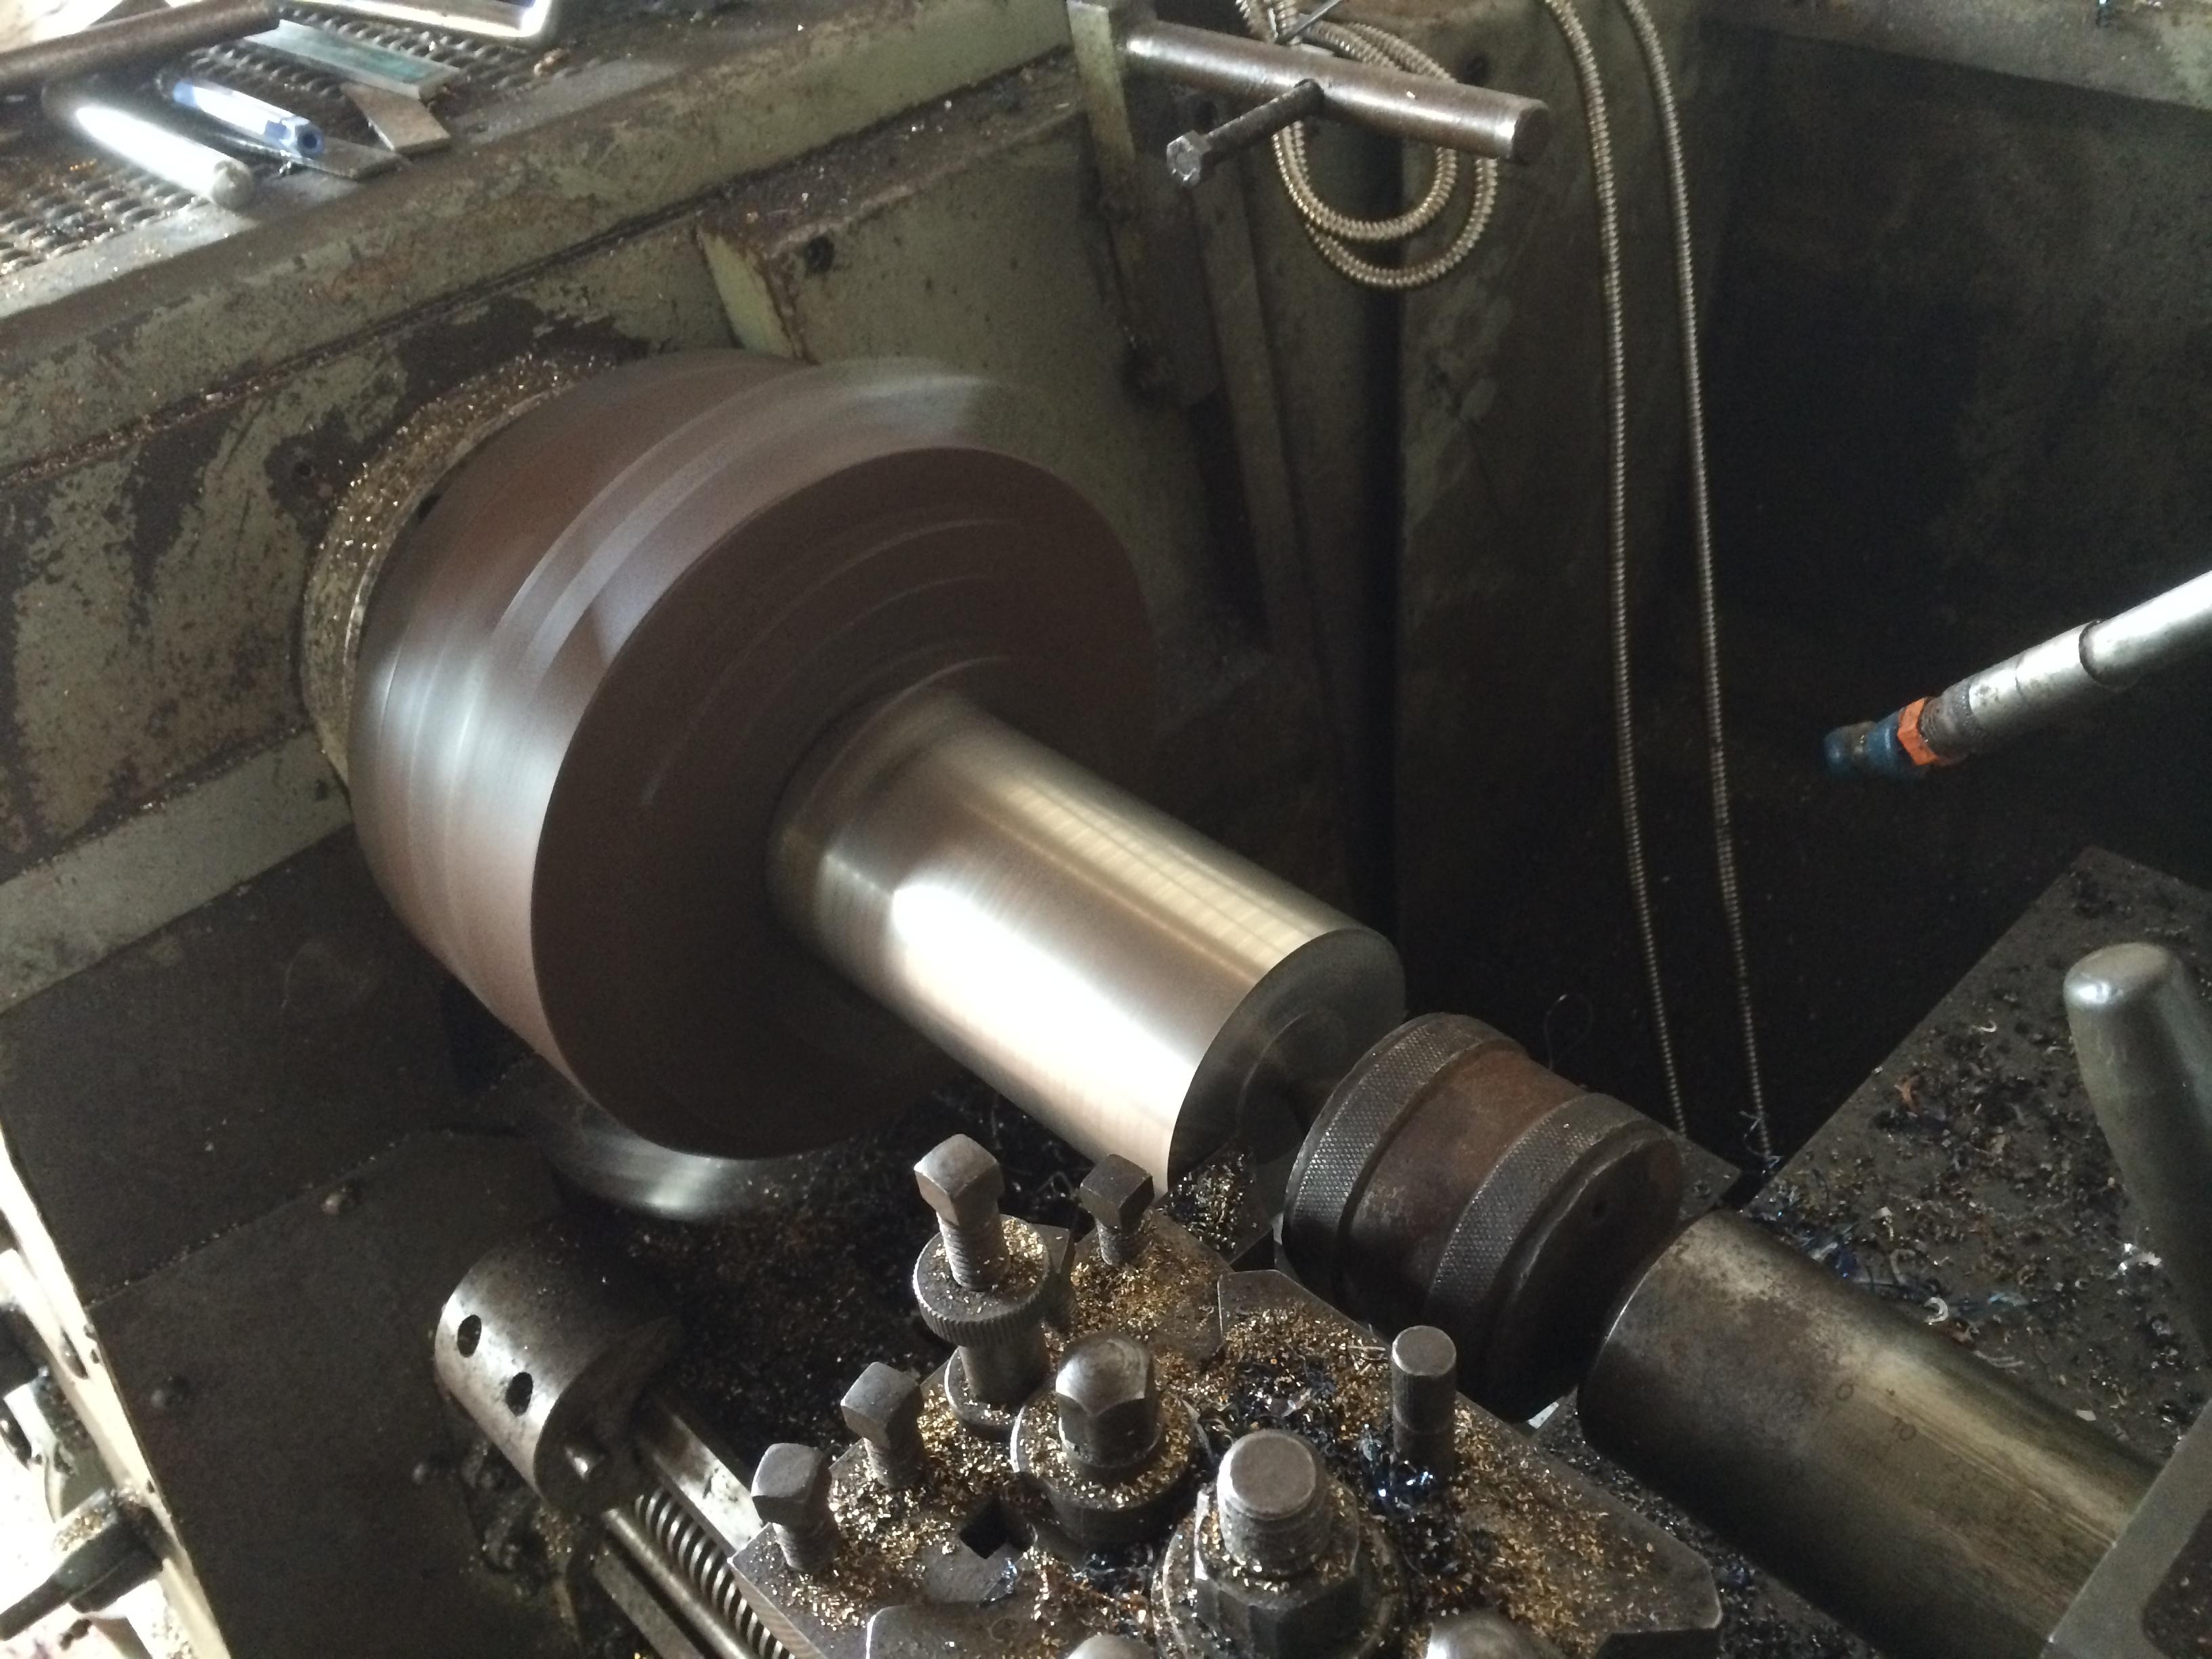
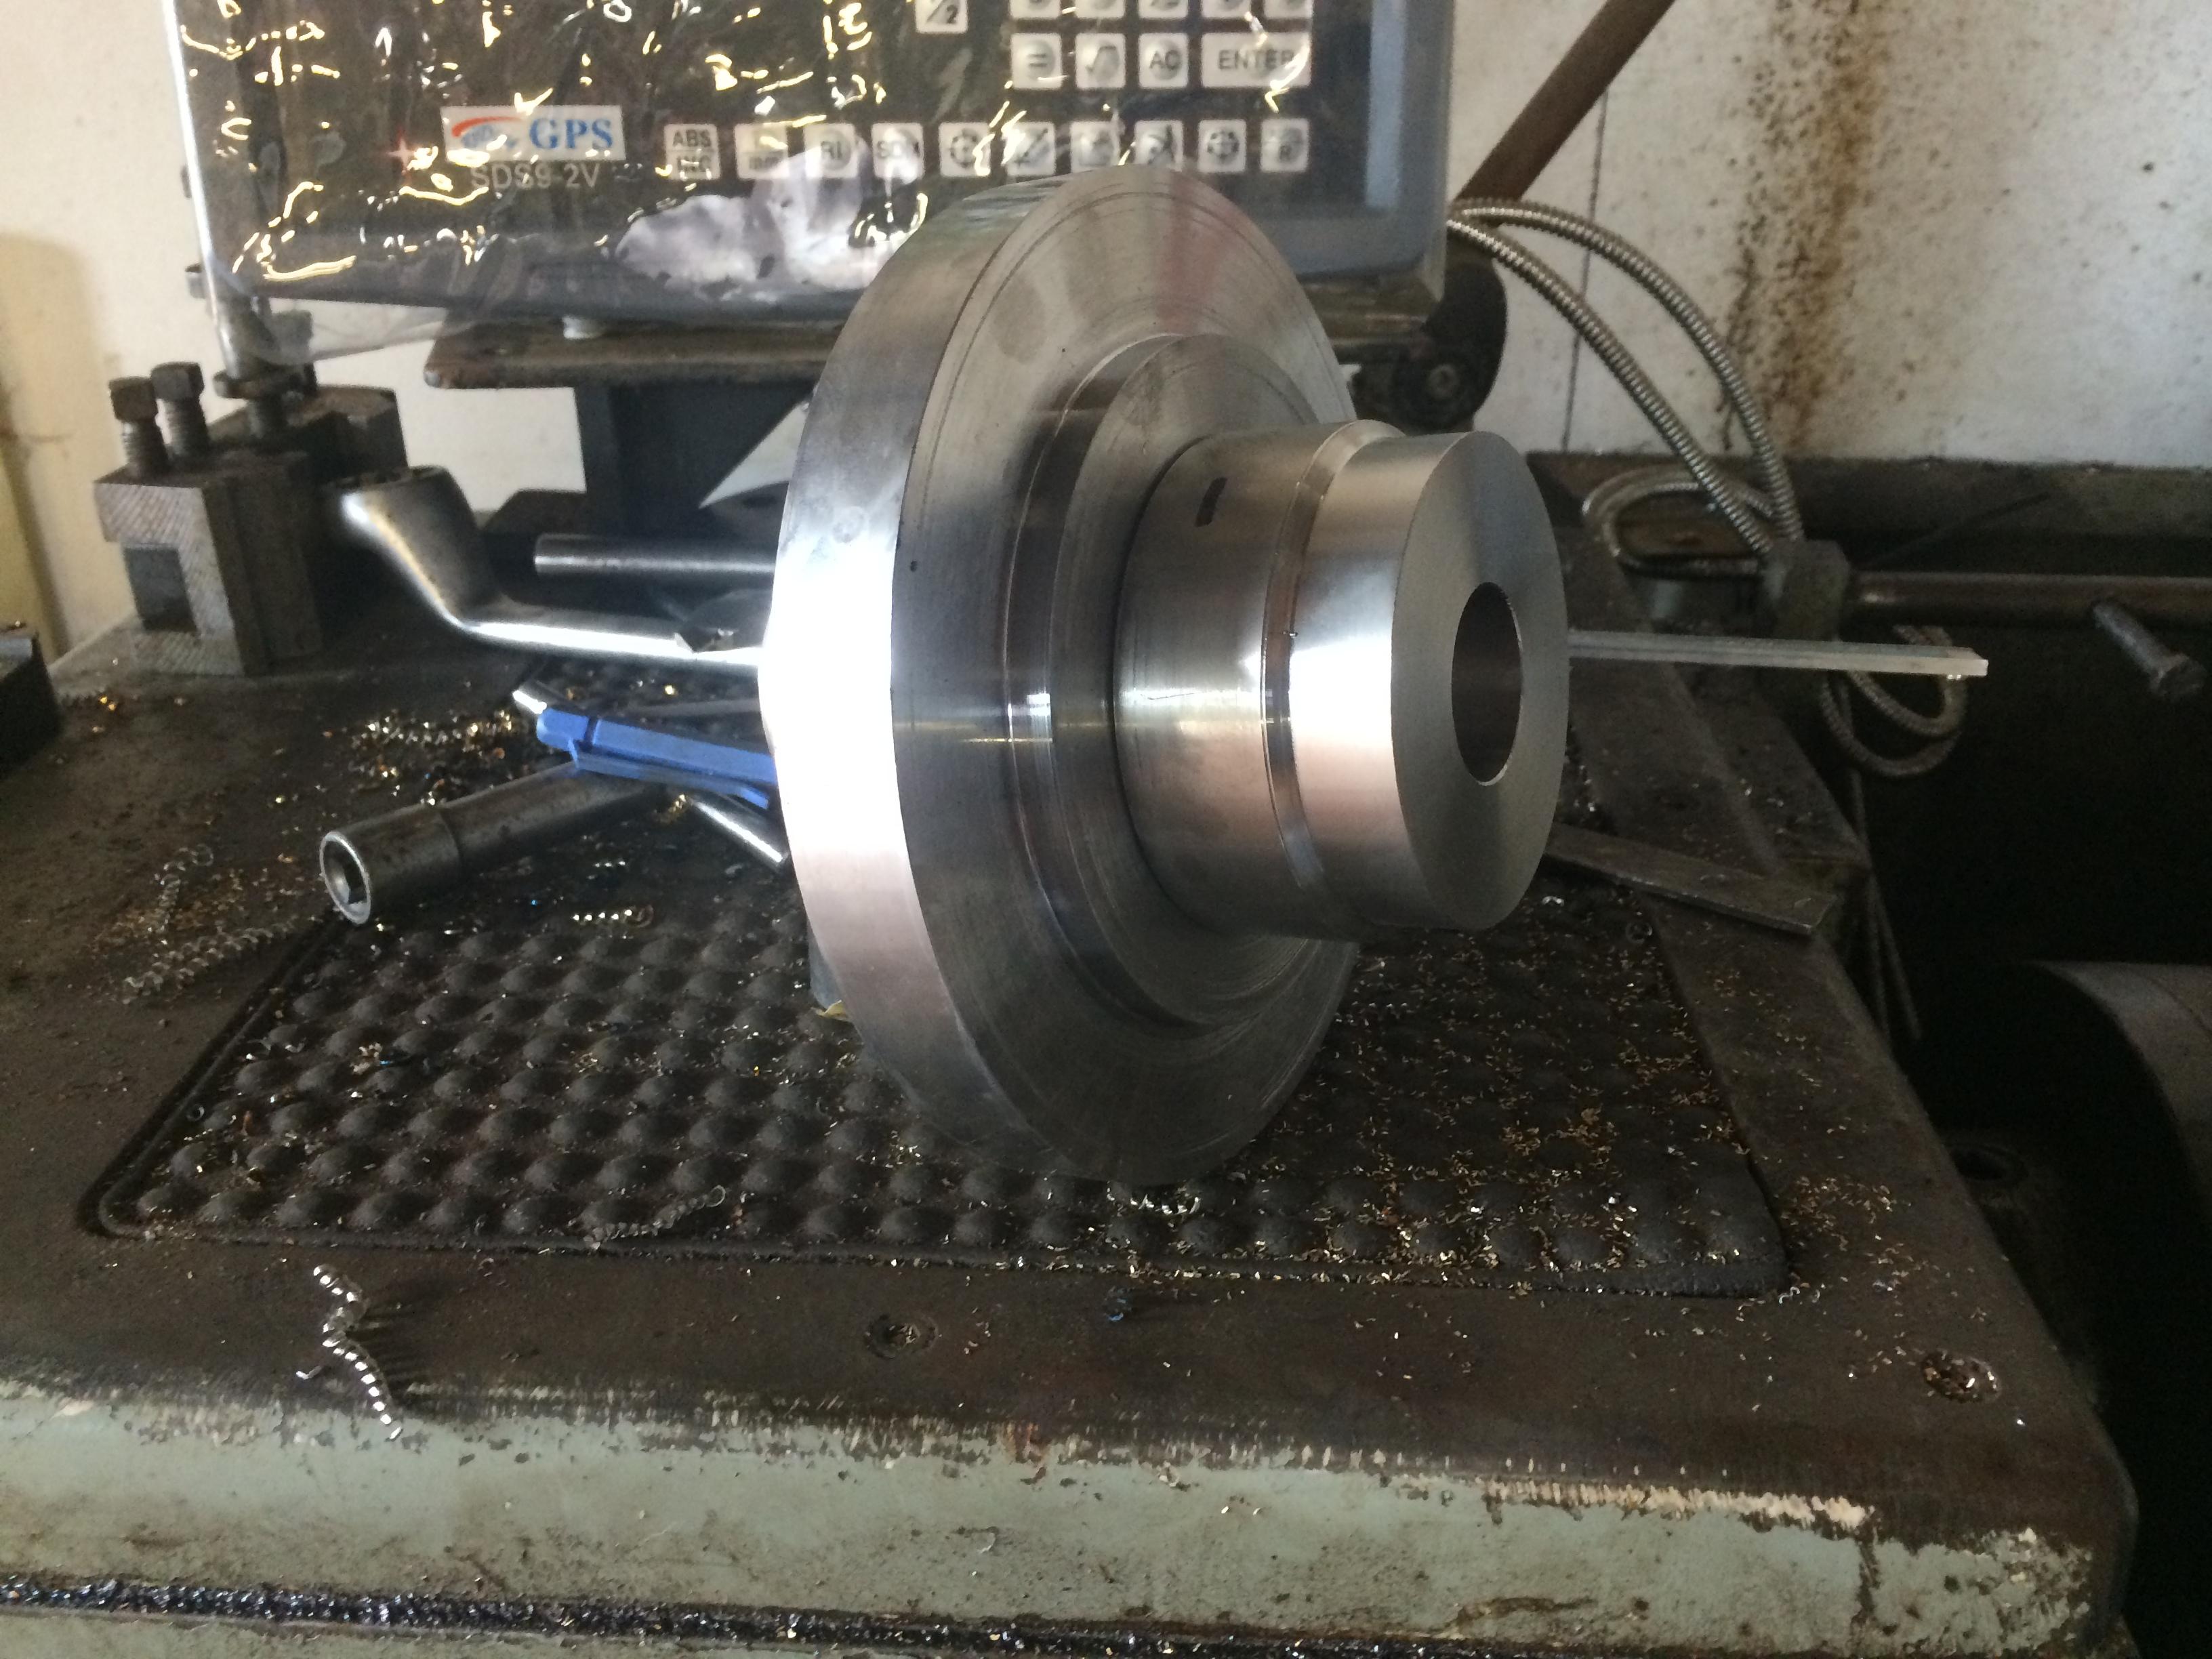
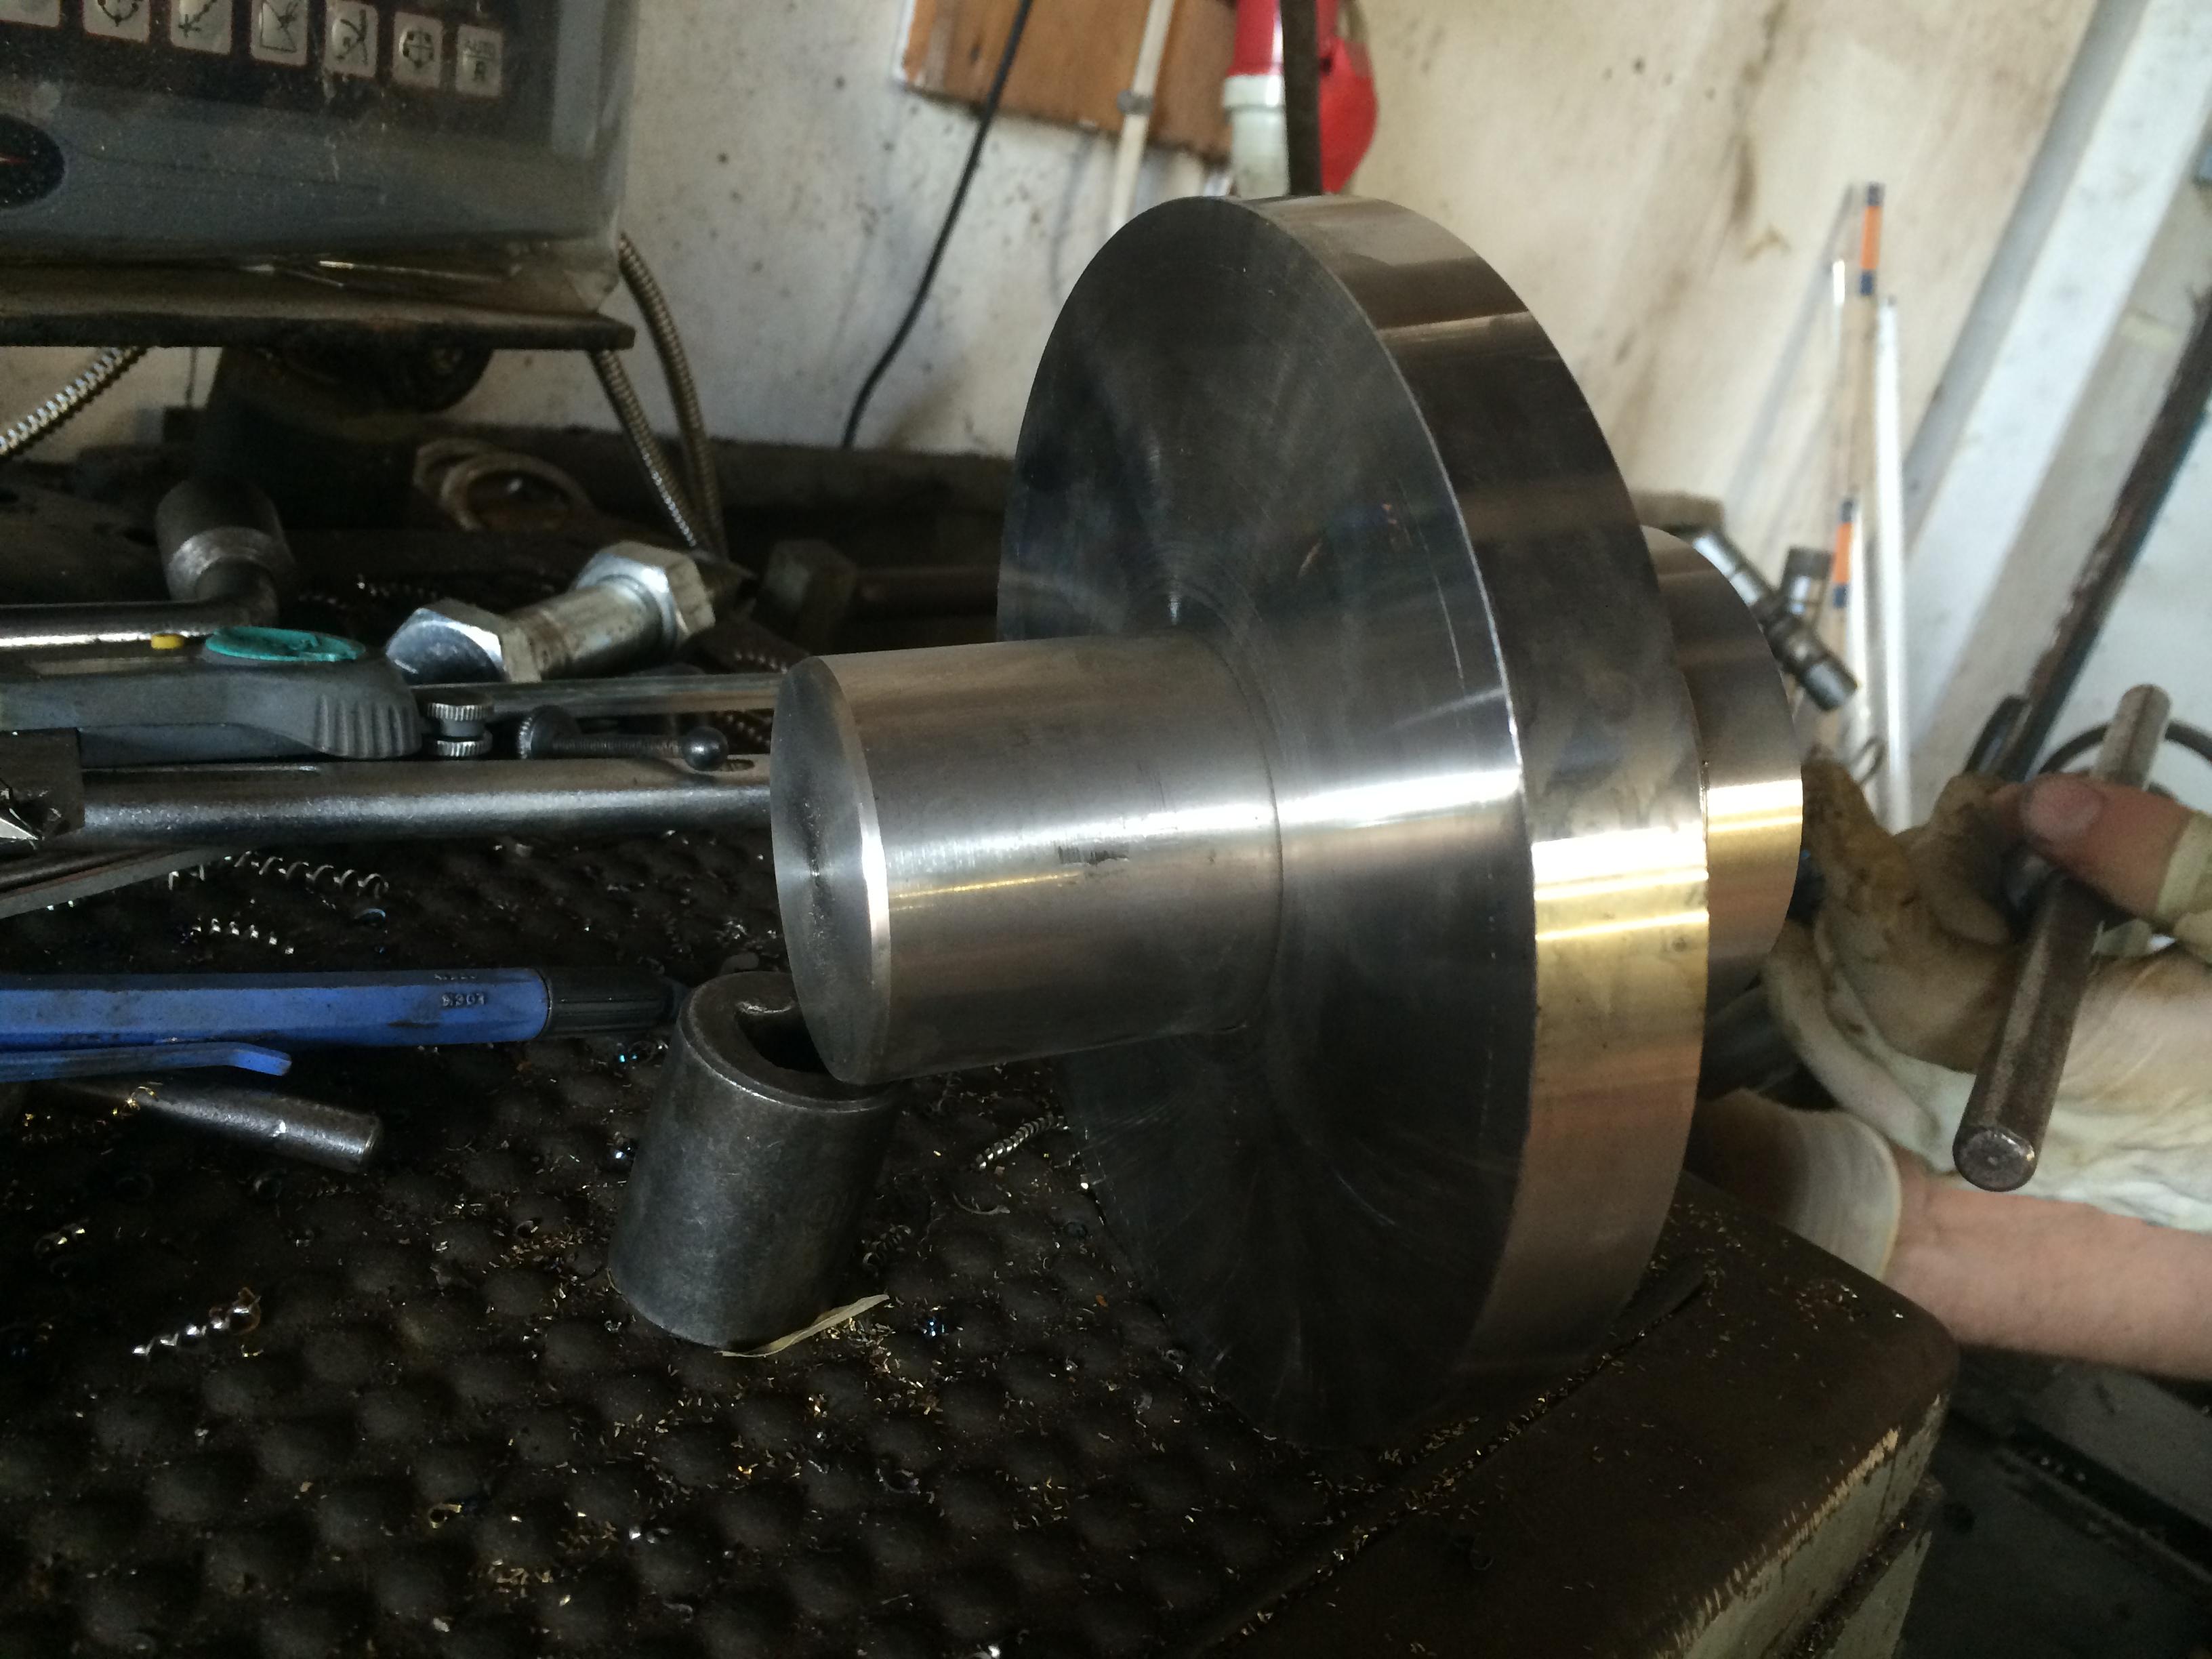
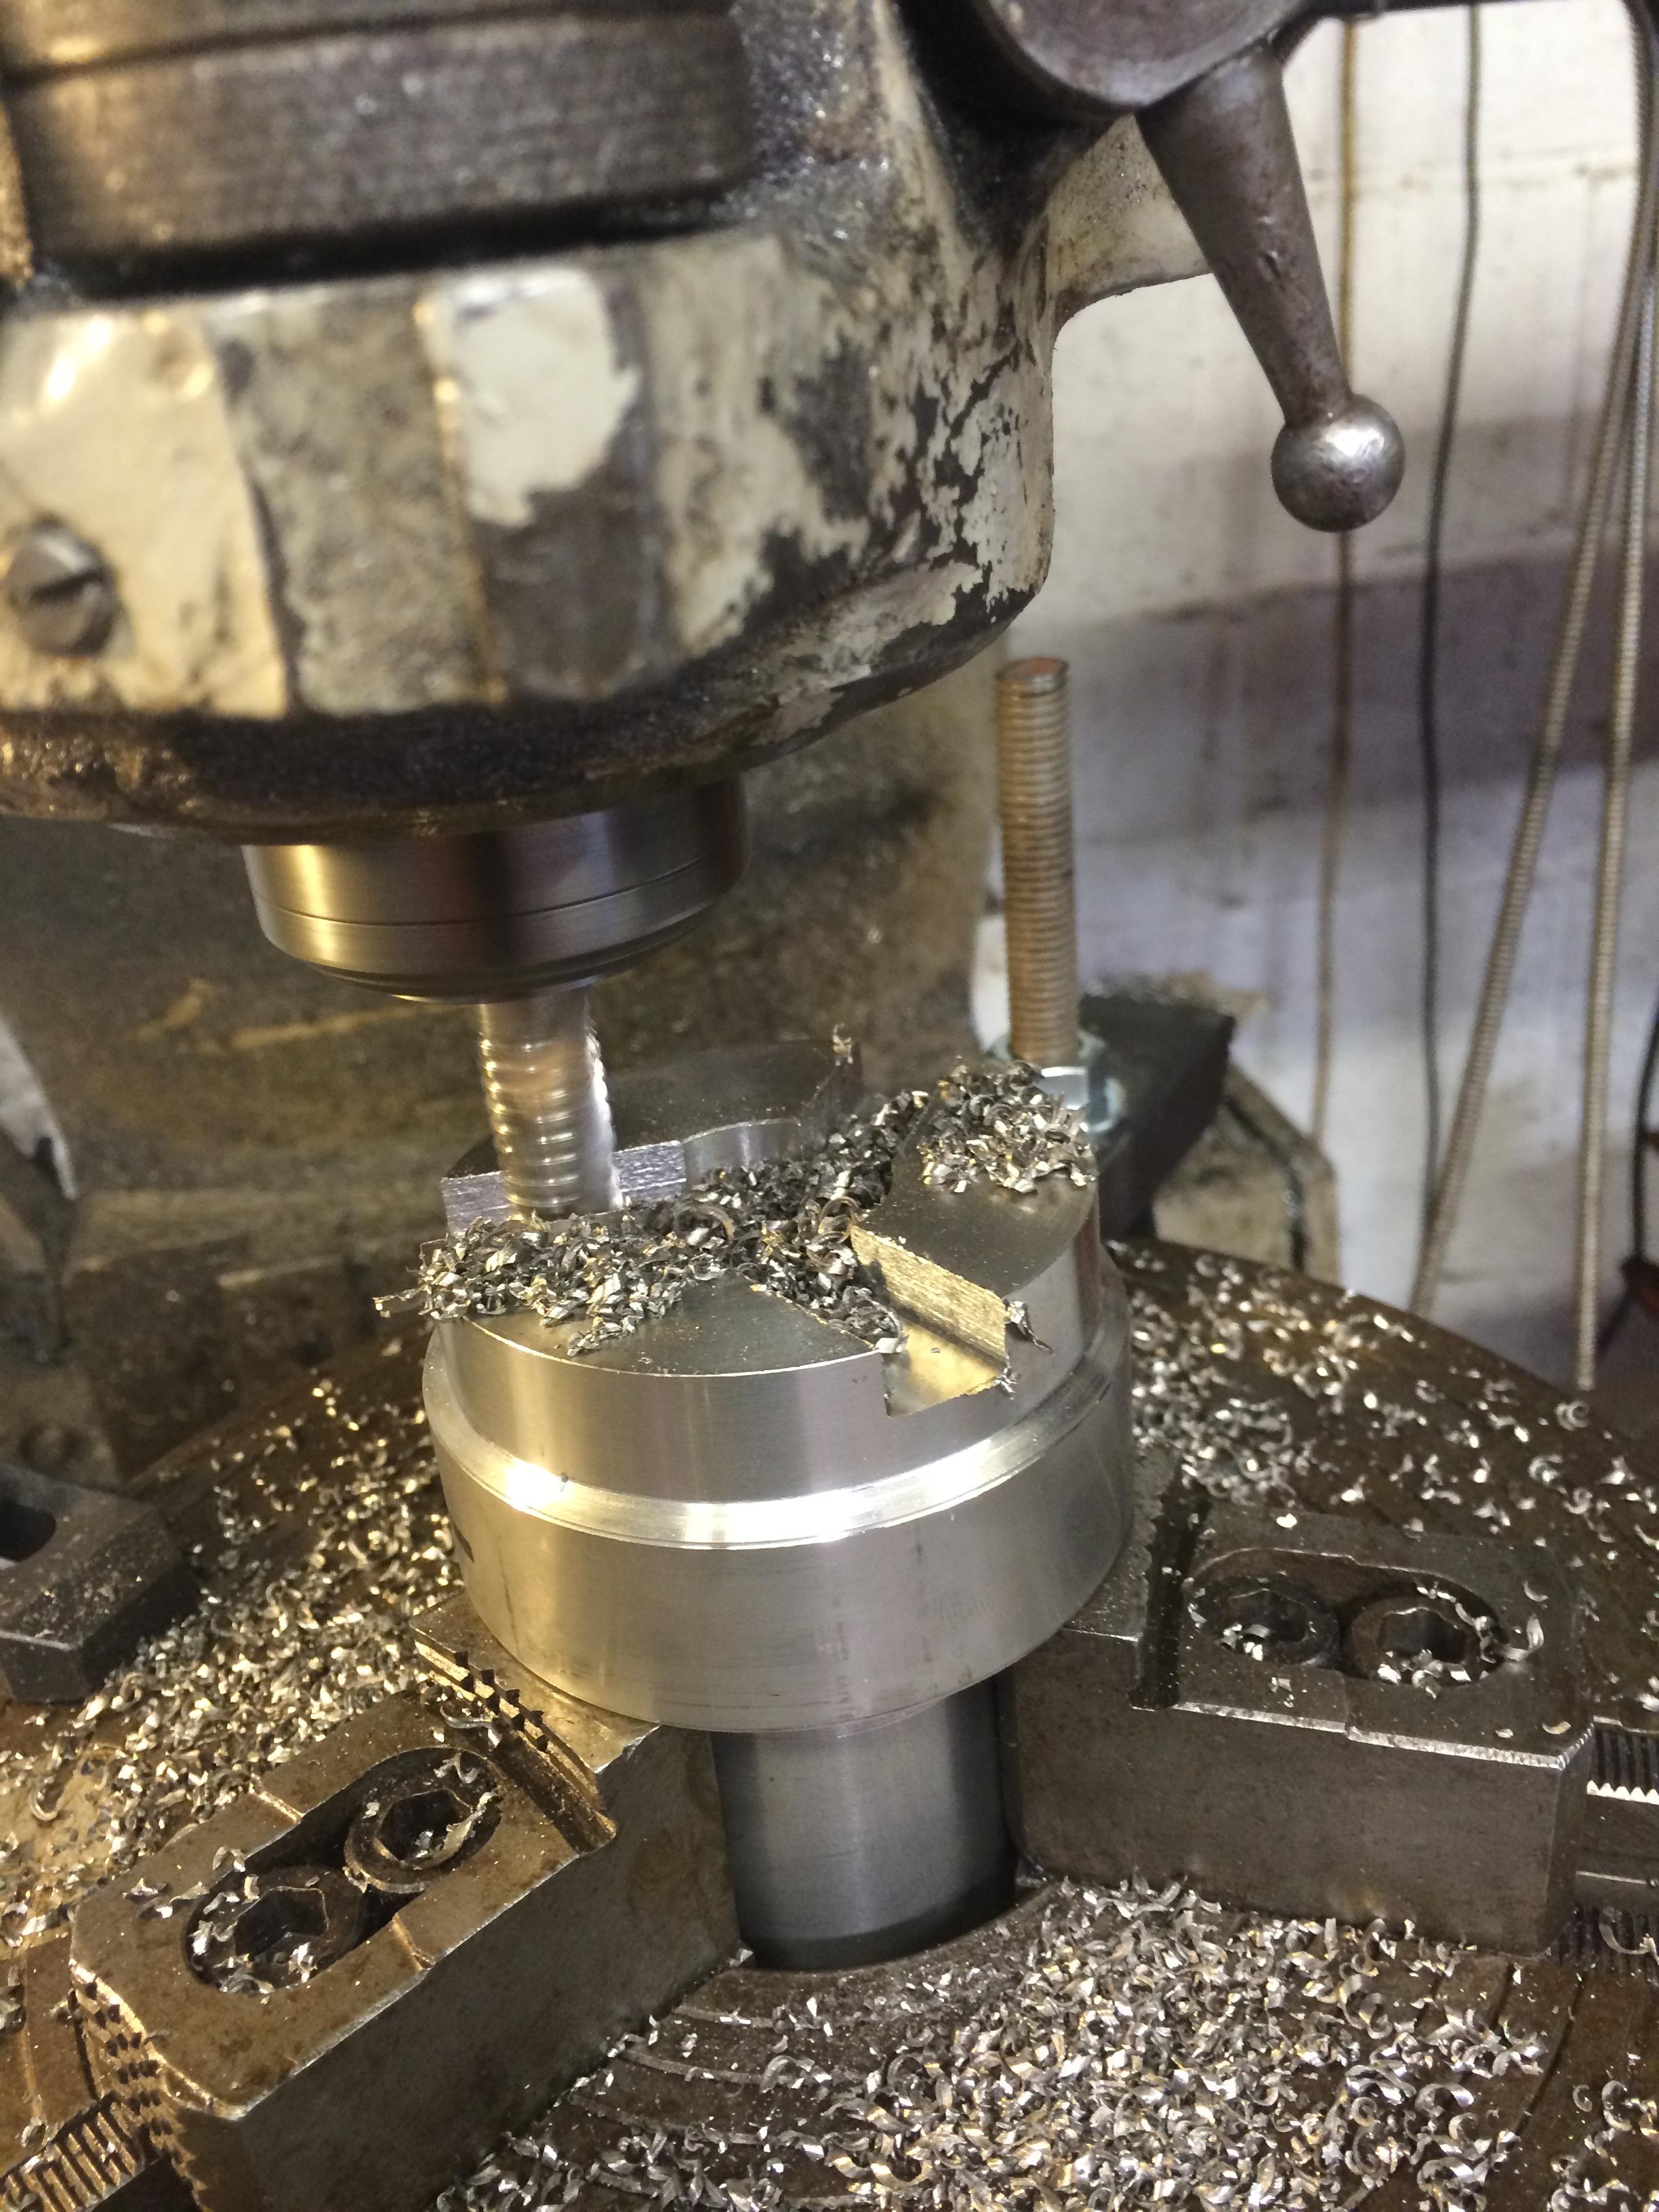
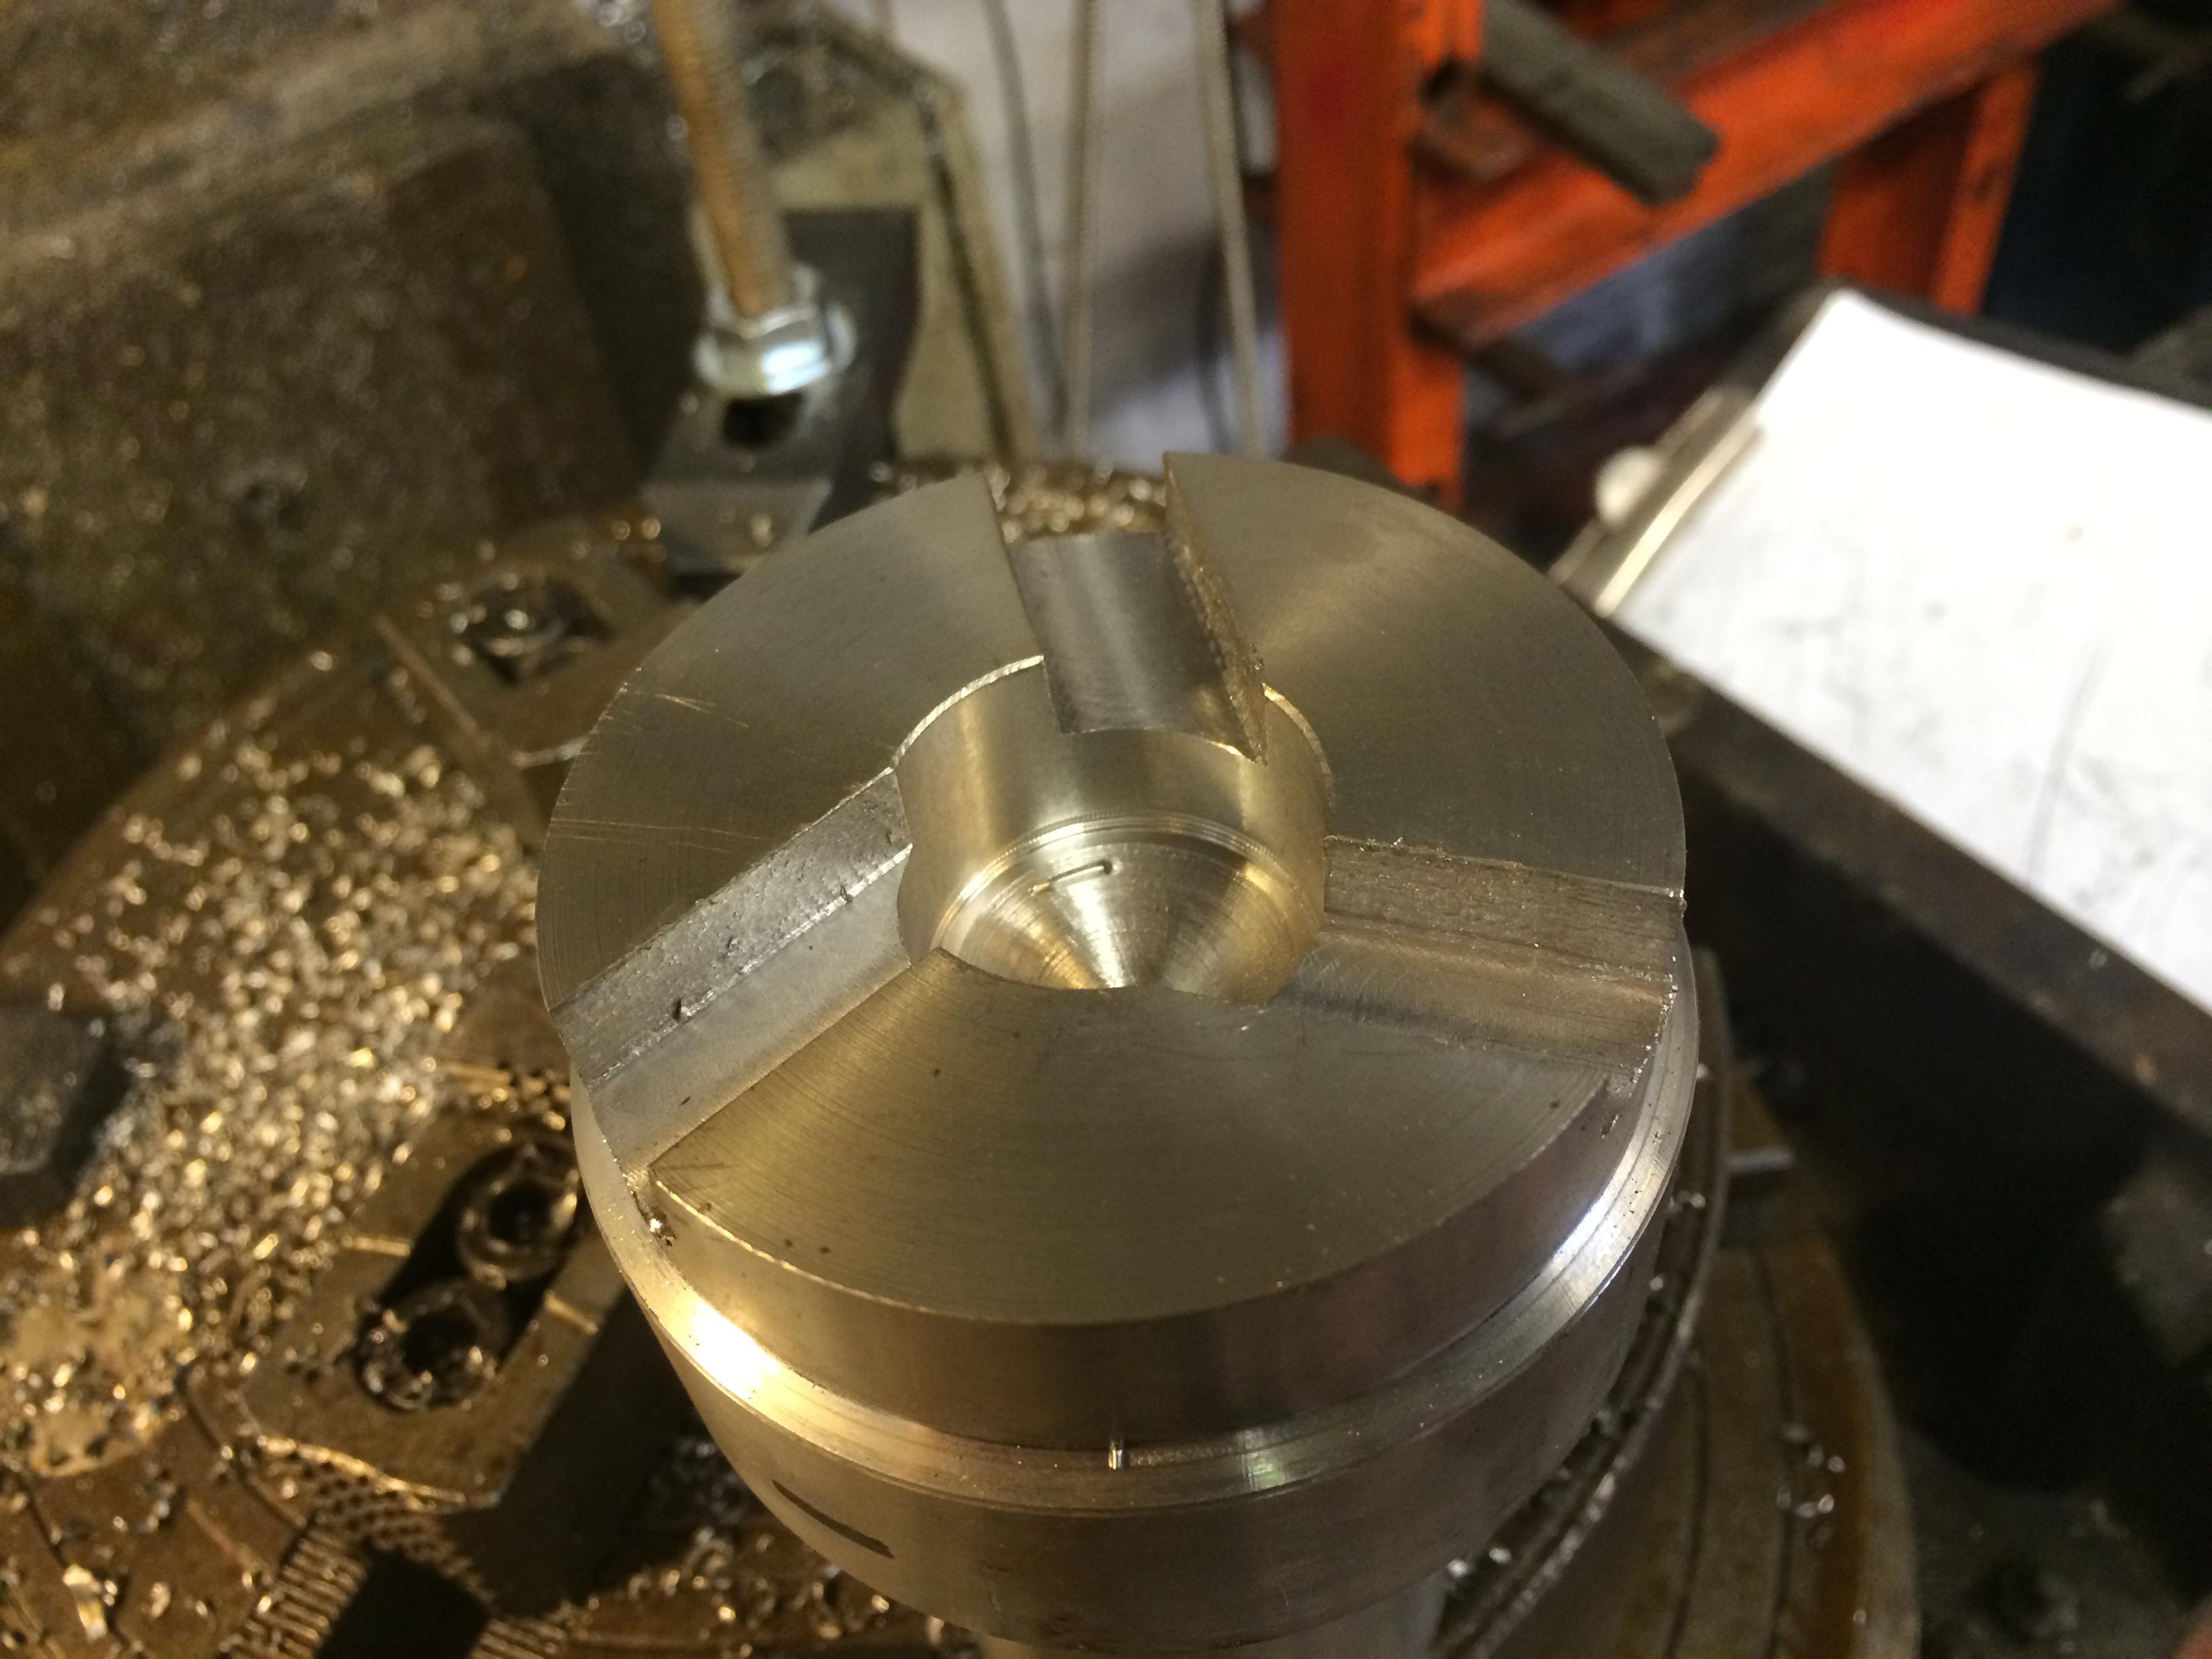
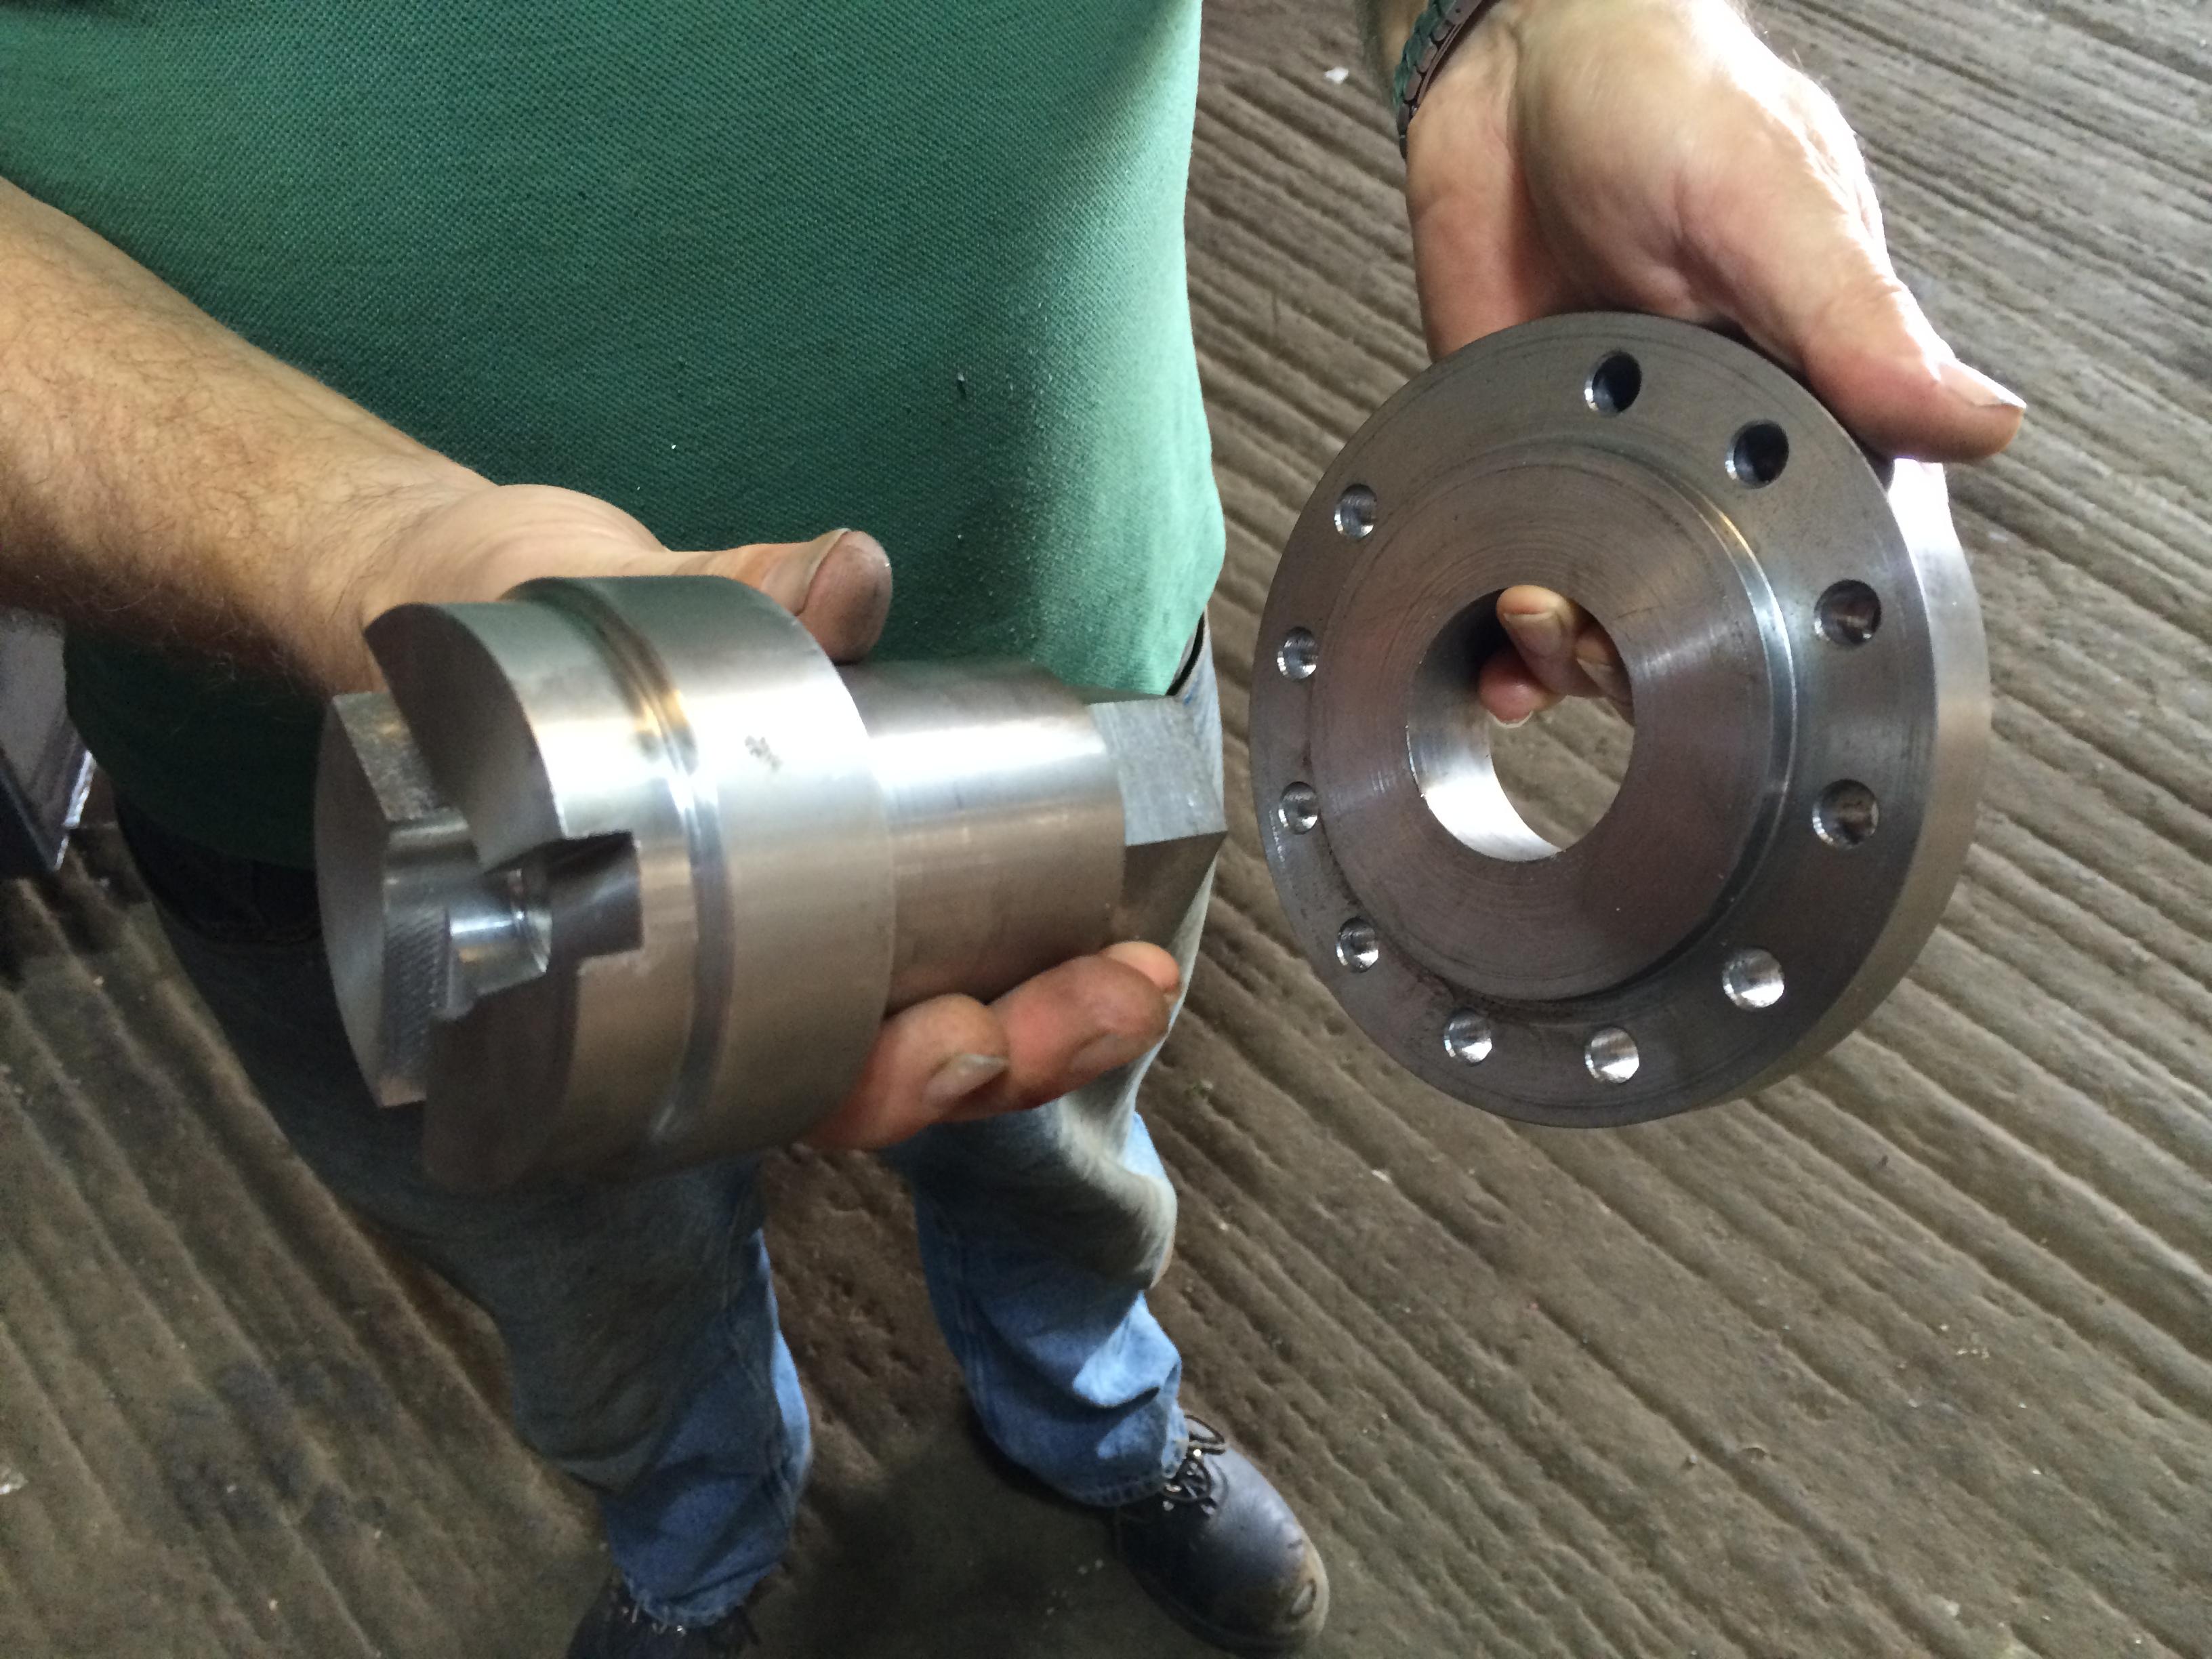
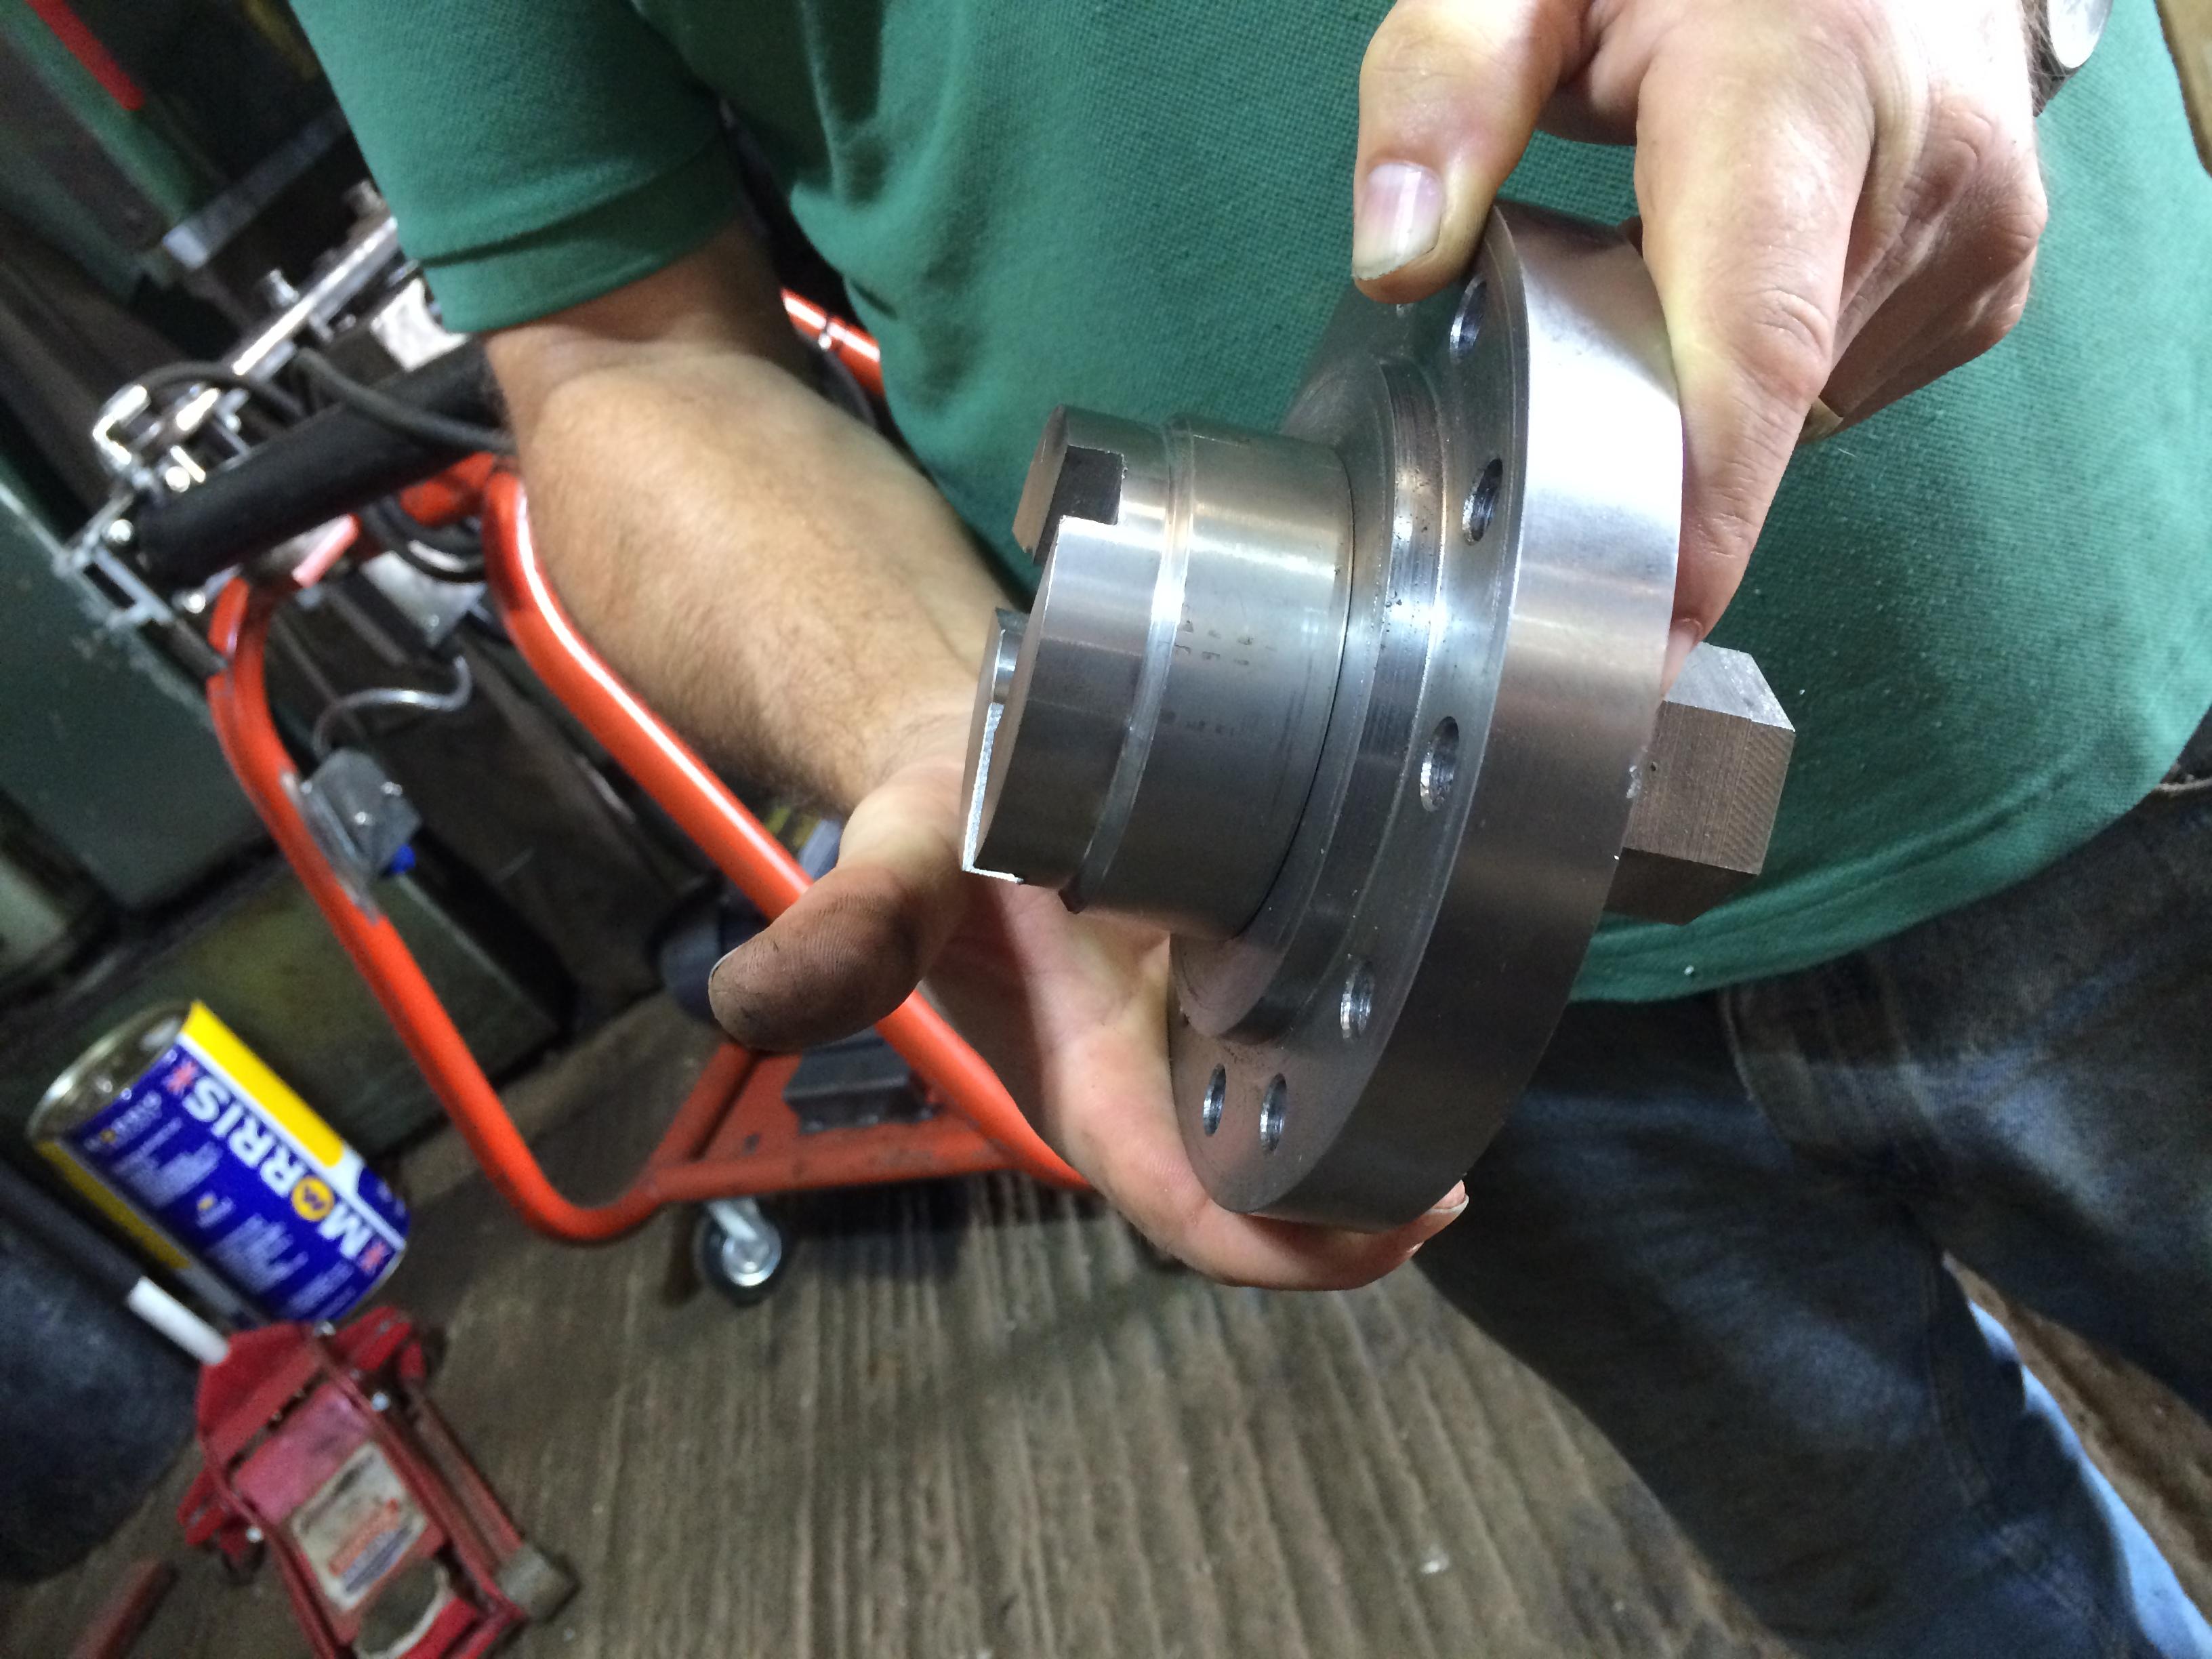
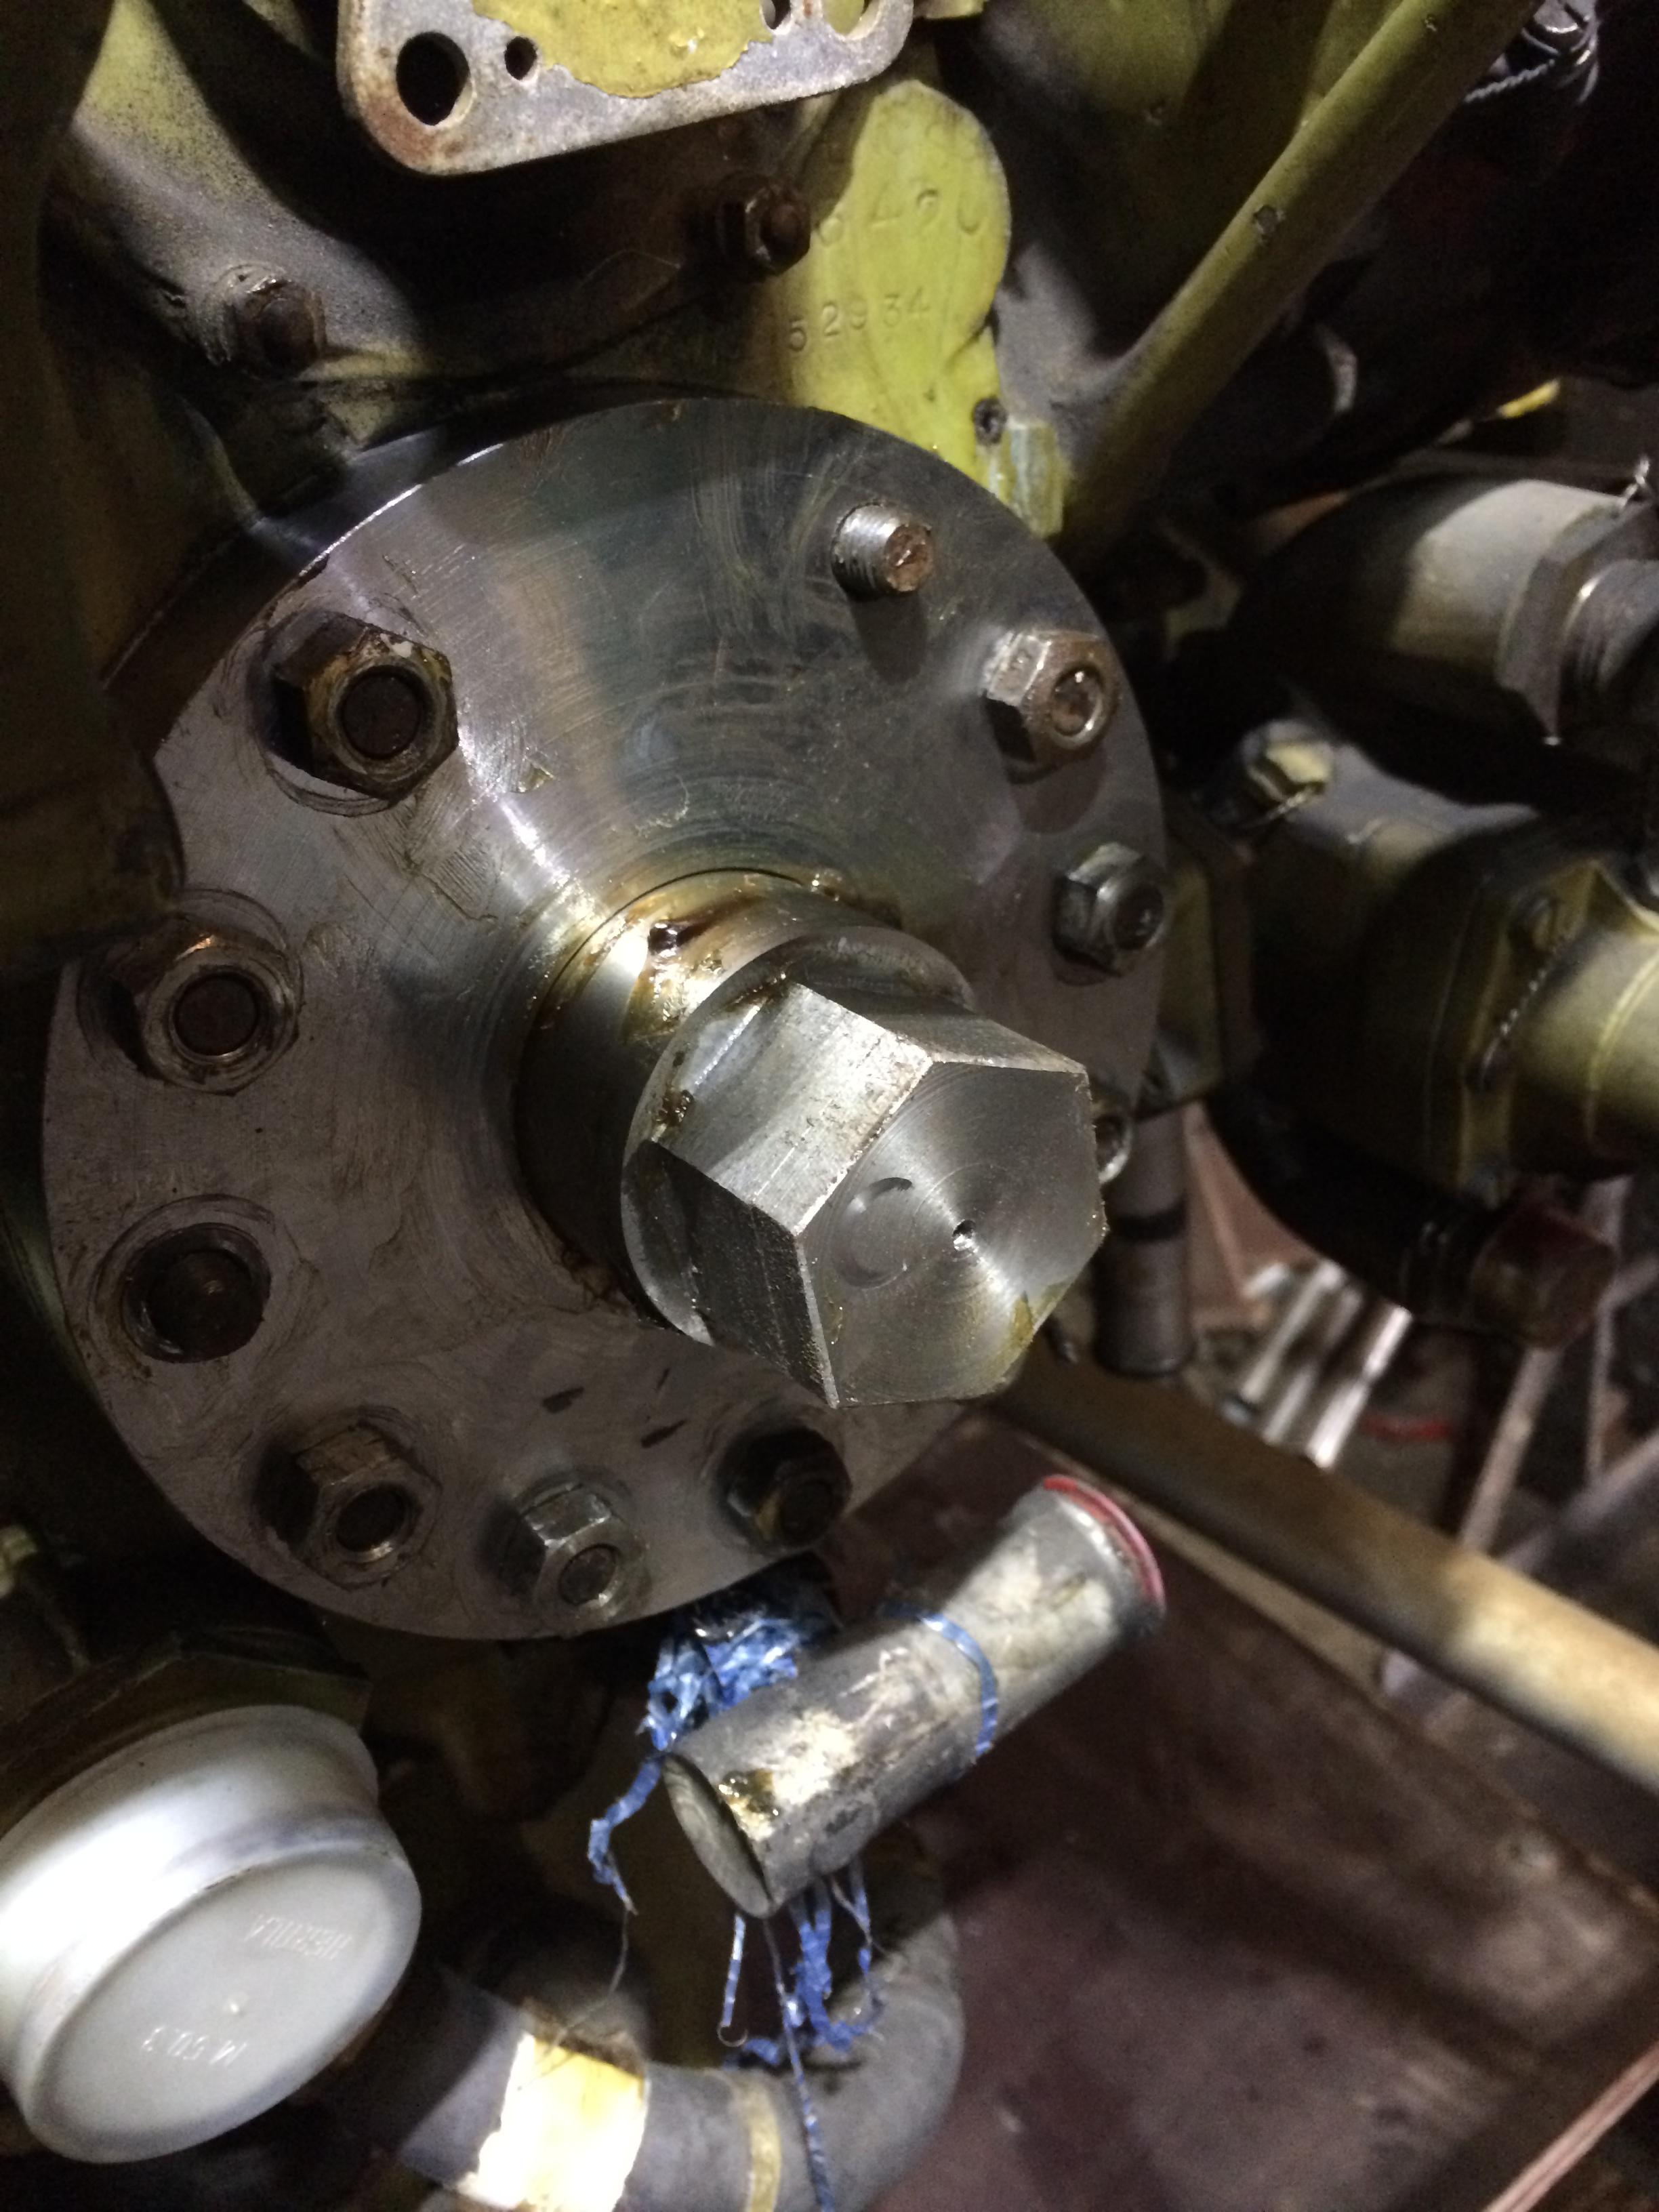
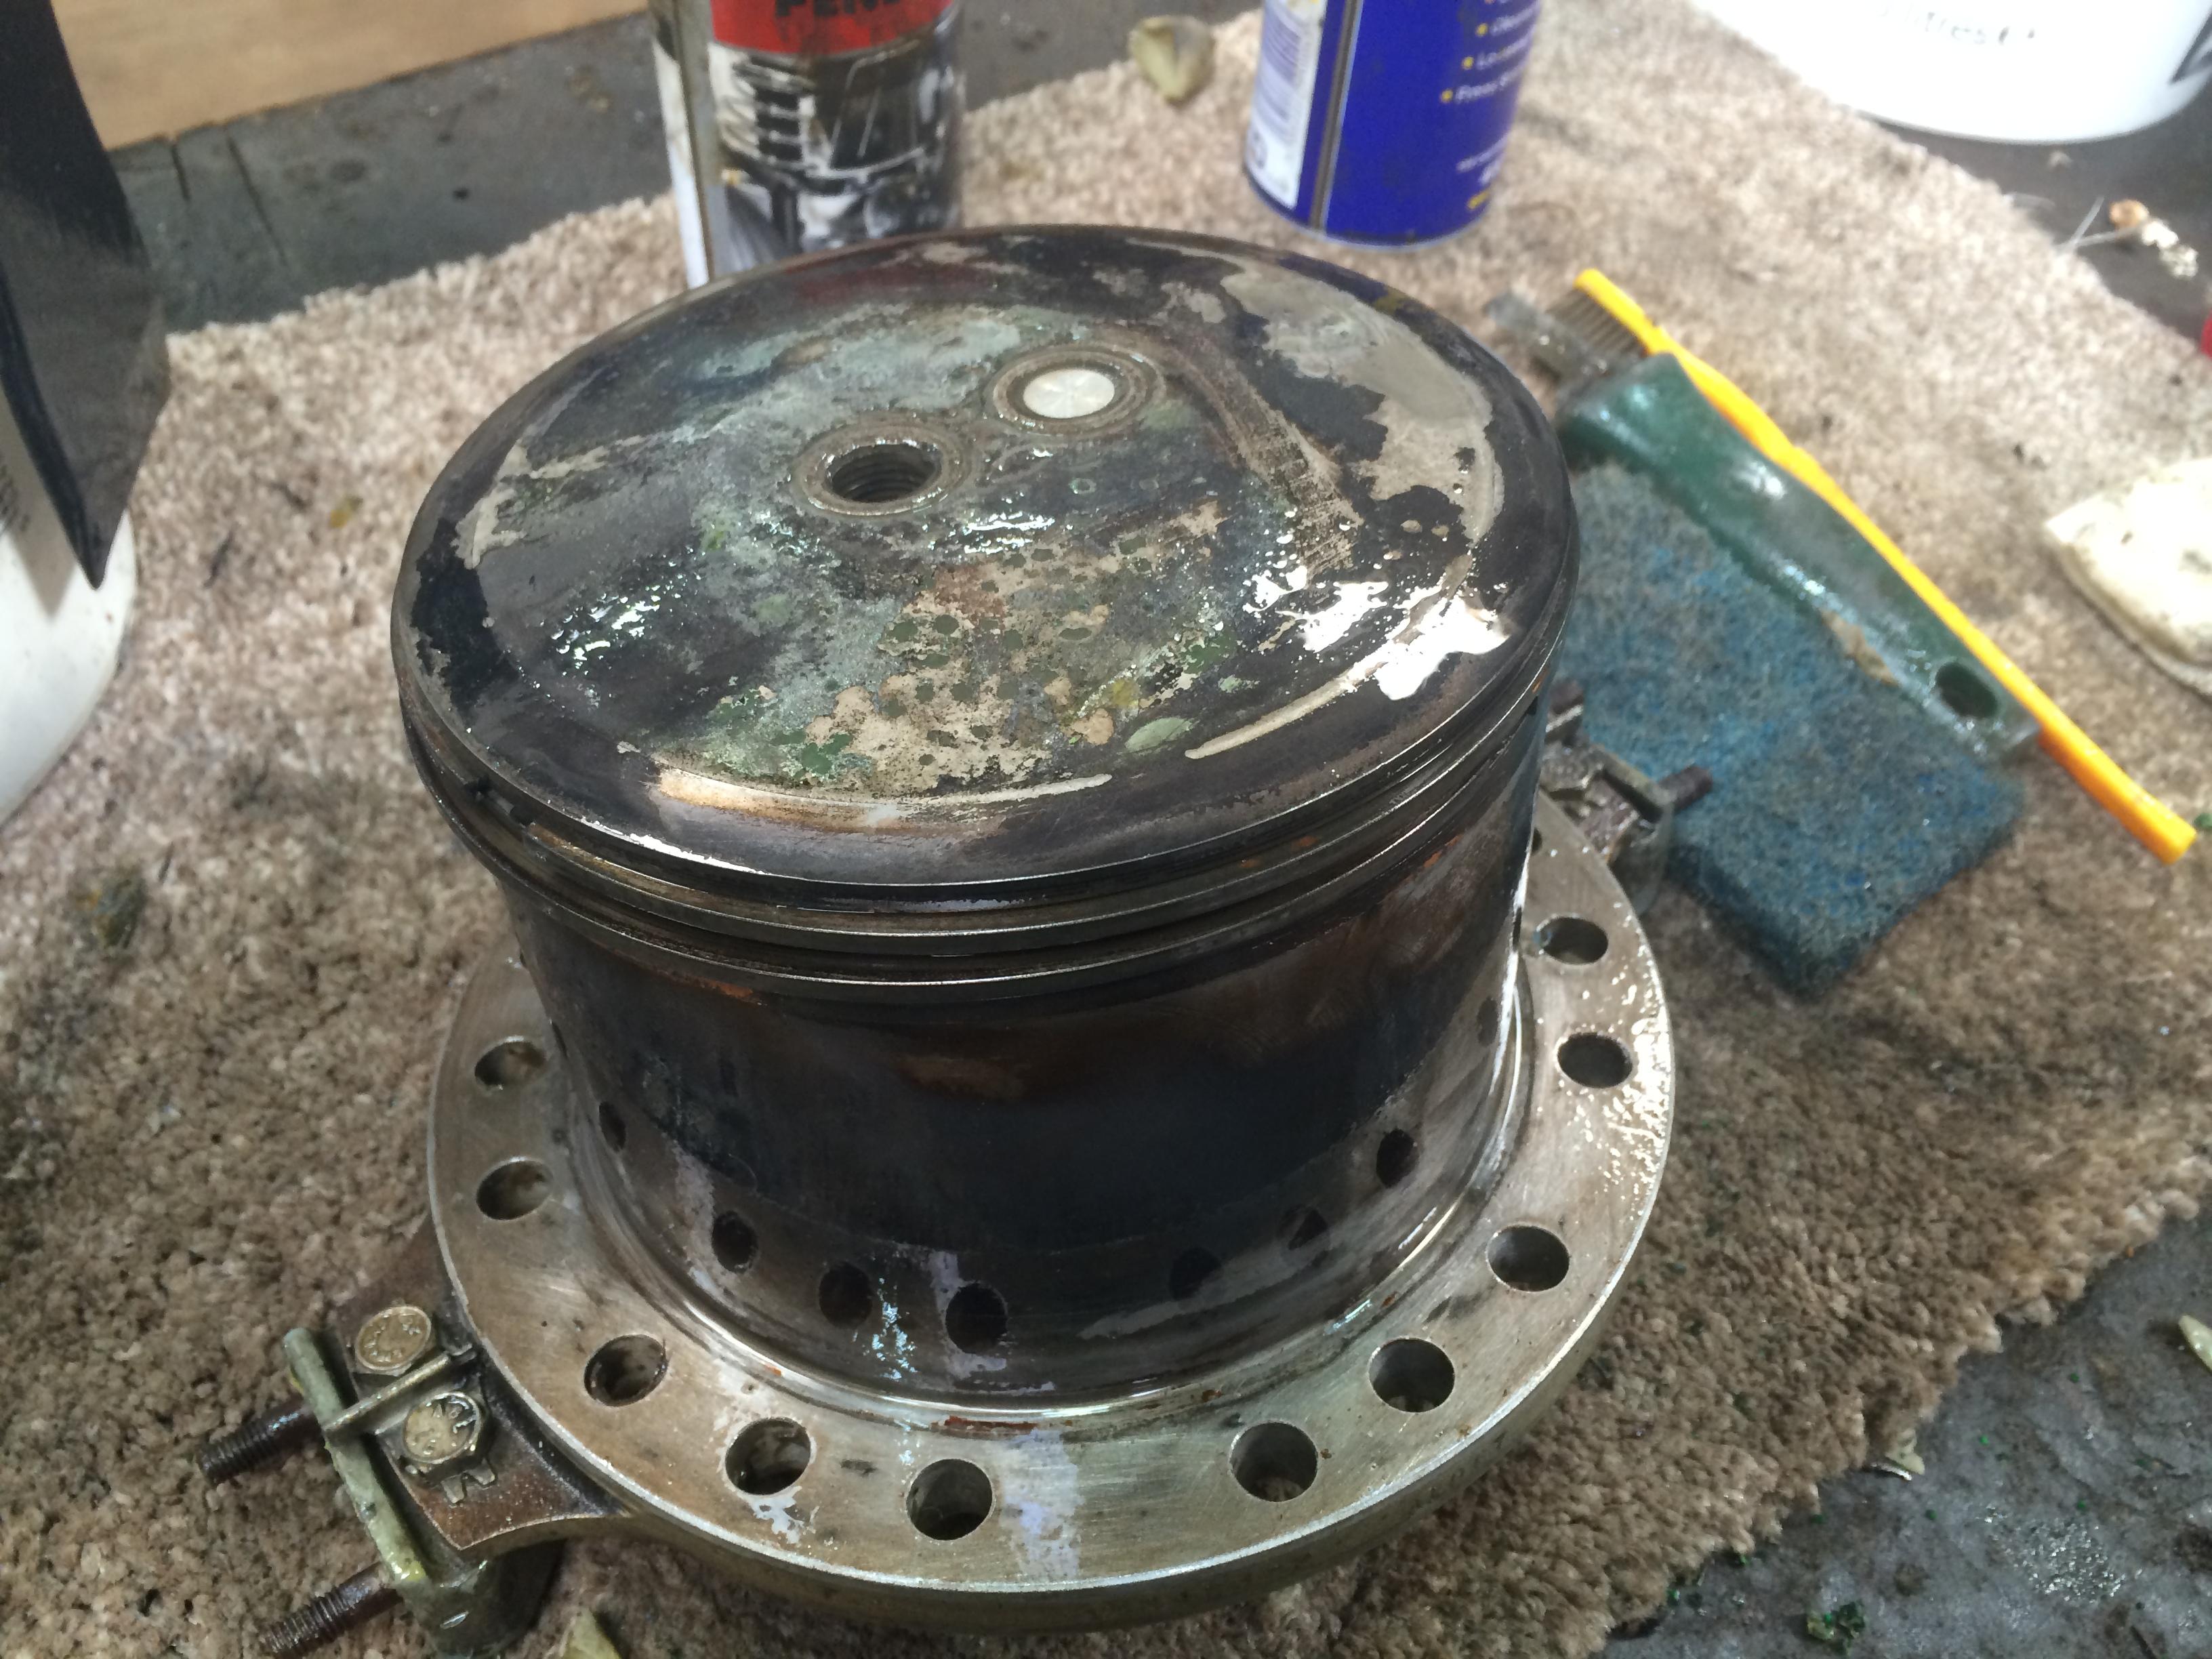
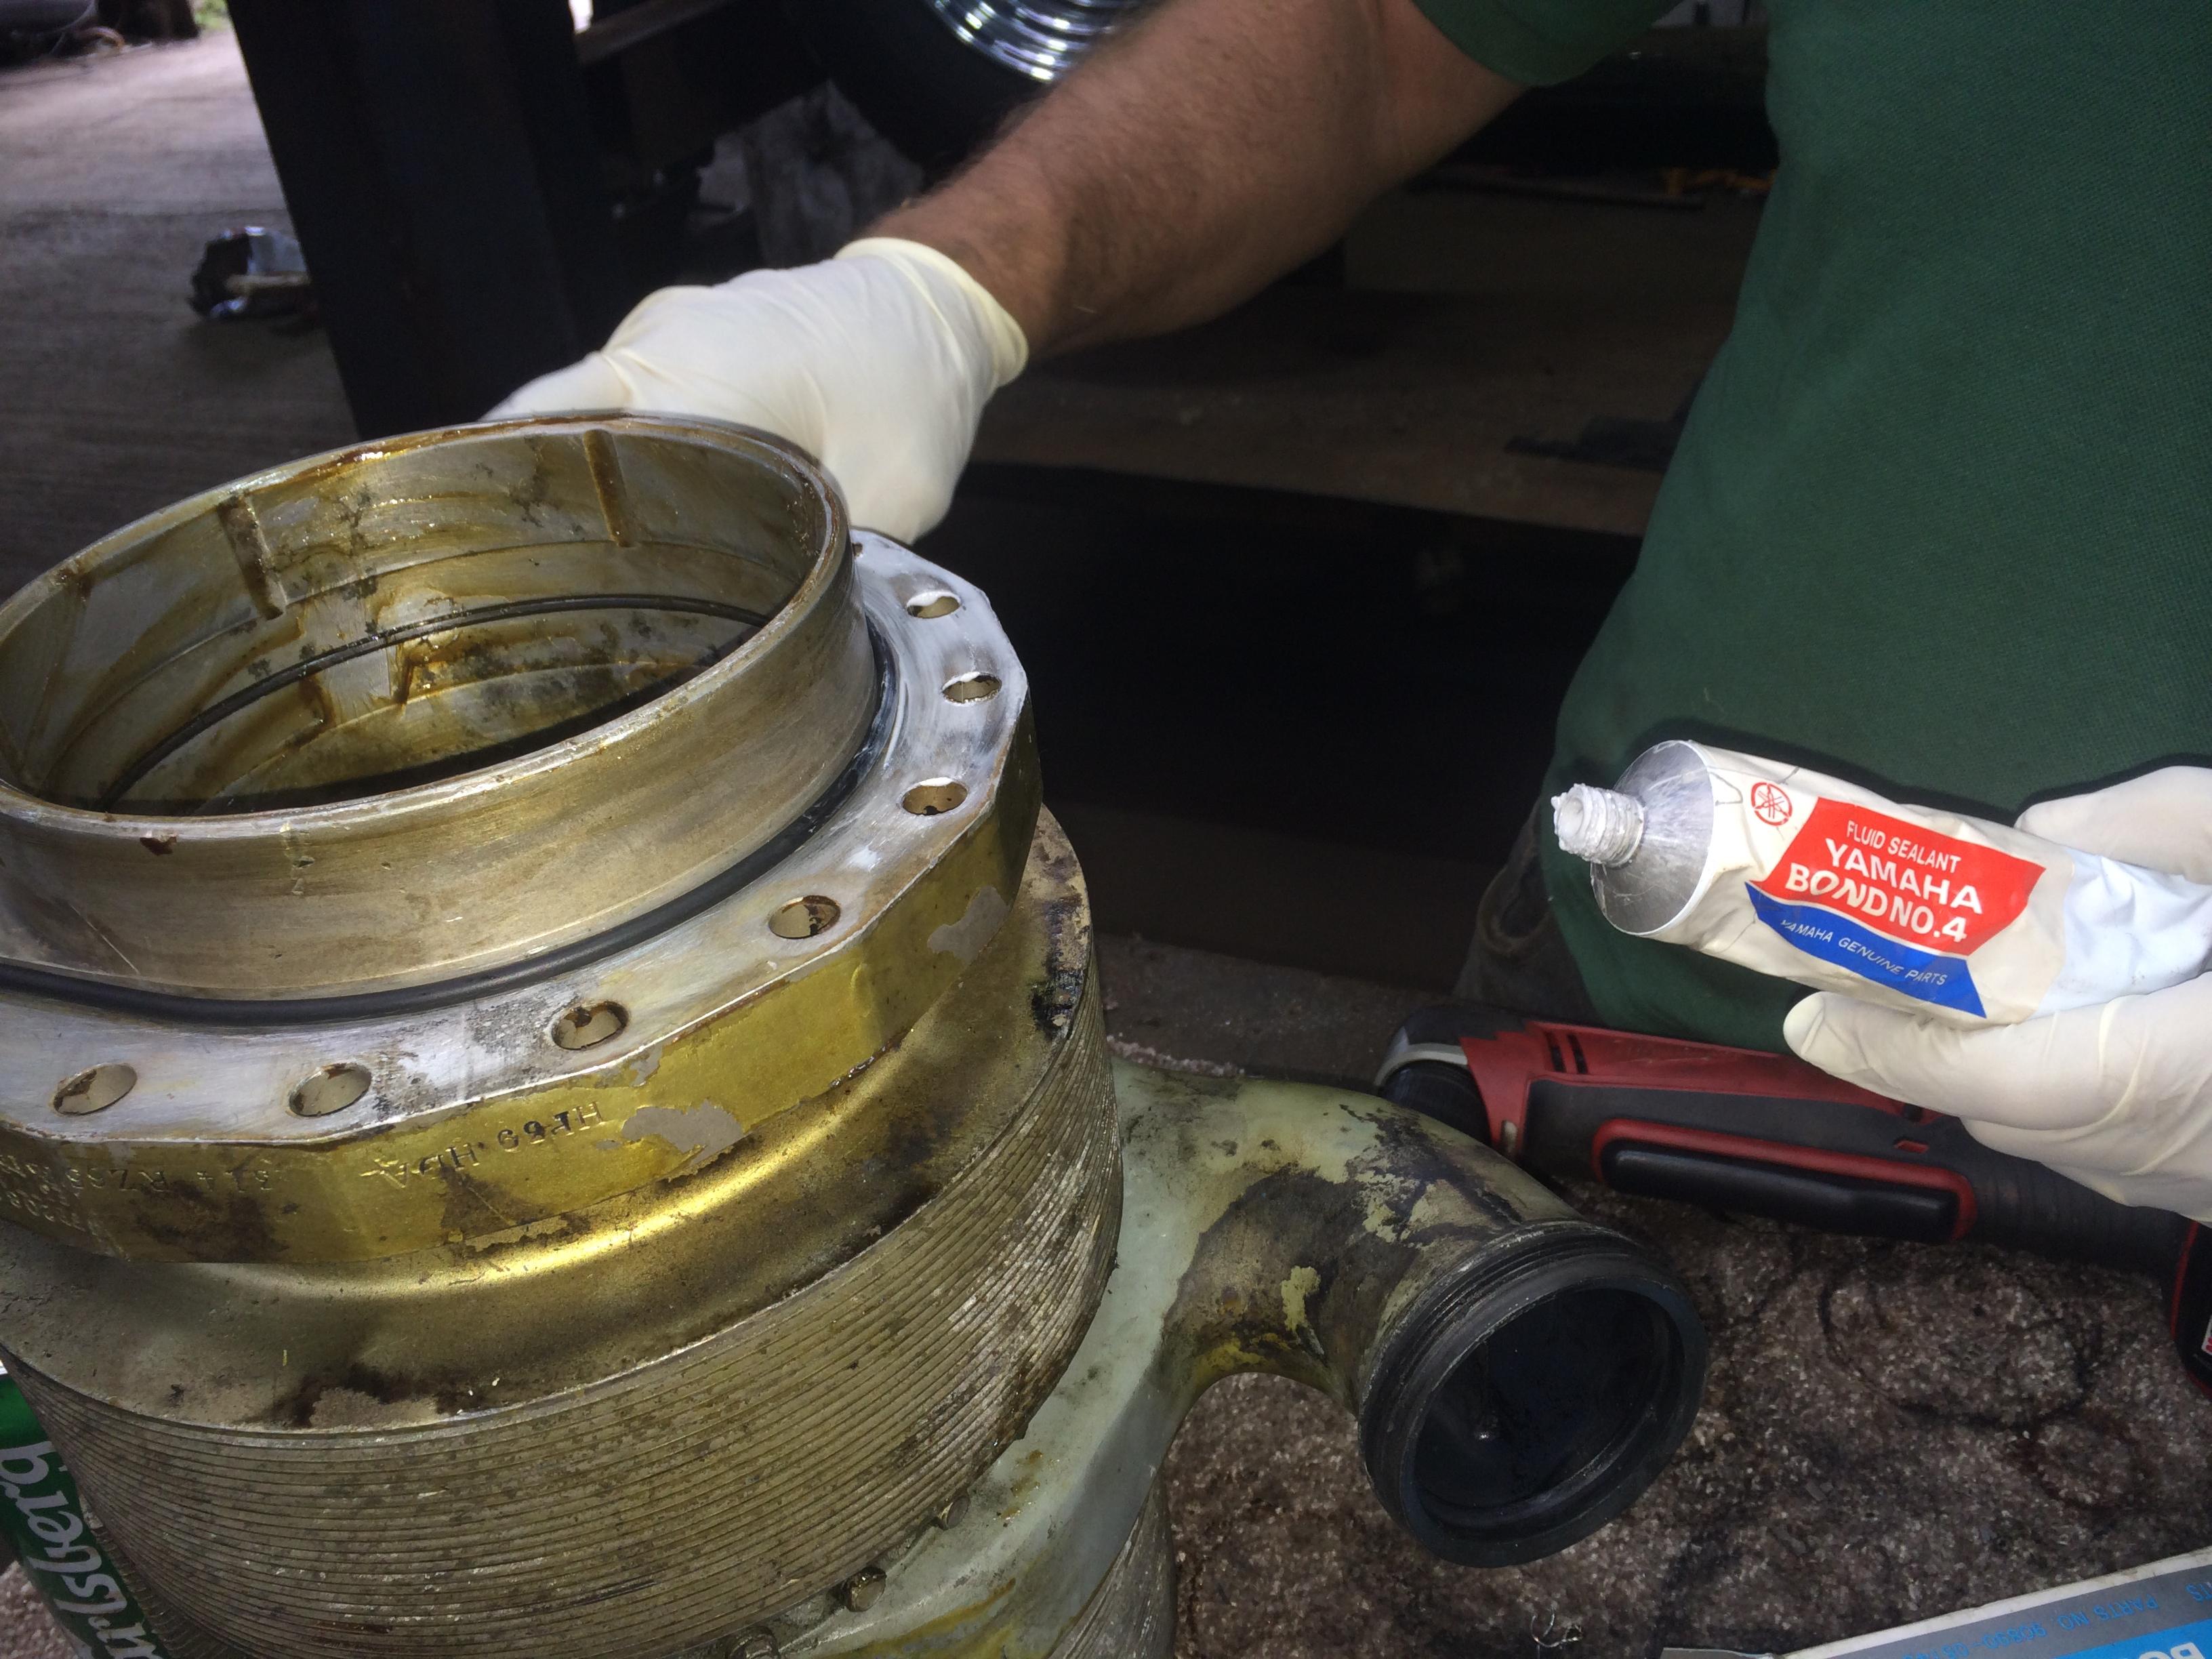
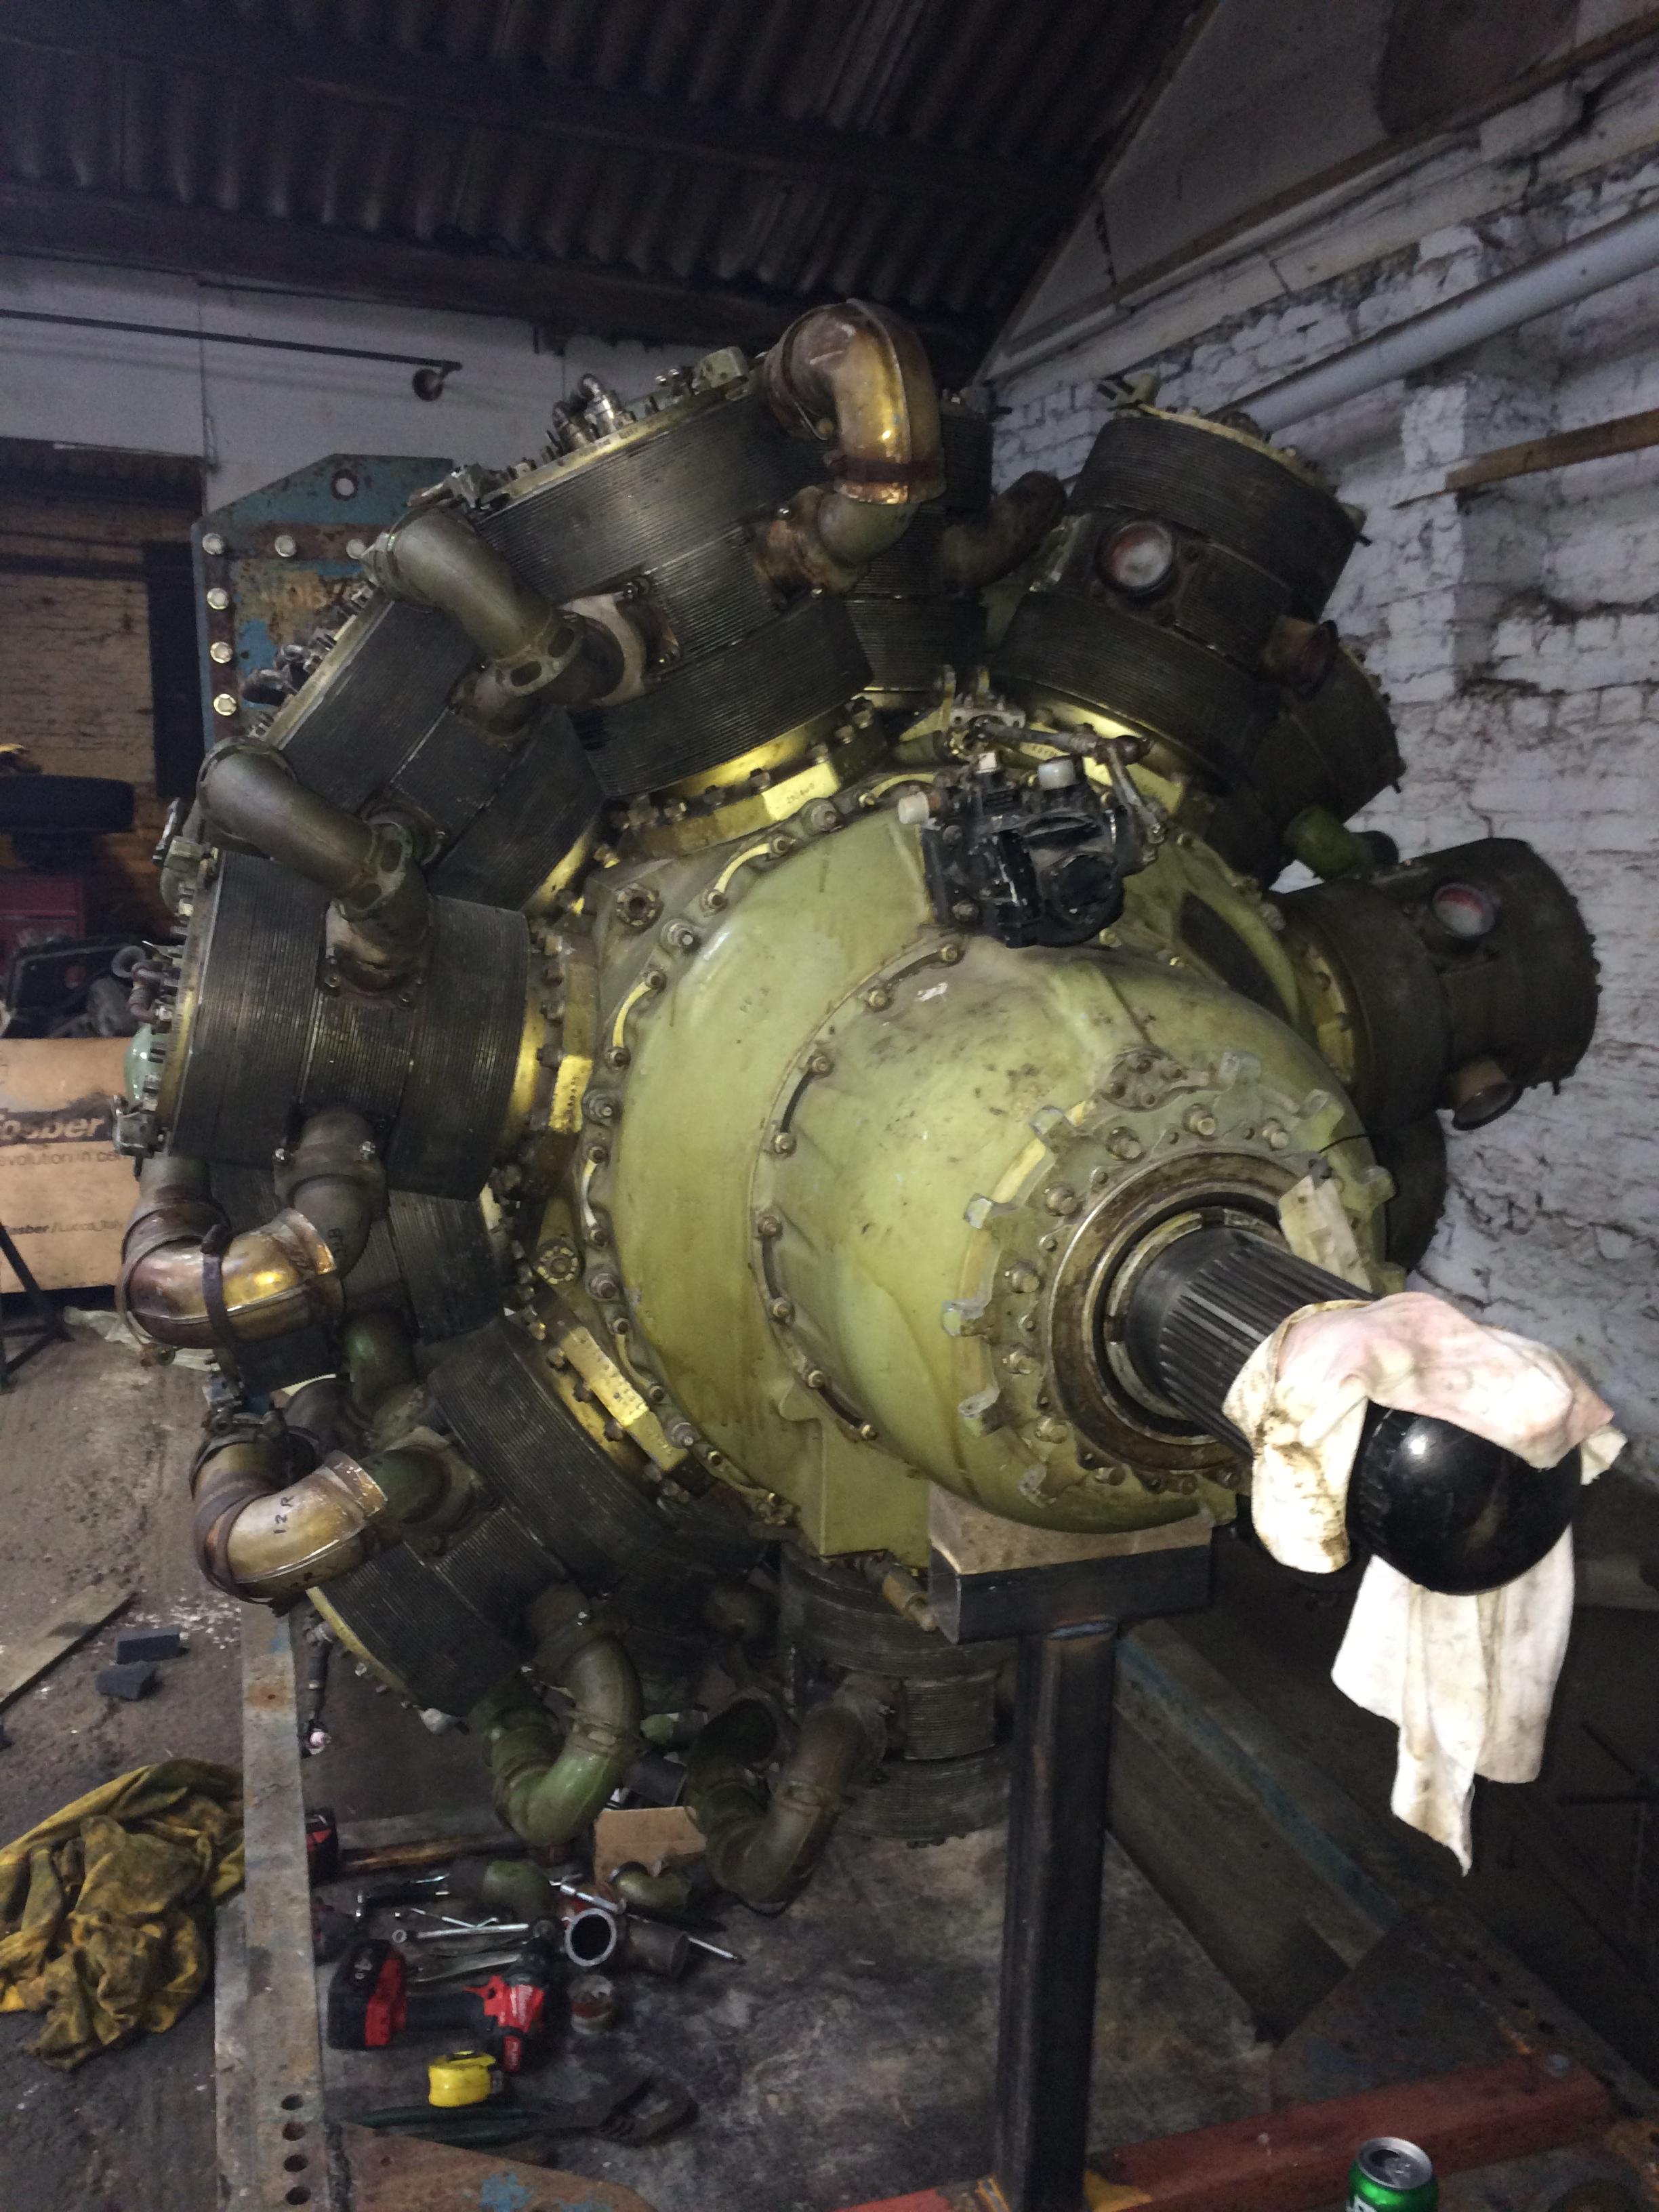
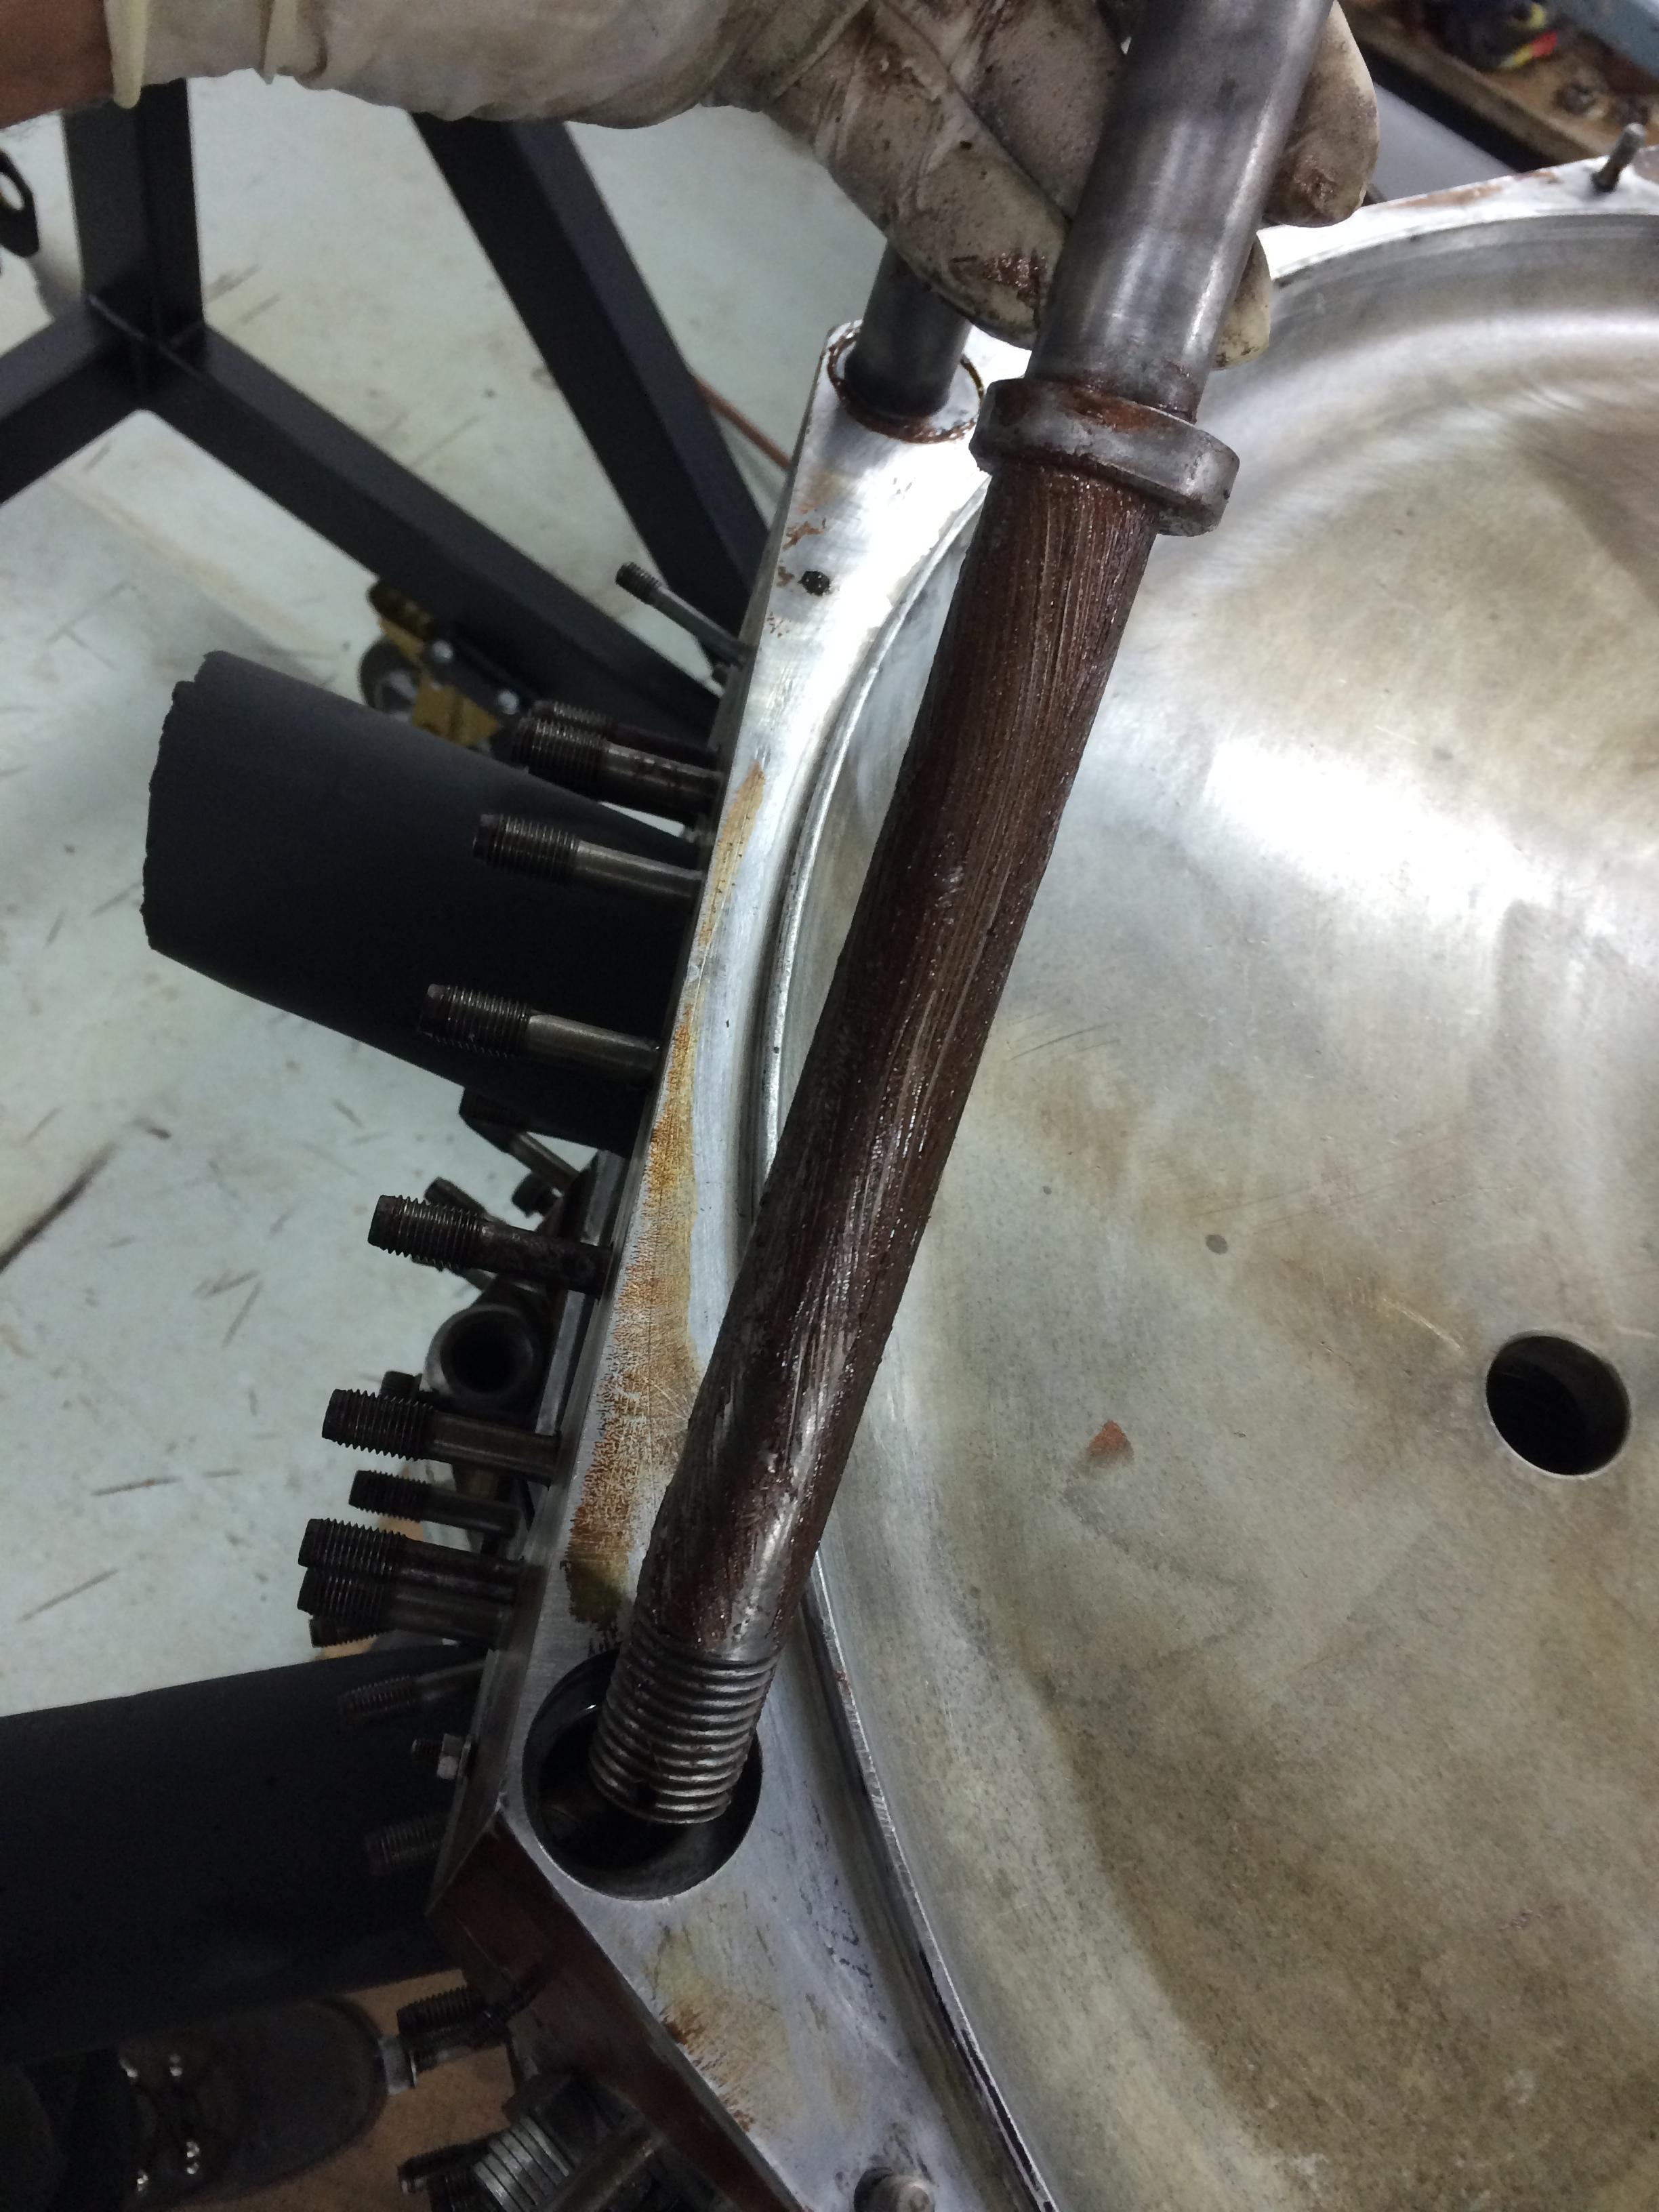
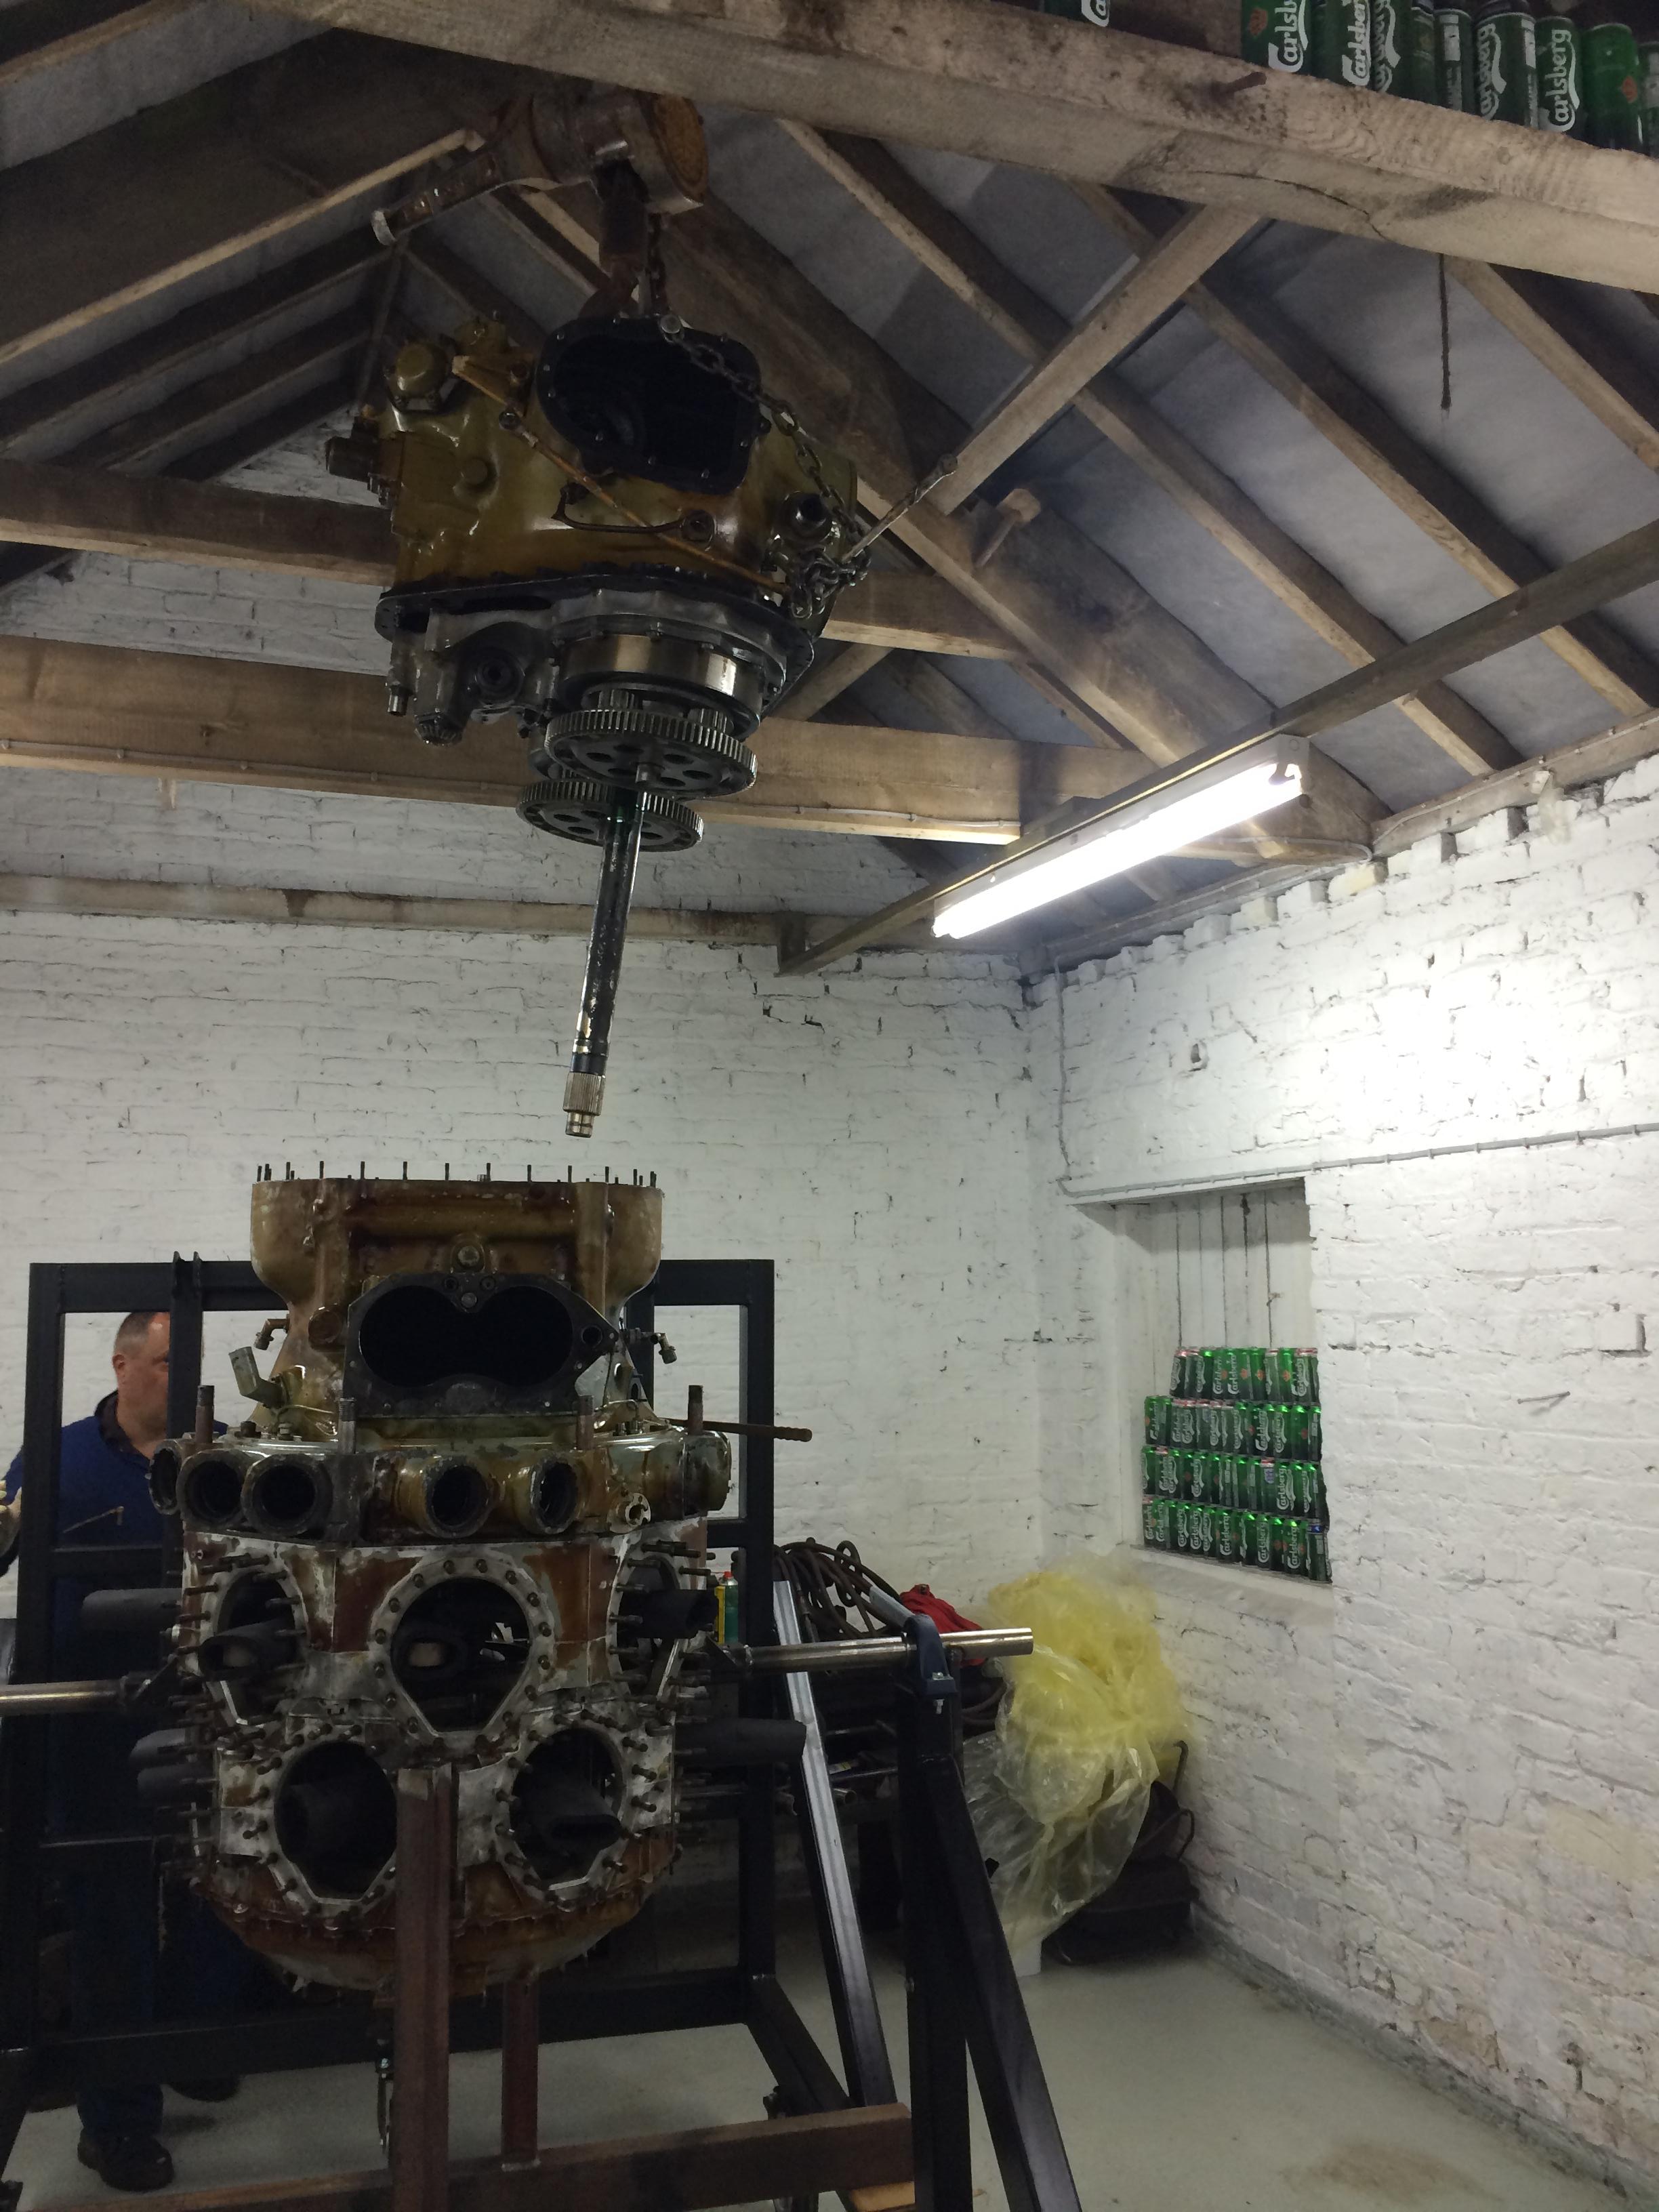
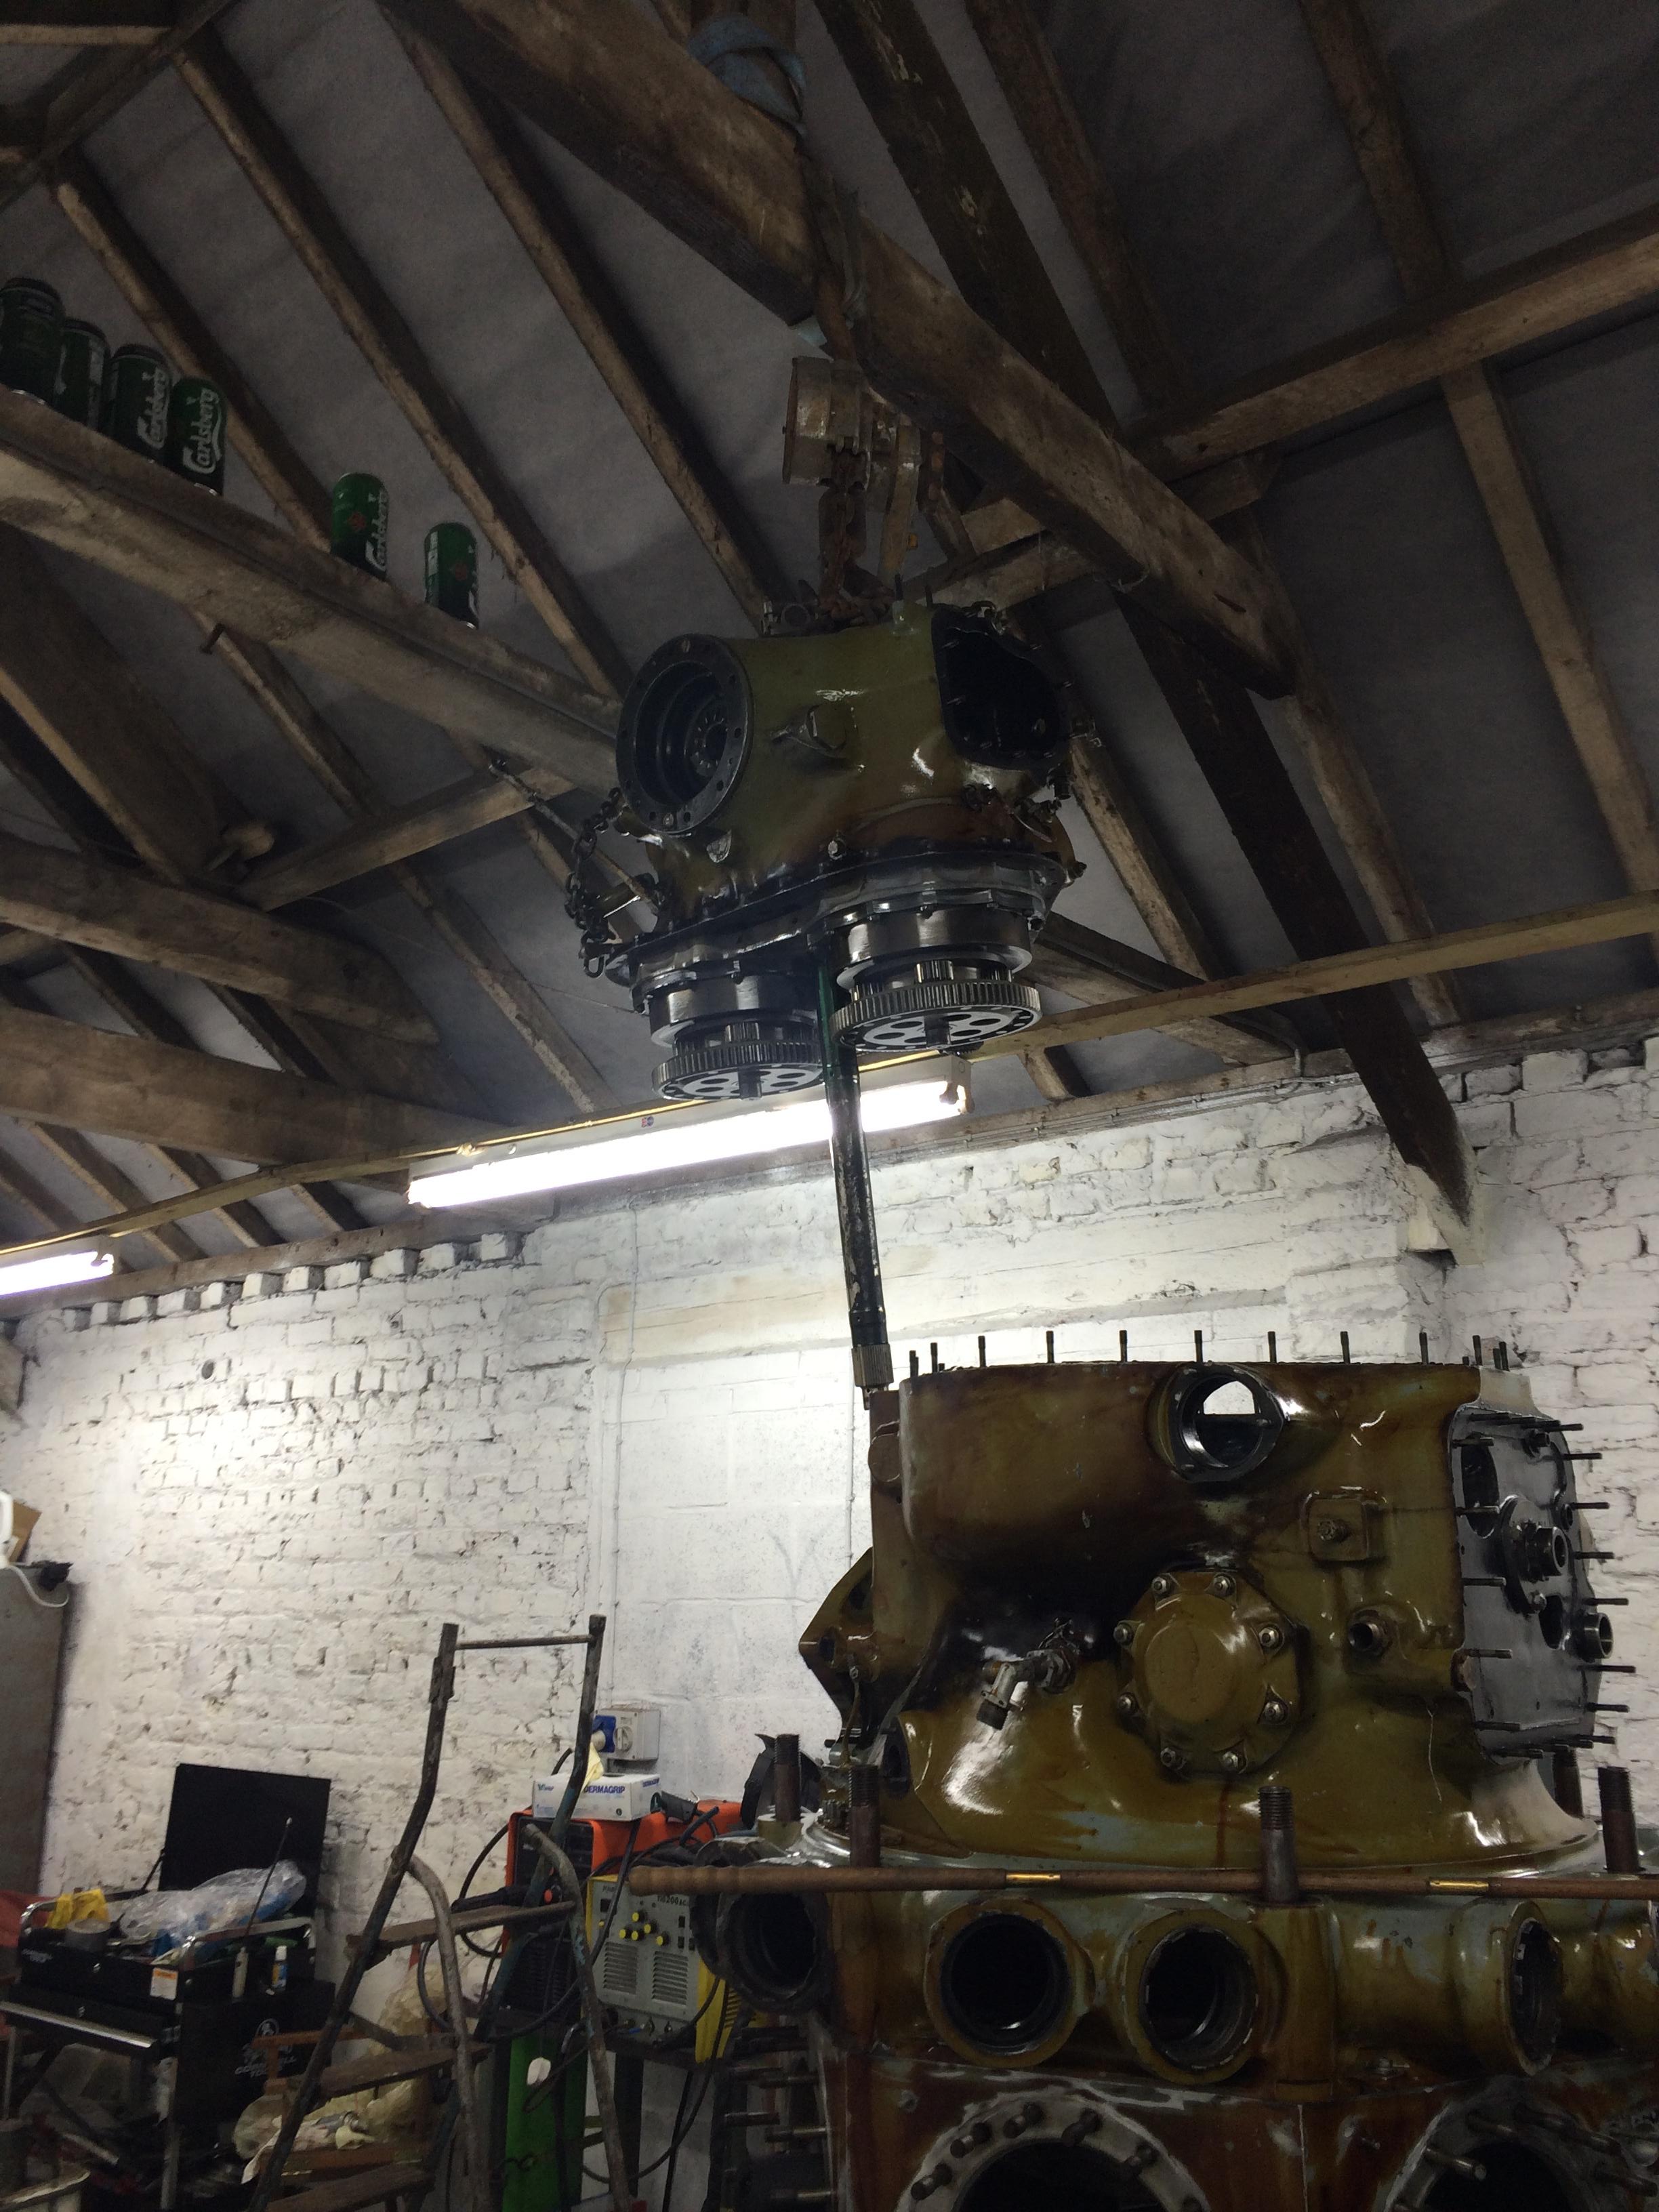
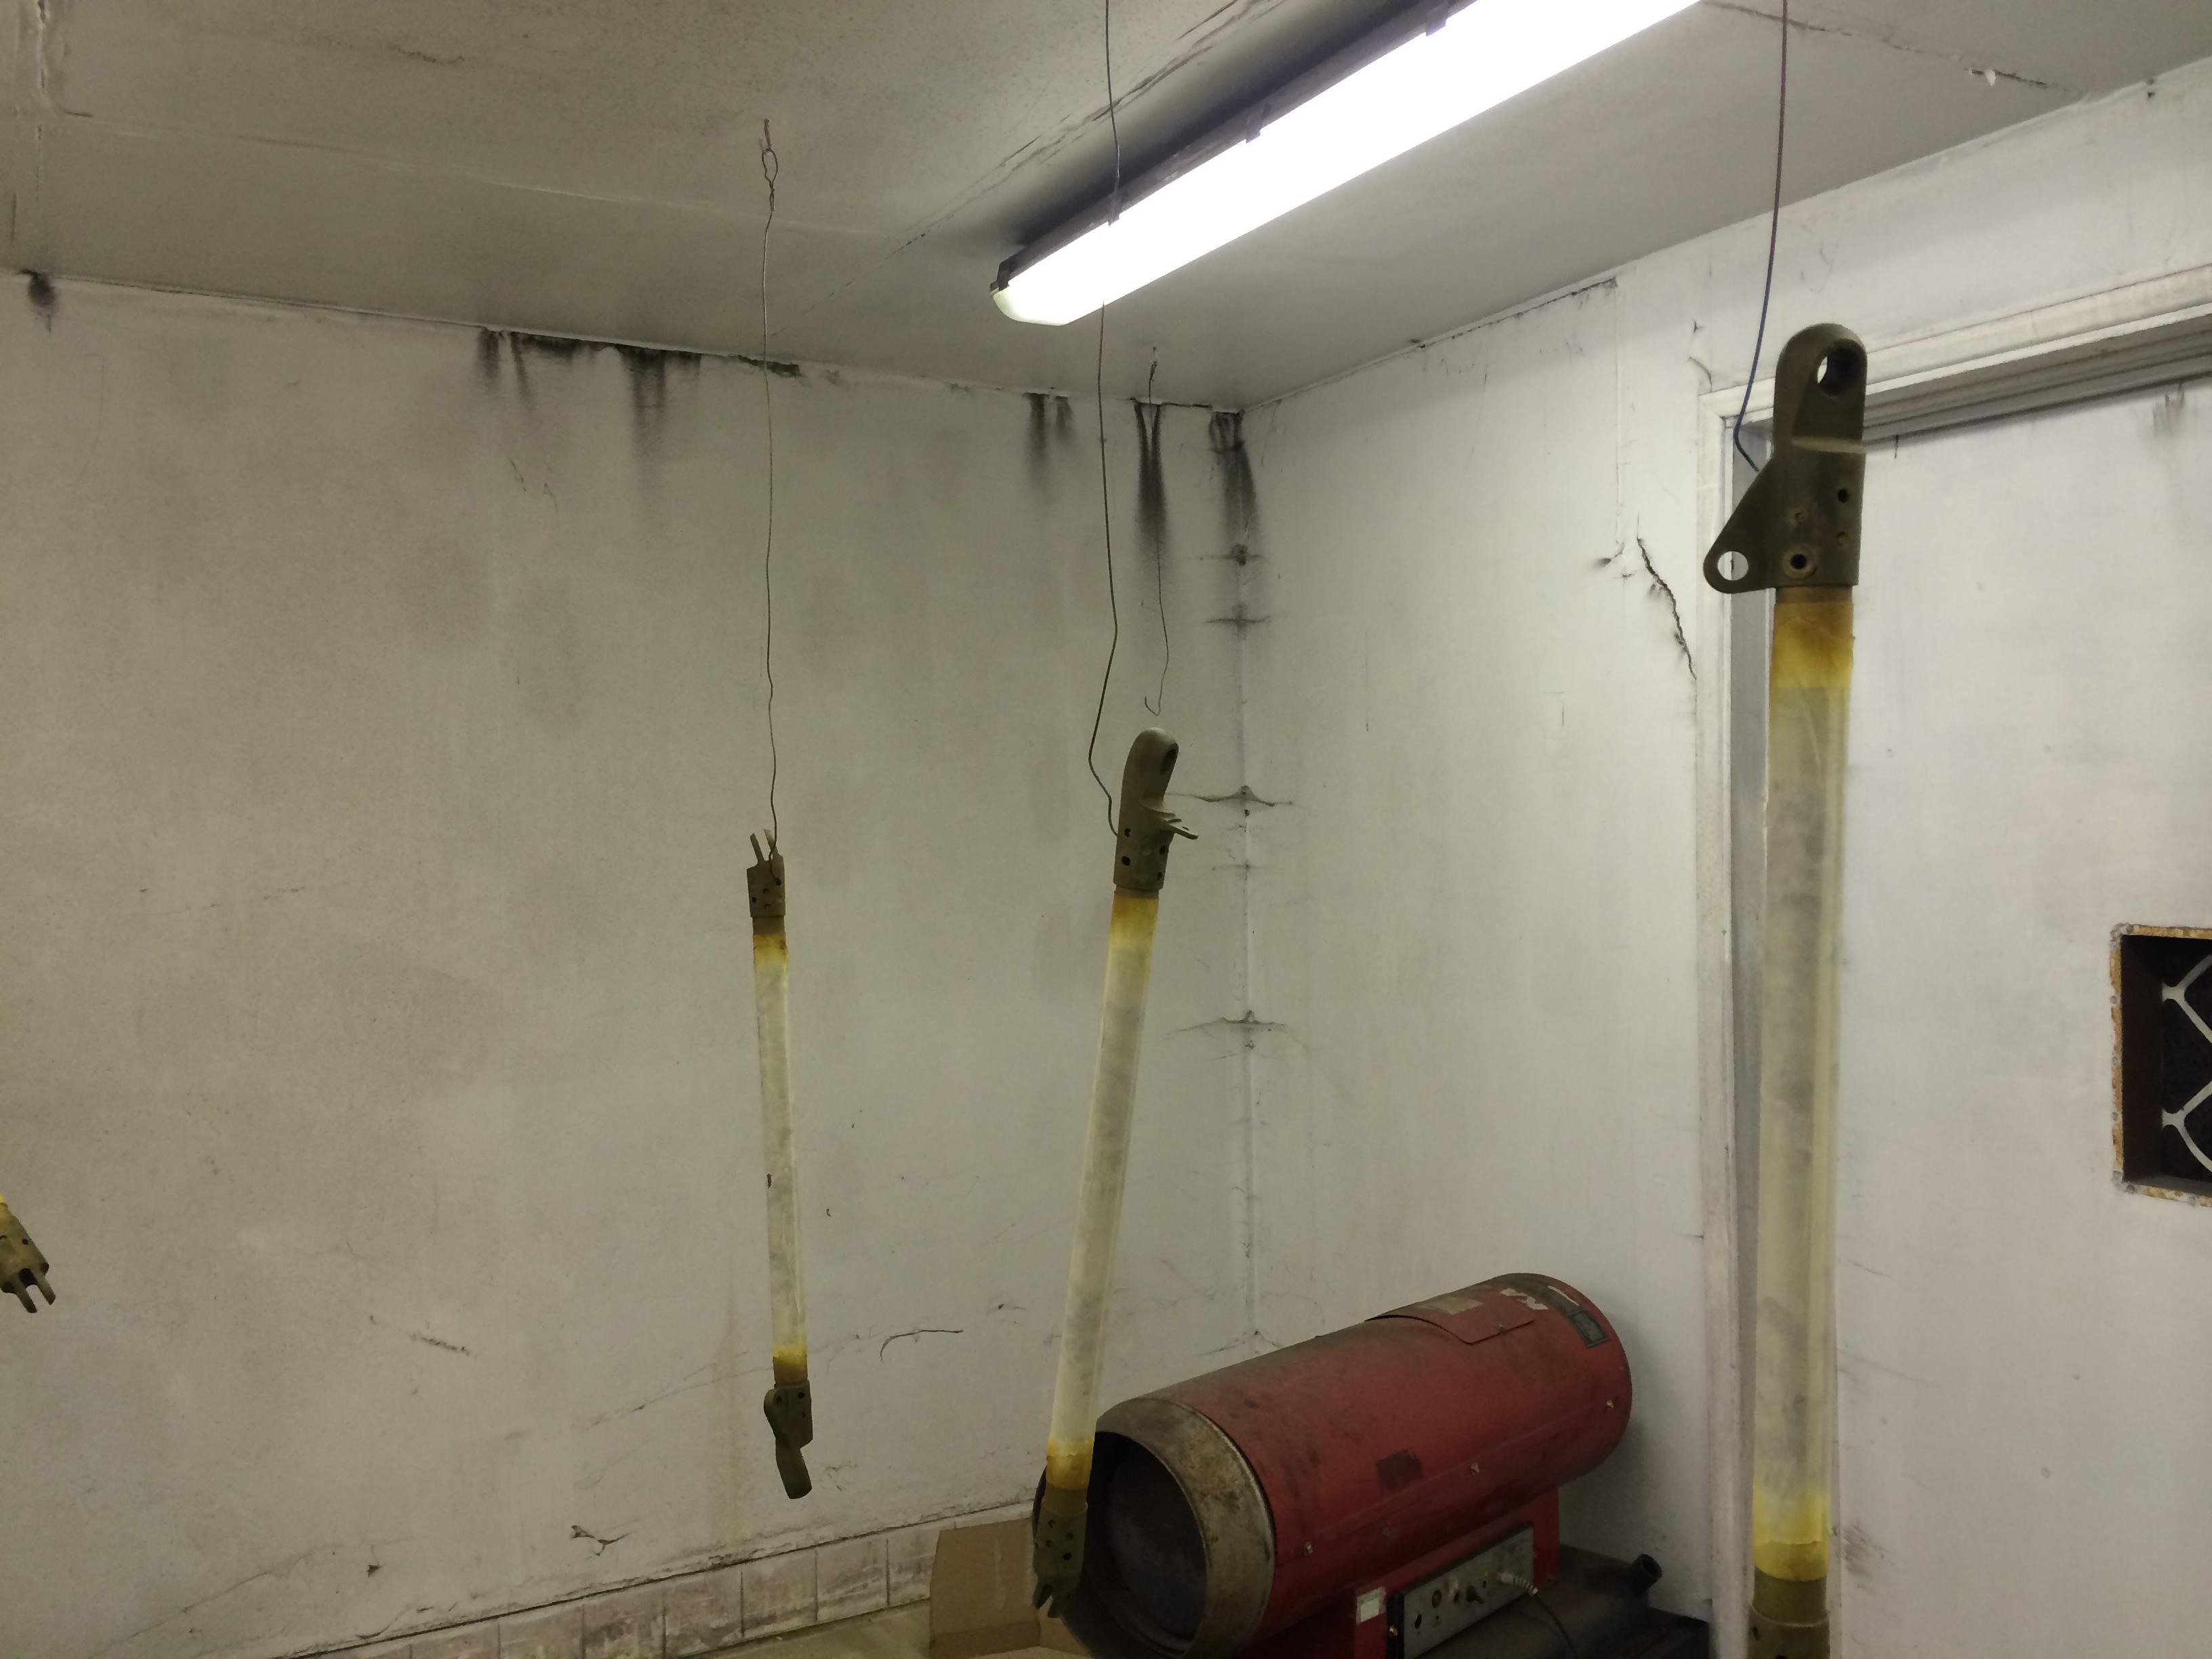
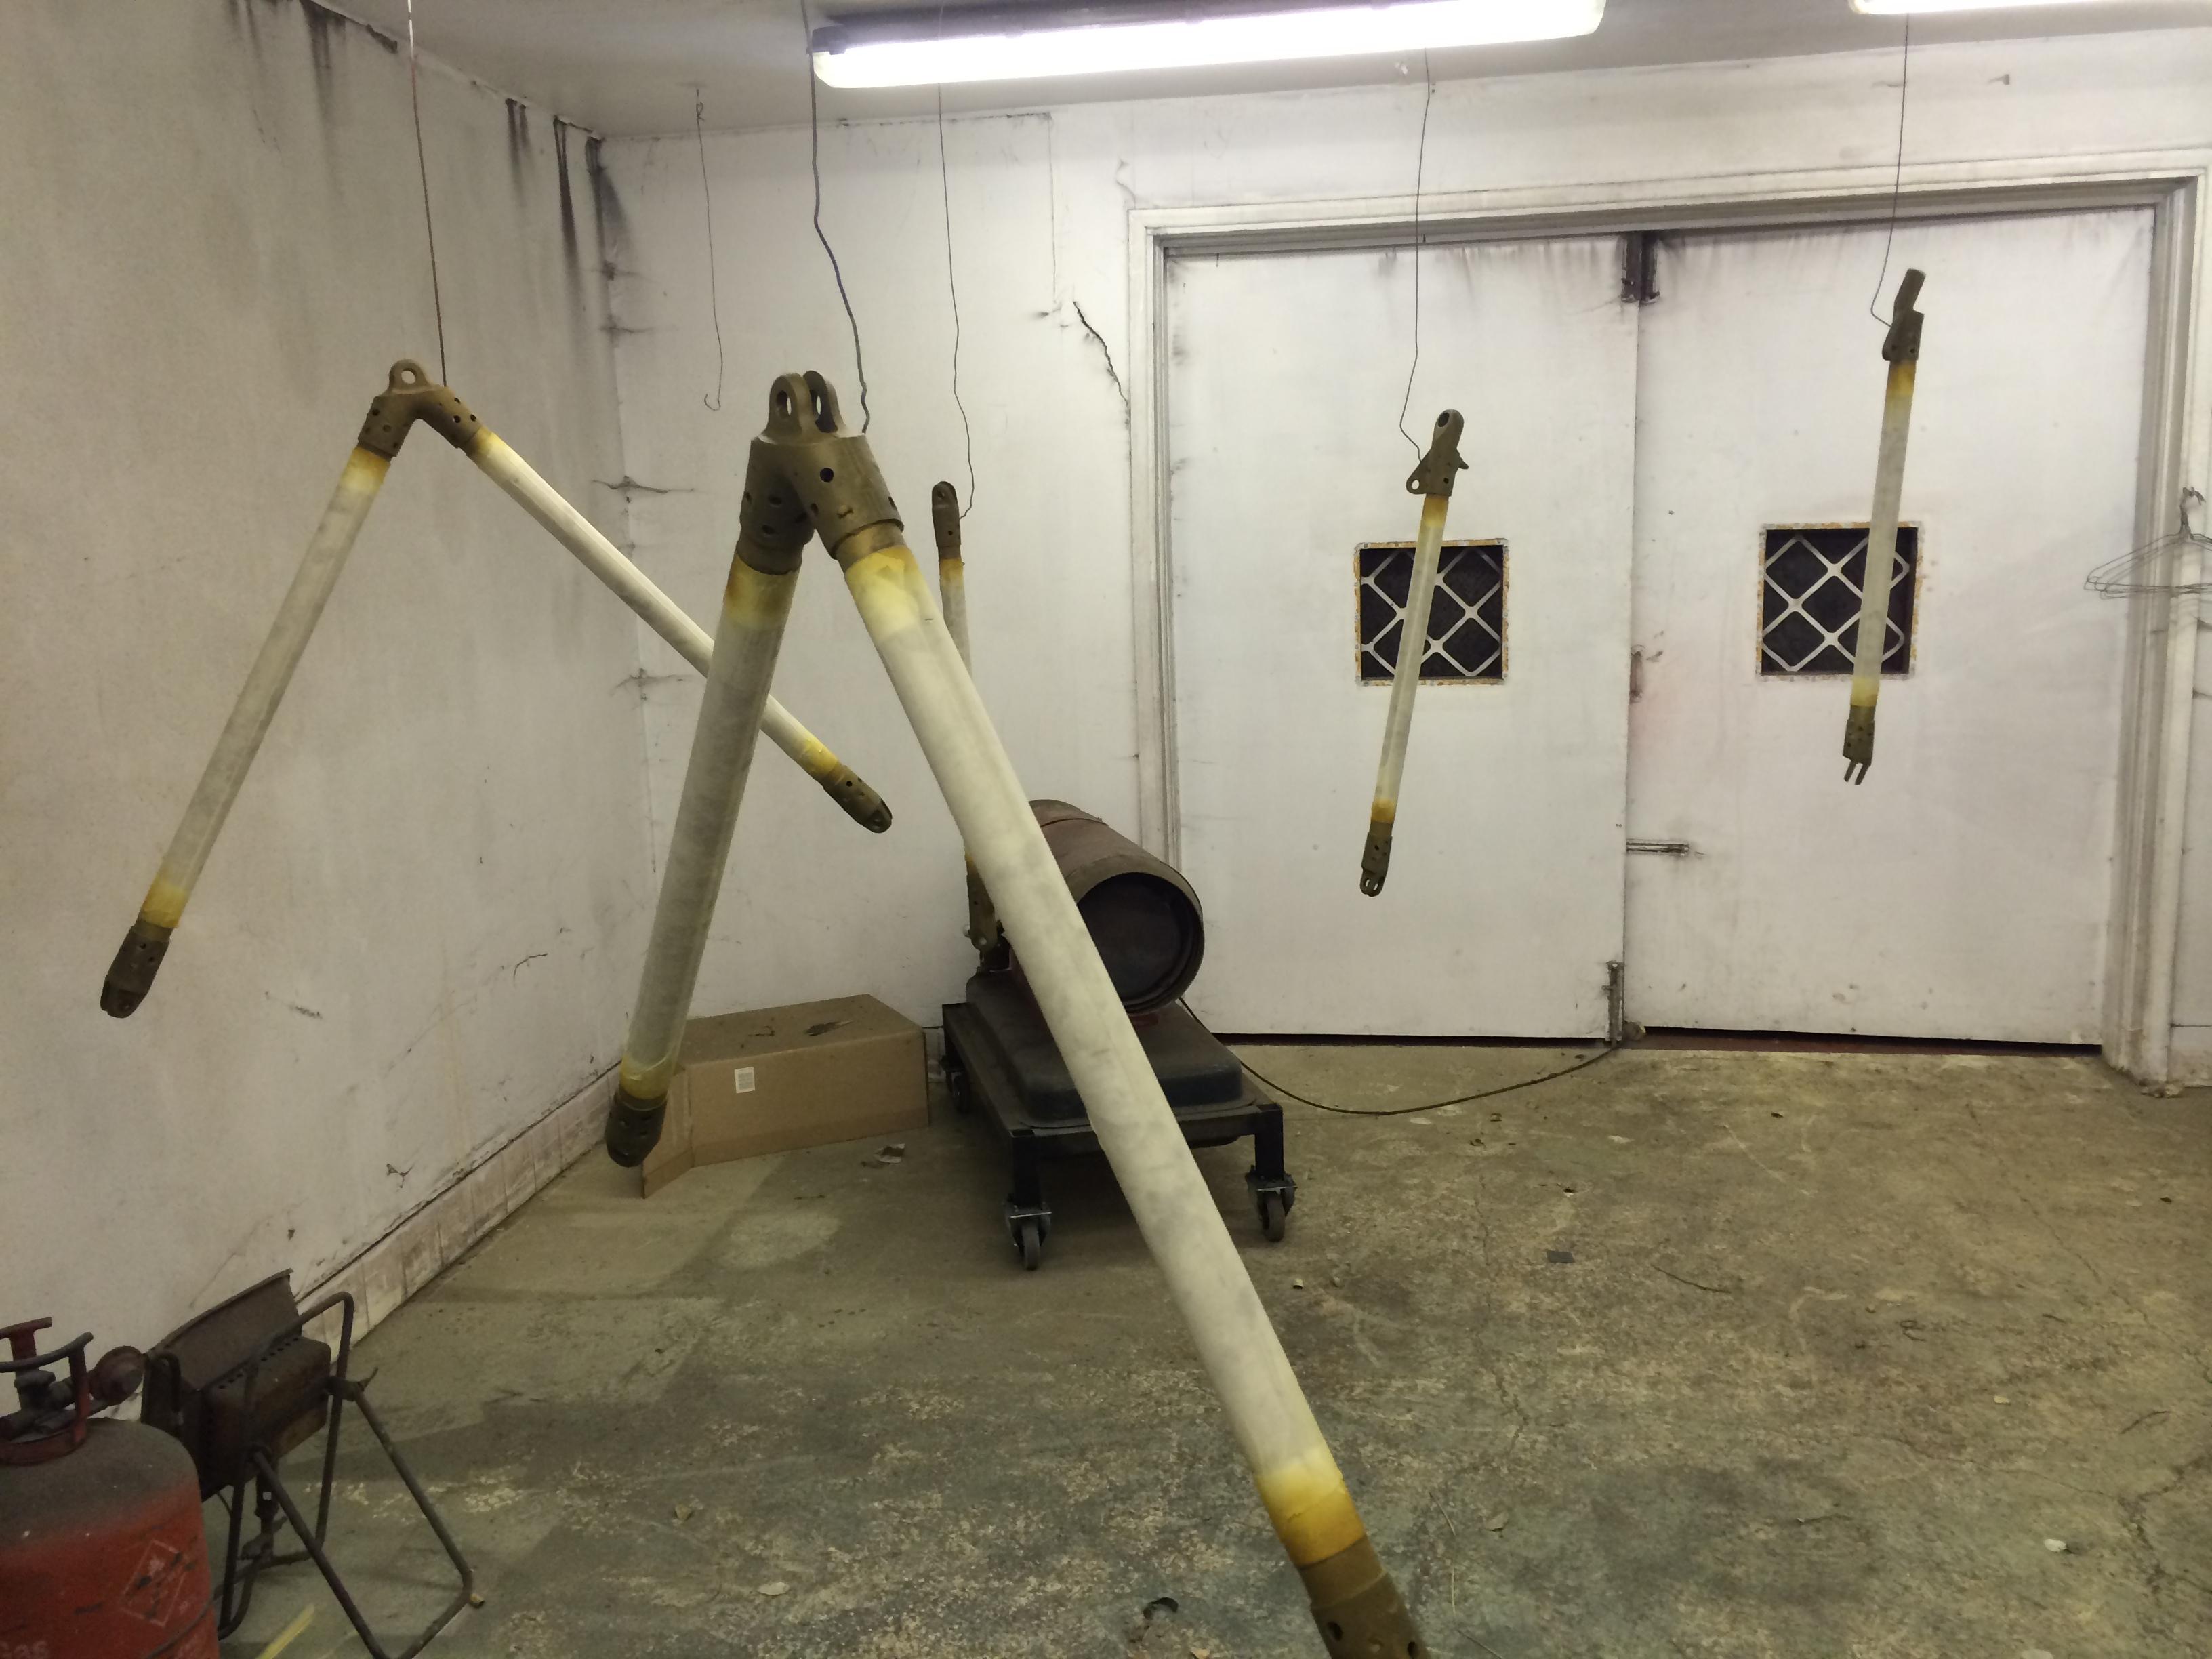
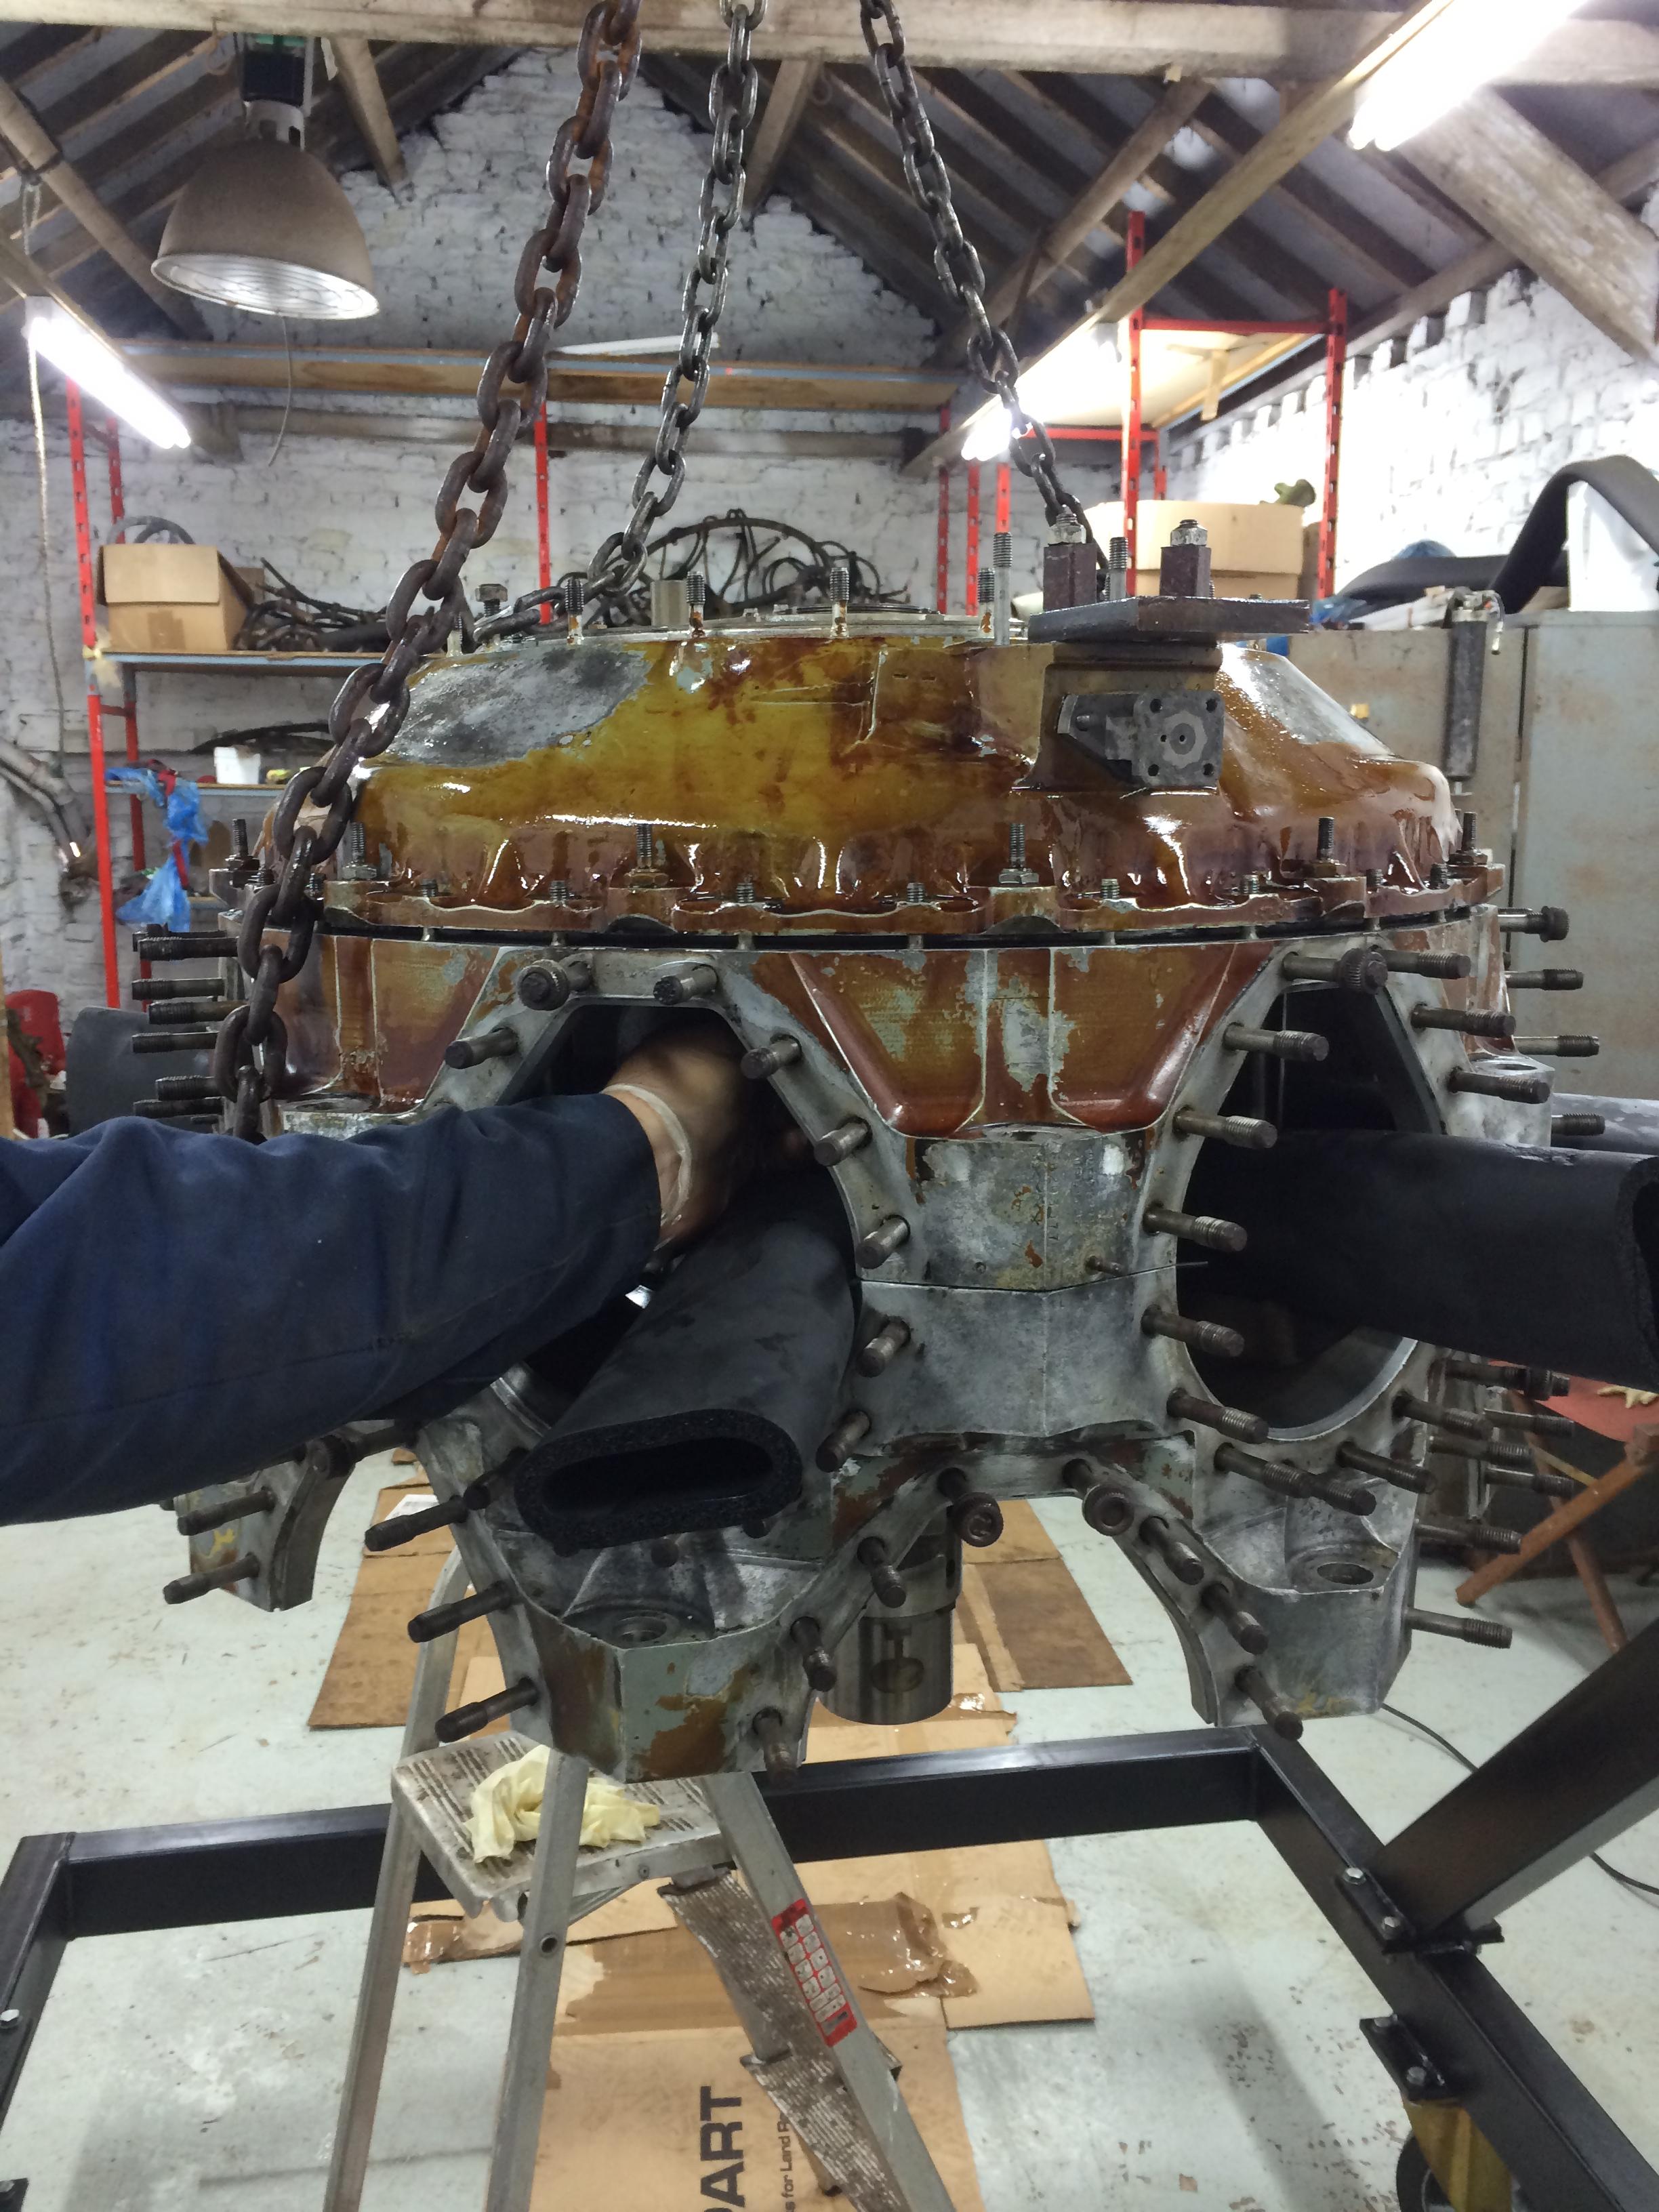
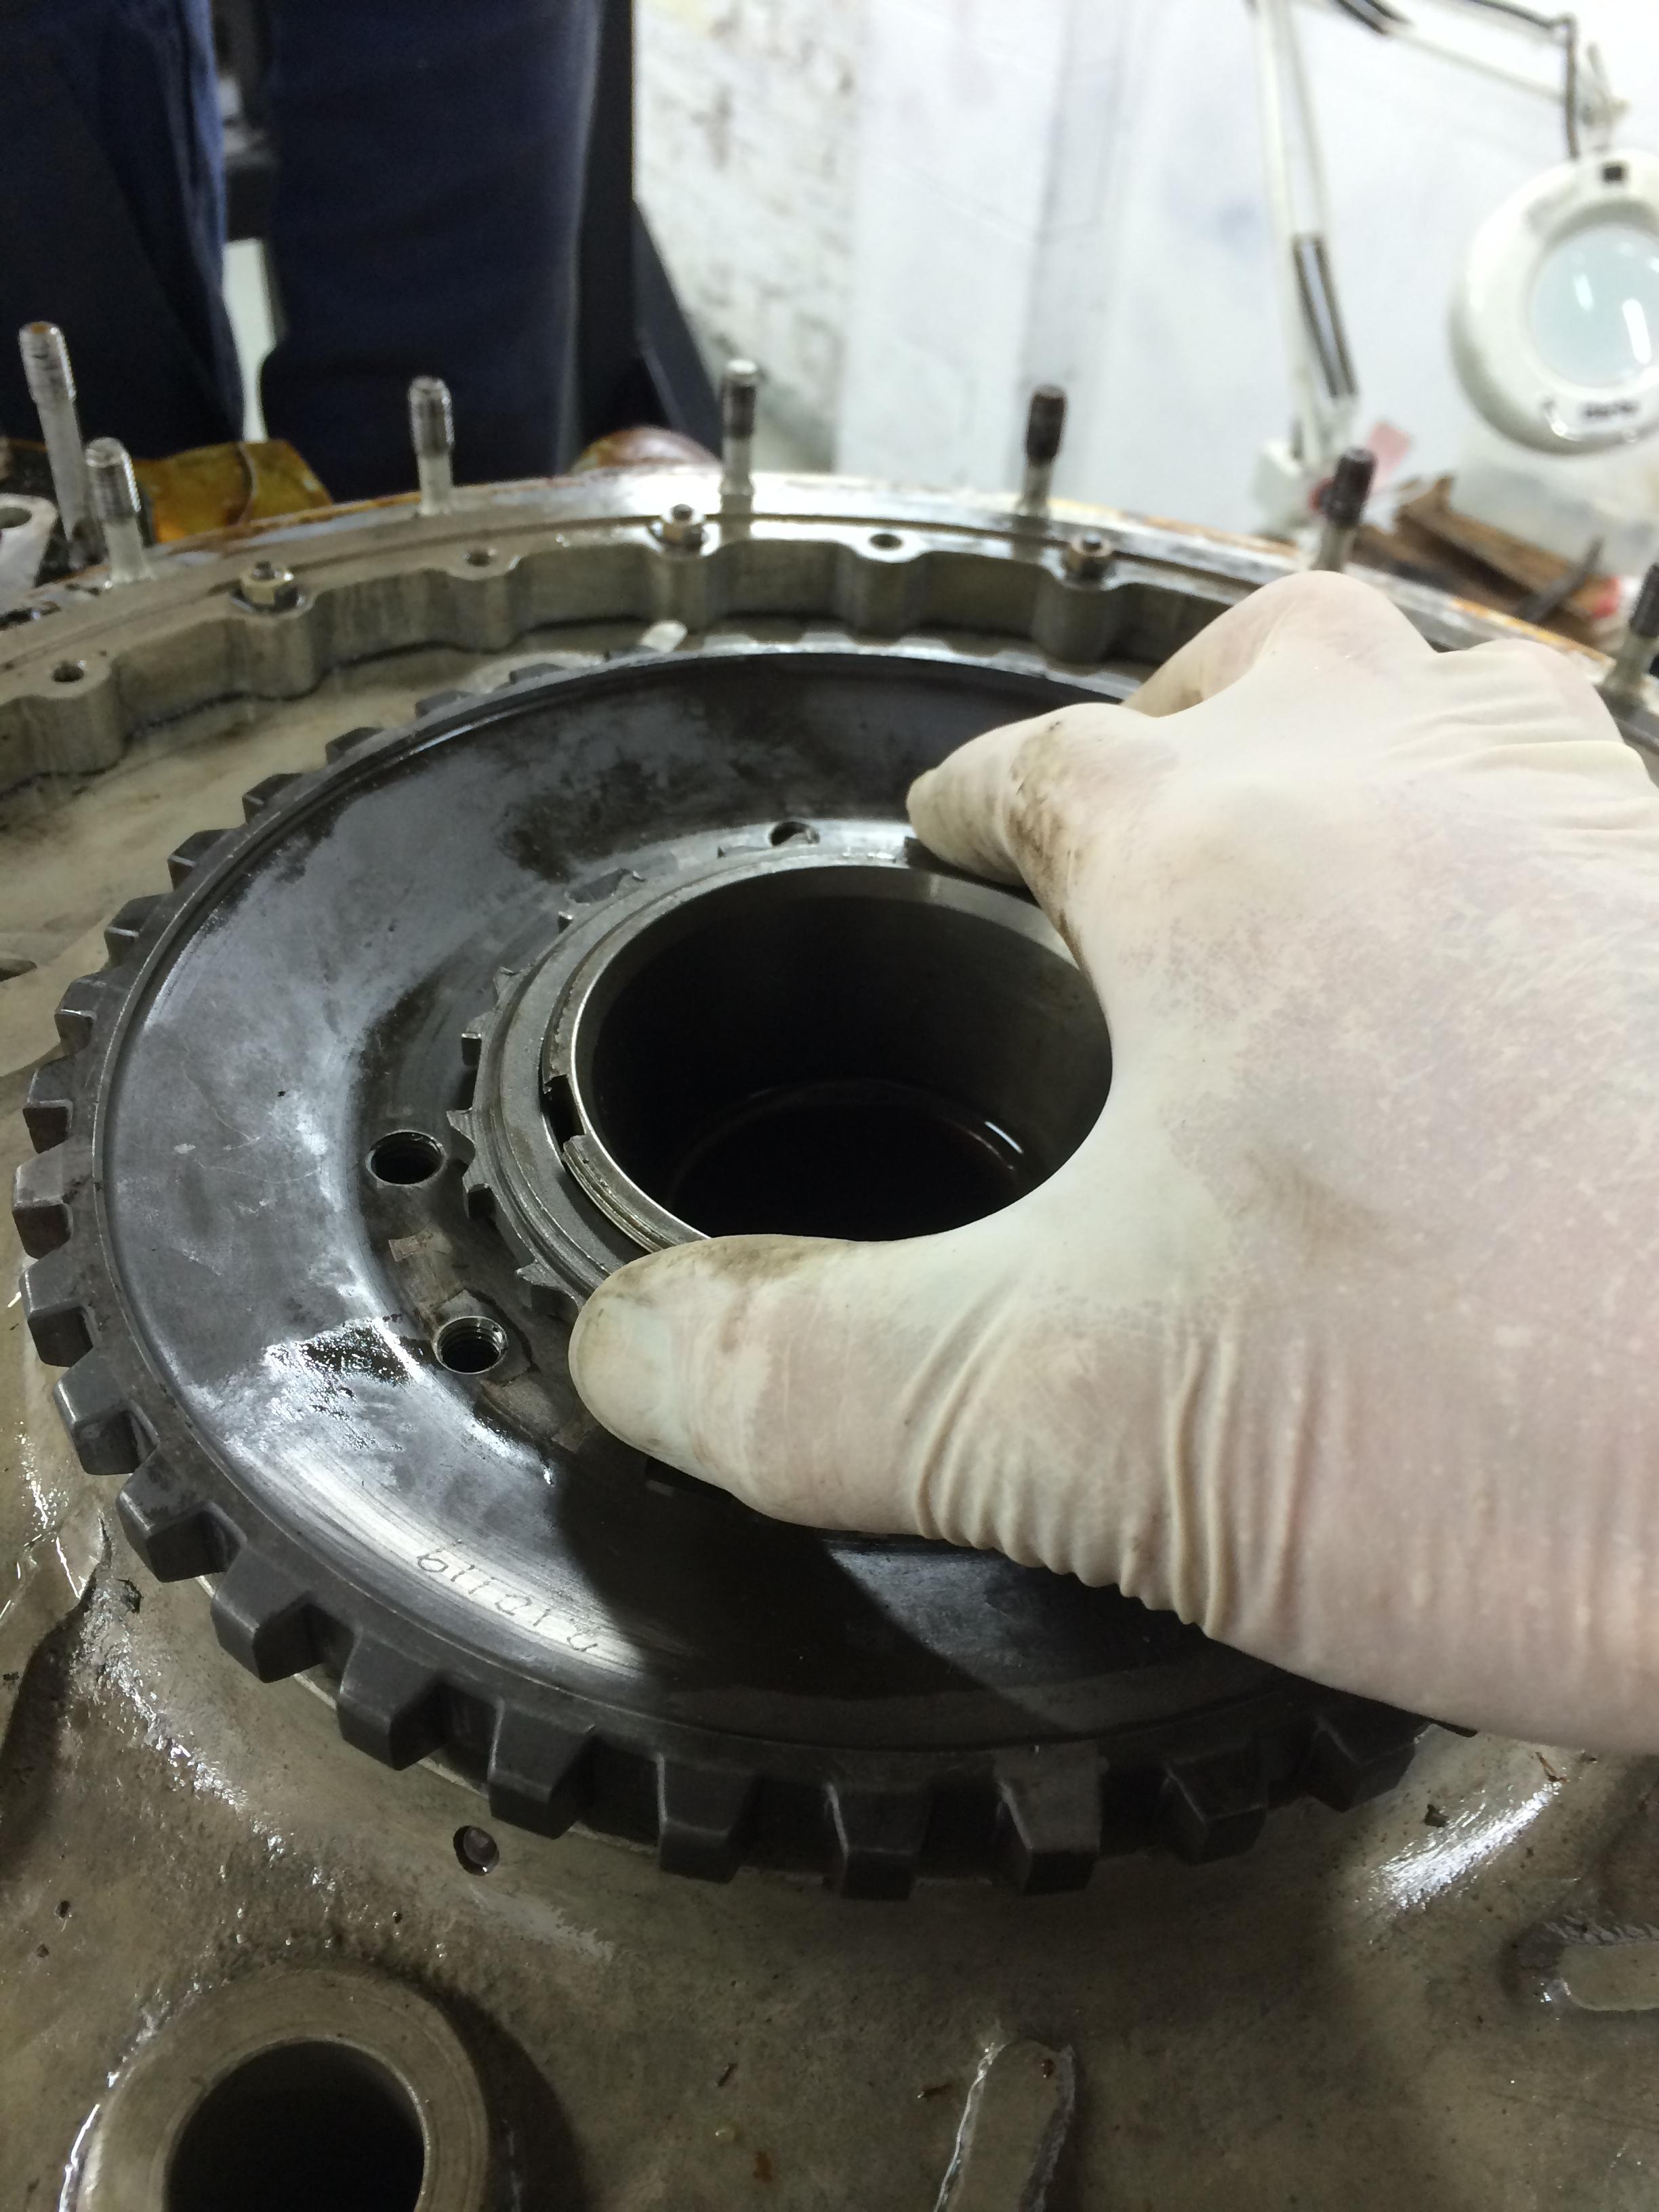
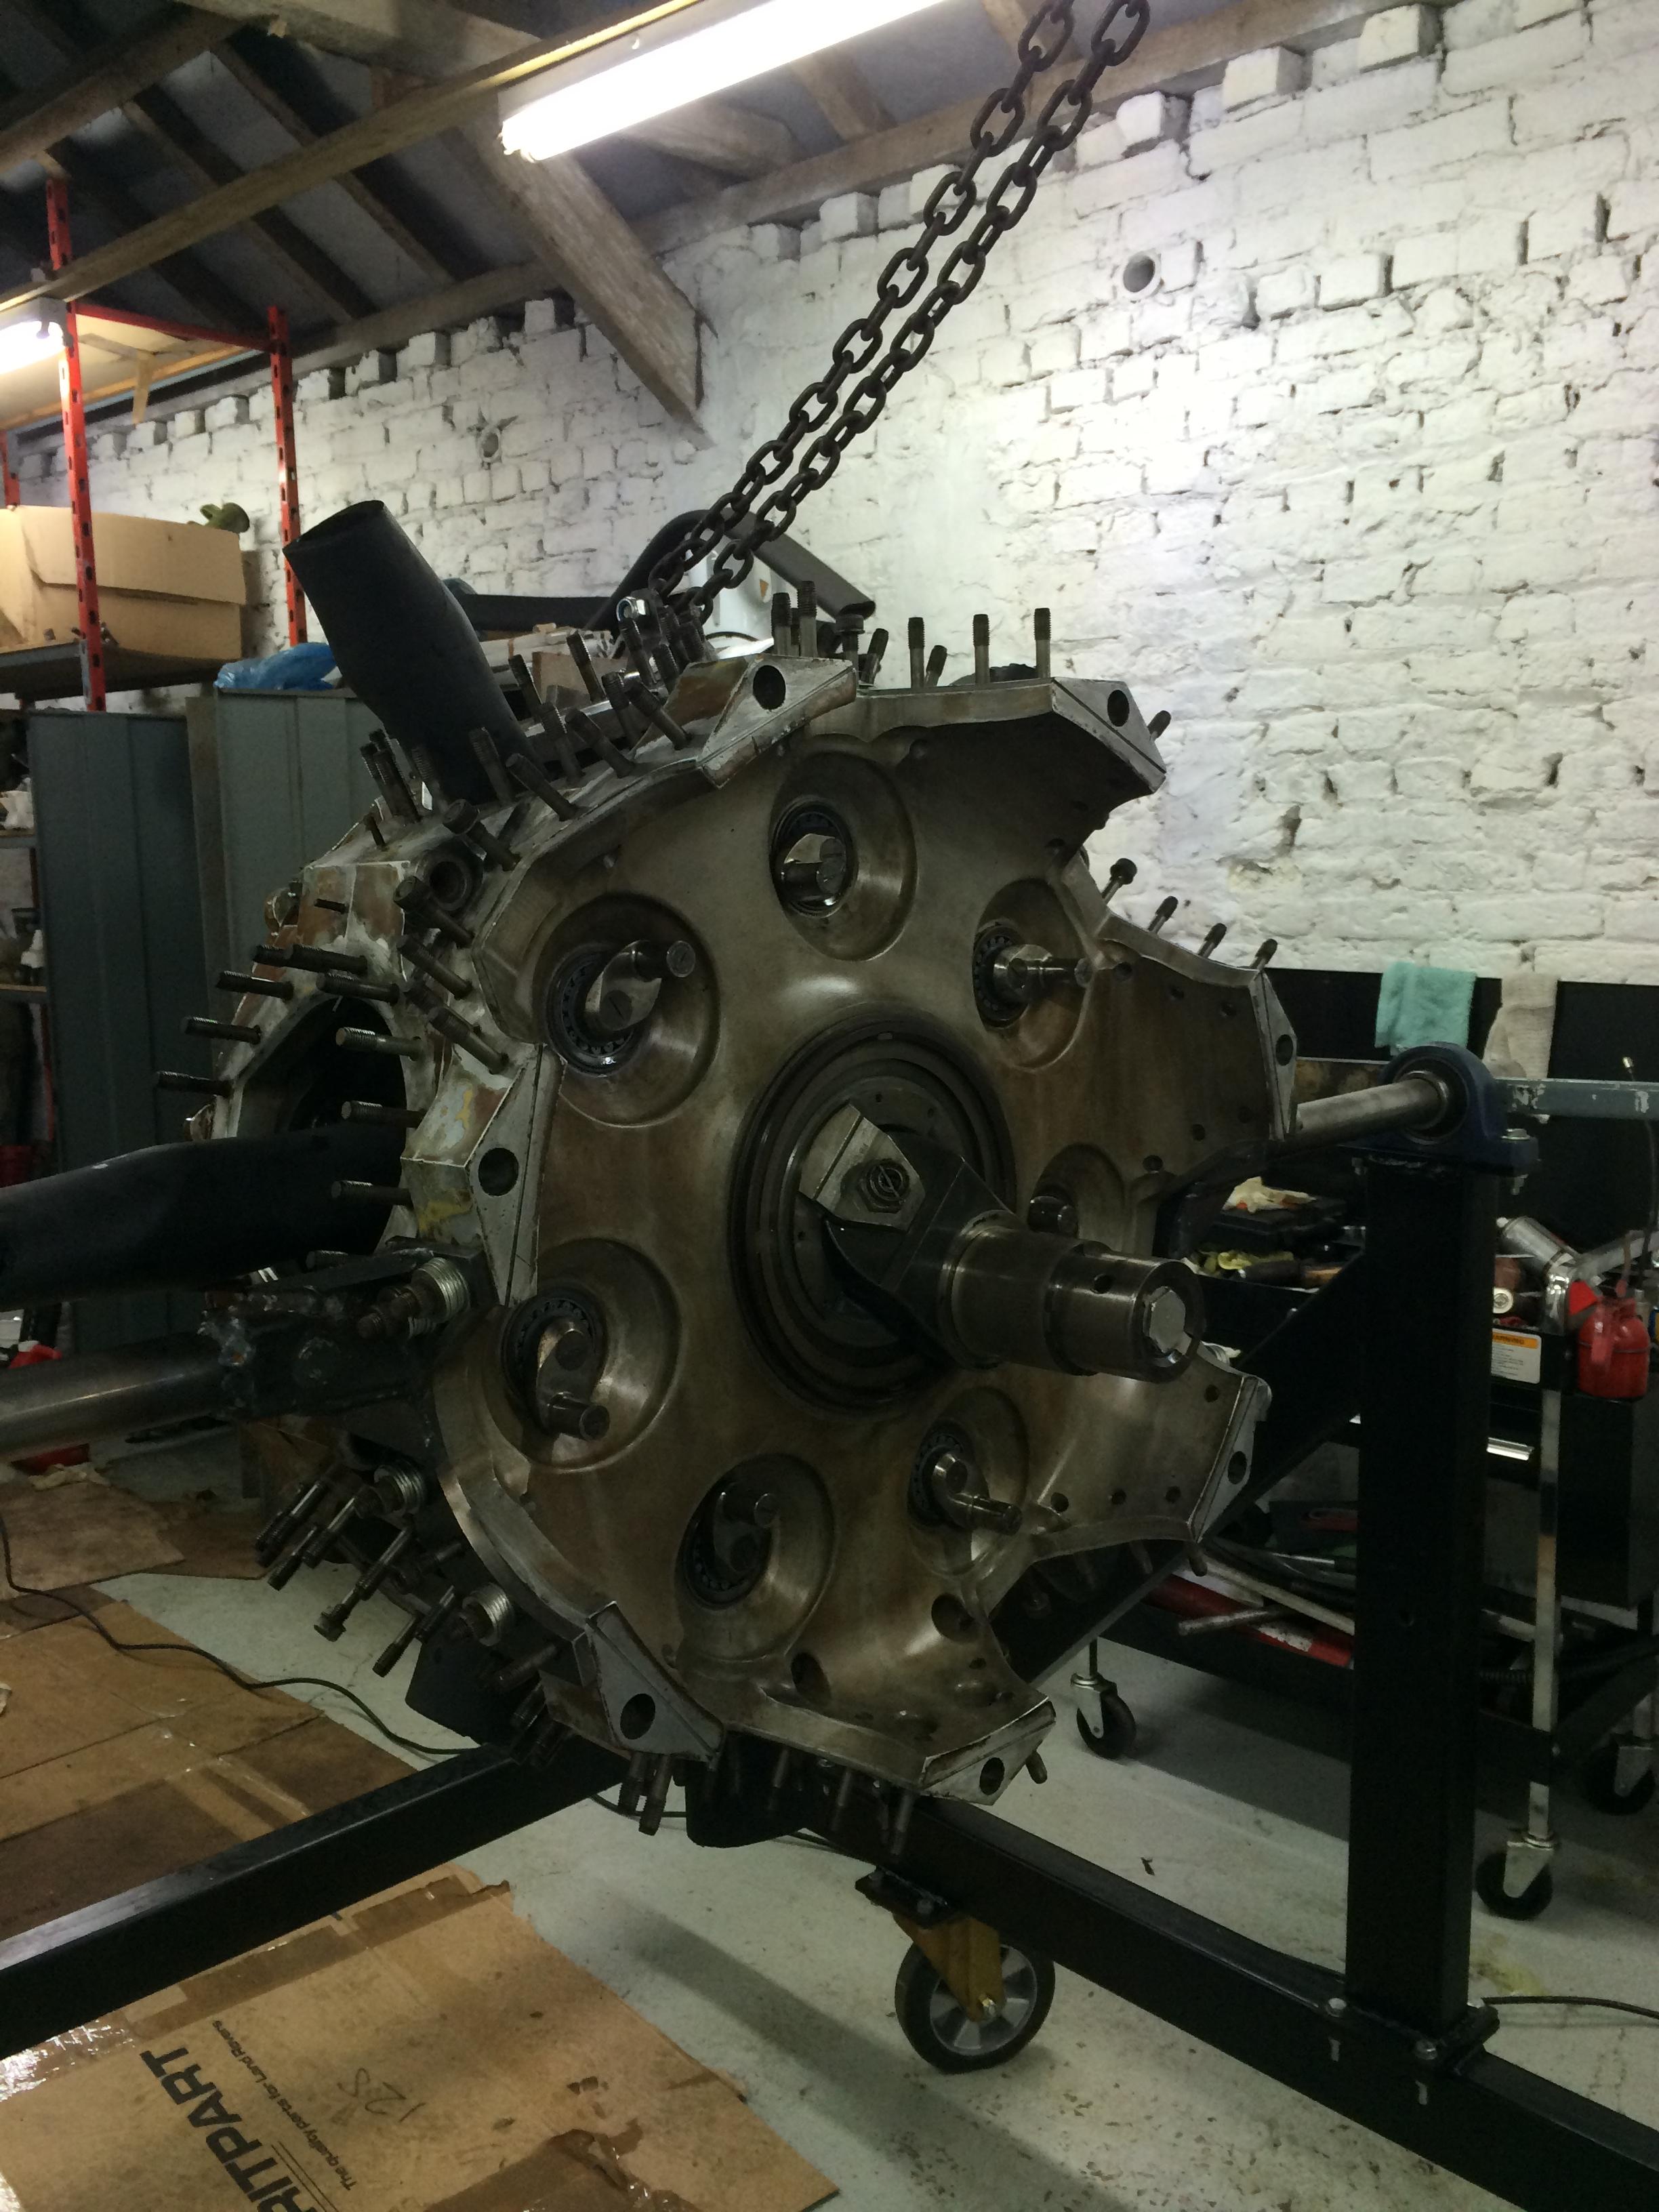
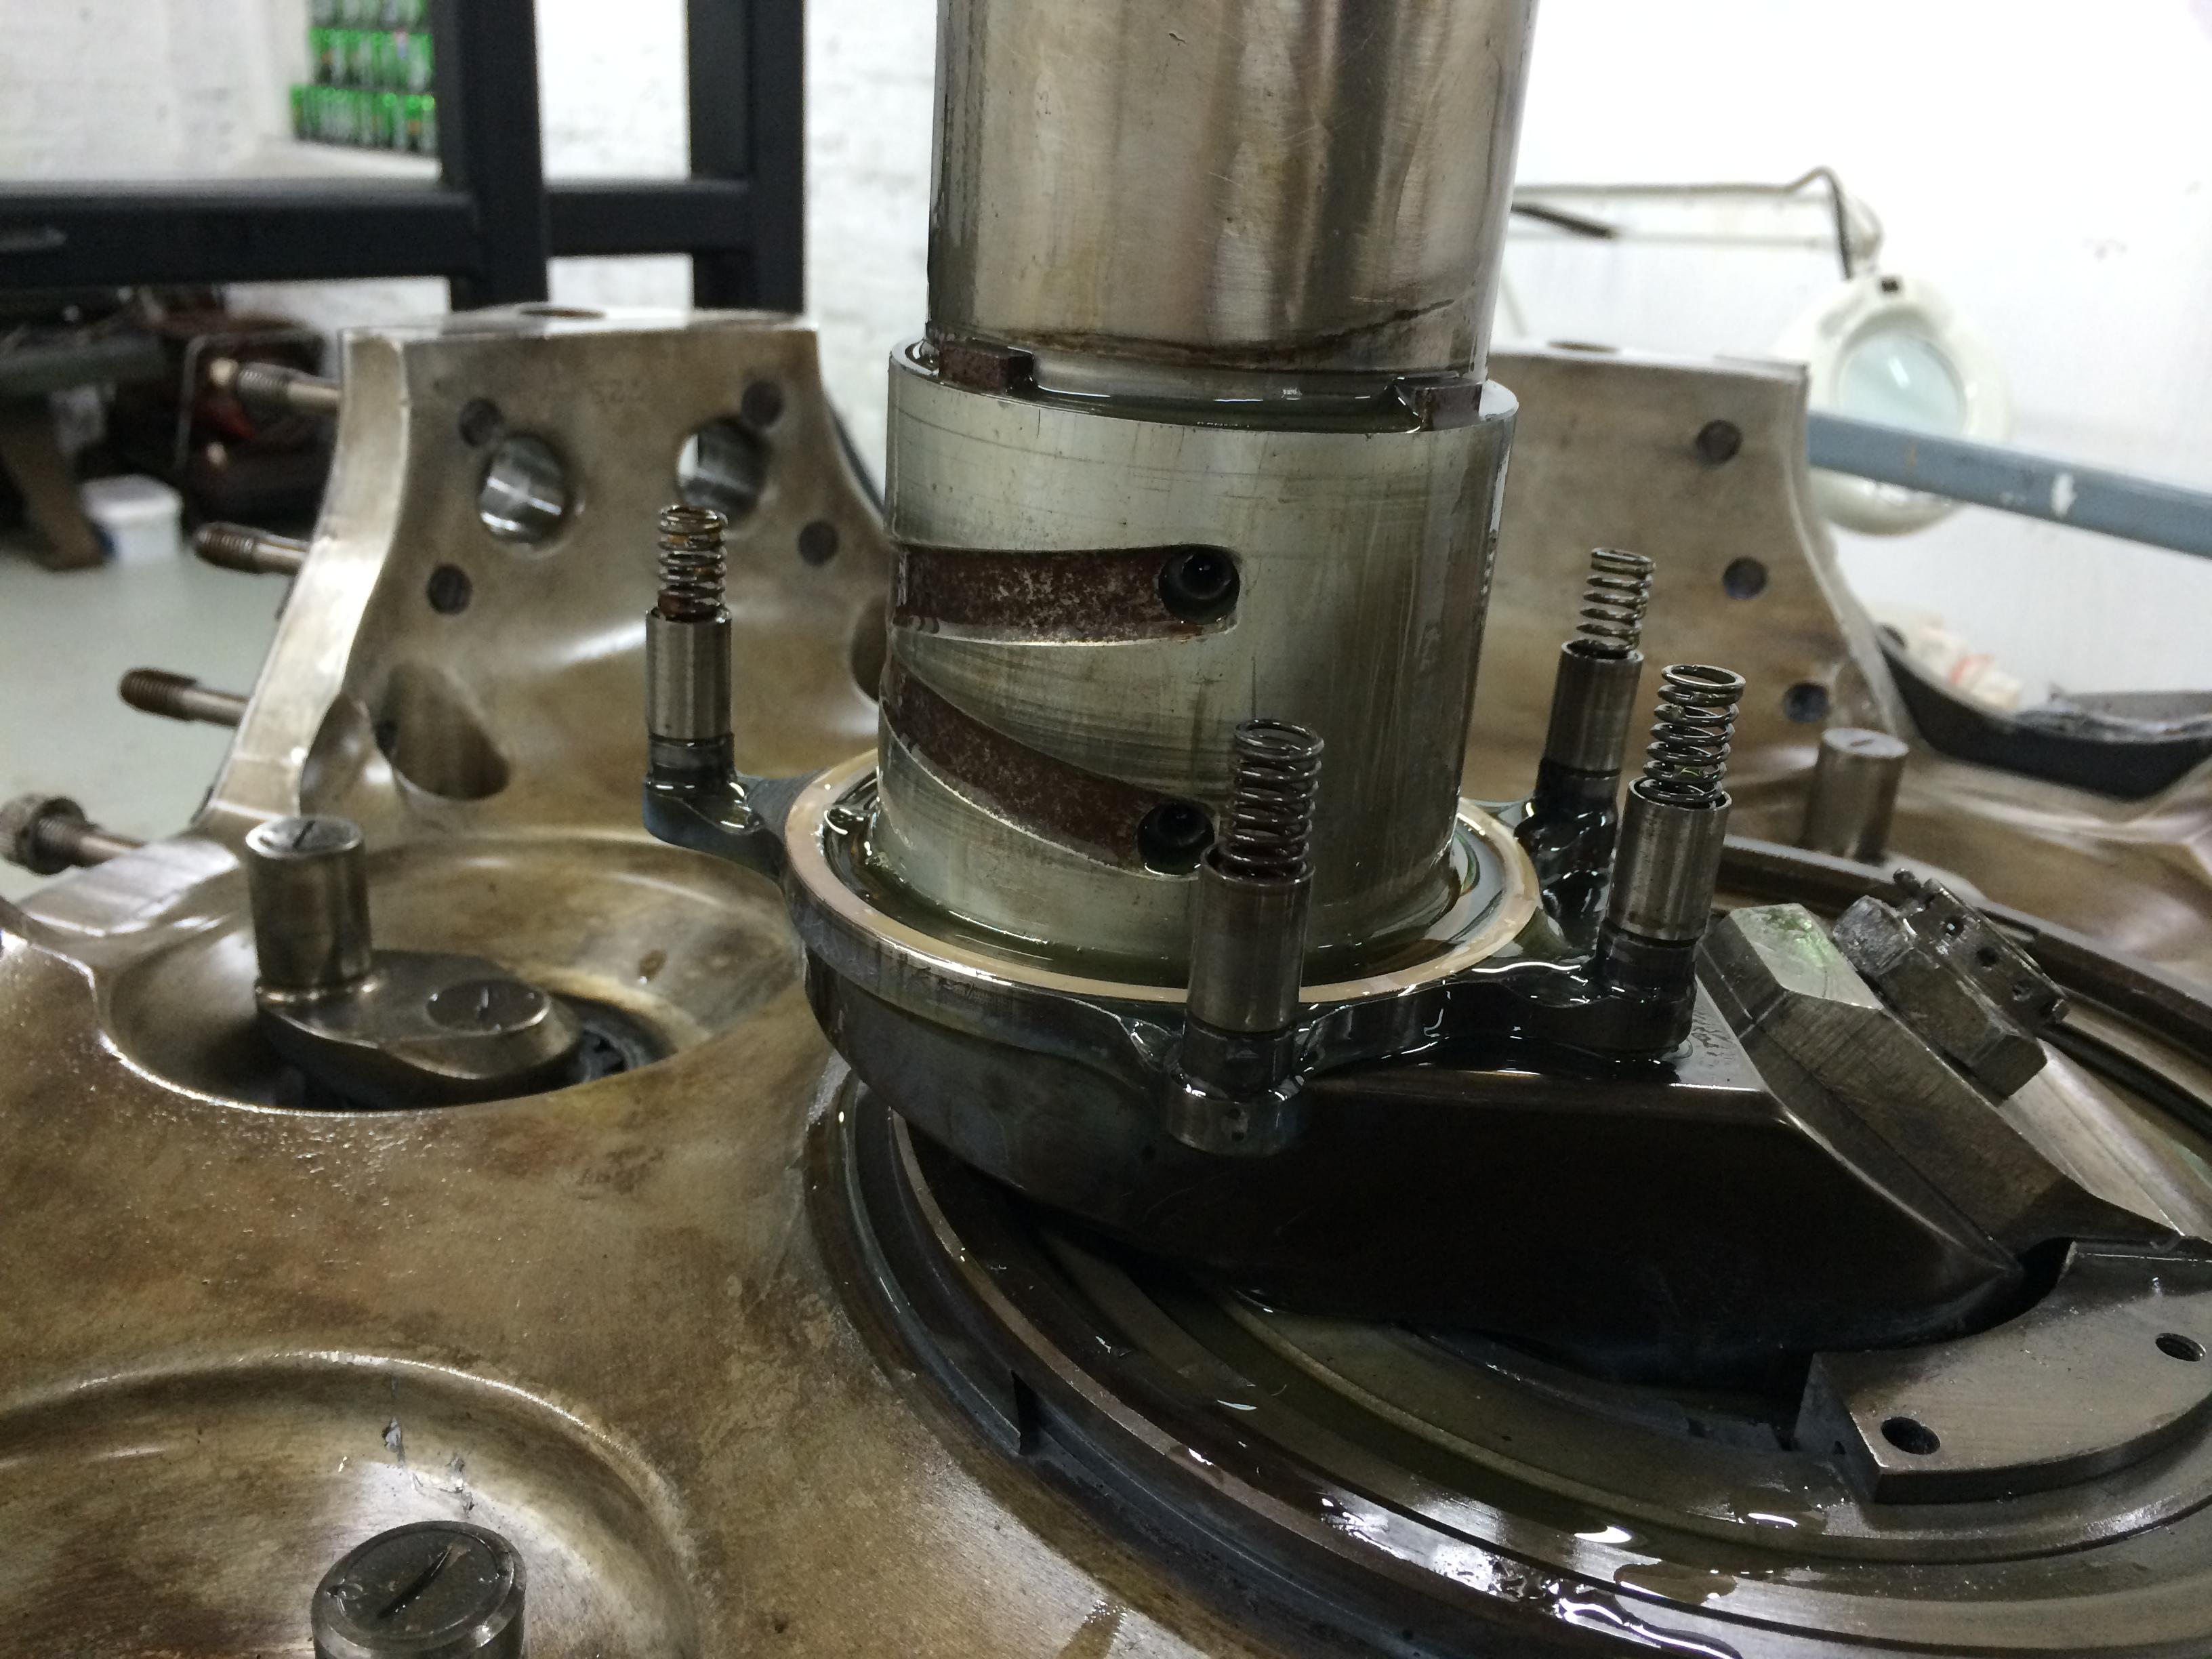
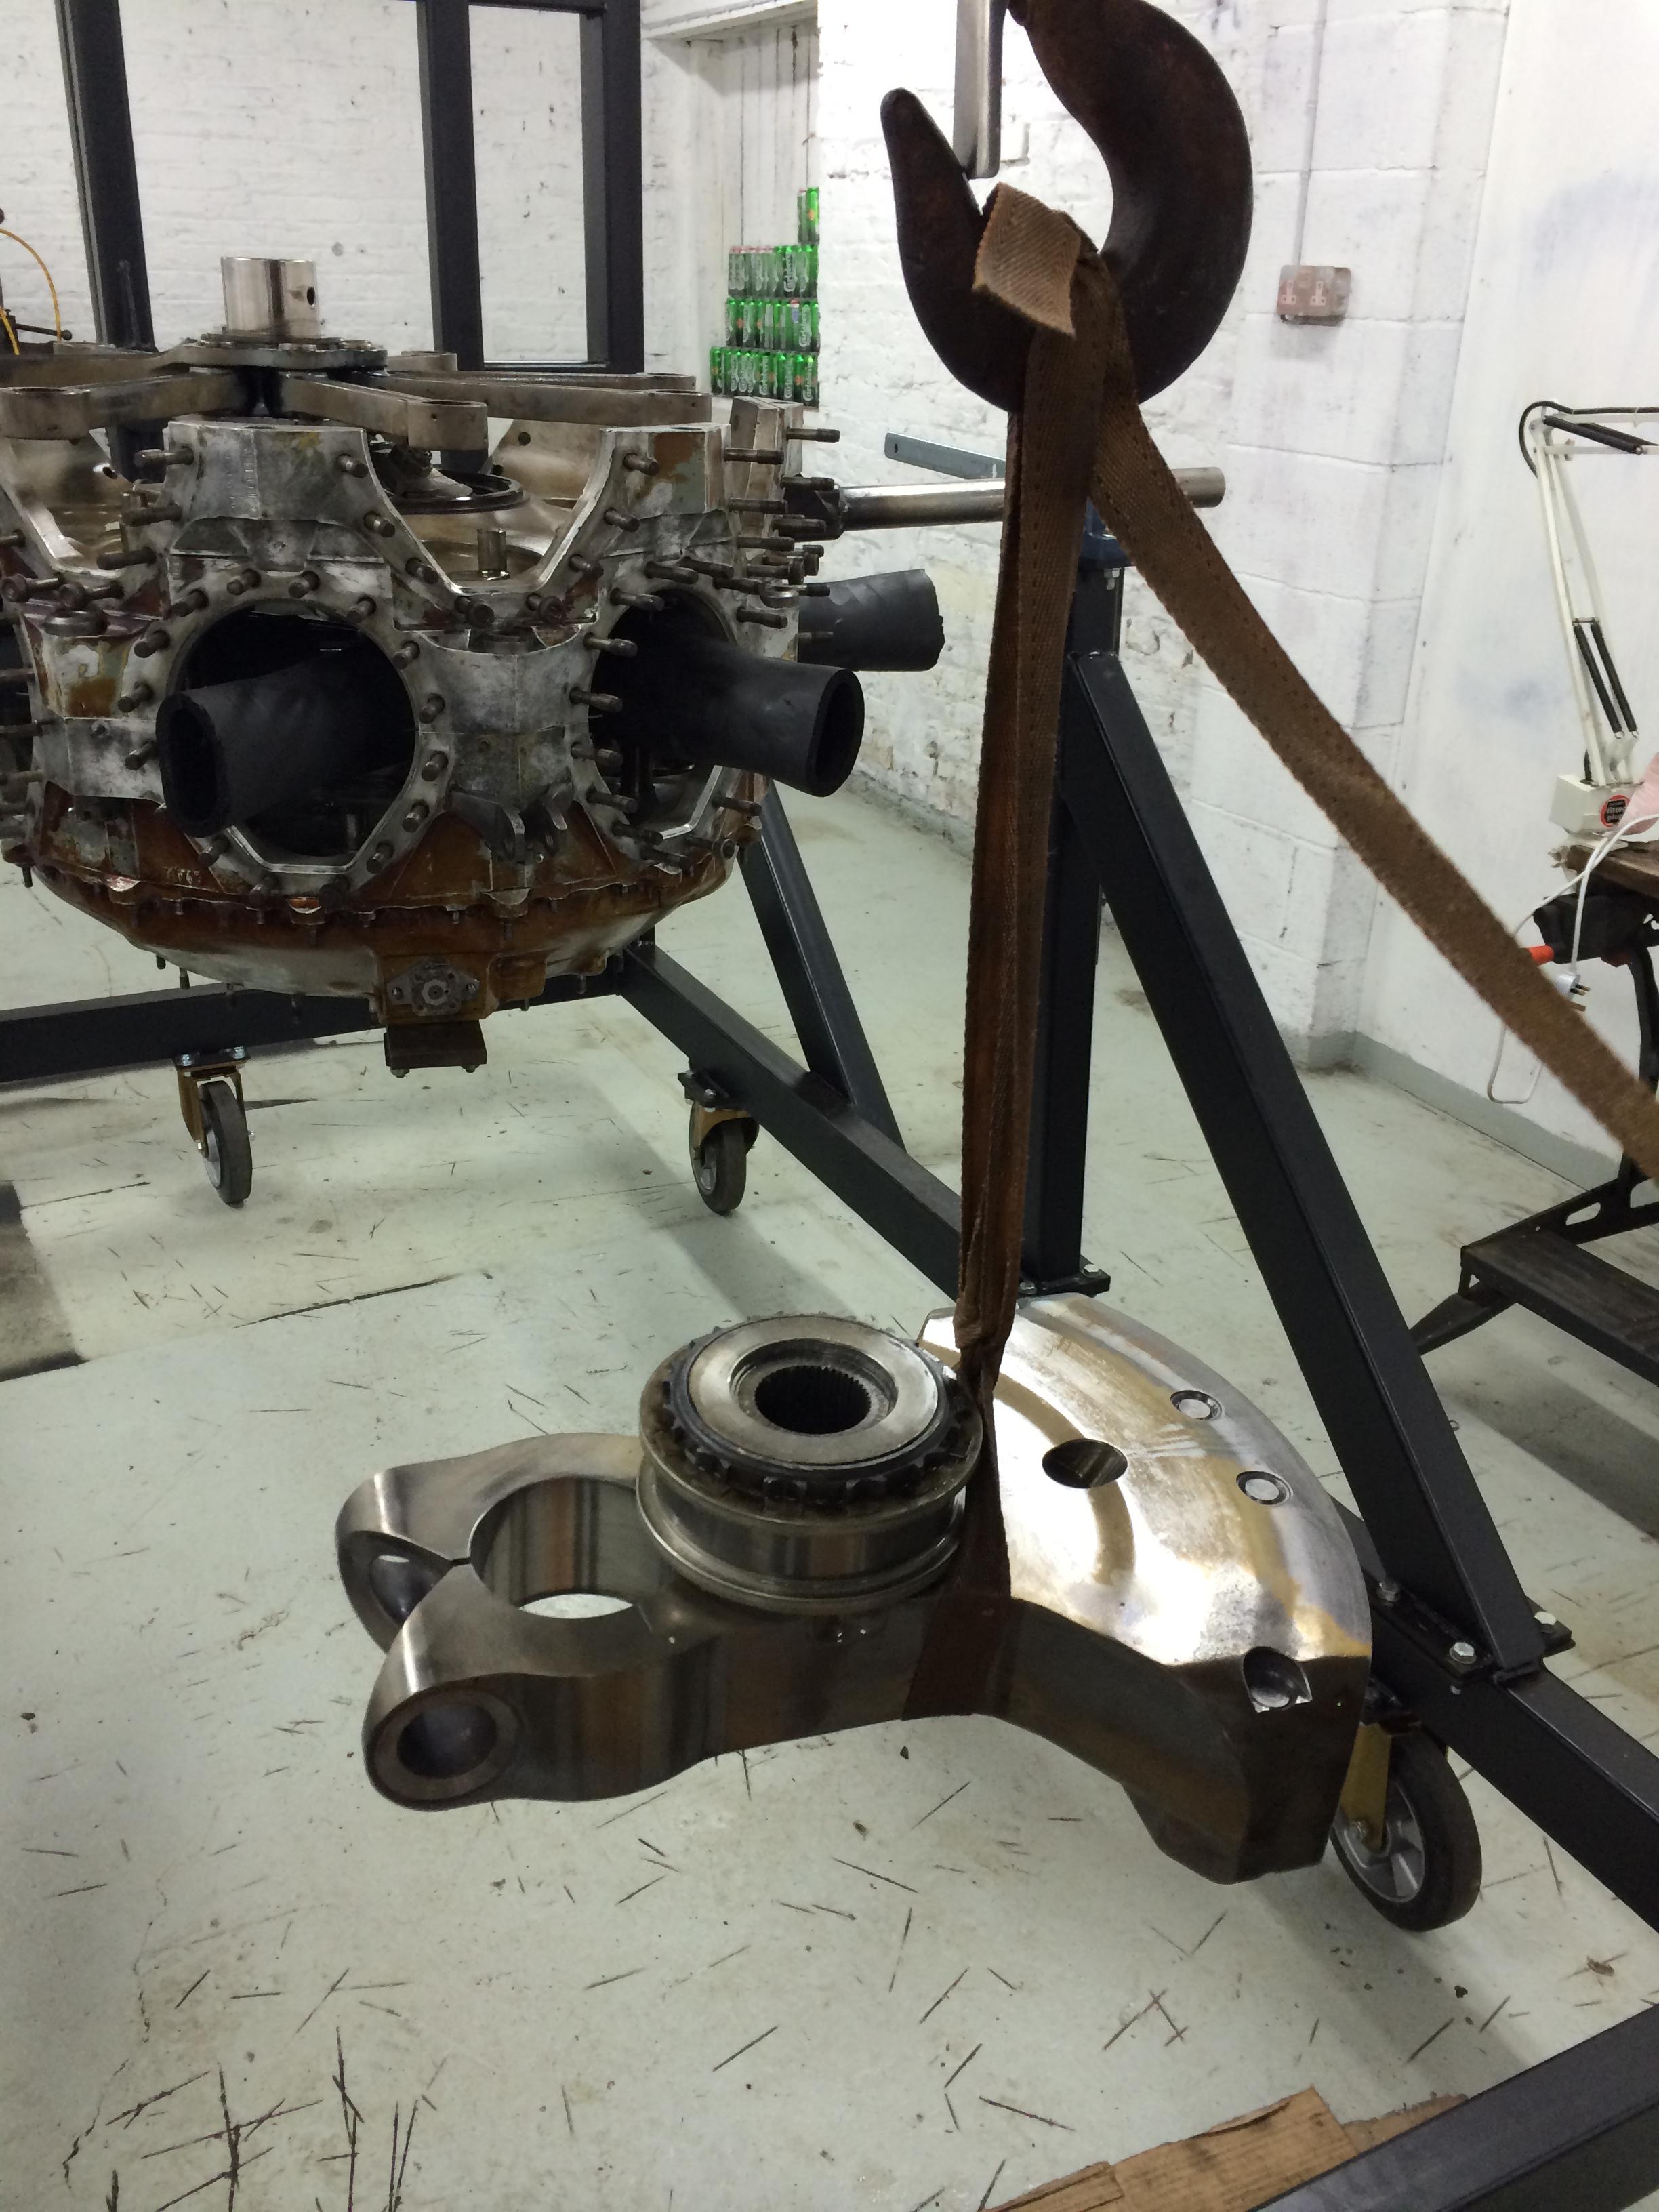
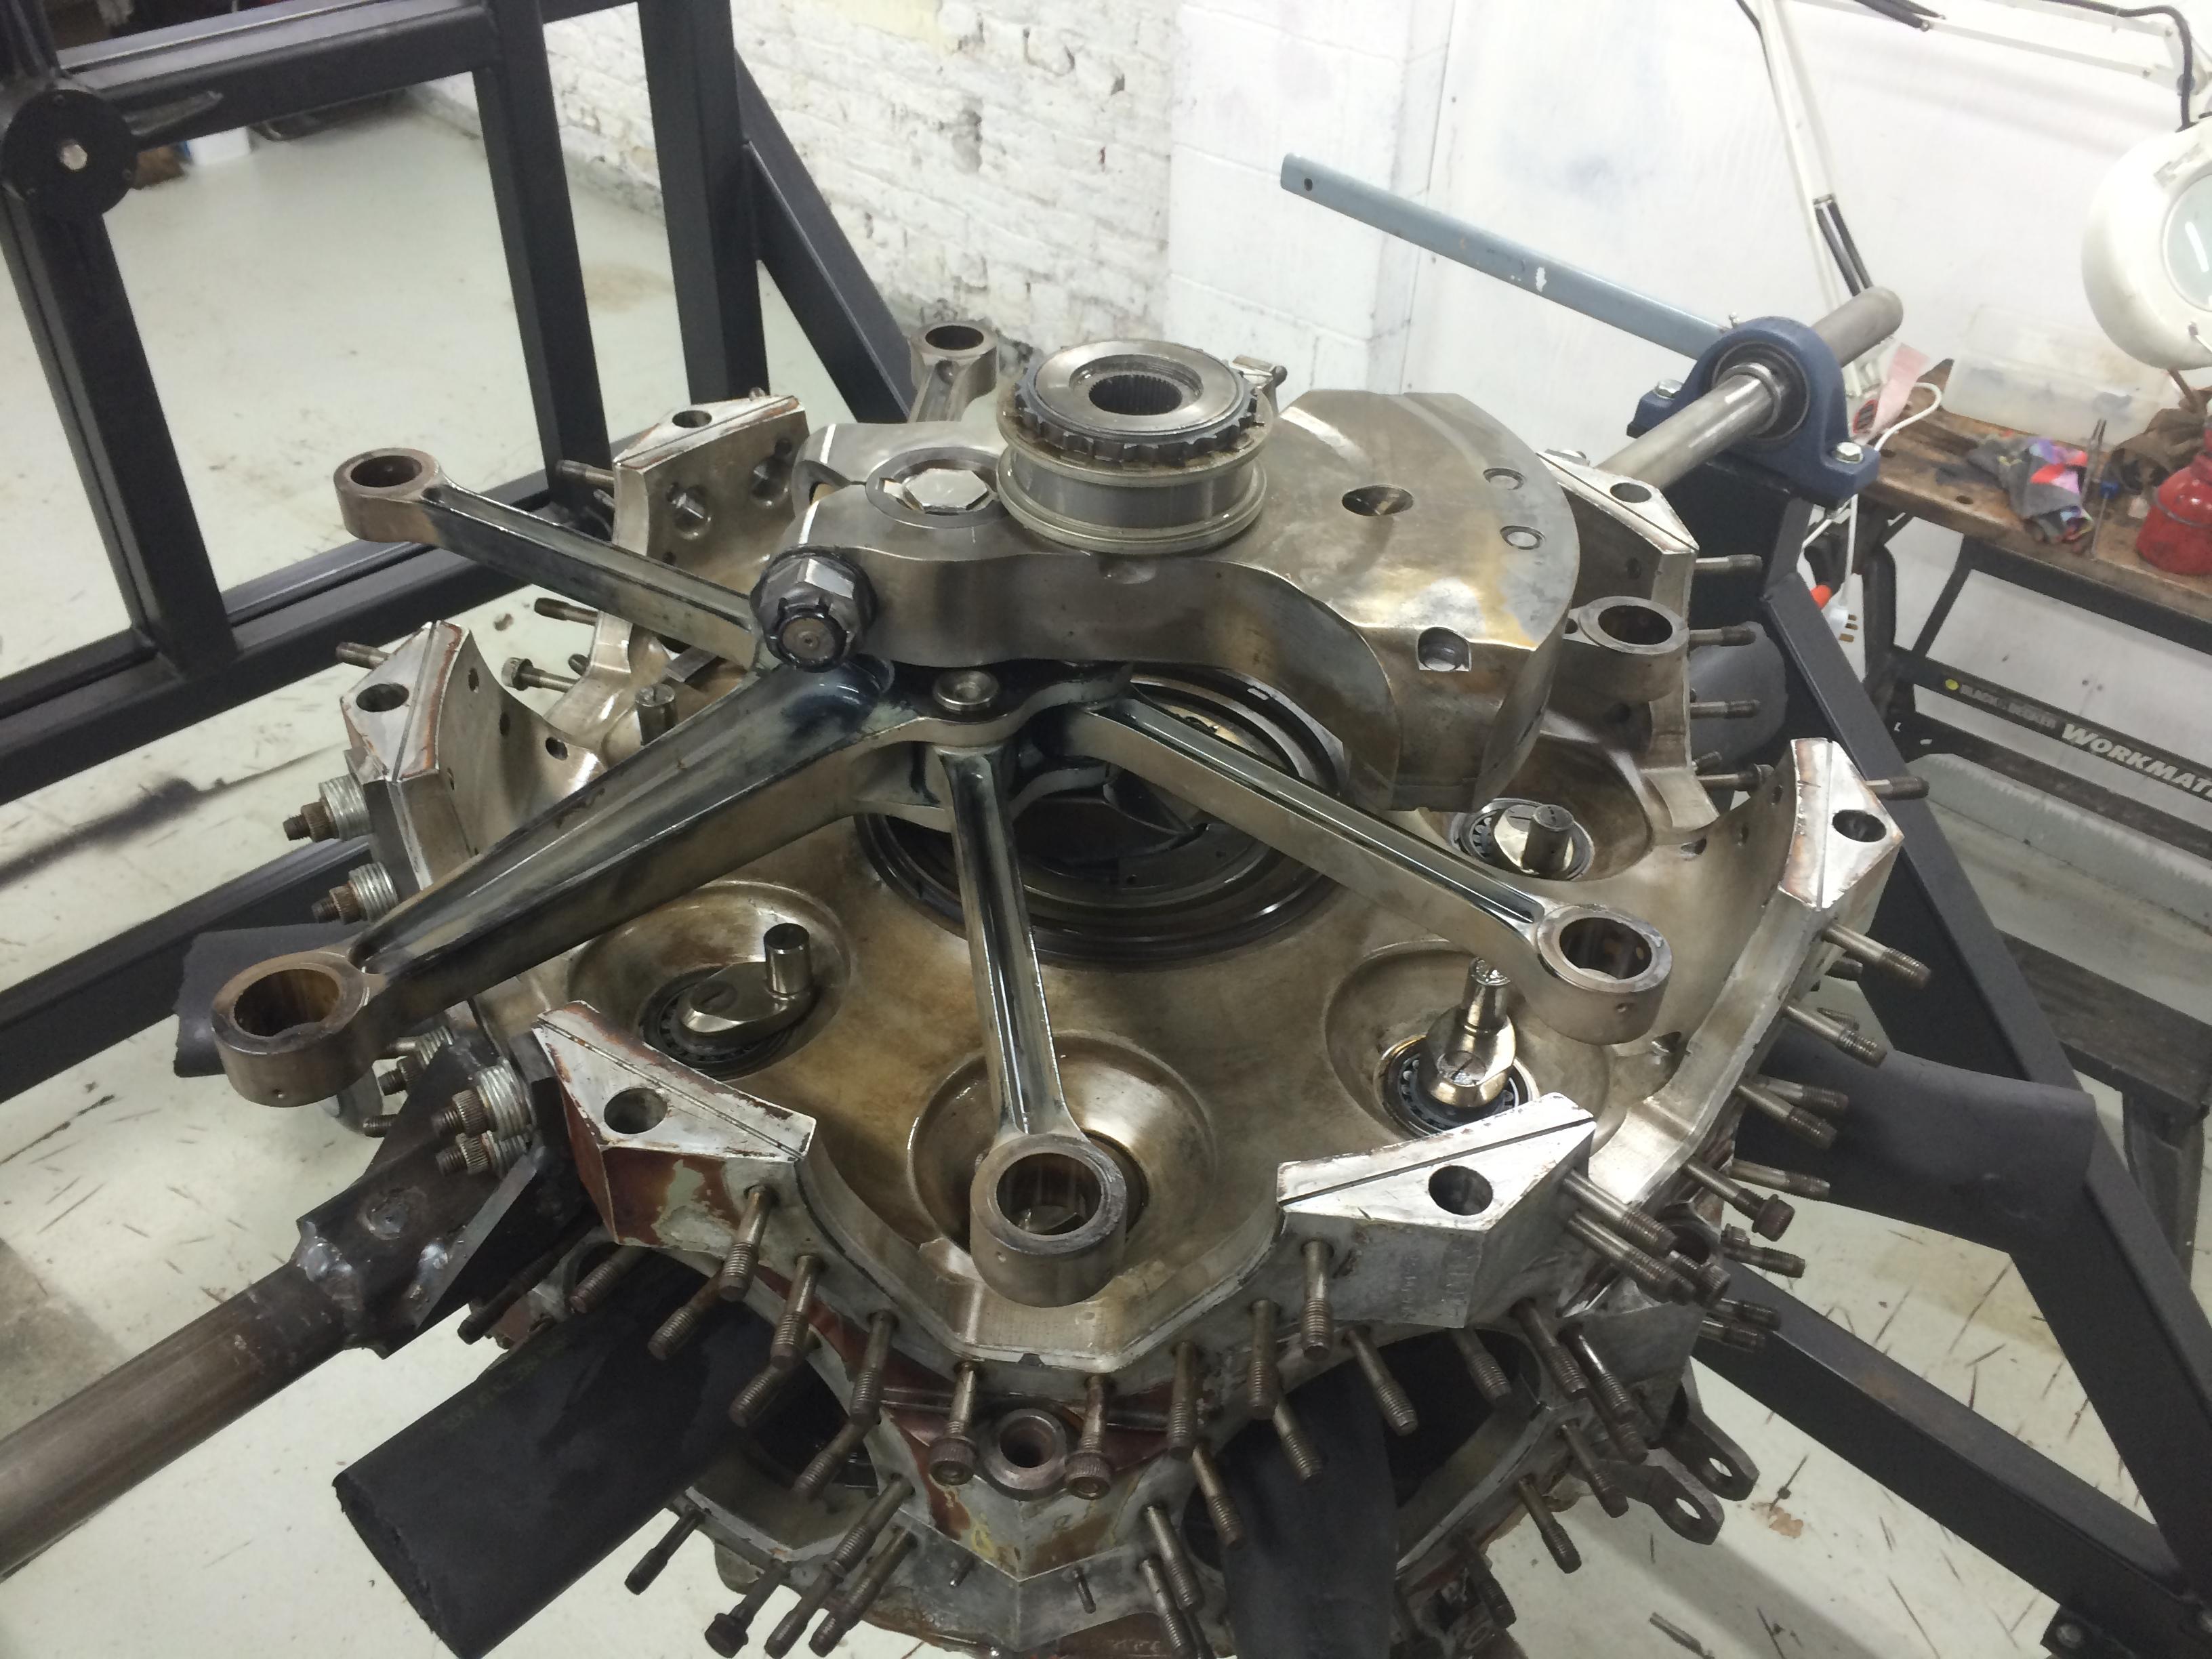
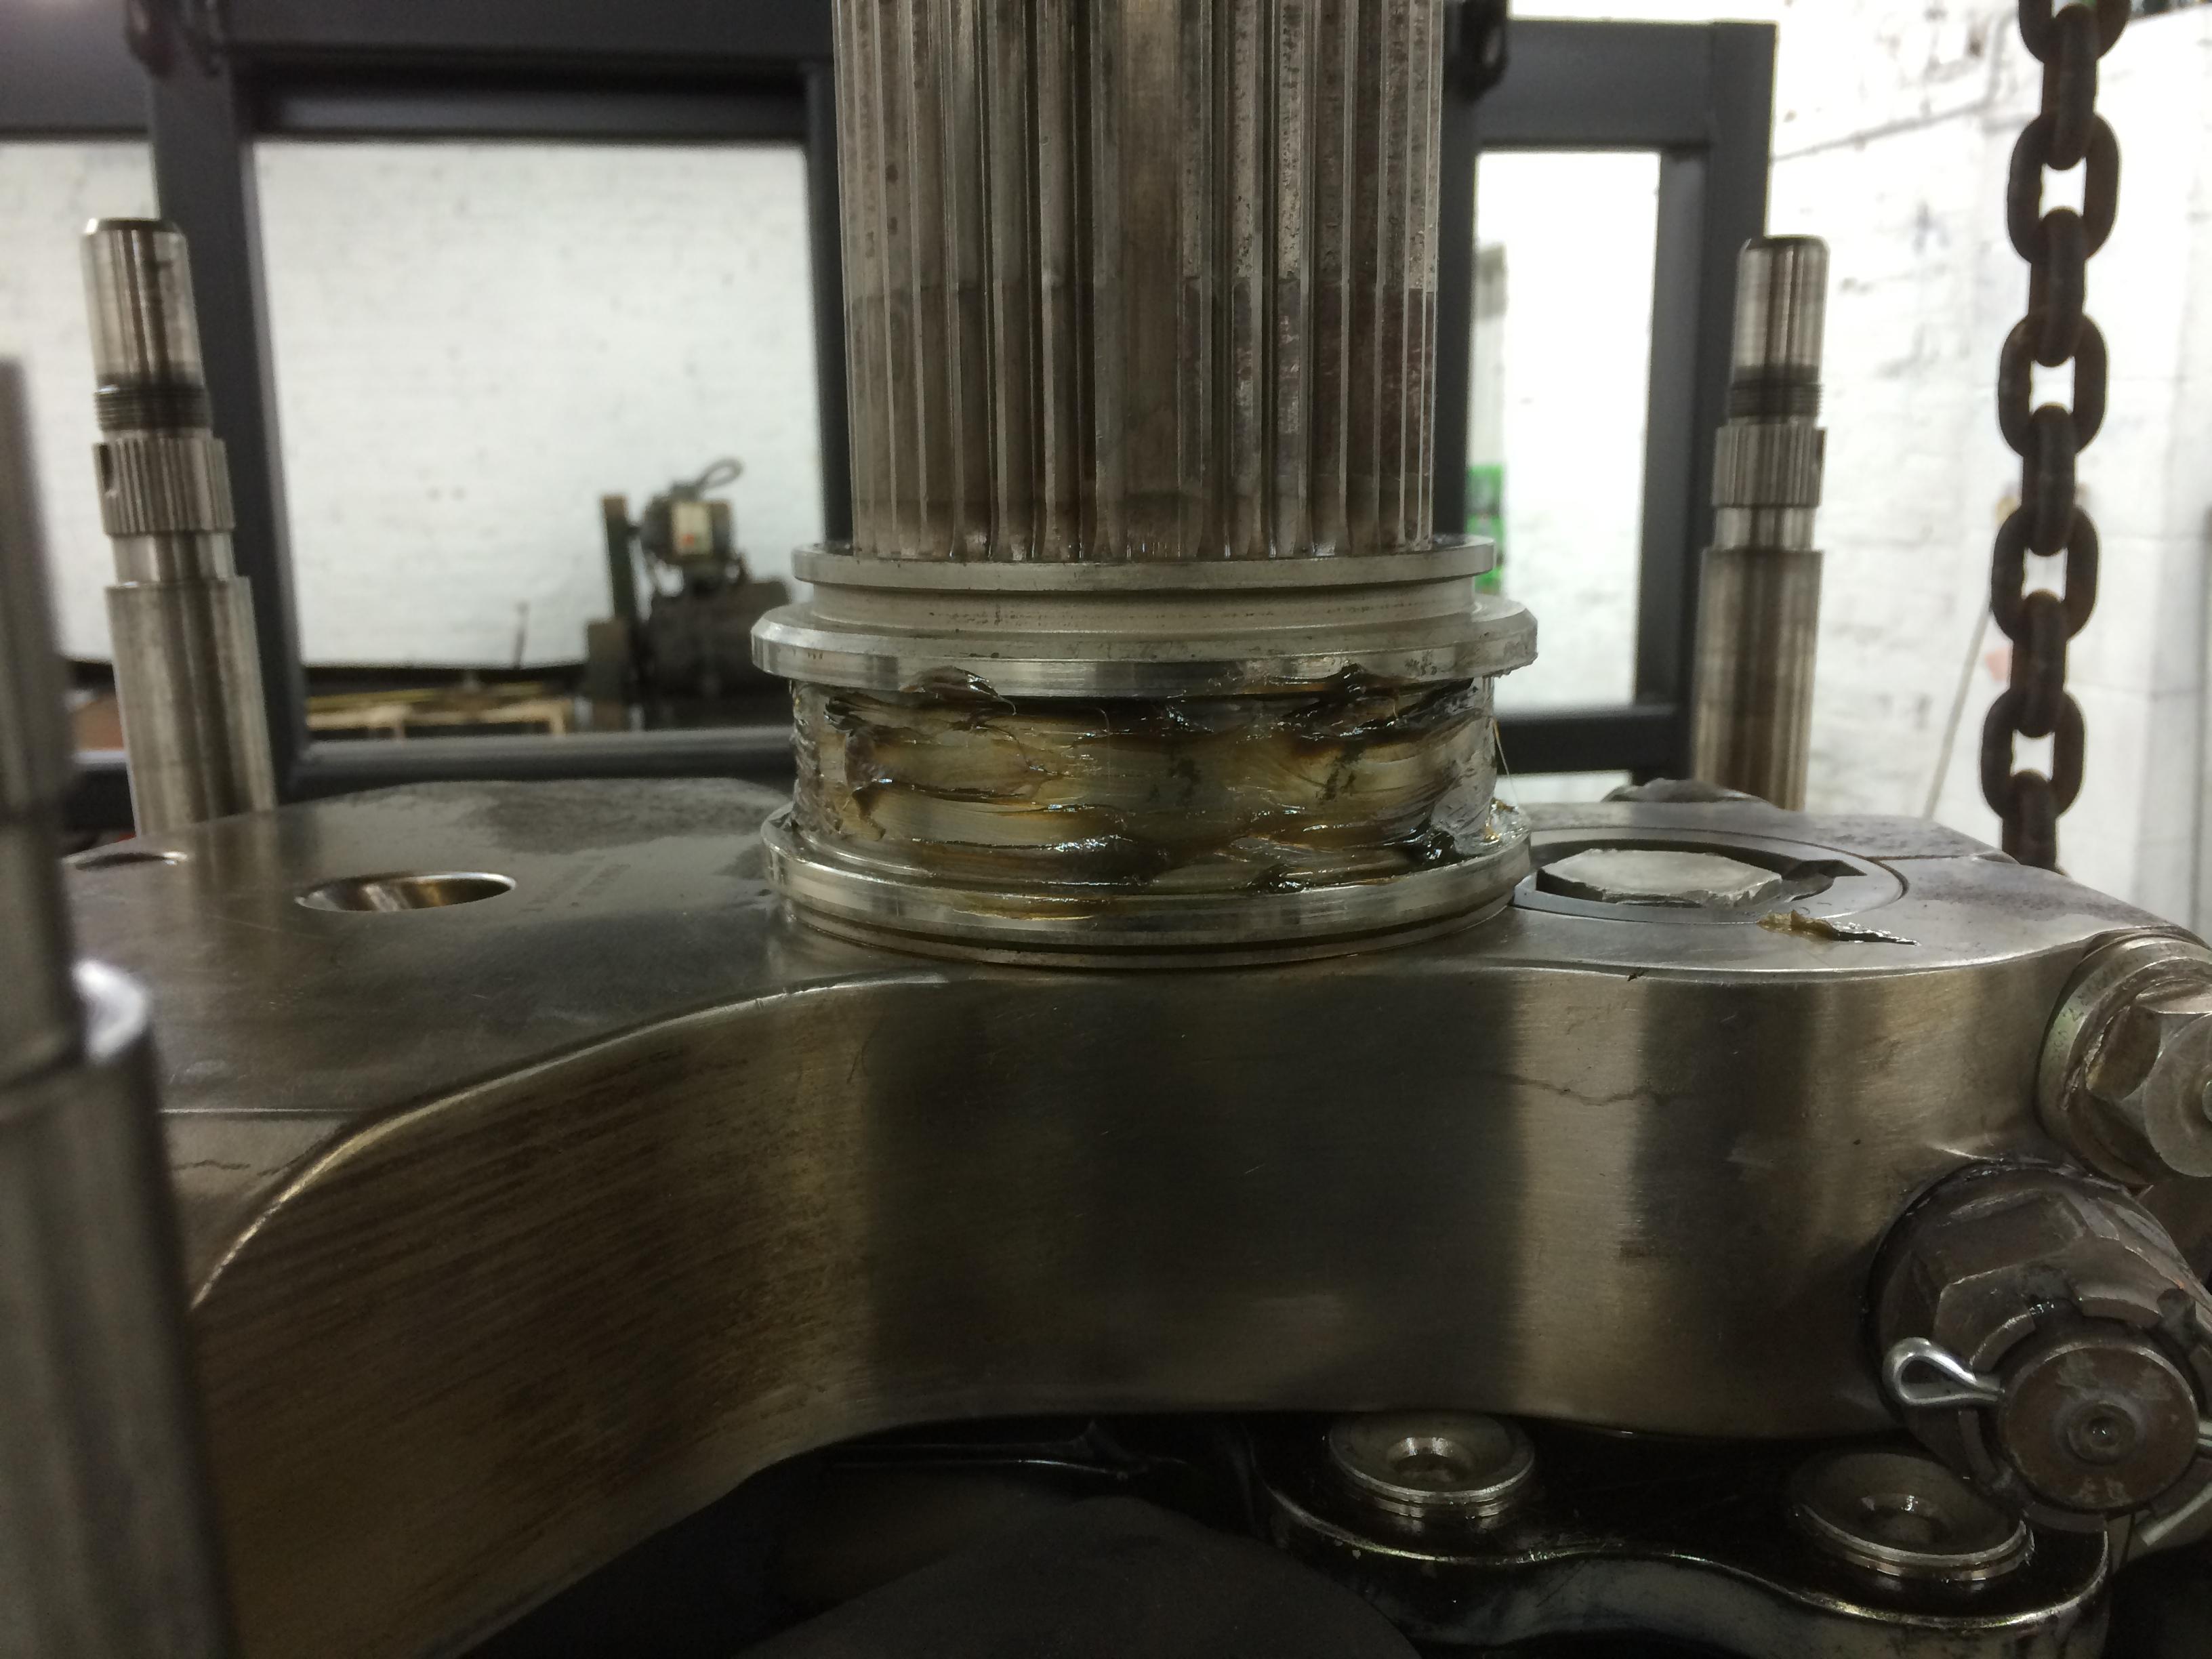
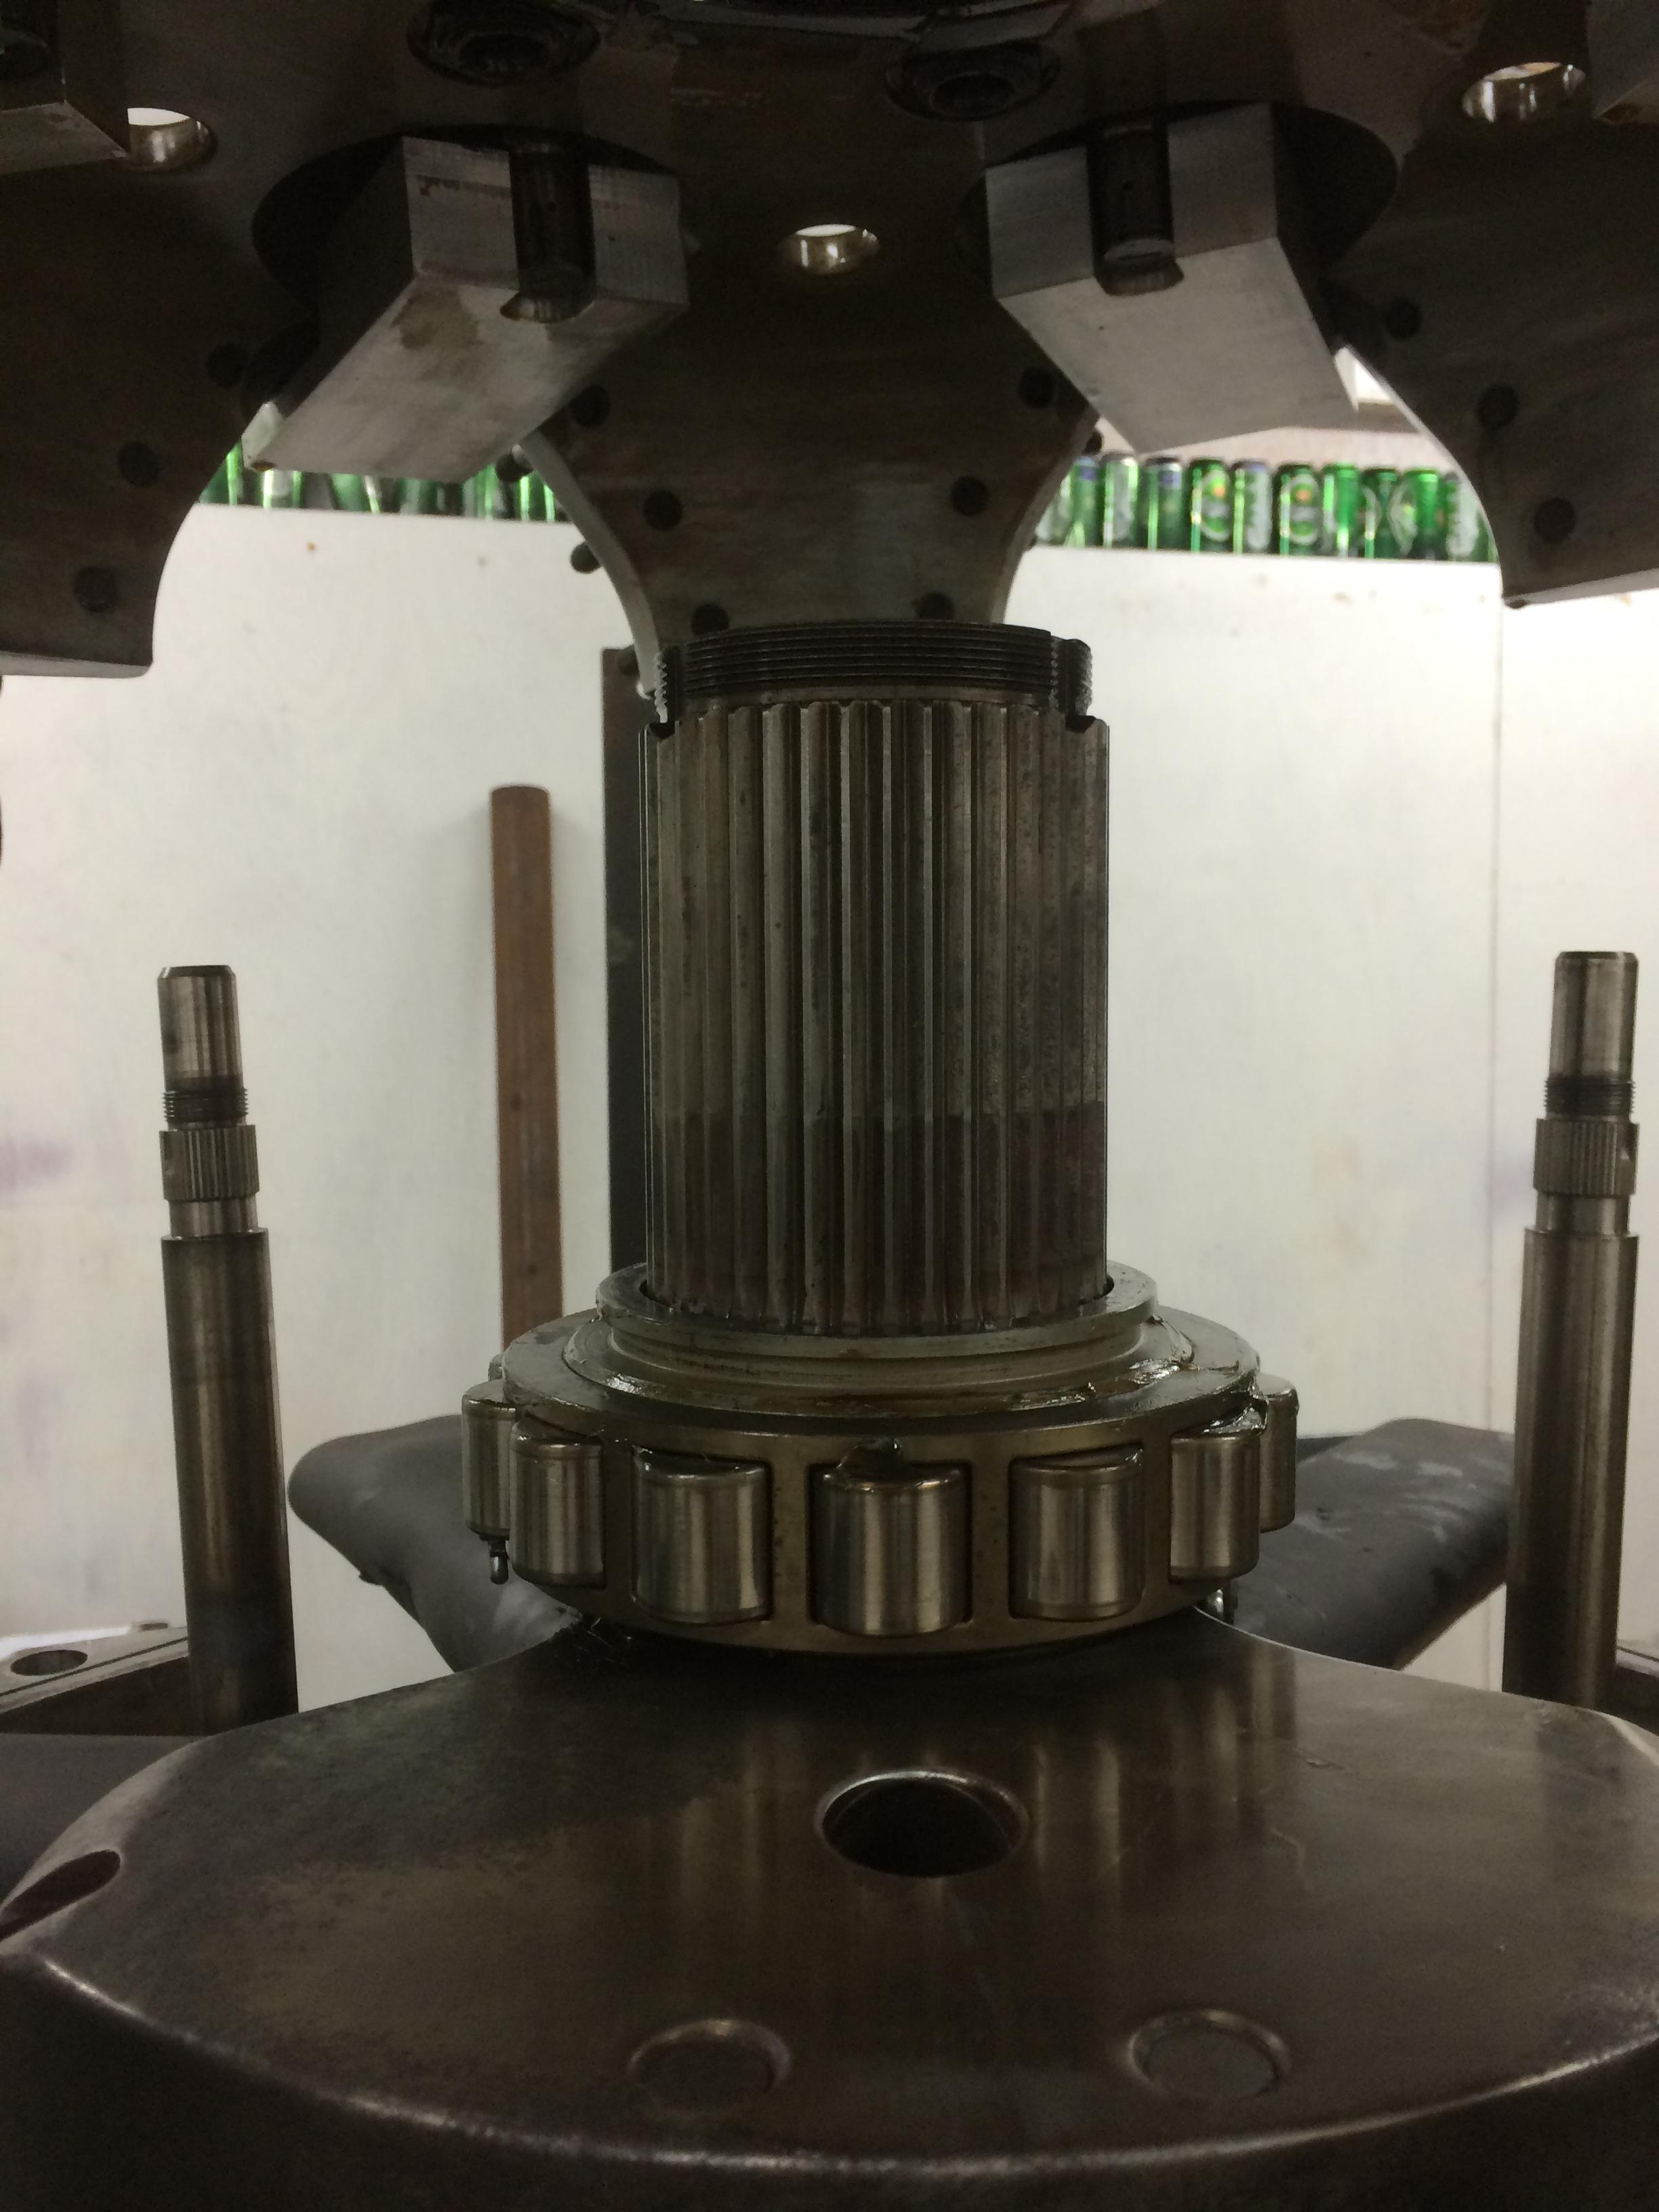
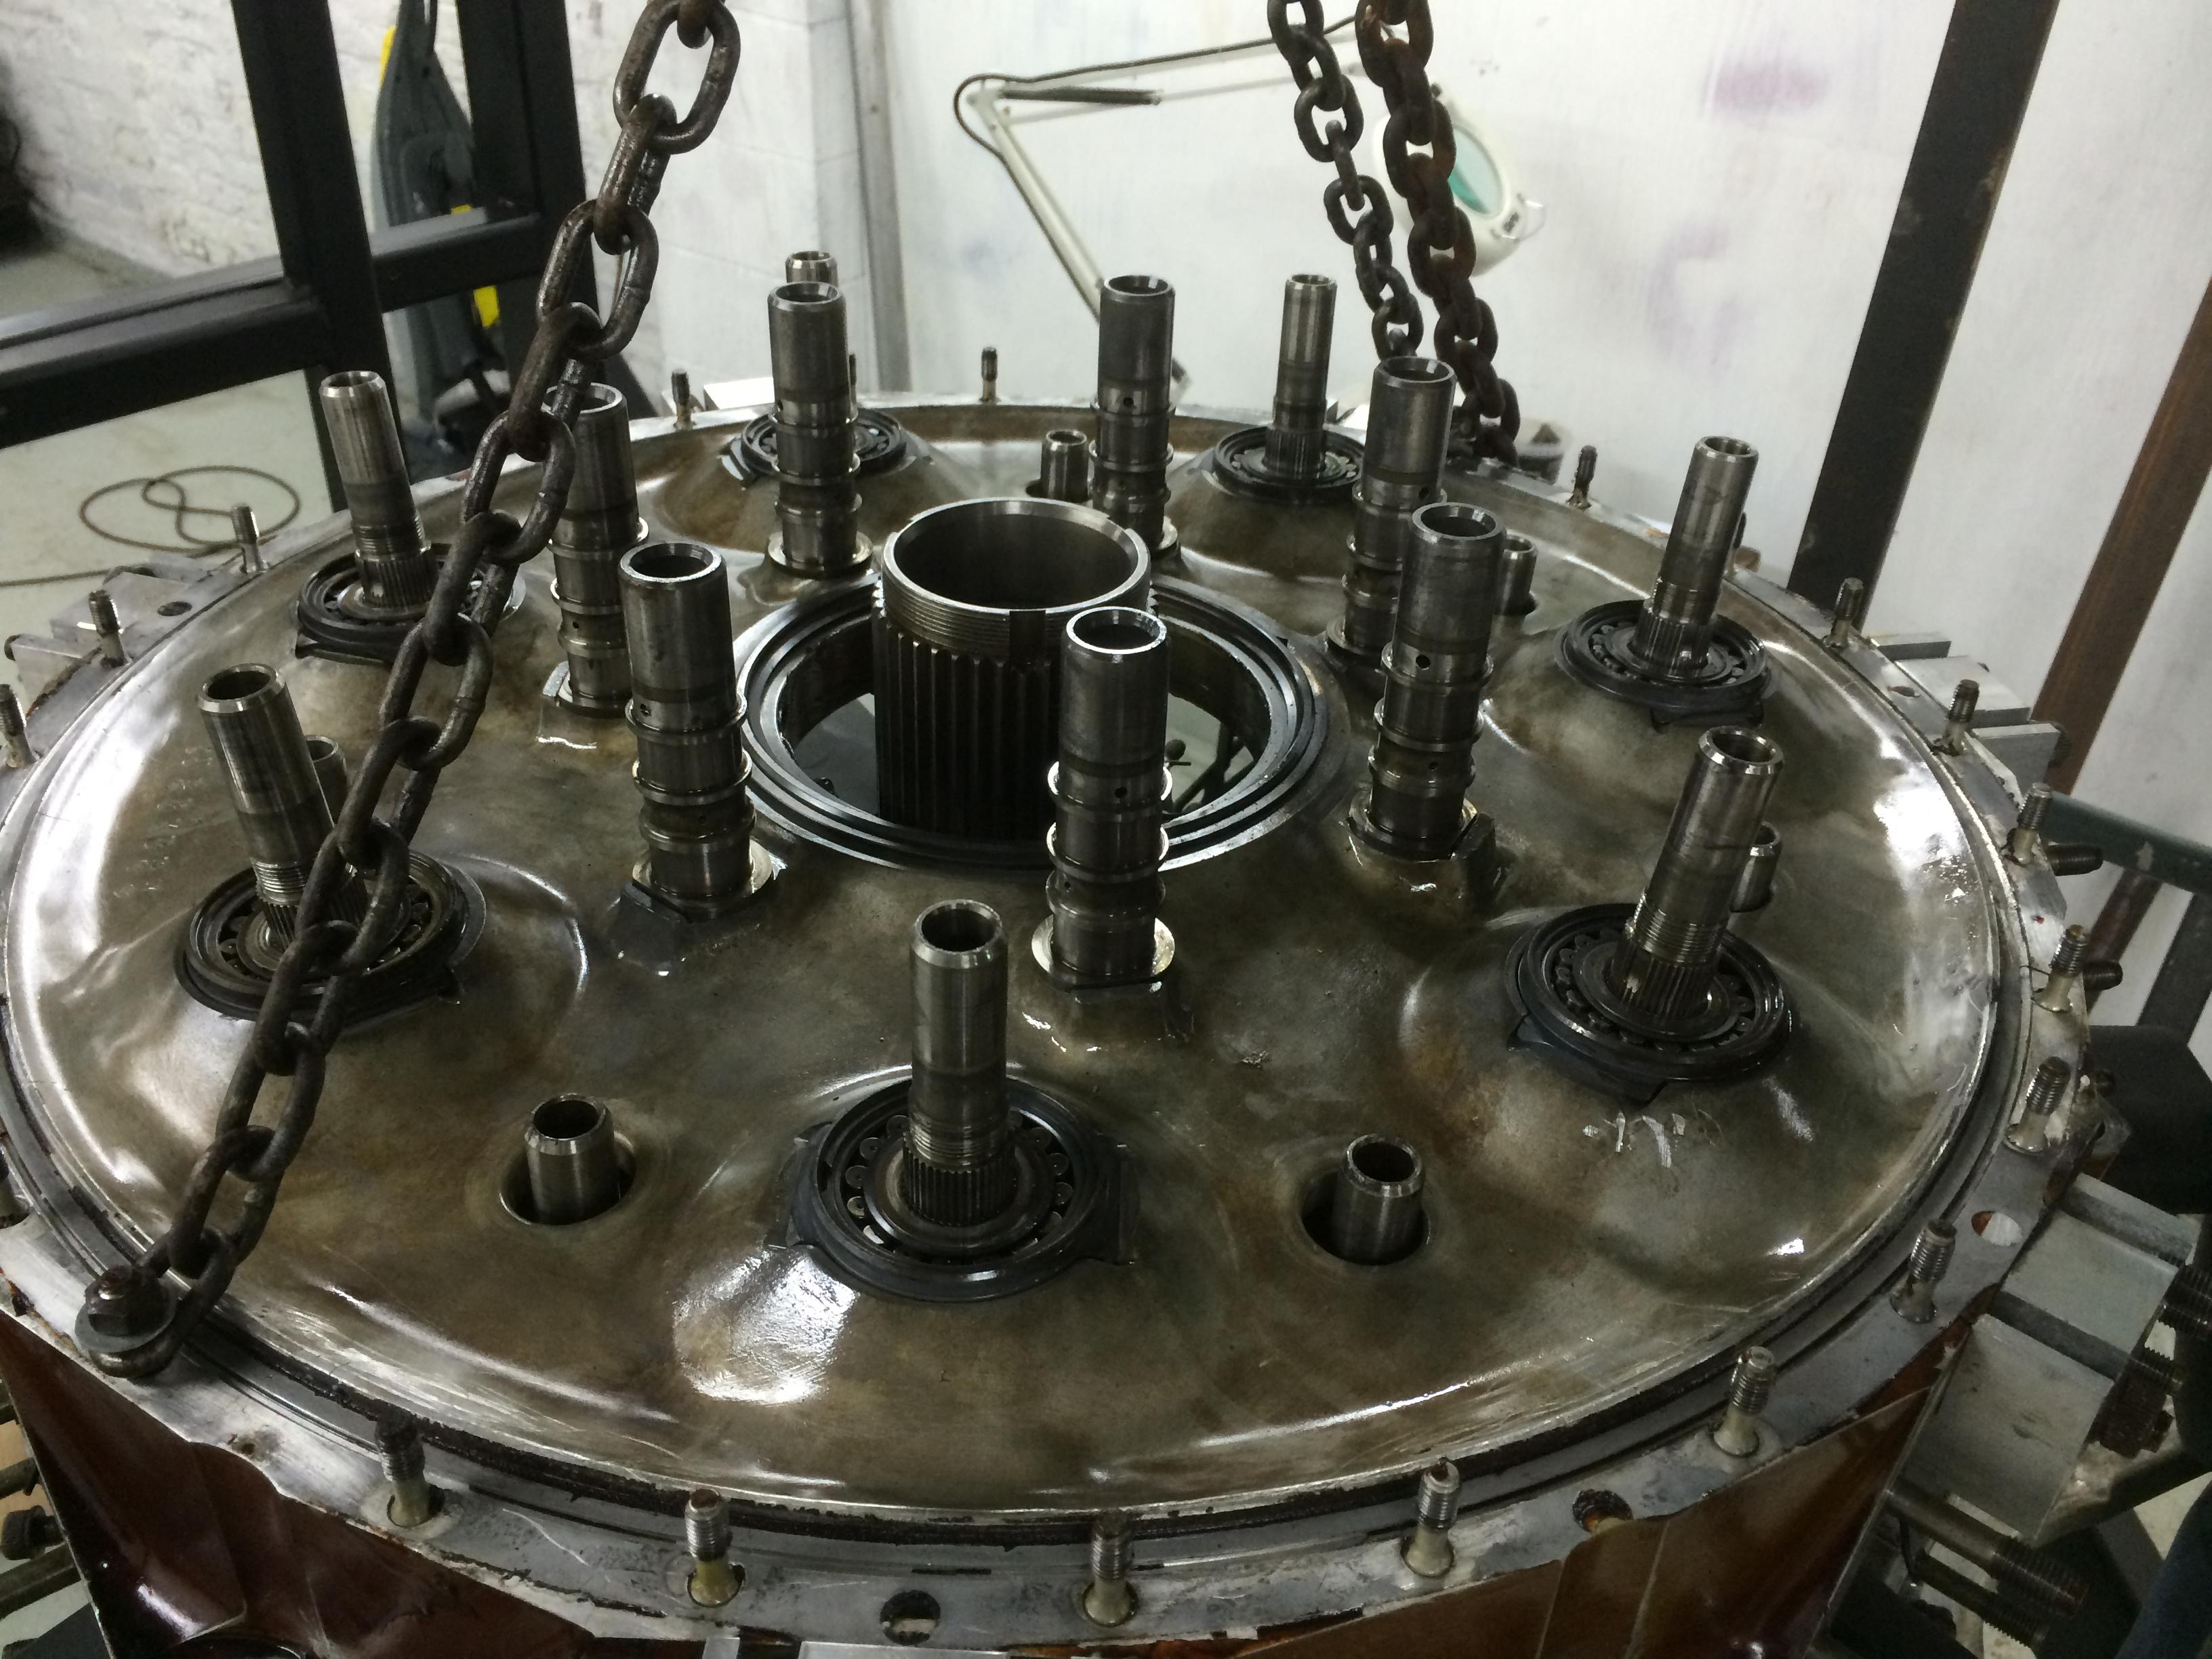
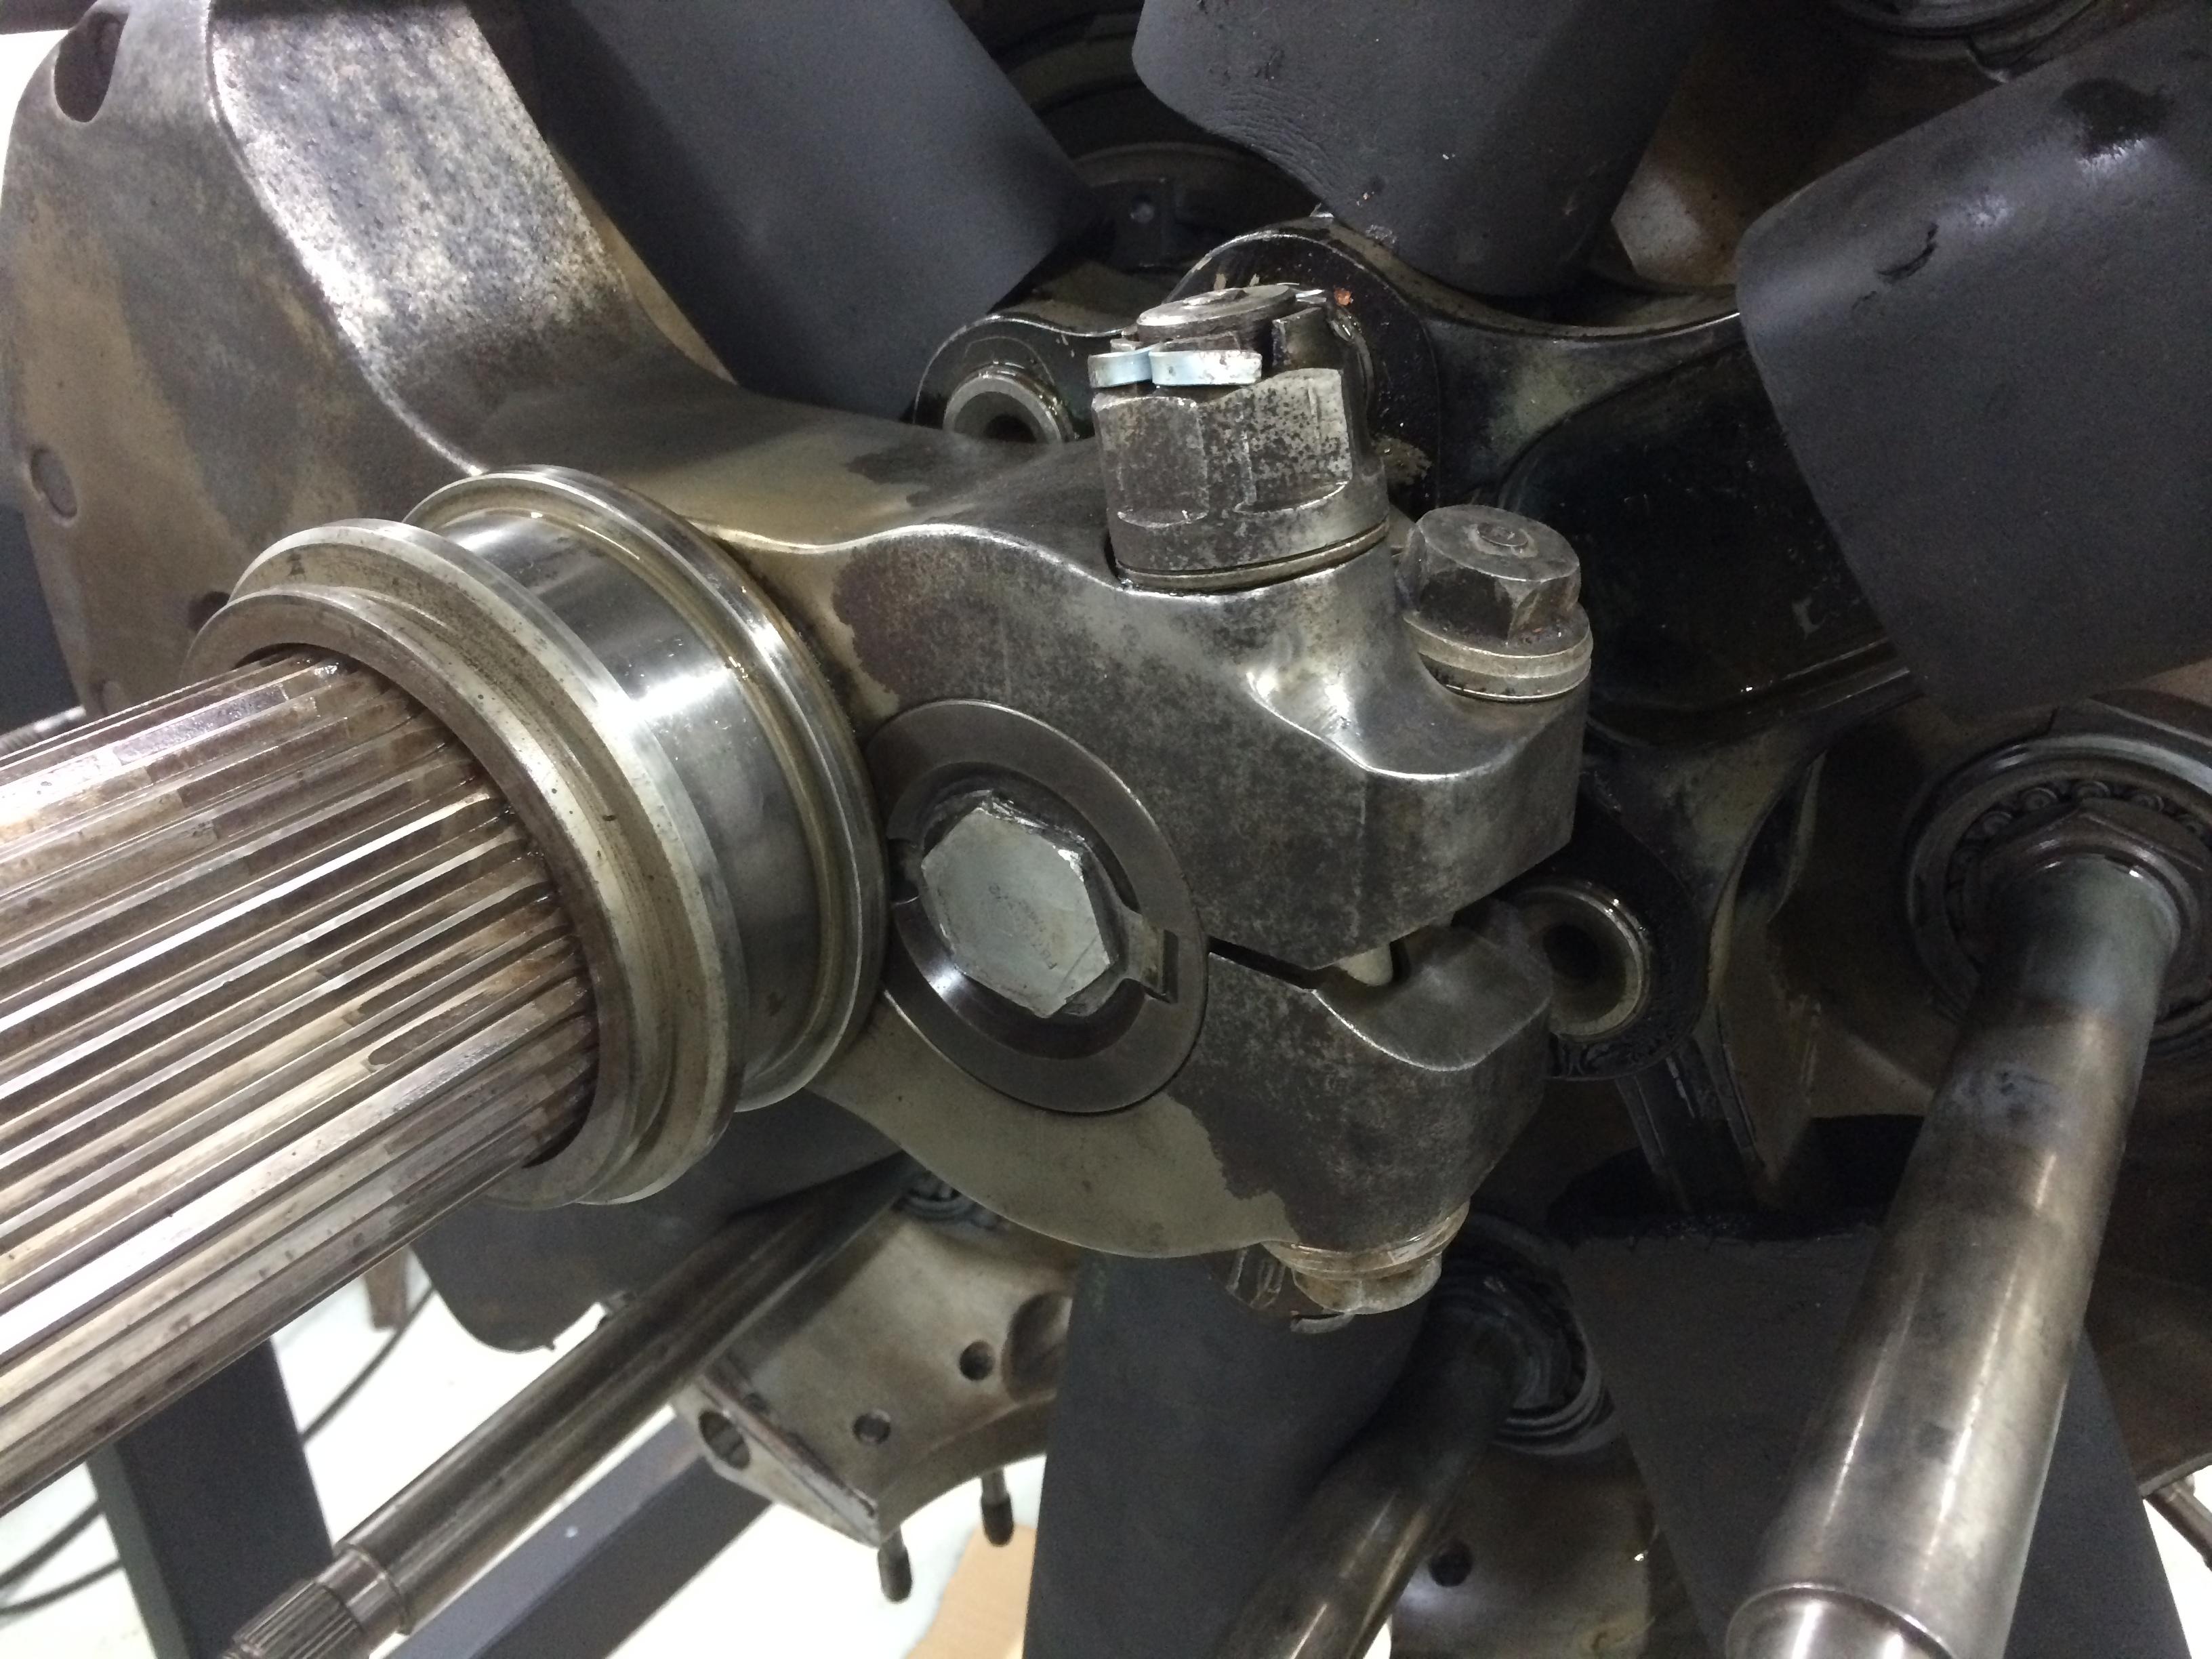
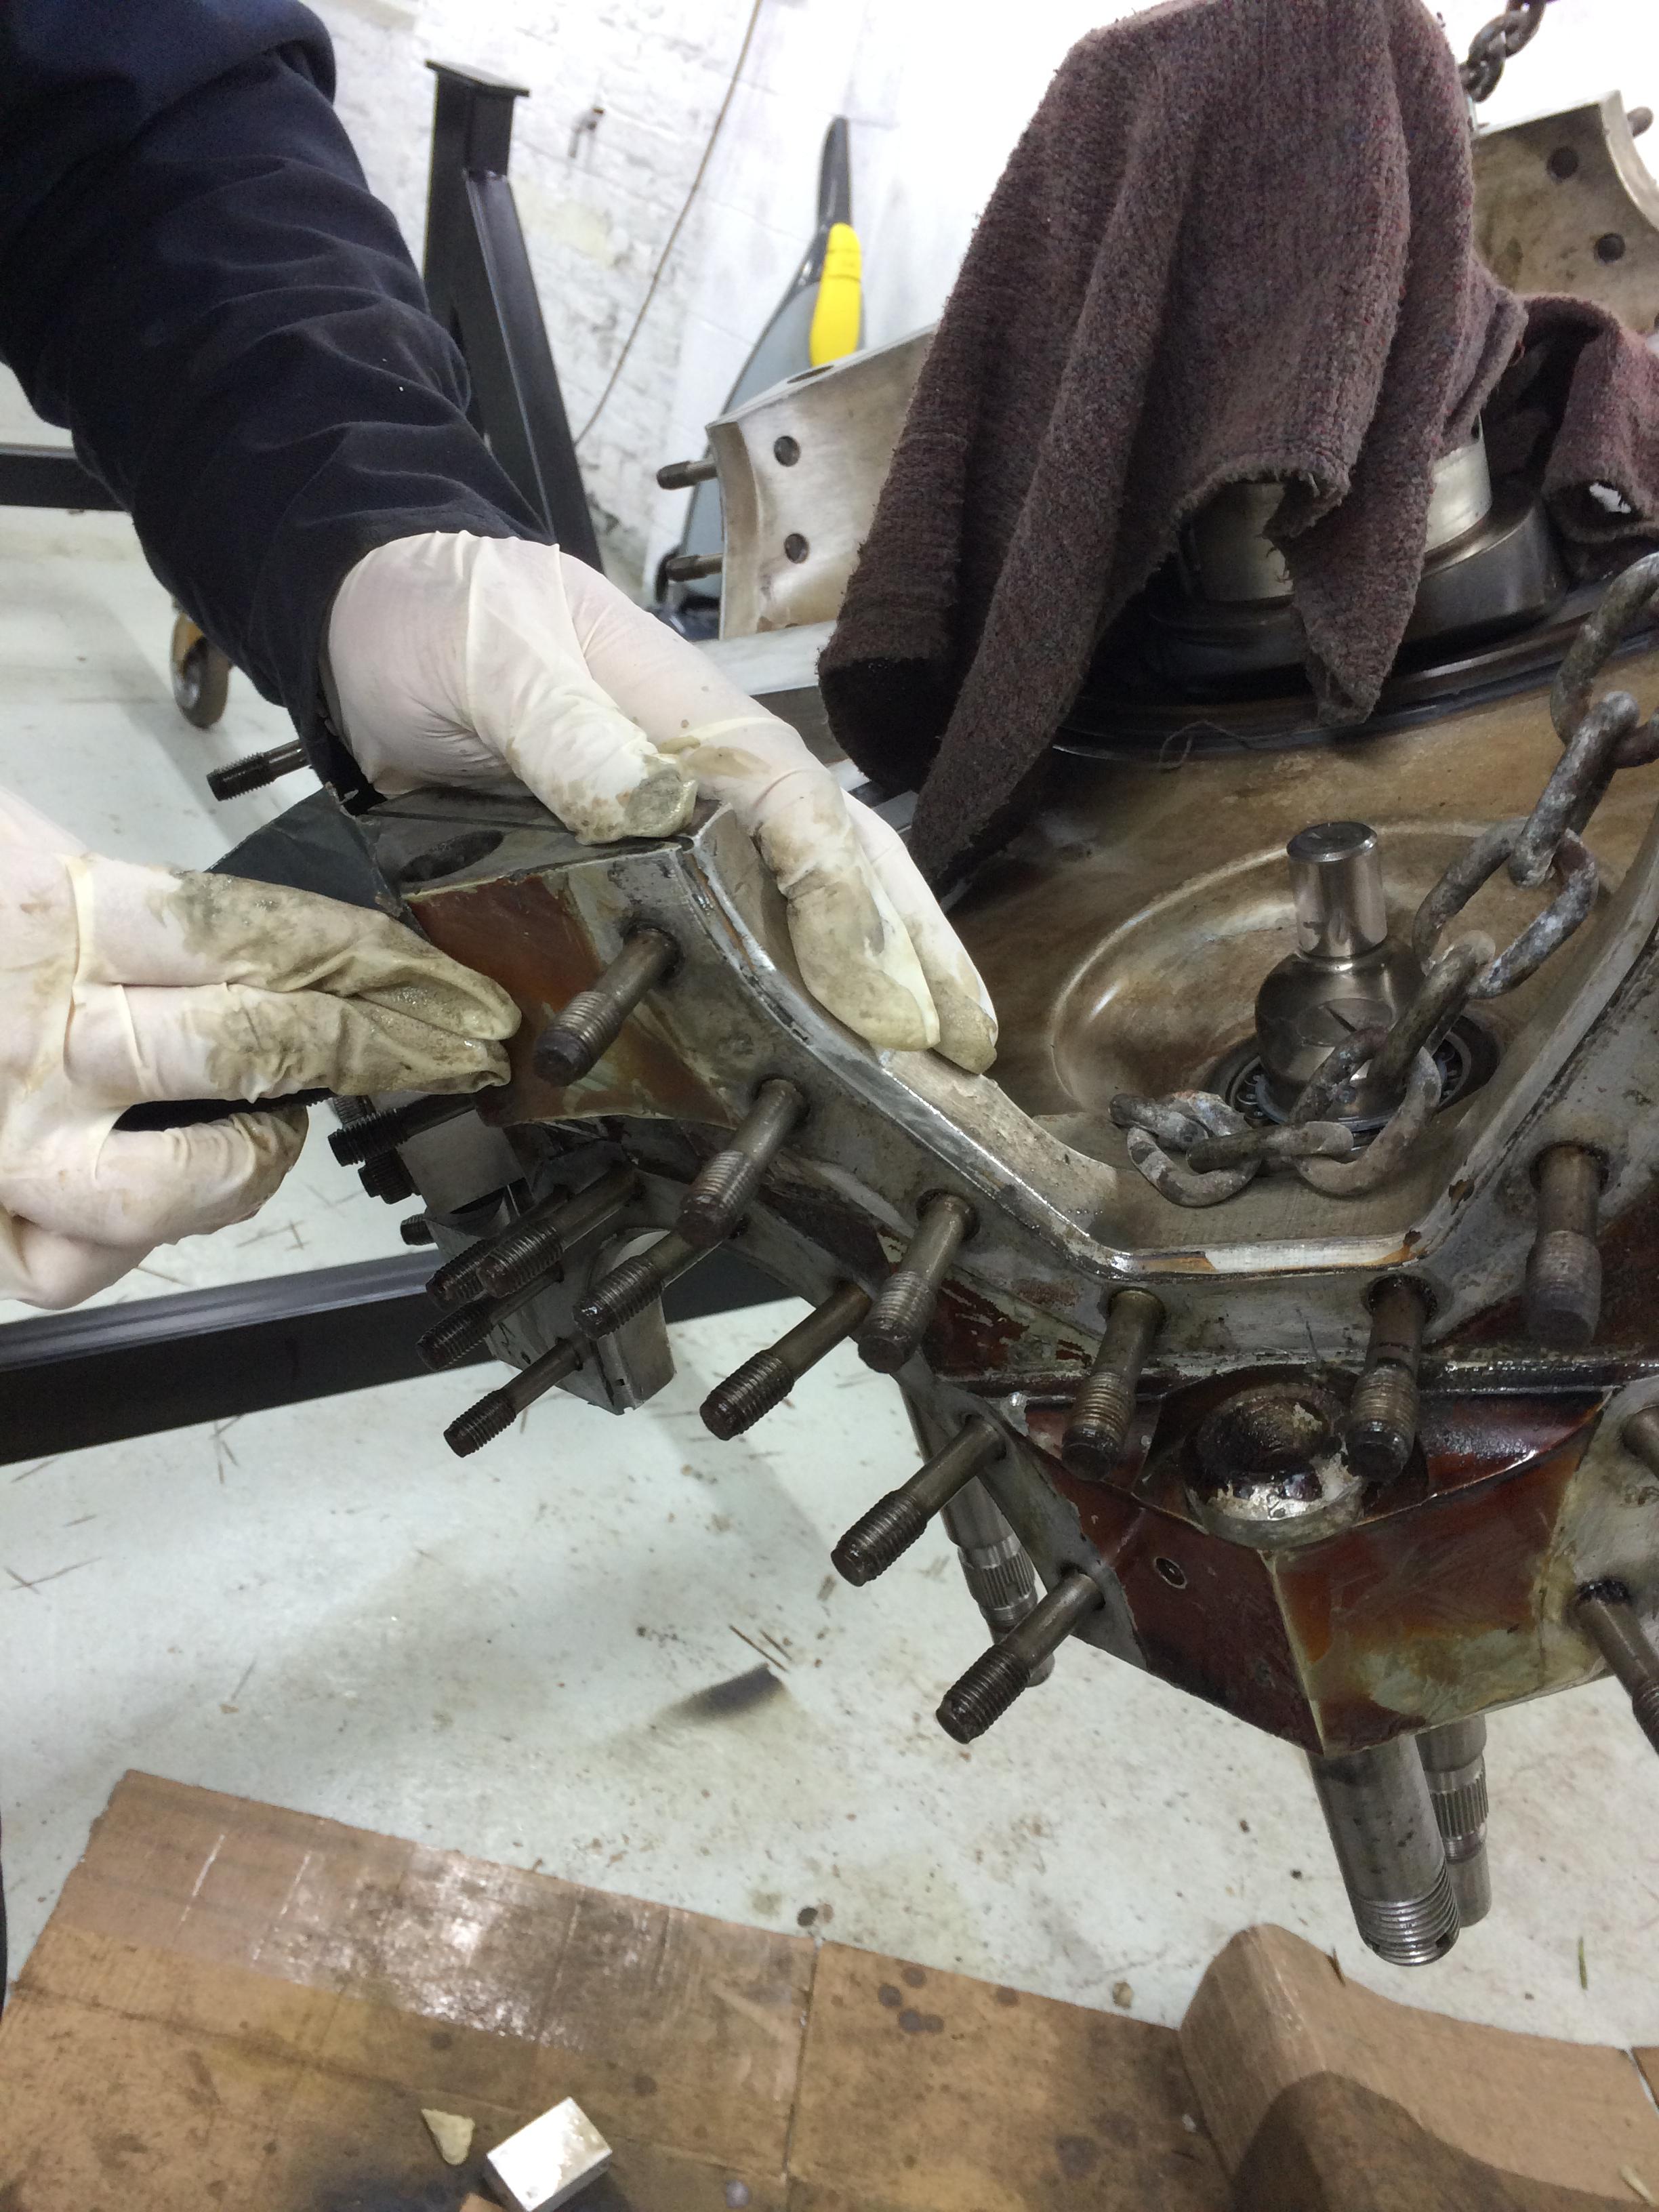
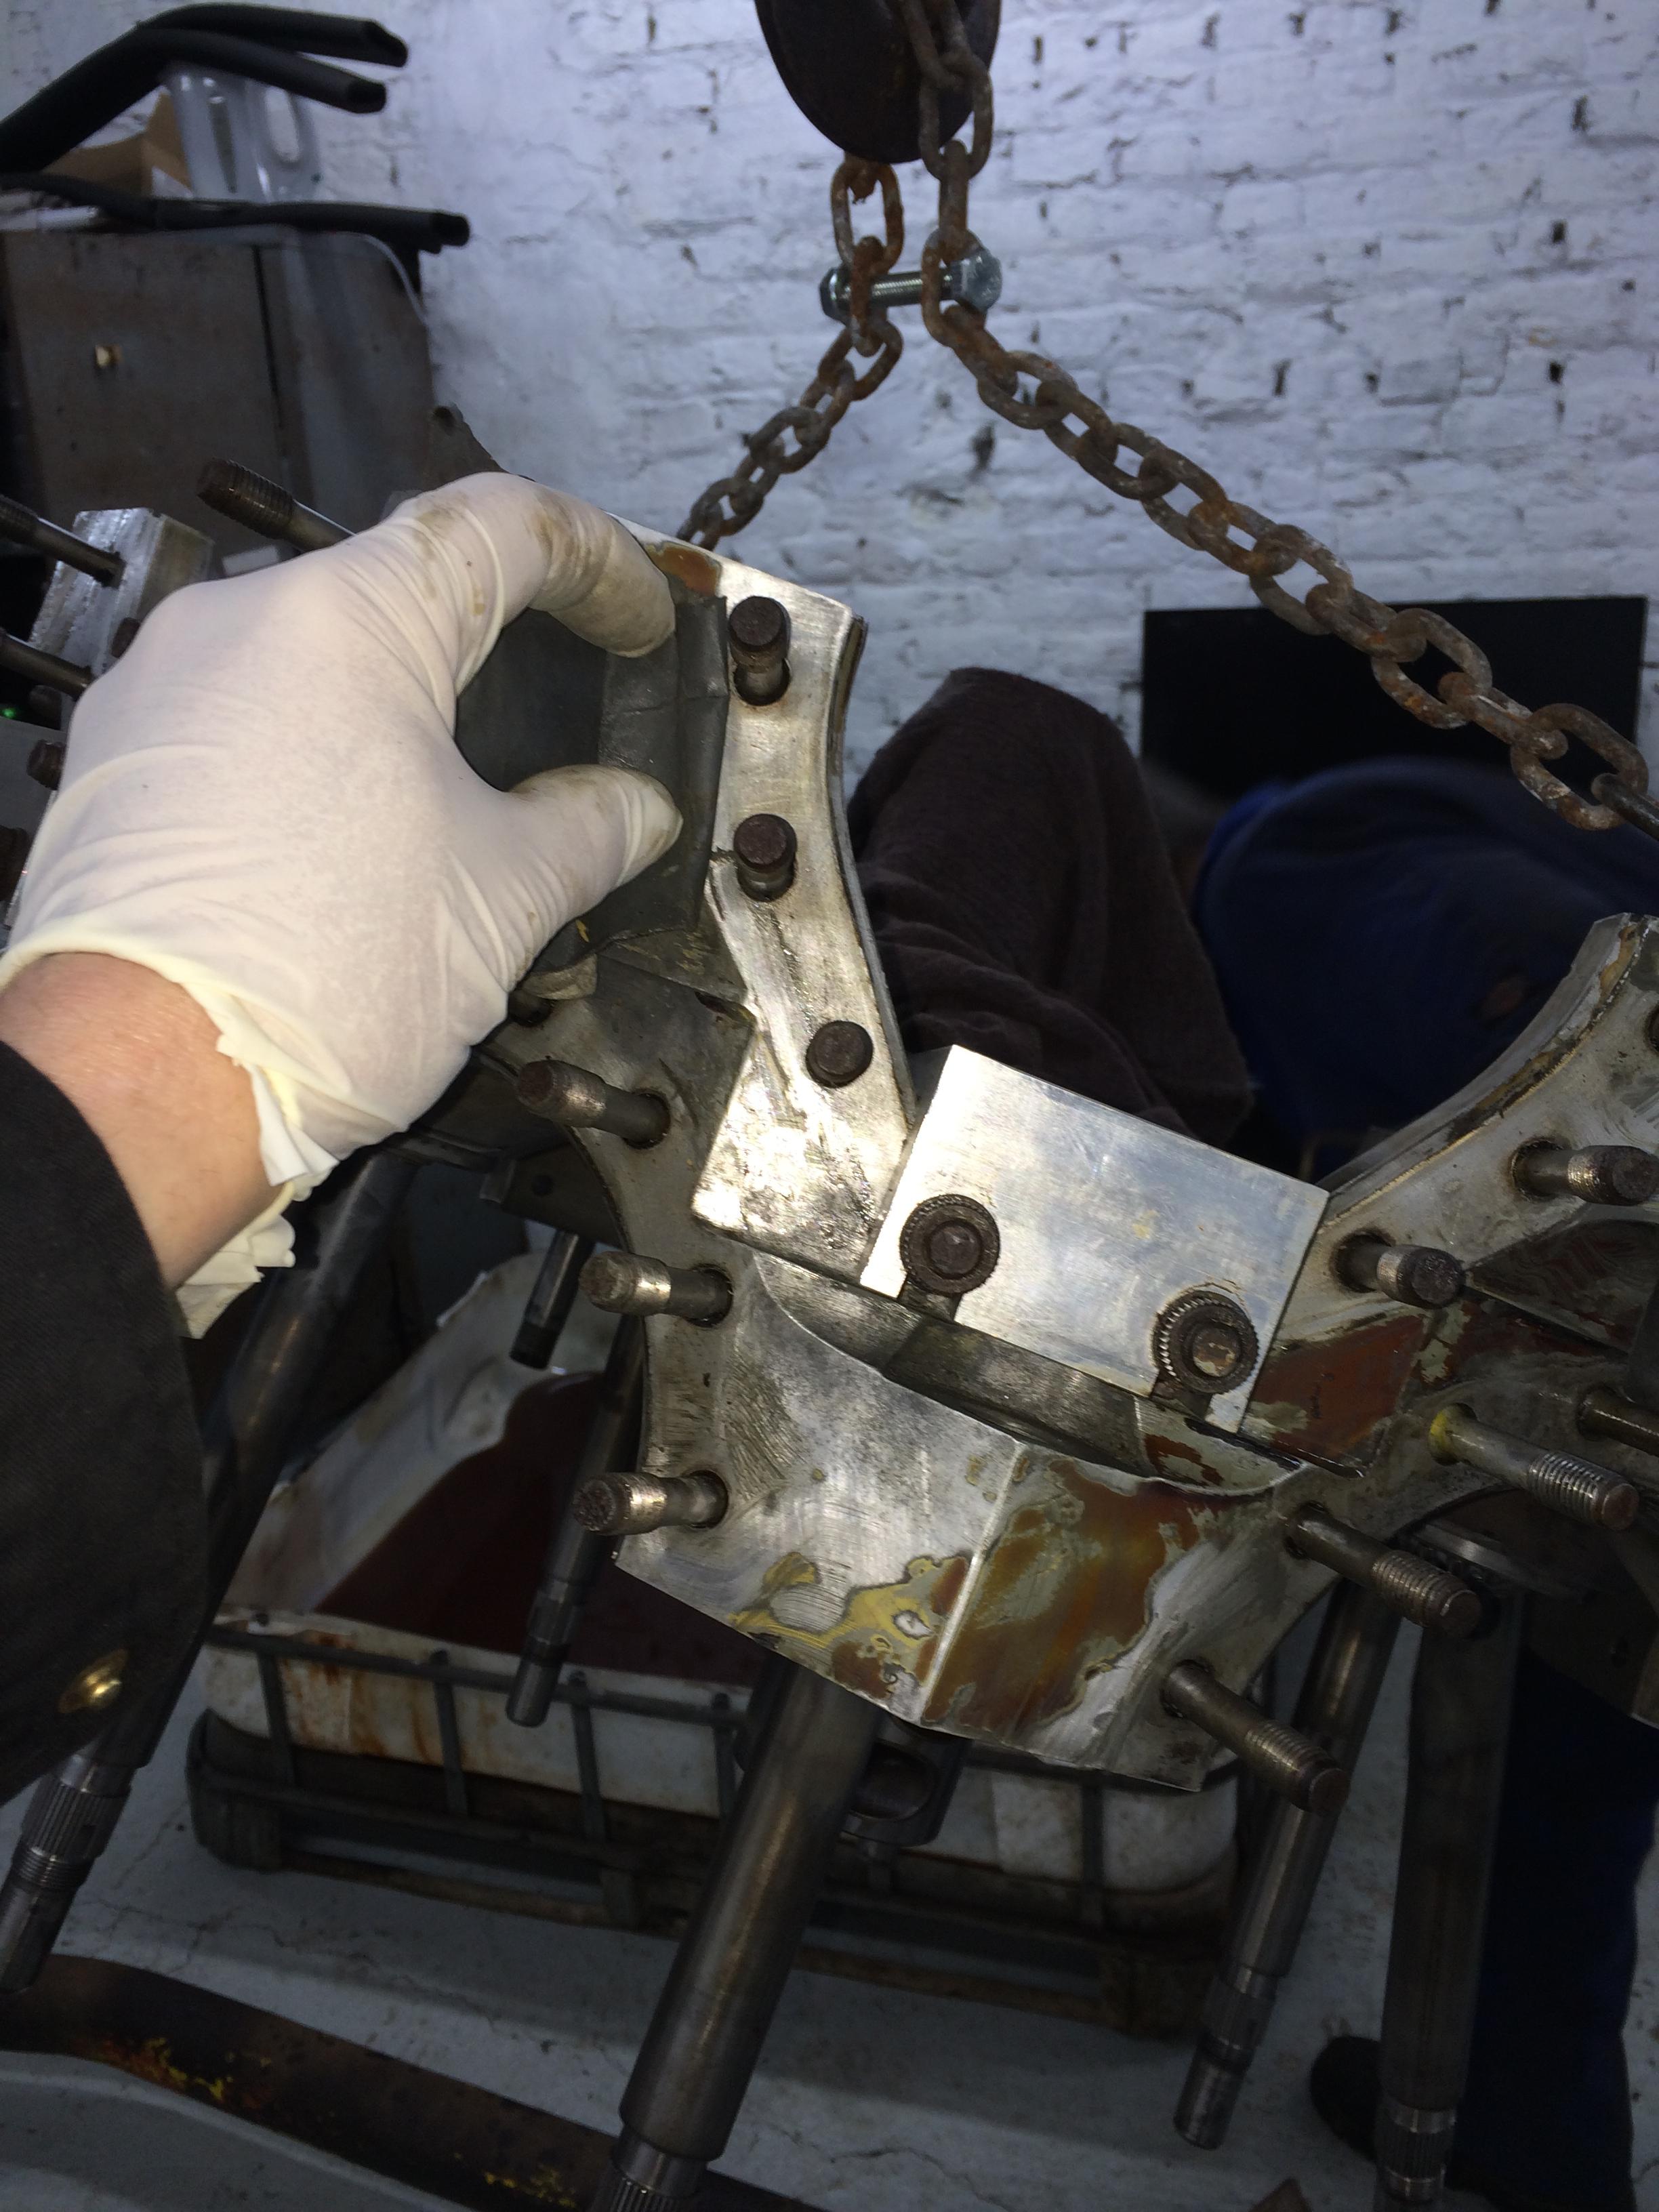
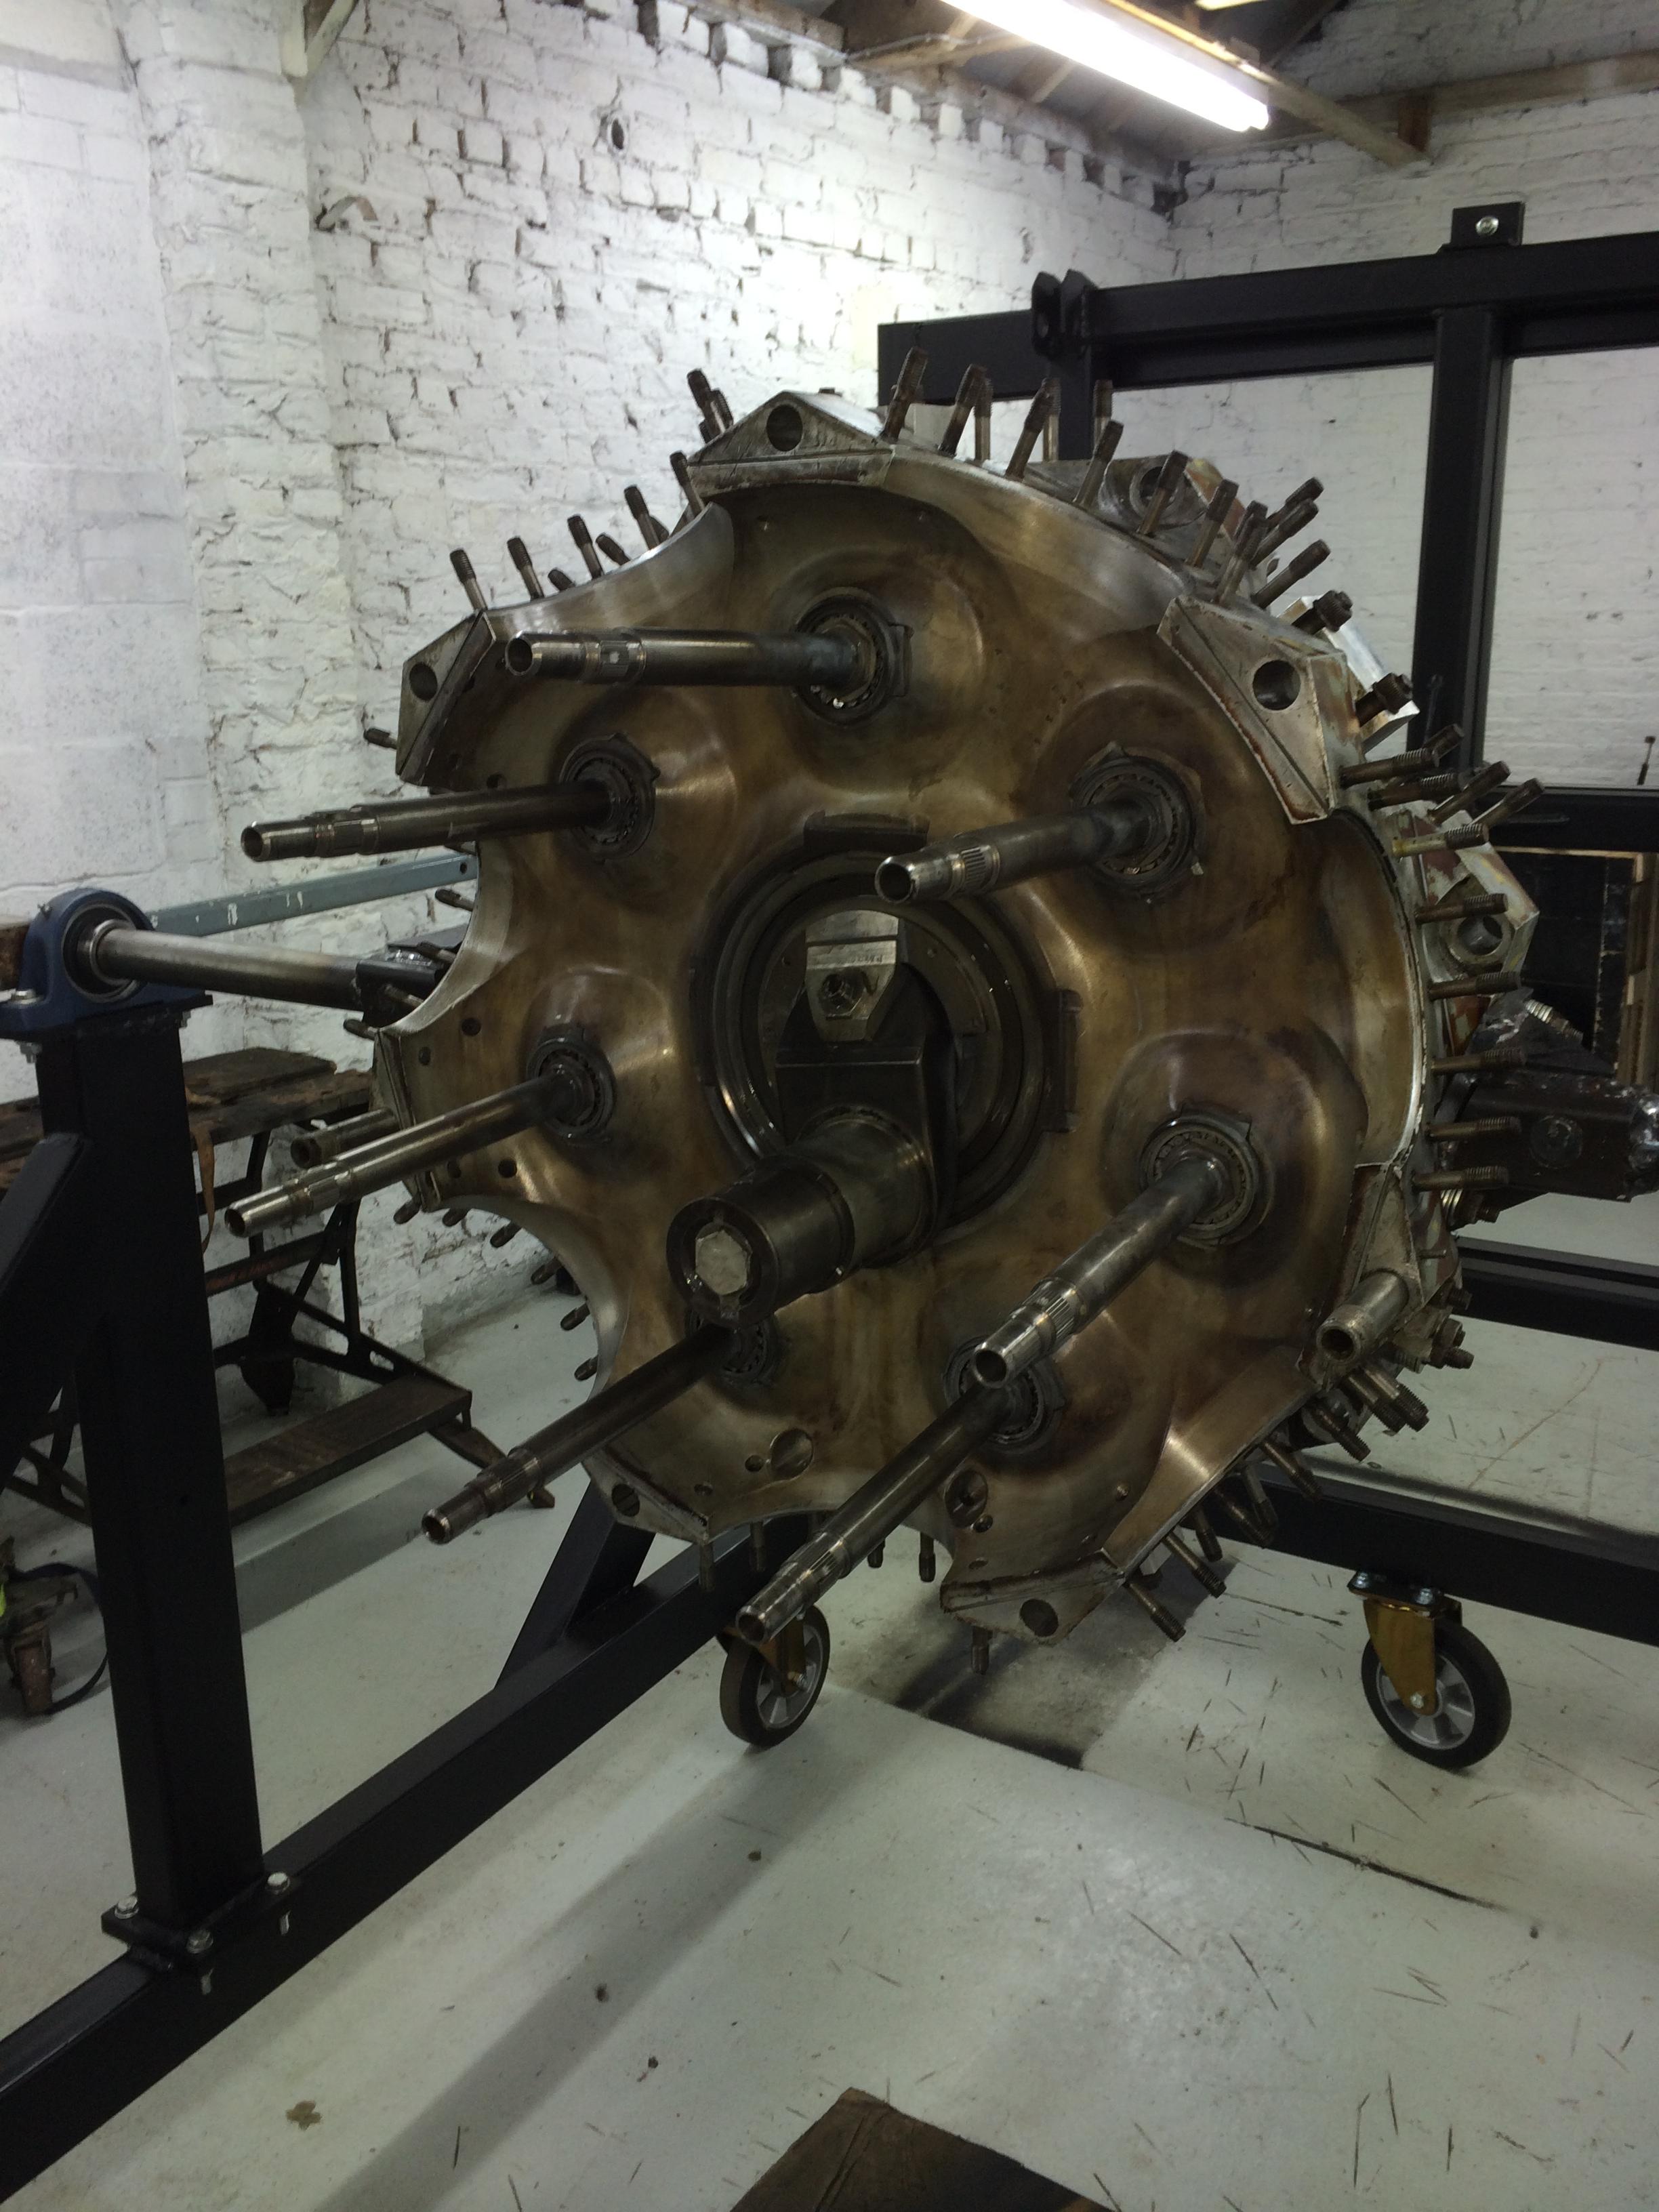
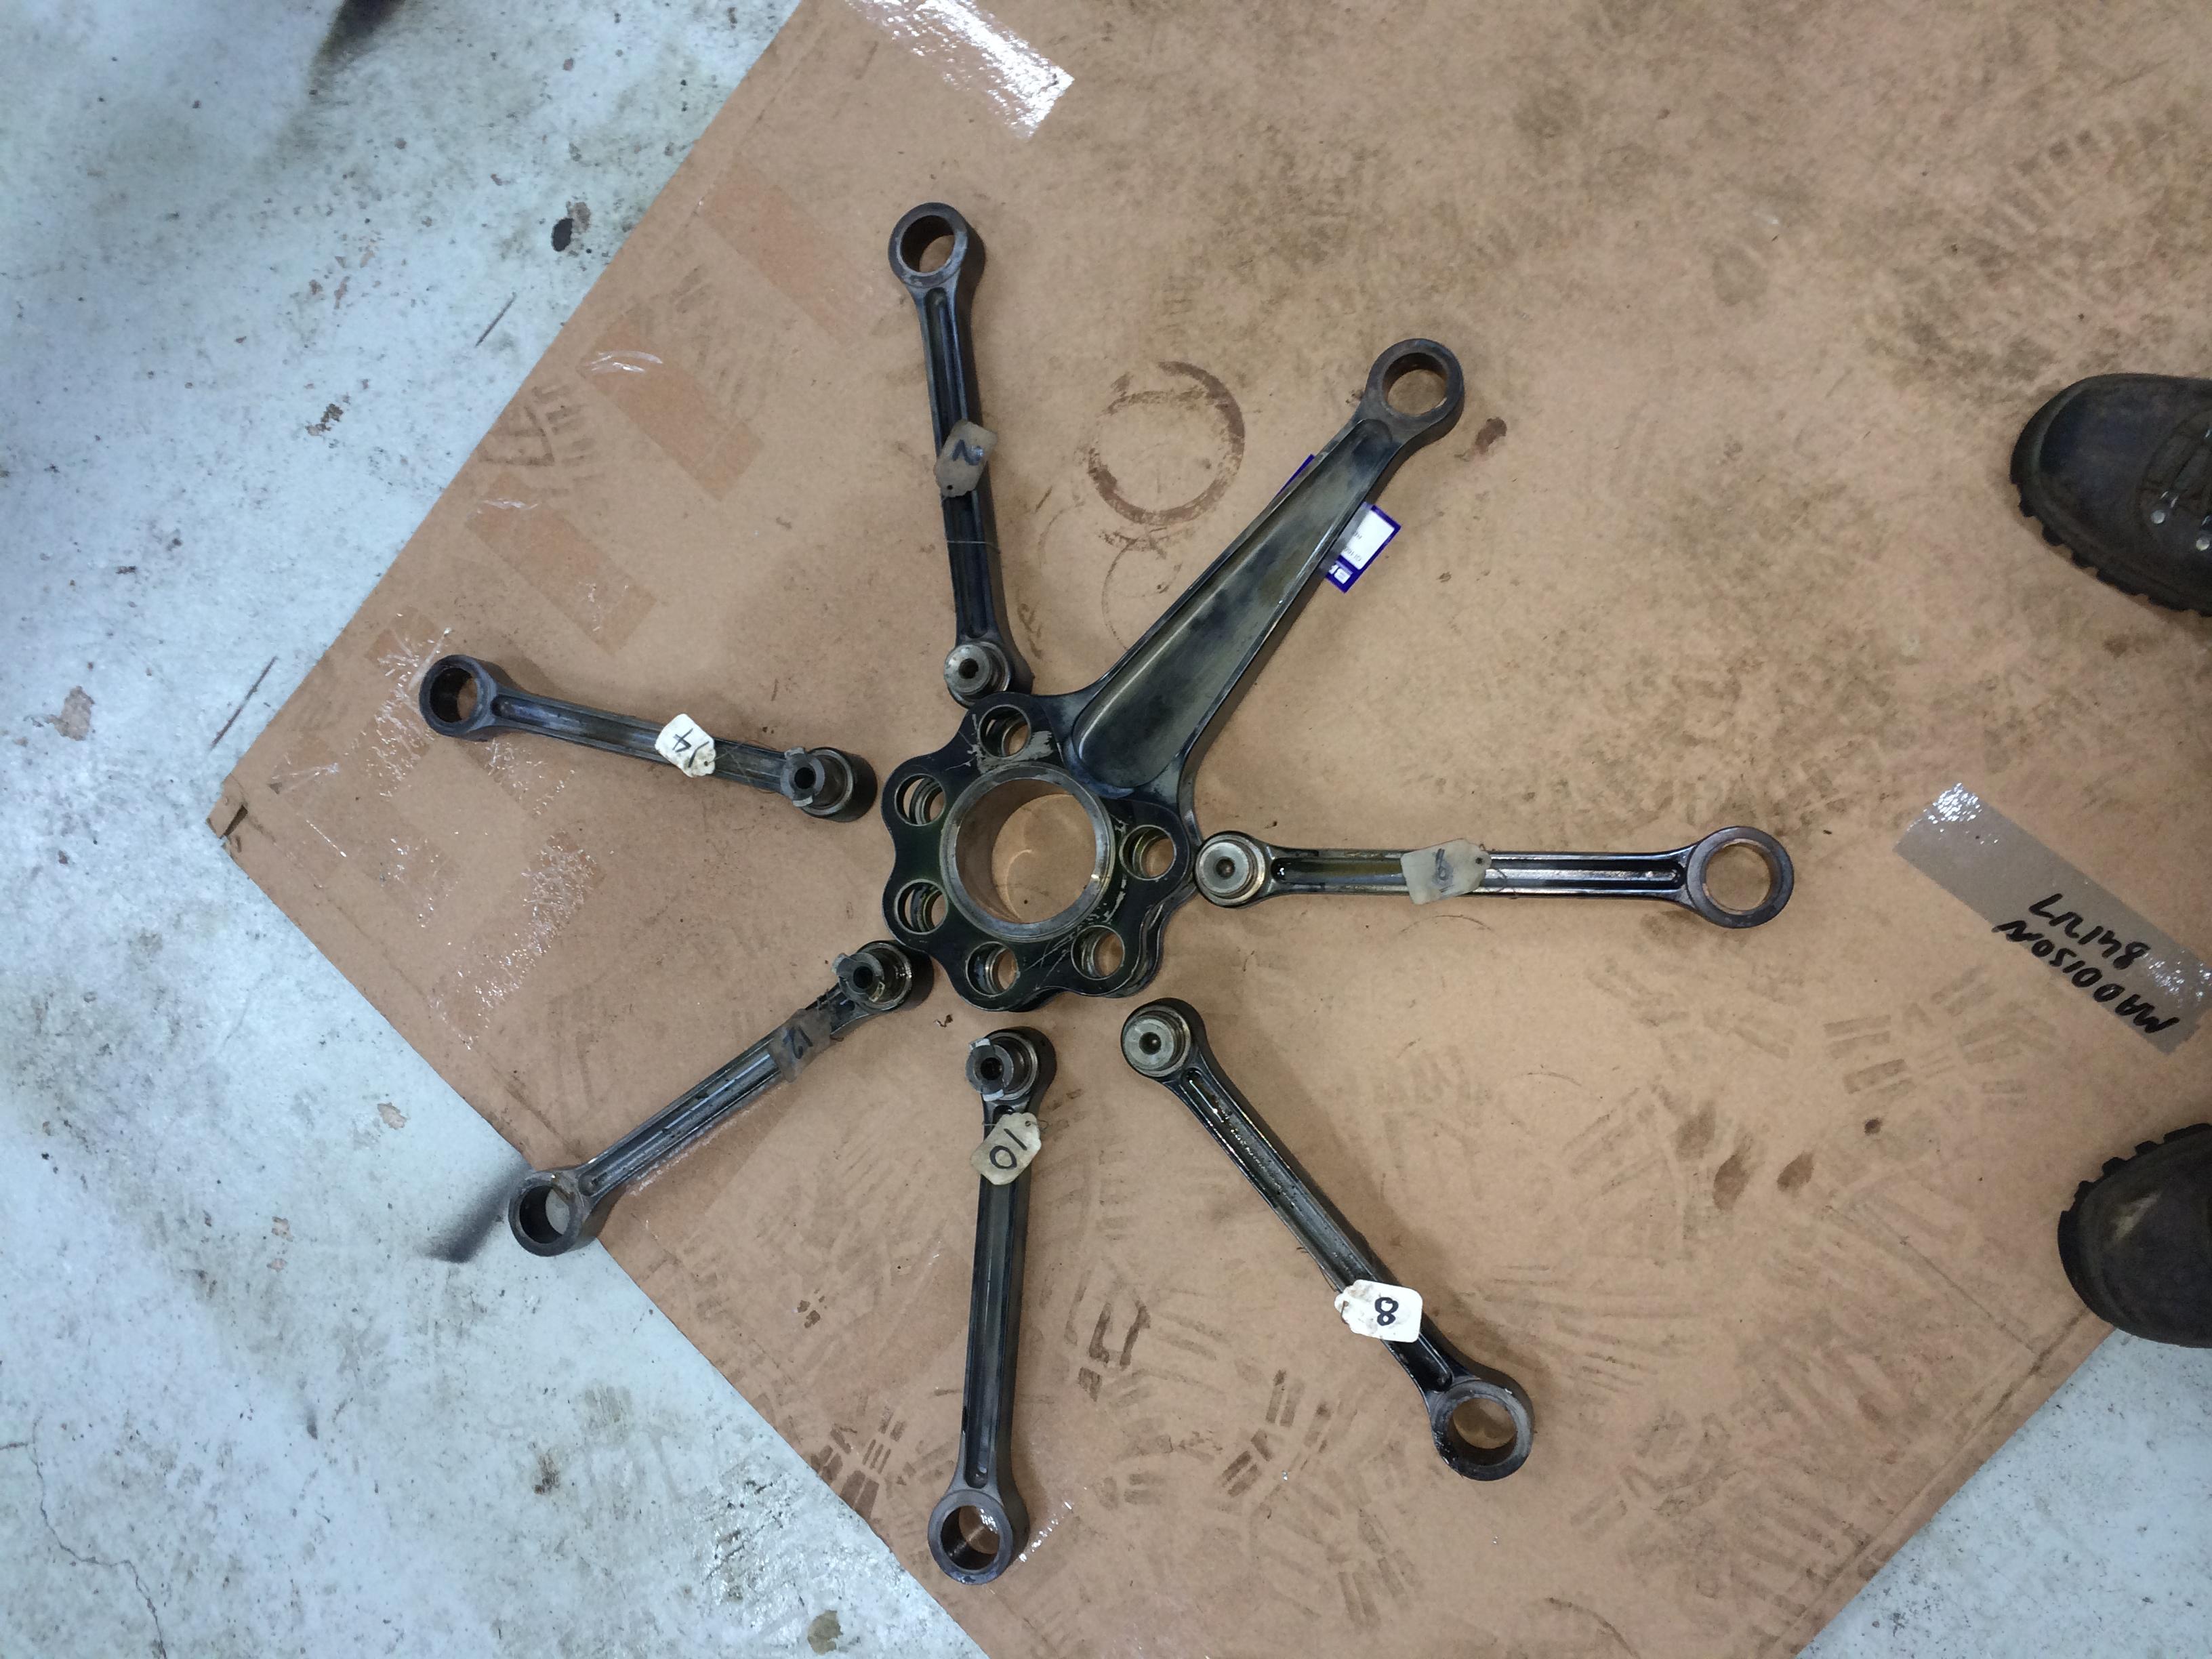
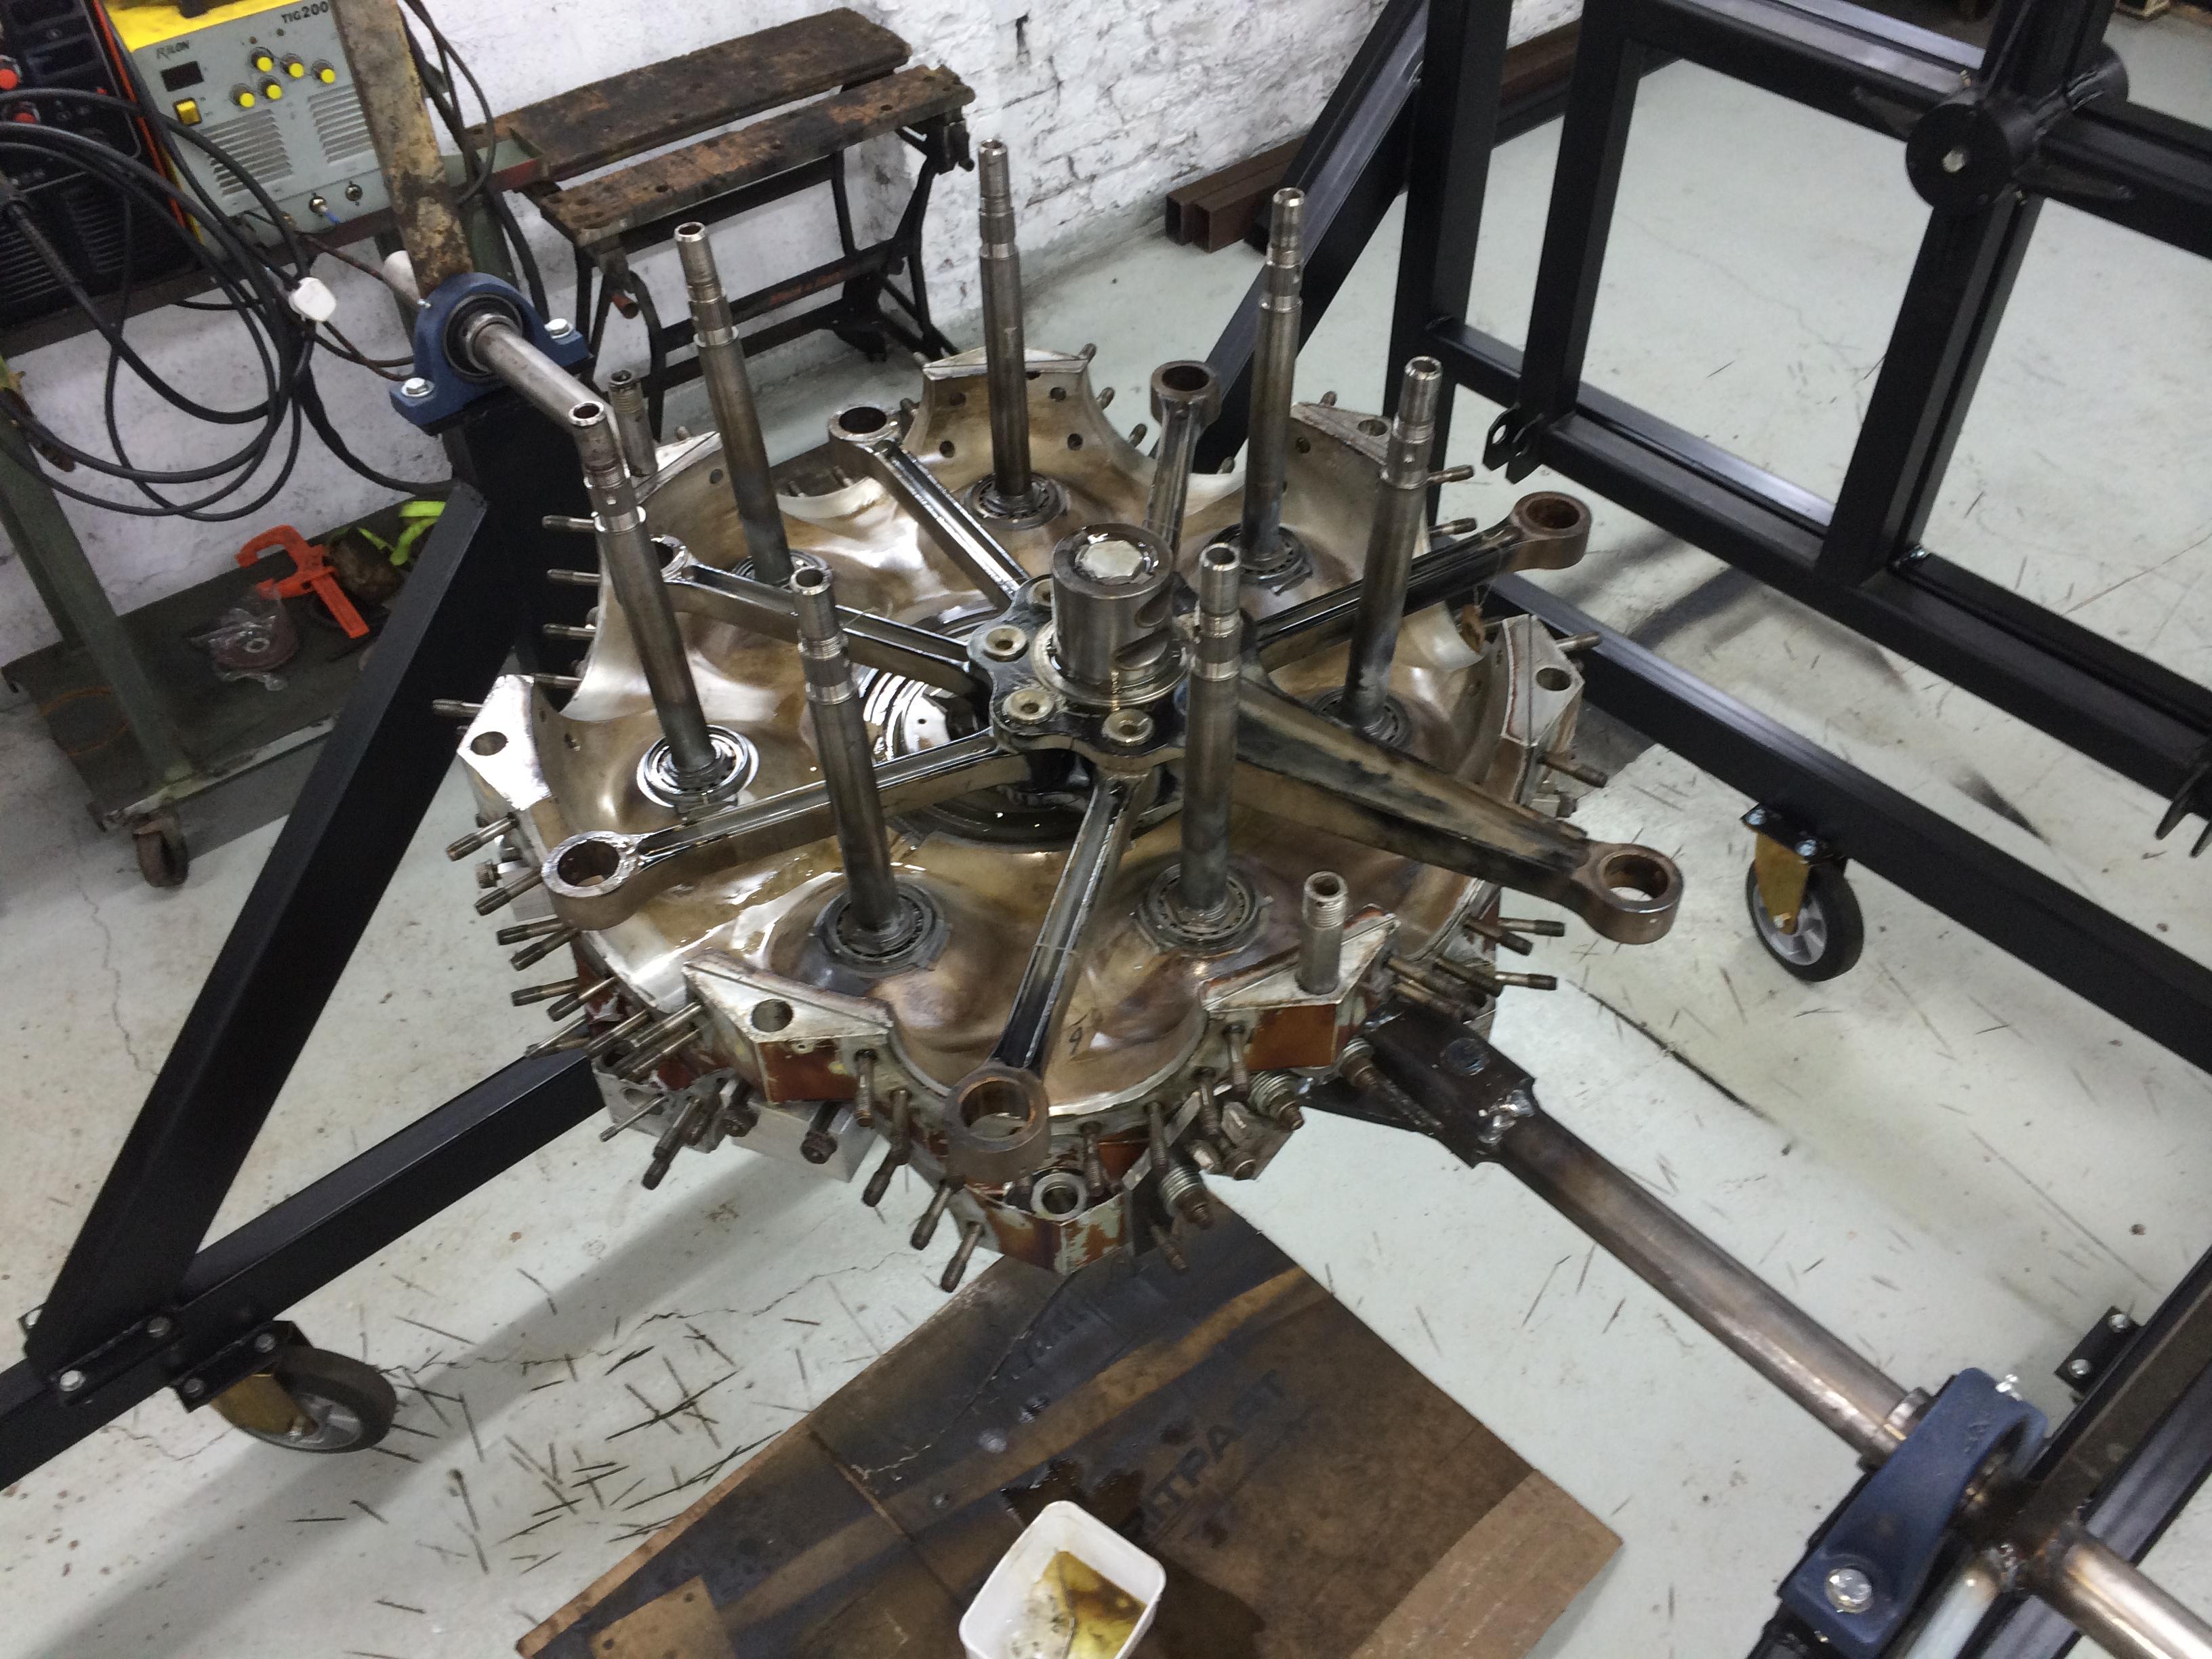
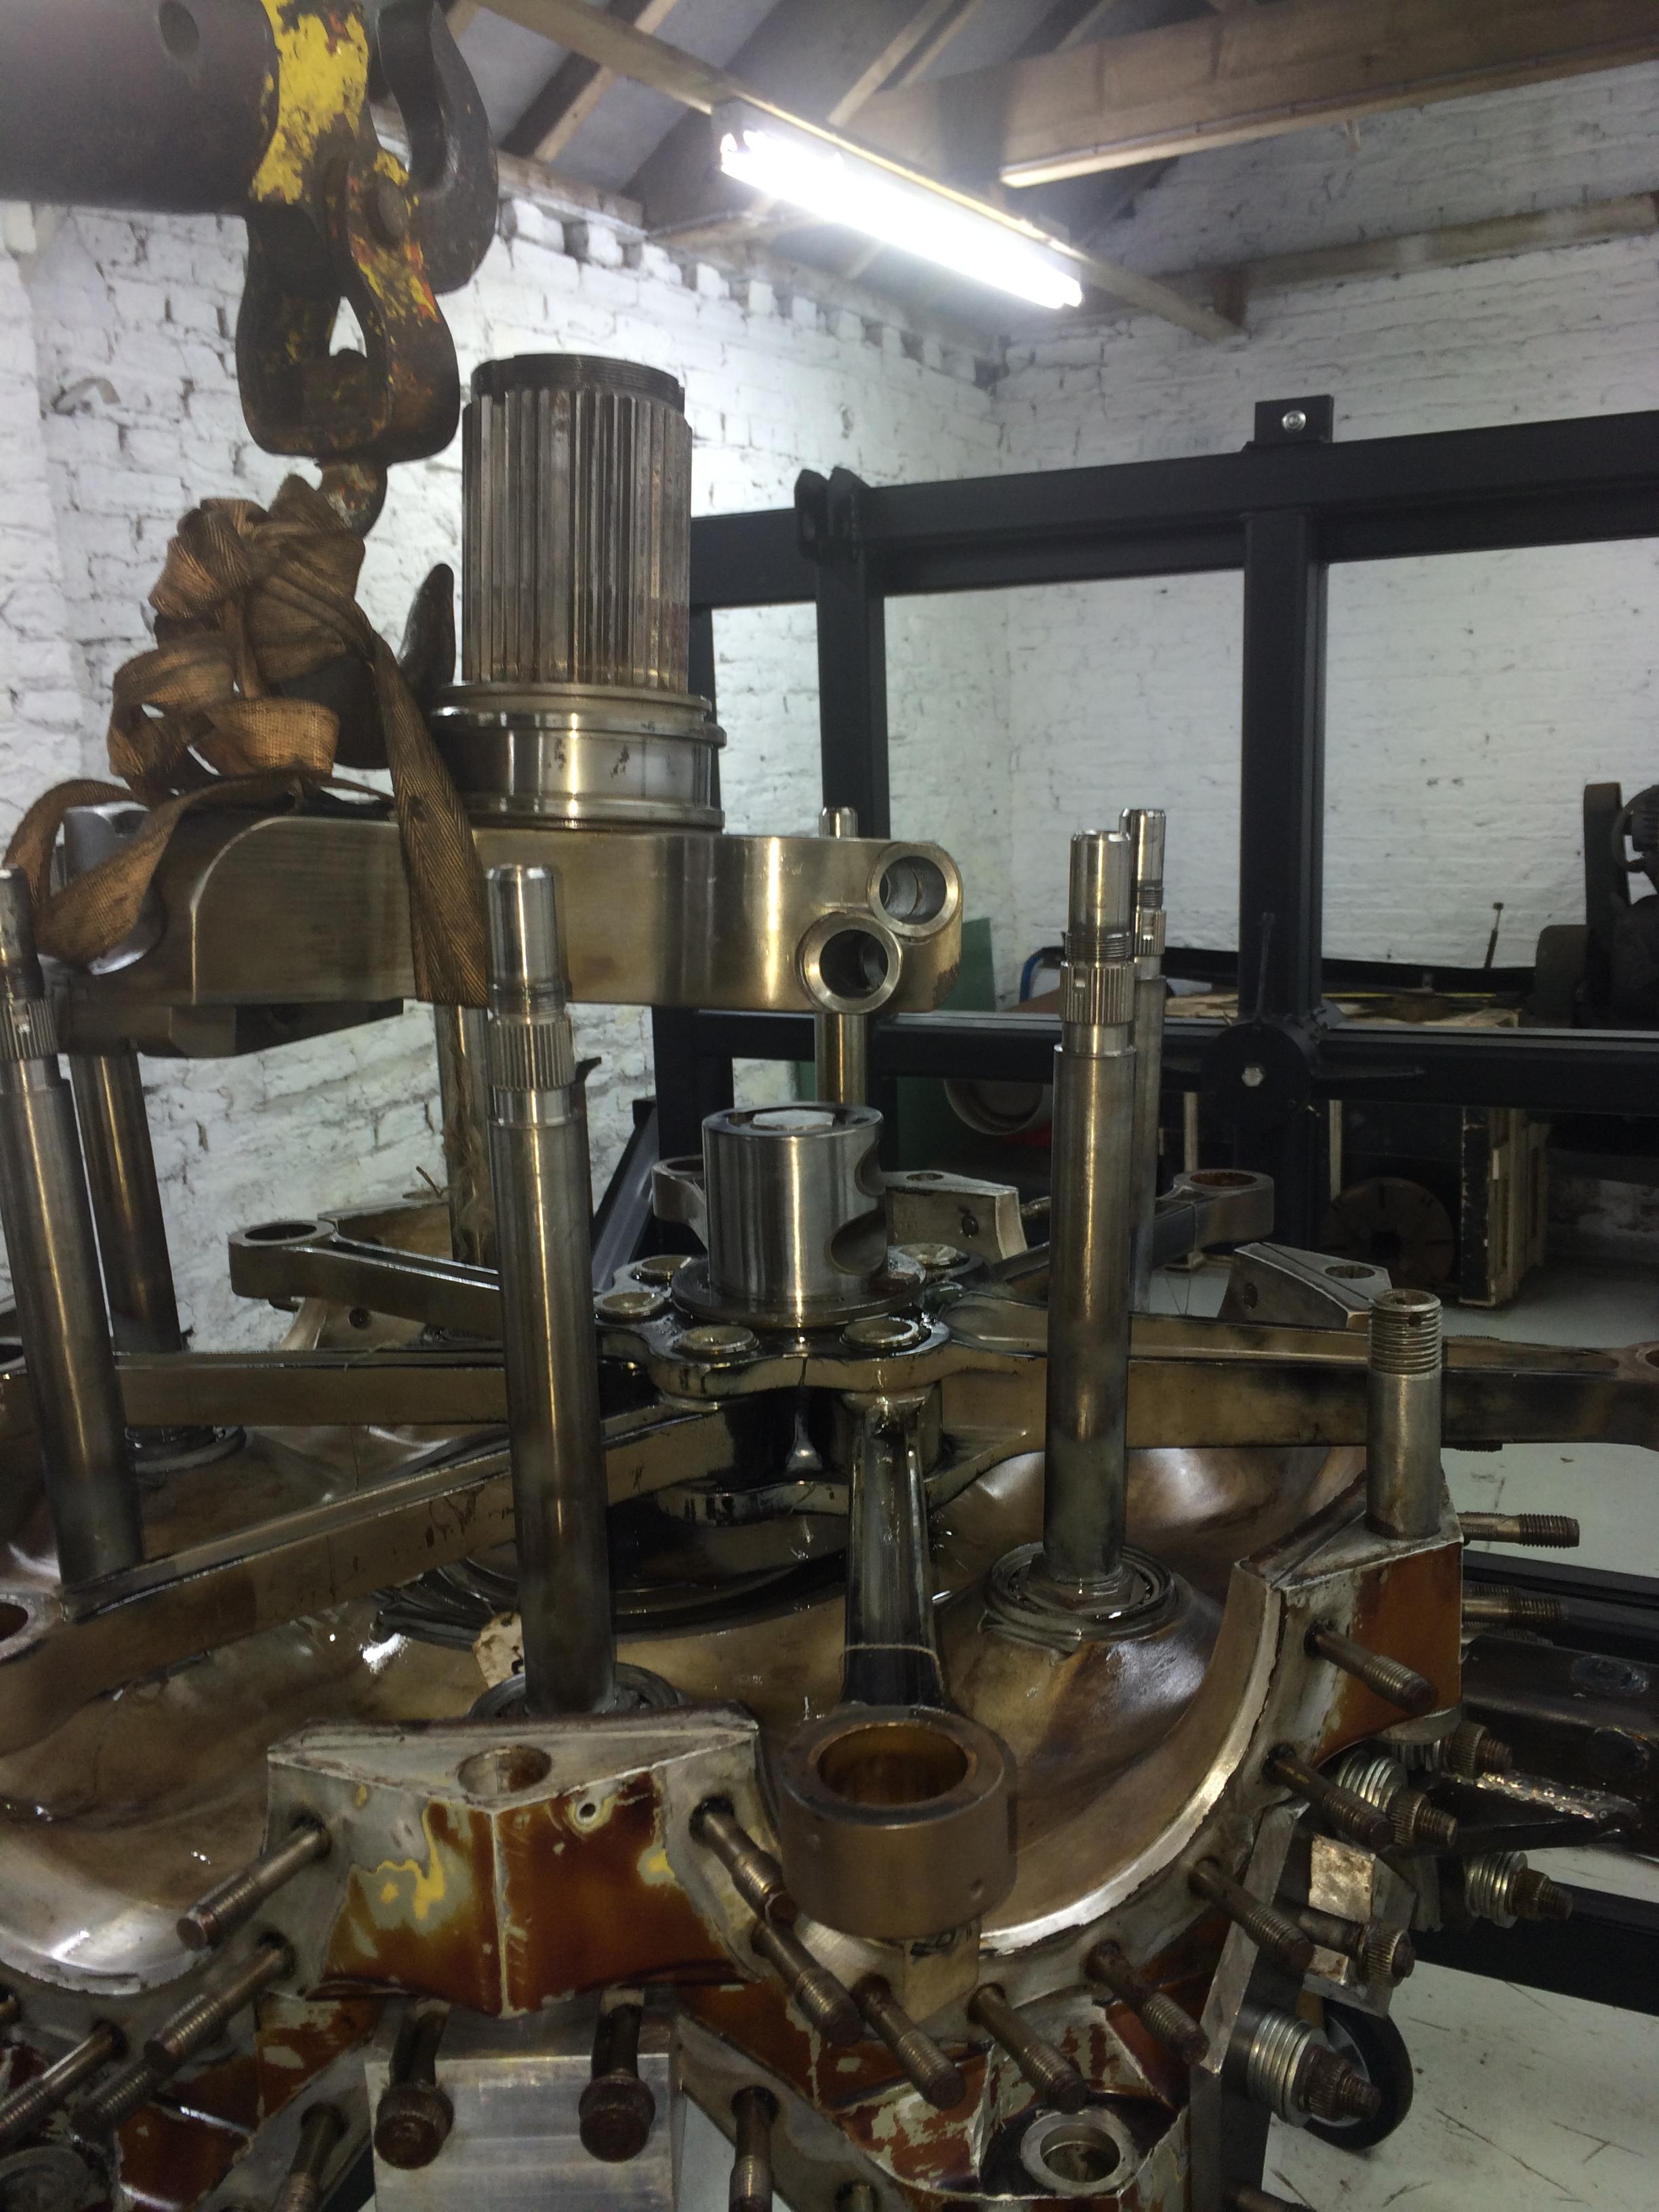
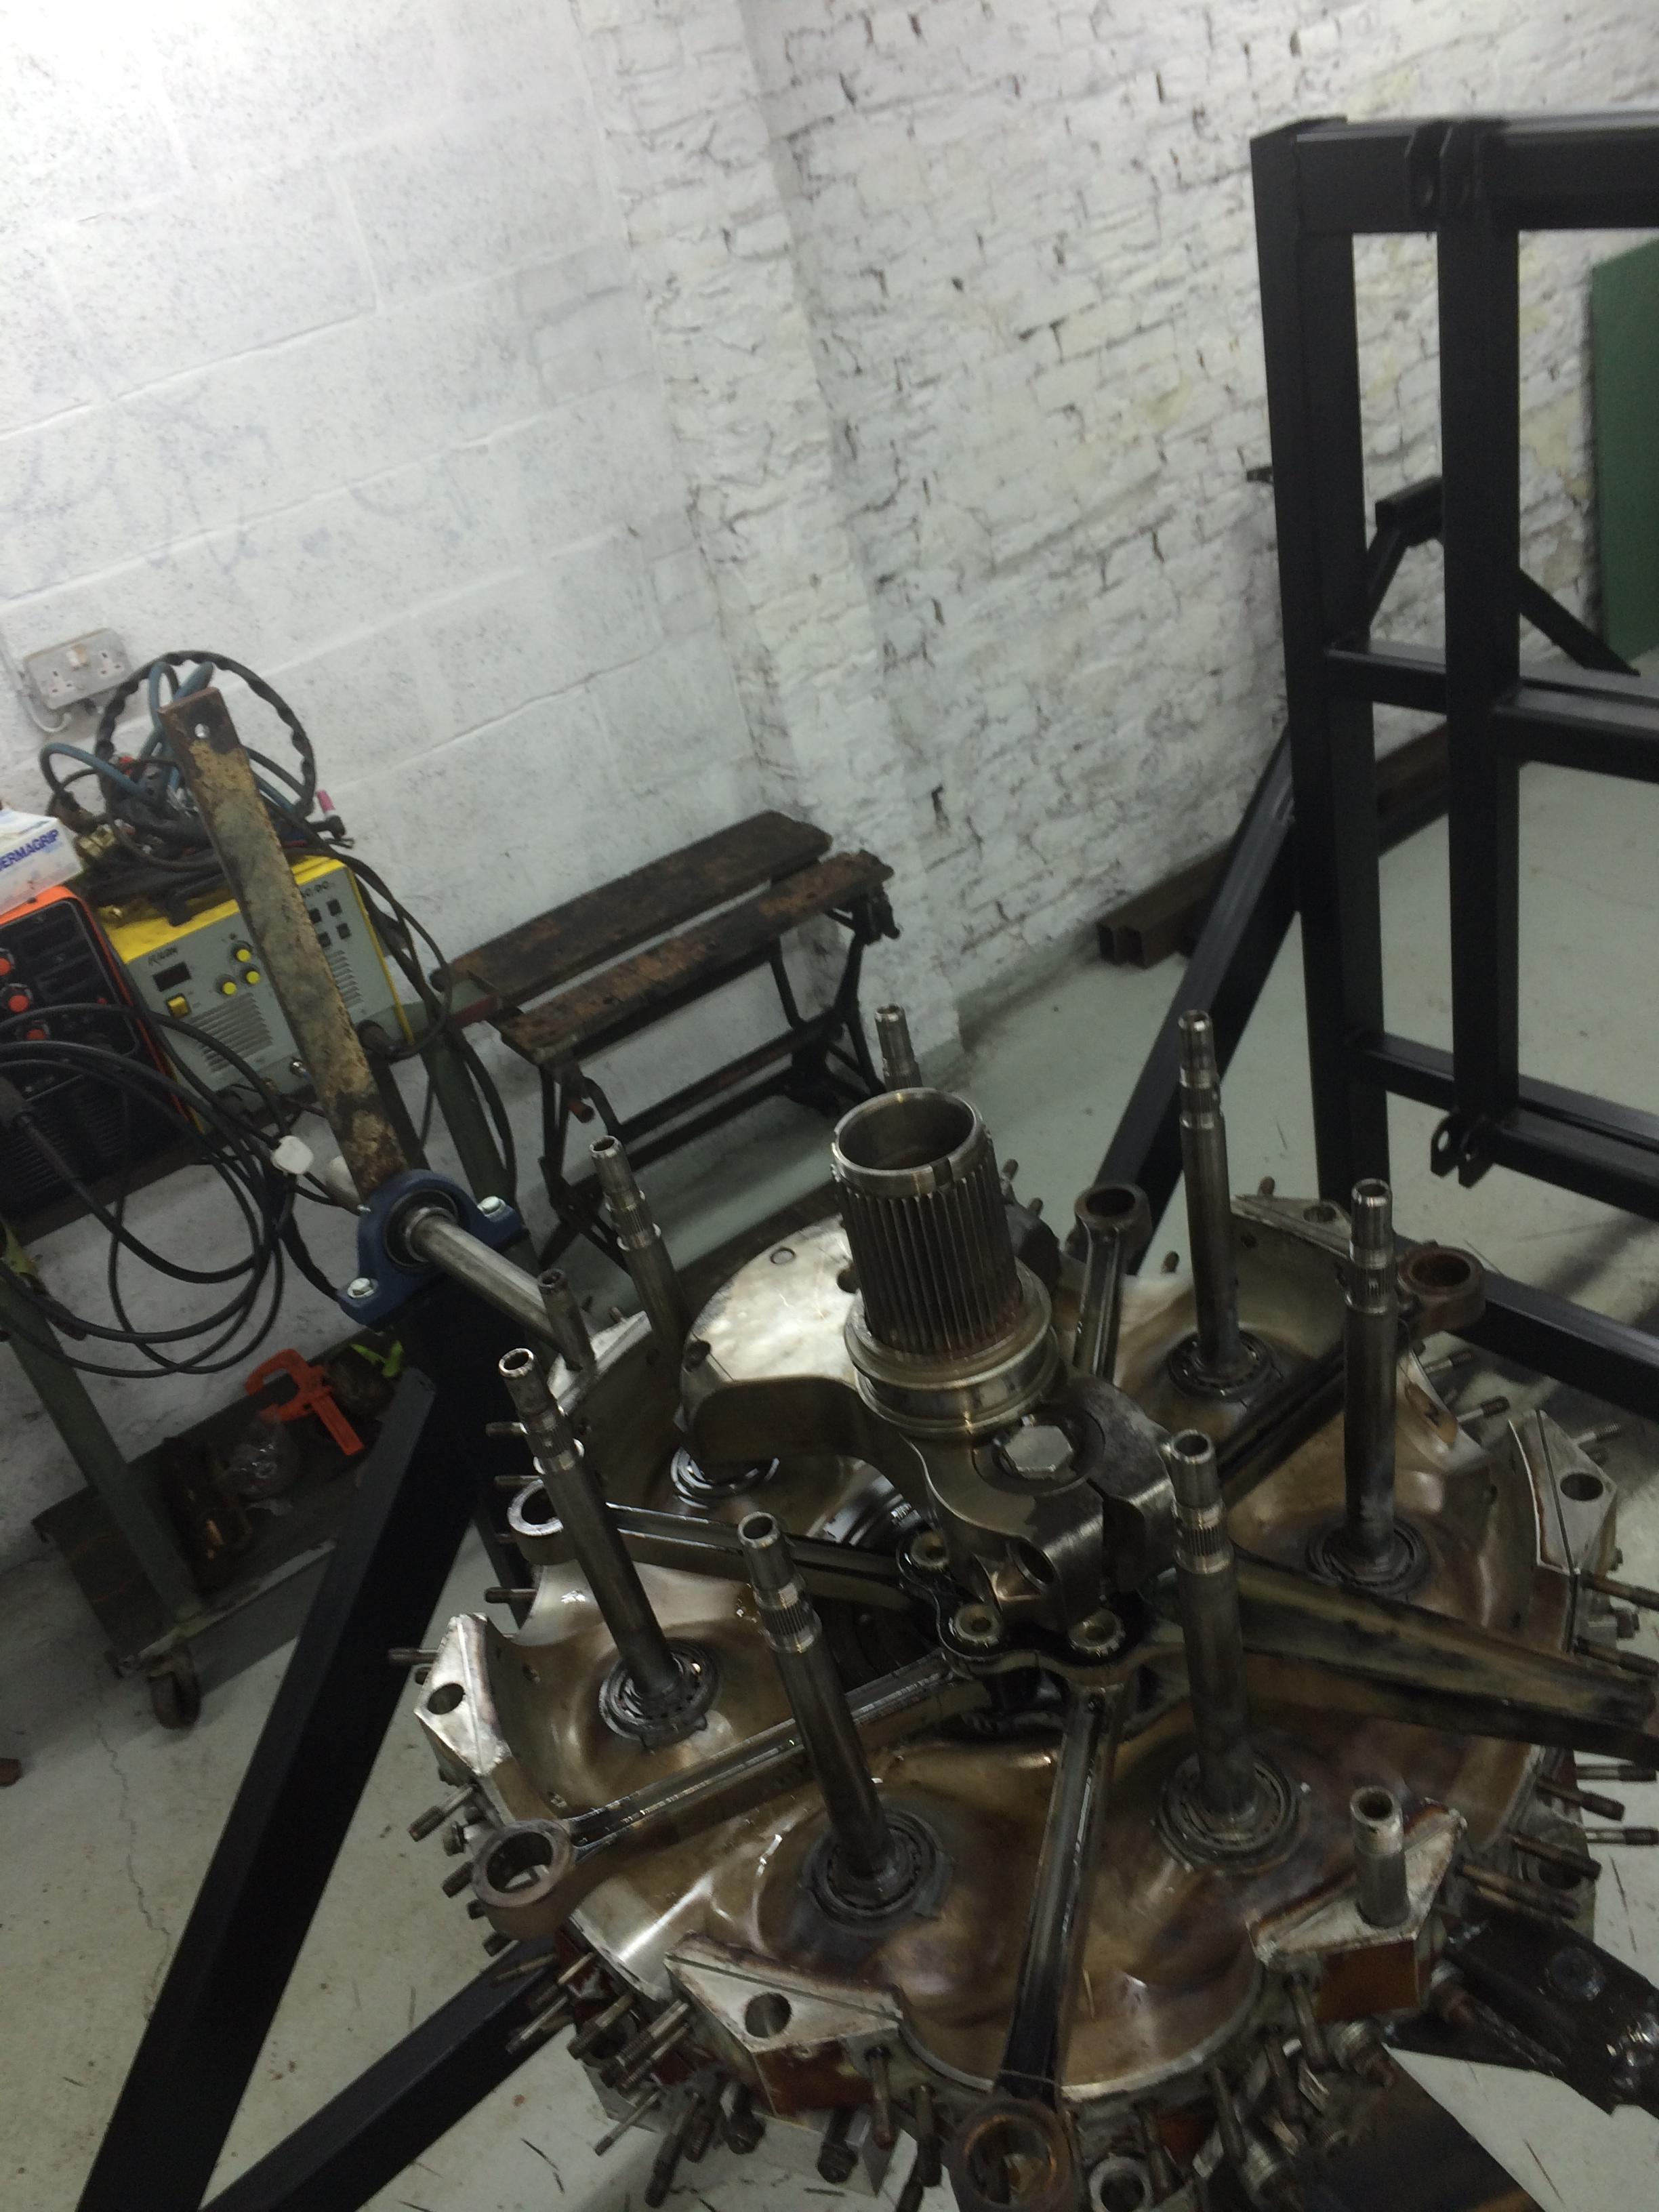
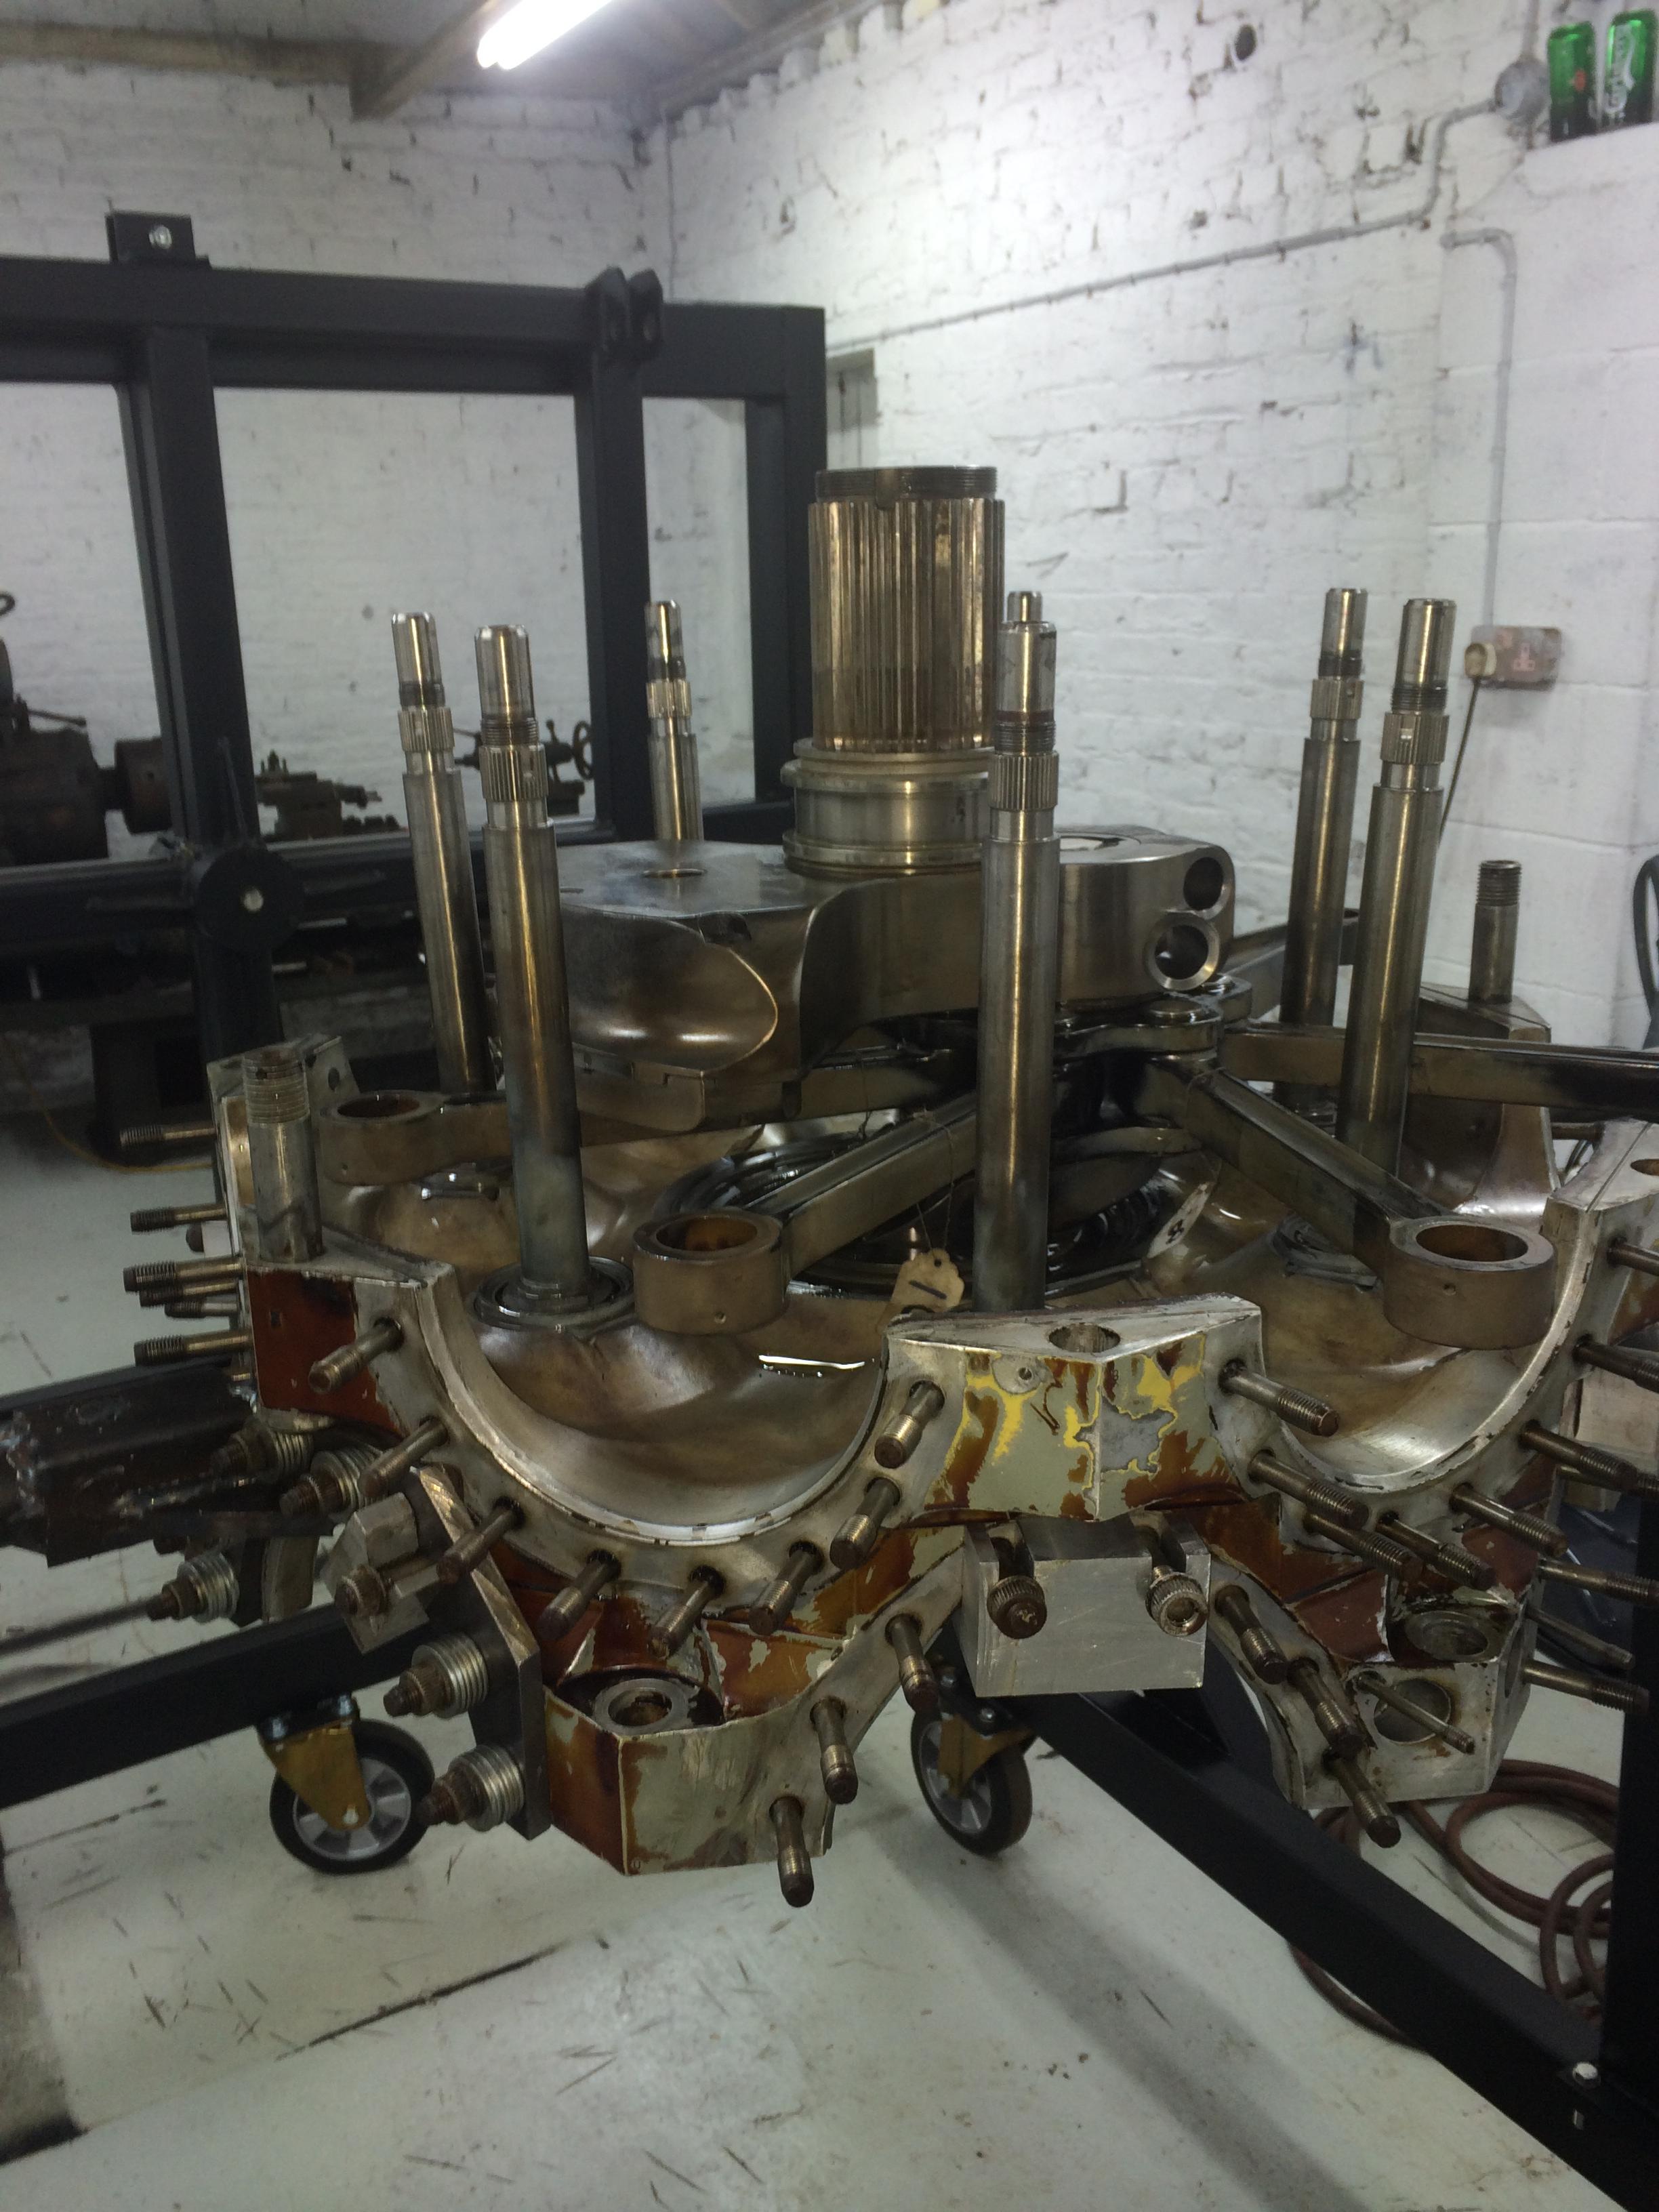
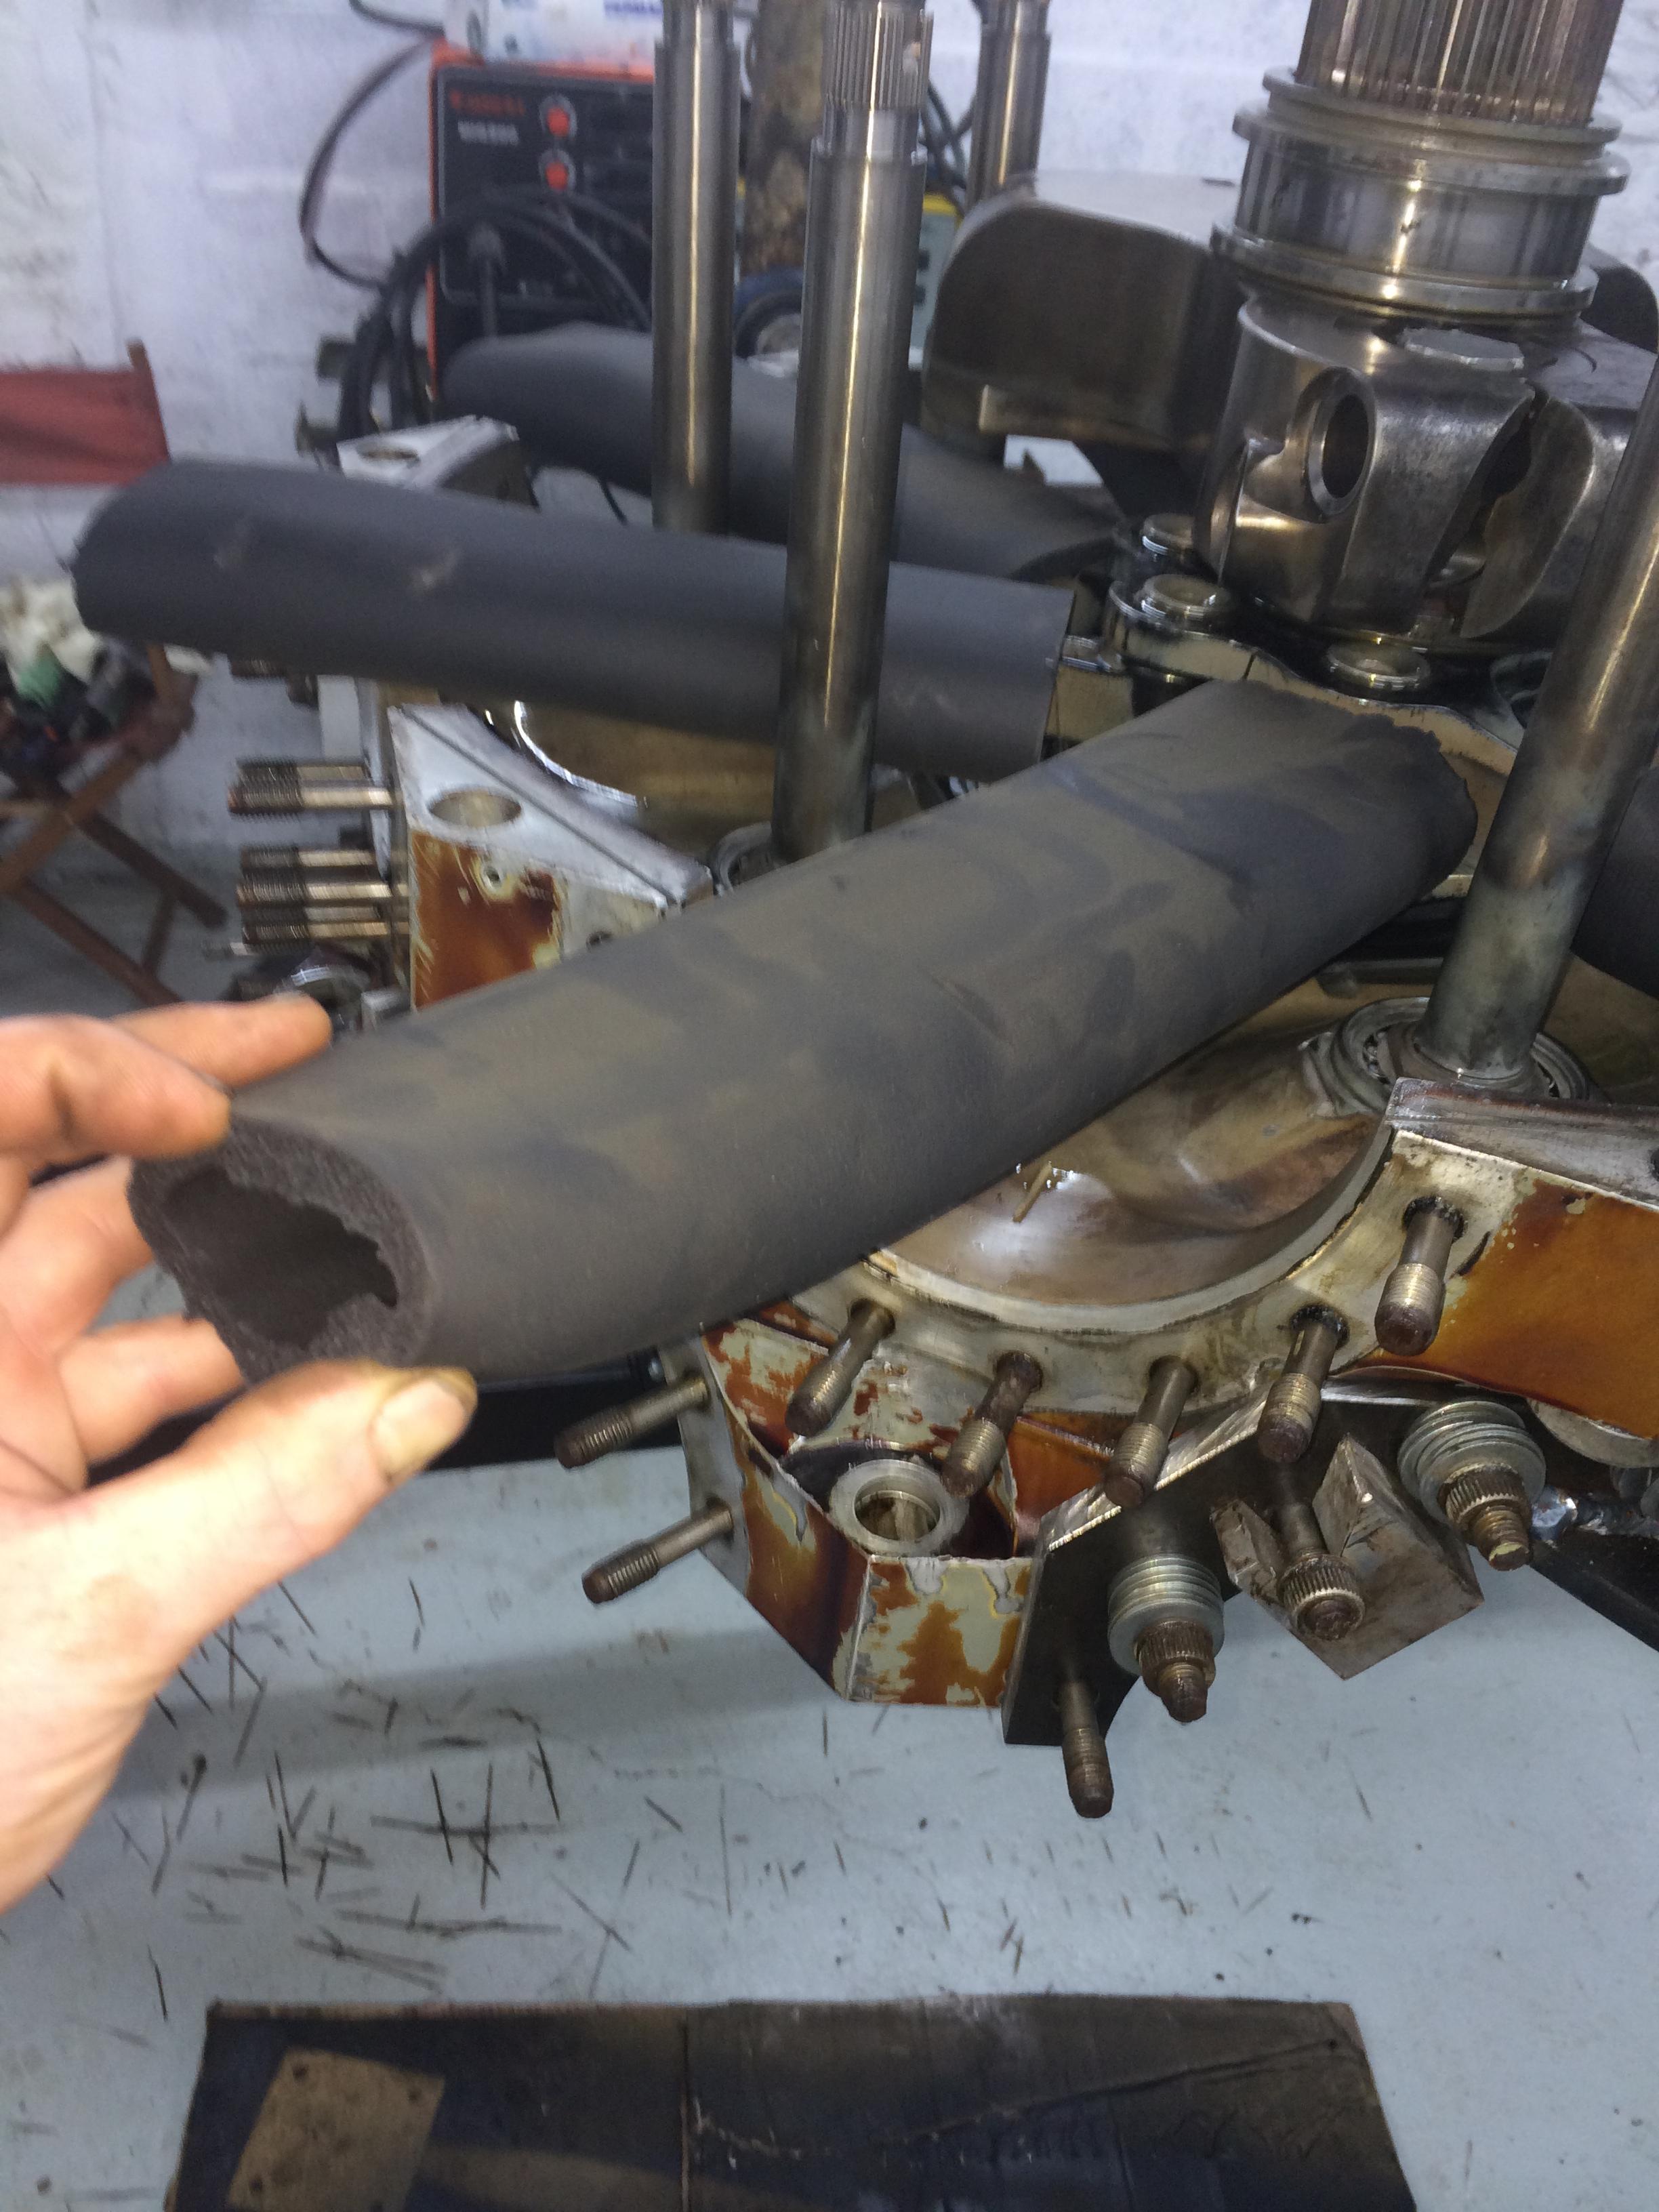
After Pete spent a lot of time cleaning and painting the Rotal prop hub and blades, it was finally ready to have the blades refitted and the whole assembly fitted back on the engine.

216 ELECTRICS 005

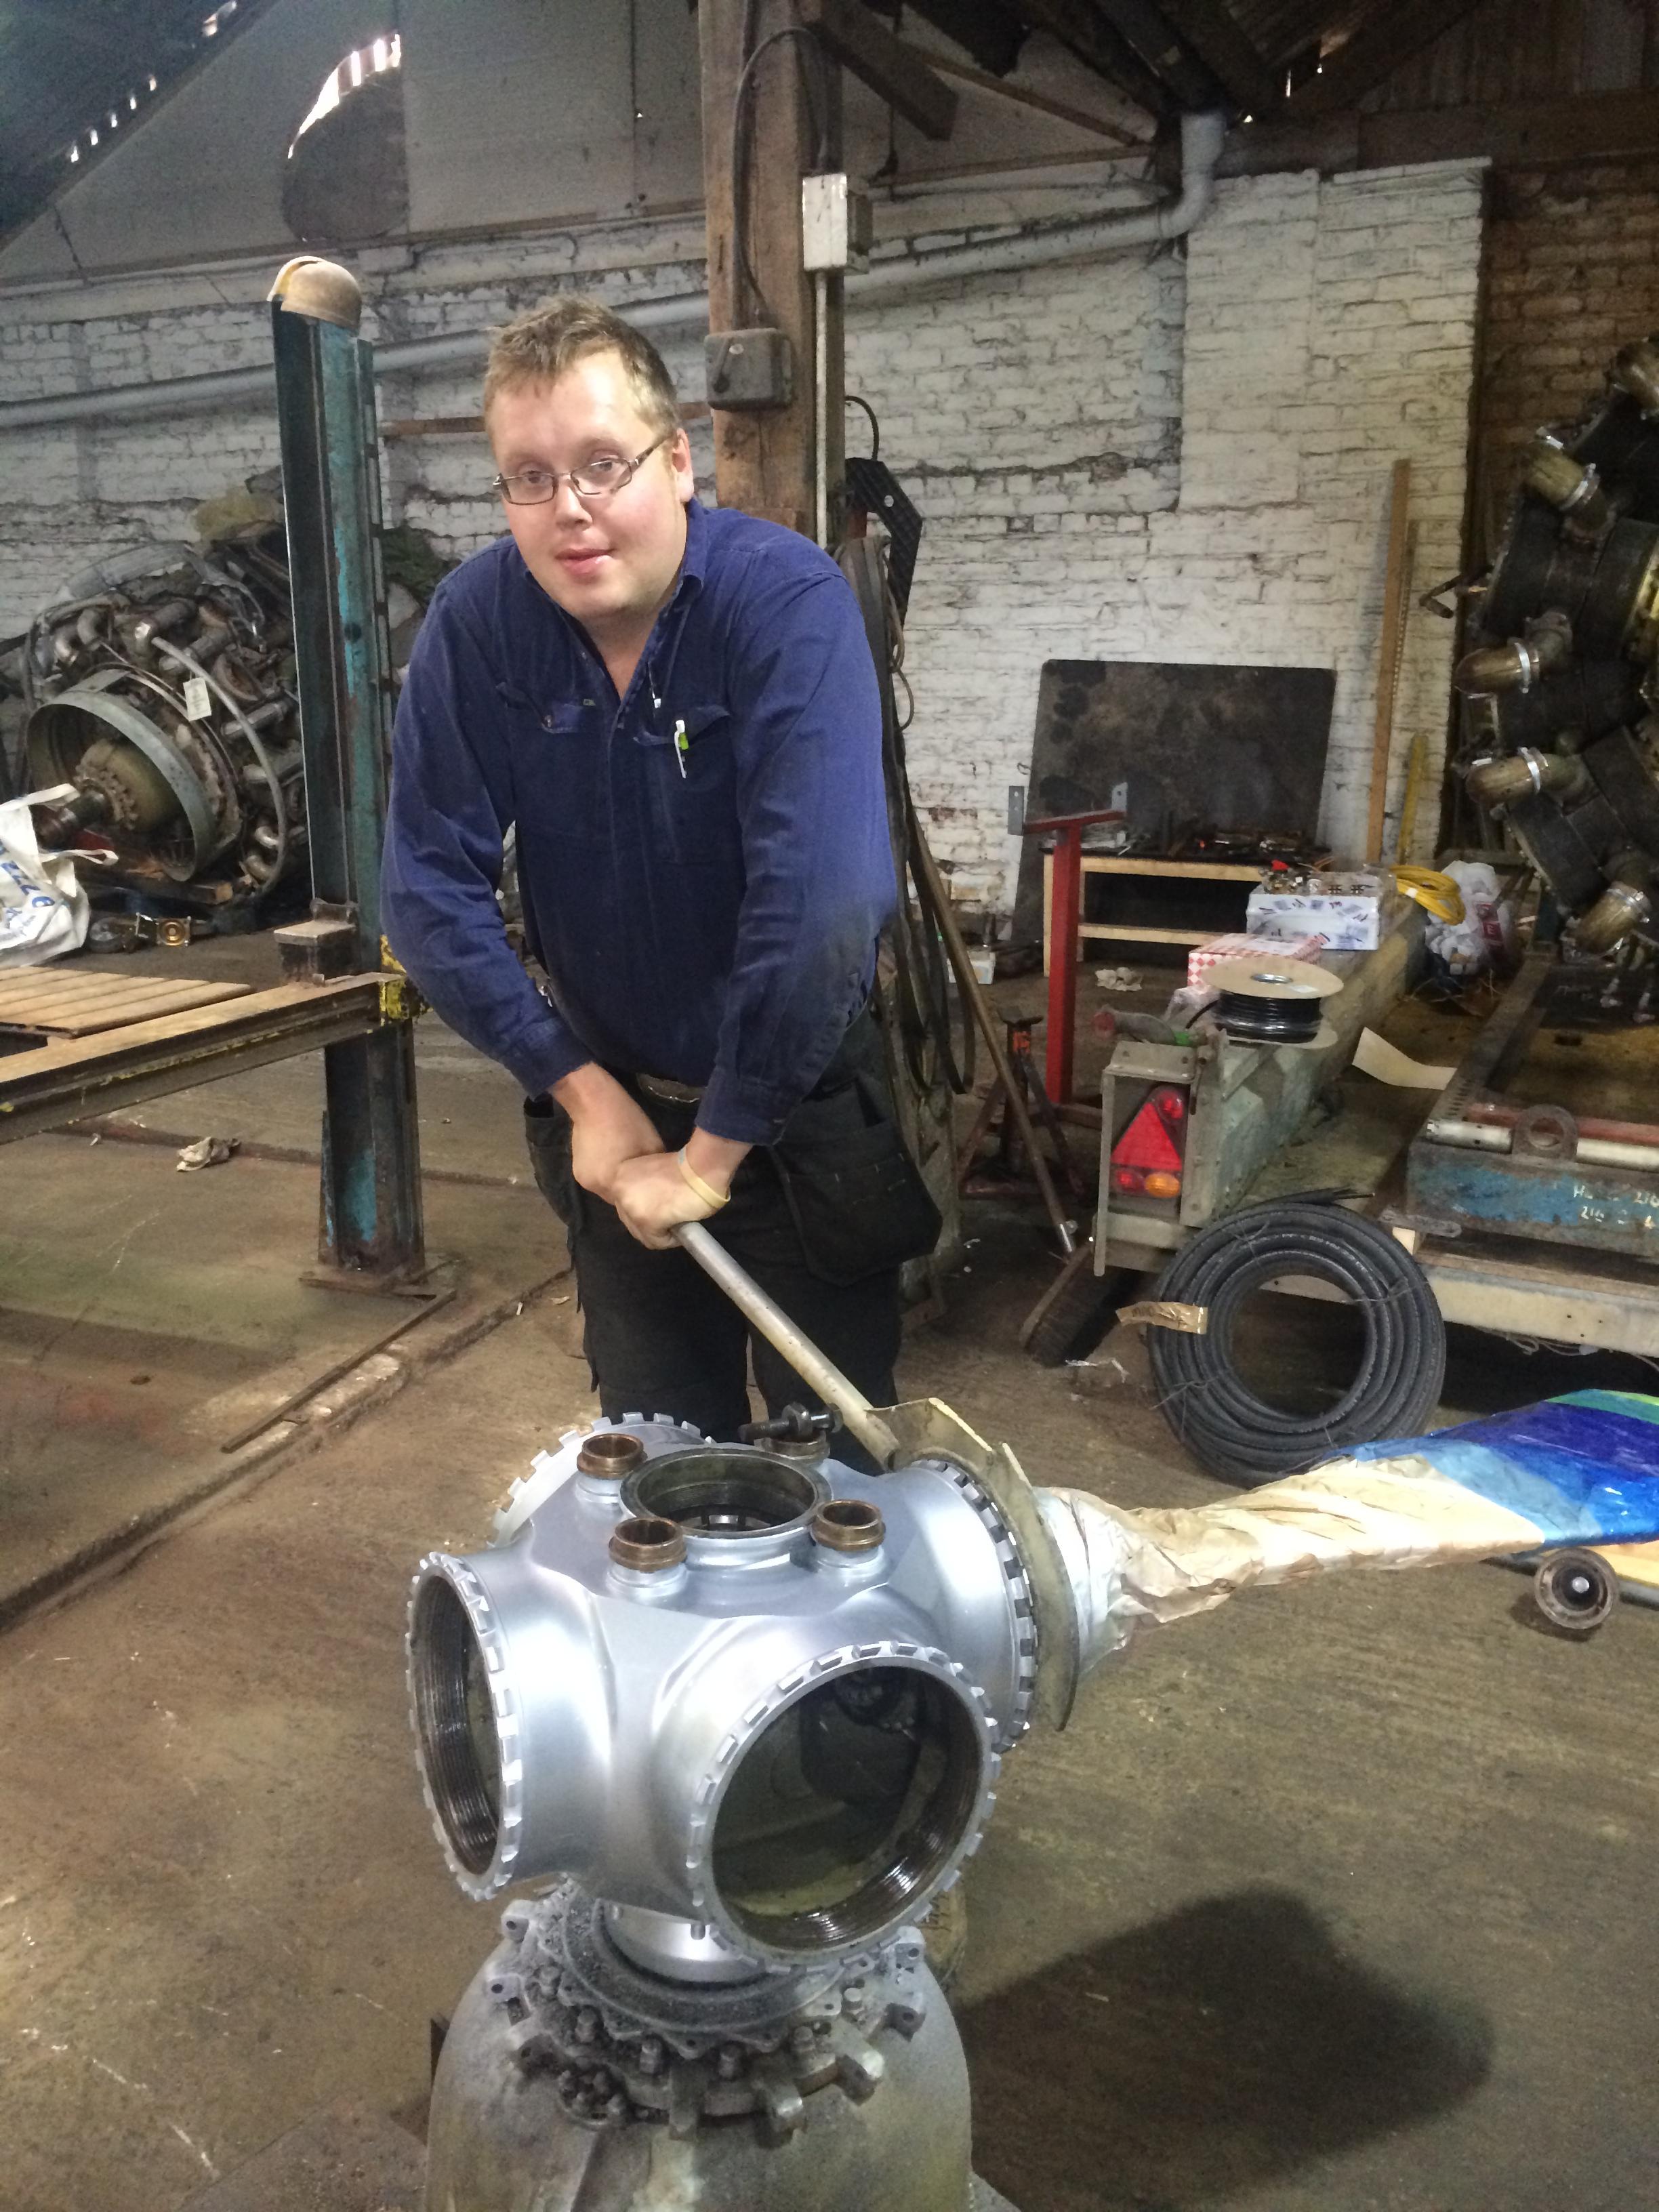
First thing tighten the blades by hand.

216 ELECTRICS 008 216 ELECTRICS 007

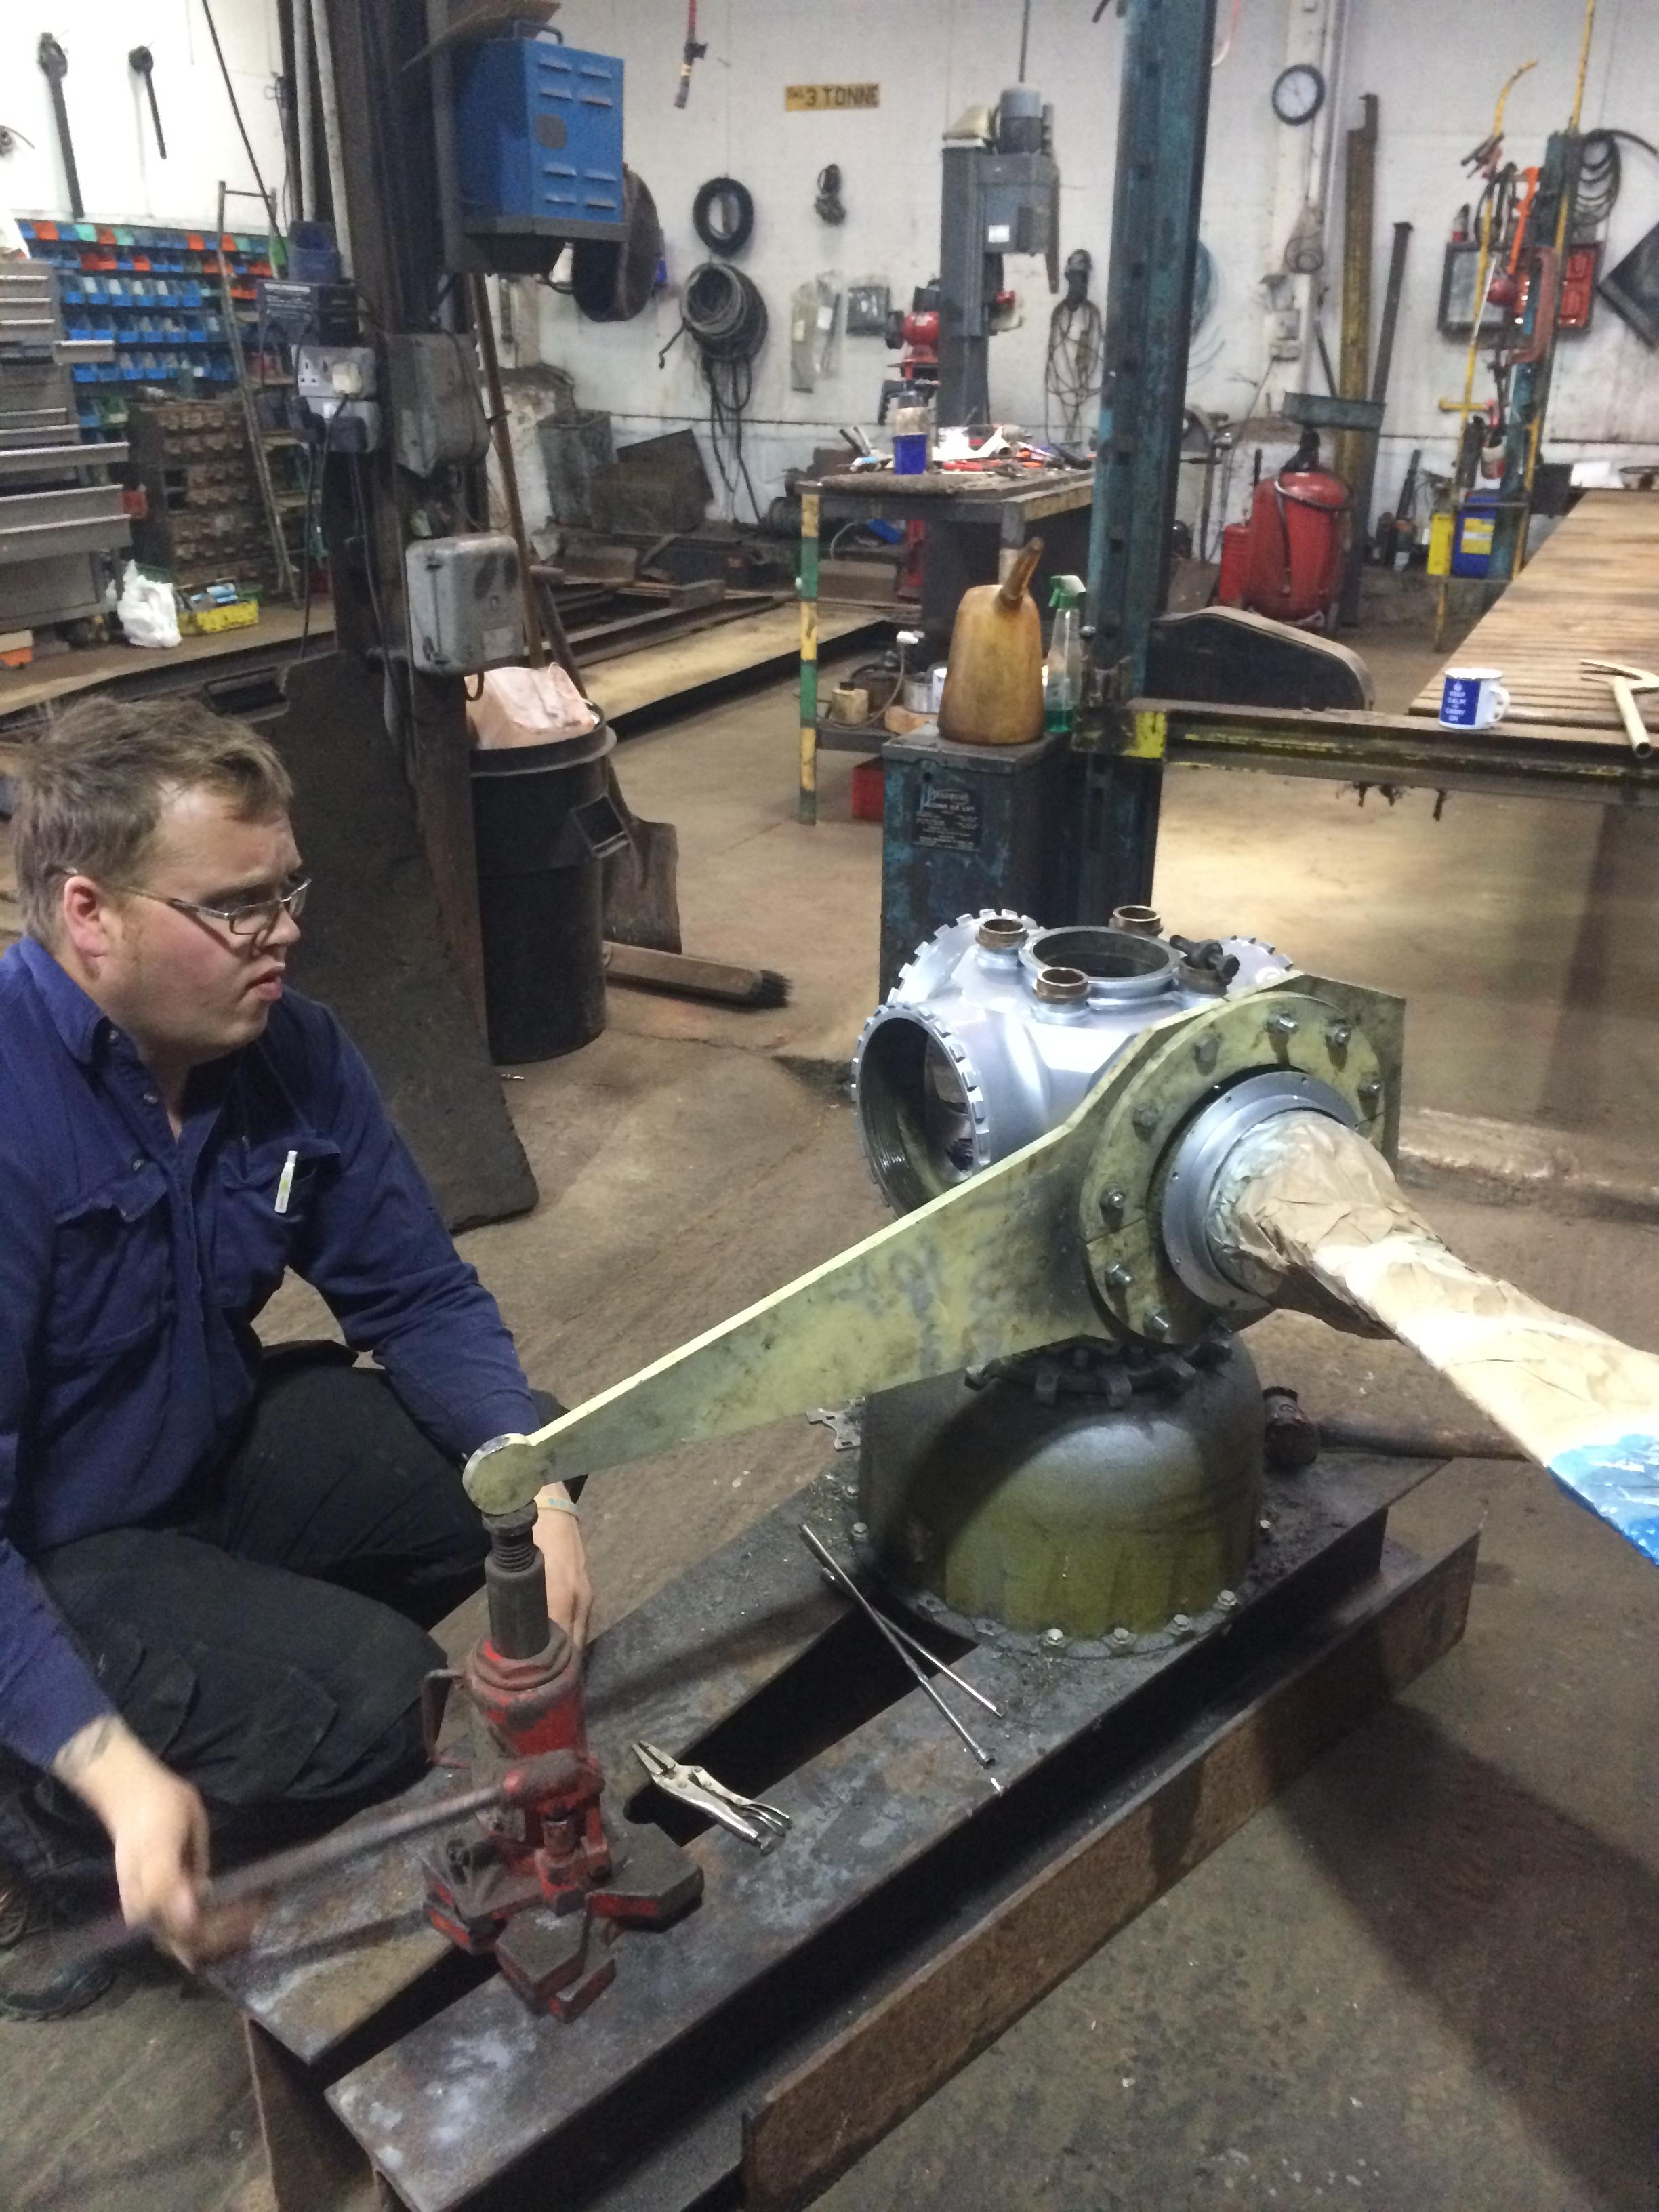
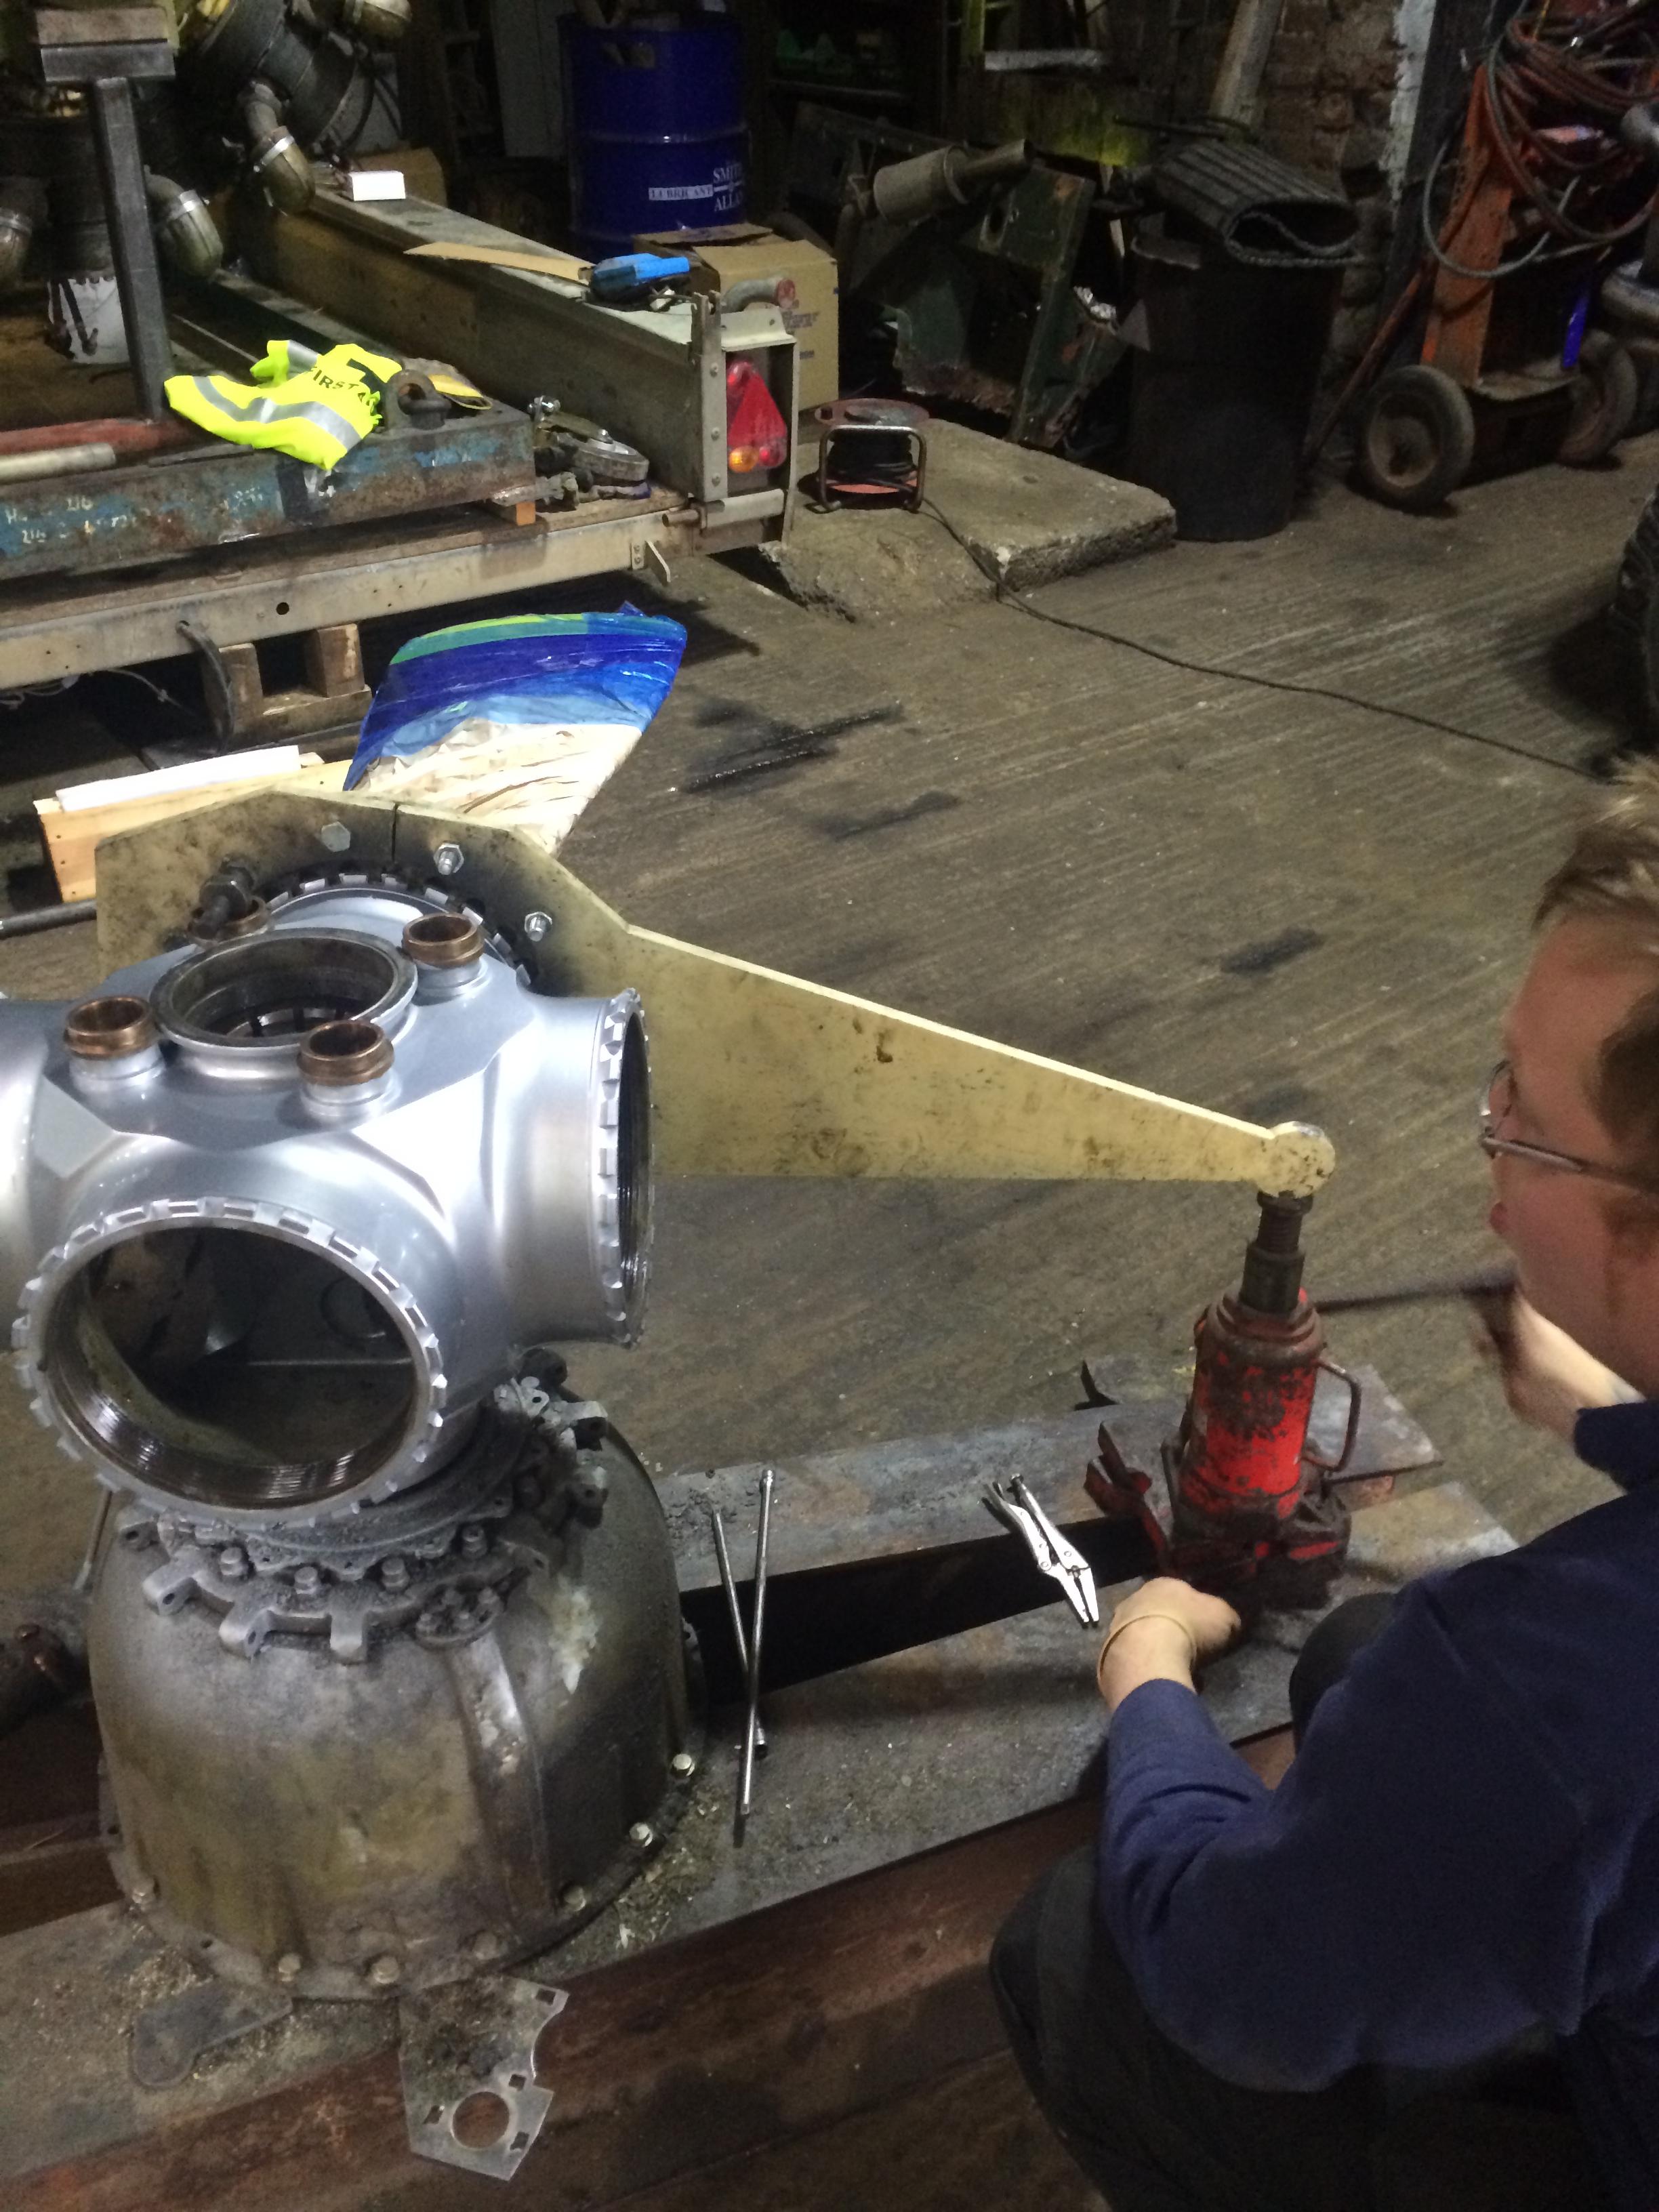
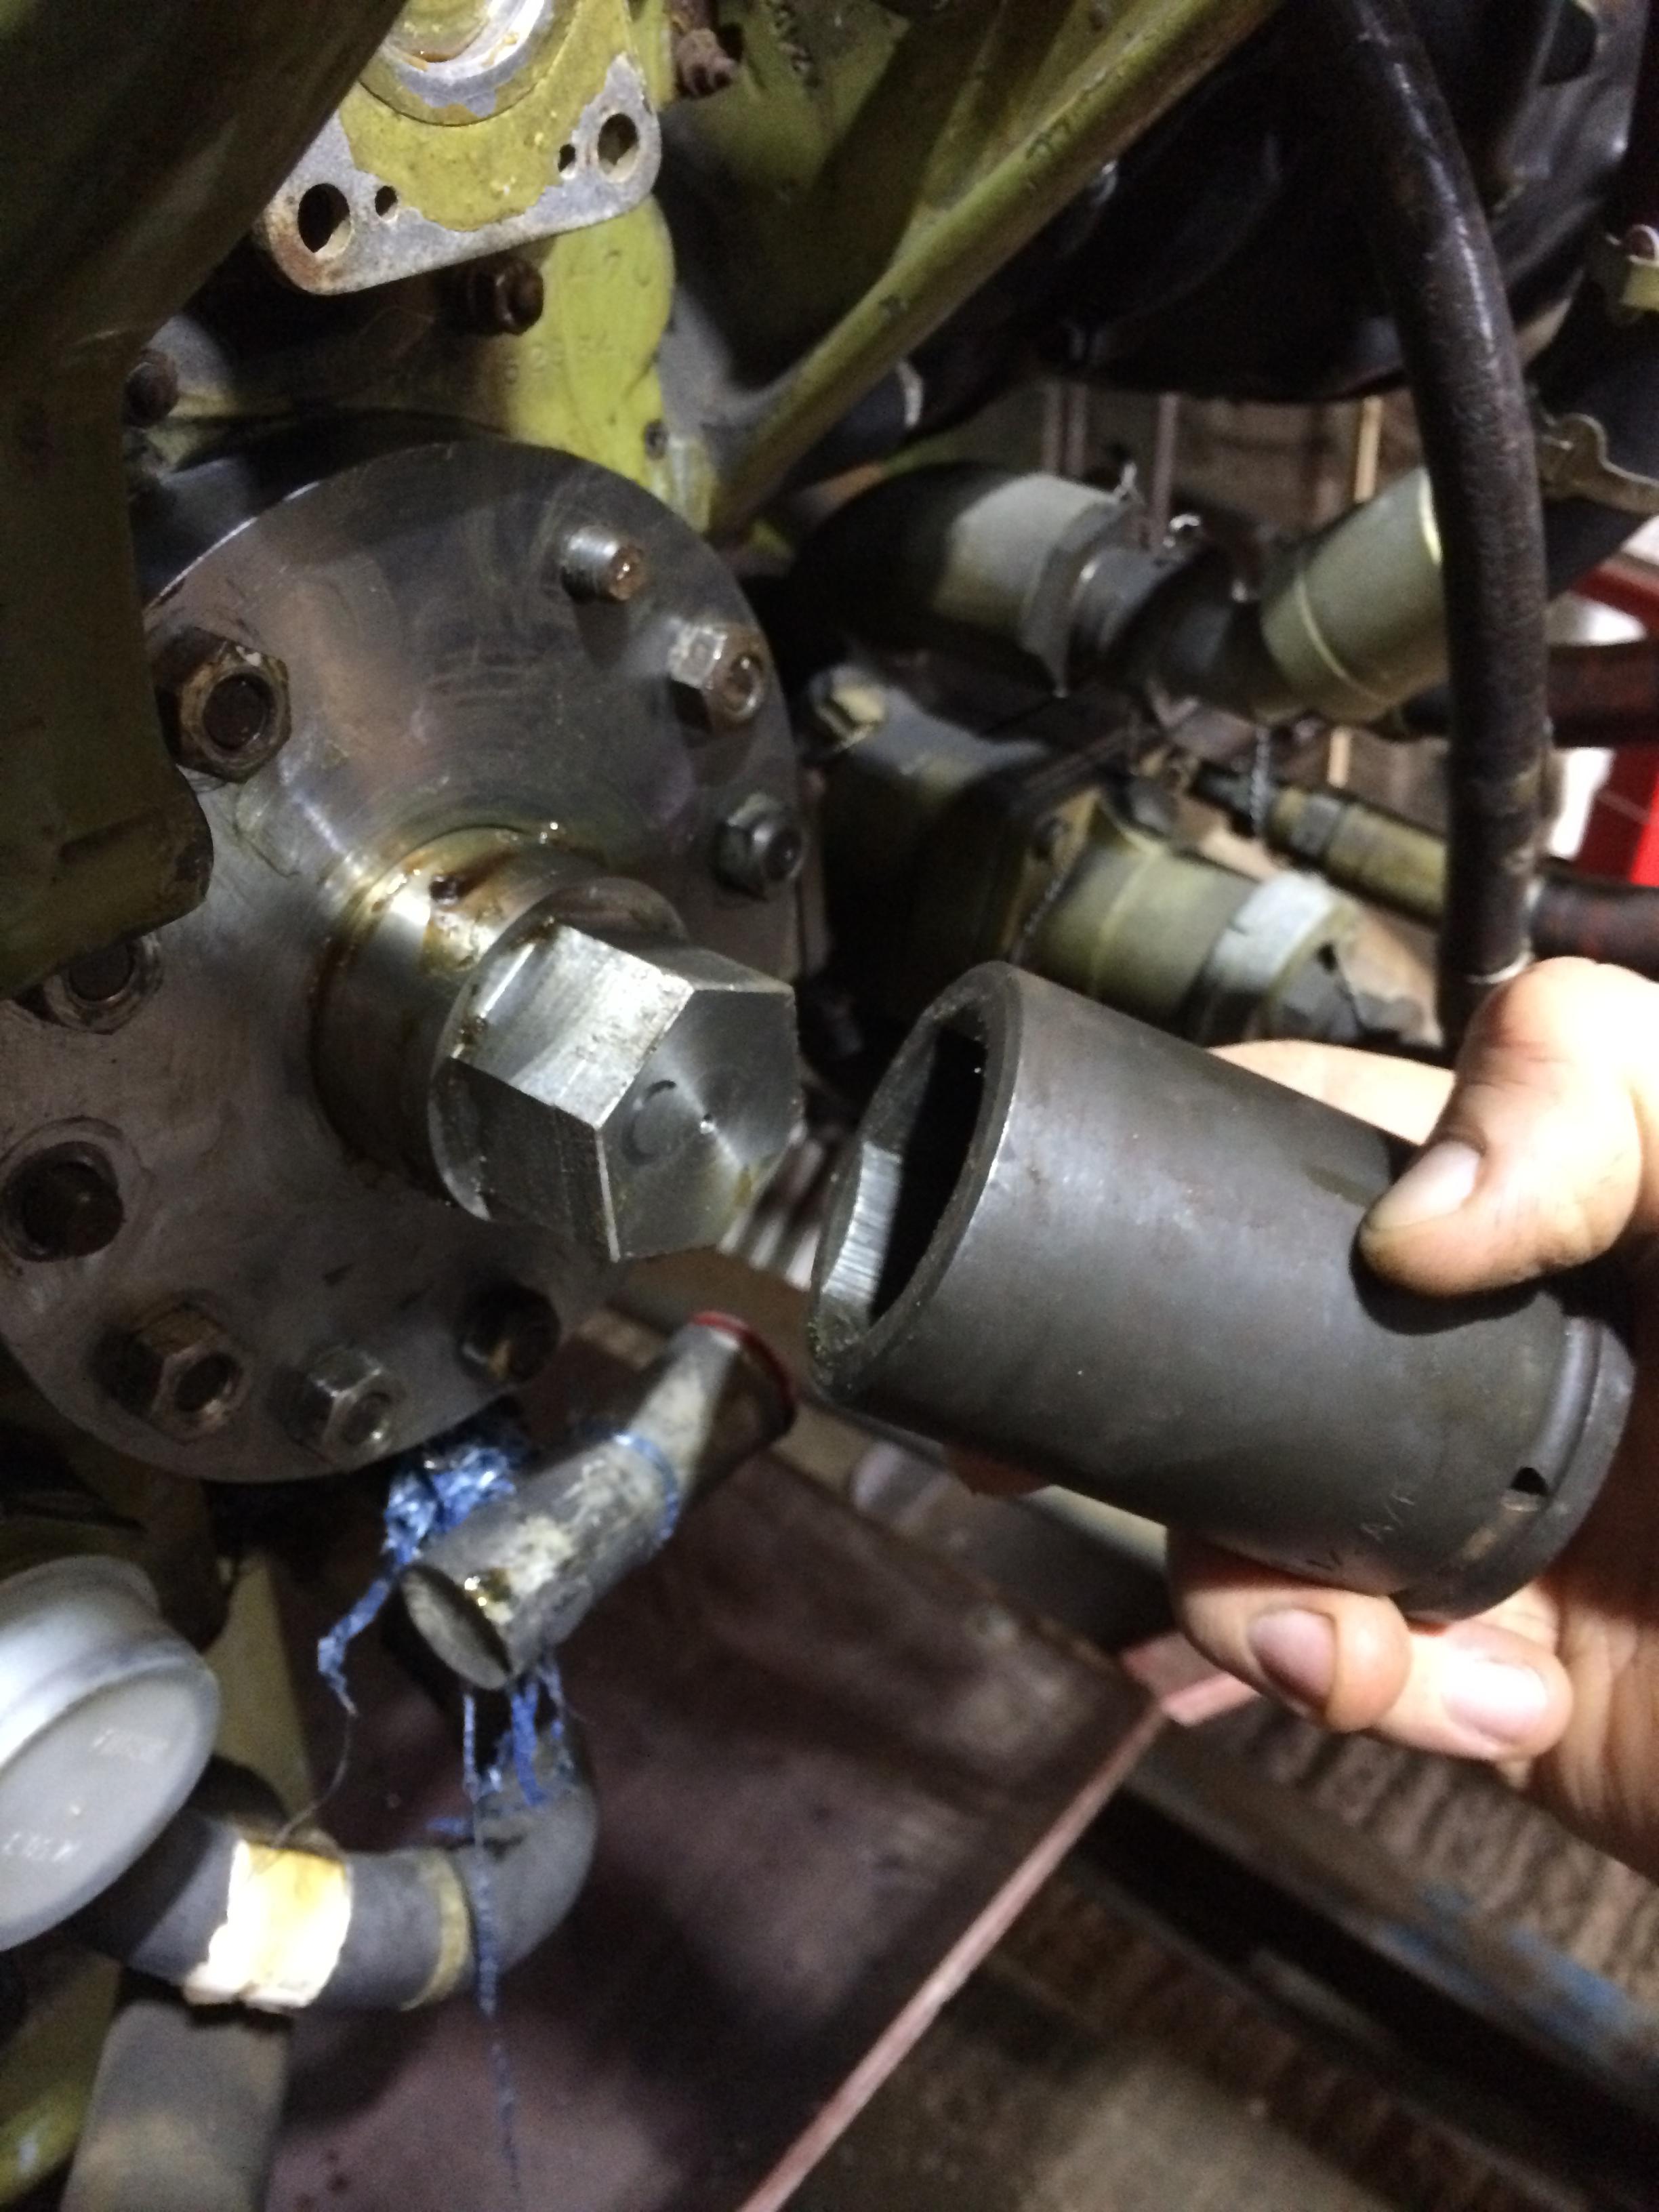
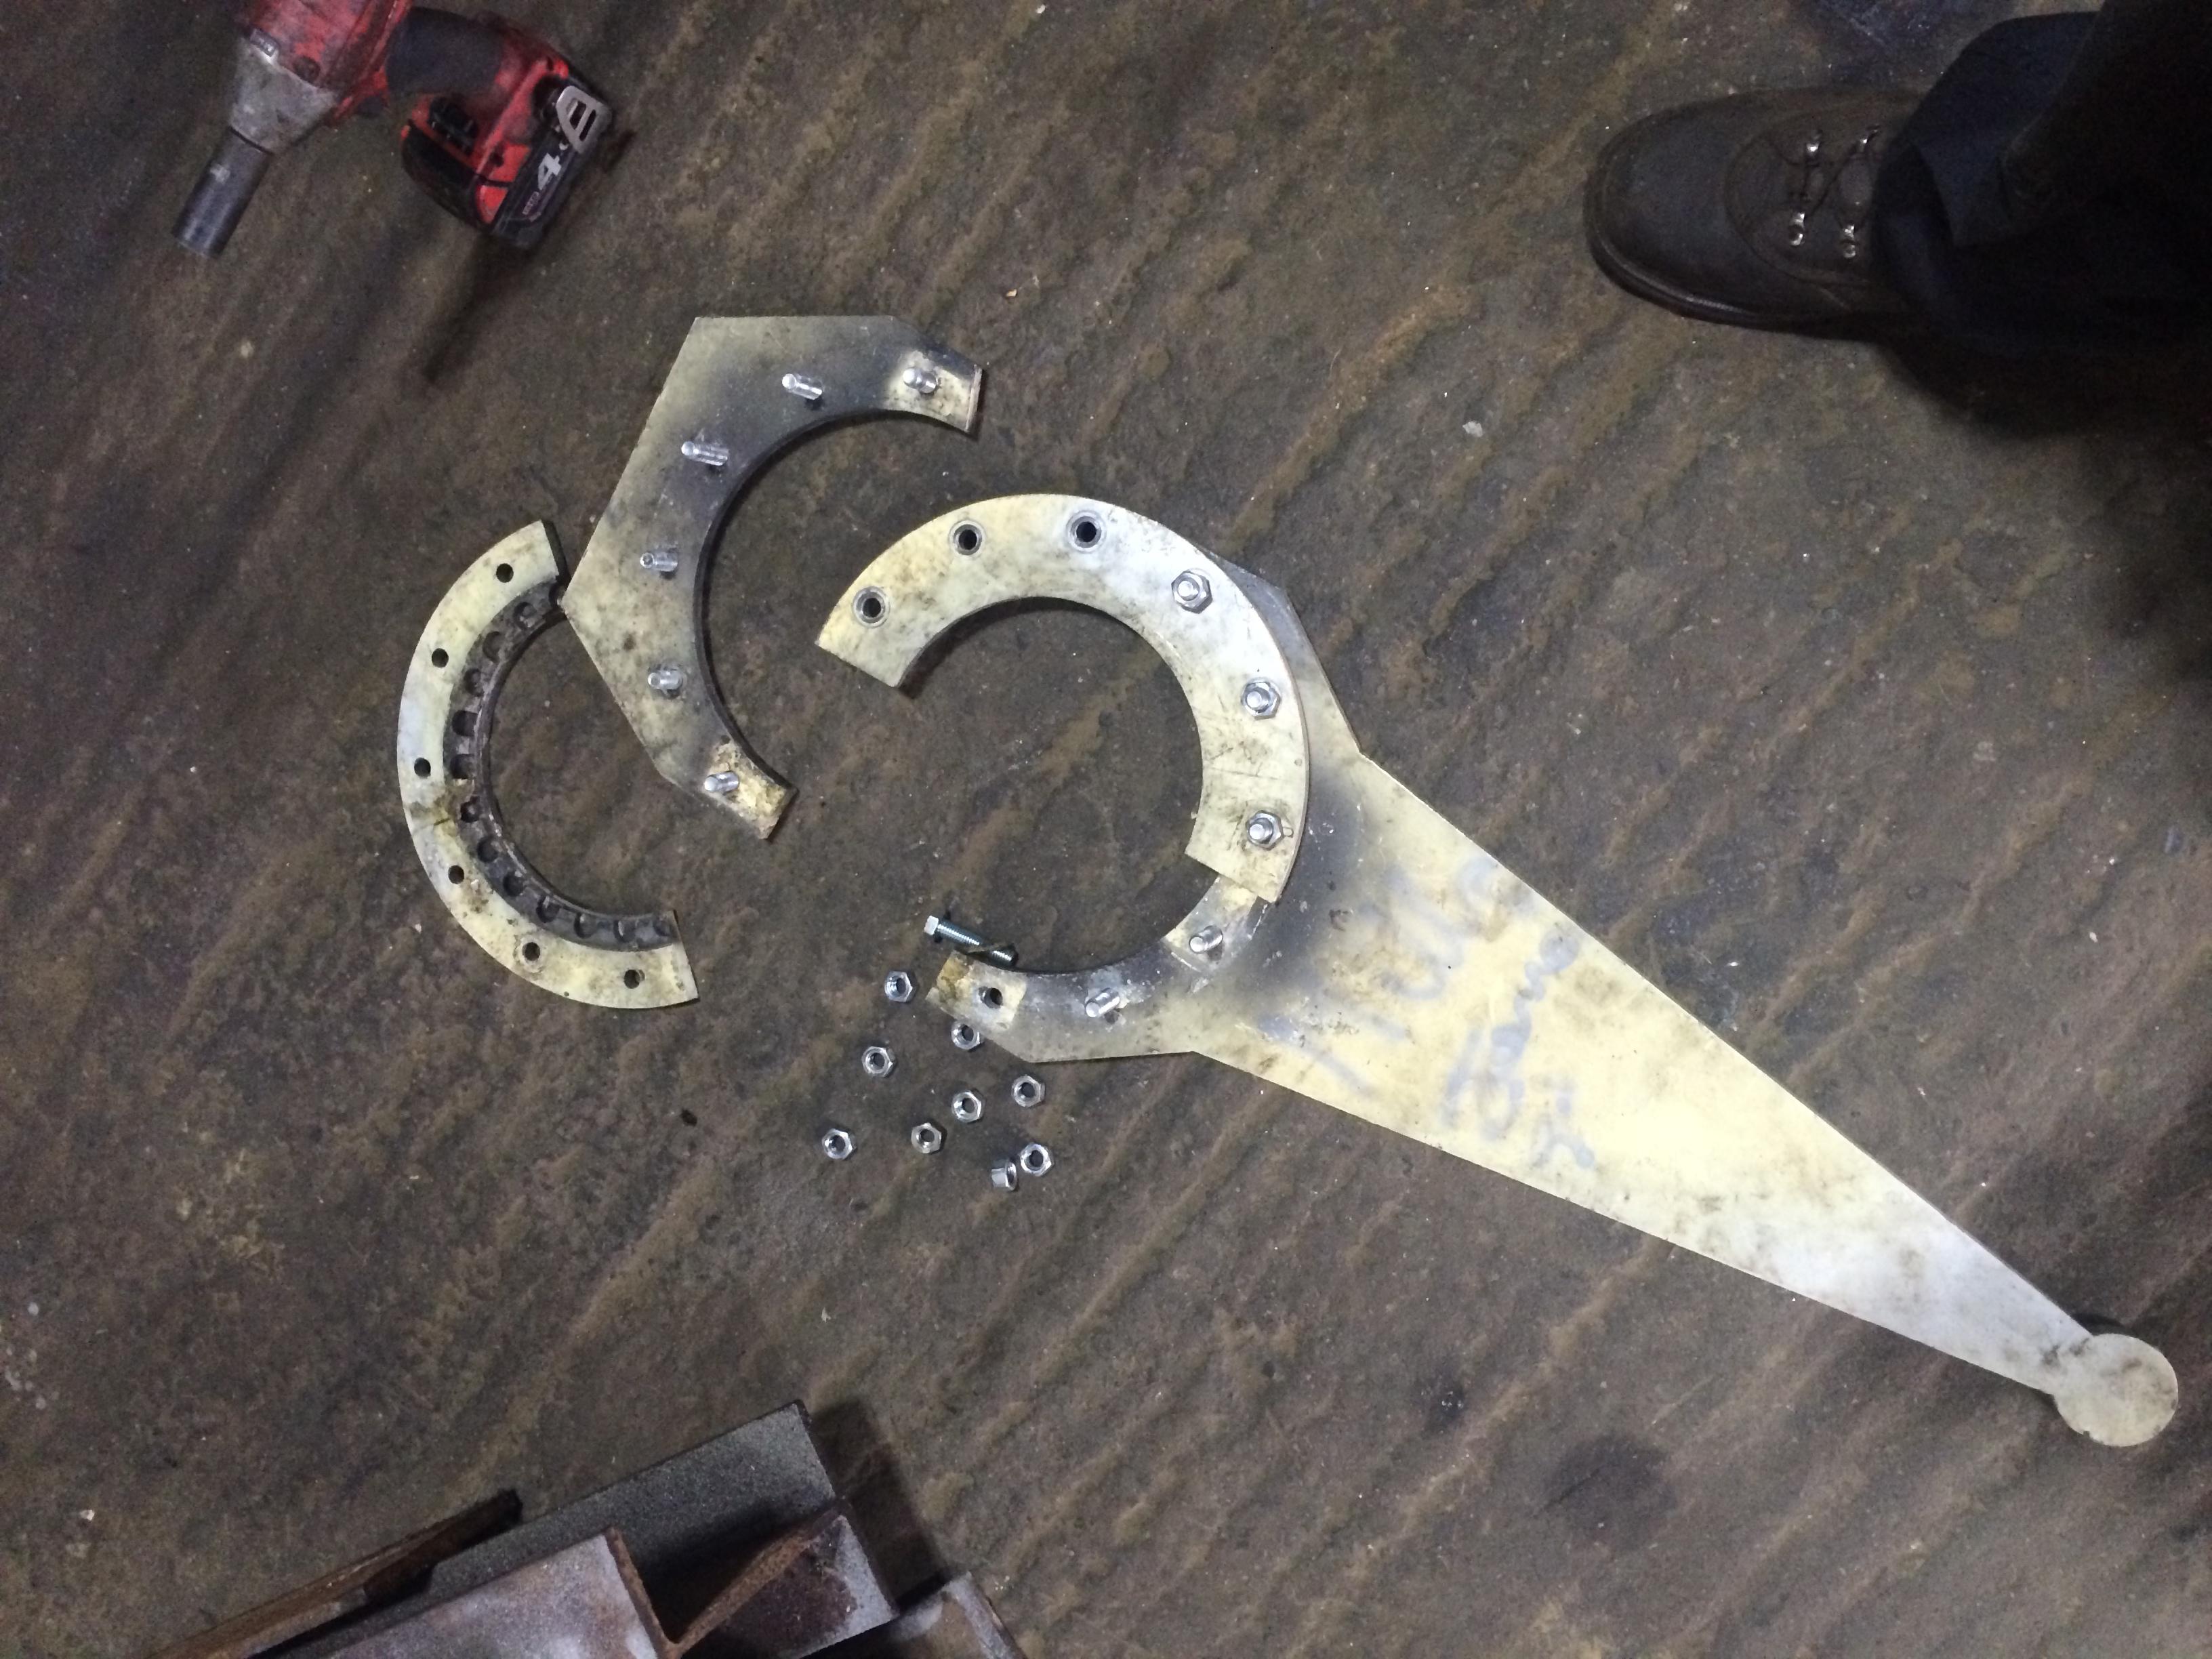
Then tighten them up using Brian’s Big Spanner!

216 ELECTRICS 006


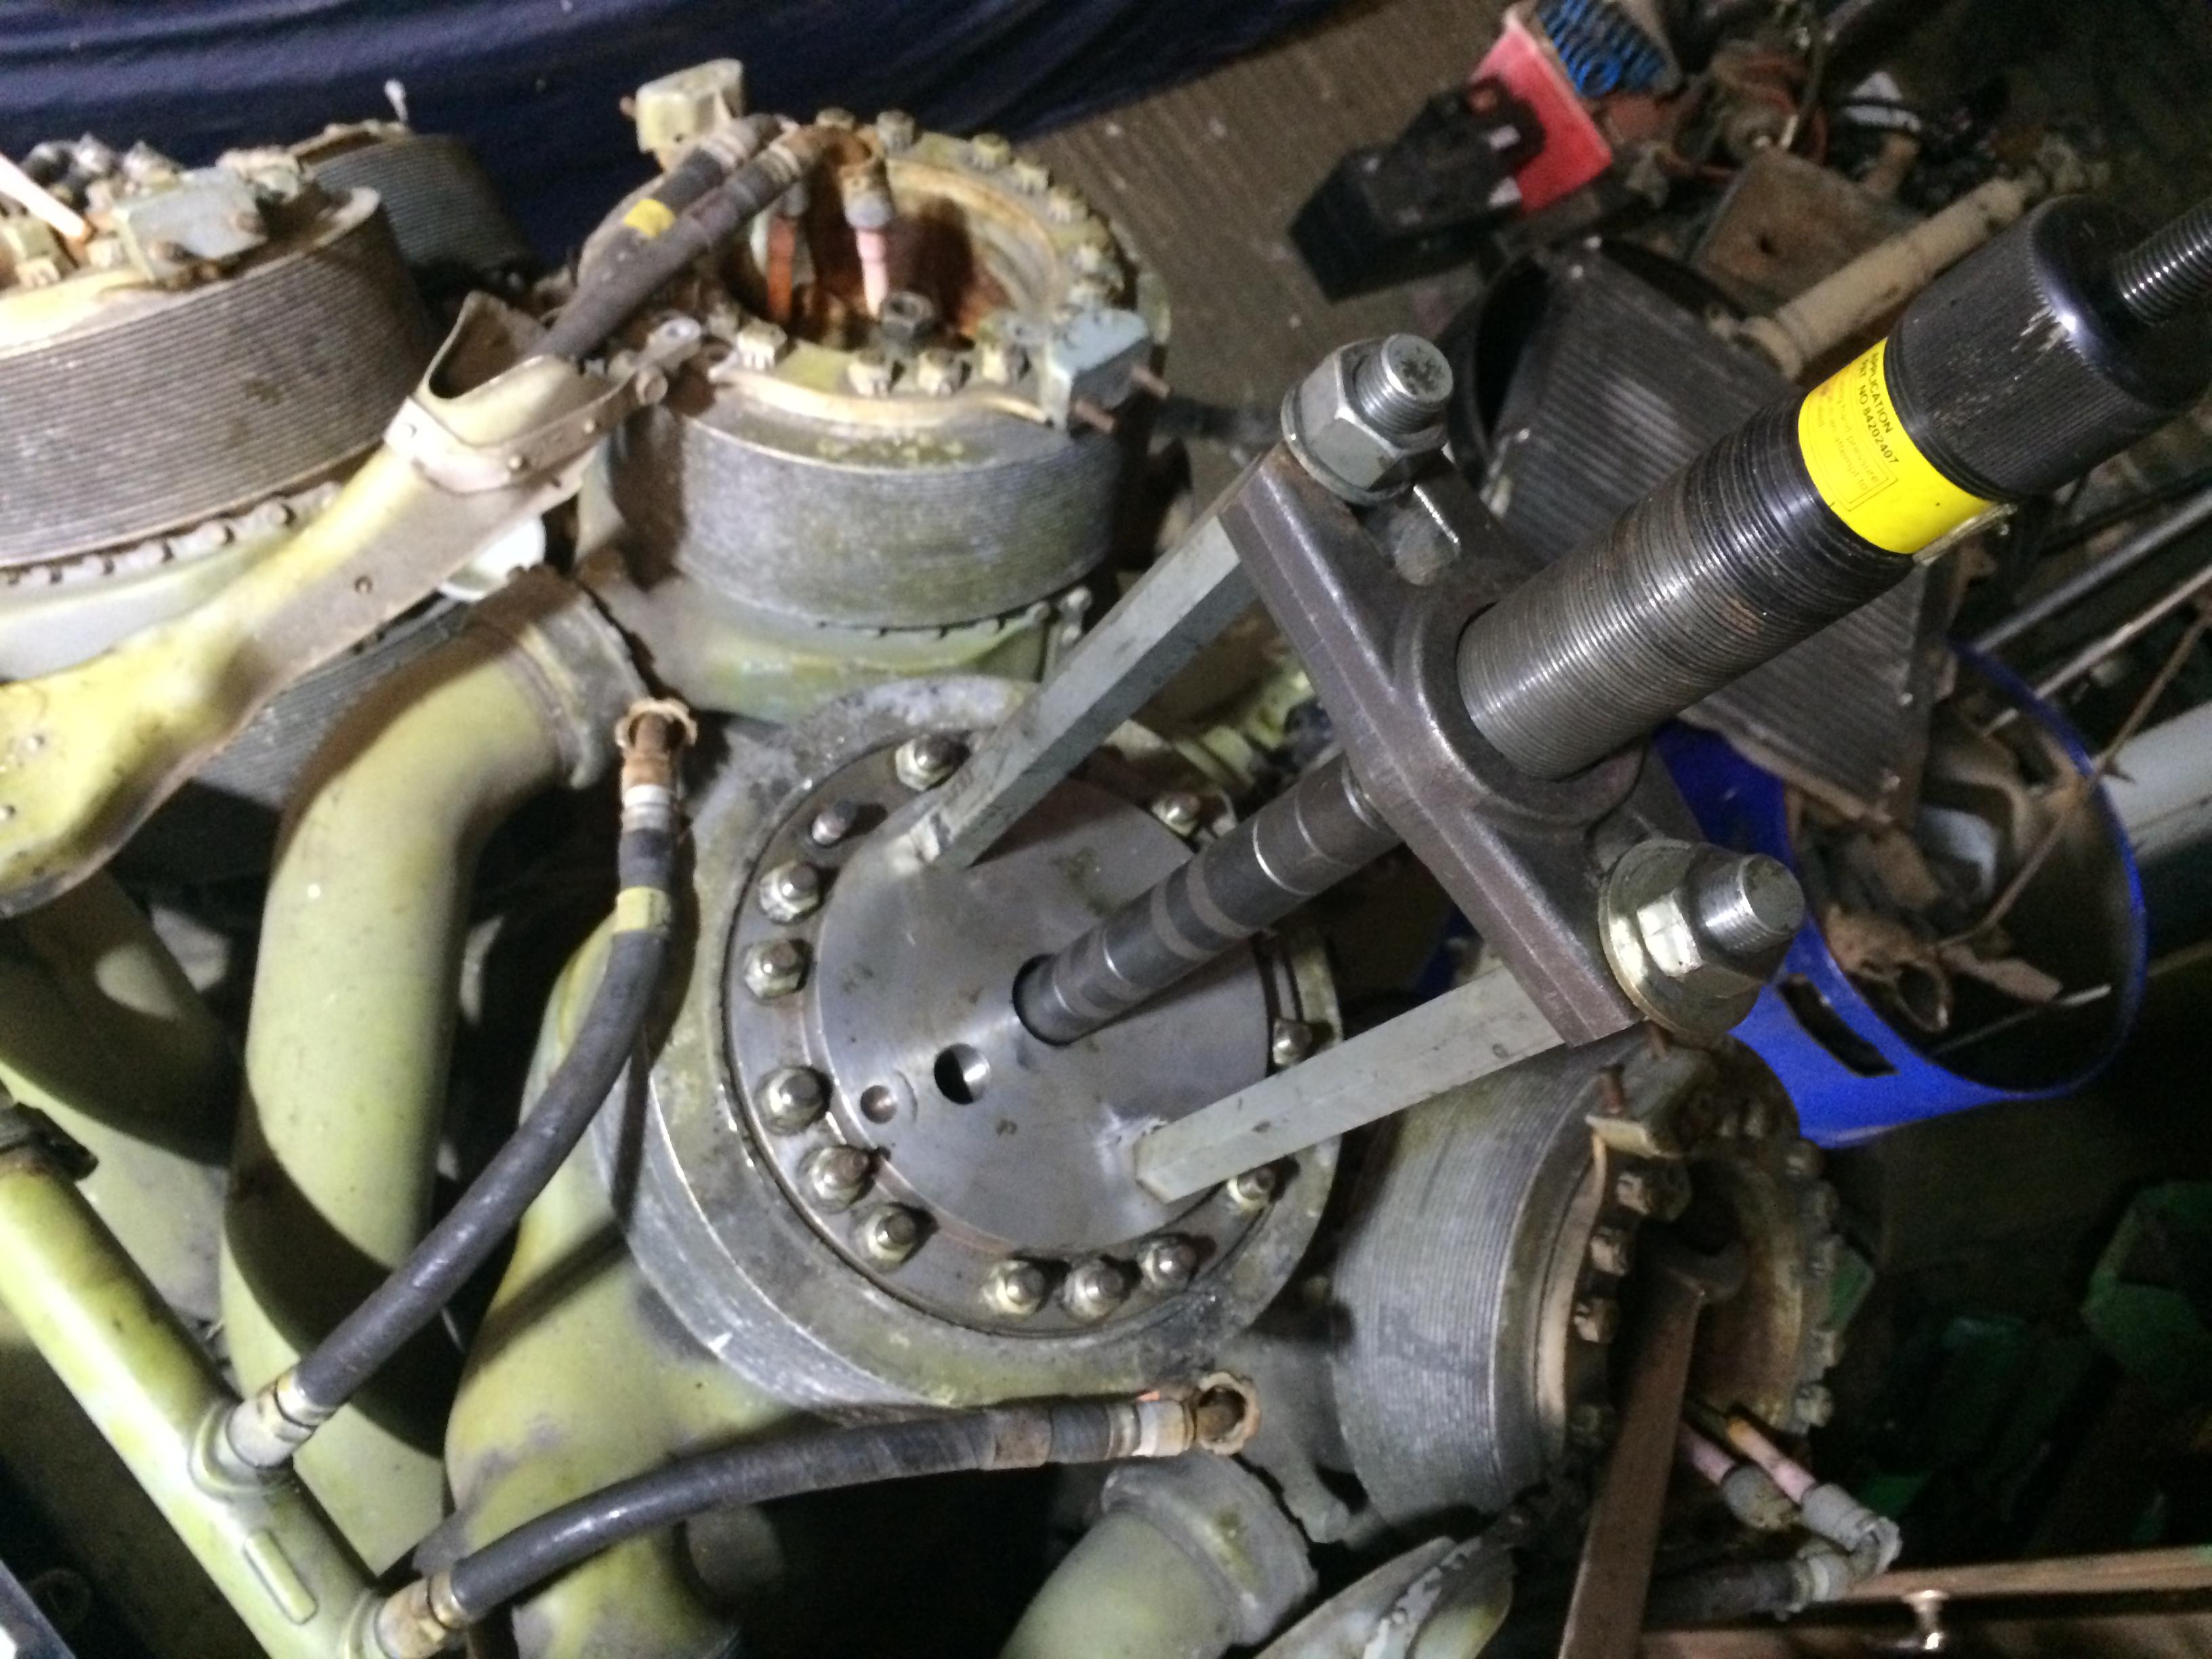
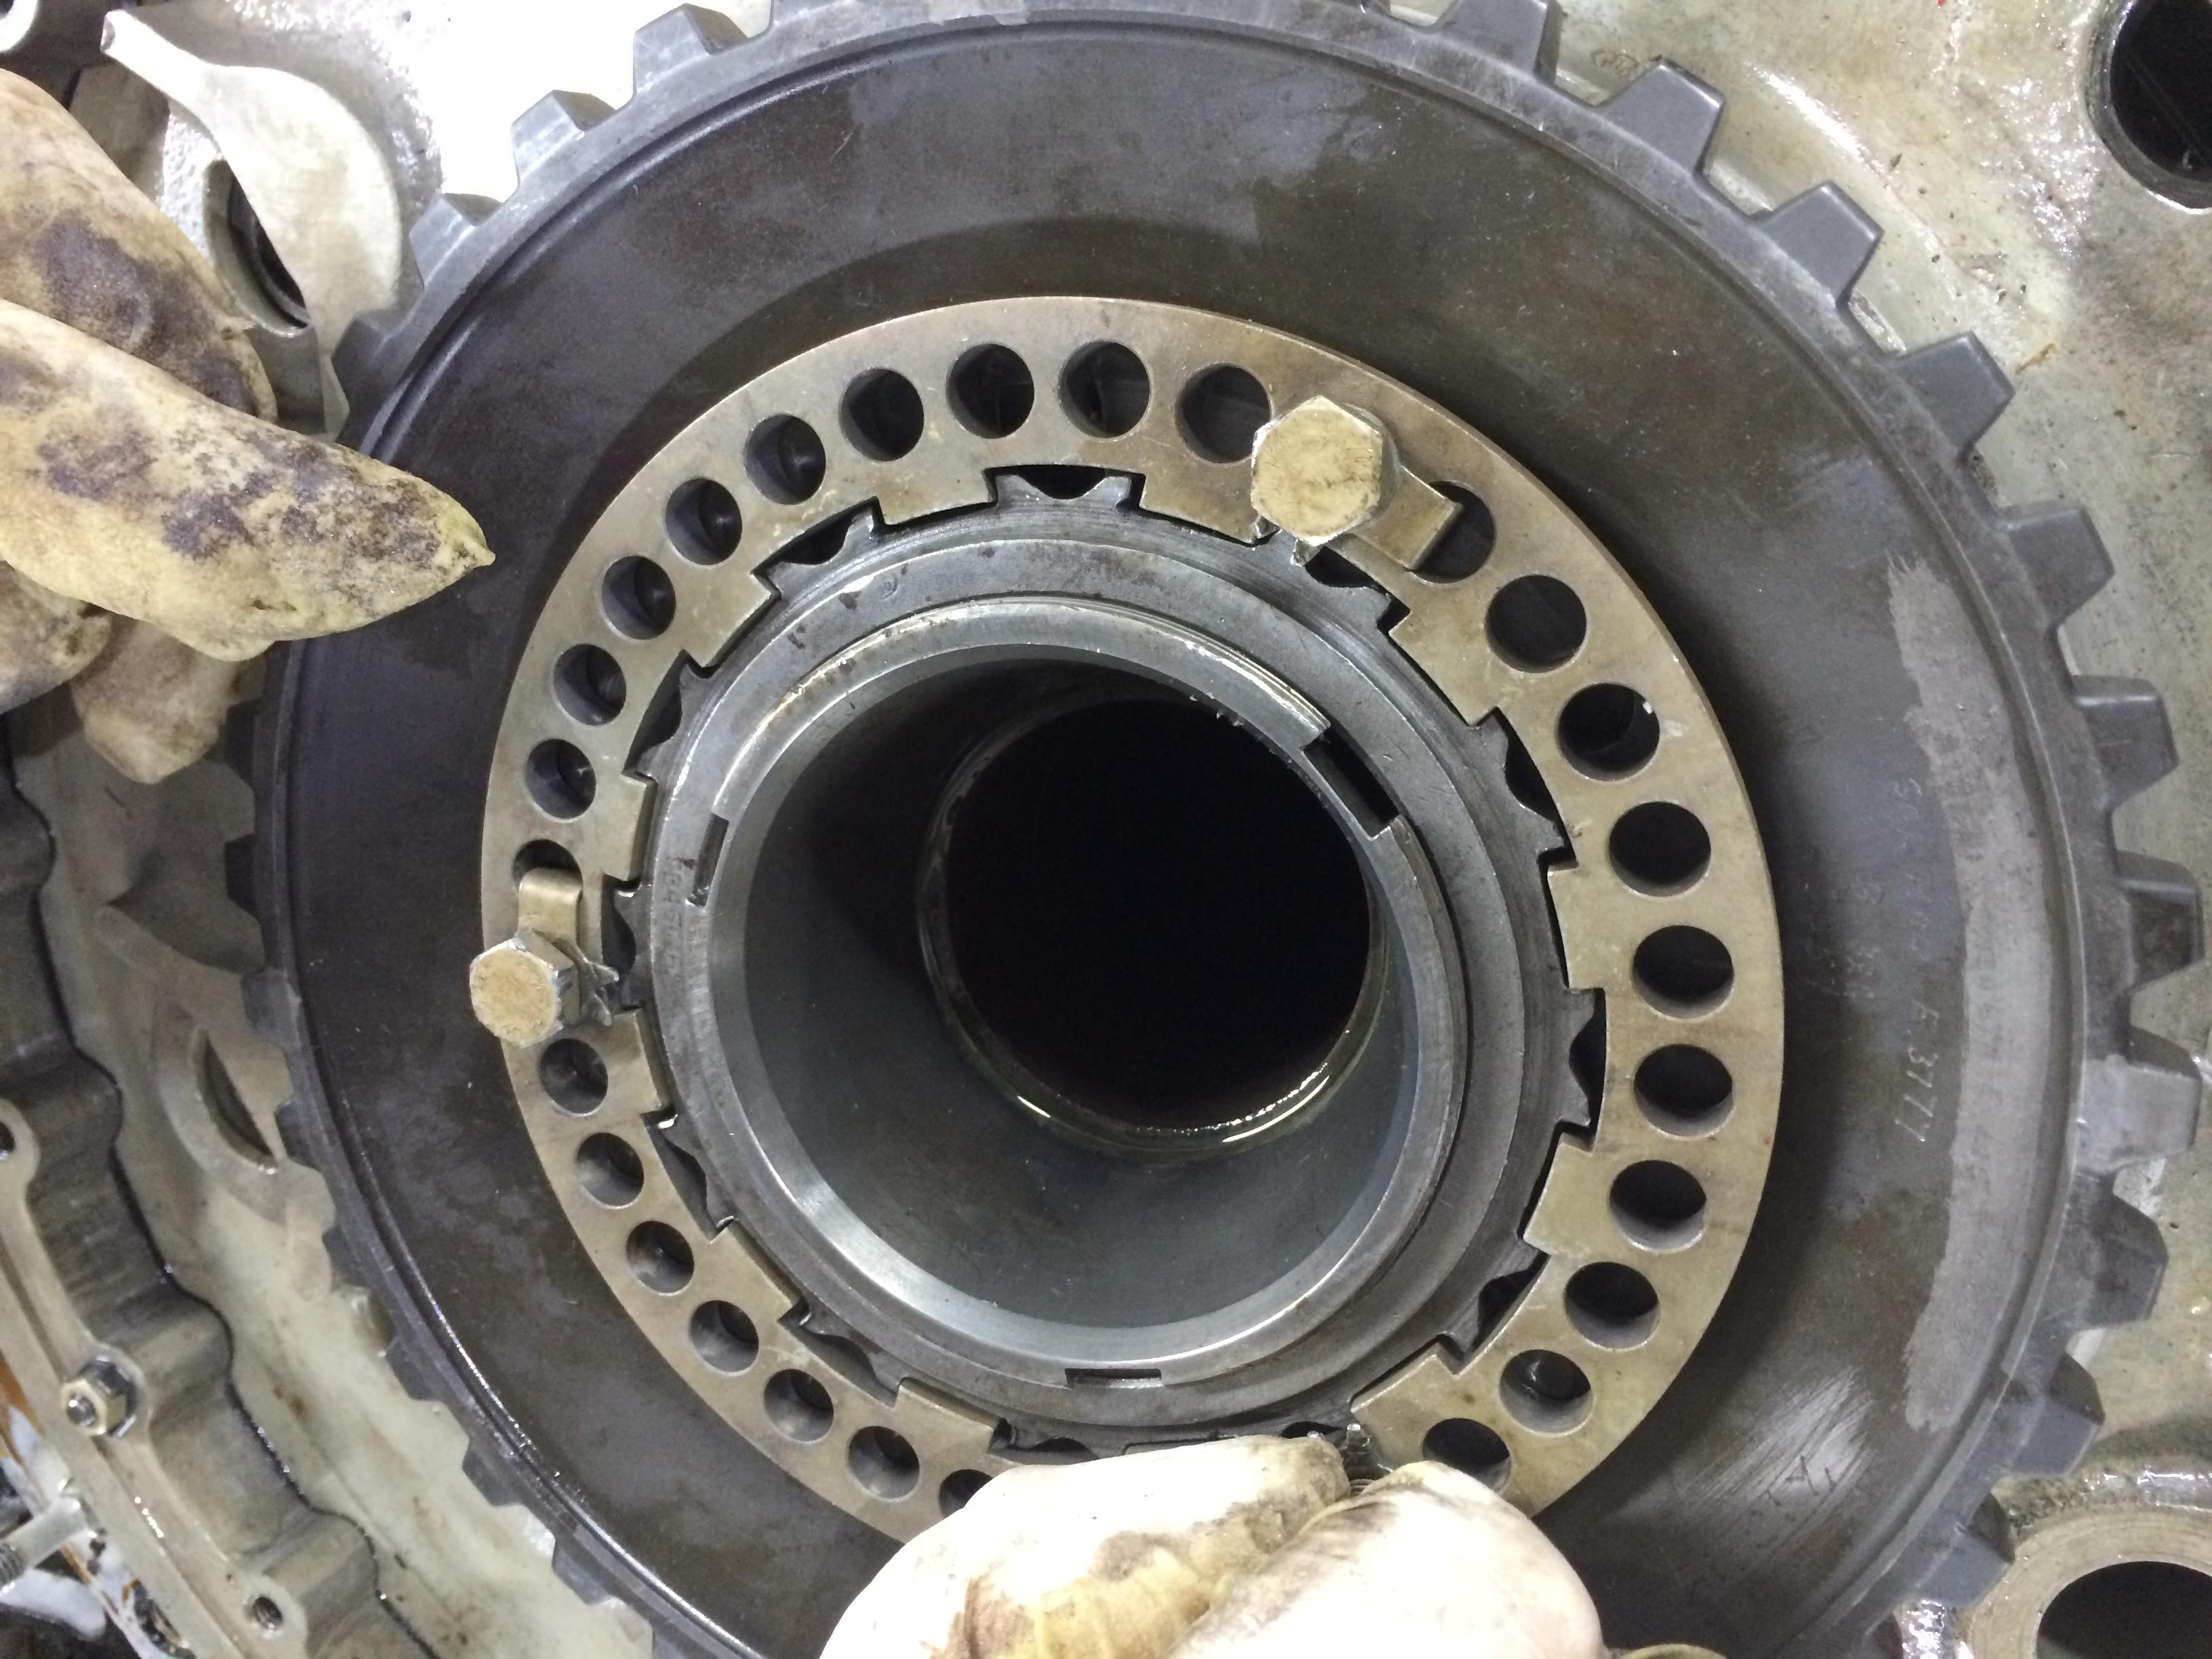
Once all the blades are fitted , with the help from a willing customer Andrew, we gently rotated the whole prop and eased it onto the engine.

216 ELECTRICS 010 216 ELECTRICS 011


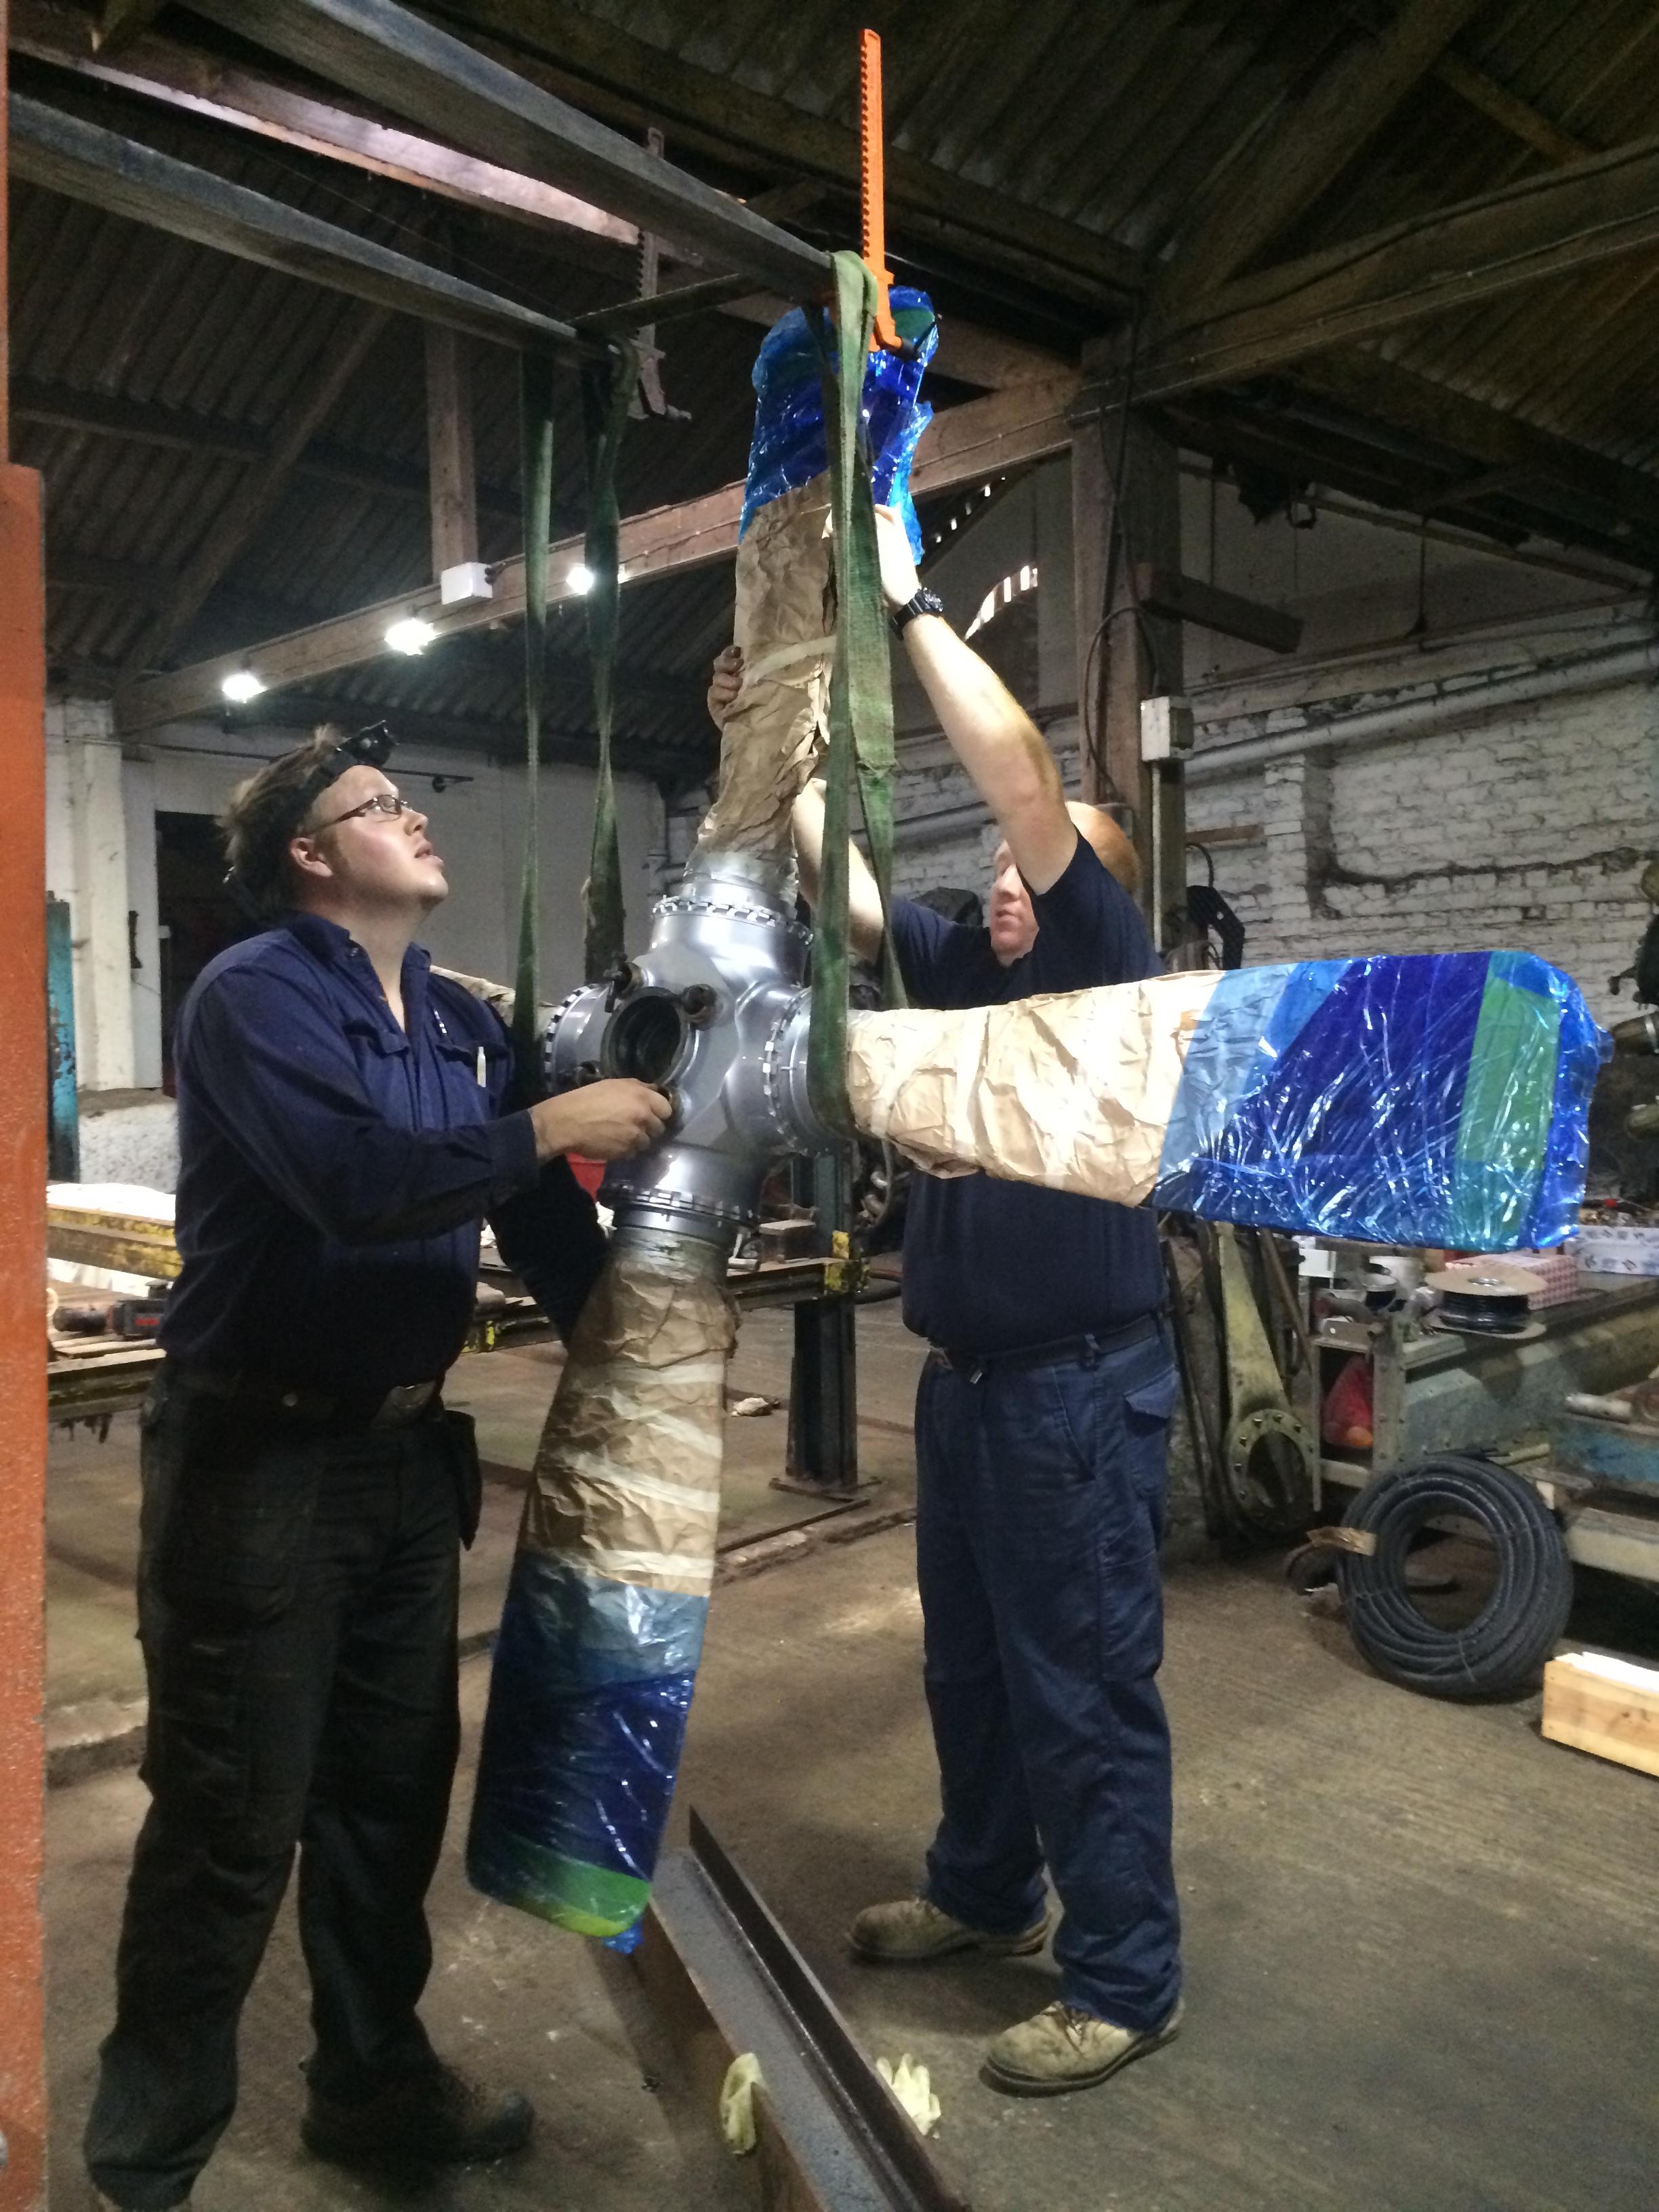
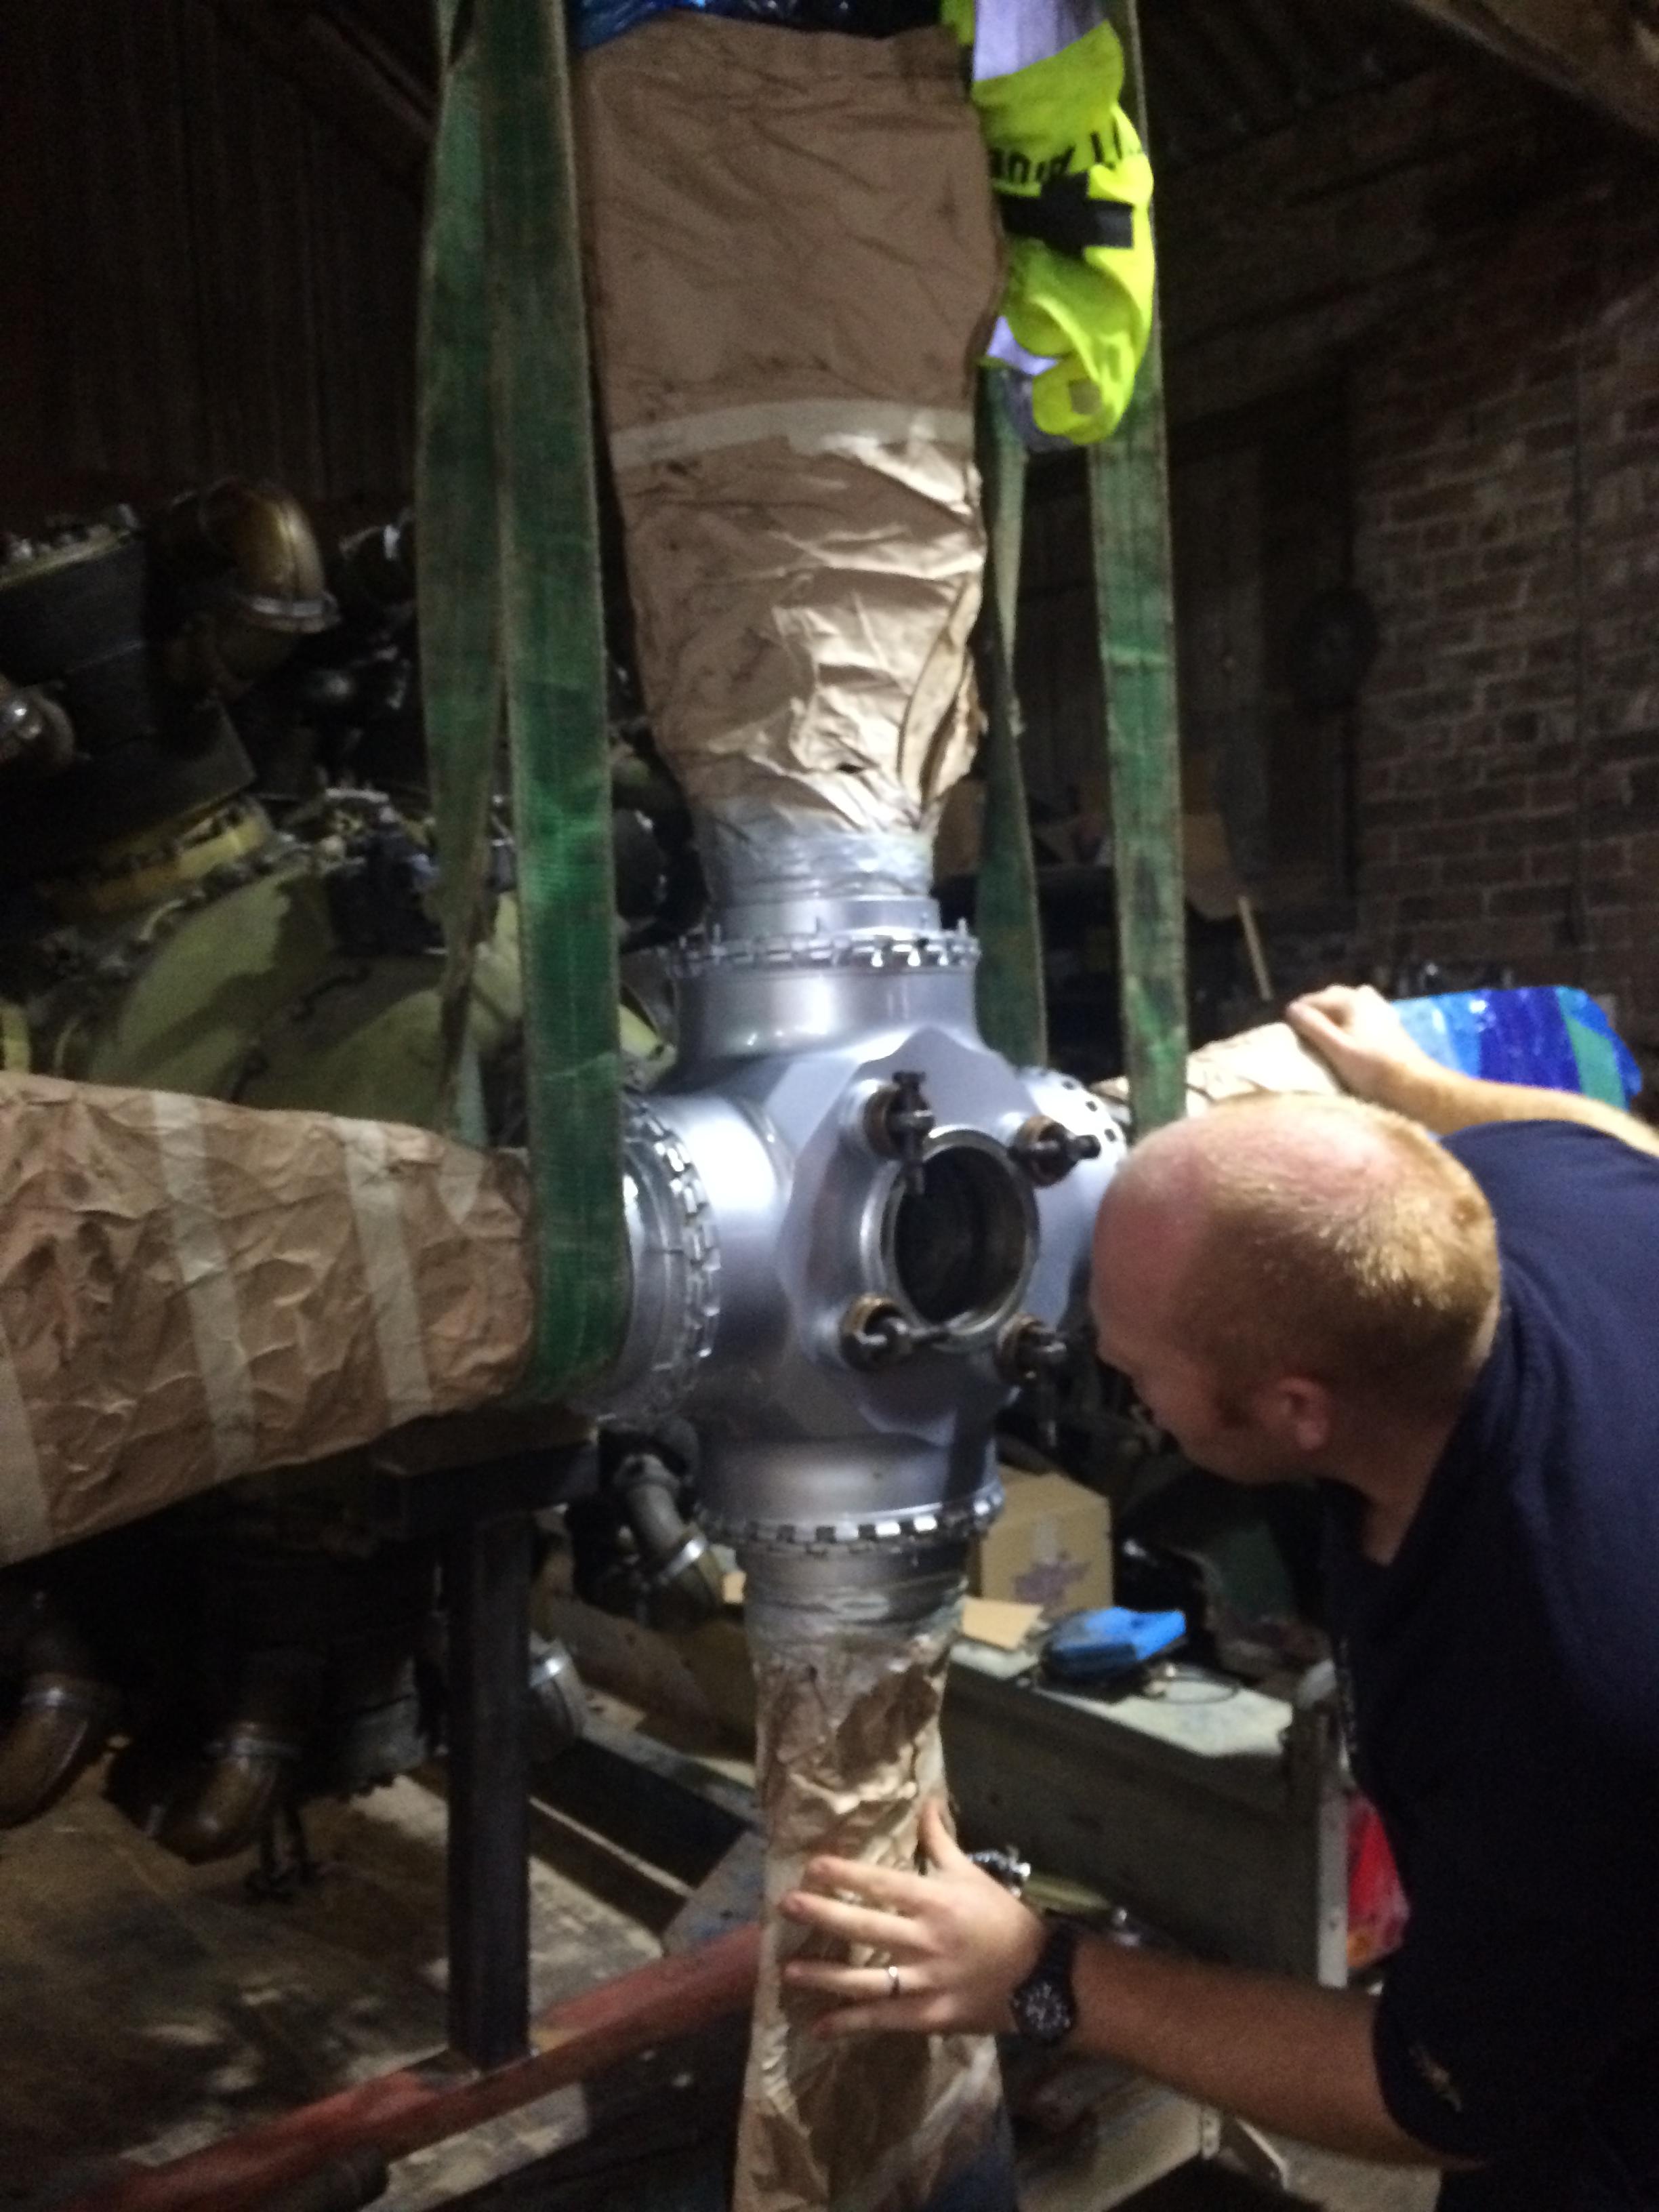
And once on we tighten up the securing nut and stood back to admire..

216 ELECTRICS 012


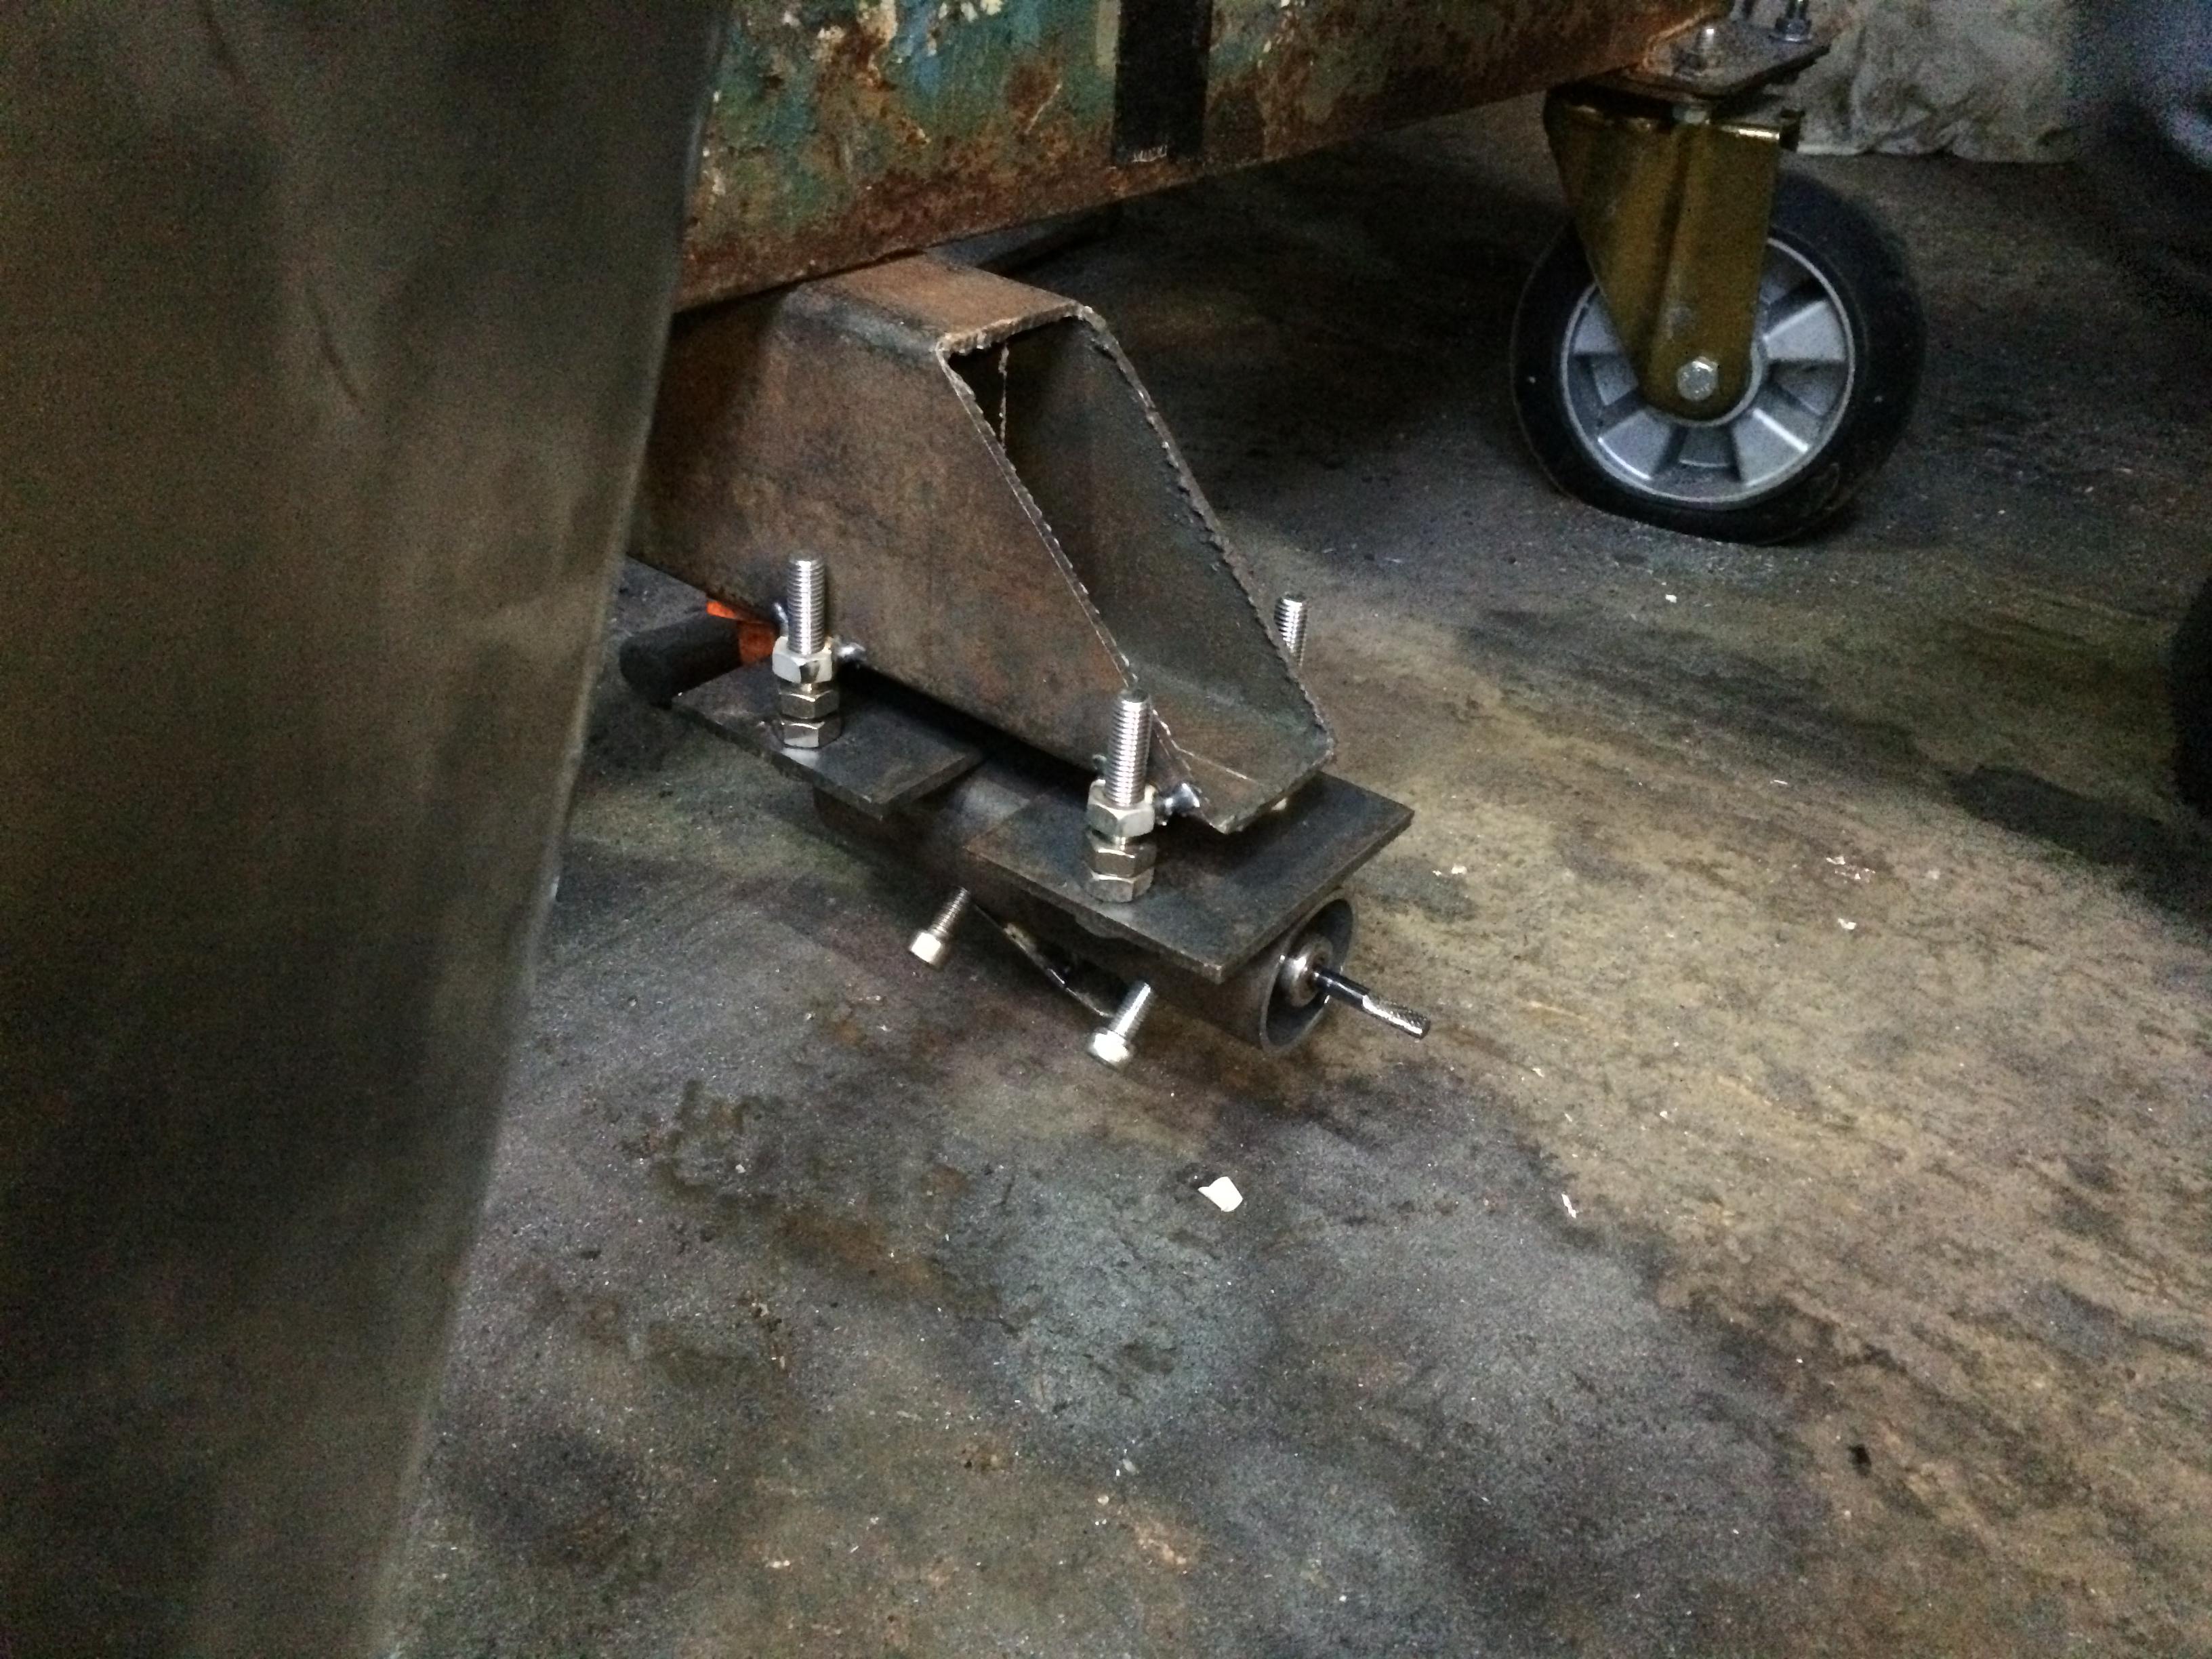
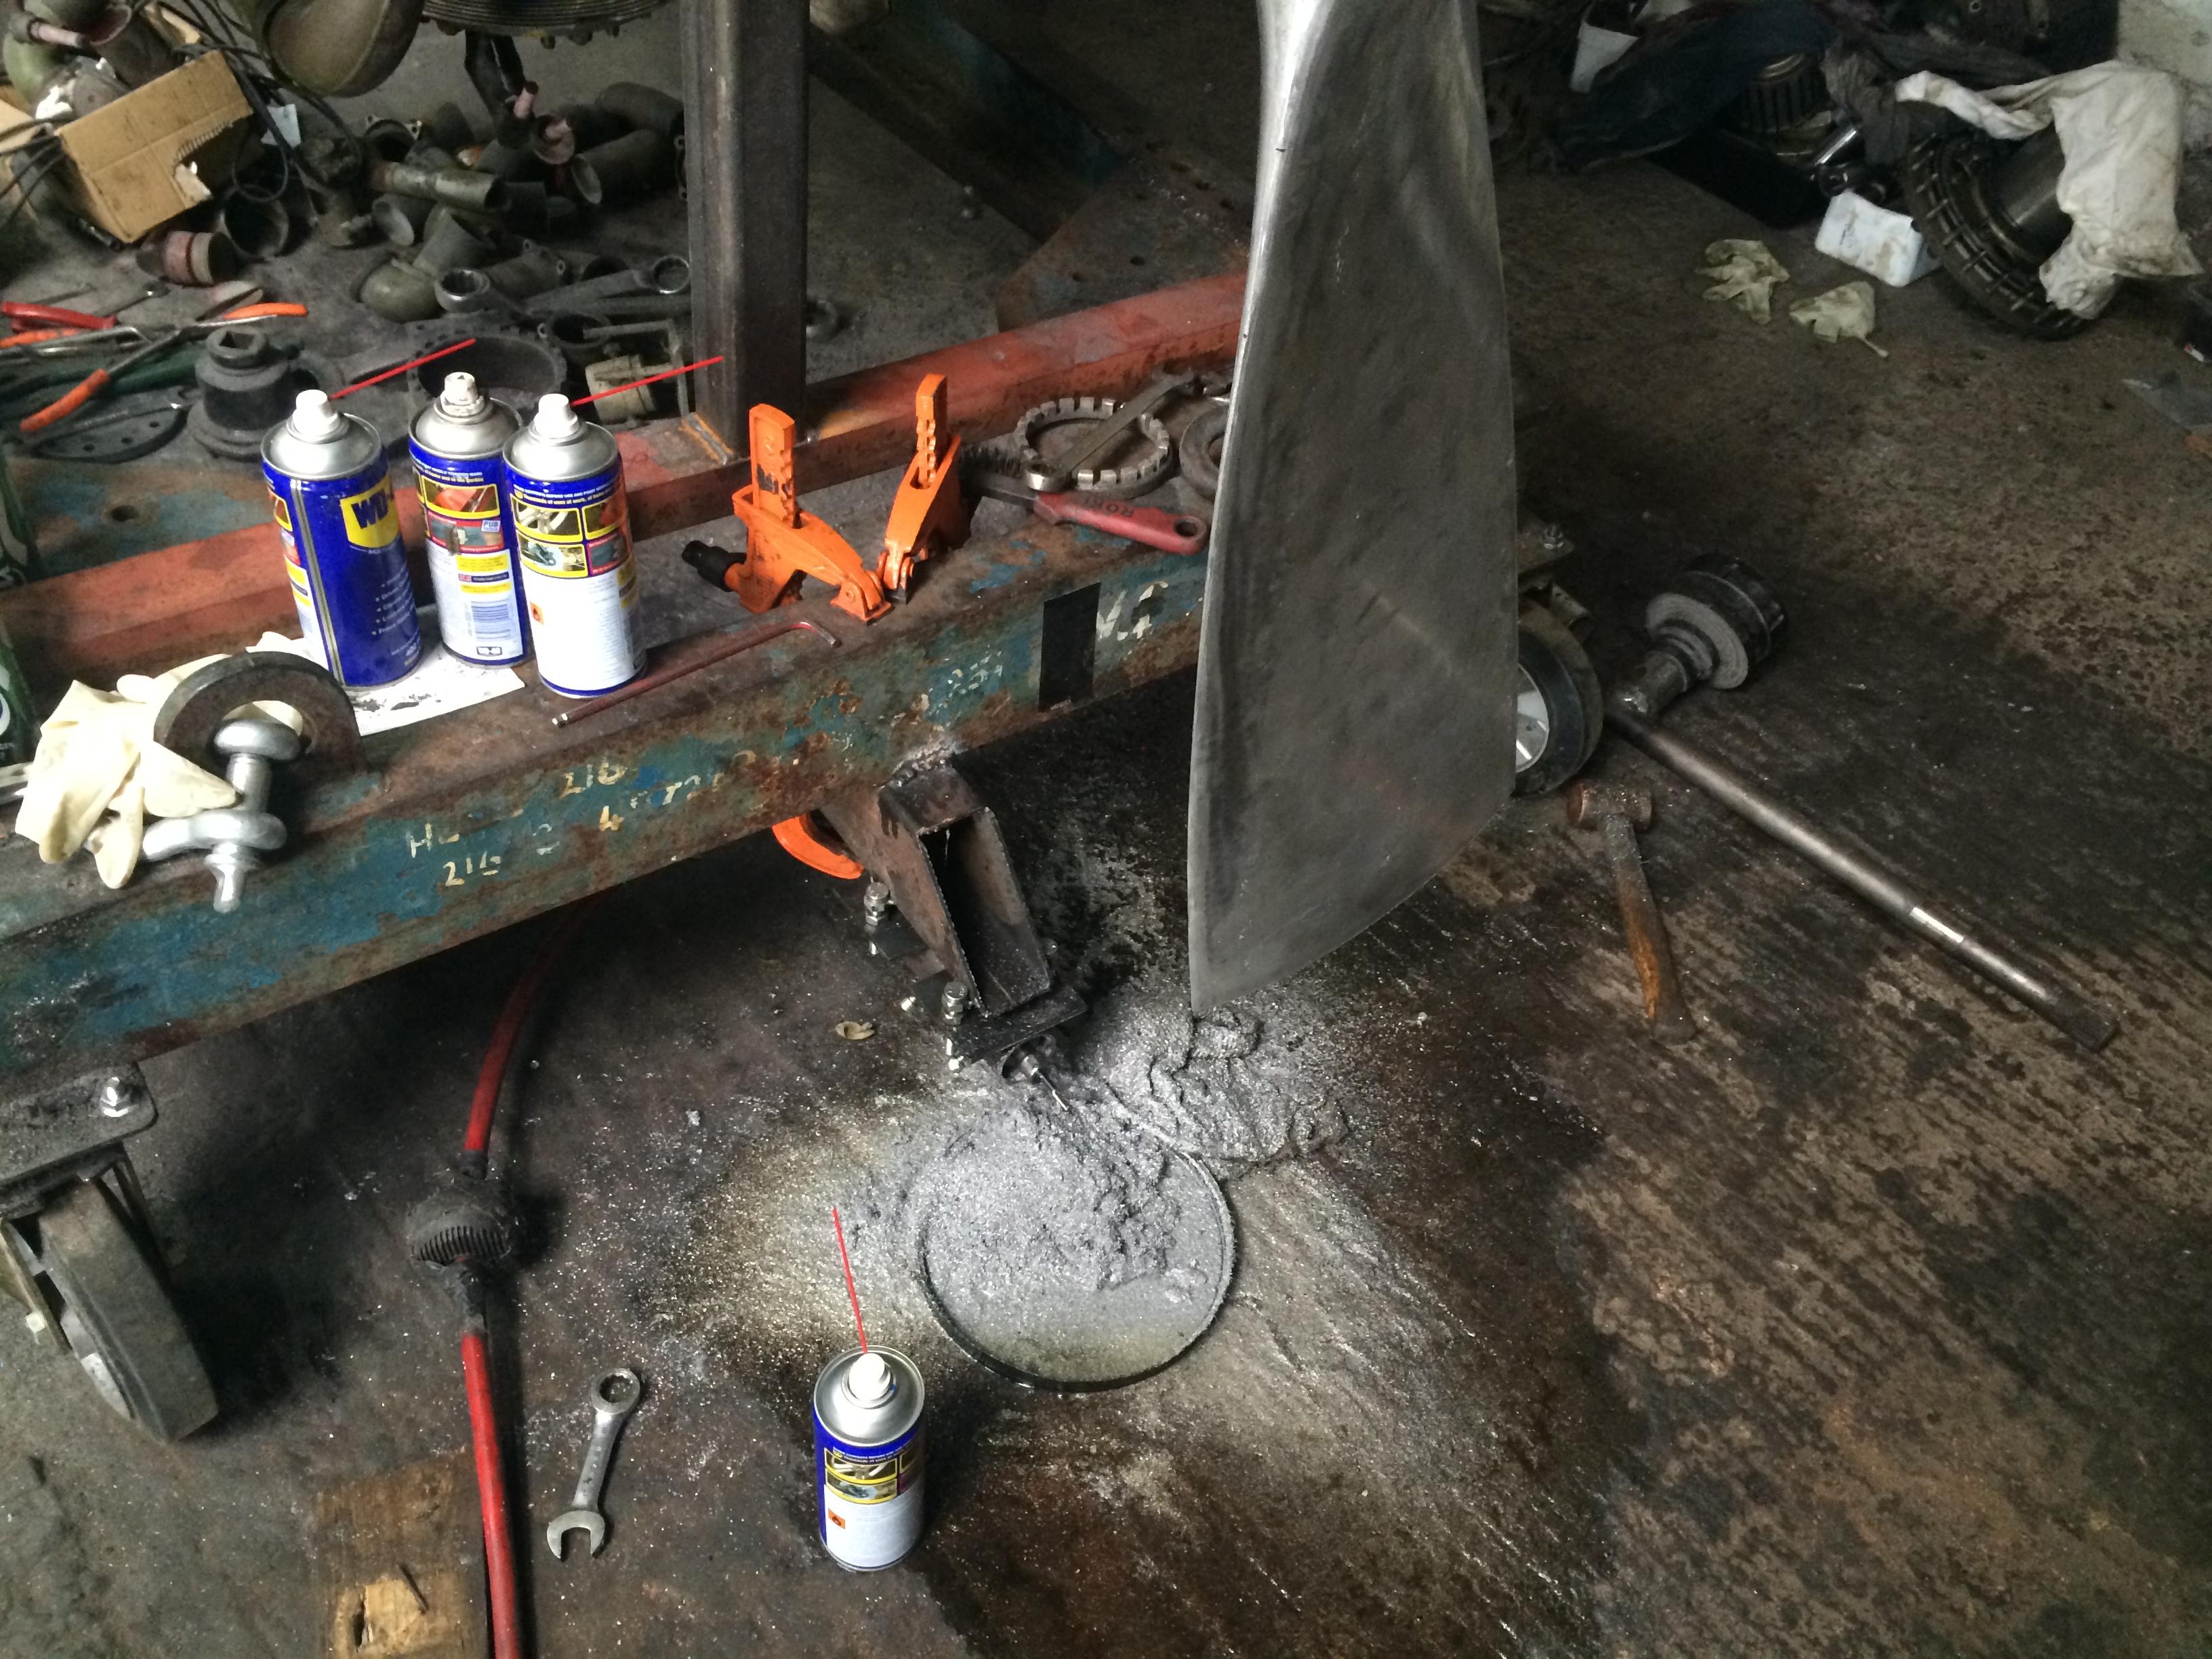
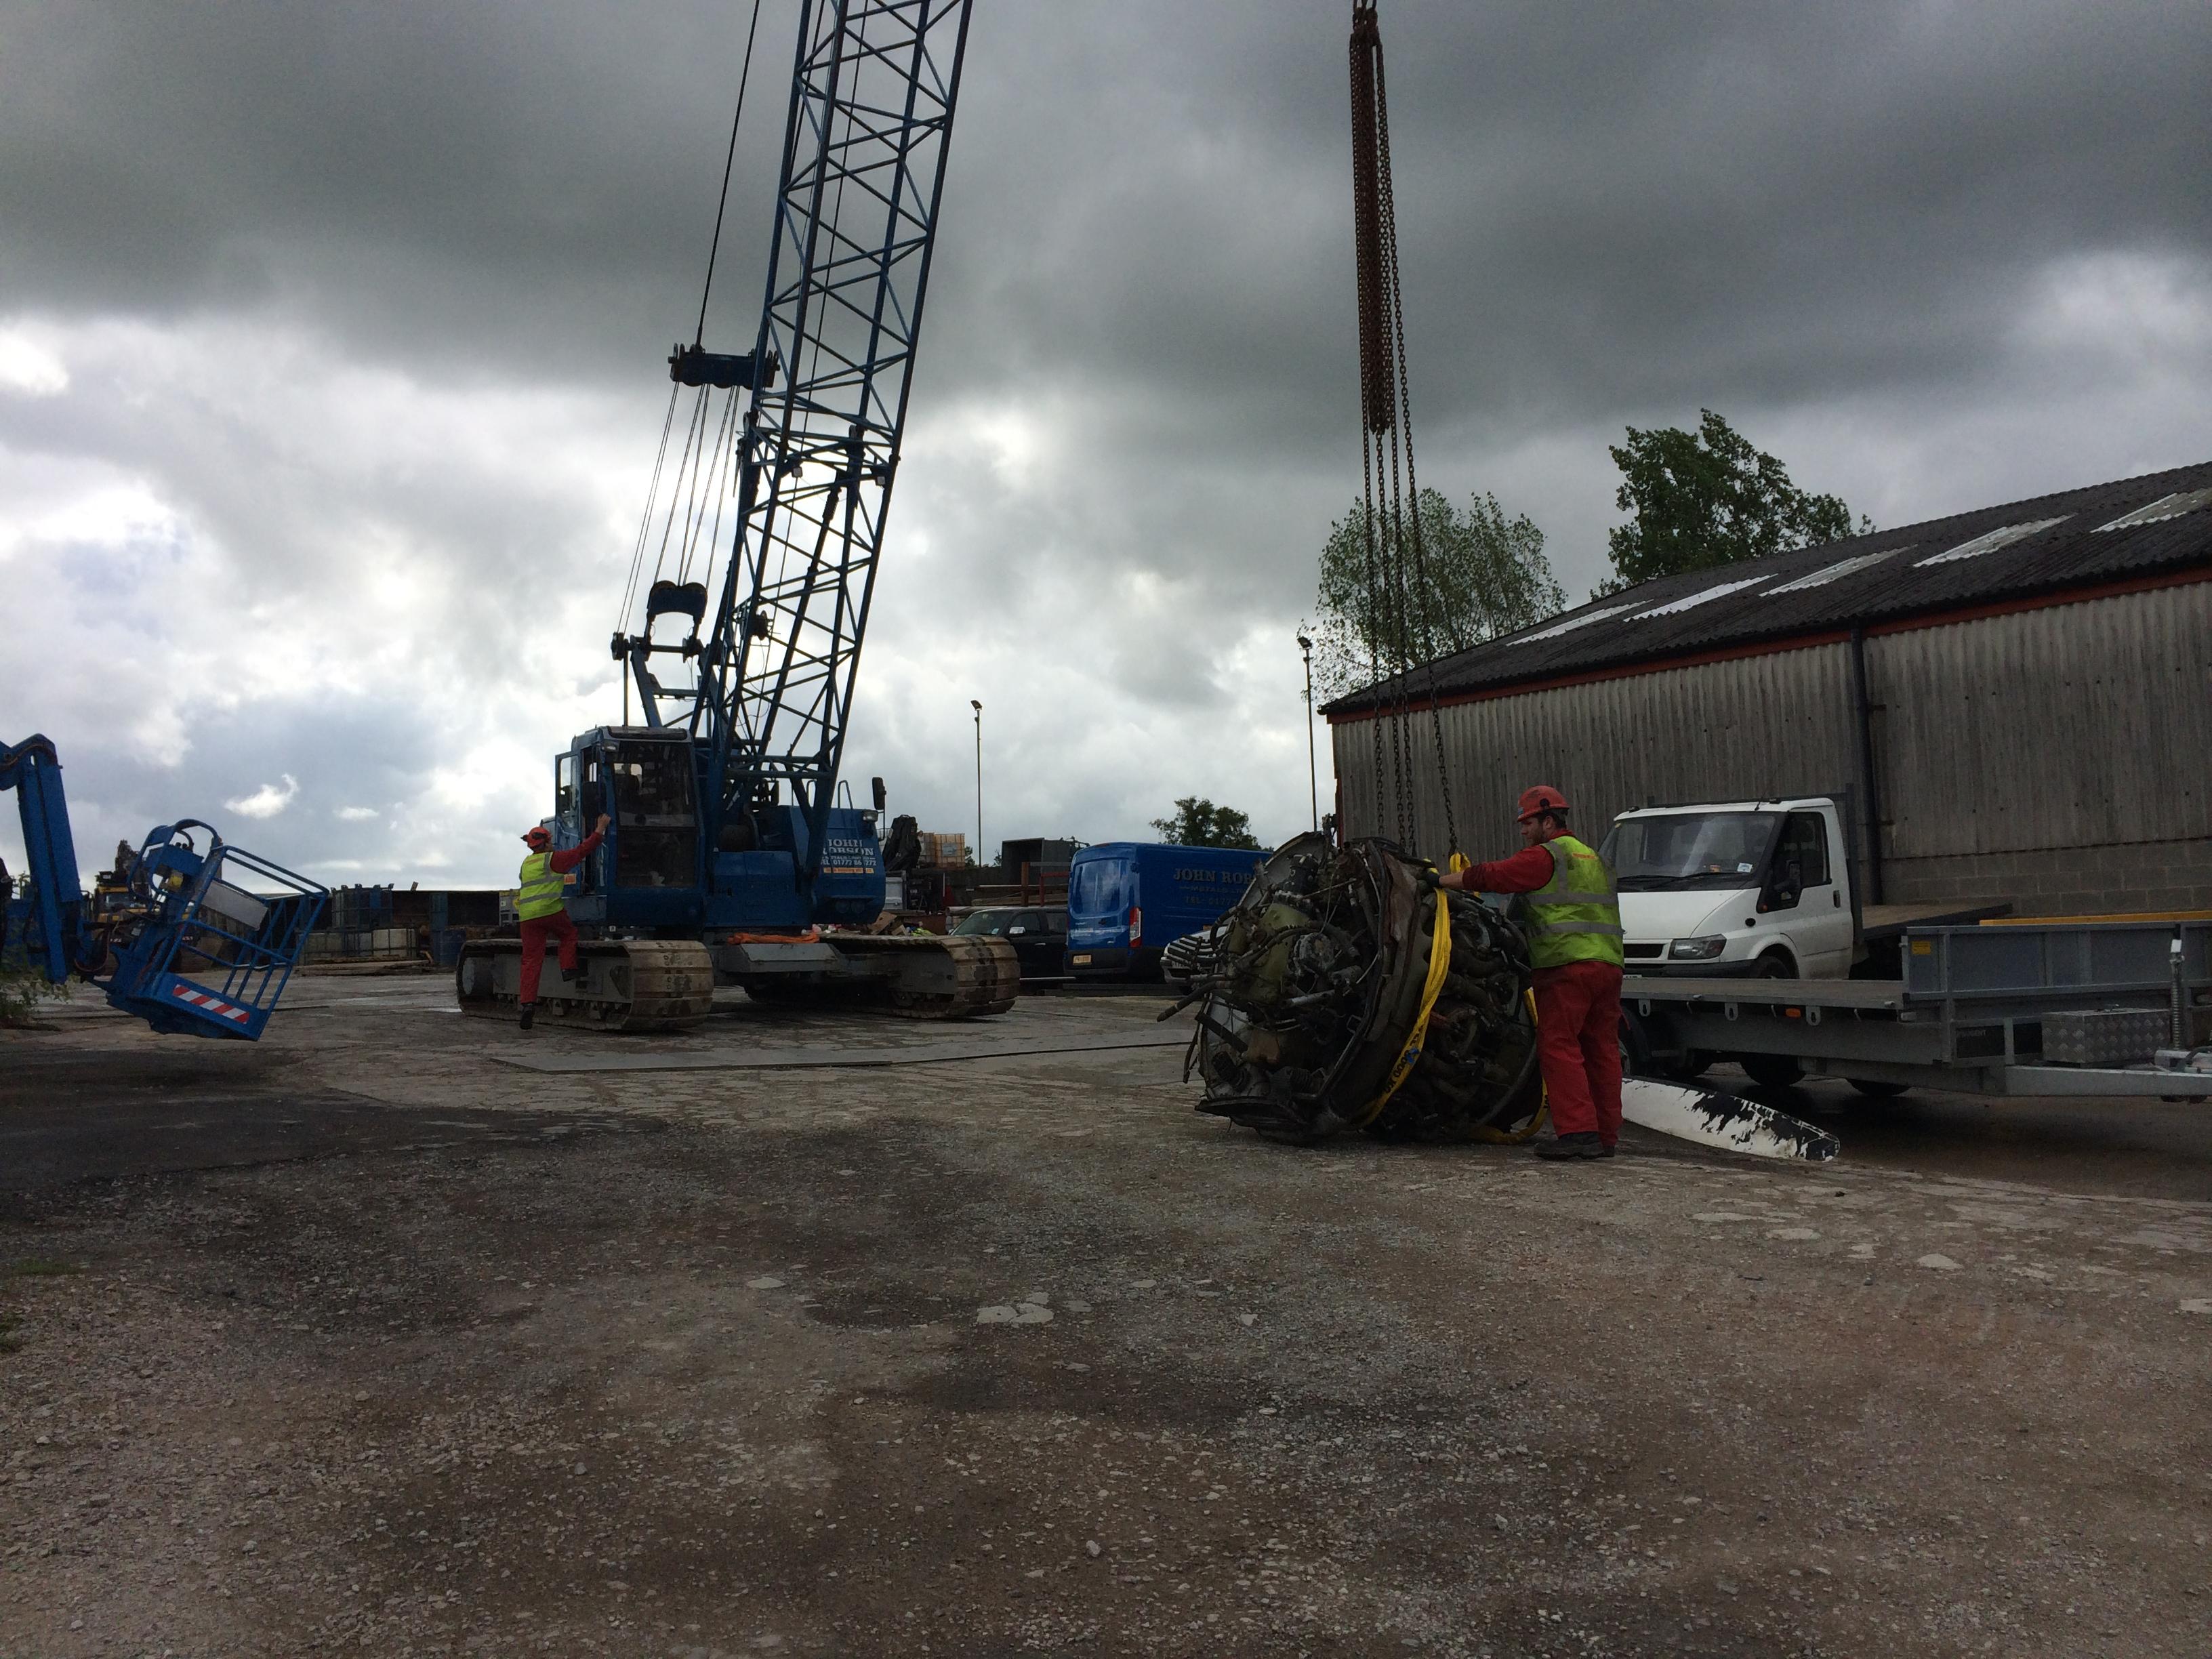
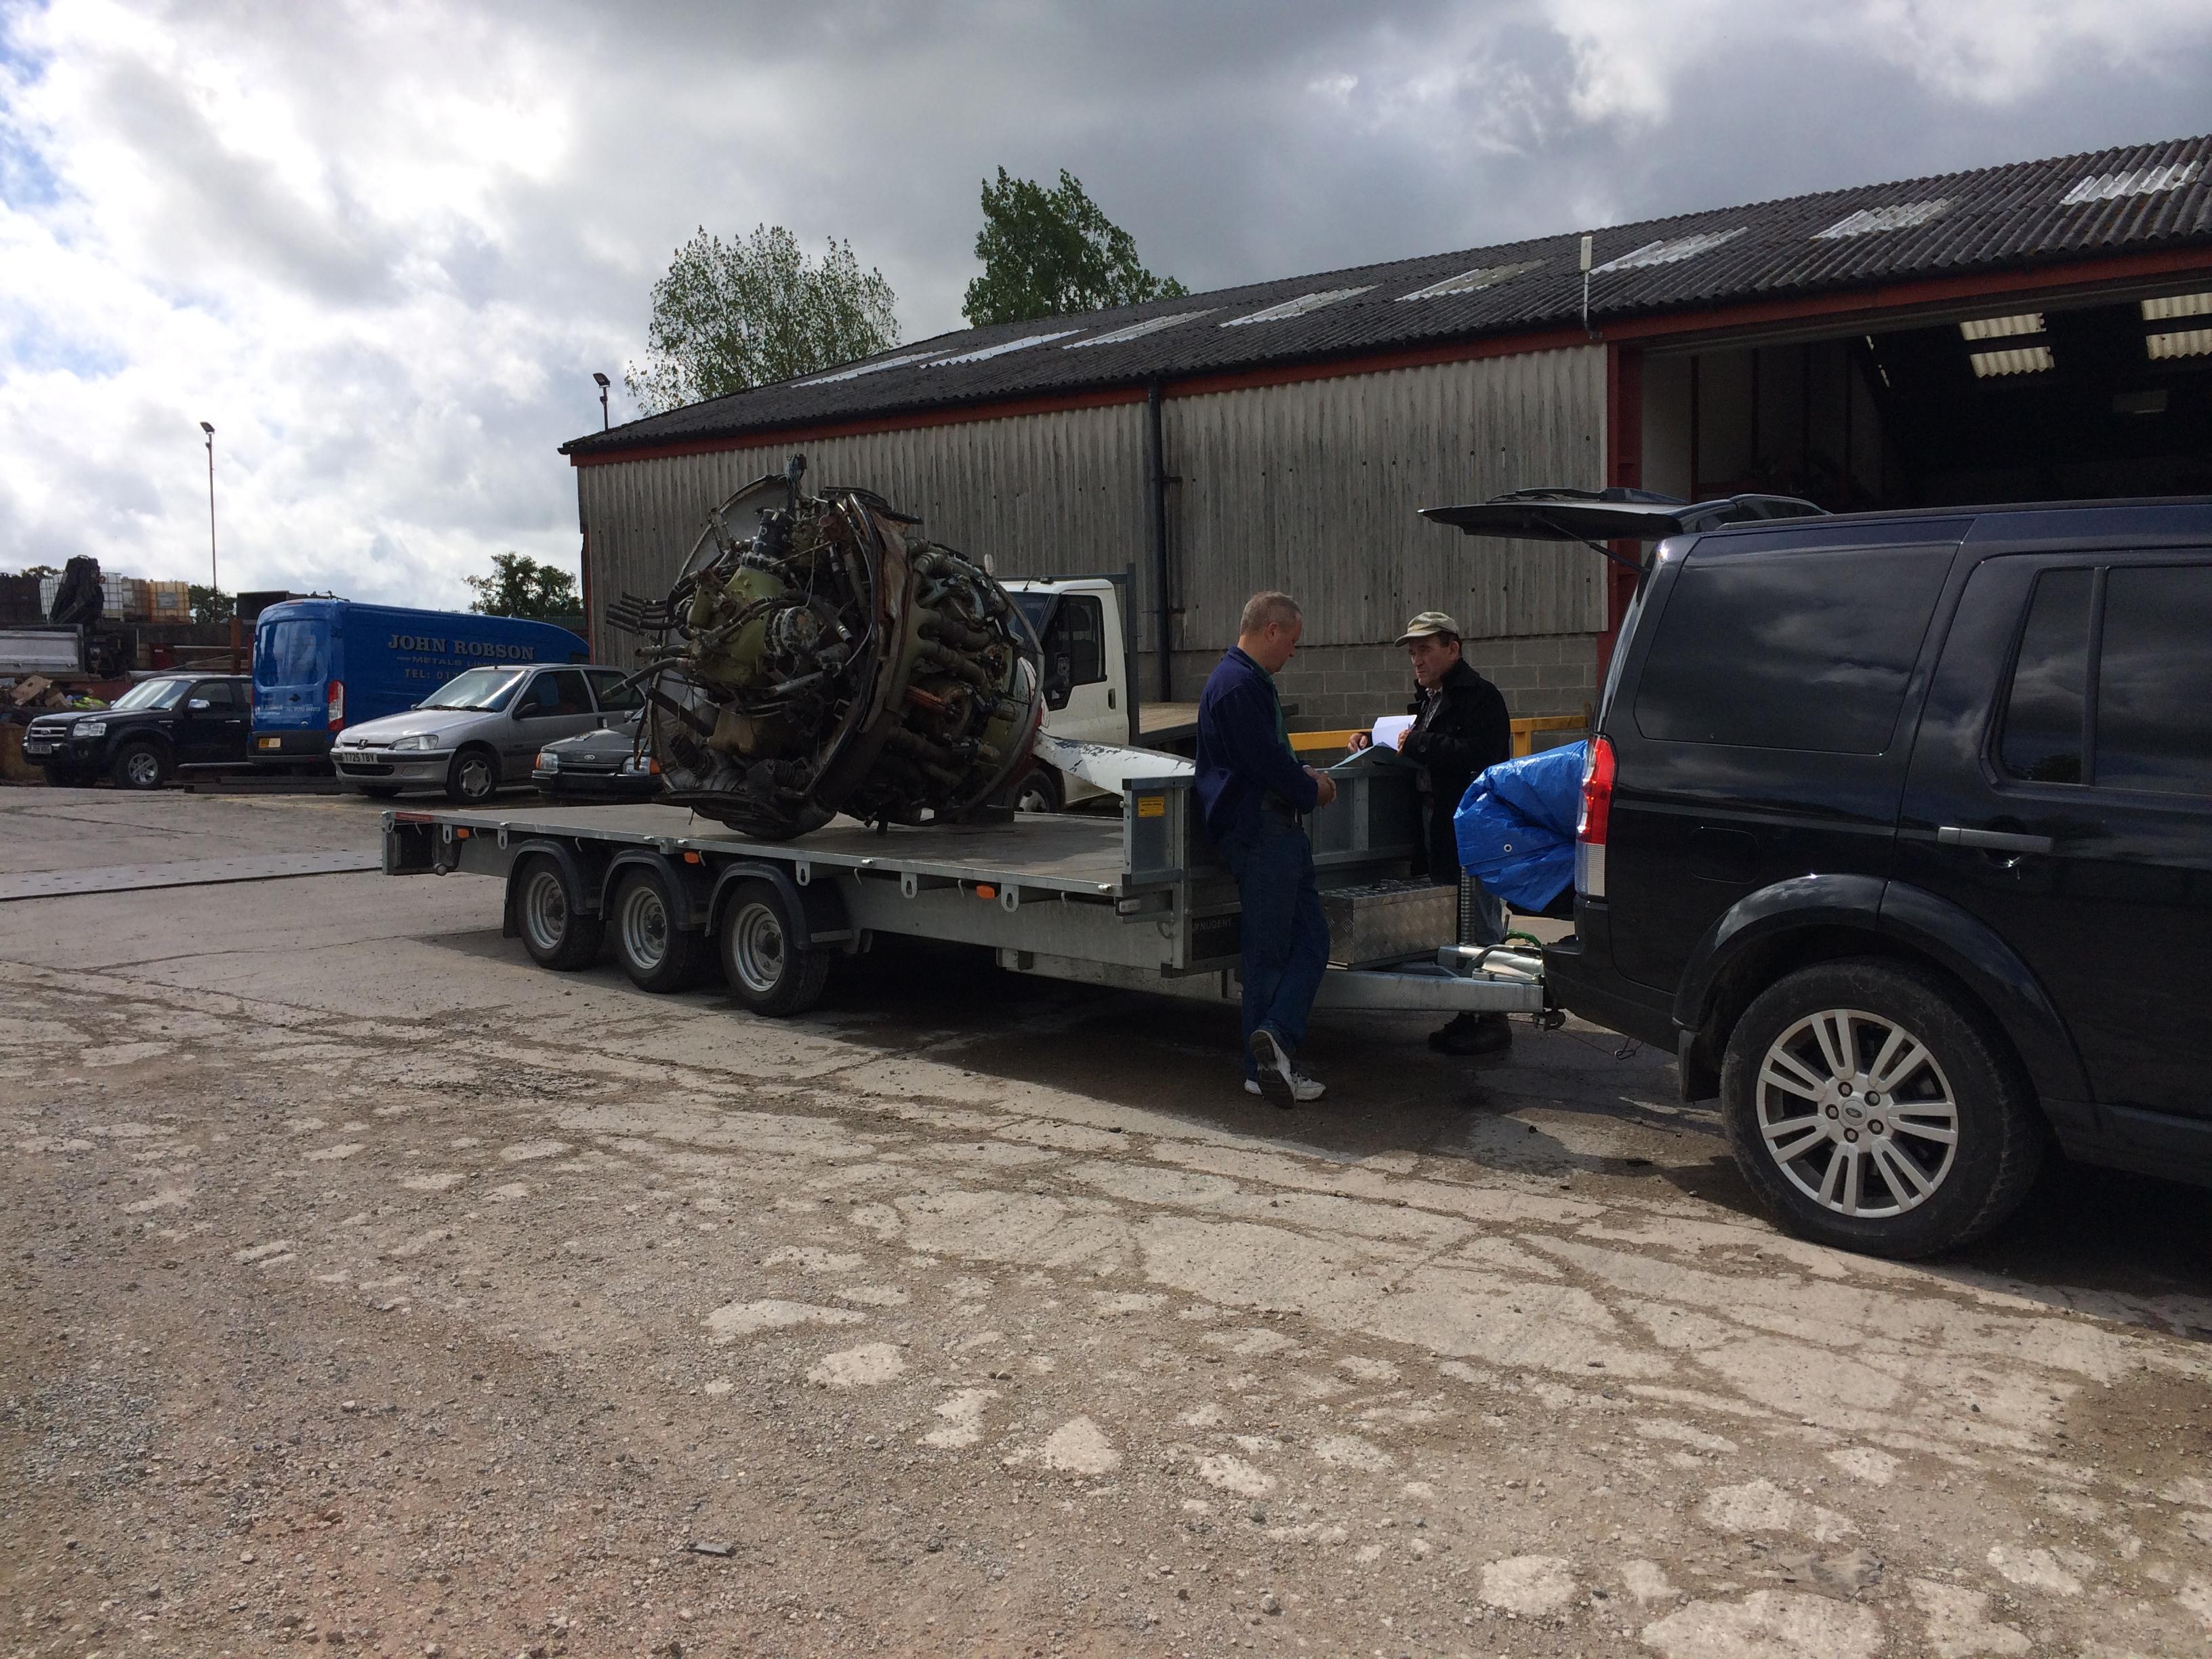
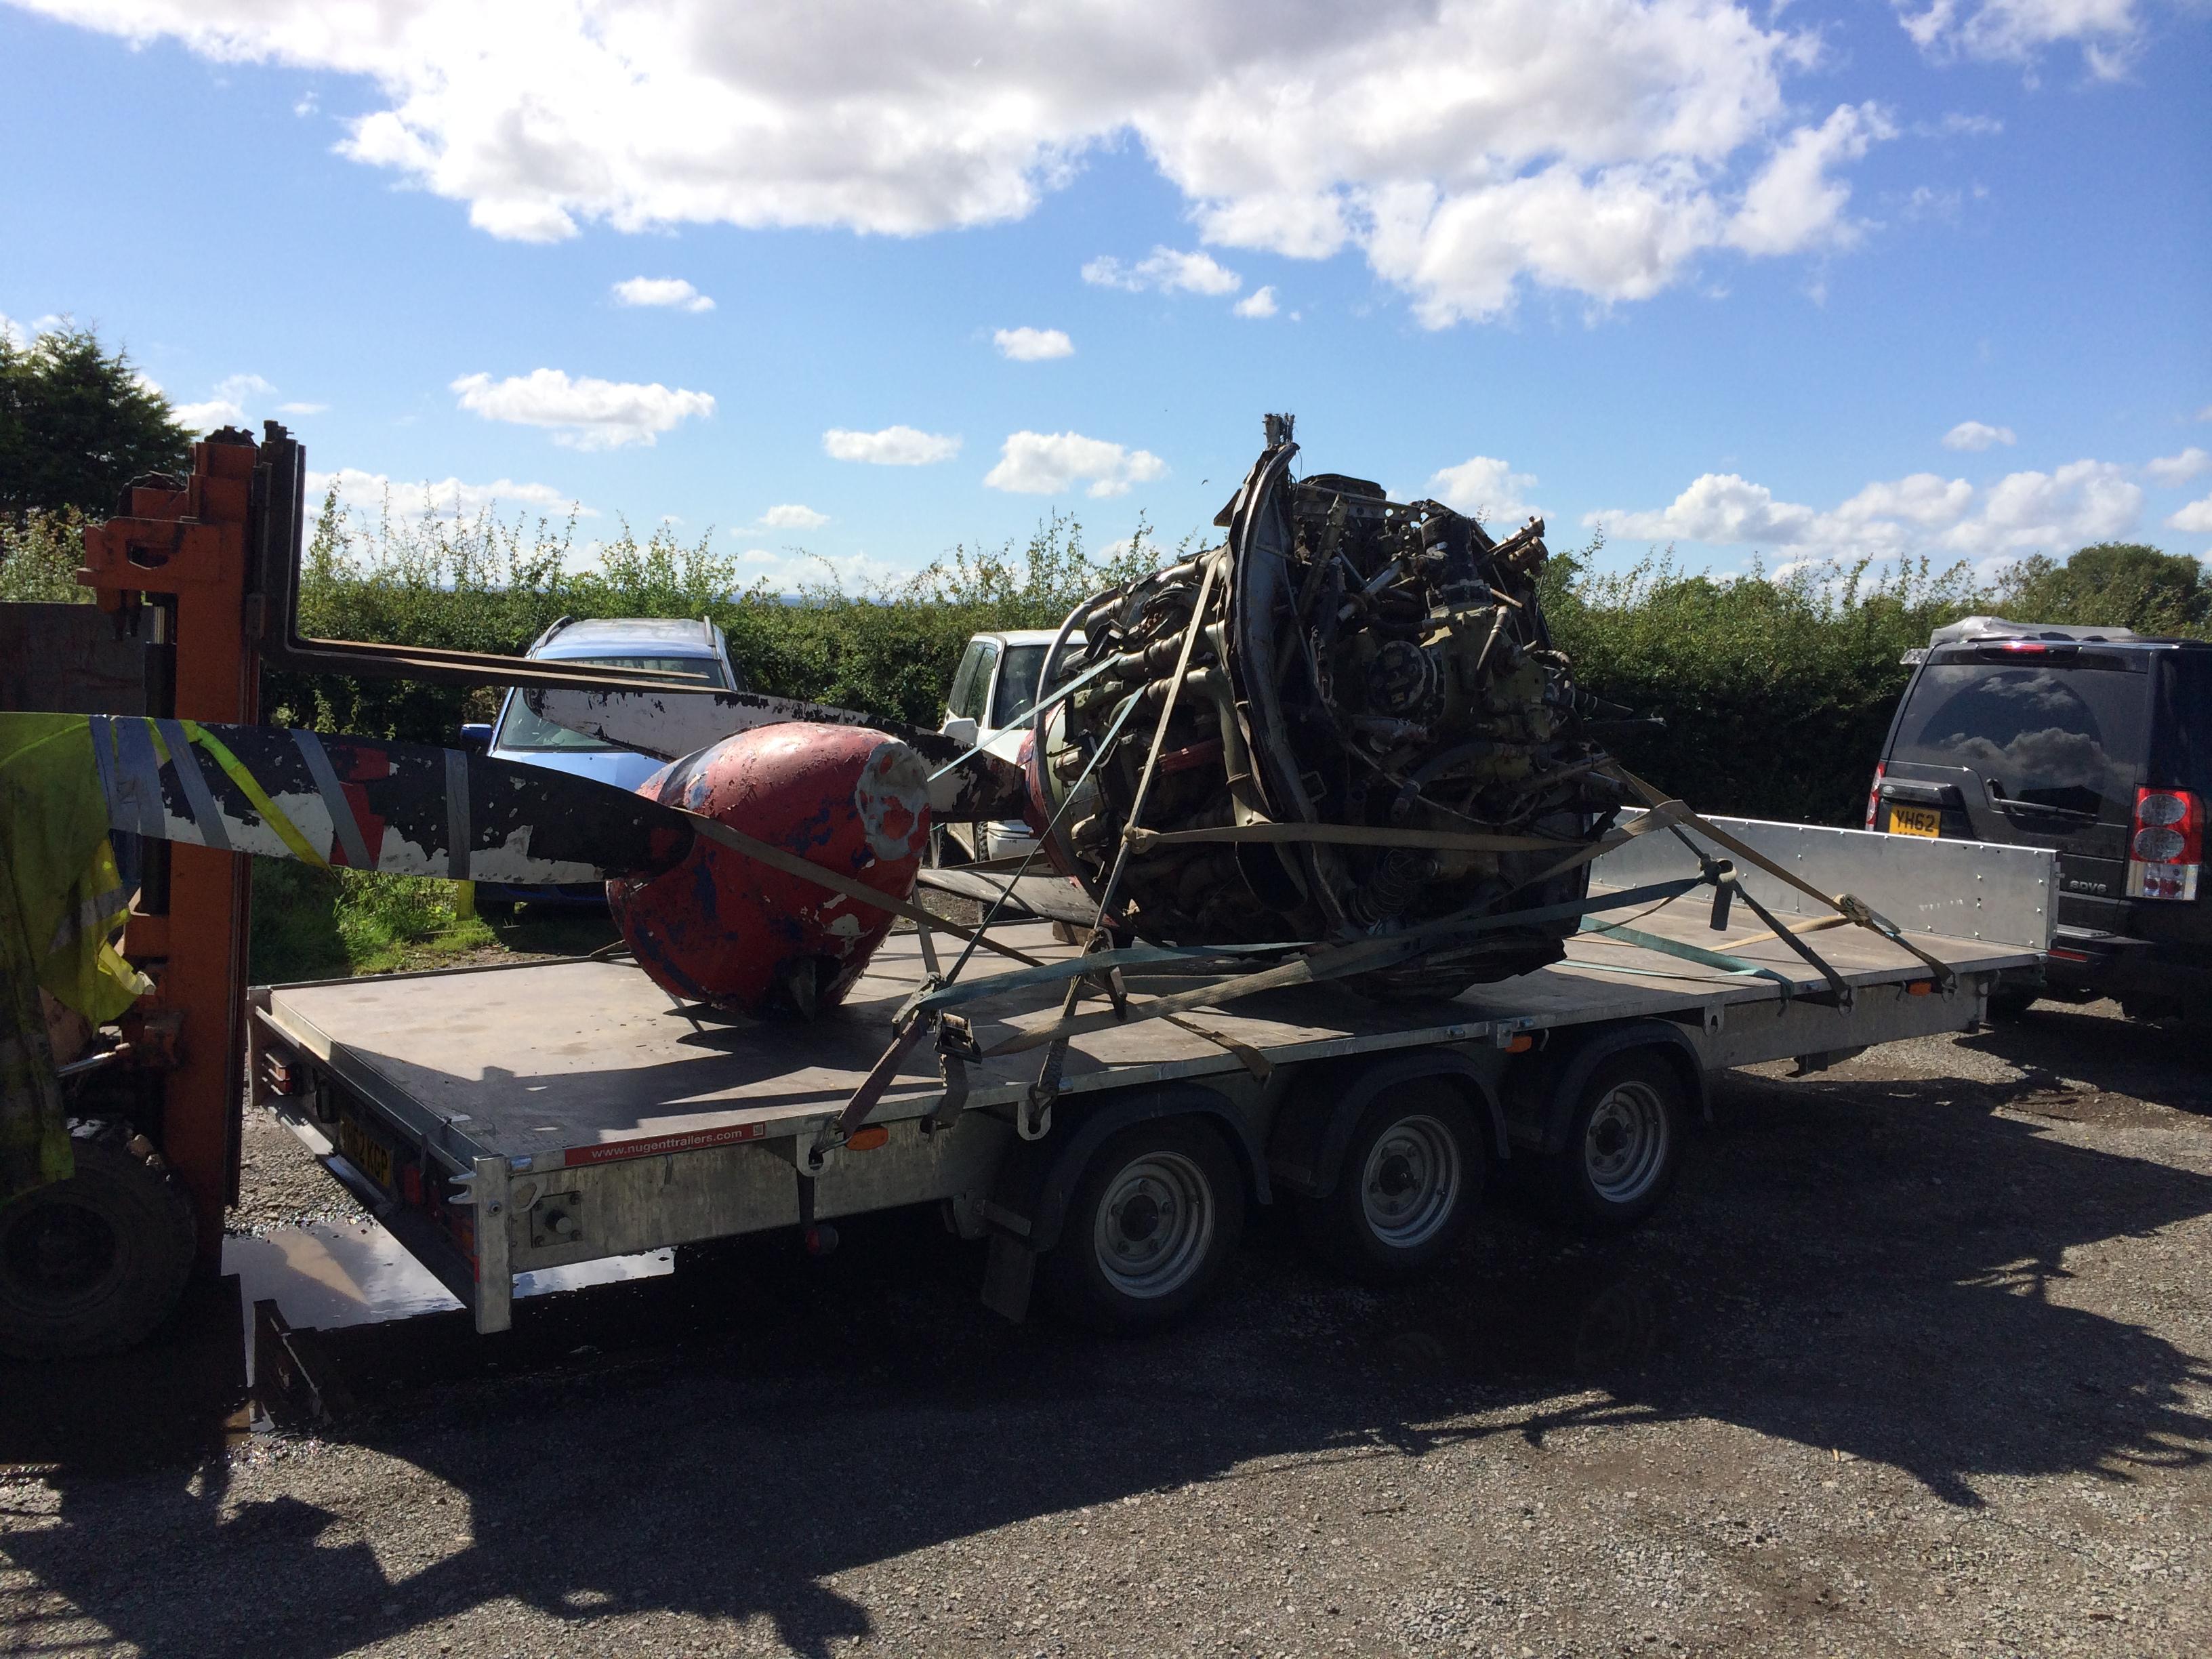
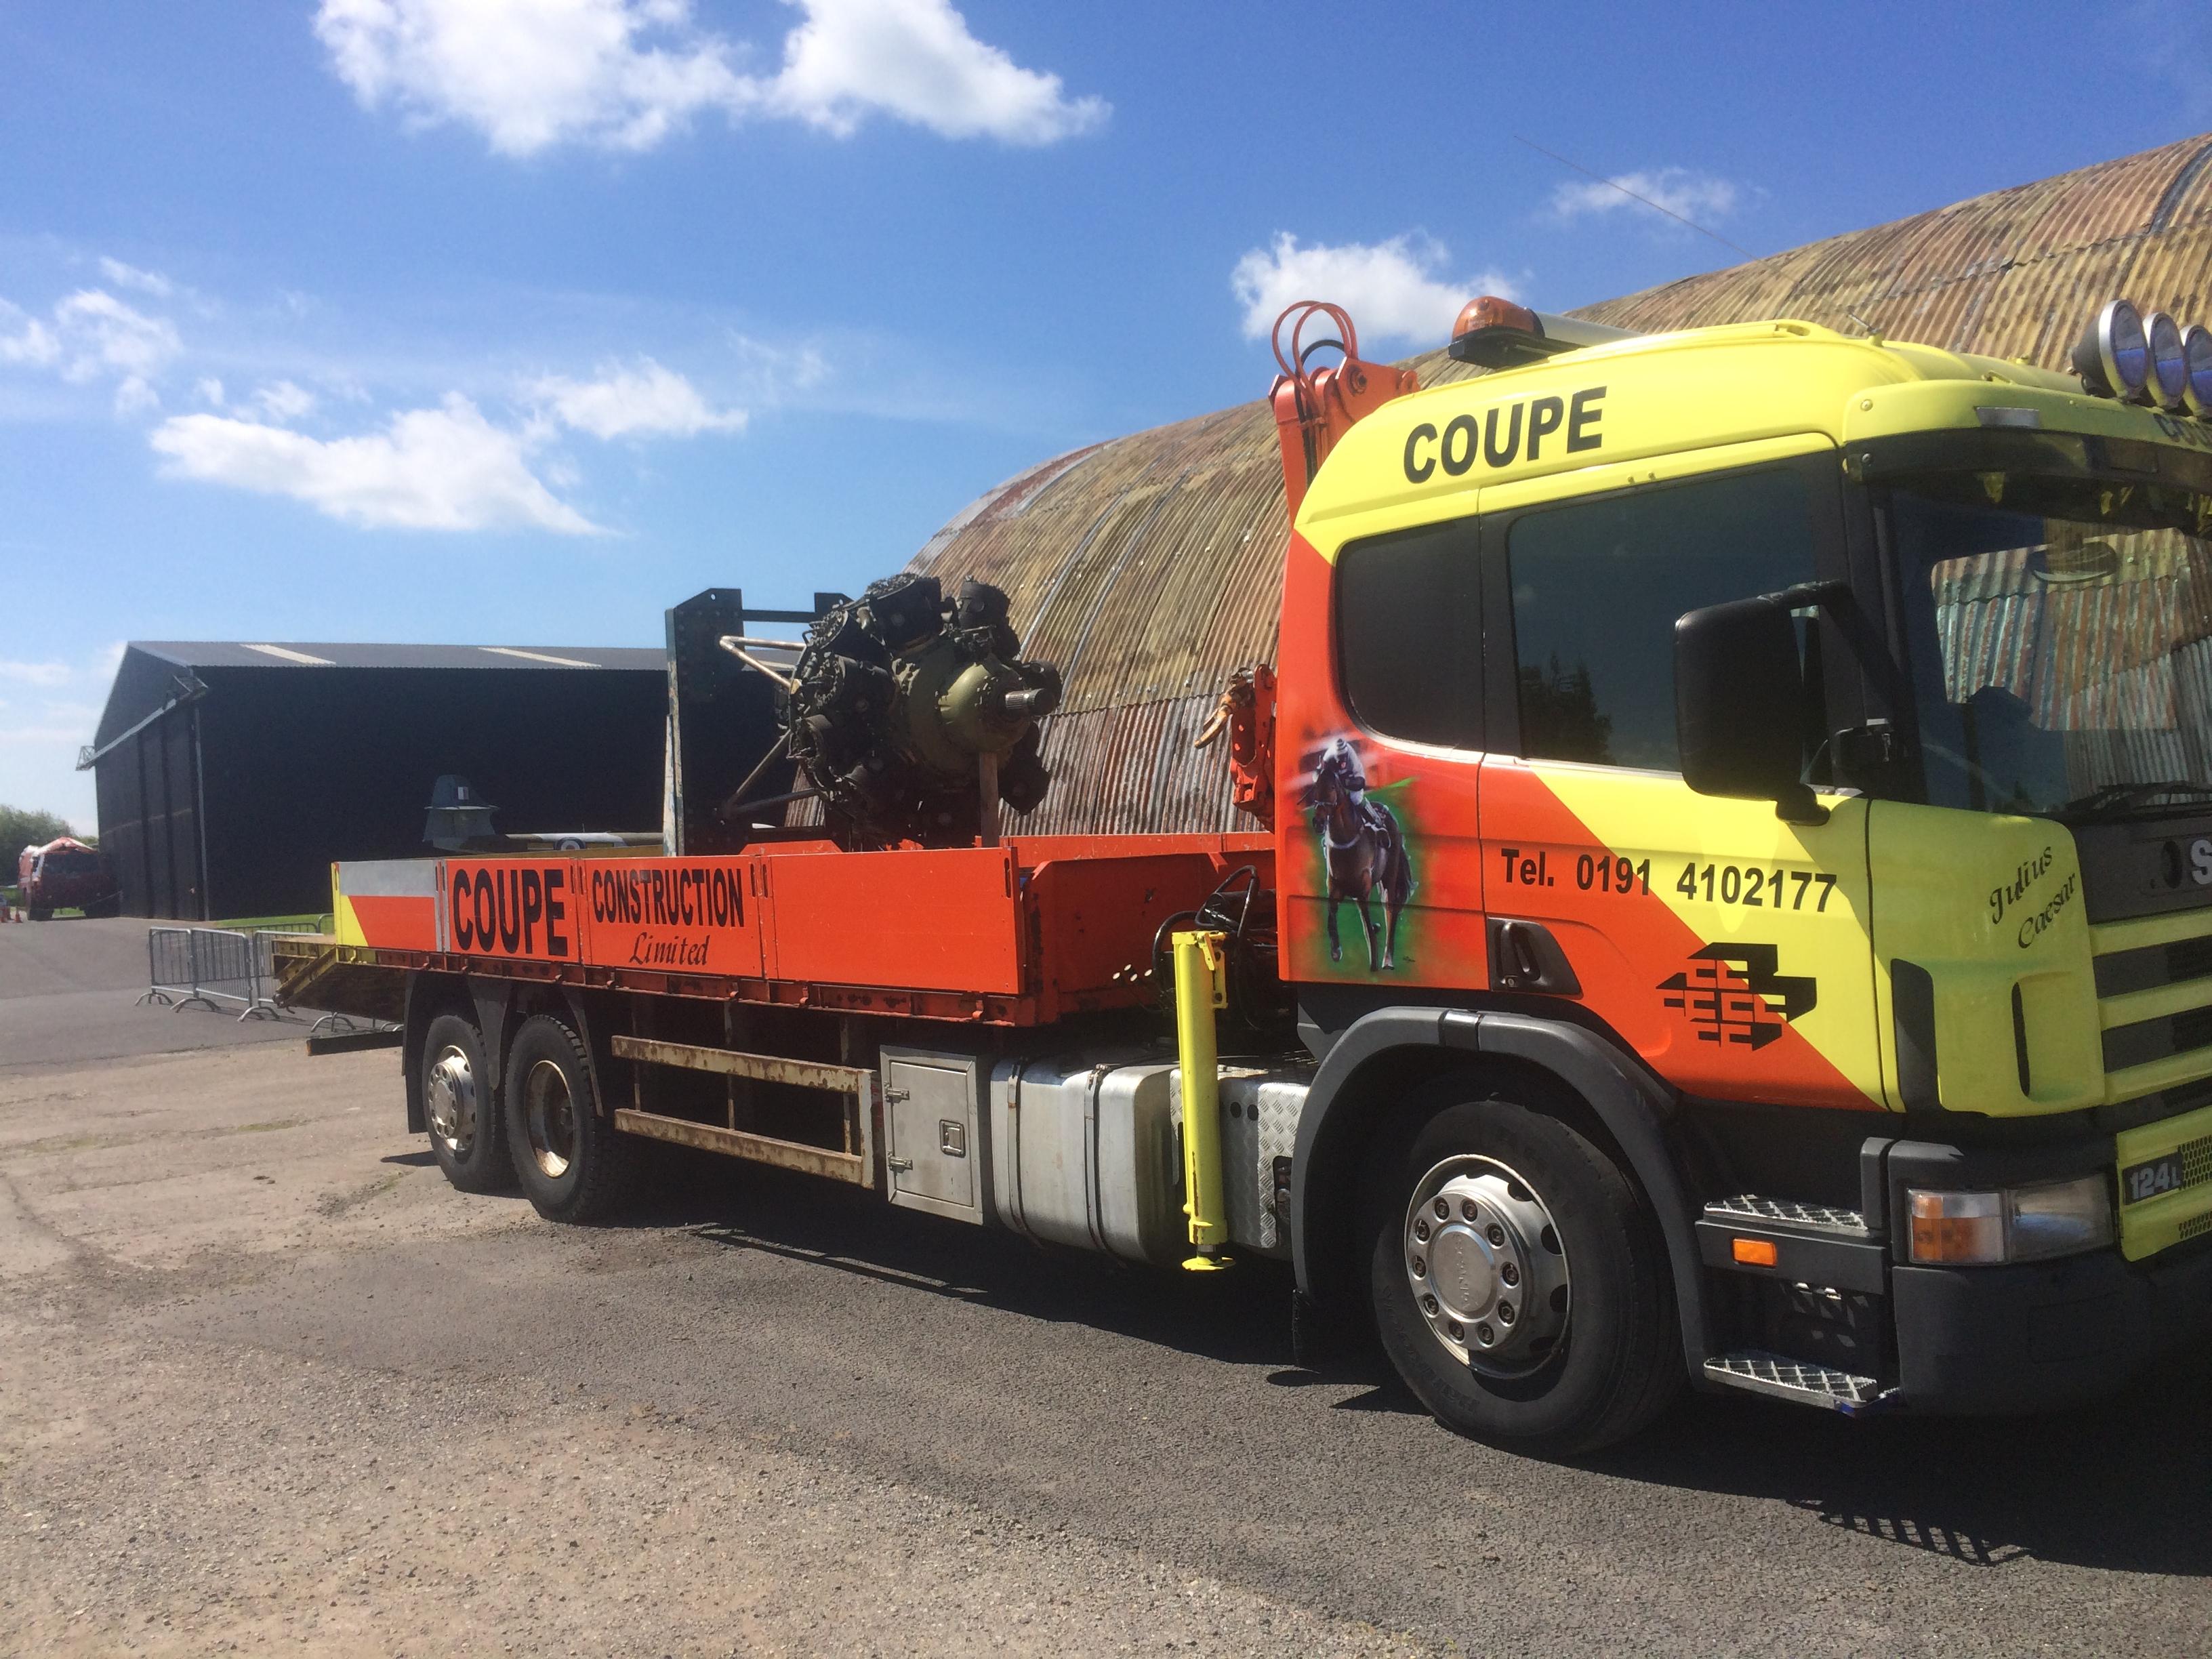
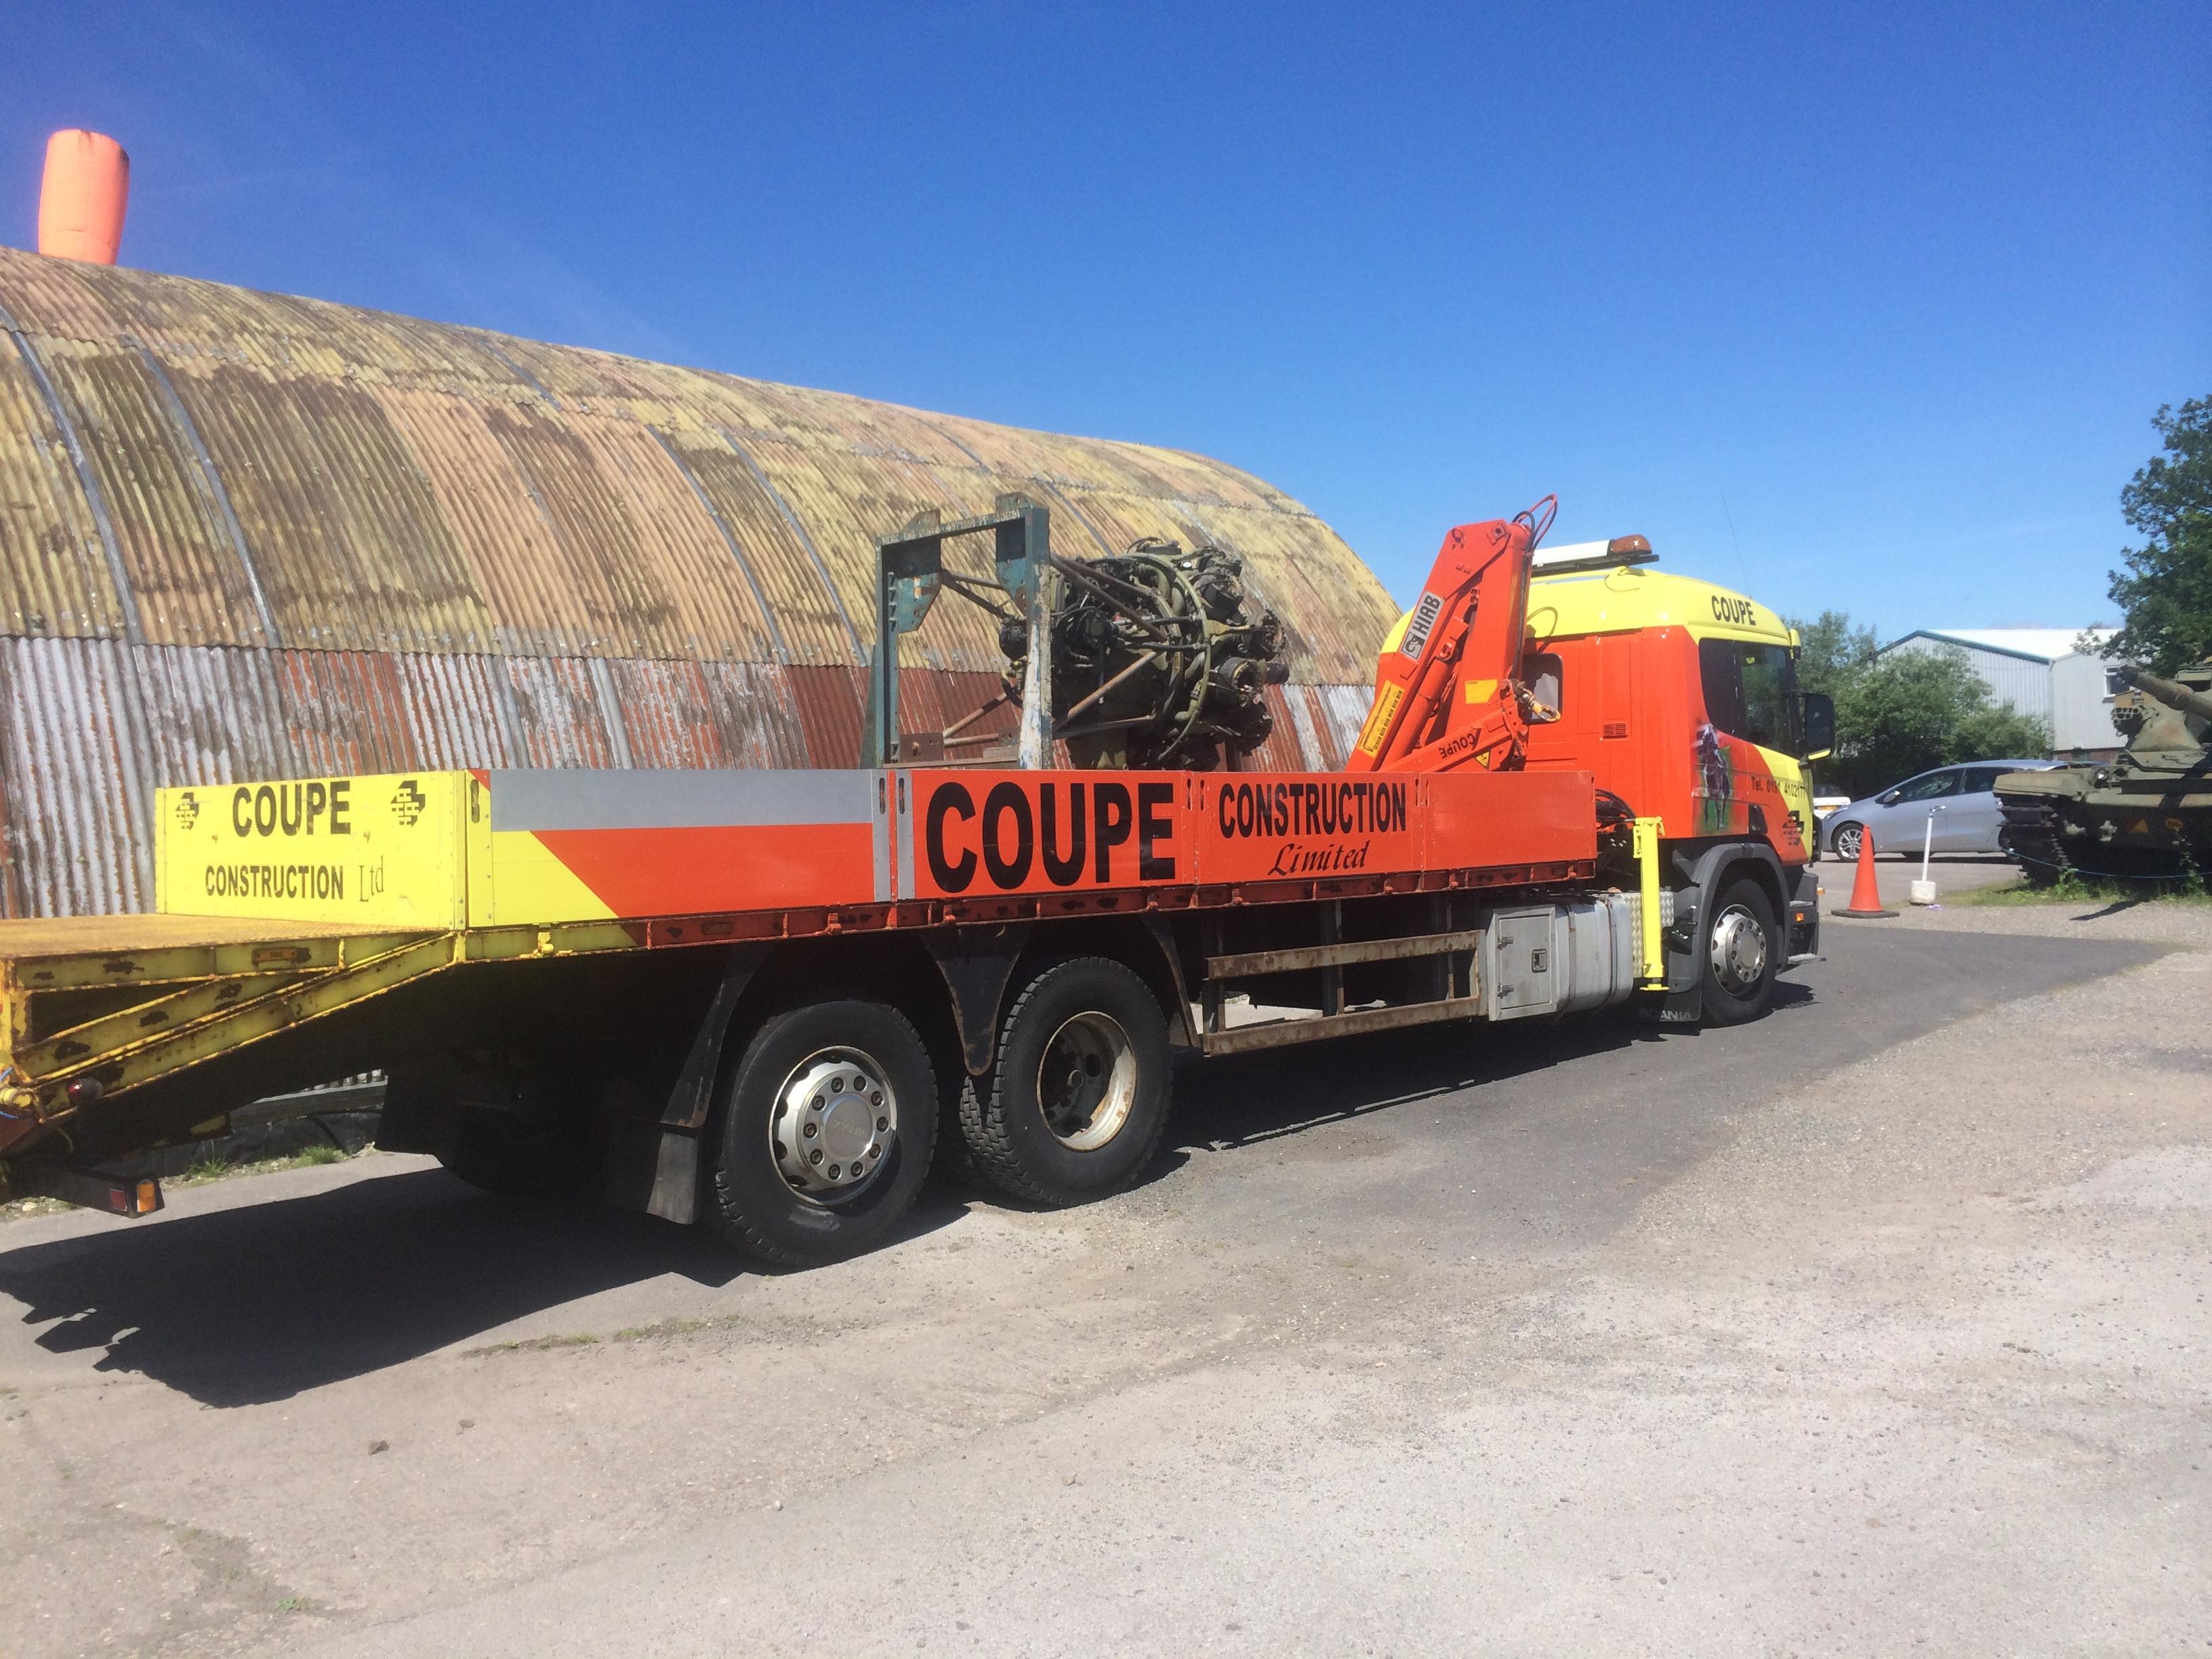
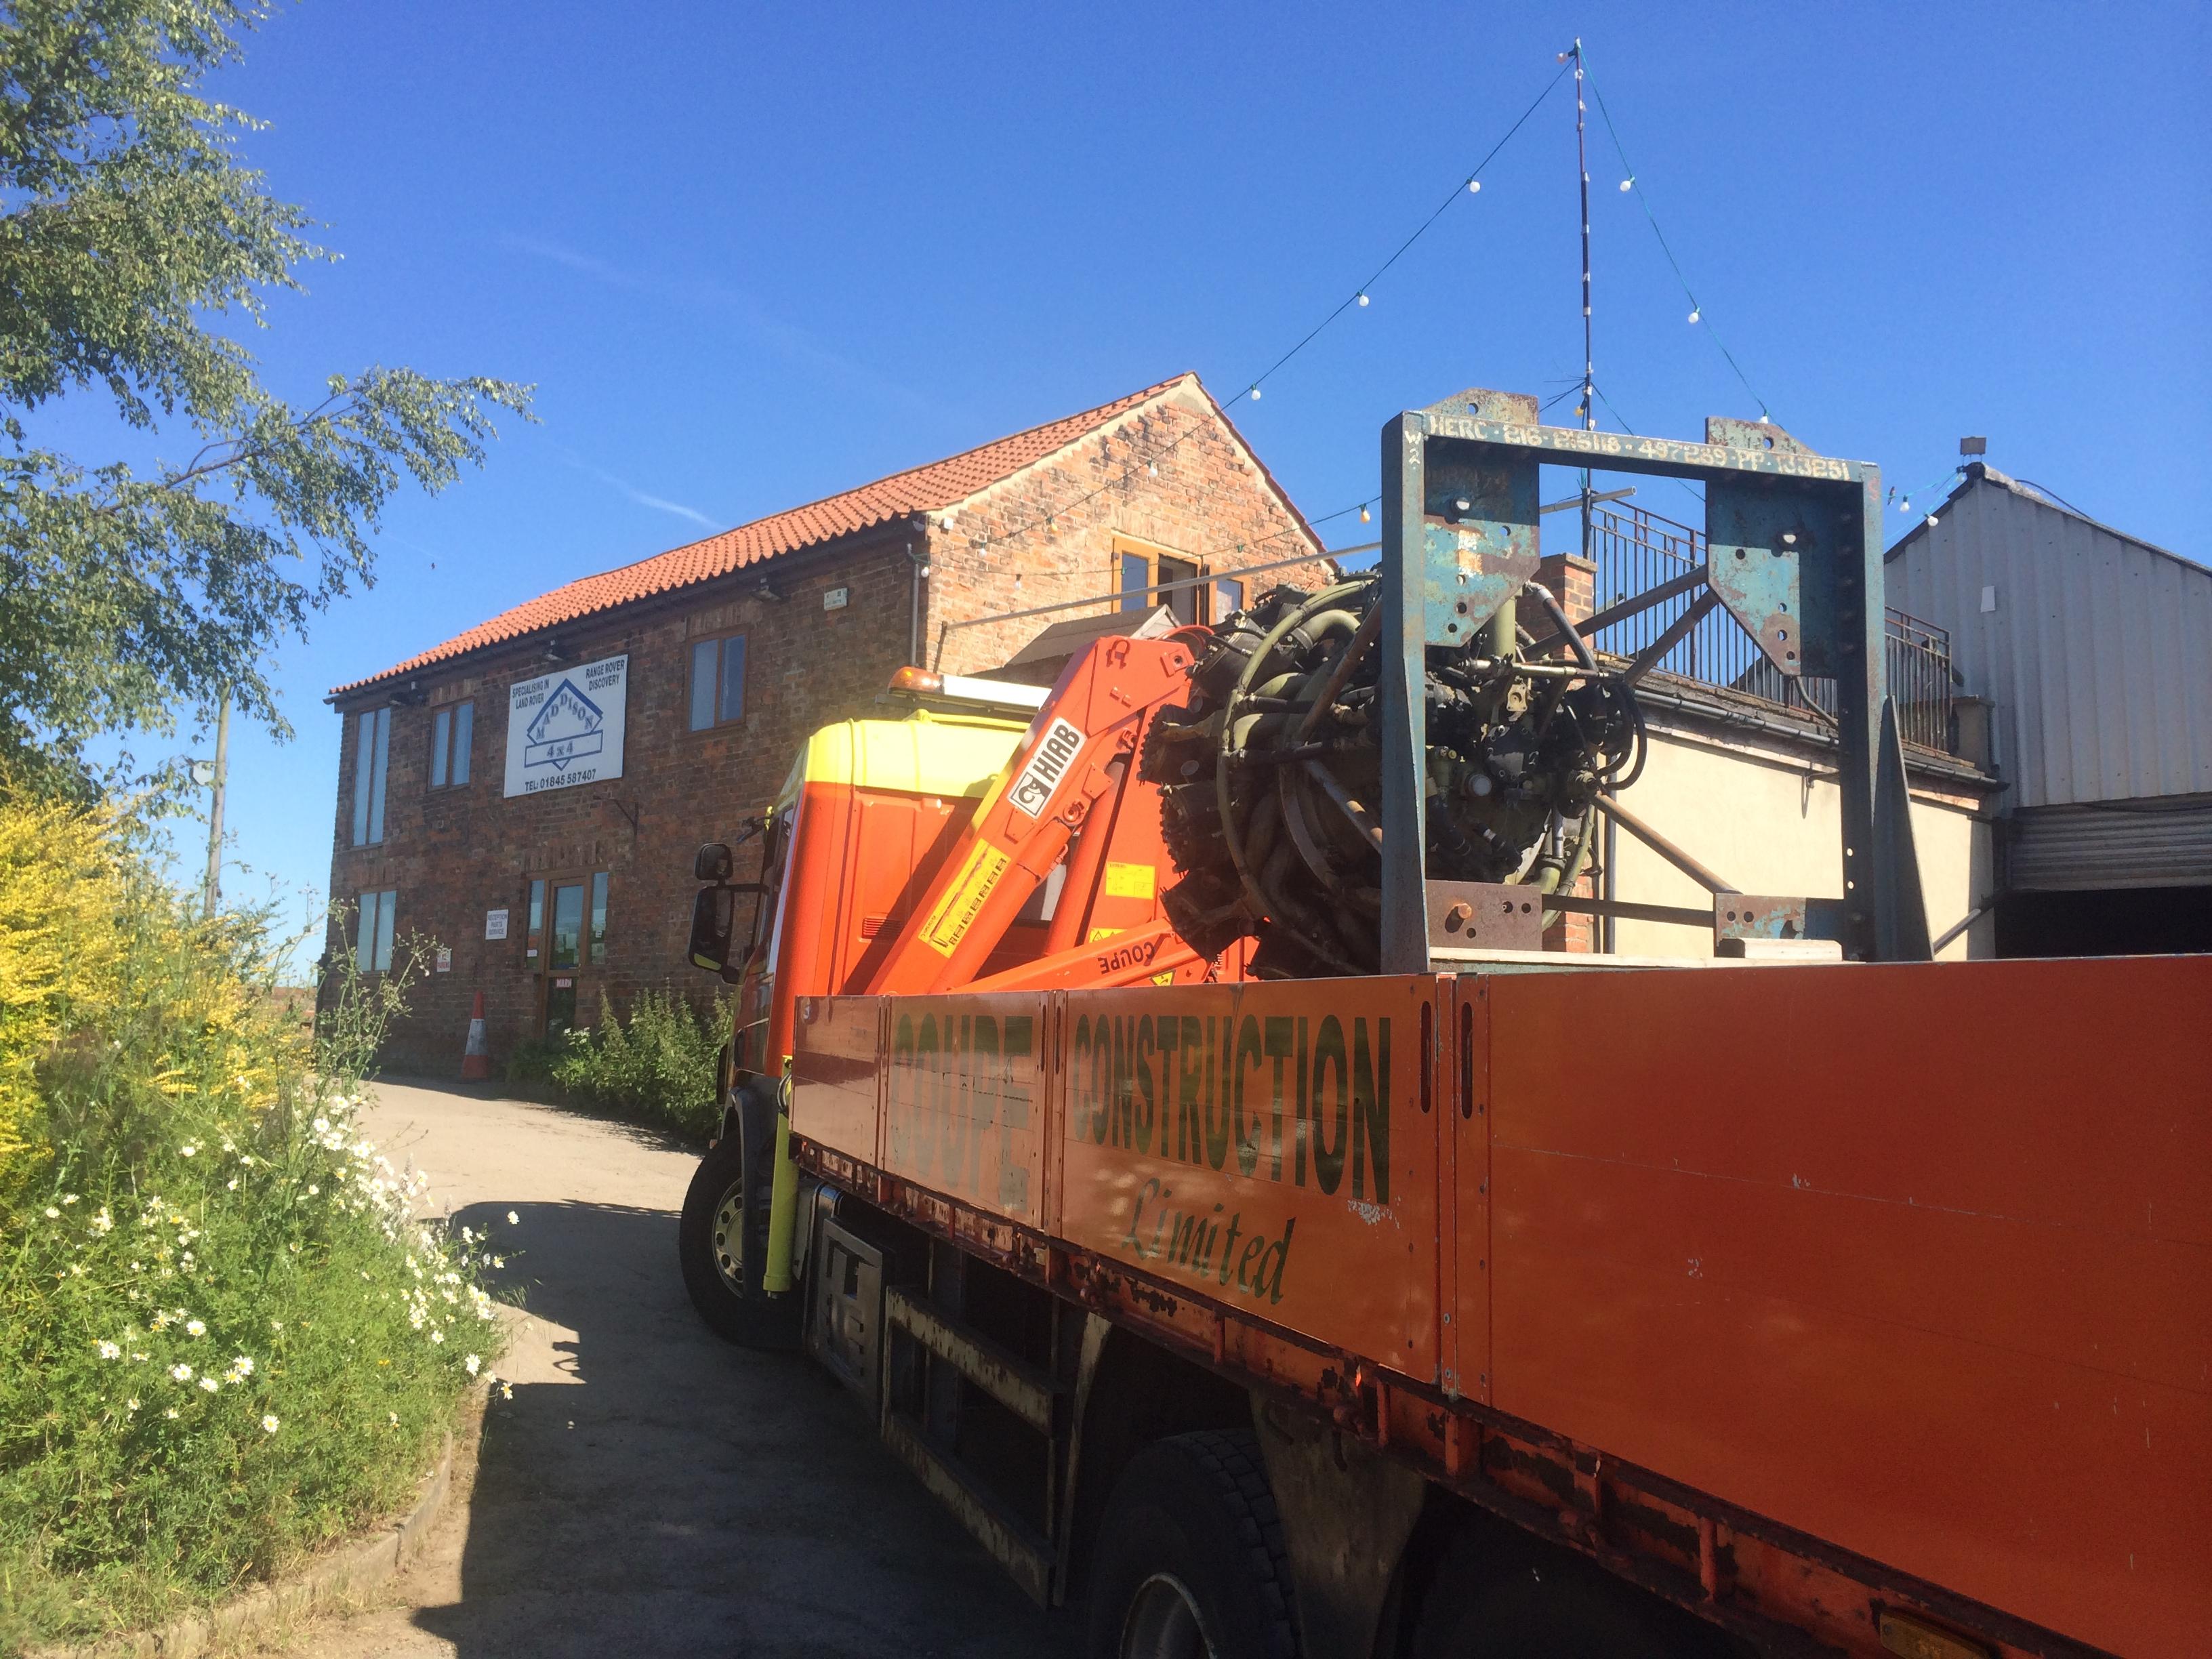
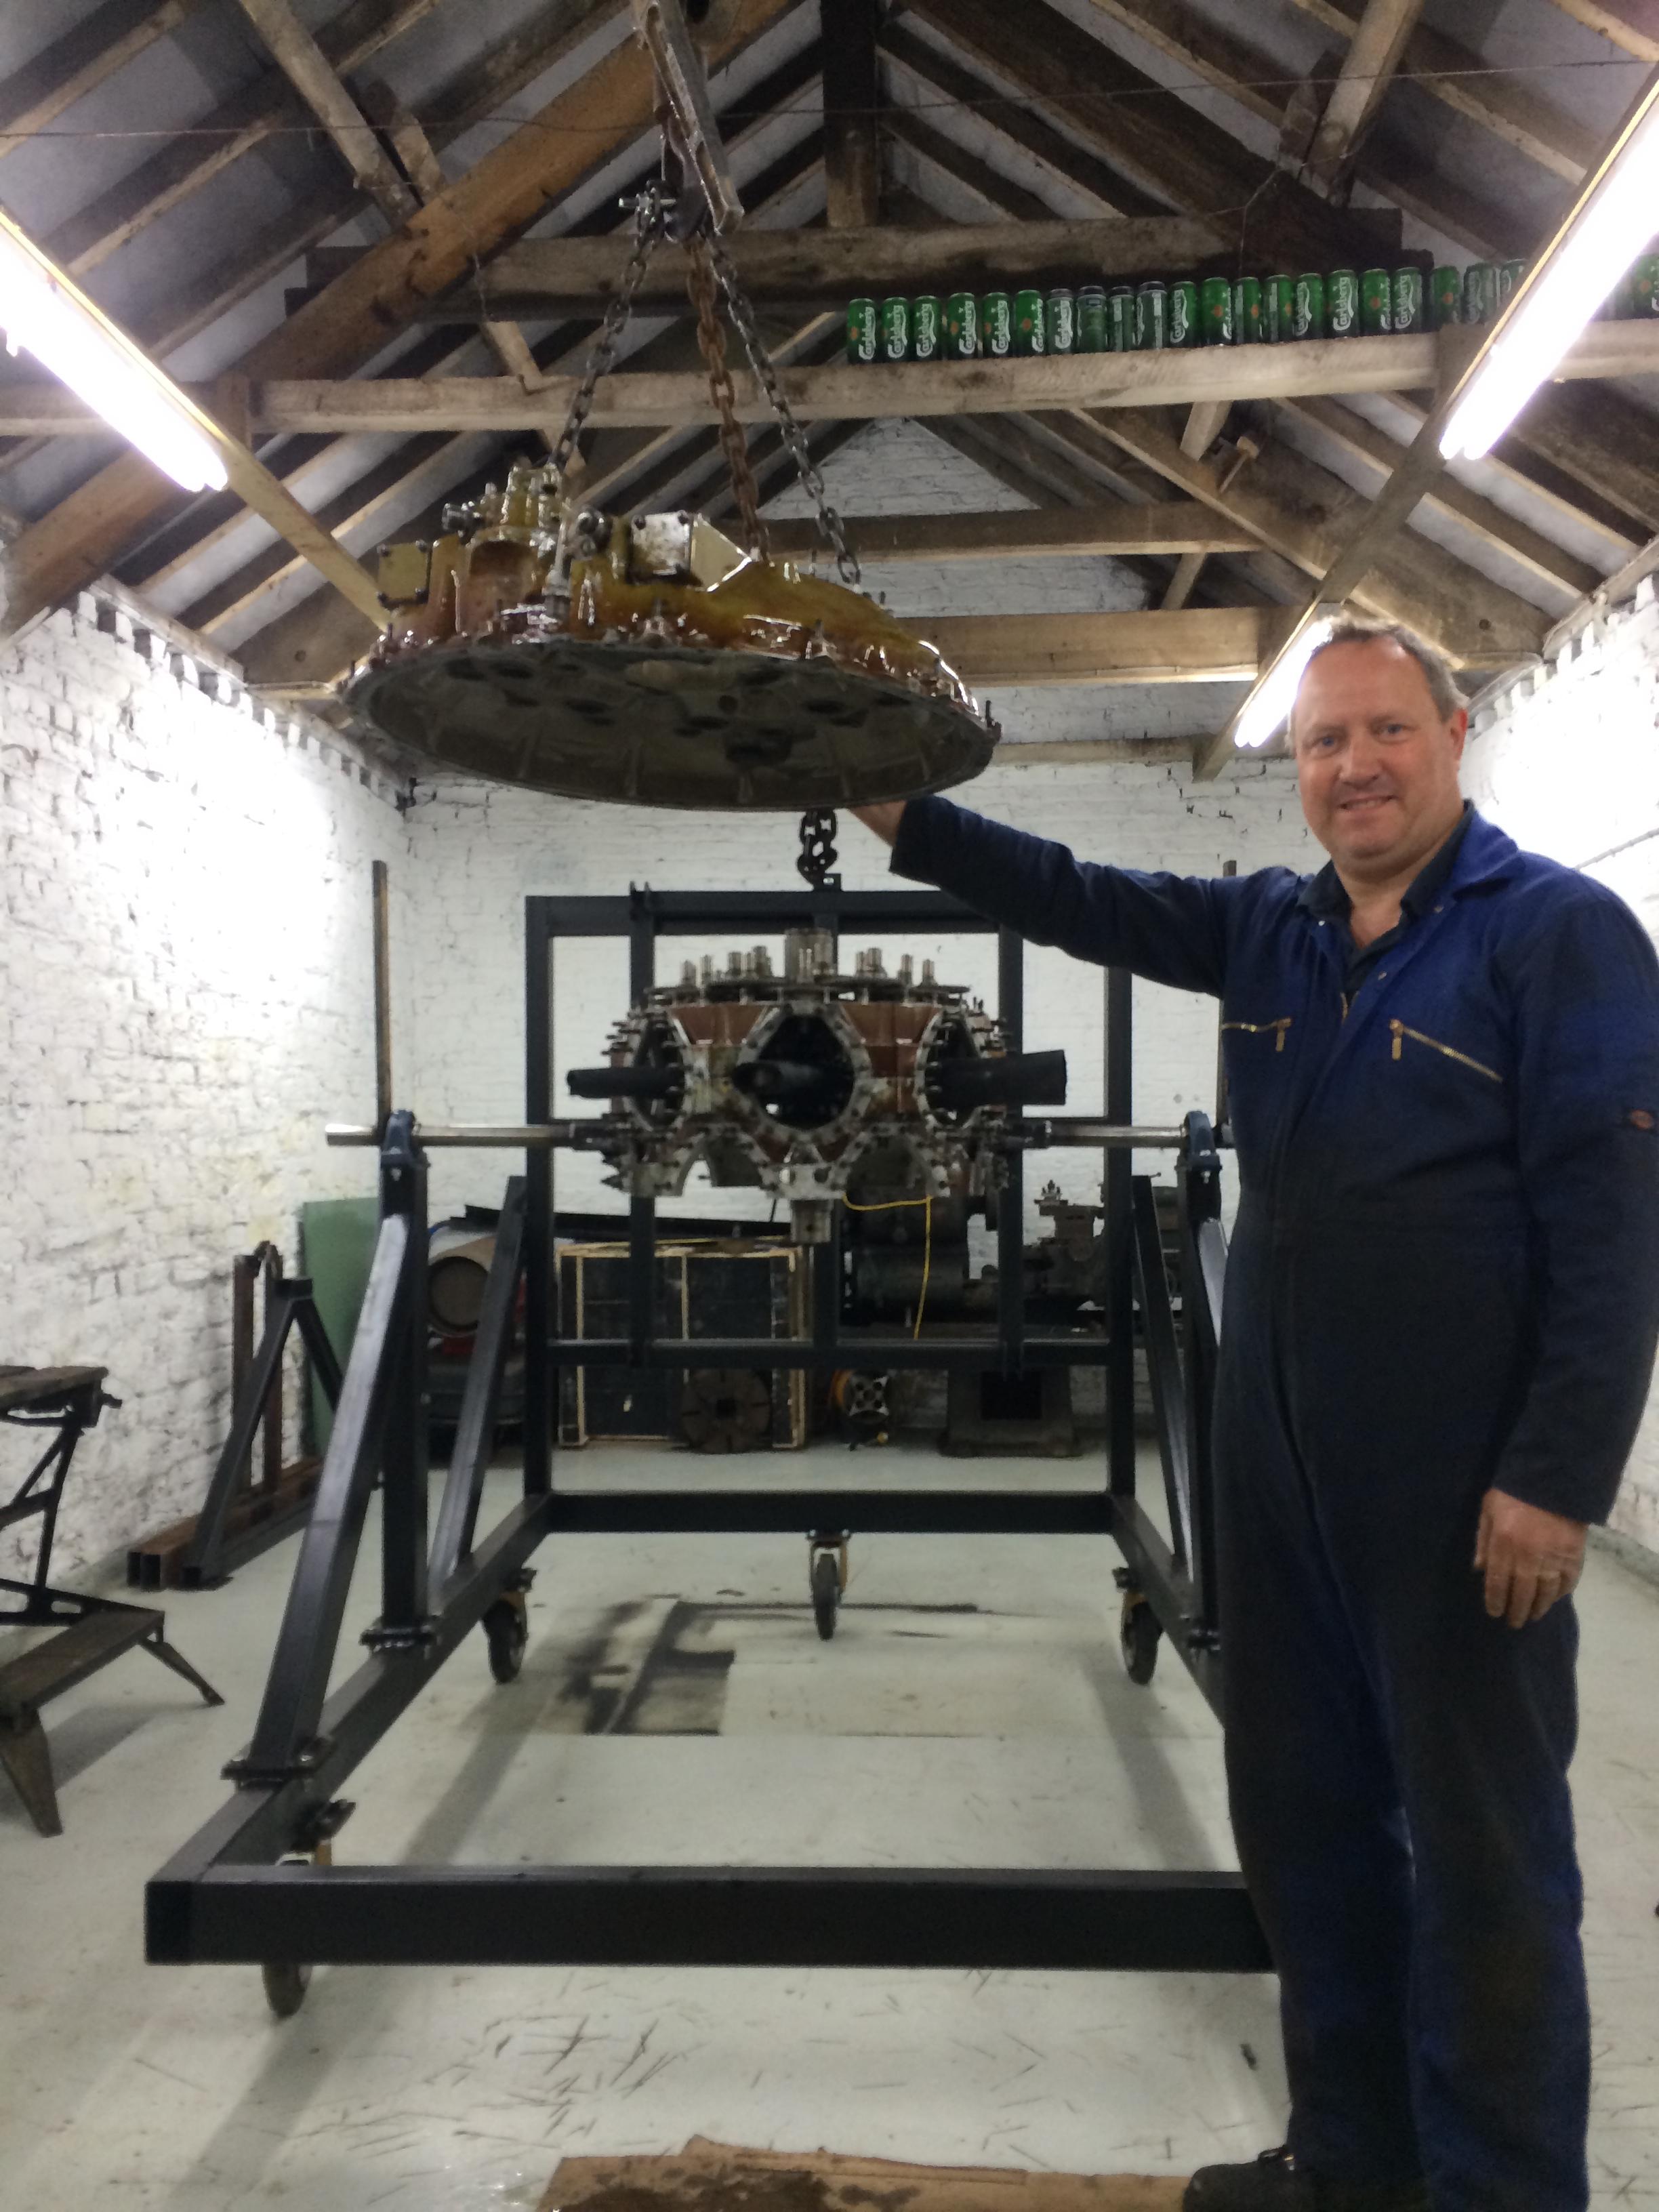
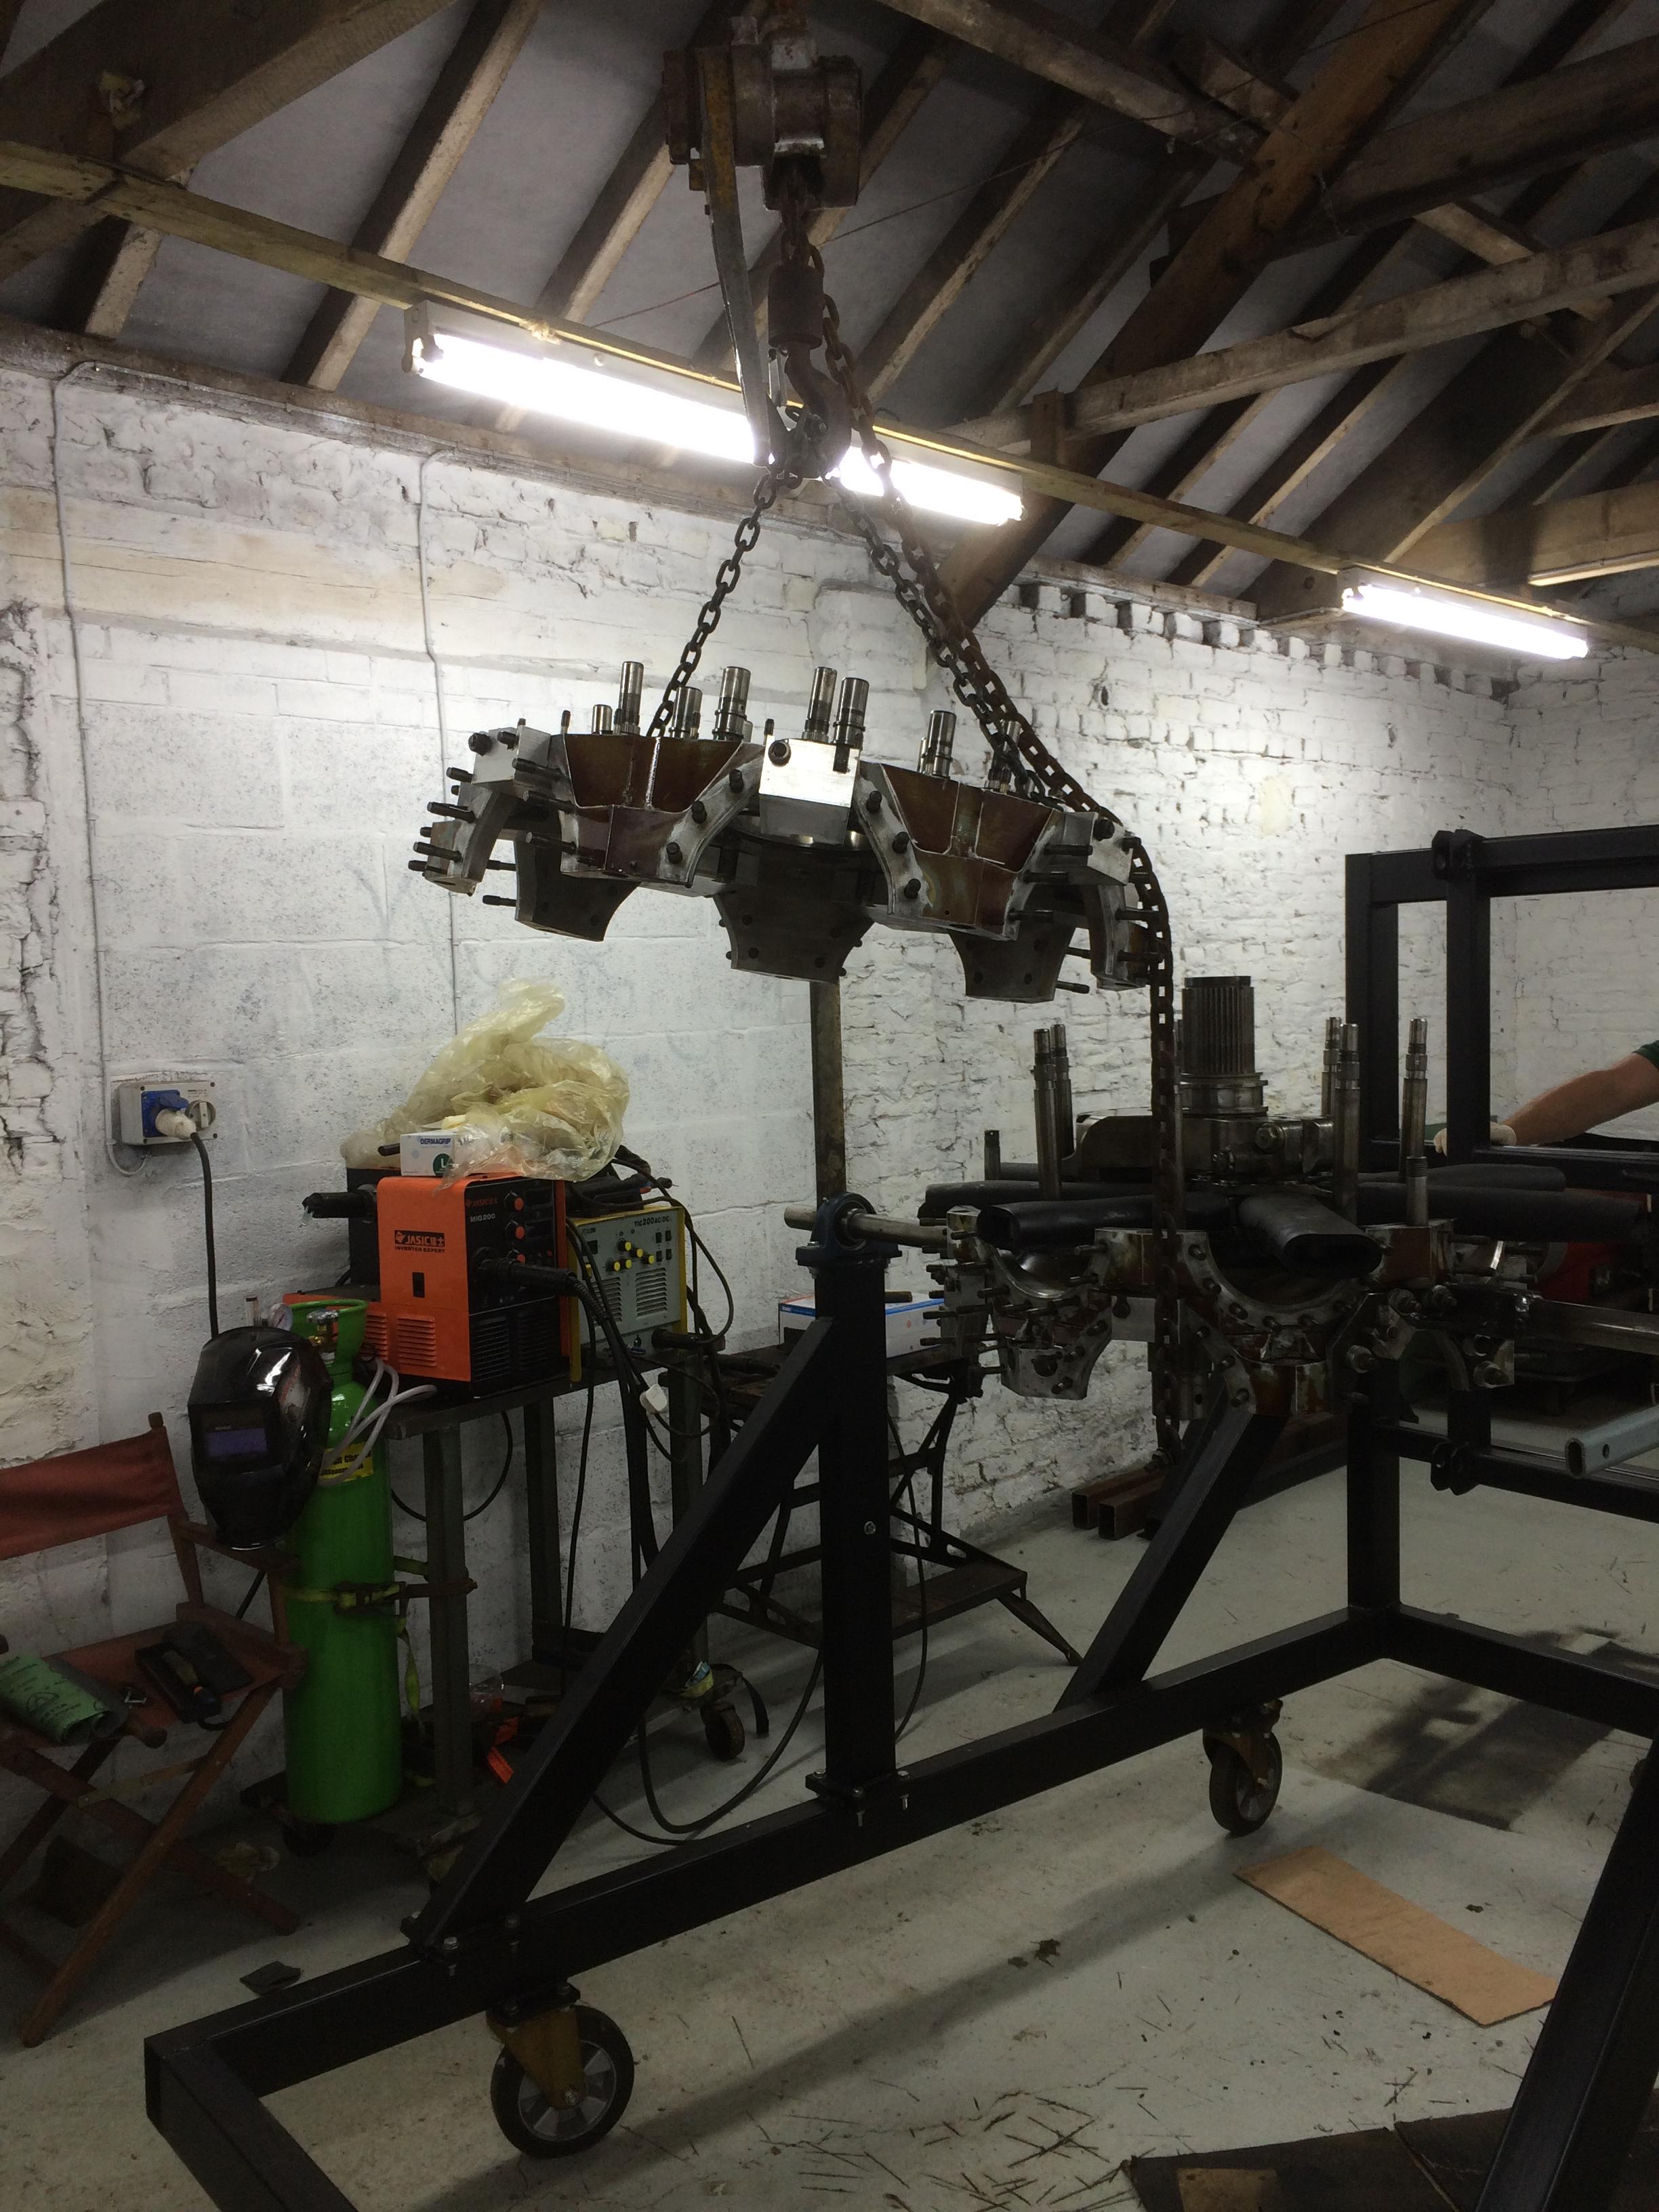
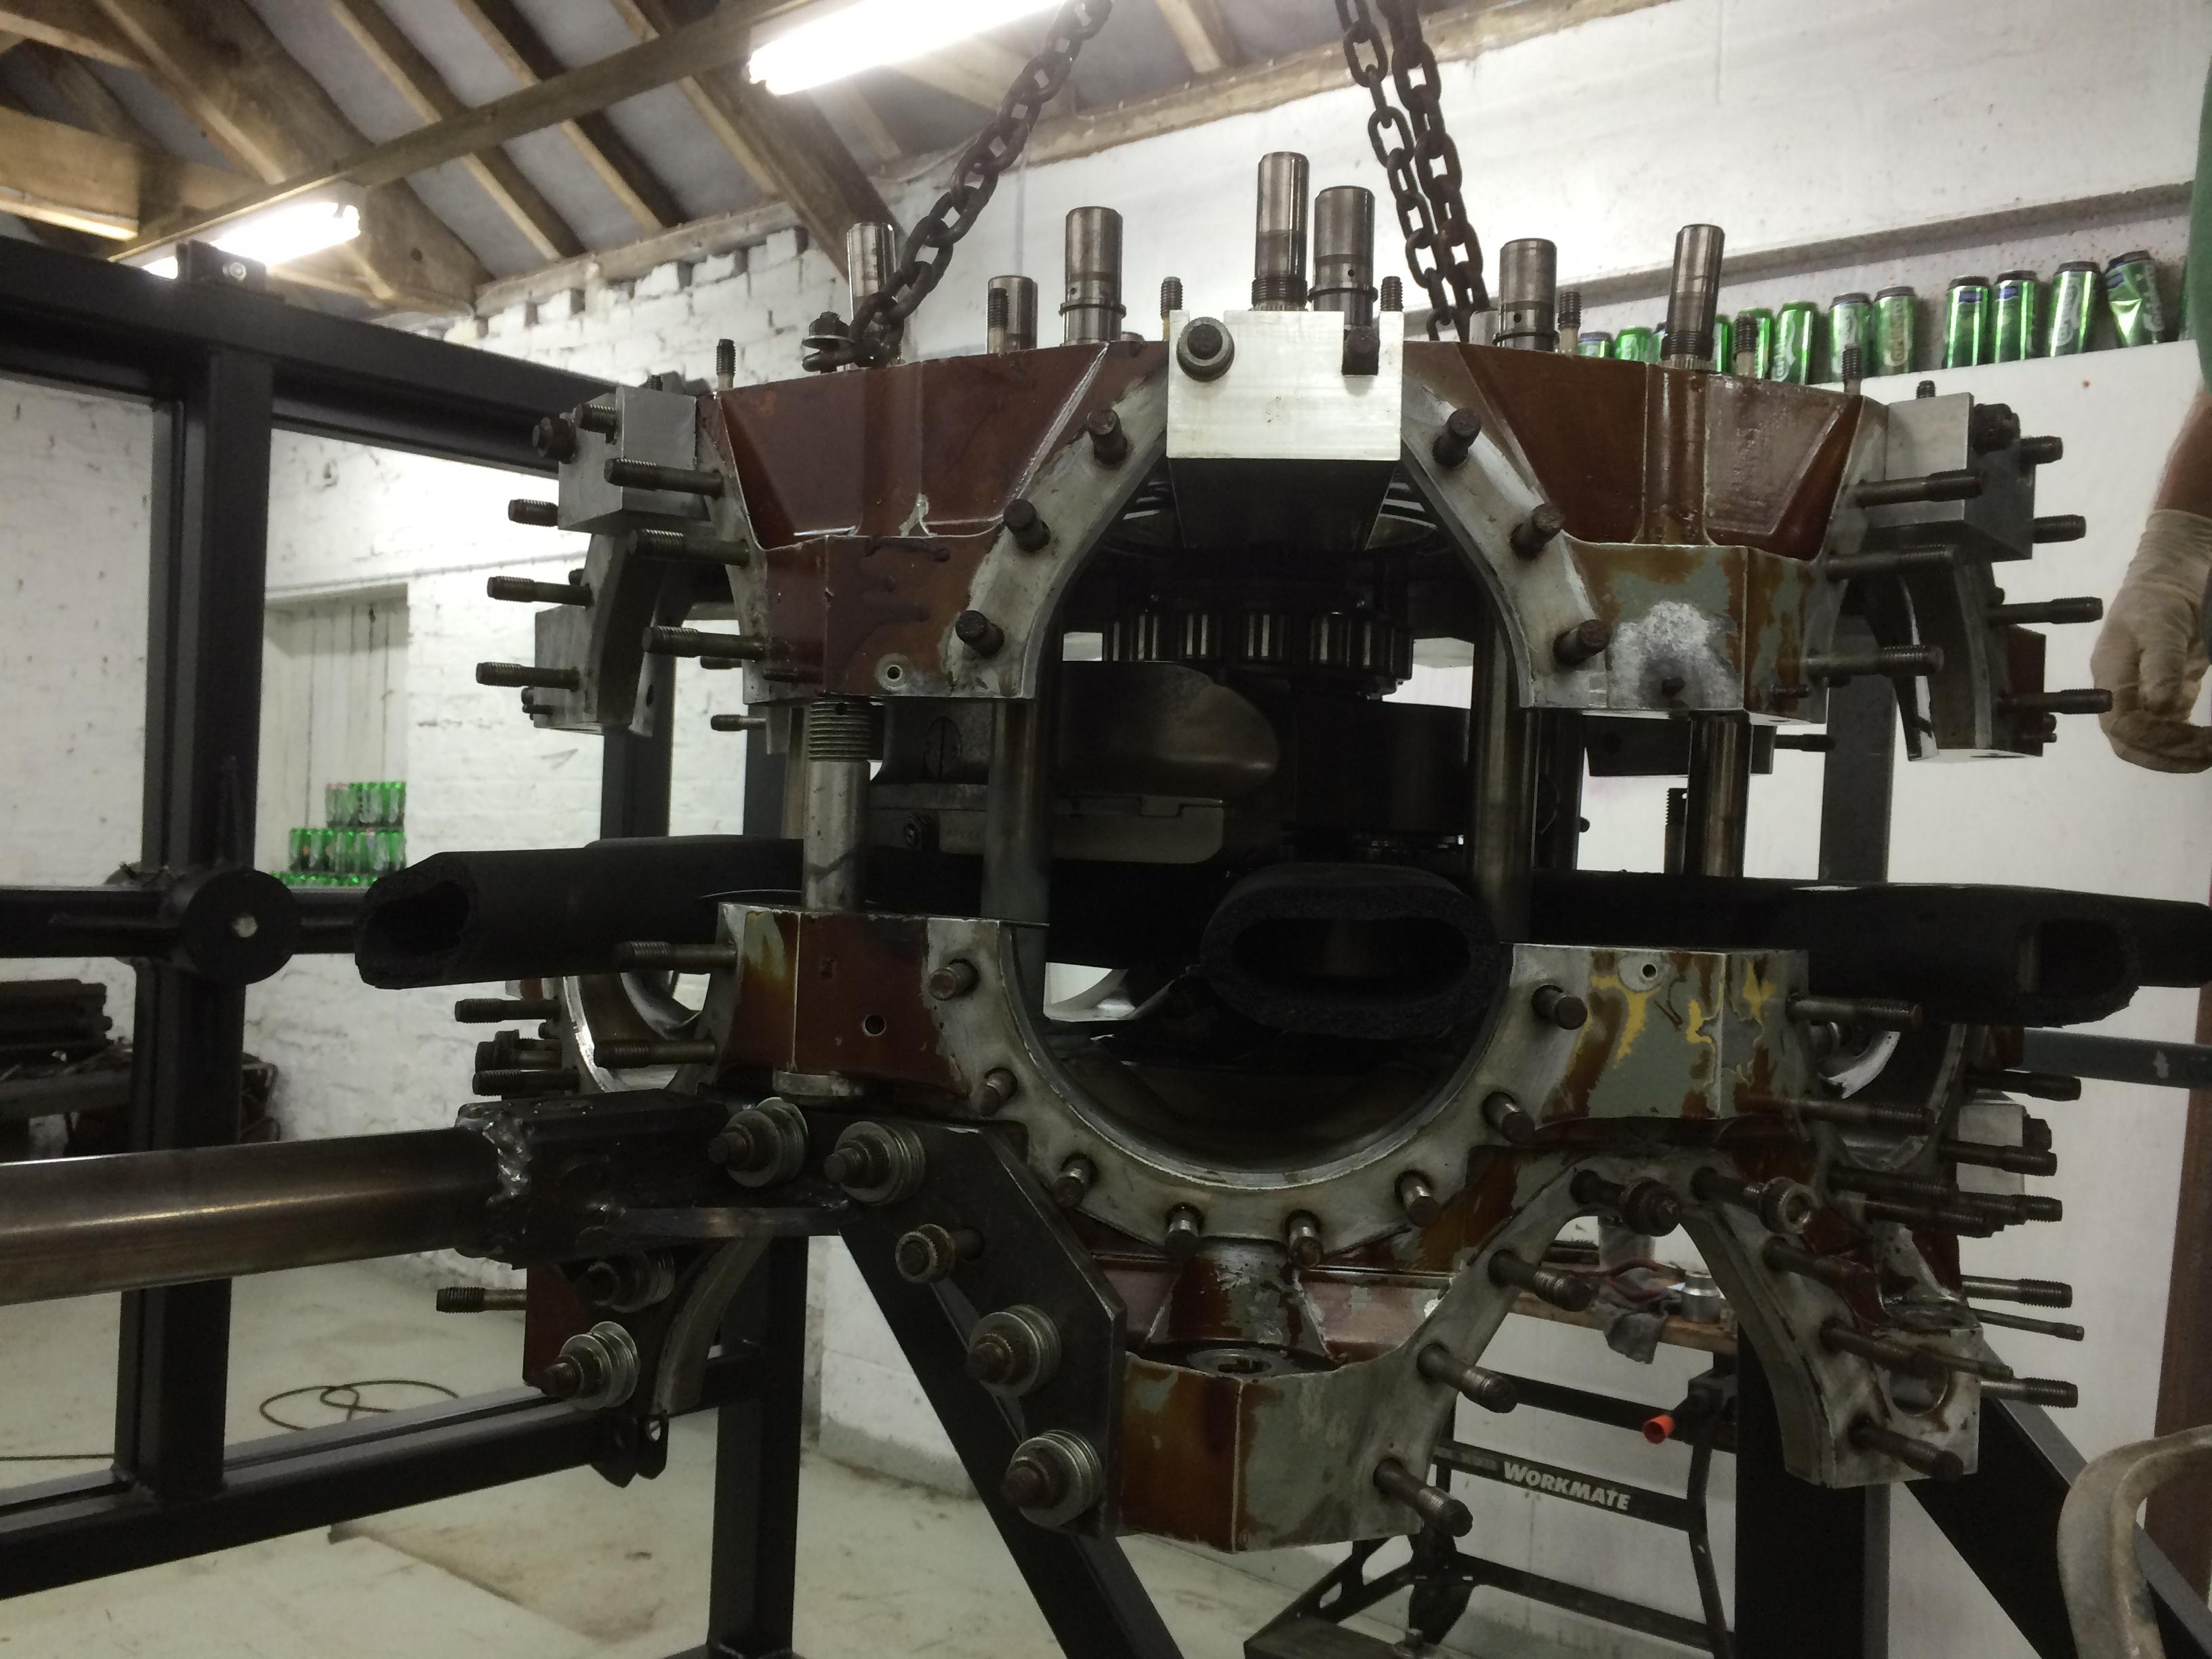
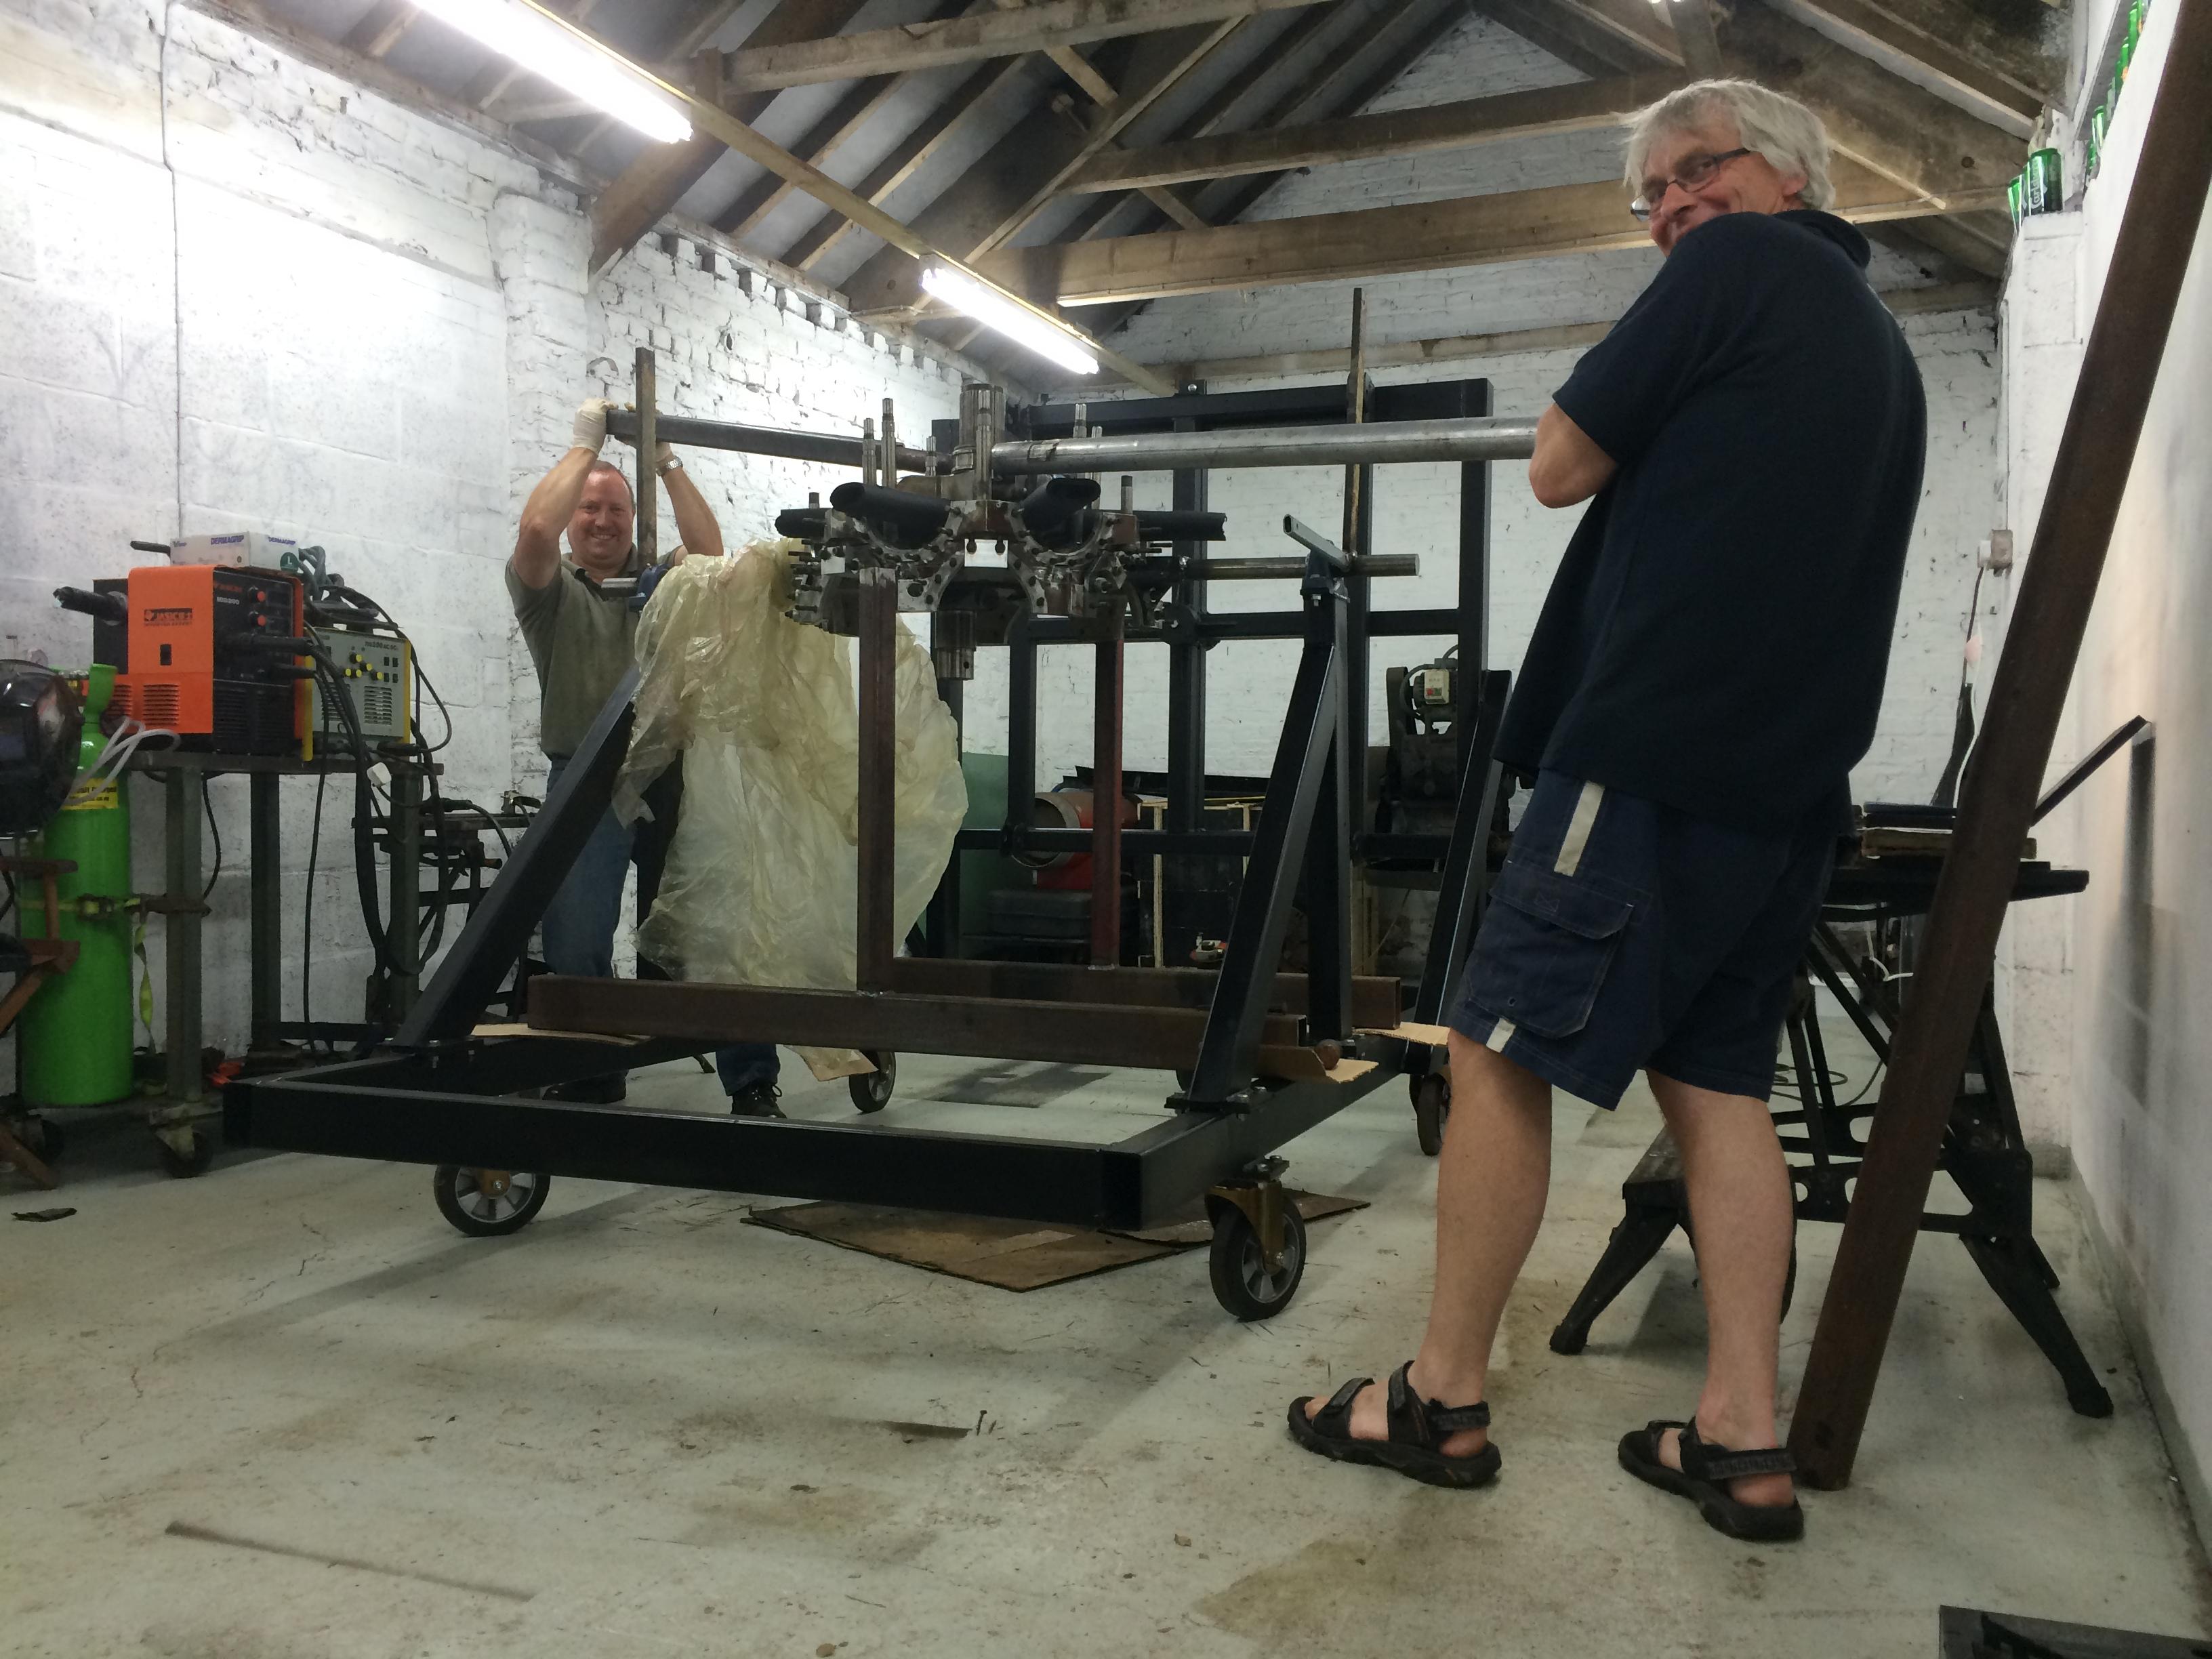
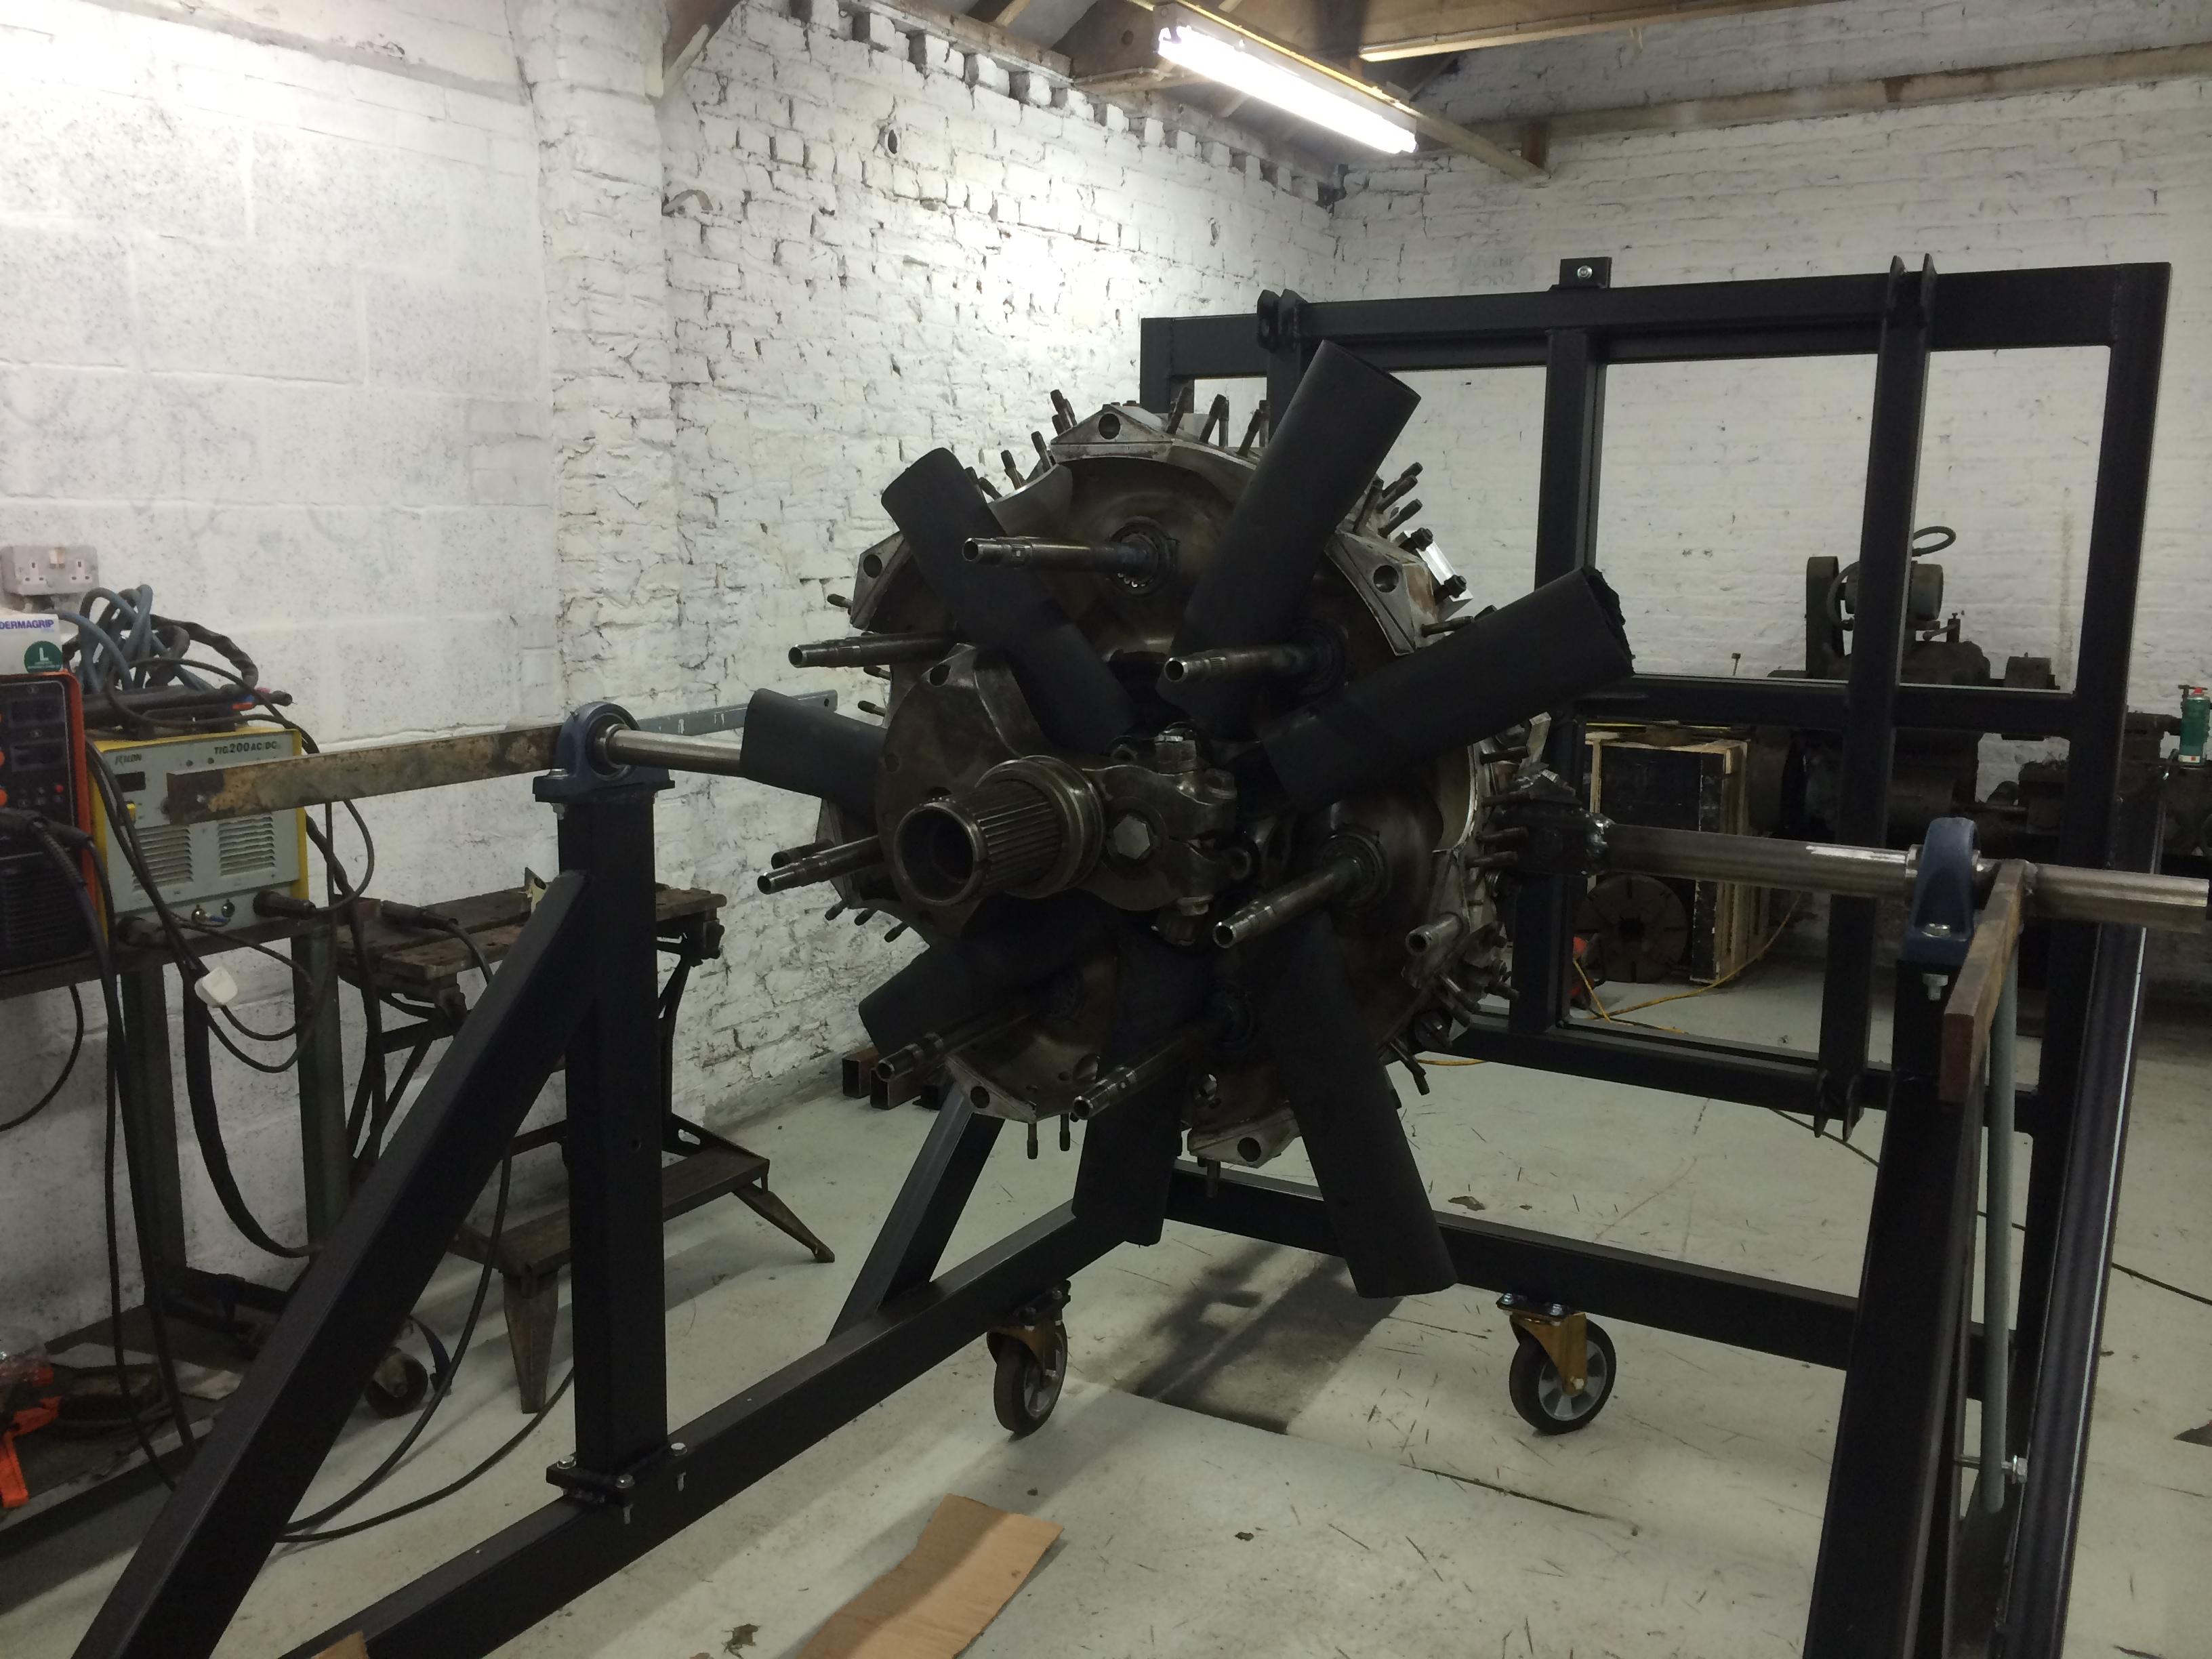
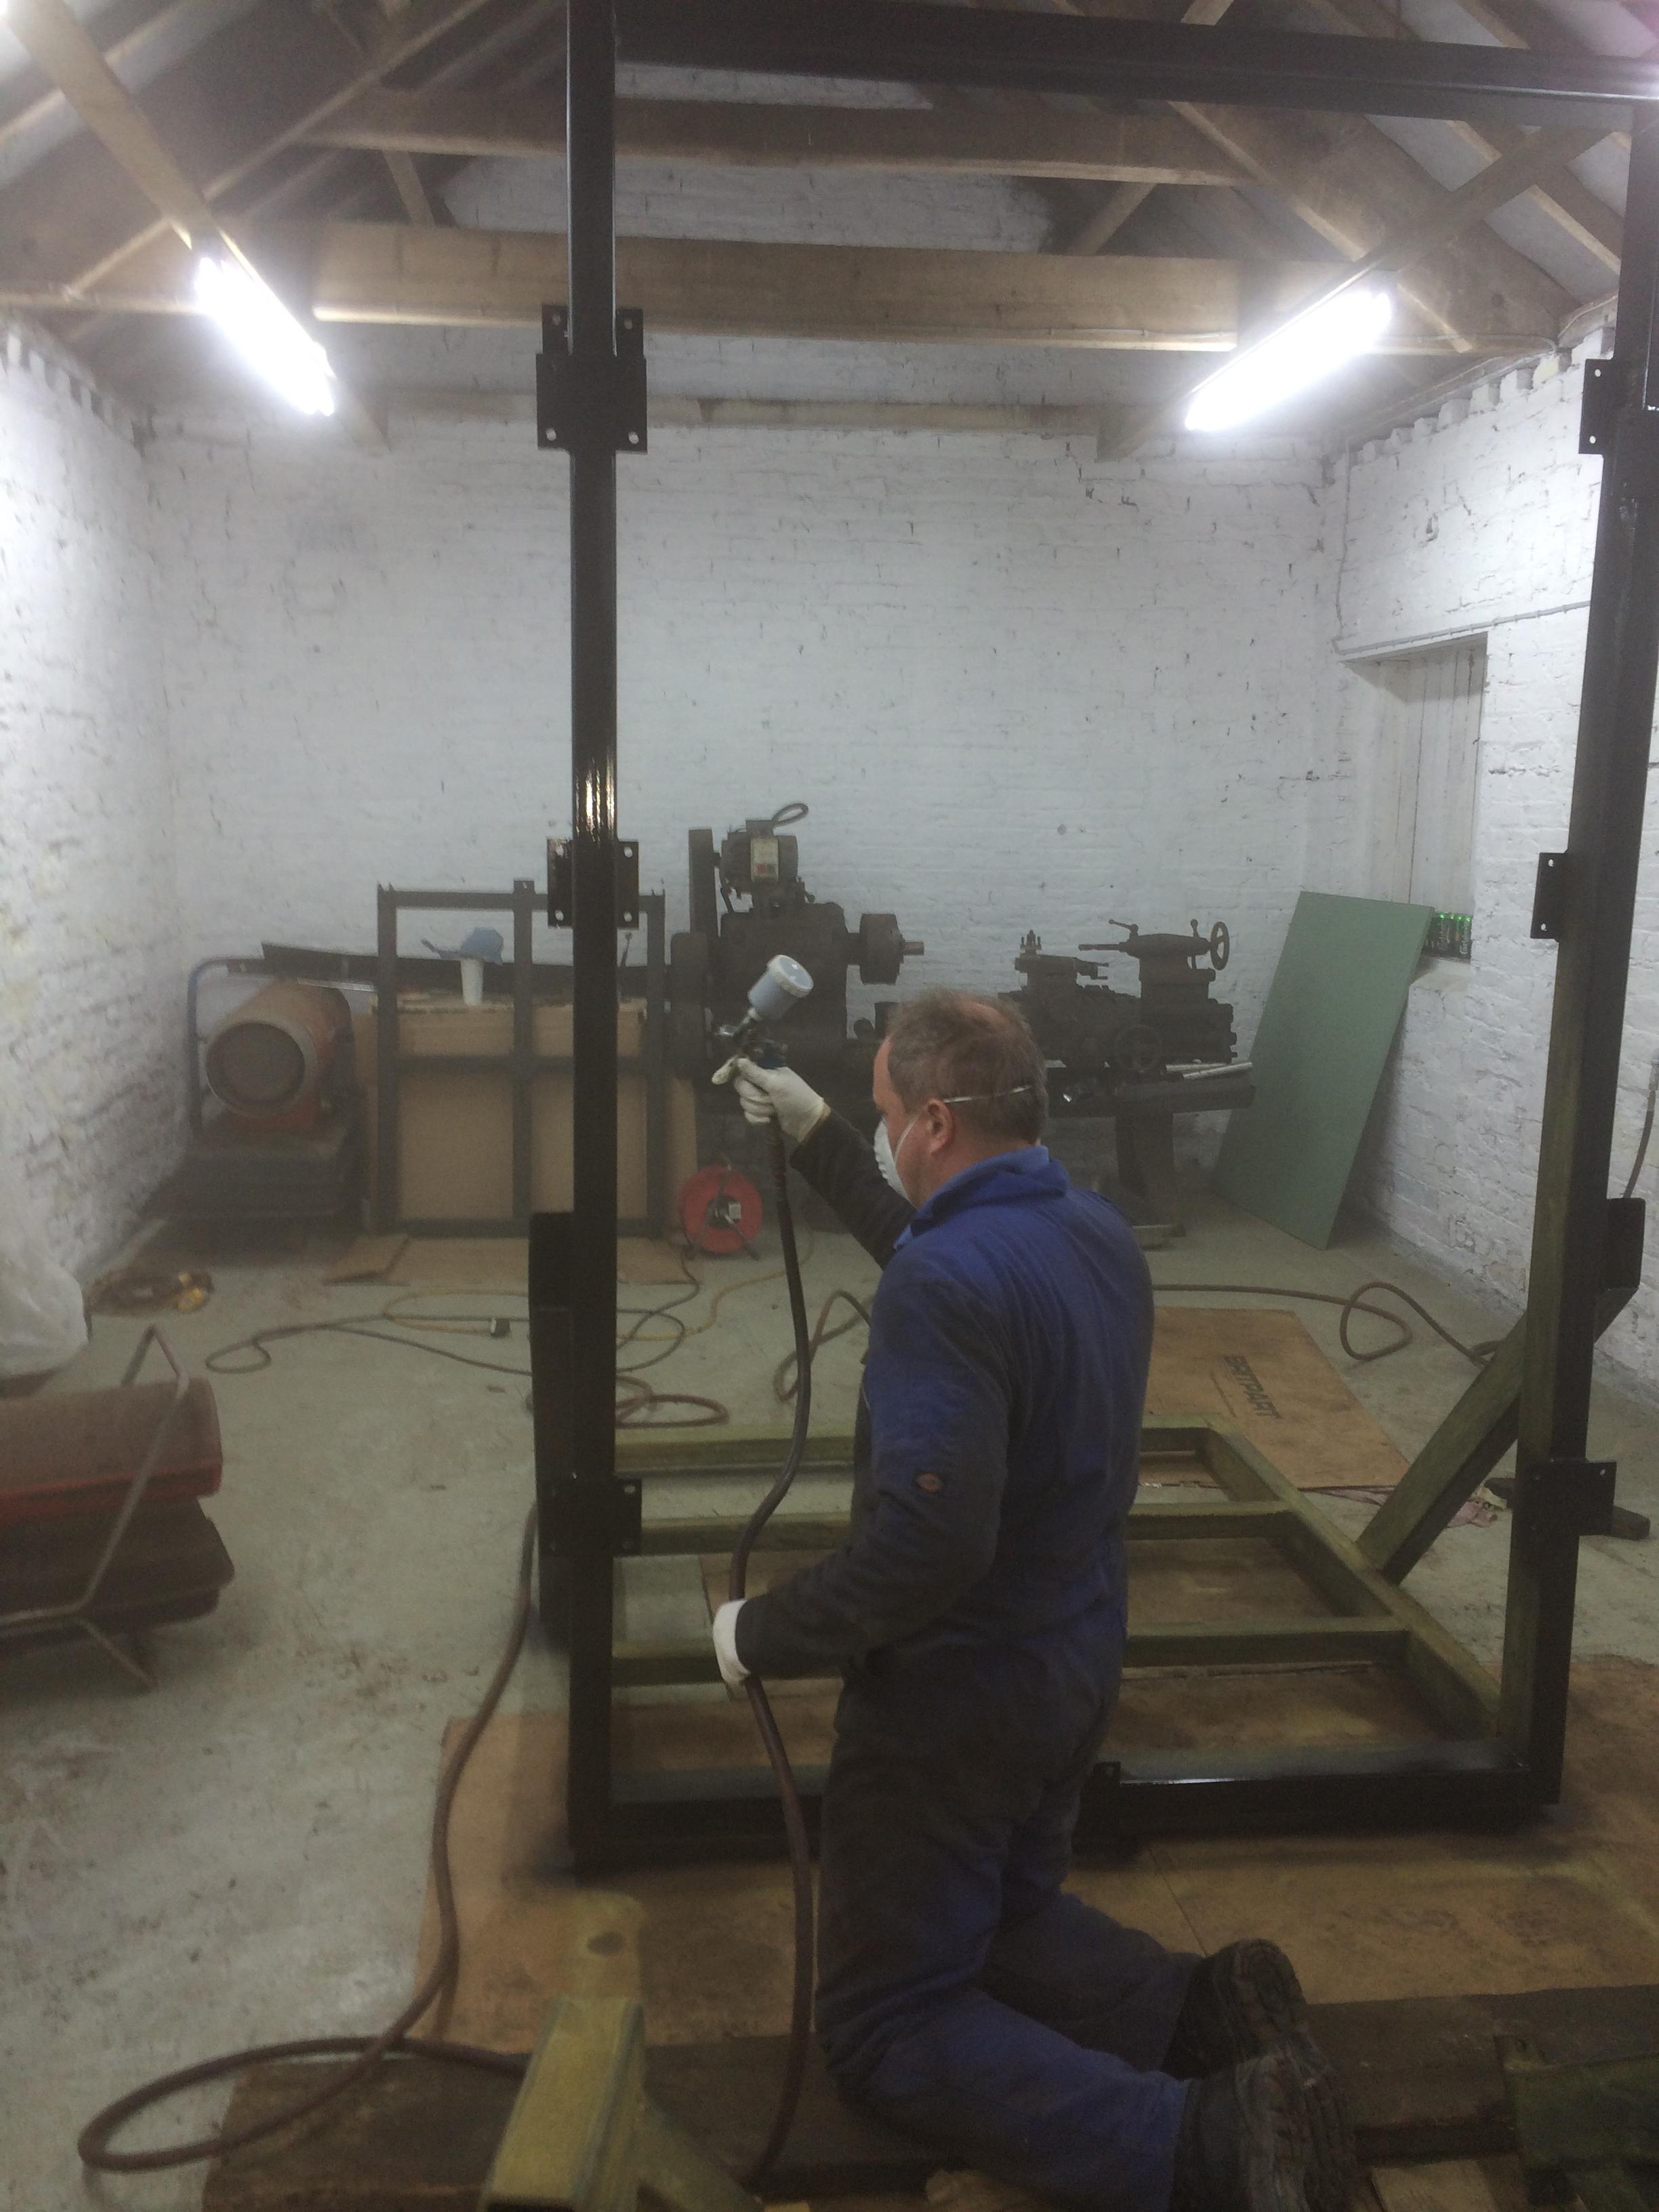
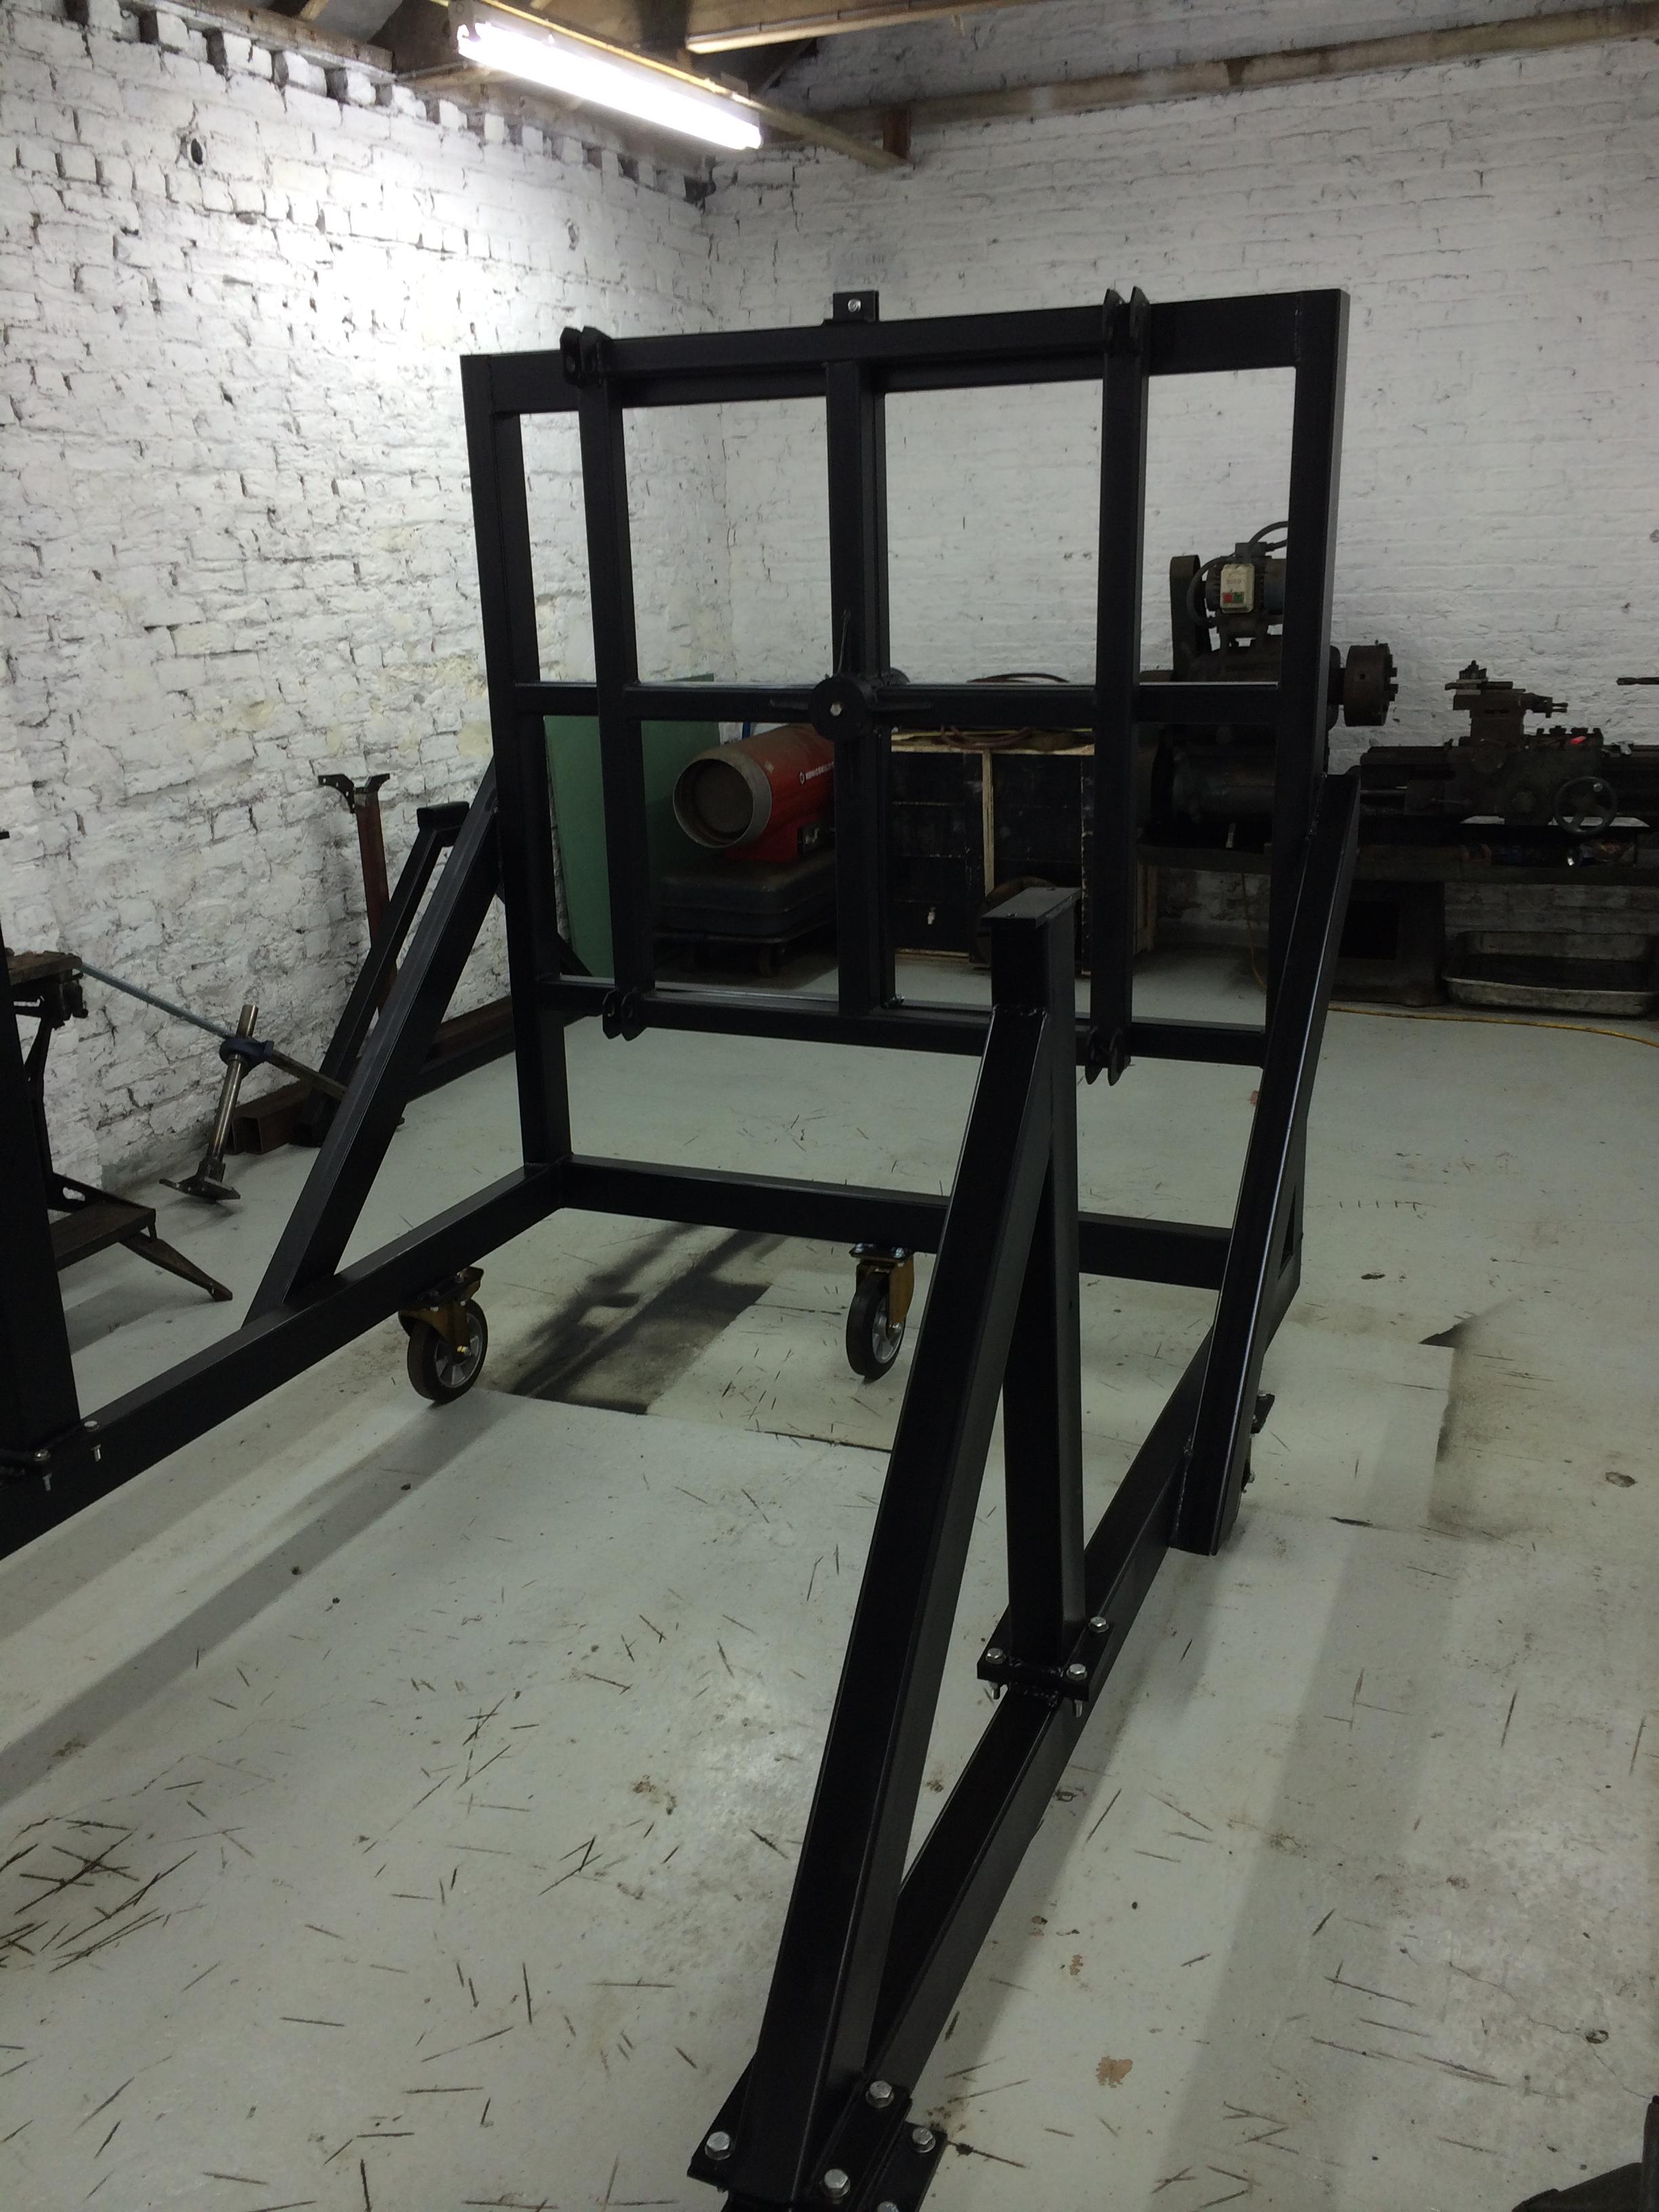
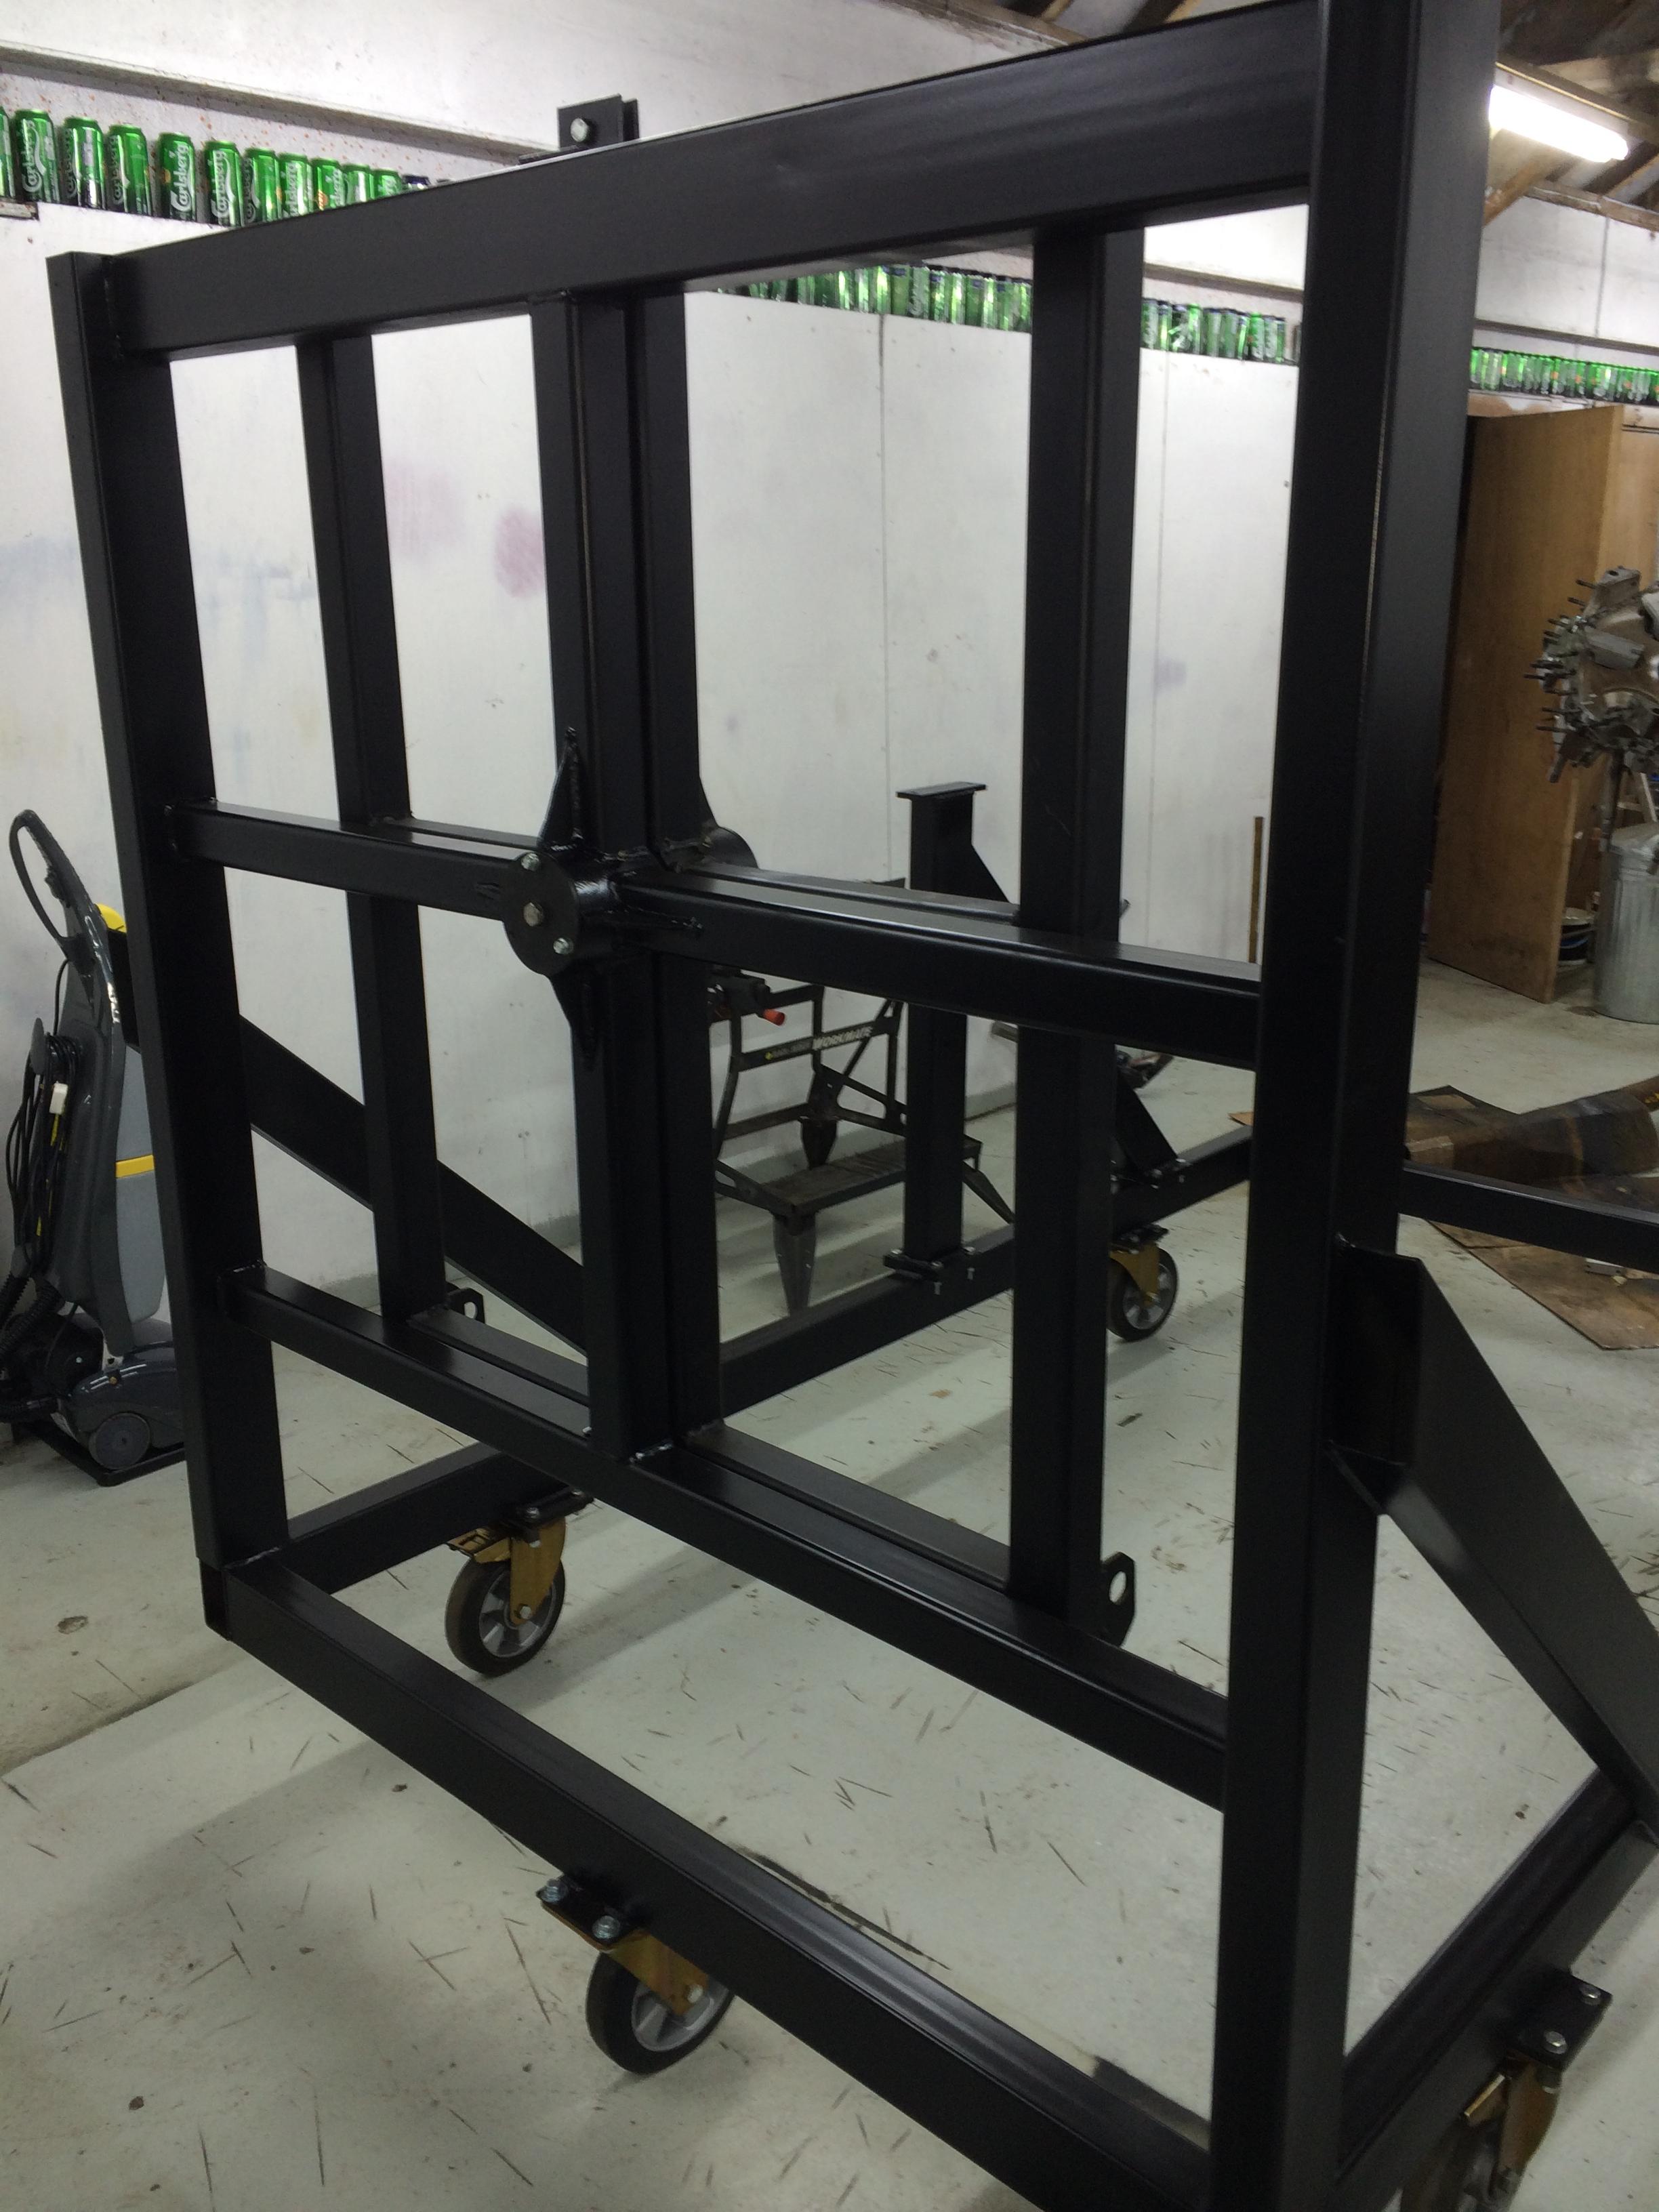
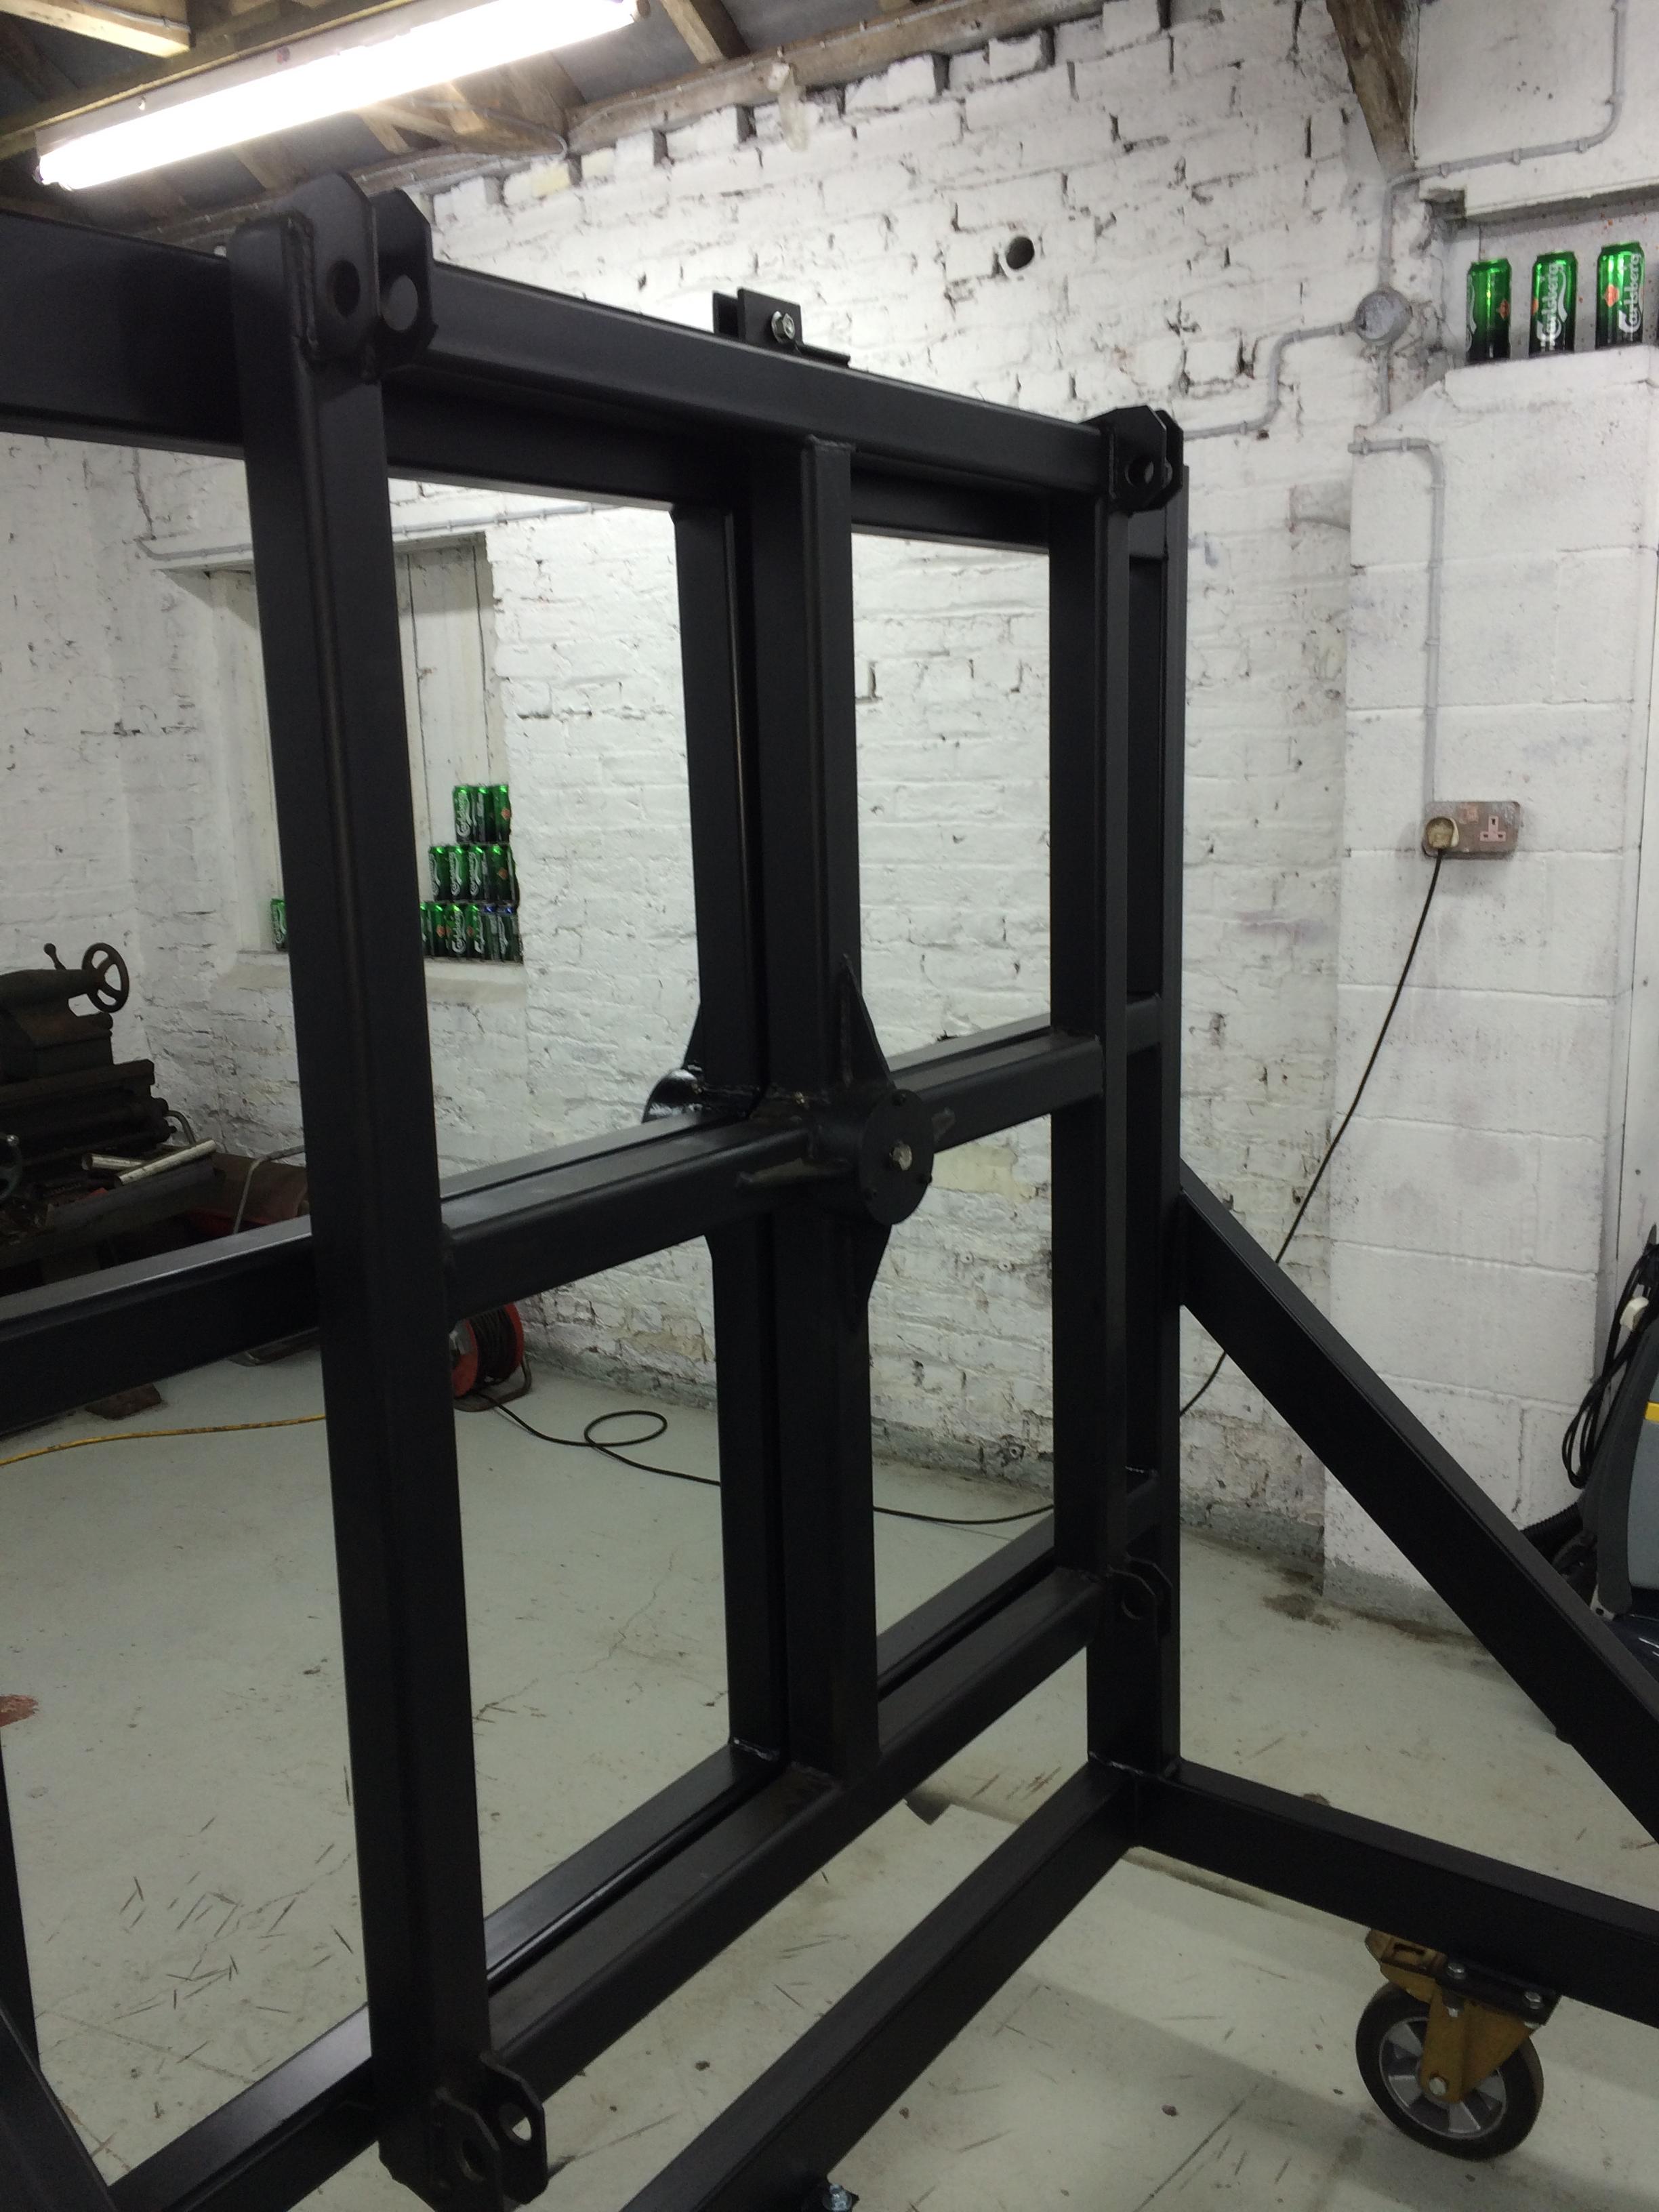
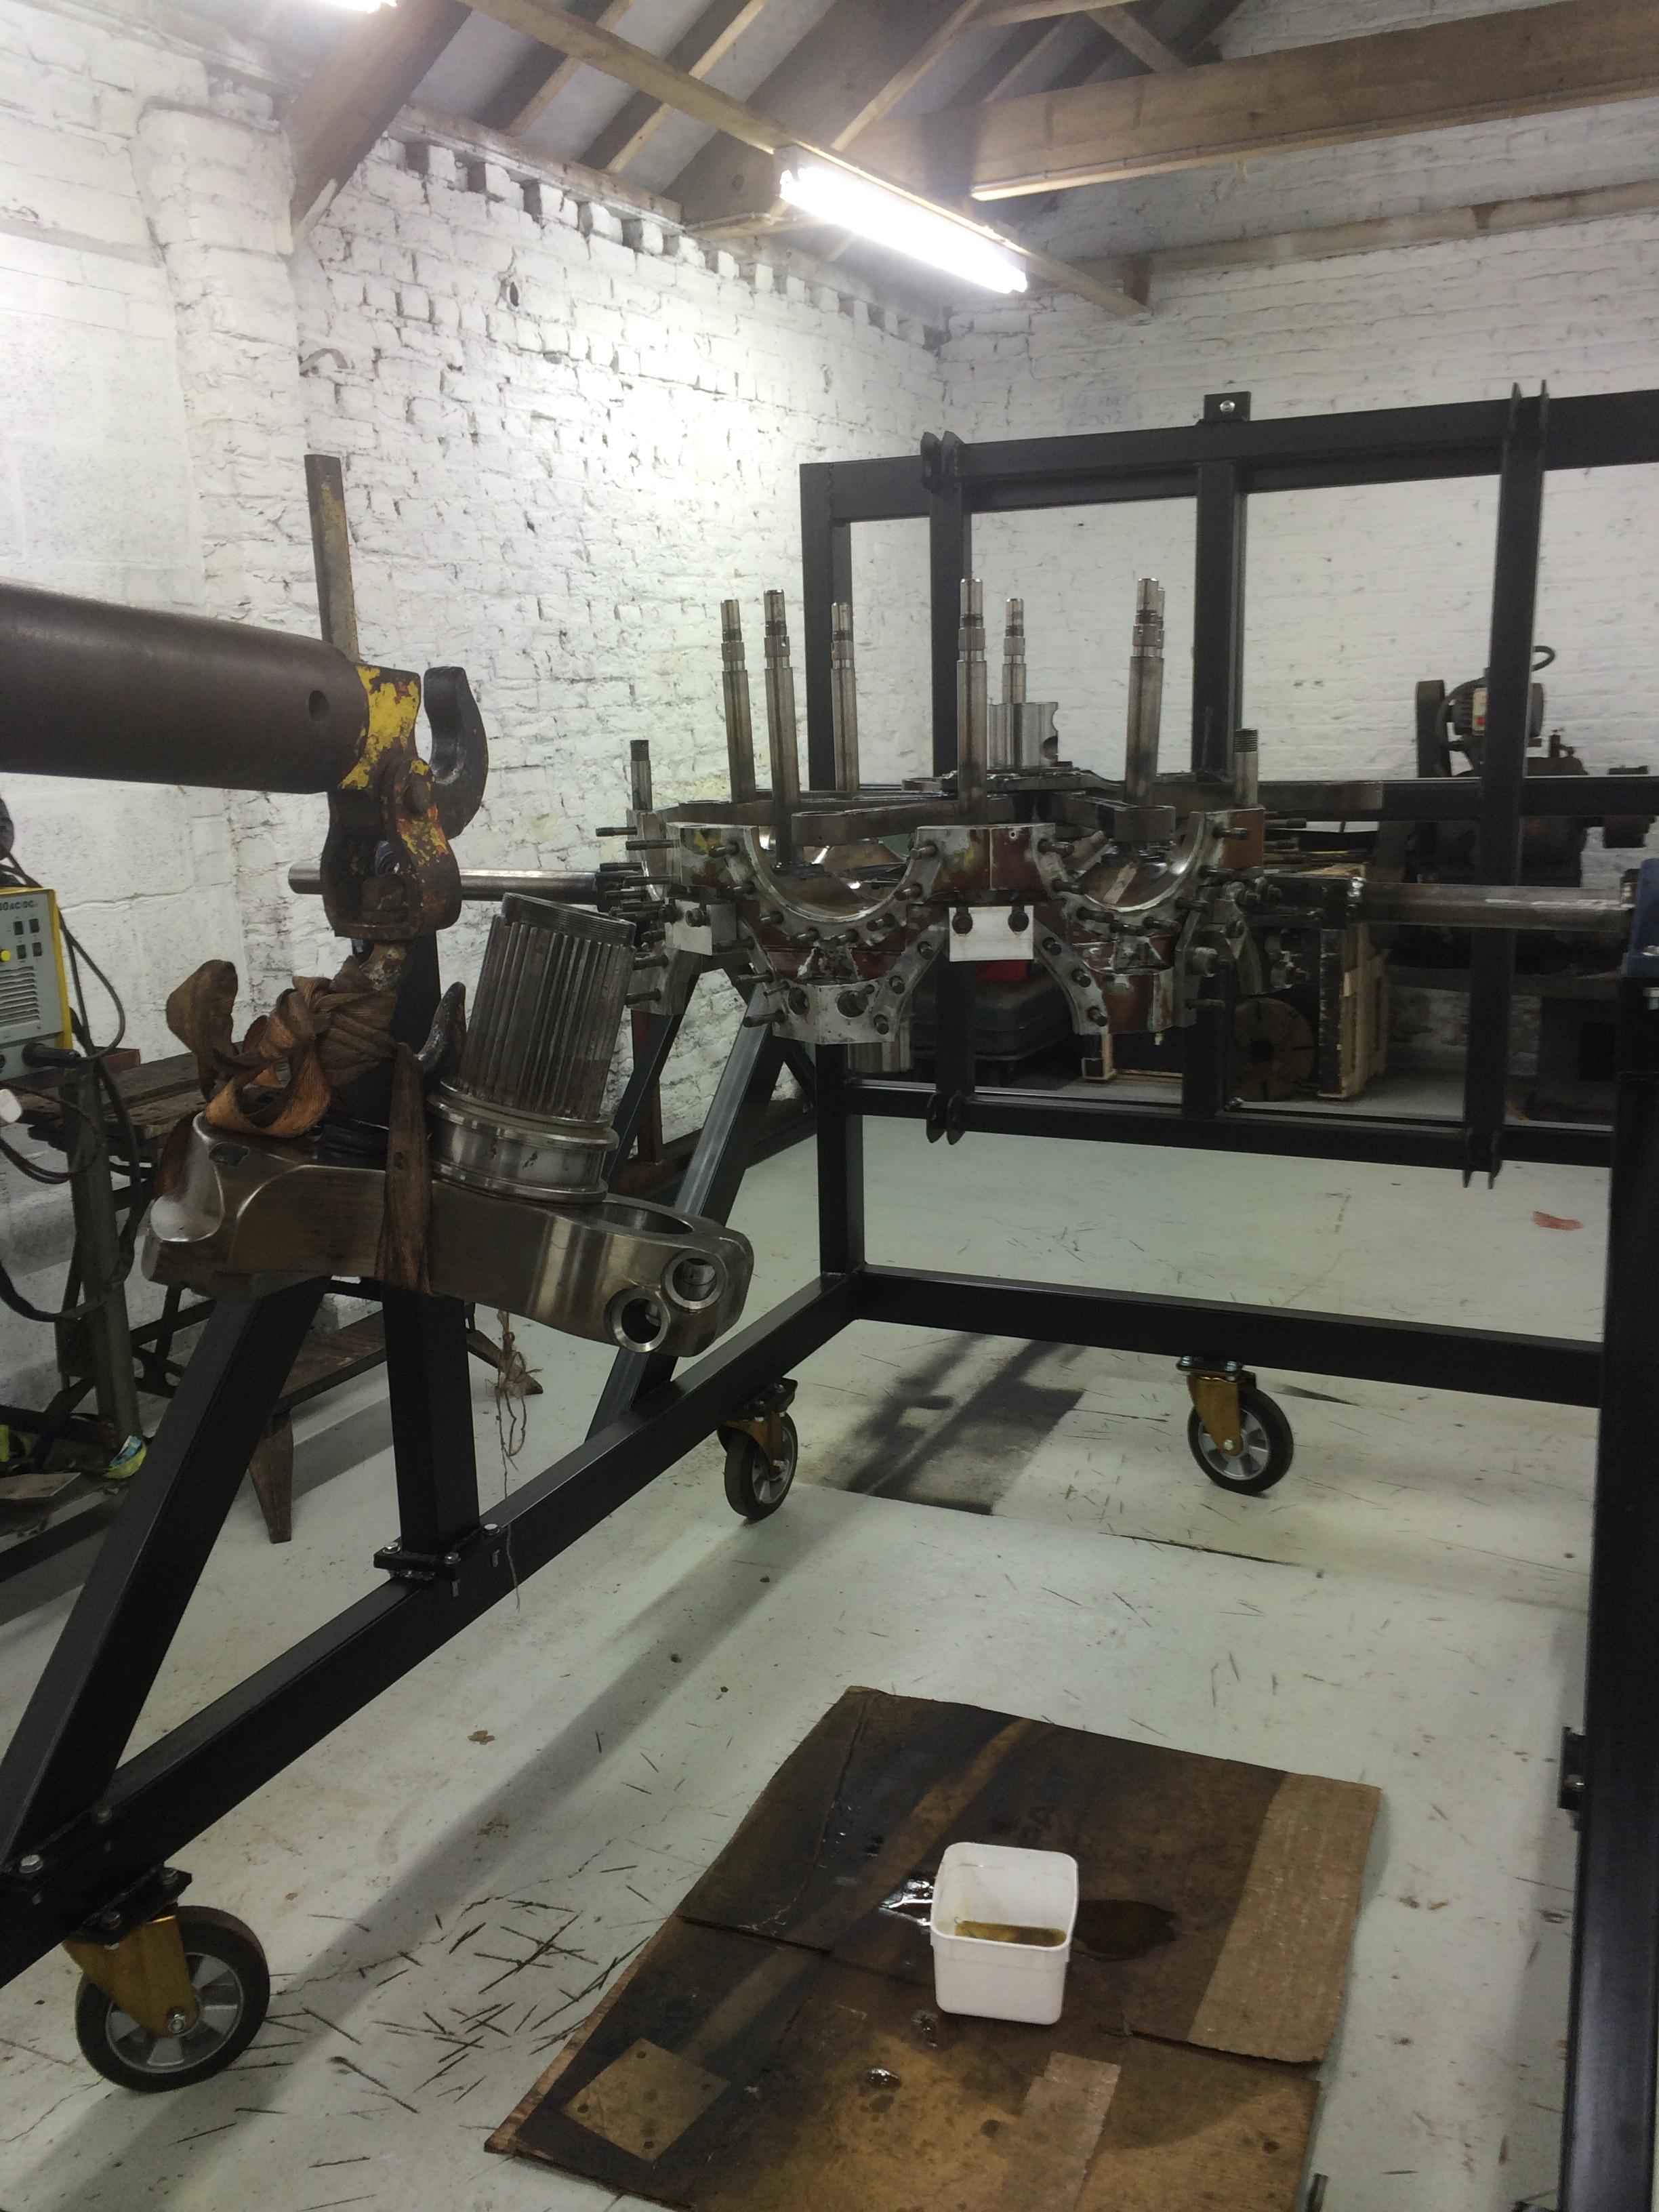
For the first few runs we lifted the engine and stand onto a plant trailer and secured it down. We will be make a new stand to fit the trailer over winter, we are making it demountable because we may have three engines in total that will run and it’s the most cost effective way of doing it.

216 ELECTRICS 002 216 ELECTRICS 001


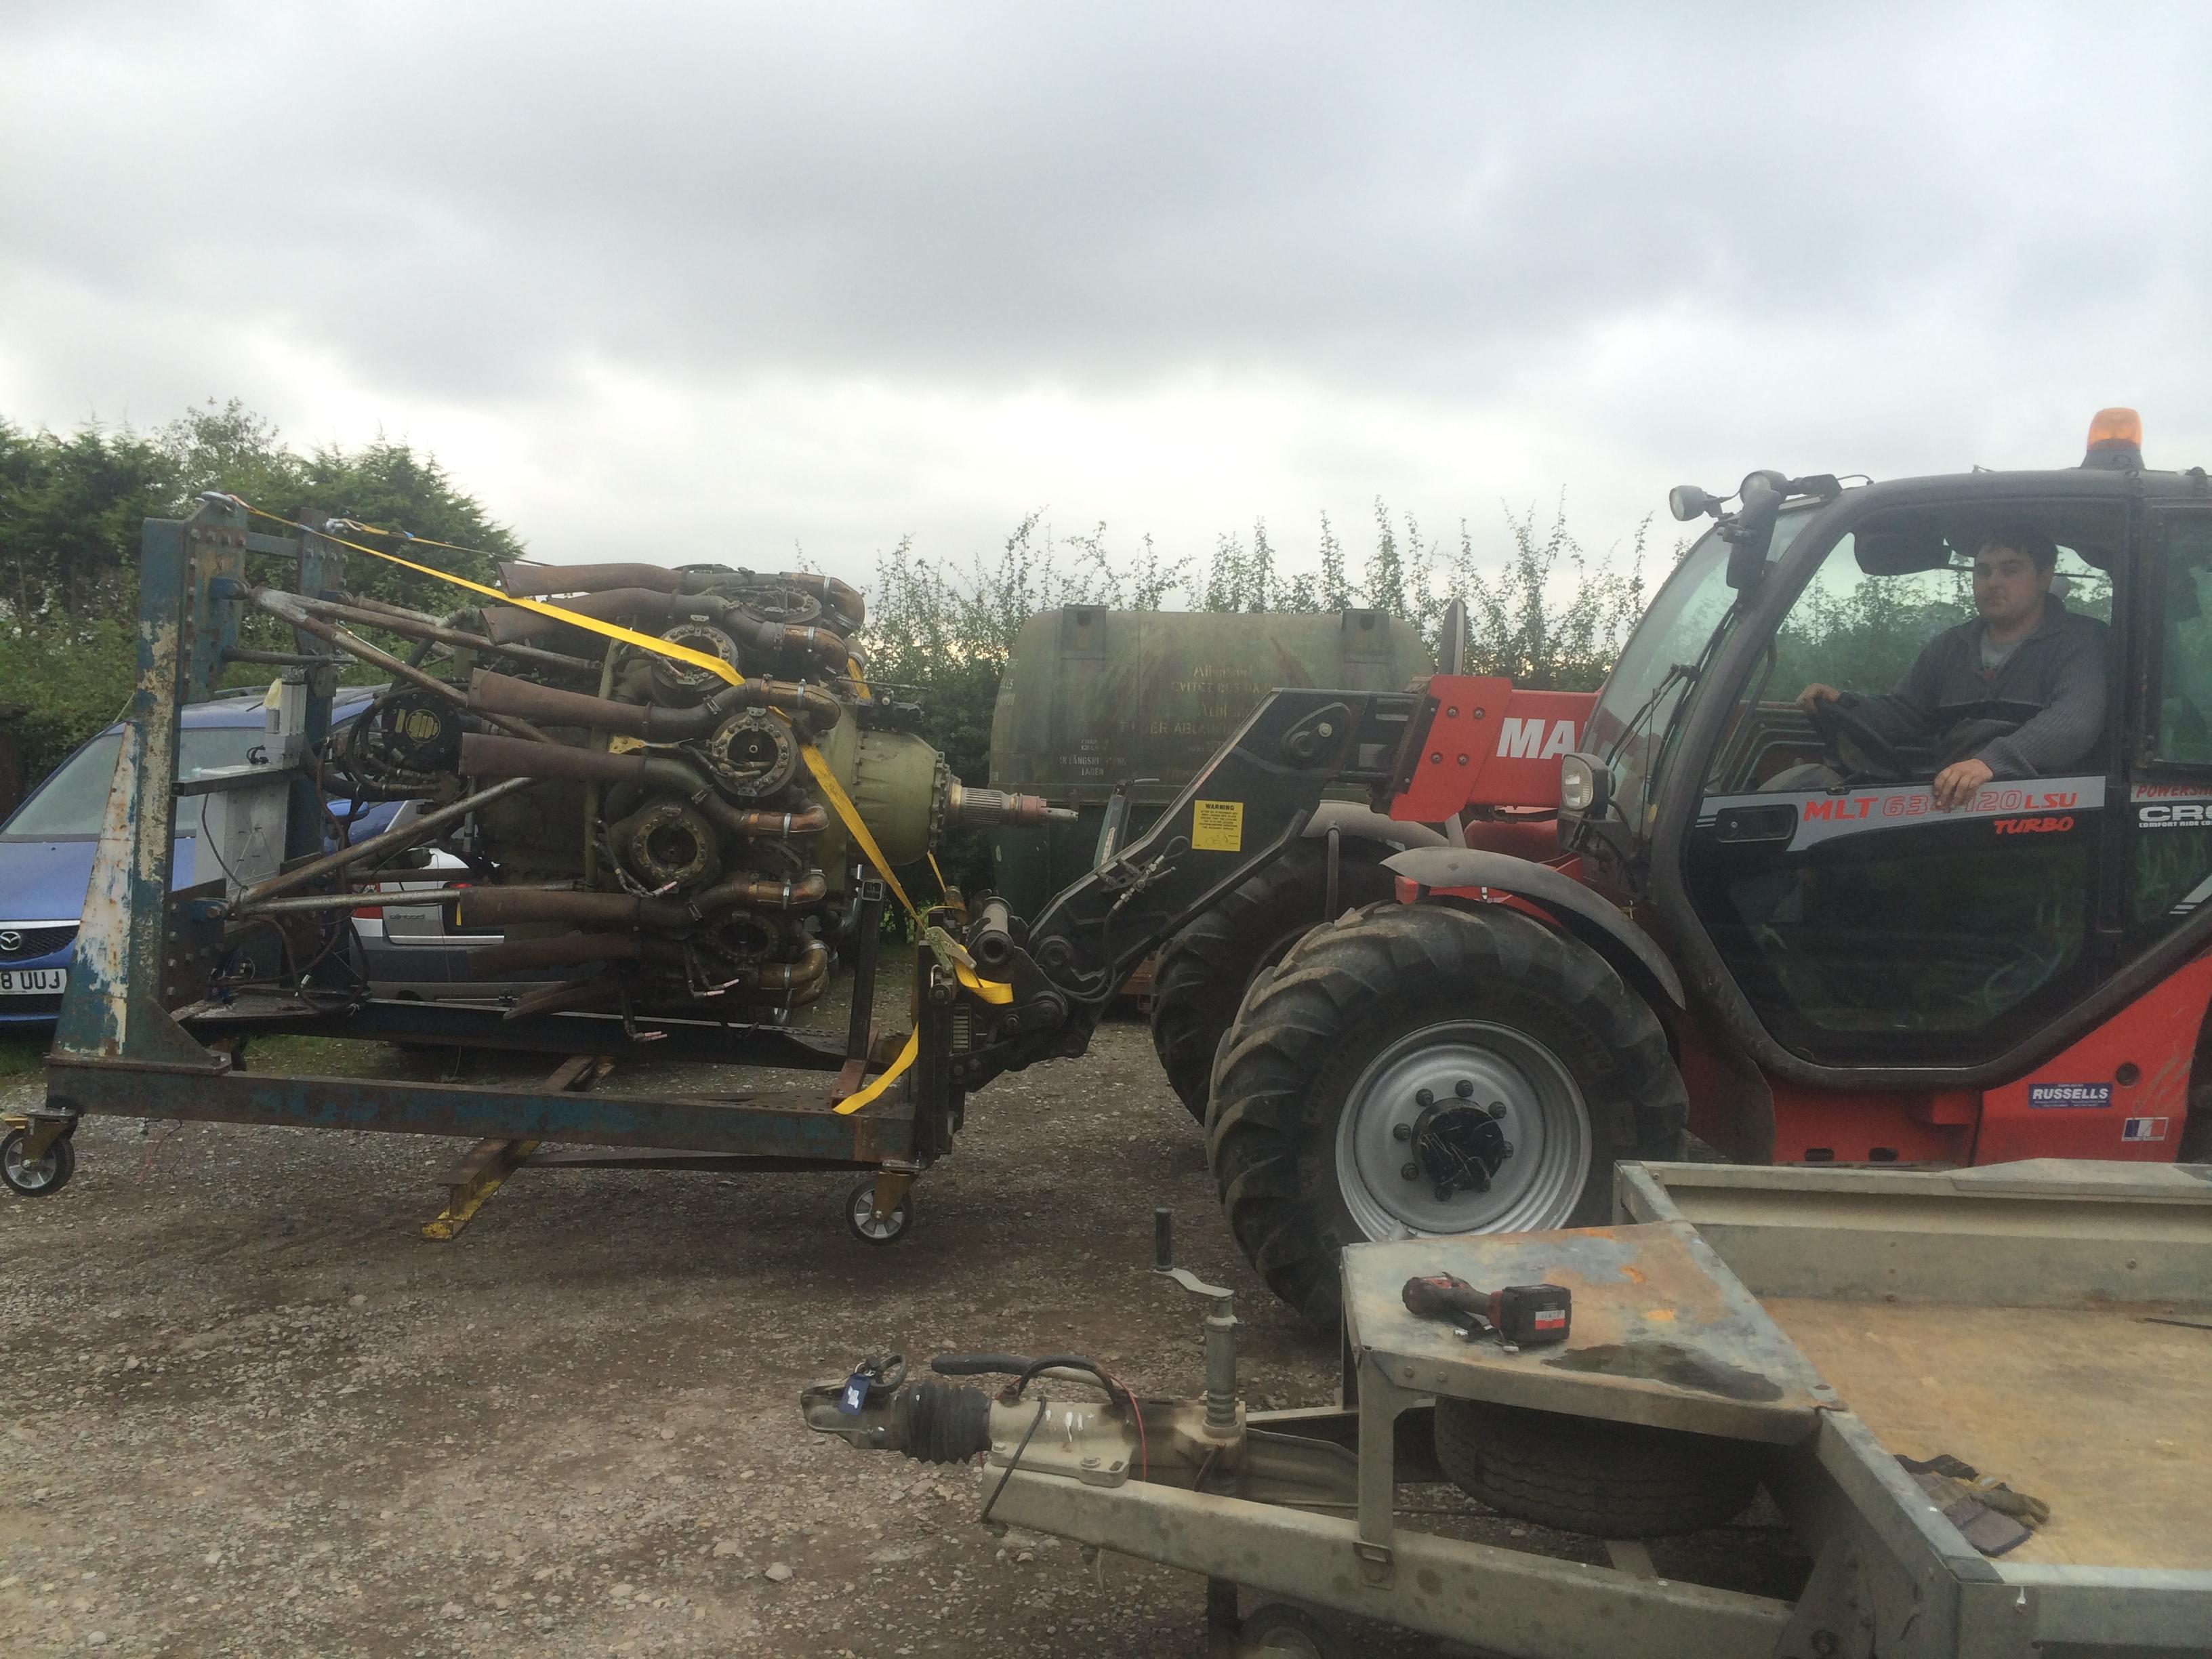
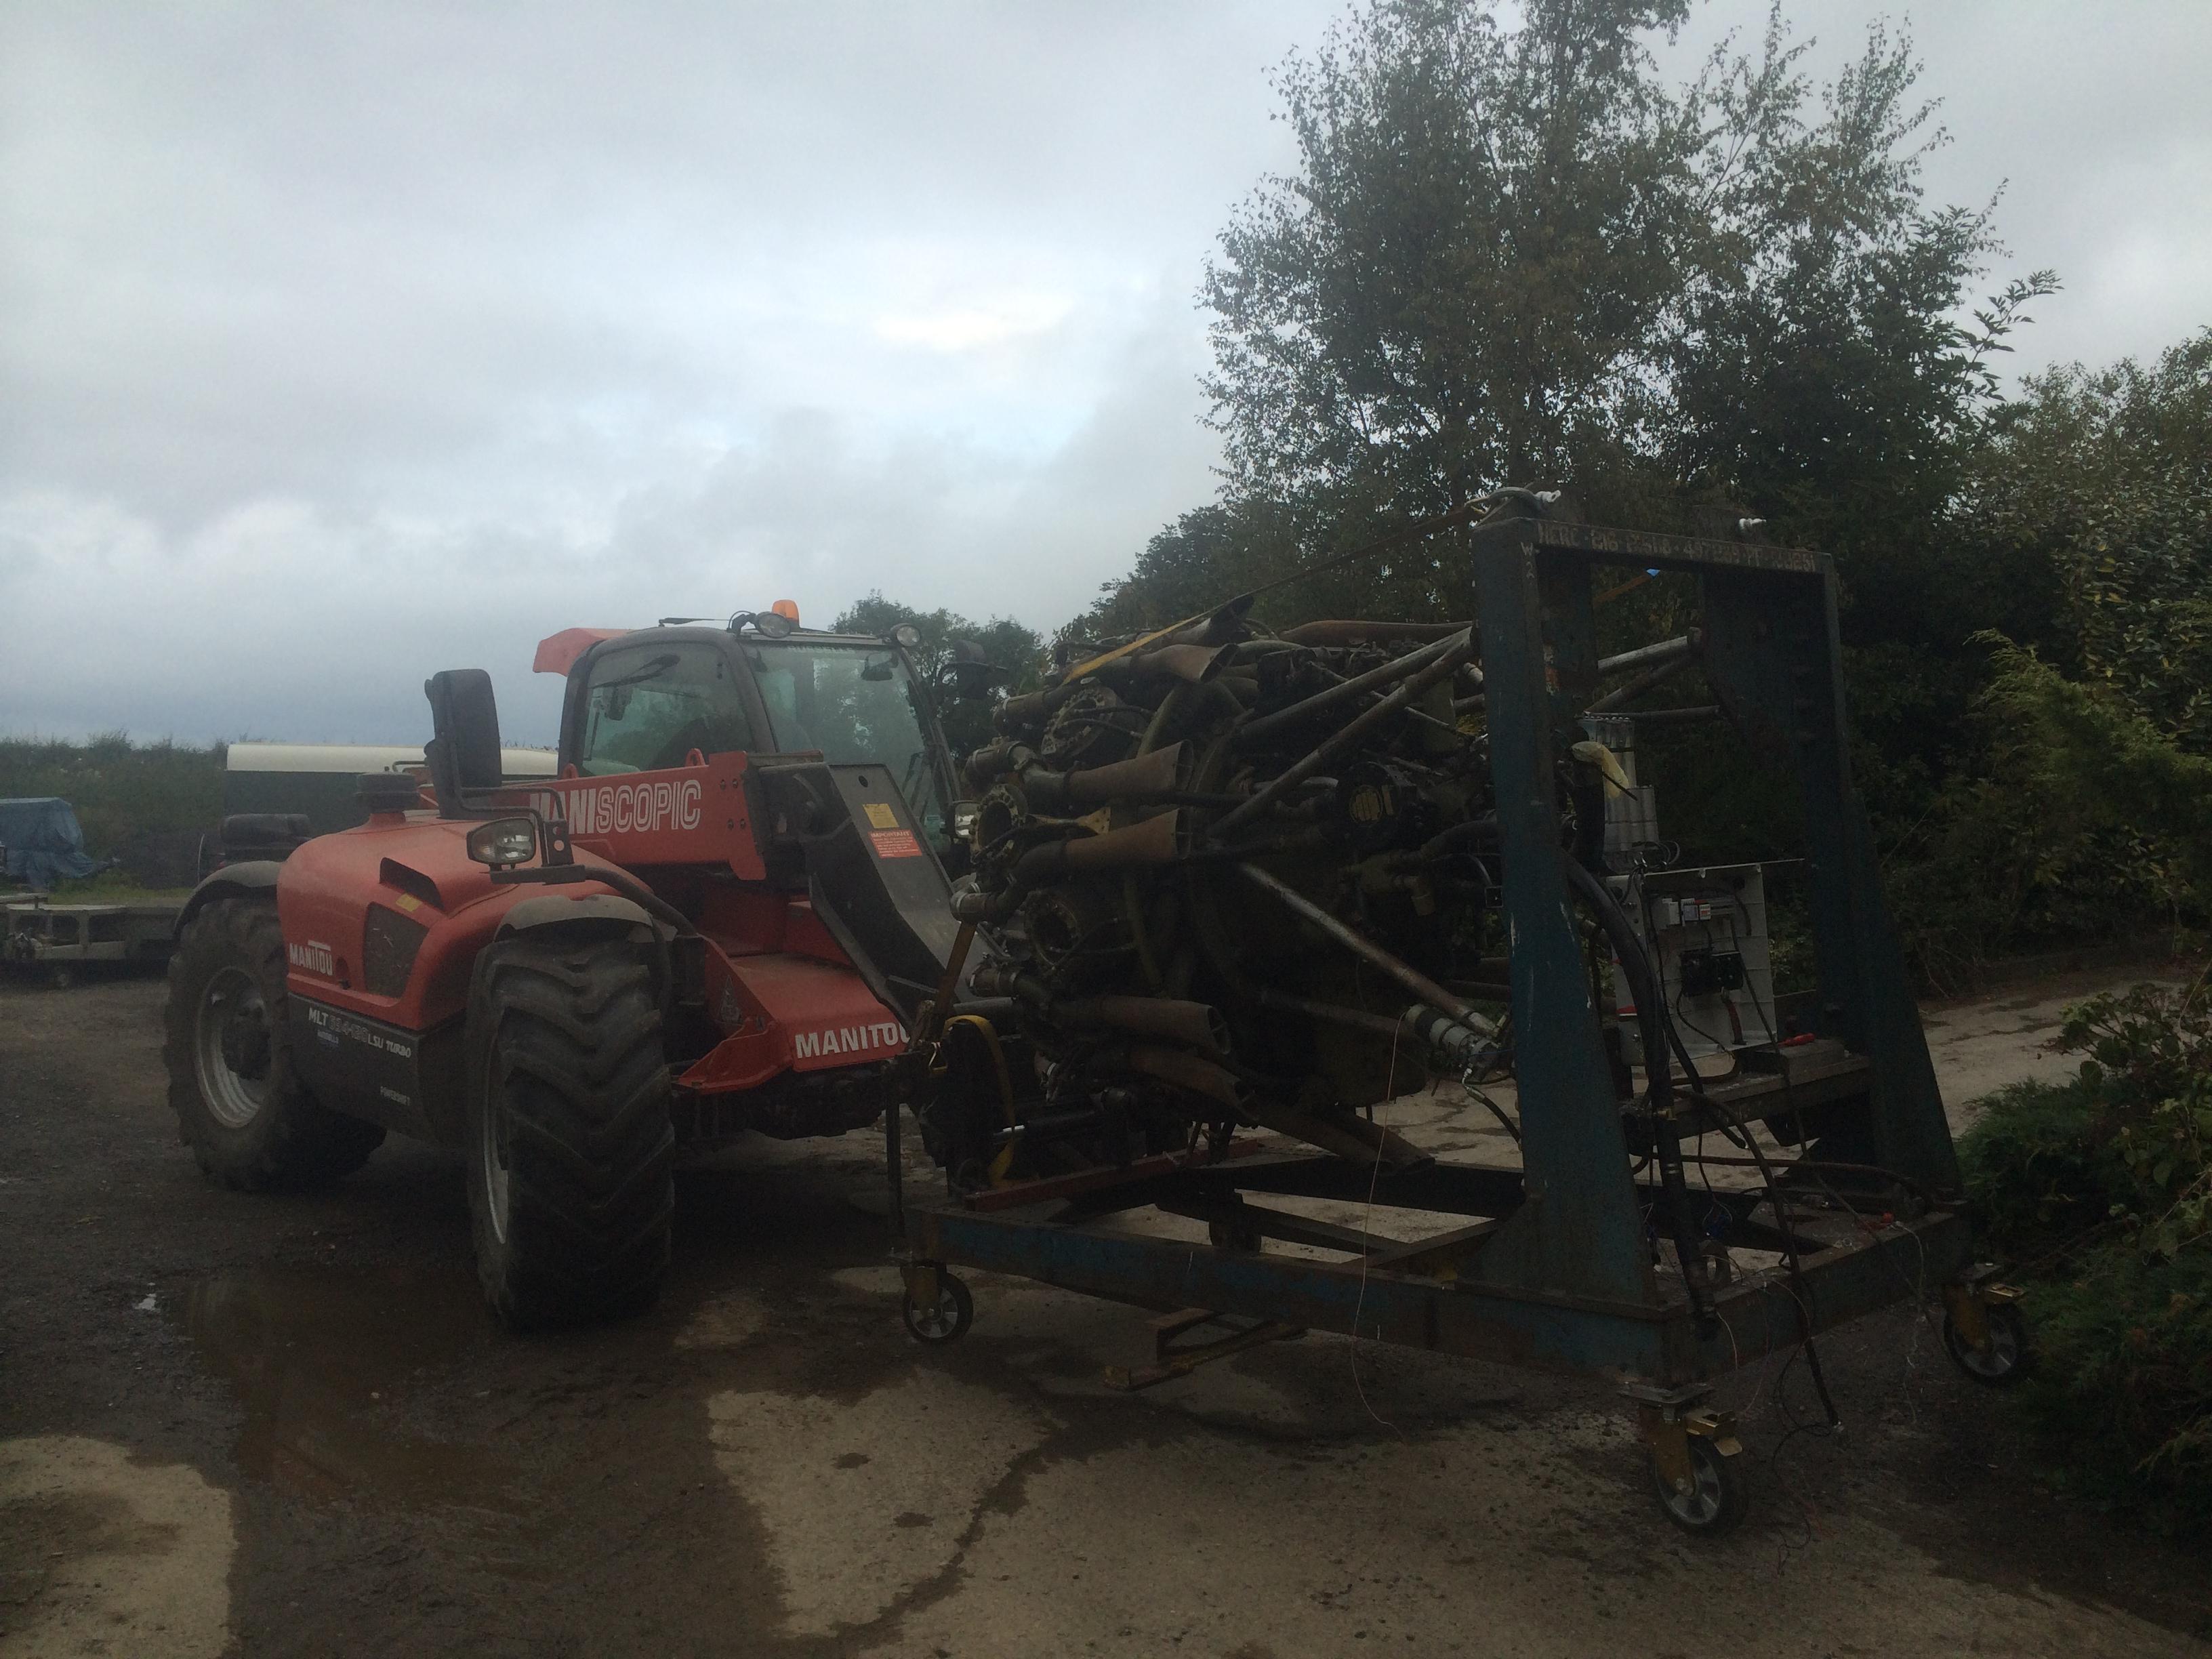
with the aid of Grahams  Manitou we lifted the Engine and frame onto the trailer.

216 ELECTRICS 003

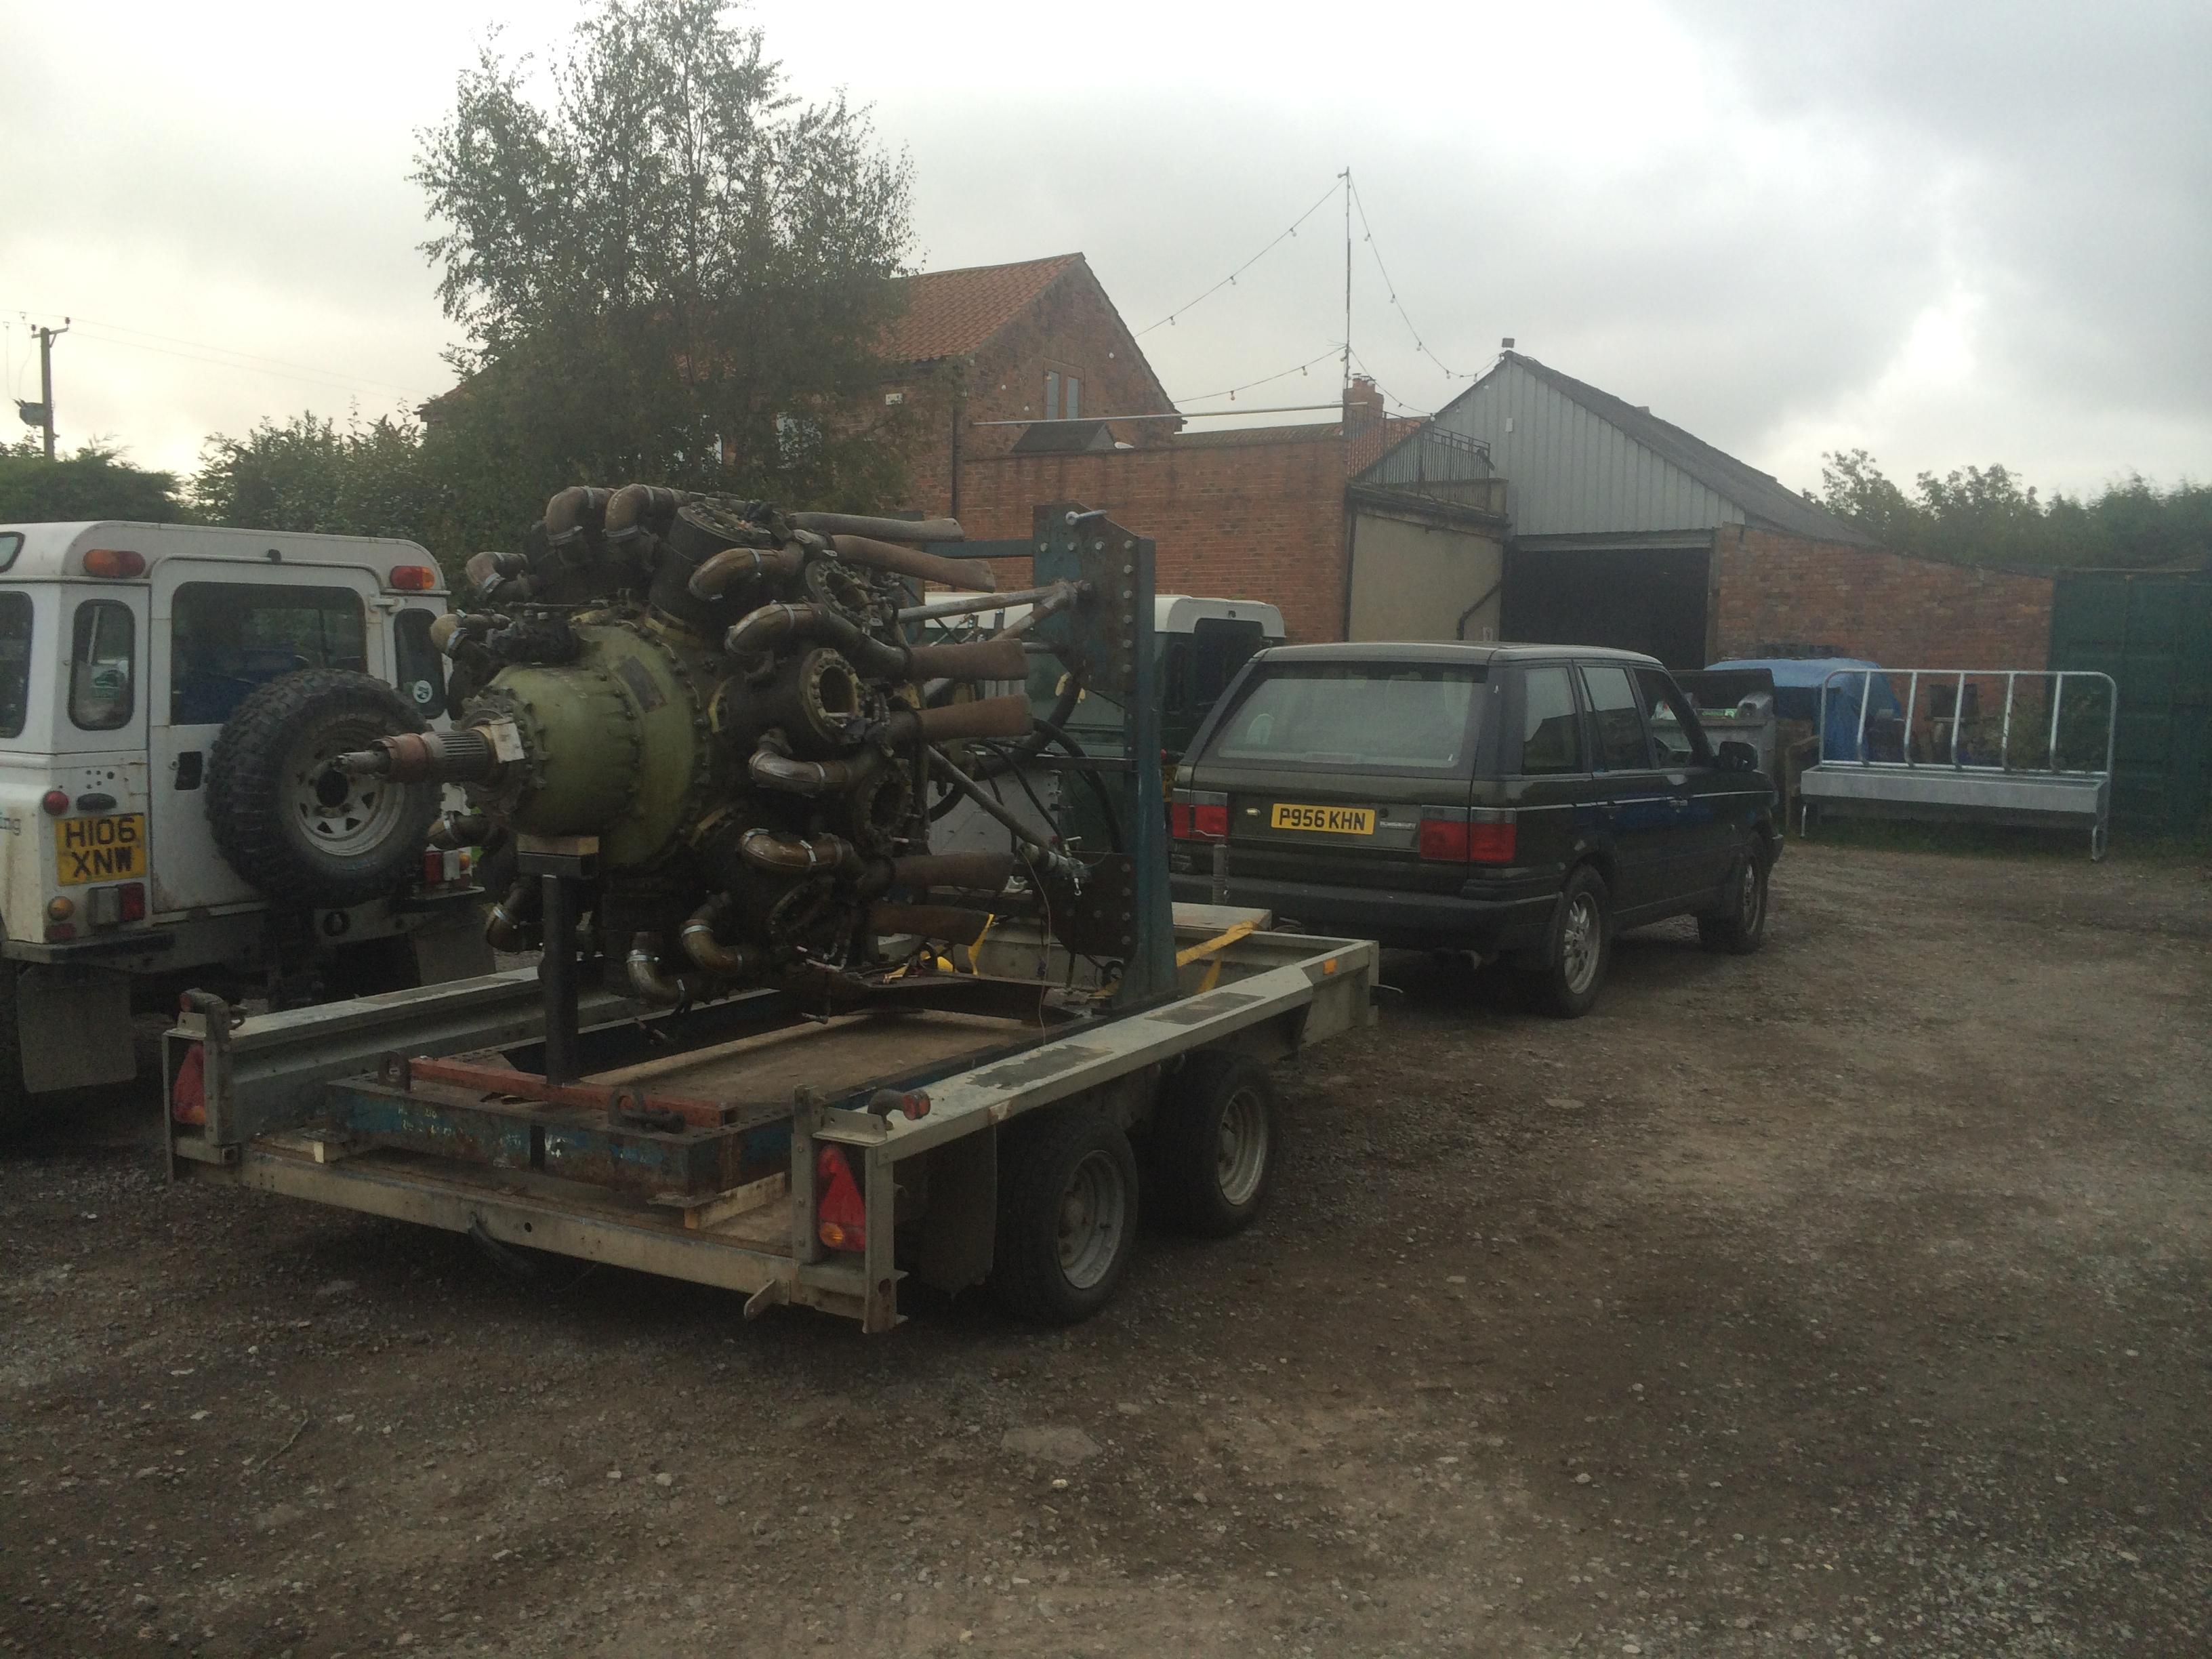
When Gill was’t looking I borrowed the wife’s car to move it back into the workshop.

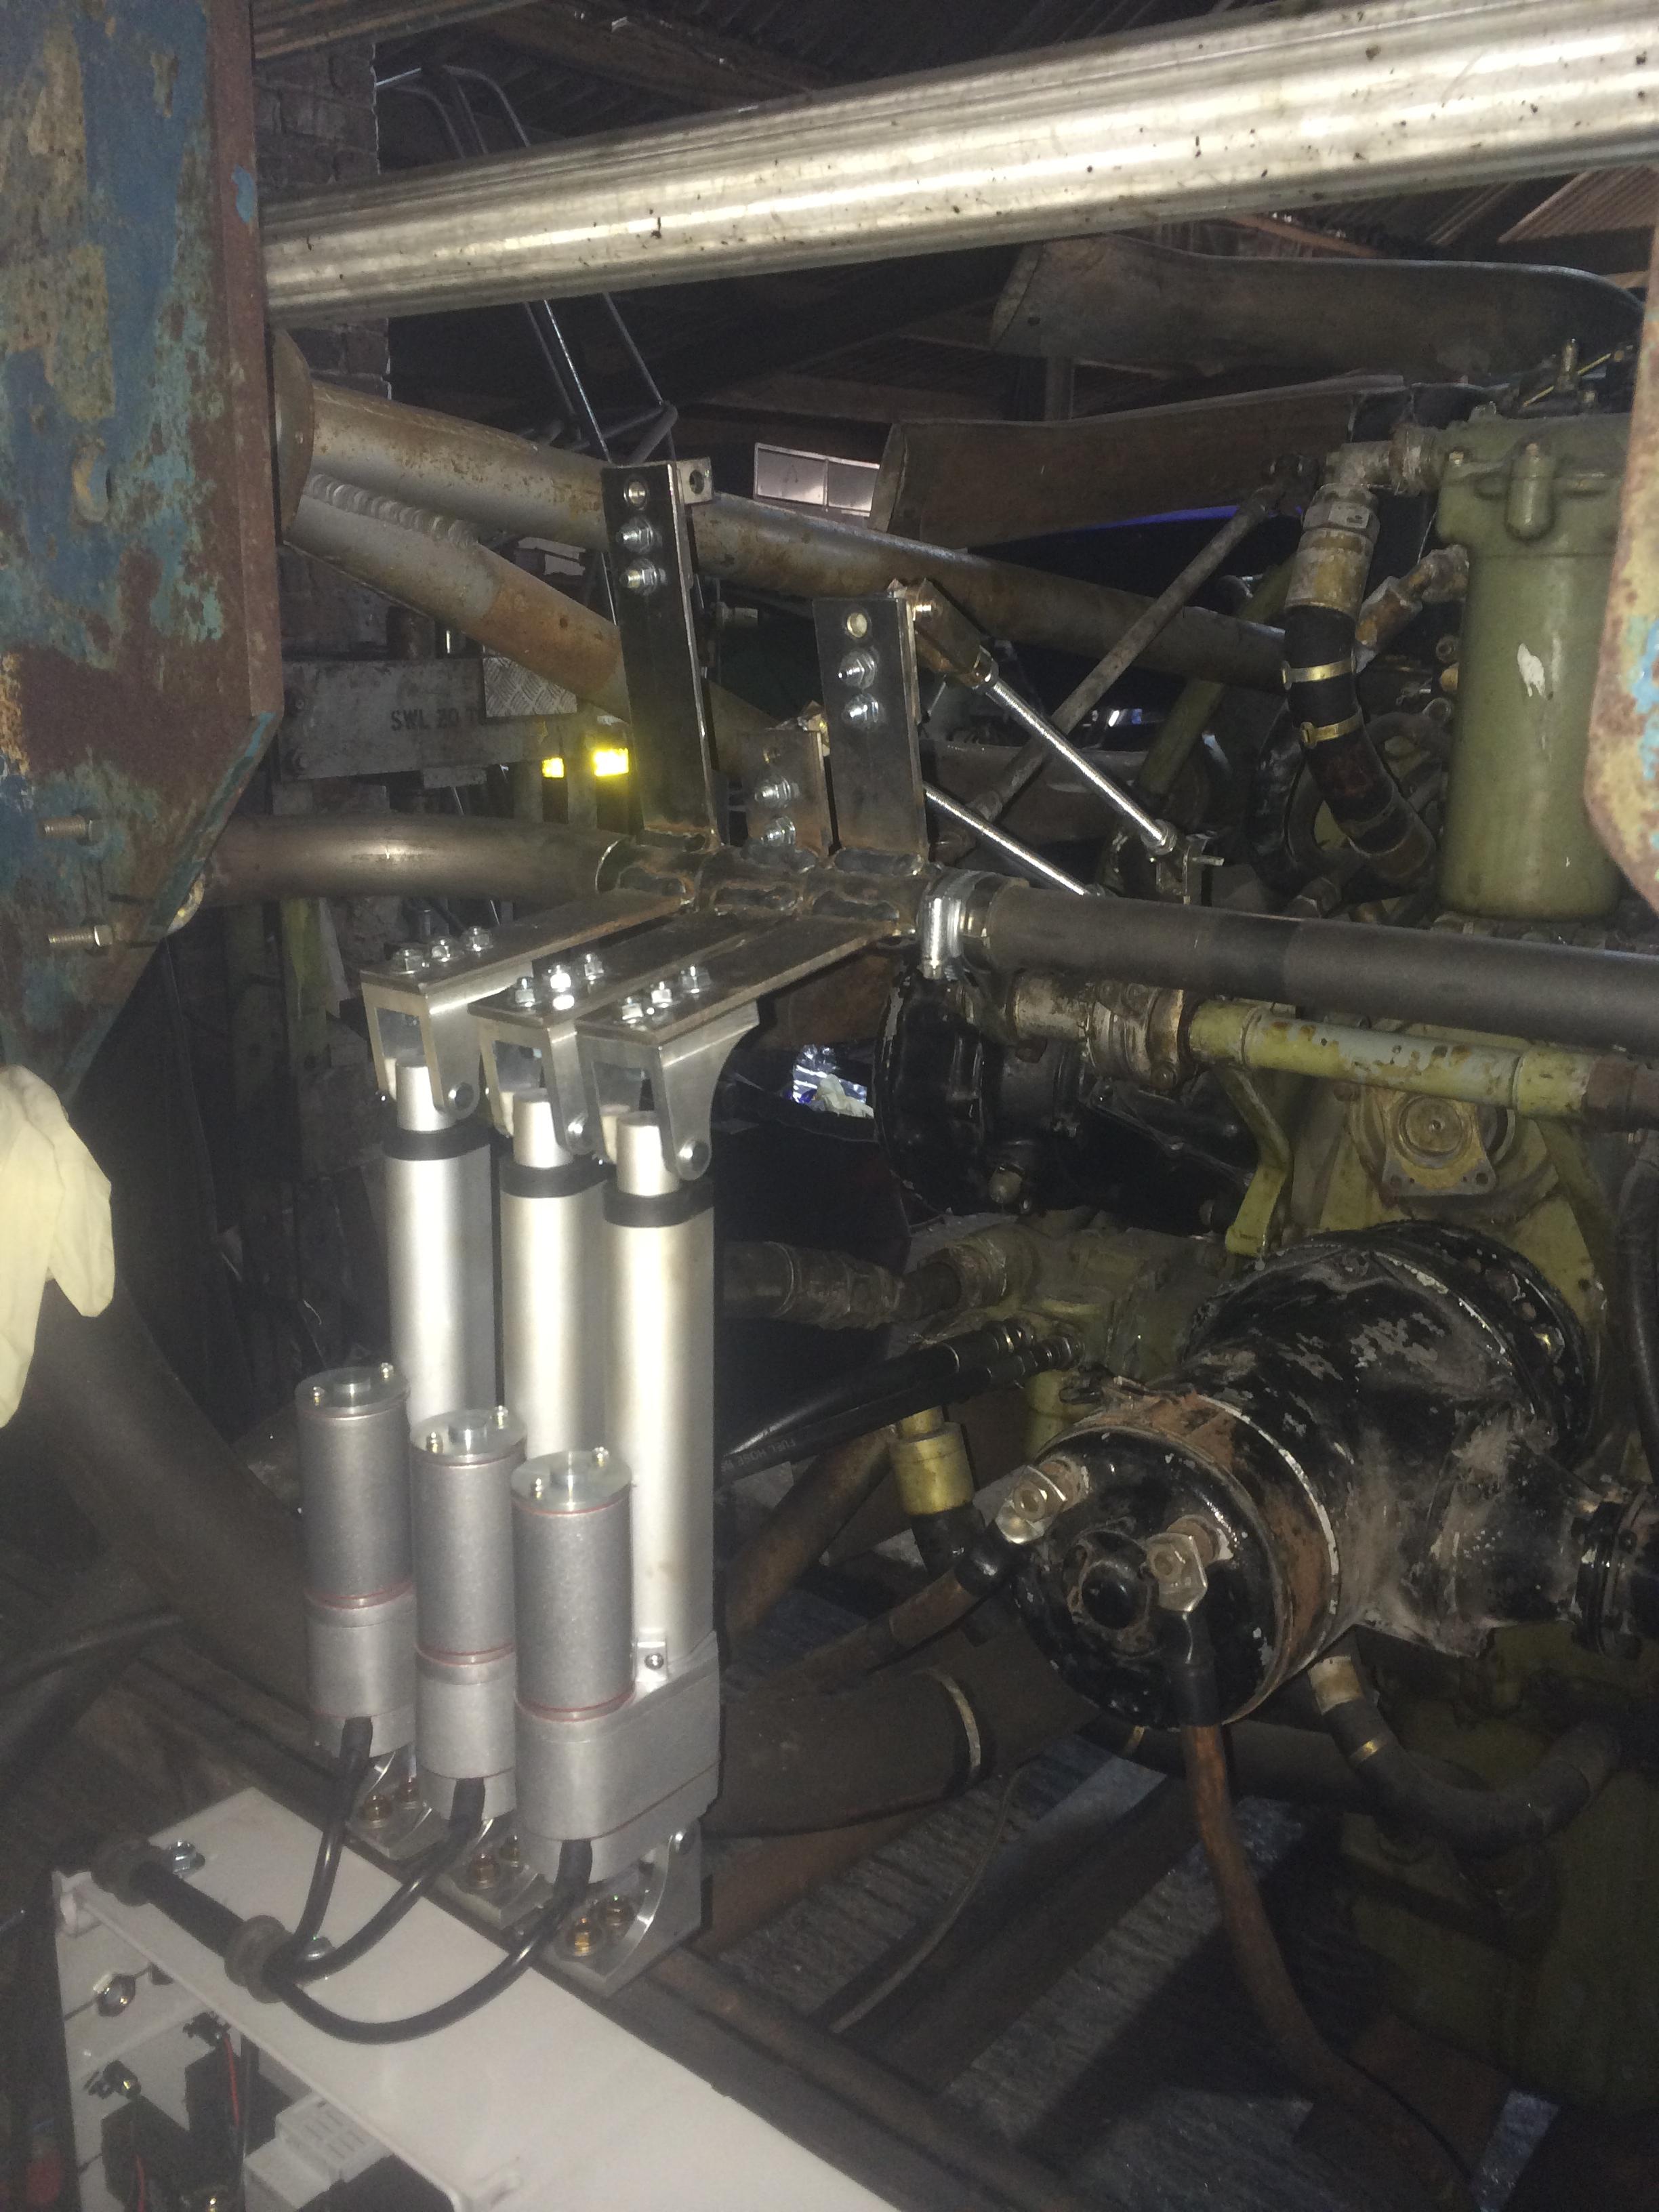
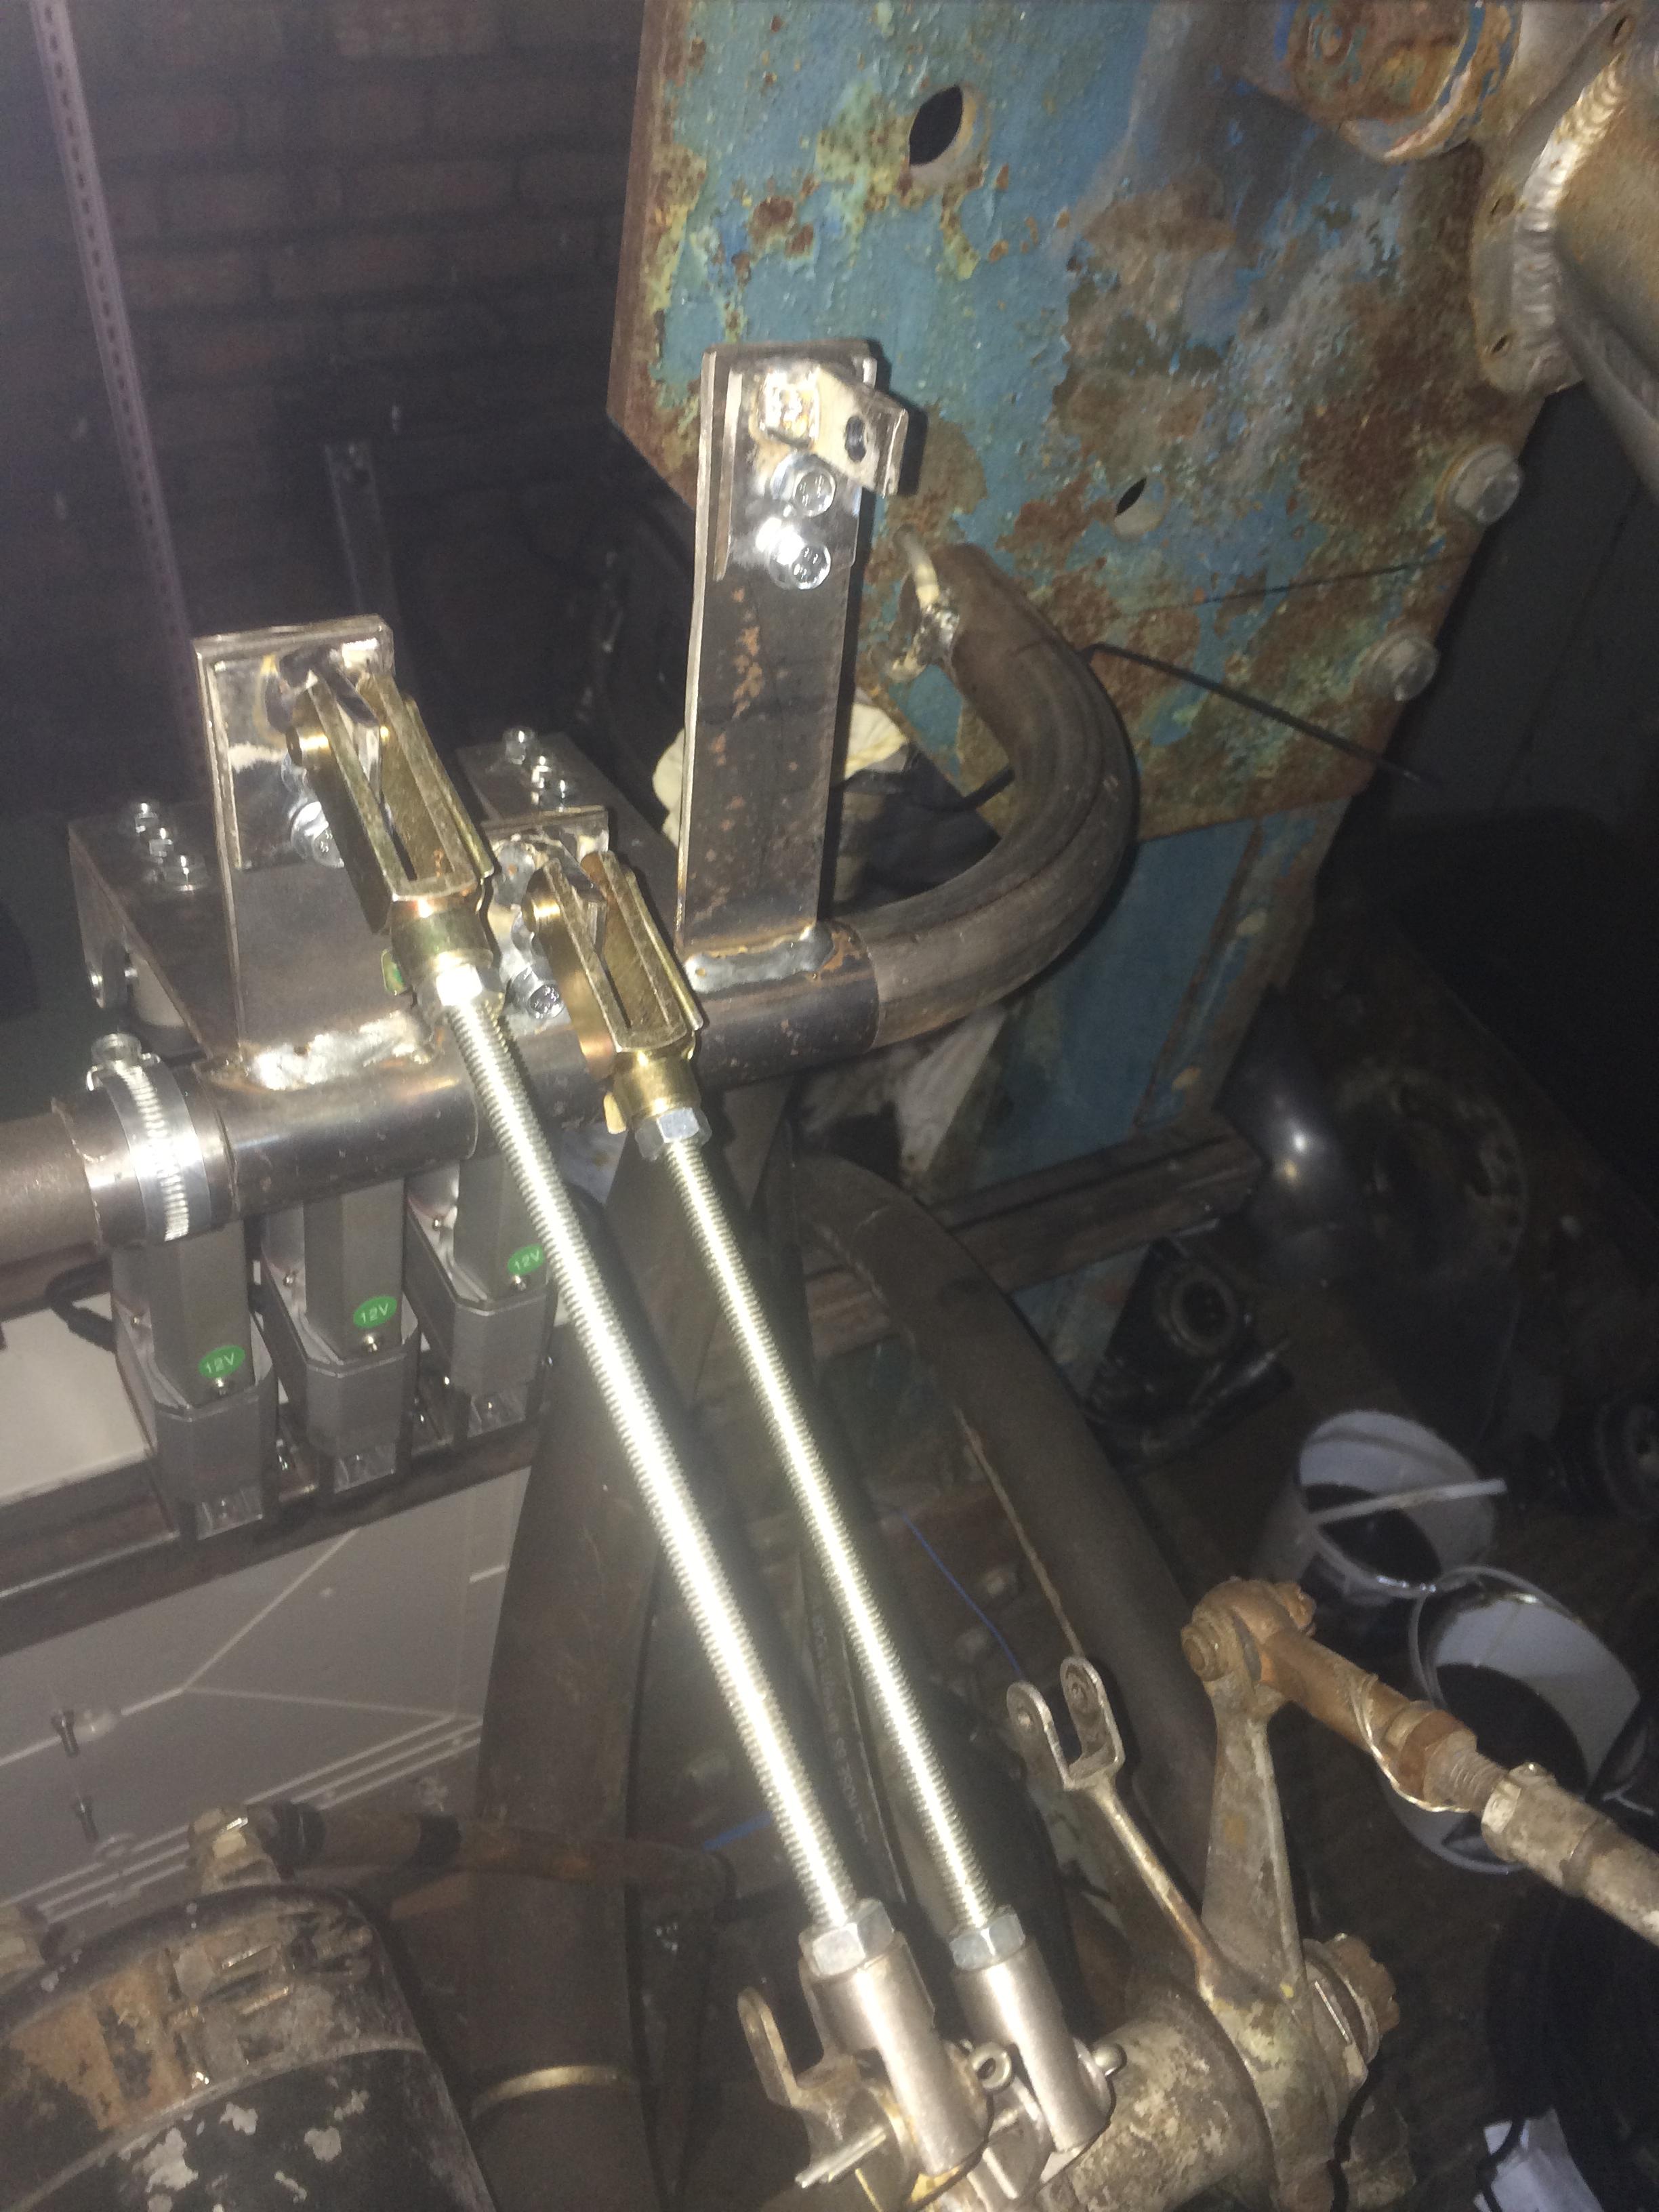
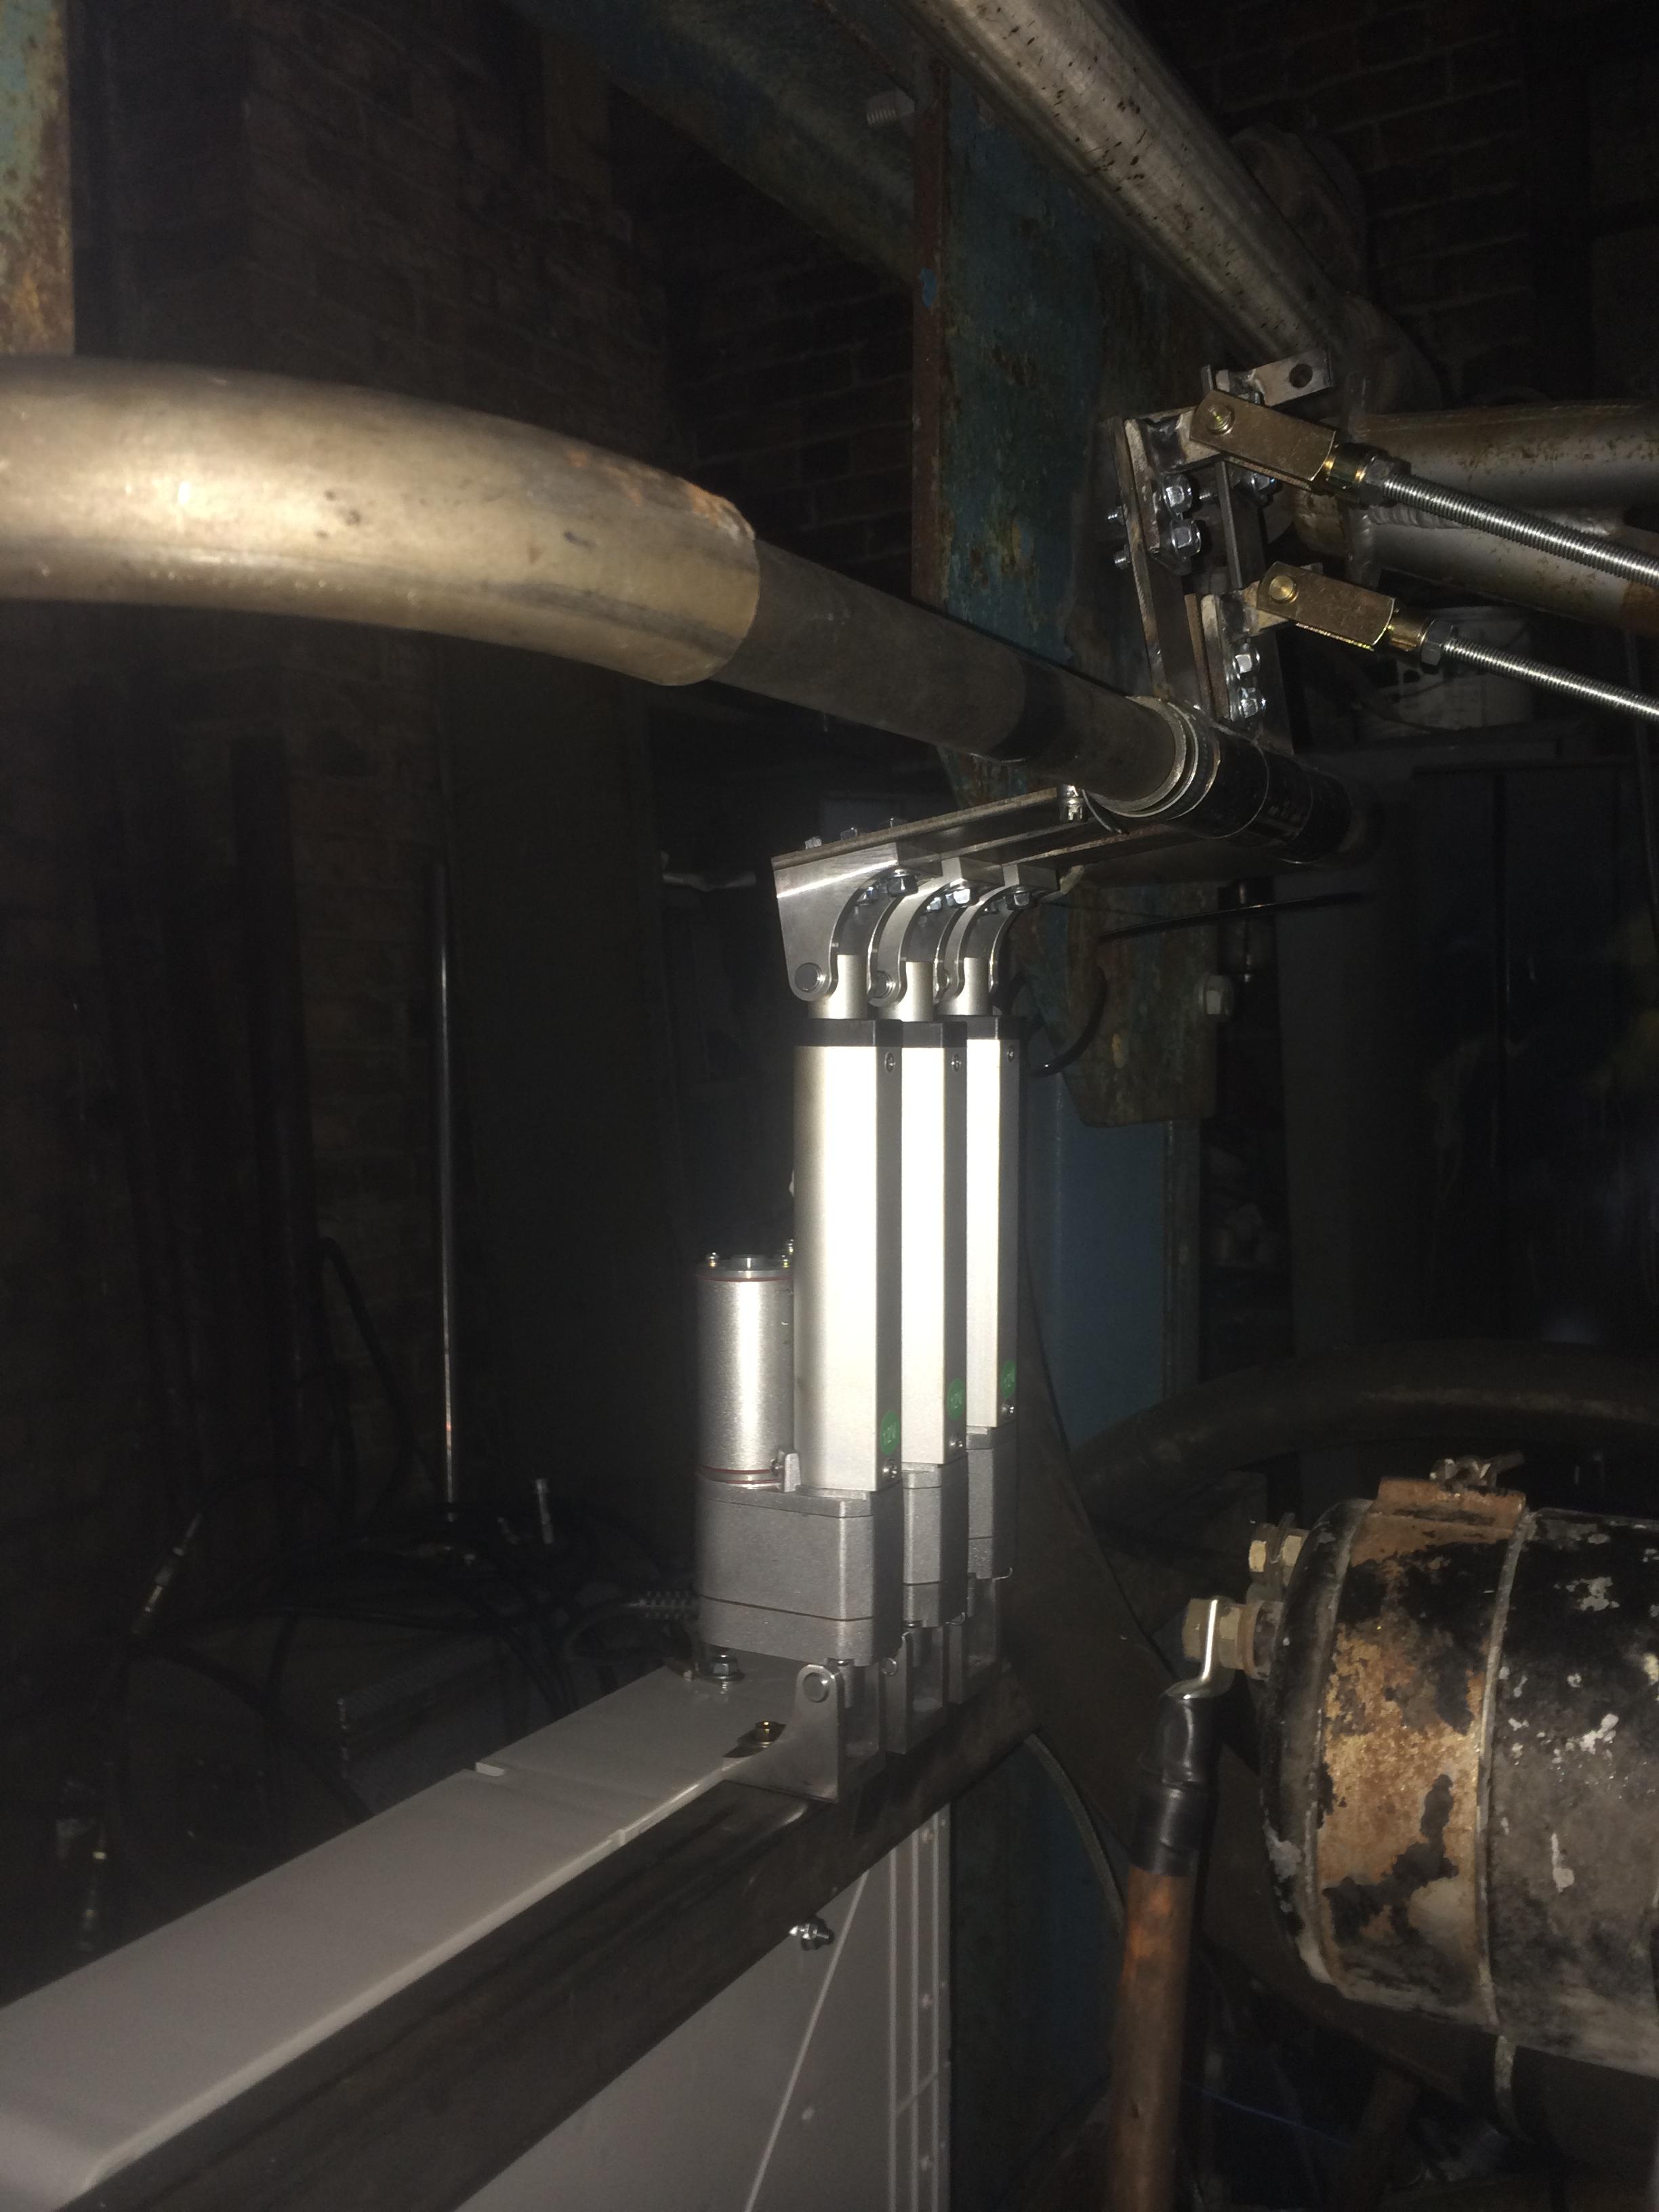
The control and monitoring of the engine is done electrically, I have used linear actuators for the engine controls , these have a 10k built in position feed back. The starter solenoid is from a large marine engine.

216 ELECTRICS 001a 216 ELECTRICS 002a 216 ELECTRICS 003a 216 ELECTRICS 004a

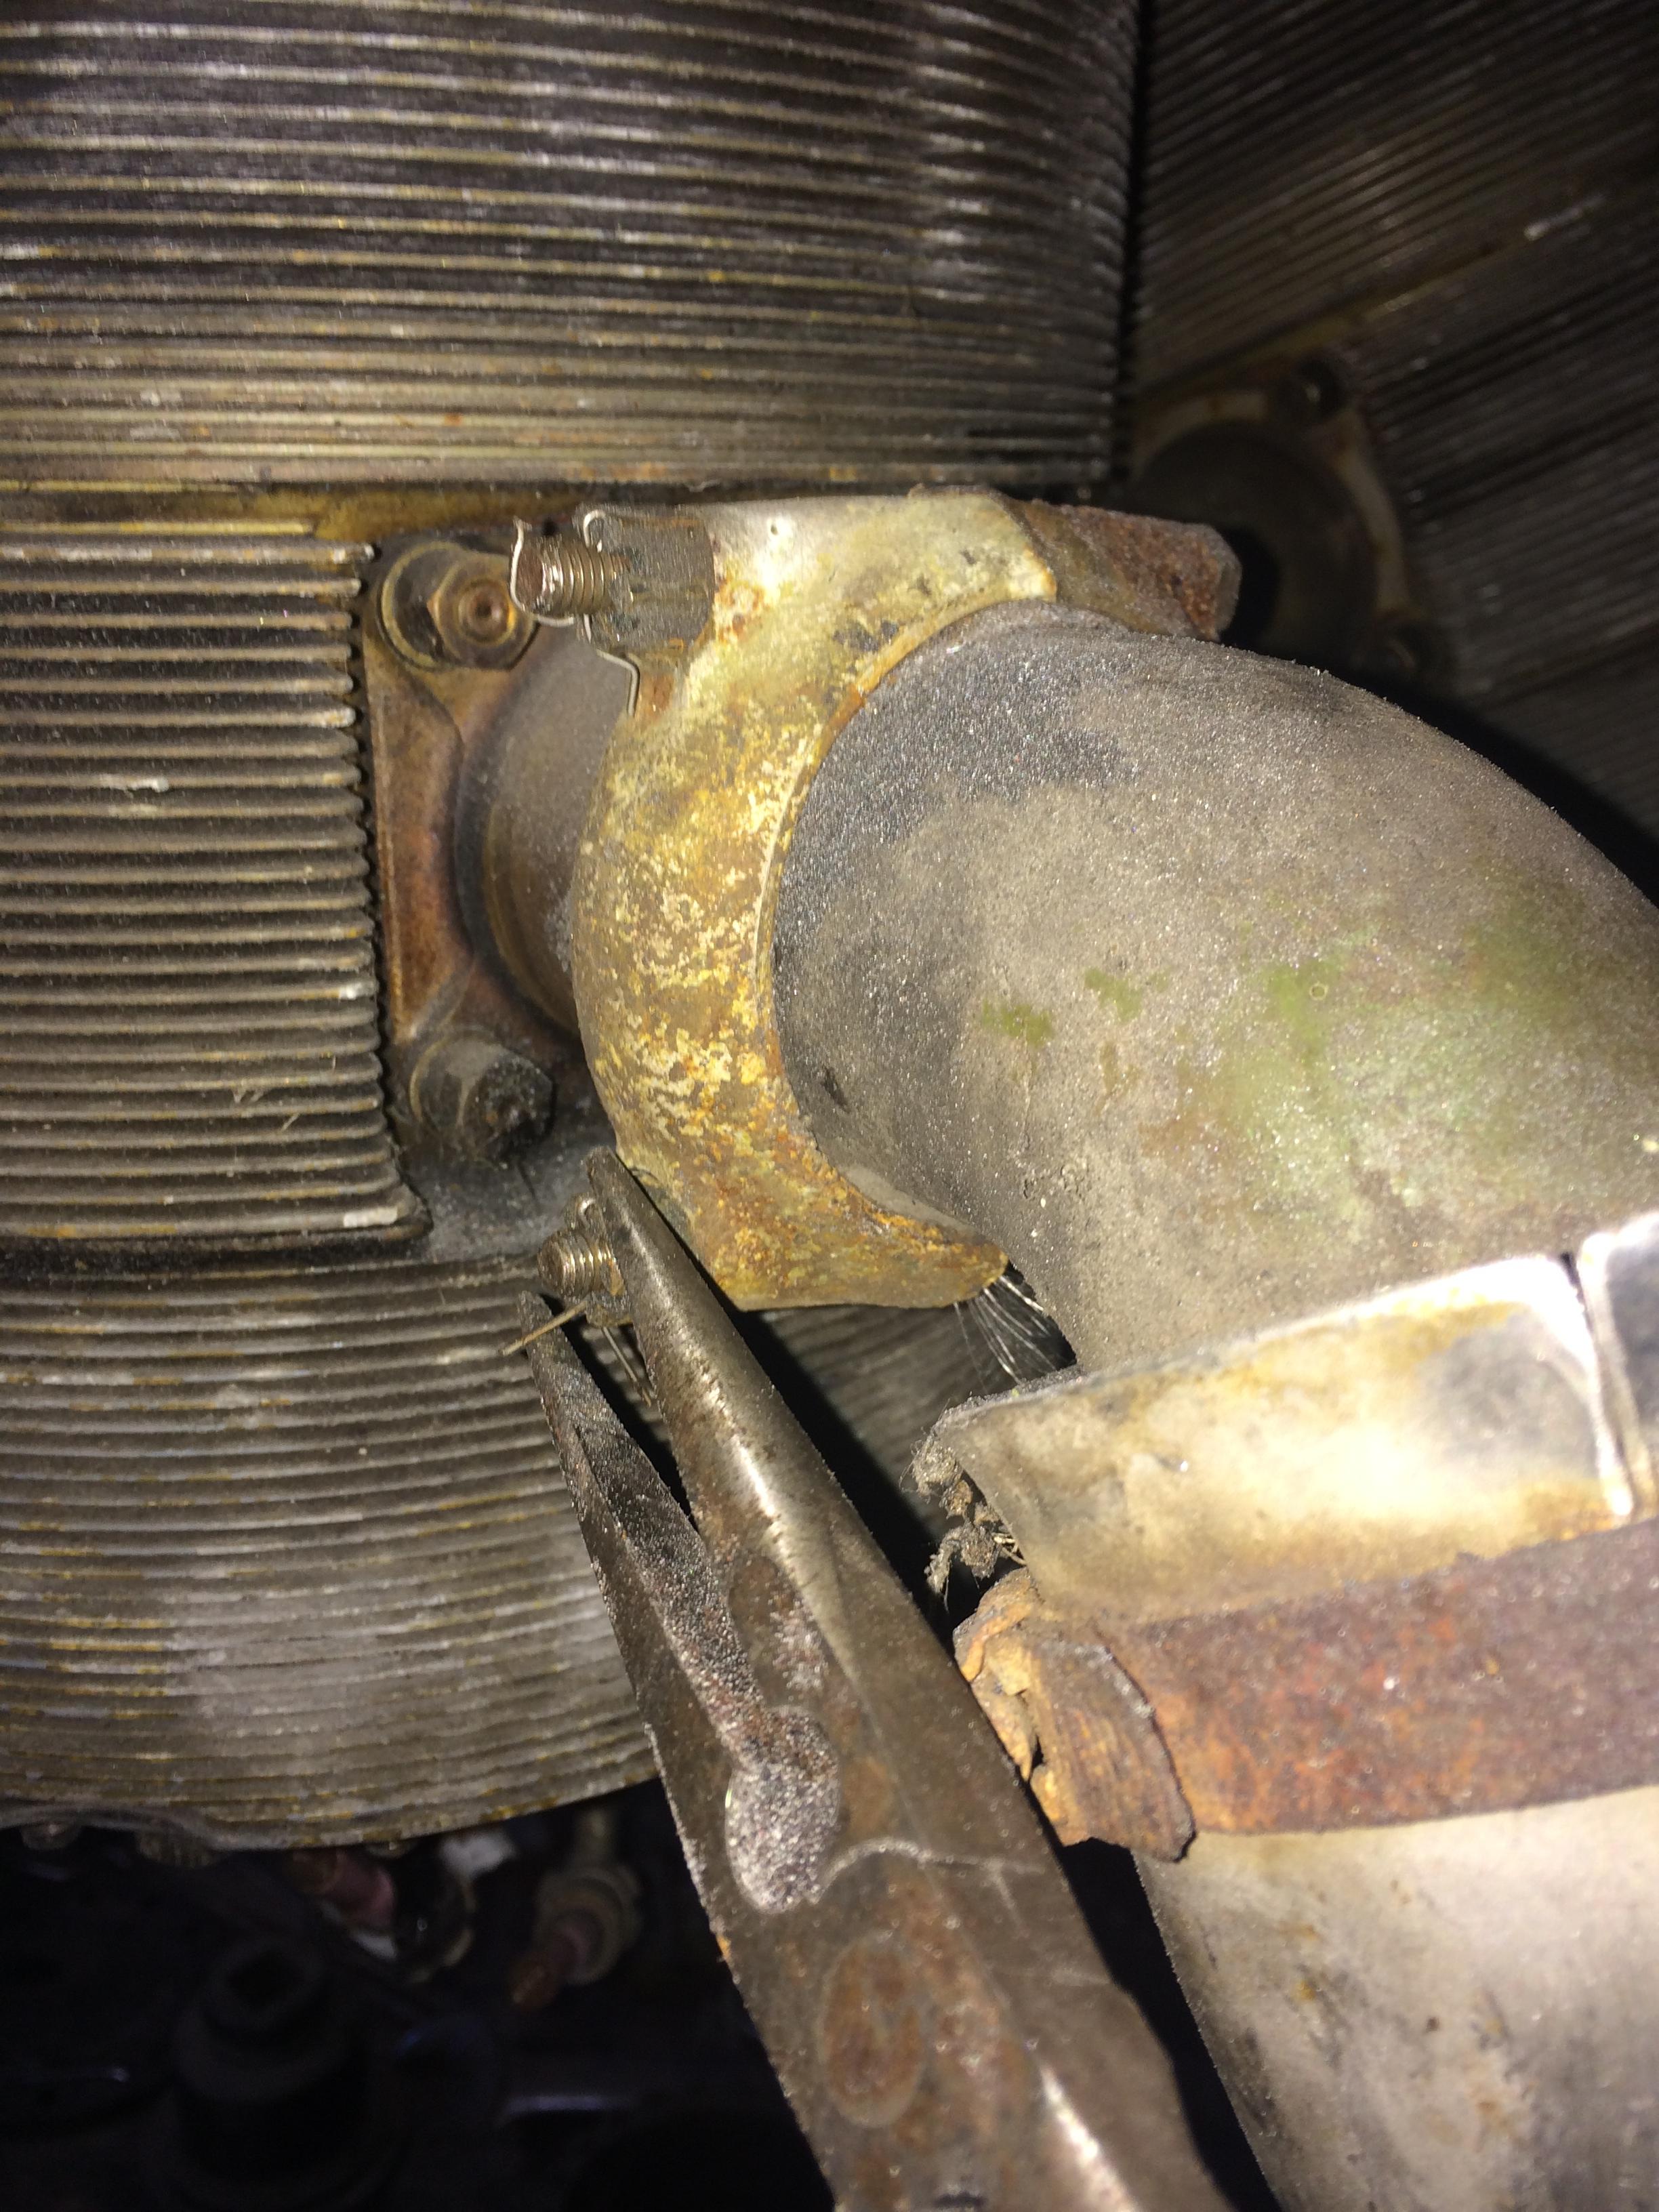
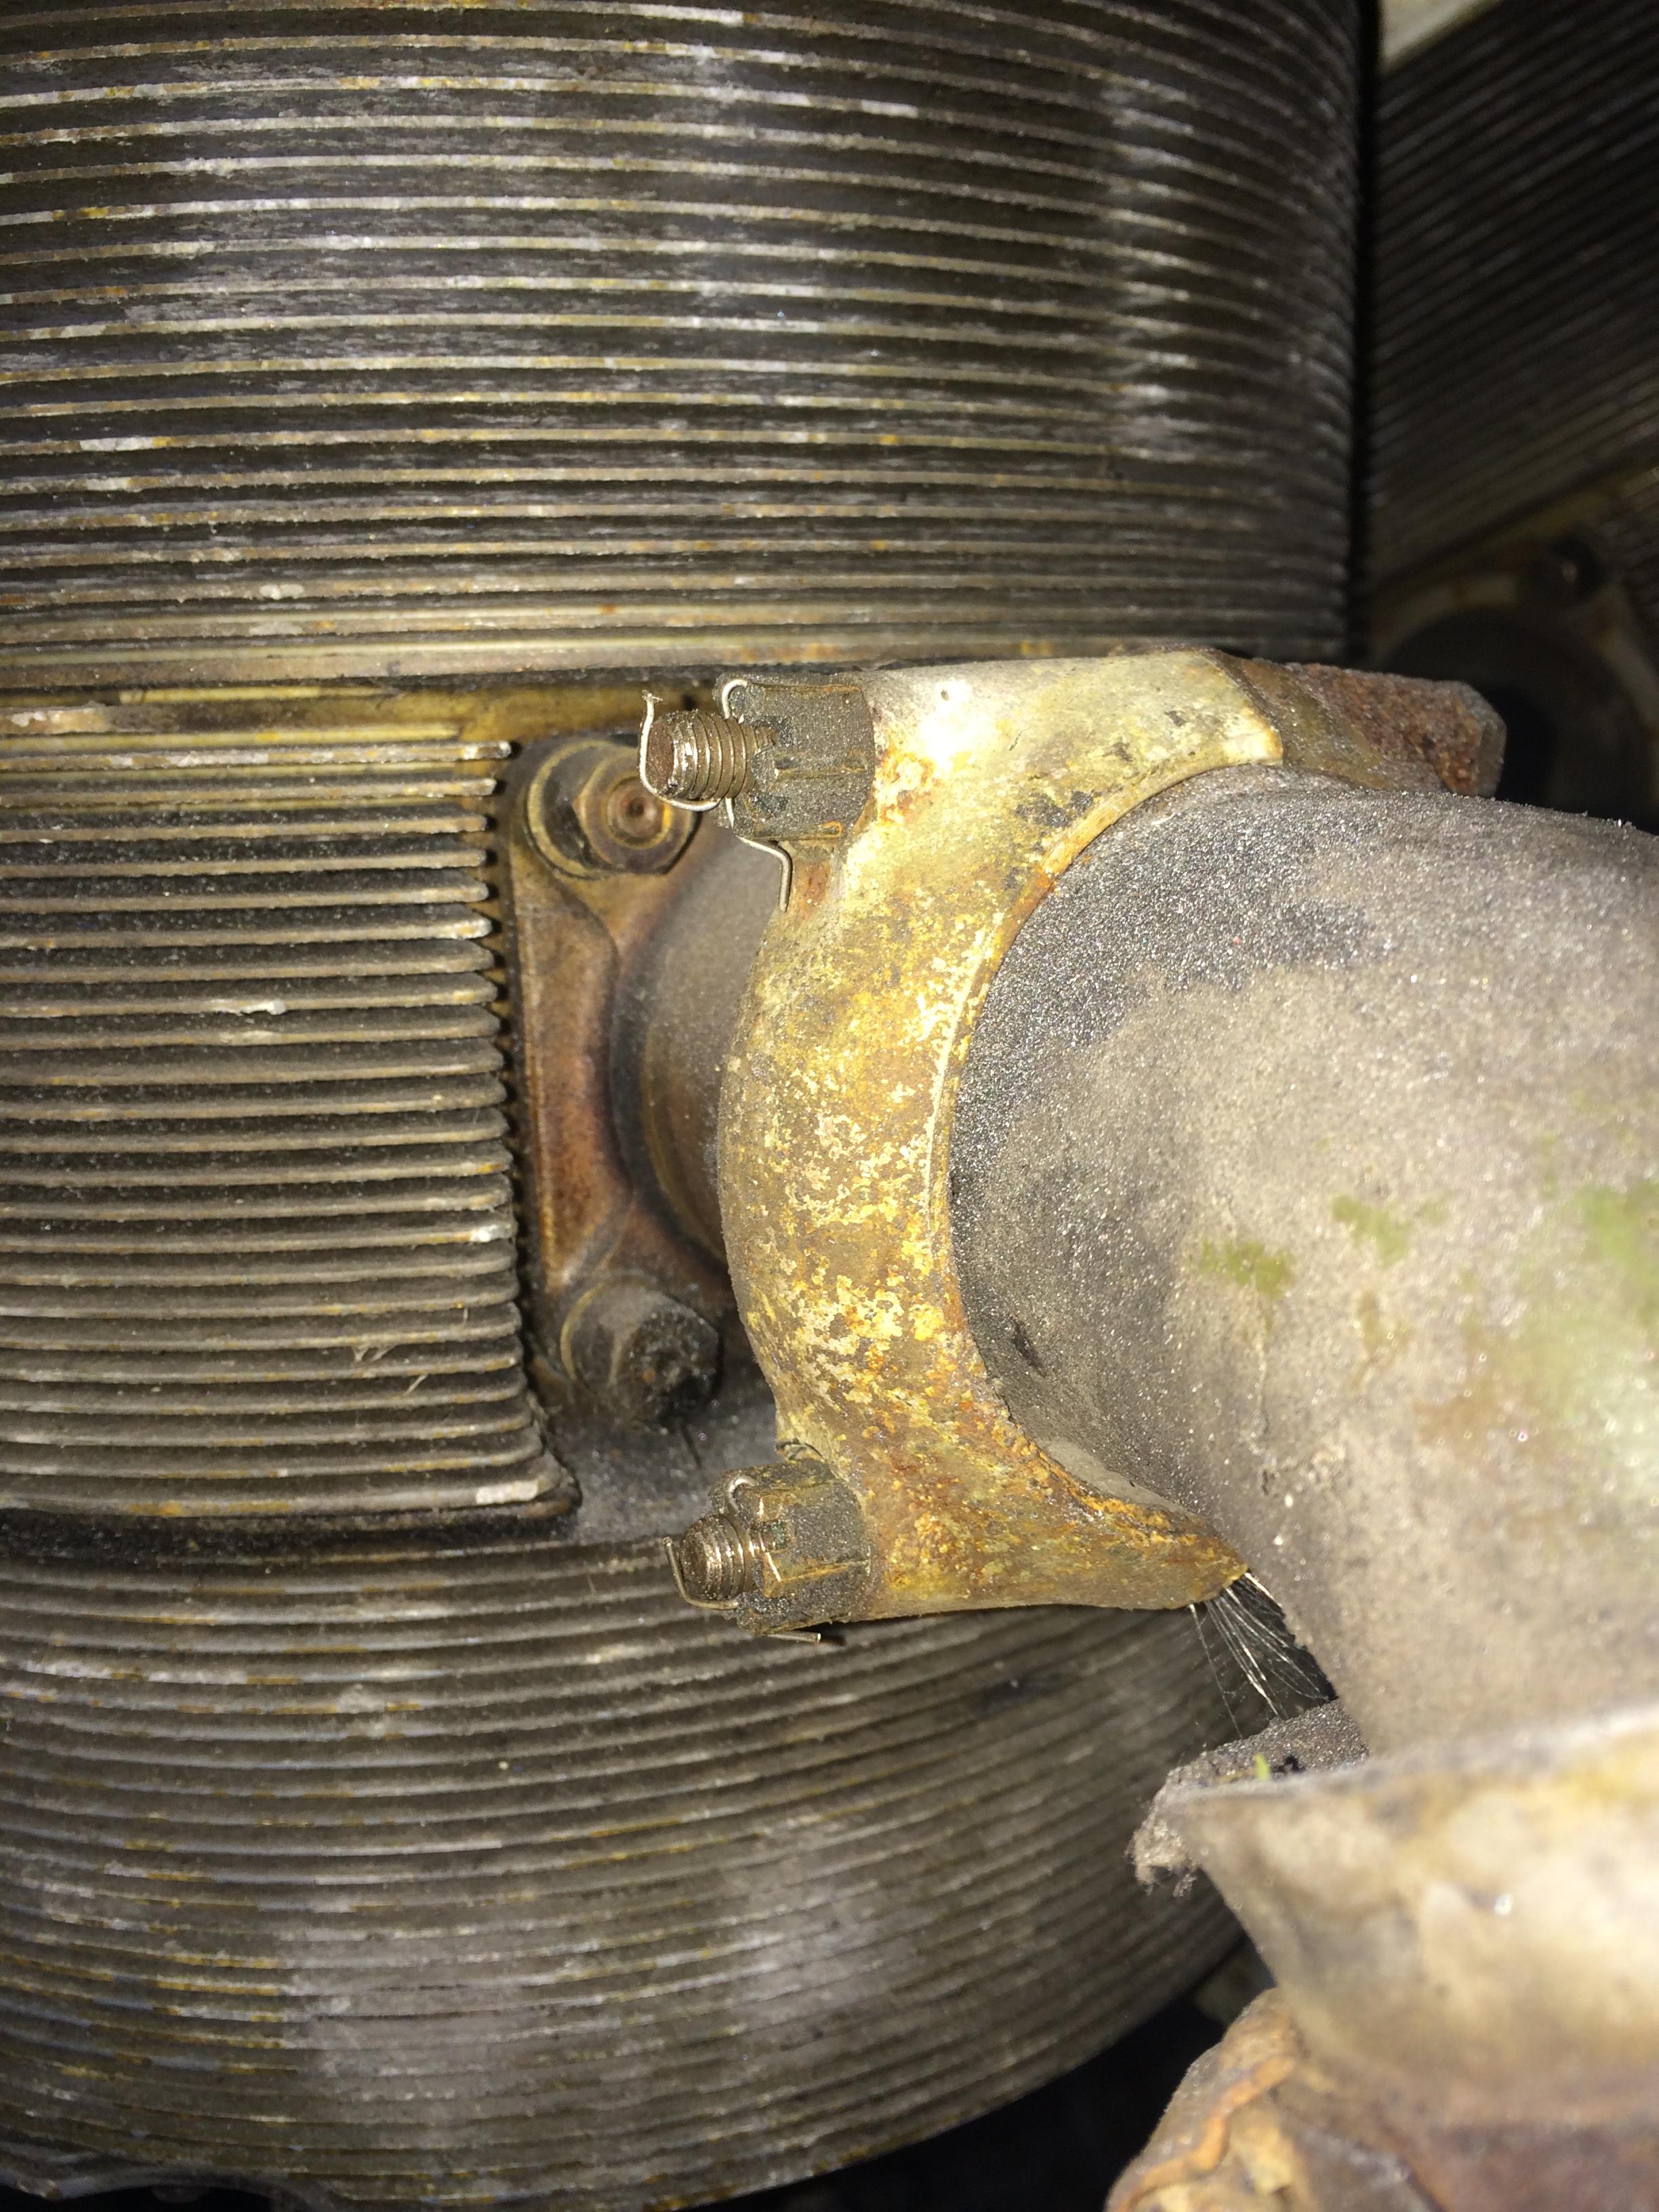
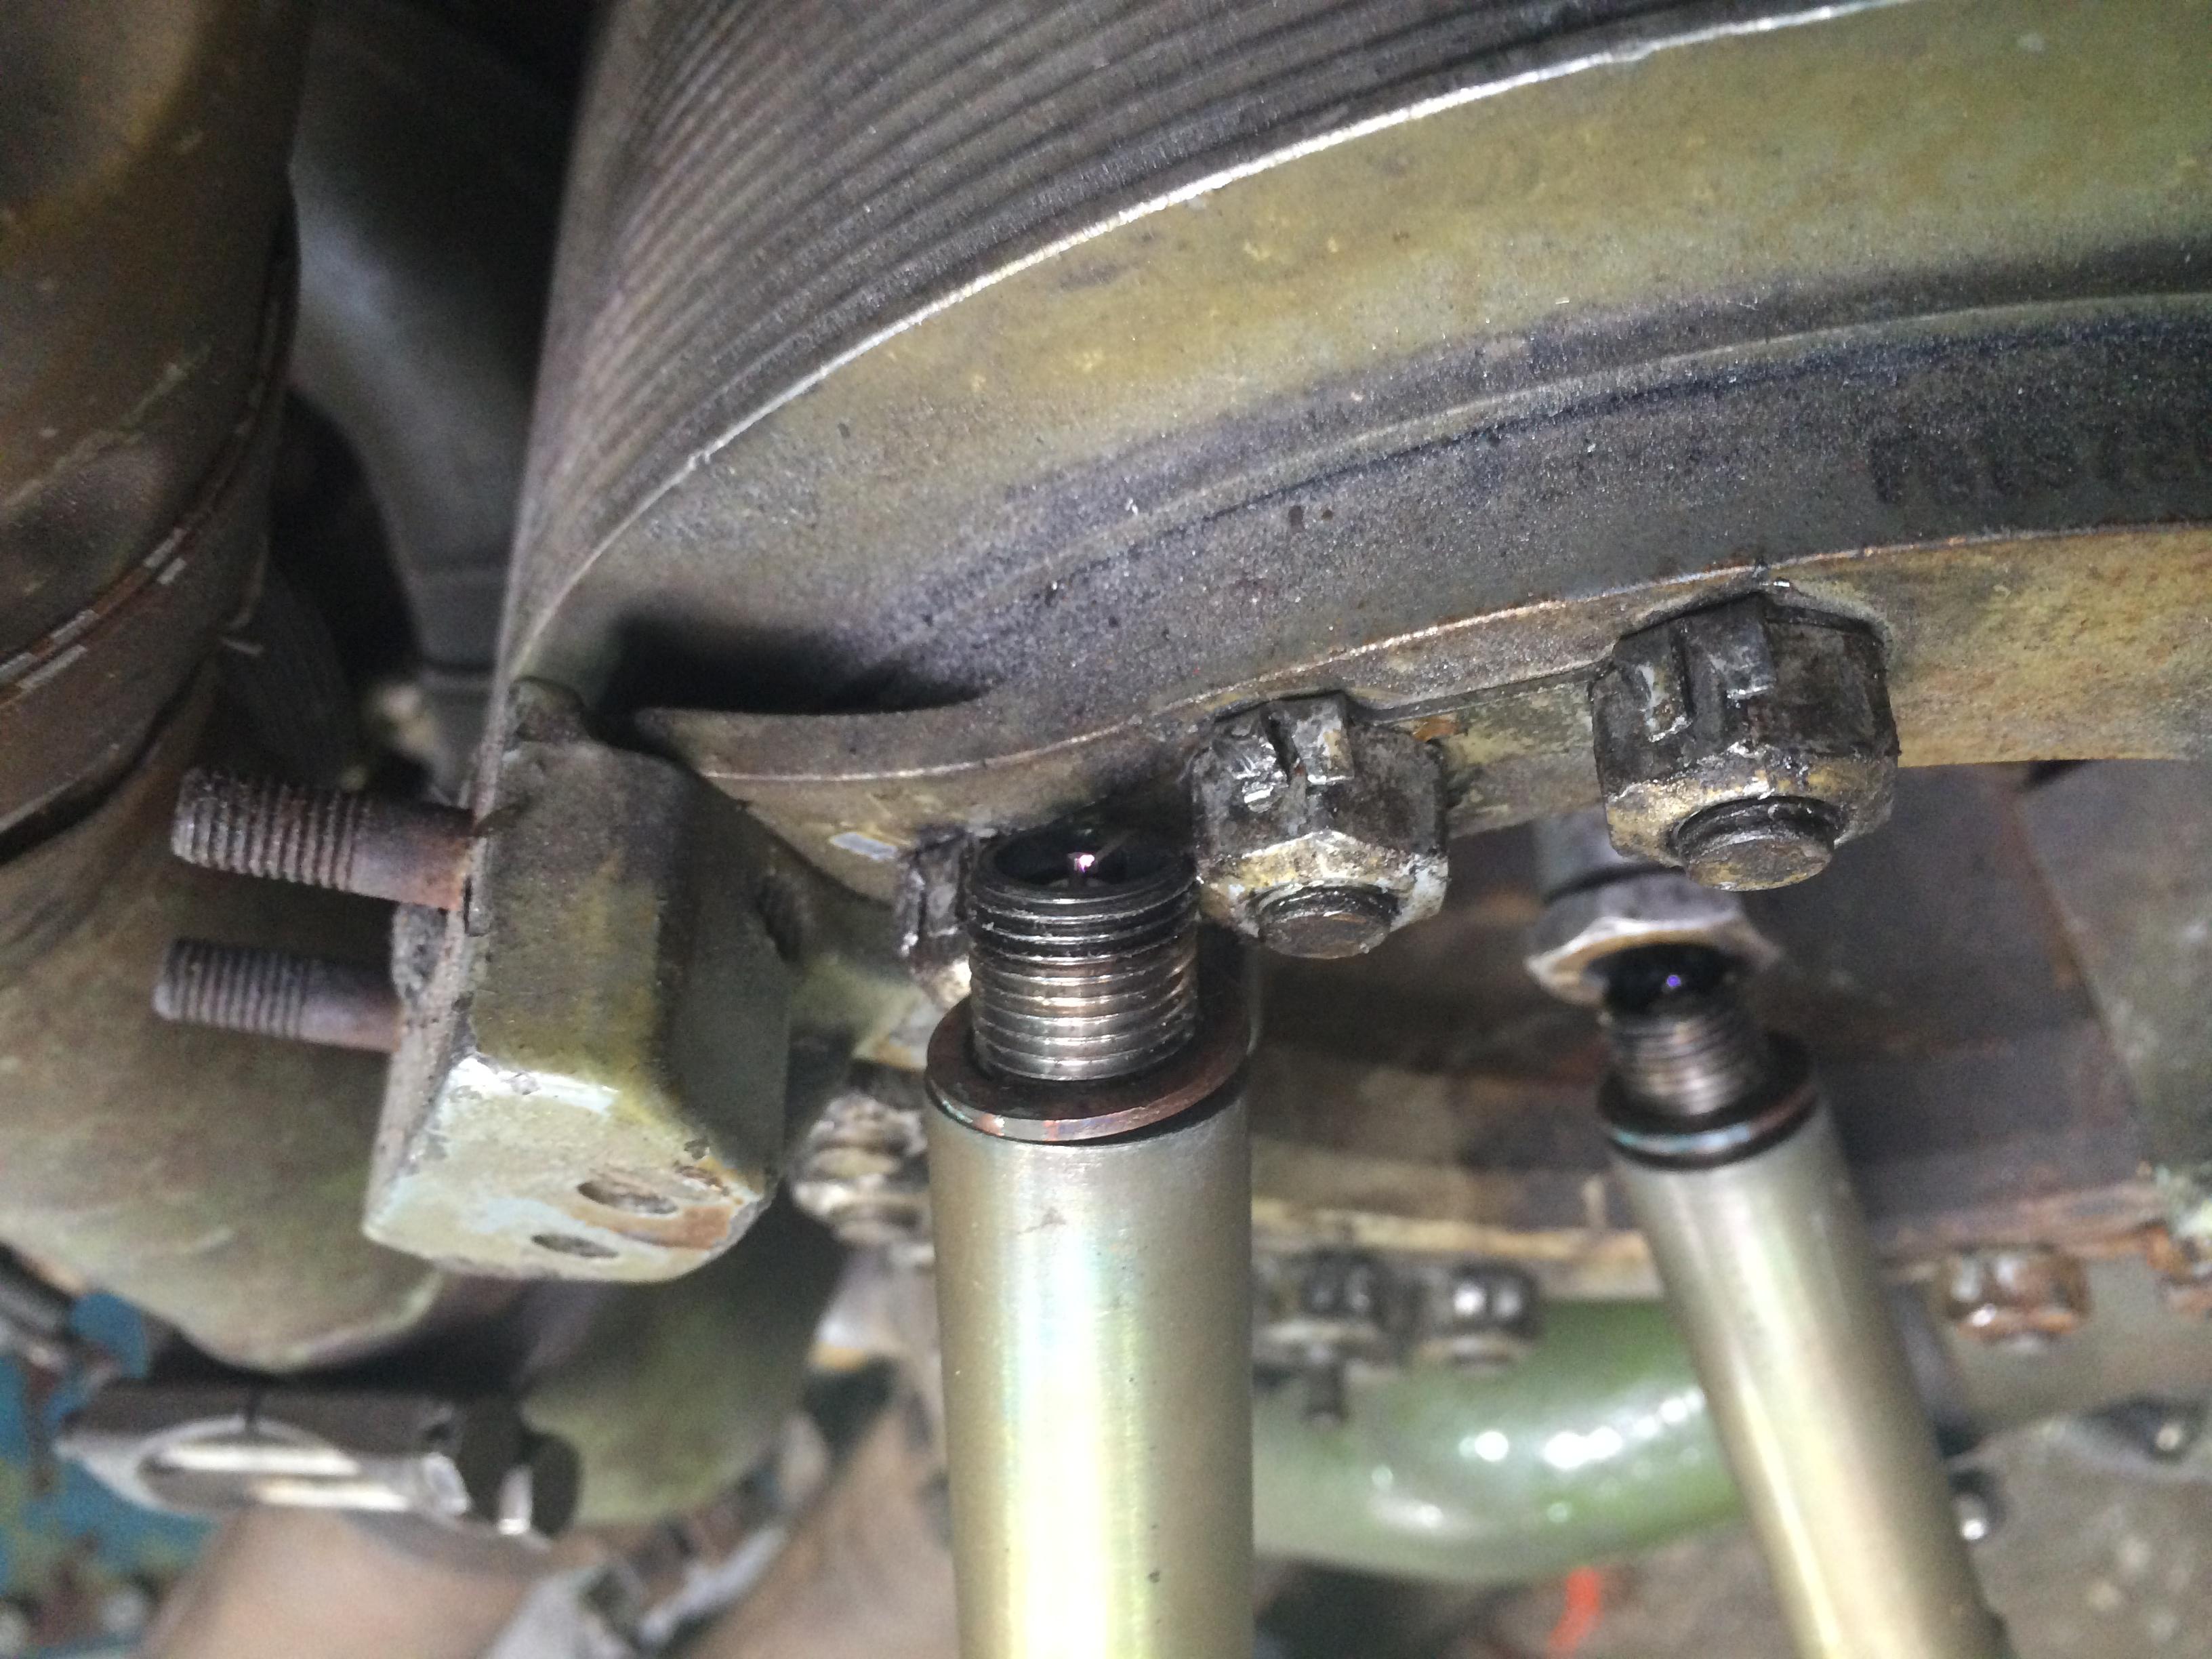
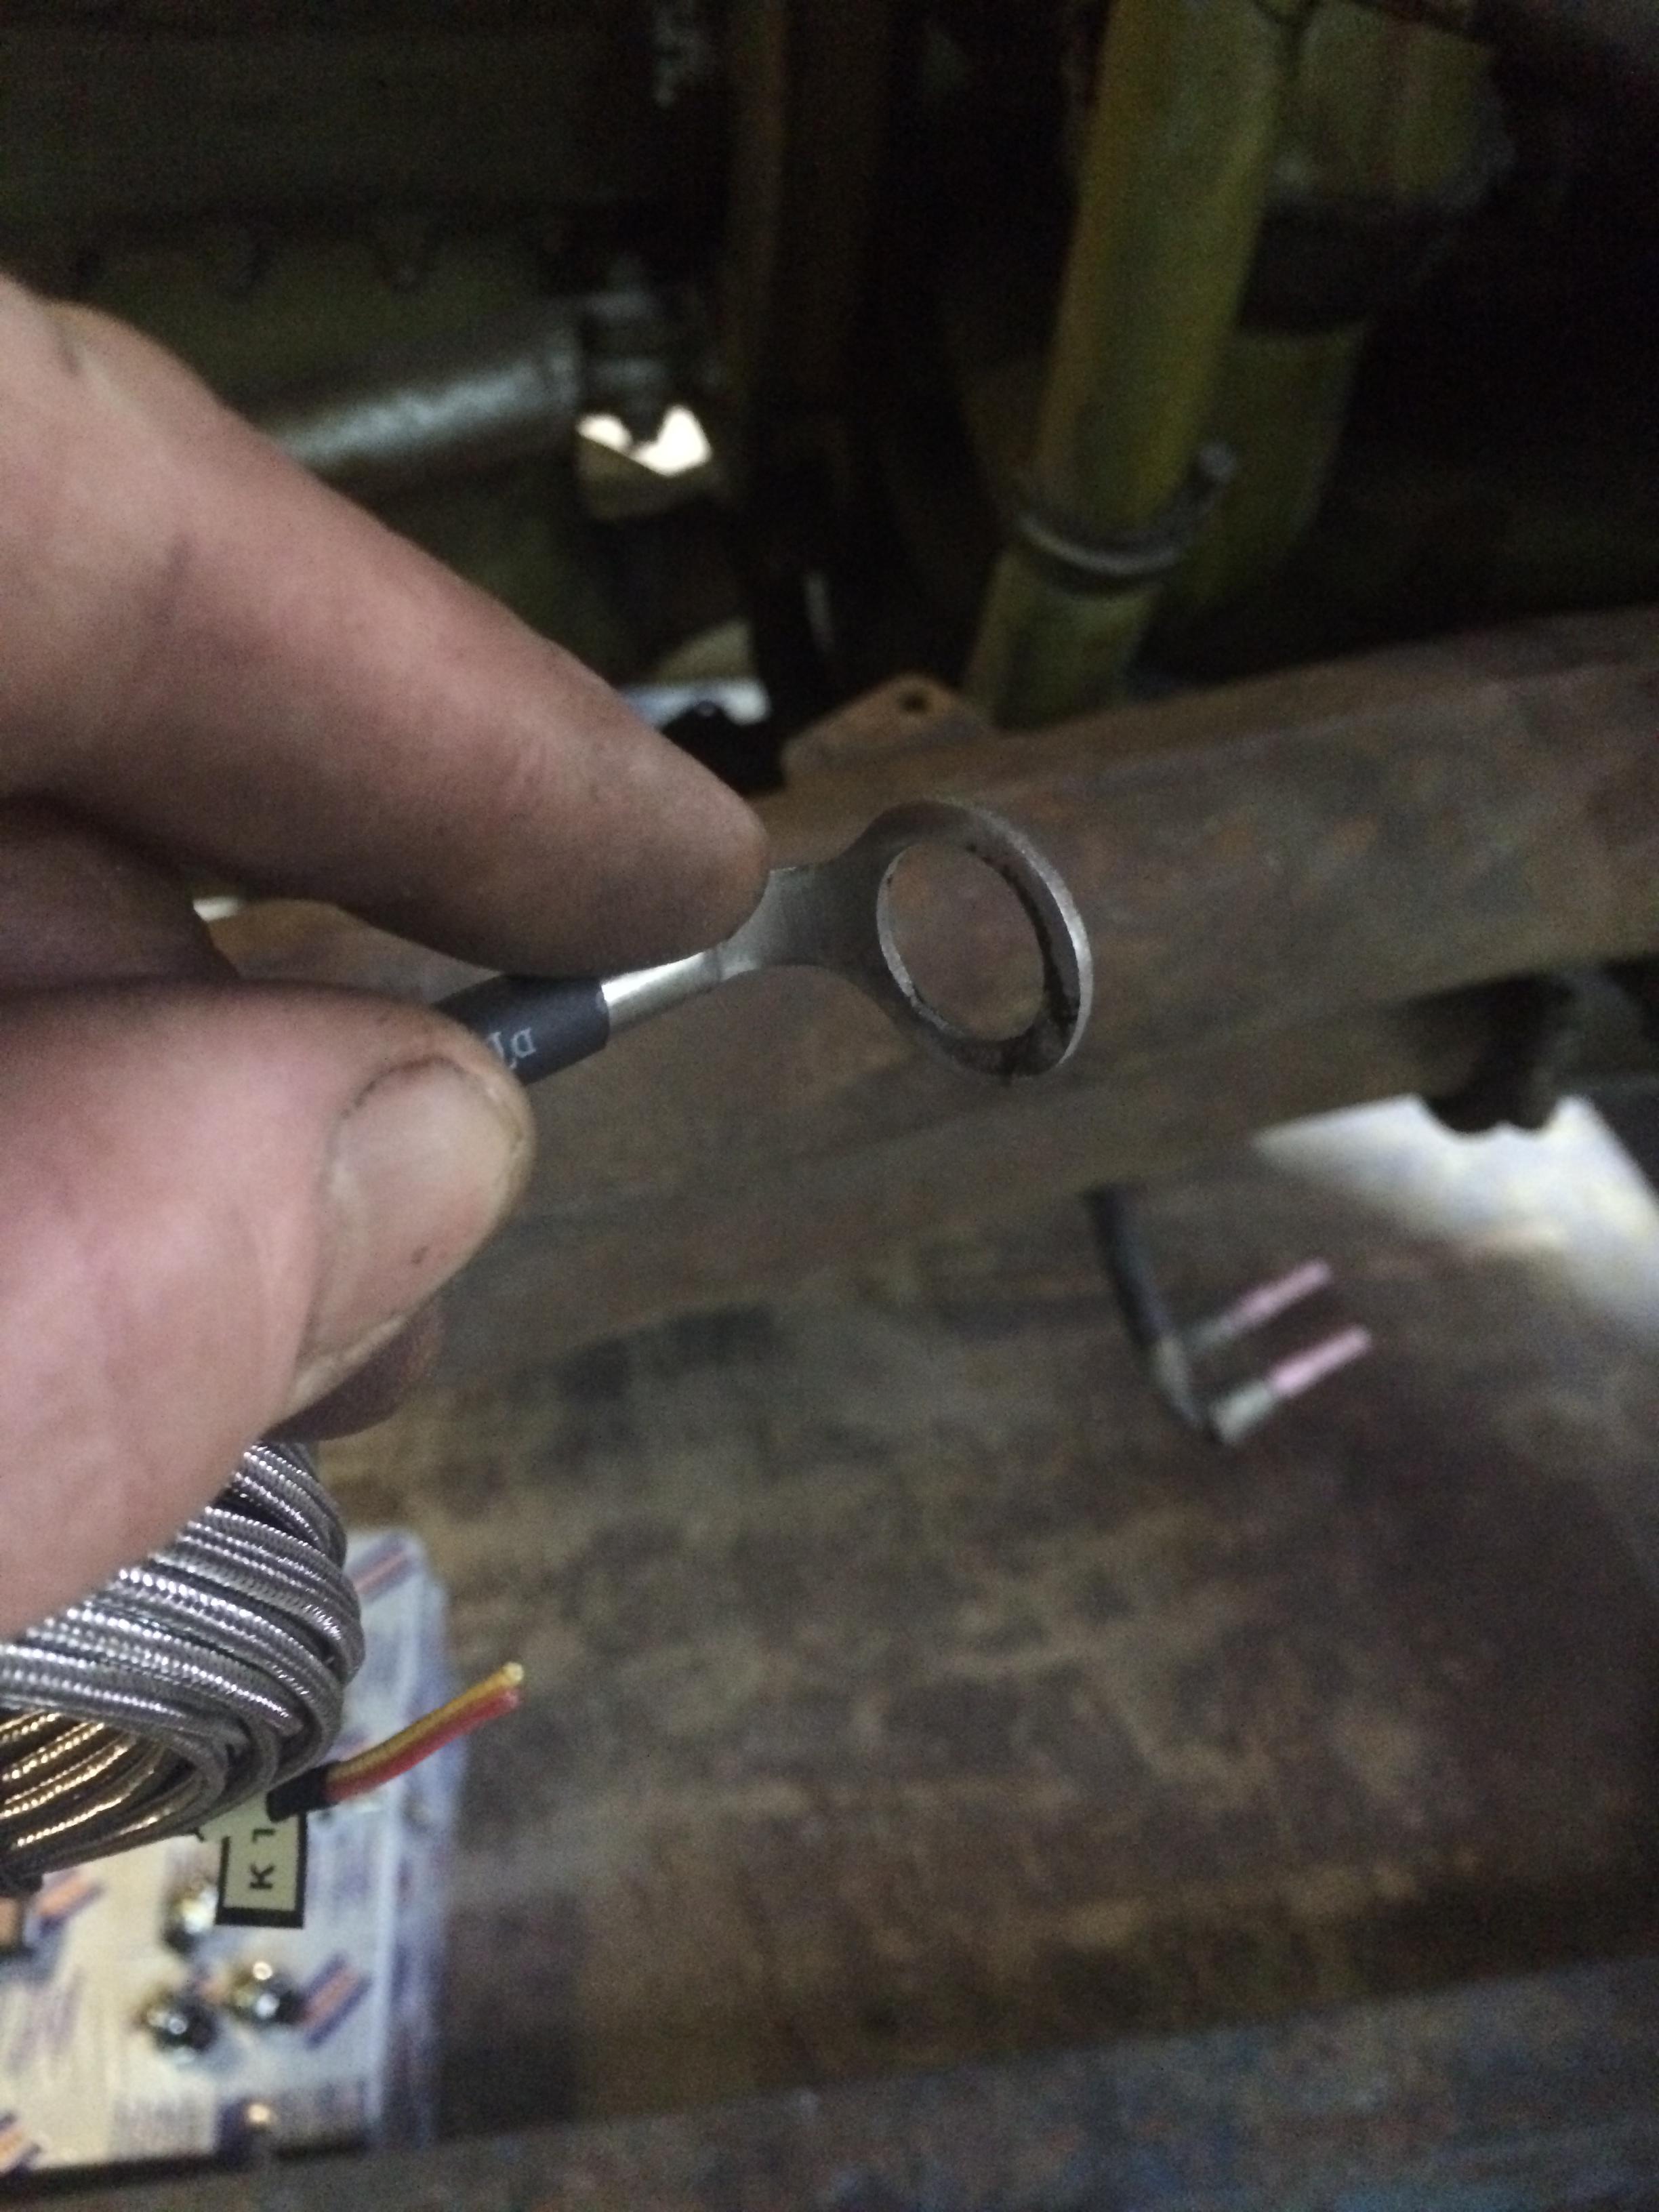
Cylinder head temperature monitoring is vital, after a bit of Googling  I came across this system that has been put together for VW air cooled engines, so we ordered a pair with extra long sensor wires. The type K sensors replace the sealing washer under the Spark plugs.

216 ELECTRICS 014 216 ELECTRICS 015


After a full weekends wiring , we have a fully working control panel and remote control station.

216 ELECTRICS 016 216 ELECTRICS 017


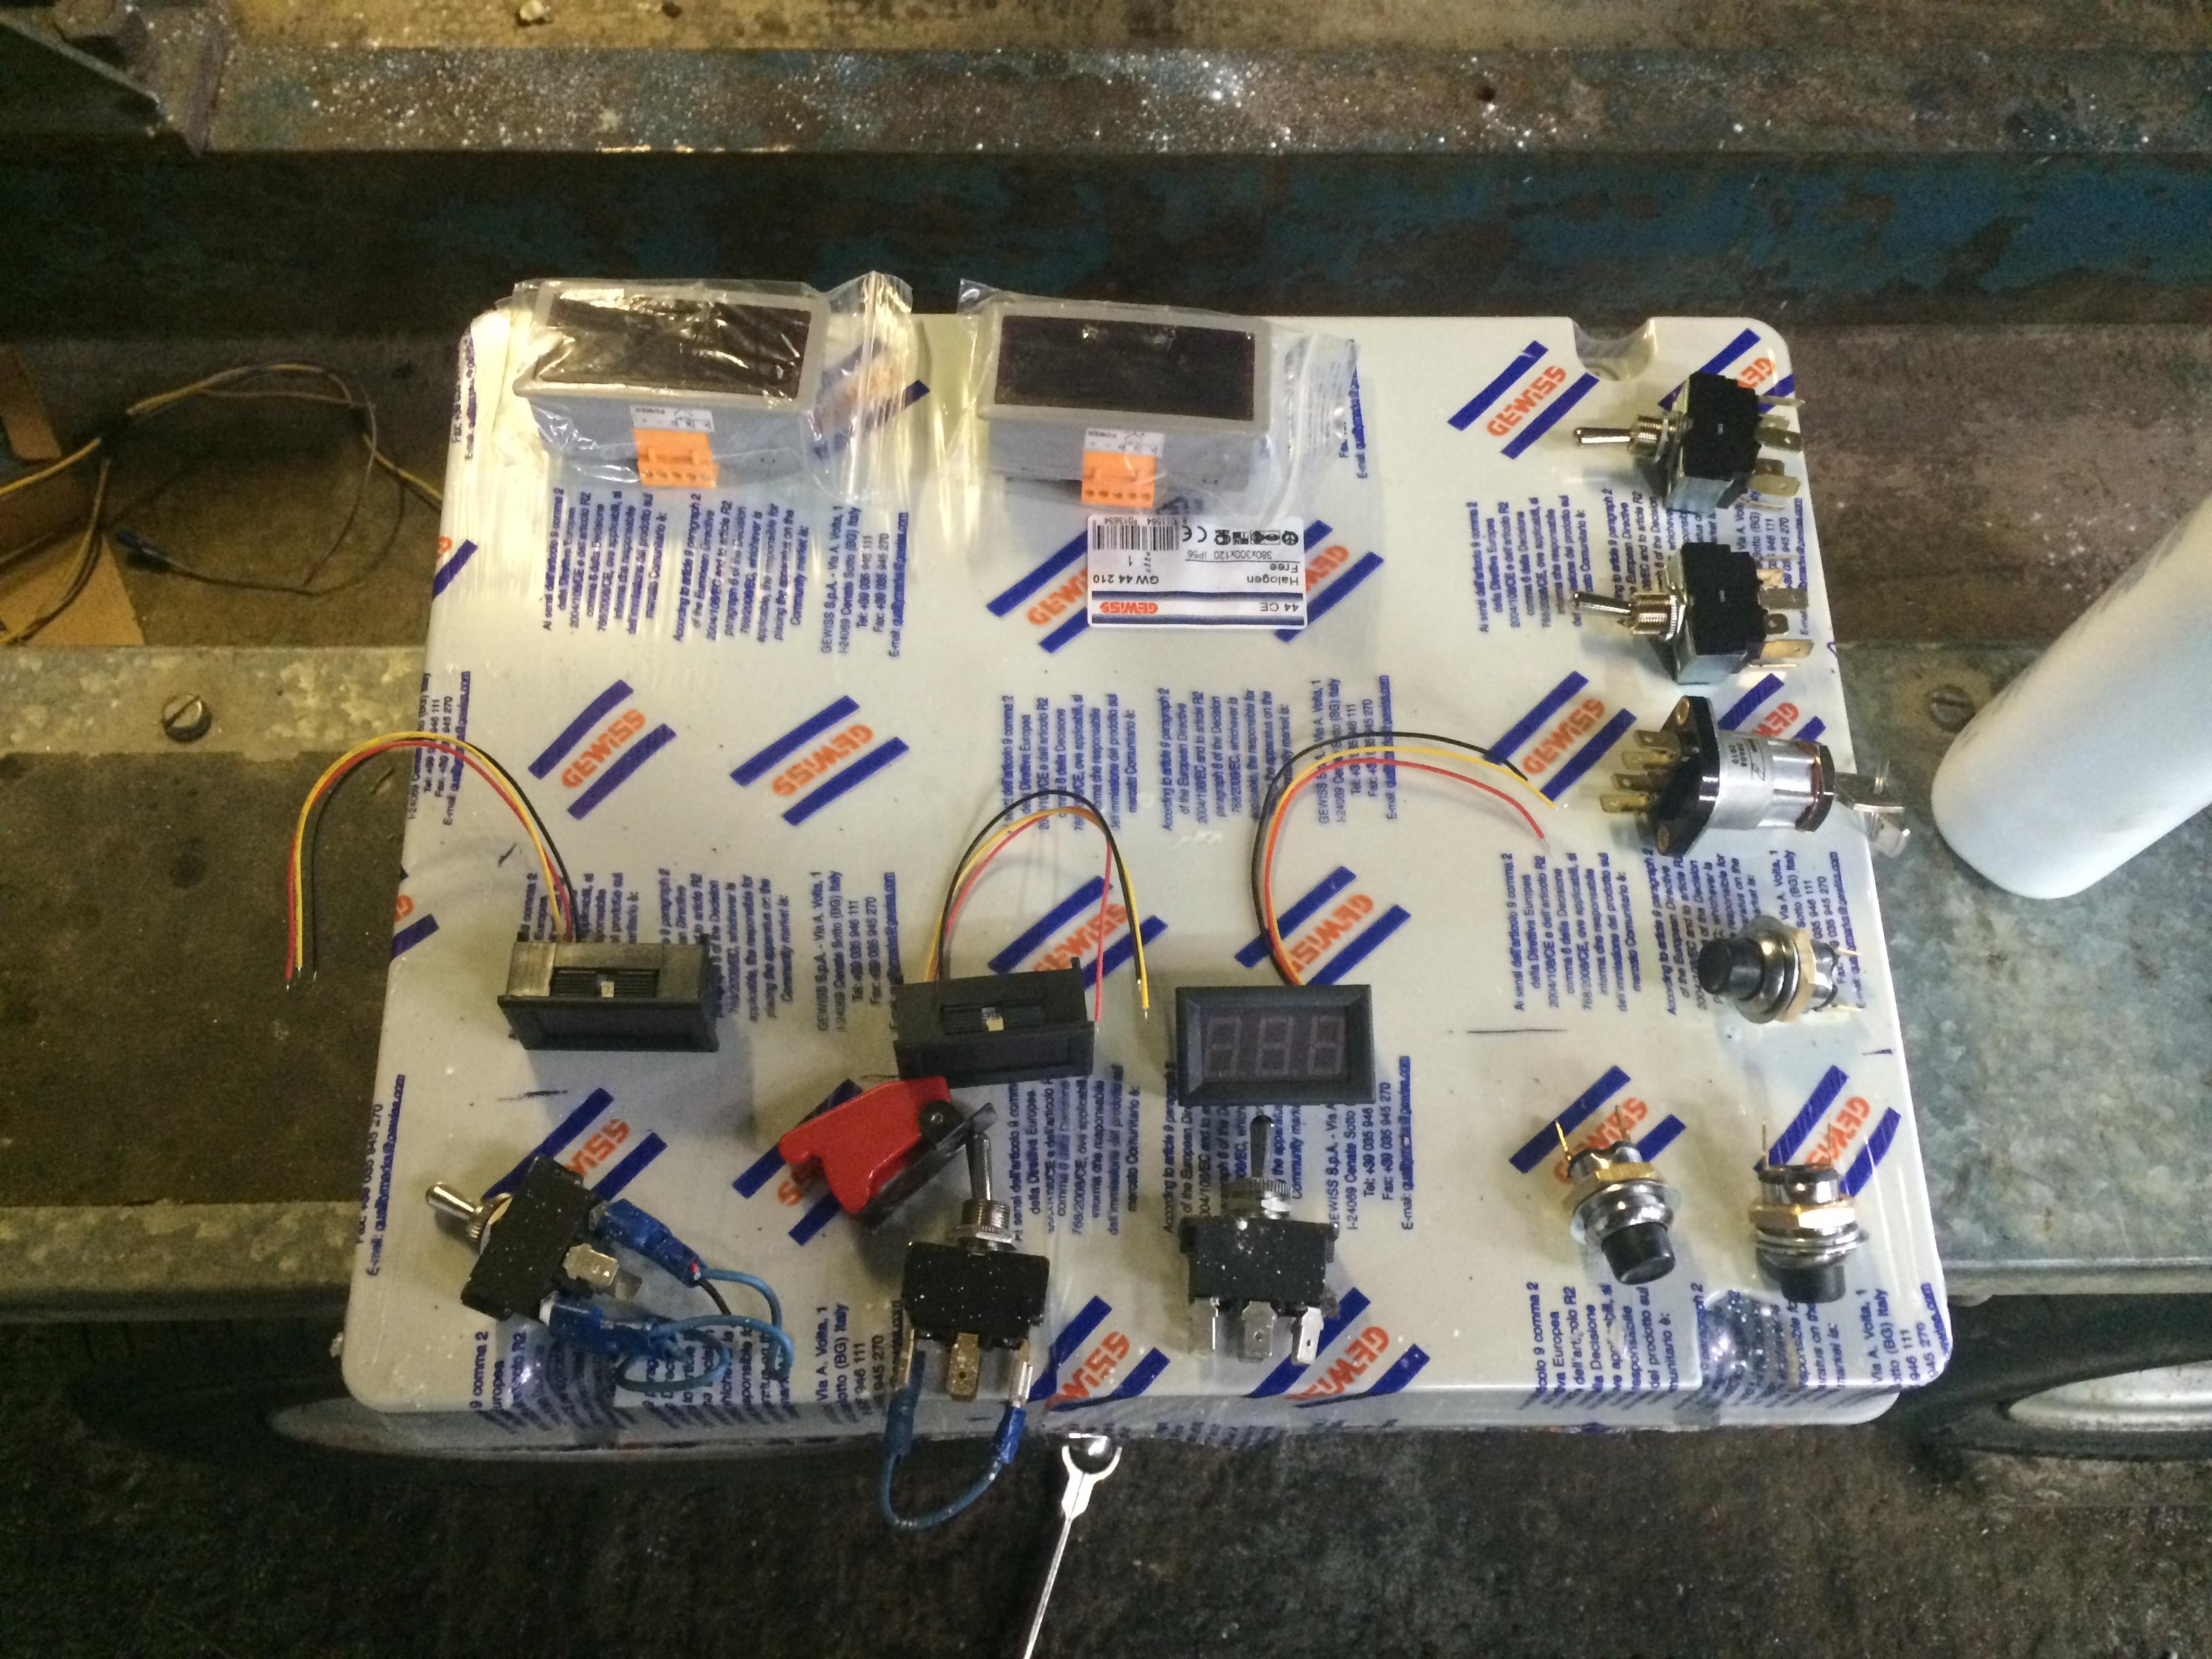
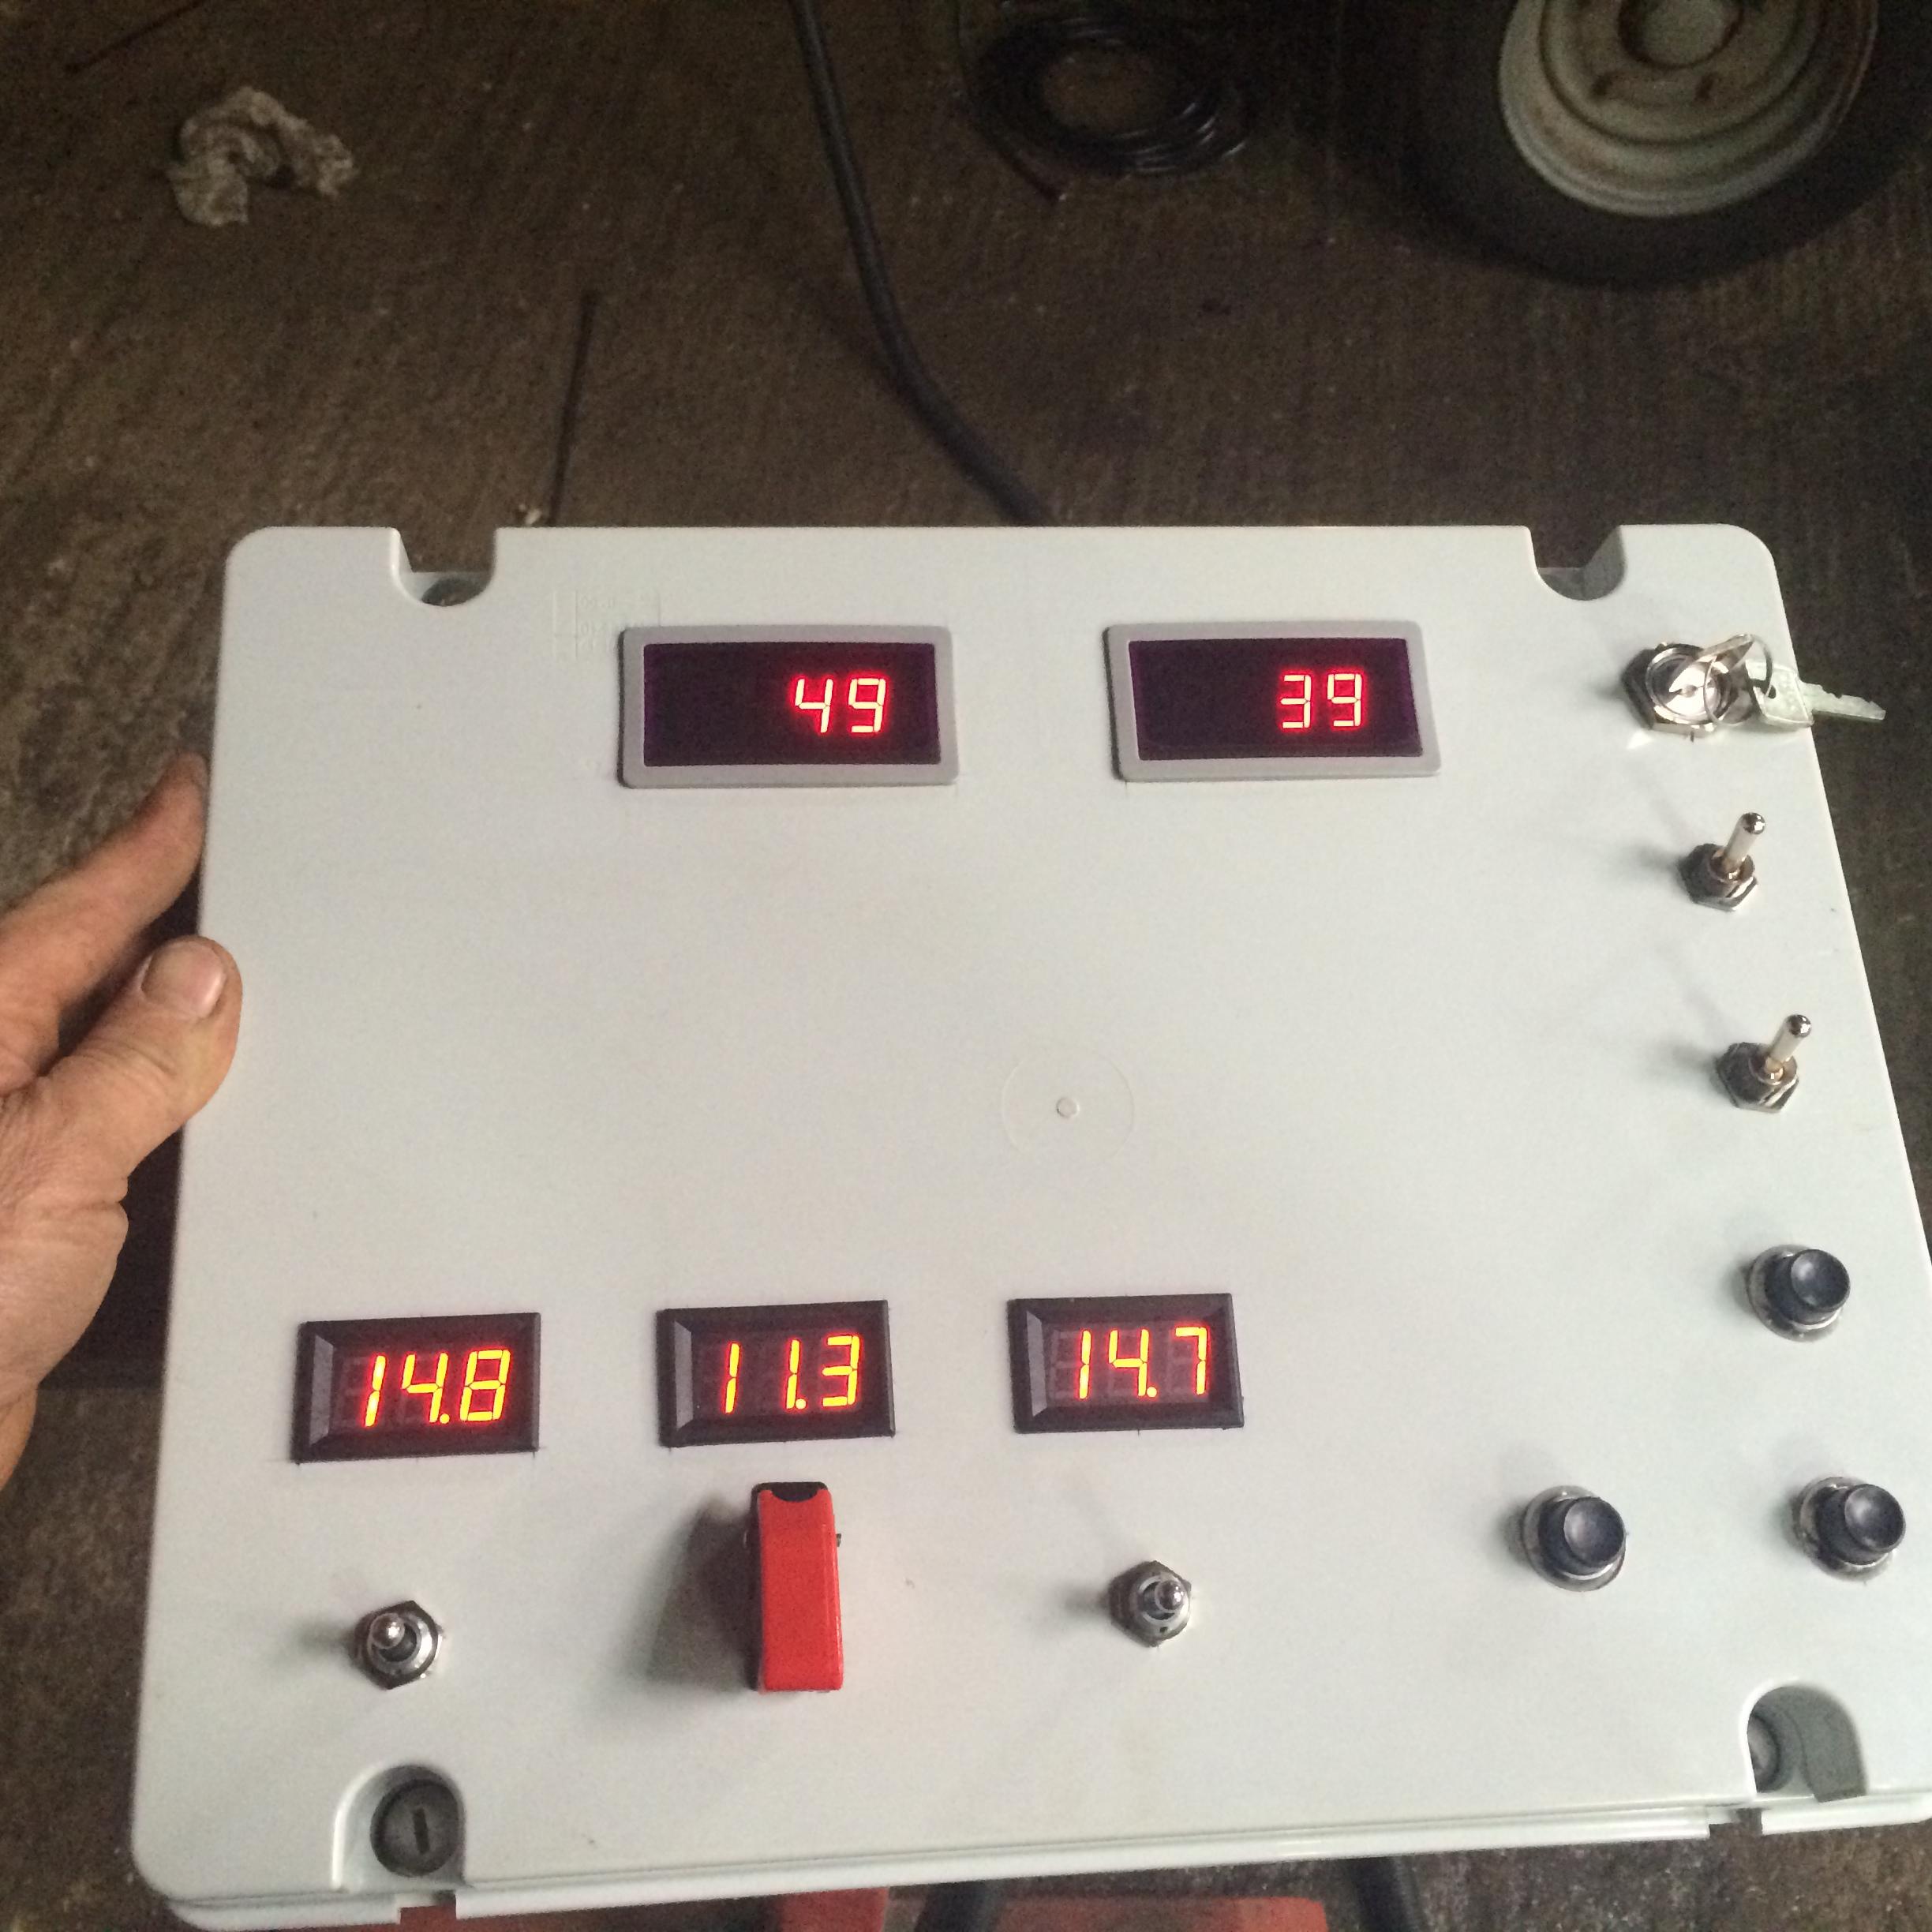
Just the tachometer  to fit in the center of the panel.

216 Exhaust Finished Off

After working hard on the prop we decided to chill out a bit and spend a day finishing off the 216 exhaust.

exhausts 002 exhausts 003


Fitting all of the split pins to the cylinder clamps.

prop2 006 prop2 005


All the blanking plugs fitted to stop moisture and dust getting in.

exhausts 005 exhausts 004


There we go all done, heat shields refitted with new Jubelee clips, It’s getting there, it won’t be long now!

09 Sept 2014 003 09 Sept 2014 002 09 Sept 2014 001


Thanks to Karl over in Canada at 57 Rescue for the exhaust pipes, now that should sound nice…..

Club Propeller

After getting the 264’s back into our workshops we ripped straight into them and started to strip down the propellers.

PROP 003 PROP 004

Brain kindly lent us his Rotol tools to strip down the hubs


PROP 006


The first job was to strip down the pitch control mechanism.

PROP 017PROP 020


Then remove the blades. We use the removed reduction gear bolted to a couple of beams to allow us to a 20 tonne jack to loosen of the blades.

PROP 023 PROP 024

Once the hub was stripped down Pete soon had it cleaned up, etched primed , then a coat of primer filler ready for top coat.

PROP 029 PROP 030


Next job was to cut the blades down, we used the oil feed tube and a piece of wood and a scribe to mark the blades, then a 9″ grinder with a slitting disc to cut them down.

PROP 031

We then fitted the other hub to the engine and test fitted the blades.

prop2 003 prop2 002

As Pete had a couple of days off , he decided to take on the sanding down of the blades, it took a full two days to do!

prop2 004


Nice job done Pete, have a beer

prop2 010


The next thing to do was make the blades all the same length. First we packed the blades of from the hub using key steel to ensure all the the blades are set the same.

prop2 007

Next we made a die grinder tool holder on the bottom of the engine stand.

prop2 009 prop2 008


Slowly we ground down each blade , then move up the die grinder after one full revolution of the engine.

prop2 011

Pete very pleased after half a days work and ten tins of WD40 and two die grinders we had the job done, blades ground down to within a couple of thou. We just need to balance them now then they can be painted.


More Engines Acquired

We had a tip-off from Karl Rodgers from 57 Rescue Canada, that there was a couple of 264’s over in Lancashire that had a prop hubs on them and four blades between them. So we popped over and acquired them as they wear a good source of parts for us and also we could make up a complete club prop from the pair.

John_Robson 009 John_Robson 011


First engine loaded on the trailer, they had to use the biggest toy in the yard!

John_Robson 013 John_Robson 016


The reduction gear had already been taken off the other engine so on this trip we only brought back the one engine and the reduction gear and prop.


Bristol Hercules 216 Arrives

We were aware of a 216 Hercules at the Yorkshire Air Museum and had seen it on many occasions. Via emails earlier this year we were told that they planed to get it up and running, which we offered our assistance in any way we could help, it  would of been a great sight at that museum to see the old Hercules running next to the Halifax. After a few months we had heard nothing so we decided to pop down and see the progress, to our surprise we were told that the engine was being removed from that site by the owner! We had a quick look at the condition of the engine as we were told it had been left outside for a year! We found that by looking through the exhaust stubs that the sleeves looked in good condition with no signs of corrosion even though we were told by a couple of engineers at the museum that they had looked at it and found that it was seized. We managed to obtain the owners email address and emailed him straight away to see if we could acquire the engine and get it up and running.  Well, Peter Blackburn who owned the engine and had lent it to YAM on long term loan in running order with with a full set of tools , exhaust and paper work for engine was not to pleased to say the least in how they had looked after his engine. The tools, exhaust and paper work had gone missing and they had left the engine outside! Anyway after a few emails he decided to let us buy the engine and get it up and running again.We have decided to attach a name plate in memory of his father who flew a couple of Hercules in WW2  attached to a Beaufighter in N Africa.

arival 004 arival 002

Here we are collecting the 216 from YAM

arival 006 arival 007


Forty five minutes later it’s back at it’s new home.

arival 010 arival 009 arival 008


As you see it’s all there minus the exhaust , starter and plugs.

arival 013 arival 011


On closer inspection the internals of the engine look in pretty good condition and covered in grease!

216_de_sieze 001 216_de_sieze 003 216_de_sieze 006 216_de_sieze 007


The first job we had to do was make a flange and starter dog so we could try and turn over the engine.

216_de_sieze 009 216_de_sieze 010 216_de_sieze 012 216_de_sieze 013

Just a bit more machine work for Pete!, it took a full day but it was needed.

216_de_sieze 015 216_de_sieze 016

Once installed we tried to move the engine and found that No One sleeve was the only one not trying to move.

216_de_sieze 017 216_de_sieze 025

So we removed No.1 head and cylinder and then the engine turned over with ease.

216_de_sieze 022 216_de_sieze 024

After seeing how much grease was inside the engine we decided to remove all the heads and clean the grease out.

216_cleaning 018

At this point we found out from Peter Blackburn that an engineer that worked for him called Michael Ferguson got the engine running to show Peters father which he loved here running again after so many years since his service in the RAF, then re-inhibited the engine. Sadly Michael passed away five years ago so it’s another fitting tribute to him that we get this engine running again, because if it wasn’t for his efforts this engine would of been scrap.

216_cleaning 023 216_cleaning 020


The heads took only a Saturday afternoon to de-grease and clean up.

Copy of 216_cleaning 010 Copy of 216_cleaning 009


Out with the tooth brush again and clean up cylinder one of dried up deposits and free off the cylinder rings which were in good condition.

216_cleaning 025 216_cleaning 027


216_cleaning 028


After cleaning up the cylinder, we lube it up, made a new “O” ring, applied som sealant and refitted the cylinder to the engine.Then we refitted the cylinder heads.

starter plugs


Brian Mills a fellow Bristol Hercules restorer helped source new spark plugs and a starter, the starter is in serviceable condition just needs cleaning up. We are very grateful to Brian for all his help in sourcing parts and advice.

Exhaust 001Exhaust_stub


As we planed to give the 216 a test run before the end of September, don’t no why we decided that but it’s always good to have a target date! we better sort out an exhaust system. a complete 216 Exhausts are very hard to find now so we decided to fit the front part of the 264 system and then fit exhaust stubs like fitted to the Bristol Freighter.

Exhaust 006


A few of the inter connecting pipes were cracked, so we tig welded them up.

Exhaust 003 Exhaust 002


On a couple of the swivel joints we heated them up to free them off to allow us to align them up. It’s a fiddly job but once you get into the order you have to fit them, it doesn’t to to long to fit the exhaust.

Exhaust 007 Exhaust 008 Exhaust 009 Exhaust 010

After another Saturday afternoons work, just over half of the exhaust is fitted.

Cleaning and Re-fiting Super Charger and Gearbox

super_charger_refit 002super_charger_refit 001

The first job this weekend was to clean out our parts washer, as you can see  we have removed a lot of muck and crud from this old girl!

super_charger_refit 005

After flattening down the out side of the super charger we flushed out all the oil ways.

super_charger_refit 004


The gear box drive shaft took some cleaning, as there is an inner tube inside the the drive shaft to create an annular oil gallery, this was well bunged up with muck but using the 12 bore shot gun barrel cleaner we soon had it cleaned out.

super_charger_refit 003

After a couple of hours work we had the Super charger and Gearbox ready to be refitted.

super_charger_refit 006 super_charger_refit 007

After cleaning the rear crankcase bolts, we lubed them with grease and refitted them, then refitted the “O” ring and applied new sealant ready for the Super charger.

super_charger_refit 008 super_charger_refit 009    

Peter looking serious here as we get ready to fit the Supercharger, must be time for a beer!

super_charger_refit 010super_charger_refit 011


And on she goes, next job rejig the chain pull higher up in the roof to lift the gearbox on.


264 gearbox refit 010

Here we have to pass the gearbox over to the chain hoist and lift it way into the roof!

264 gearbox refit 011 264 gearbox refit 012


We had just enough height to clear the engine…

264 gearbox refit 013 264 gearbox refit 014


And there we have it, next job is to paint the engine mount ring and engine mount frame.

264 gearbox refit 016 264 gearbox refit 015


Engine mount frame painted, just the engine mount ring to do now then we can etch prime the back half of the engine, fit the engine mount and rotate the engine back to the horizontal position.

More Re-Assembling , Timing Gears and rear Crankshaft


8 June 2014 005


We washed off the transfer needle rollers with petrol.

8 June 2014 001

One of the 518 needle rollers! , being installed onto the transfer gear shafts.

8 June 2014 0028 June 2014 007


We used elastic bands and grease to hold the needles in place.

8 June 2014 006

Now we fitted the rear sleeve drive gears.

8 June 2014 008


Once the transfer gear is far enough down over the needles , we could then pull out the elastic band and cut it off.

8 June 2014 009


And there you have it. all of the gears on and timed up, a thing of beauty!

8 June 2014 011 8 June 2014 012

Next job was to clean the front timing cover and flat the paint down.

8 June 2014 013


Here we are cleaning out the front oil scavenge pump out.

8 June 2014 014


New “O” ring fitted to front crankcase section.

8 June 2014 015


Pete, one of the proud parents getting ready to fit the front cover.

8 June 2014 016

A quick jiggle of the sleeve drives and it fitted with ease.

8 June 2014 0178 June 2014 018

Next we fitted the reduction drive gear with left handed lock nut and lock it off.

8 June 2014 0198 June 2014 020

Oooh its getting bigger!

8 June 2014 021


fitting the rear wrist pin oil control ring after cleaning.

8 June 2014 023 8 June 2014 024

After cleaning and assembling the rear master rod and slave rods we then fitted the rear maniton and bolt, it just needs the bolt stretching by 0.014″ now, that will have to wait until tomorrow wen Dominic is in at work as it’s a three man job.

Now that was a good day at the Office.. I think we have have a beer now..


It’s Starts to get a little bigger

On a very special day today , seventy years ago four Bristol Hercules Engines in close formation attached to A Halifax of “The Why Worry Crew” of 640 Sqd.

My Dad Pilot Officer A.C. Smart DFC

Navigator                         E.W. Coulson

Wireless Operator      A.V. Walton

Bomb Aimer                   M. Broadbent

Flight Engineer             K.A. Seabourne

Mid Upper Gunner      K. Woolley

Tail Gunner                     J. Norris

They paid a visit to the coastal gun batteries at Maisy next to Omaha beach and the following night popped over to Amiens to help the troops out.

6 June 2014 0016 June 2014 002

This just spurs us on even harder to get the old girls up and running again.

6 June 2014 003


First job today was to fit the new “O” ring section to the crankcase center section

6 June 2014 0056 June 2014 006


Plenty of grease on the front crank shaft bearing inner race, this will keep the rollers in place while we fit the front section of crank case.

6 June 2014 004


Getting the front section hoisted into place ready to lower it down onto the center section.

6 June 2014 0076 June 2014 008


With two crankcase bolts fitted to the center section for guides , we gently lower down the front section.

6 June 2014 009


Dominic popped up from the workshop to see what we were up to and was pleased with the progress.

6 June 2014 010


Pete and myself quite chuffed with a couple of hours work, It must be Beer O’clock!

Next job over the weekend is to refit all of the timing gears and front cover. this will allow us to turn the engine upside down and start and start putting together the rear sections.


Front Crankshaft Re-Assemble

The next job will be to fit and tighten the front maniton stretch bolts.

Triangle de vert 2014 002Triangle de vert 2014 003

To tighten the maniton bolts, first check the length, then put all the Carlsberg to good use and stretch the bolts by 0.014″ to 0.016″

Triangle de vert 2014 004


Once tightened we fitted new split pins.

Triangle de vert 2014 005

We have now removed the extra steady legs from the stand, ready for the front section to be fitted.

Triangle de vert 2014 006 Triangle de vert 2014 007


Before we fit that we will clean out the front sleeve drive shafts and lock them off with the blocks we have made, and then flat off all of the external paint.

Assembly Starts

Well we have been busy cleaning the middle crank case section, flattening down the paint so it will be ready for paint when assembled.

April 27 004 April 27 002

Before we can start putting parts back onto the engine assembly stand, Pete did a great job of prepping the stand then etch prime , then a couple of coats of satin black.

April 27 001

April 27 008 April 27 009 April 27 010

The first section to go back on was the center section.

April 27 029

Next after cleaning the crank oil jets they were refitted. We are using 75/90 oil to lubricate all parts as they are fitted.

April 27 011

A good slug of oil fed into main center bearing.

April 27 014 April 27 013


Also plenty of oil down the center of the crank before fitting the end plugs.

April 27 012April 27 028

Next after a final wipe down, the front even row master rod and con rods were reassembled ready to be fitted.

April 27 031April 27 032


Before the con rods can be fitted the oil feed ring is fitted and lubed up.

April 27 030


That’s a good mile stone achieved, the even set of con rods fitted, time for a beer!

April 27 033

Next job was to clean the front maniton of little patches of surface rust.

April 27 034

Also we removed the maniton jet and cleaned it out ,April 27 035

Another little special tool was made from a 1/4″ drive extension to remove the jet.

April 27 036


We the aid of our third member of the team Mr. Engine Hoist the front maniton was refitted and lined up.

April 27 037 April 27 038April 27 039April 27 040


We have fitted pipe insulation to the con rods to protect them while the rest of the assembly is carried out, so when we are turning the engine and the con rods flop about there coating won’t get damaged.

April 27 041


The next job will be to fit and tighten the front maniton stretch bolts, this will have to wait to next weekend, as this will take three people to achieve the tension required!