Category Archives: Time to Start putting the Old Girl back together

Cleaning and Re-fiting Super Charger and Gearbox

super_charger_refit 002super_charger_refit 001

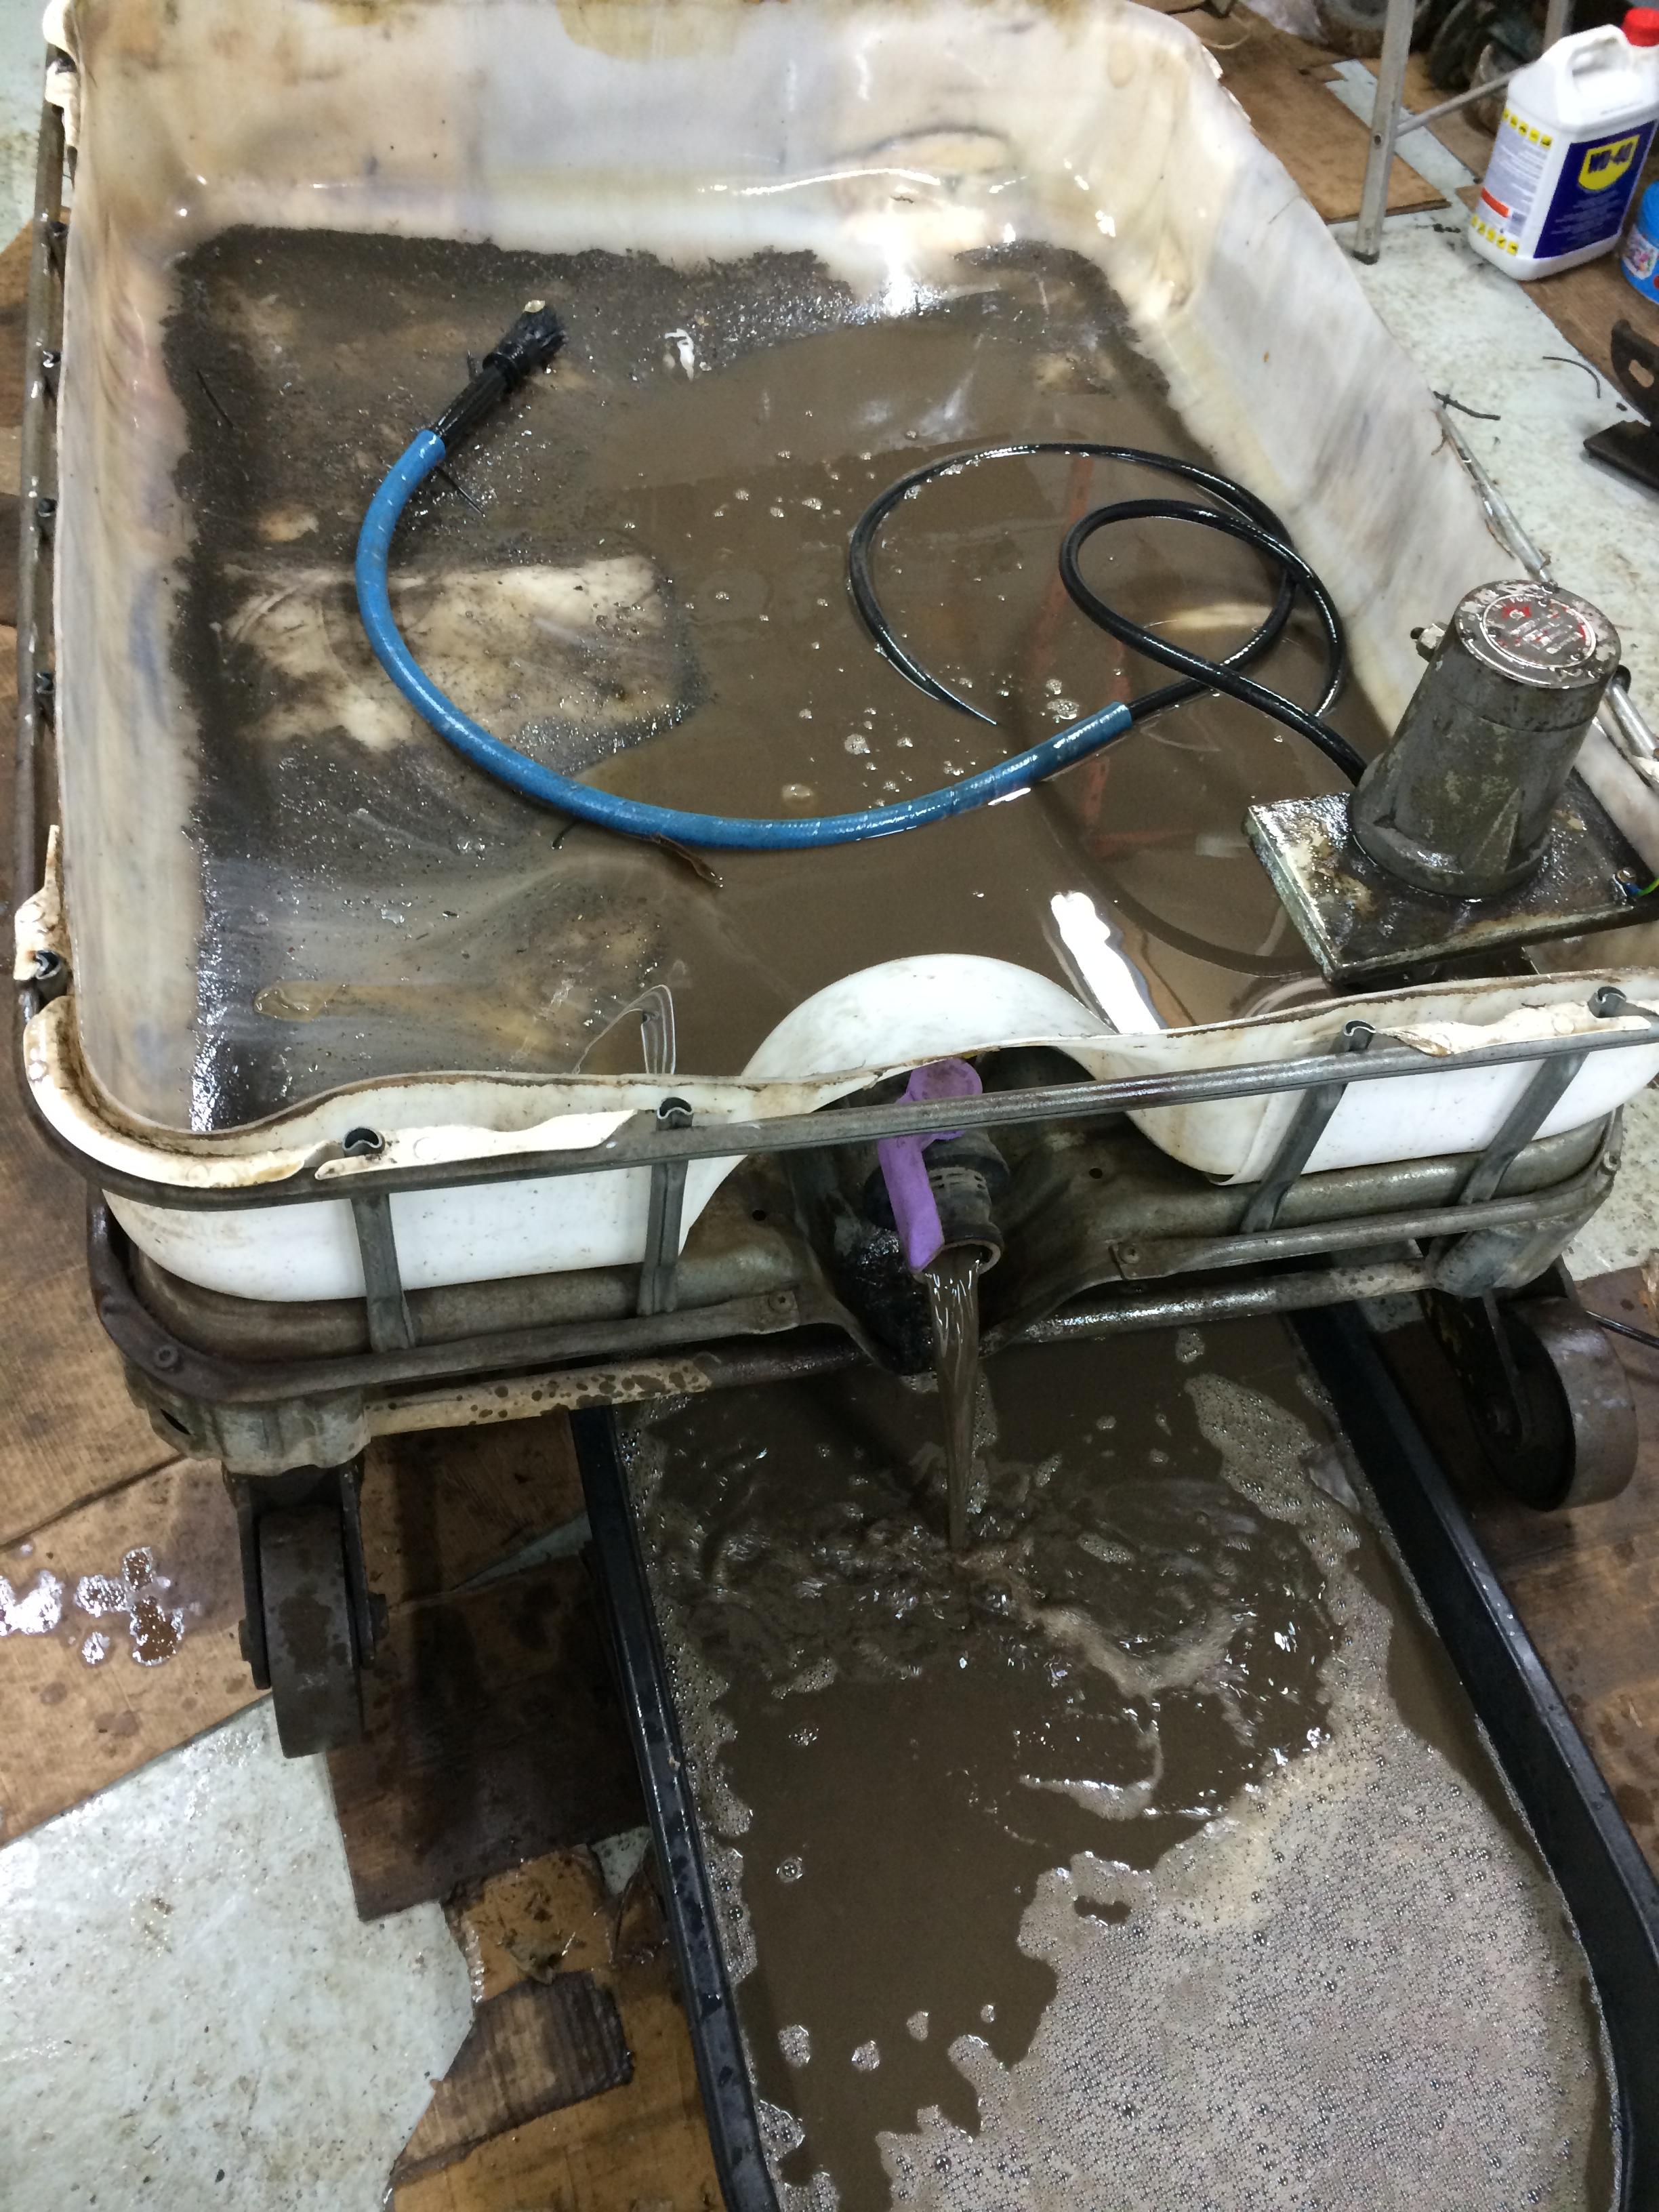
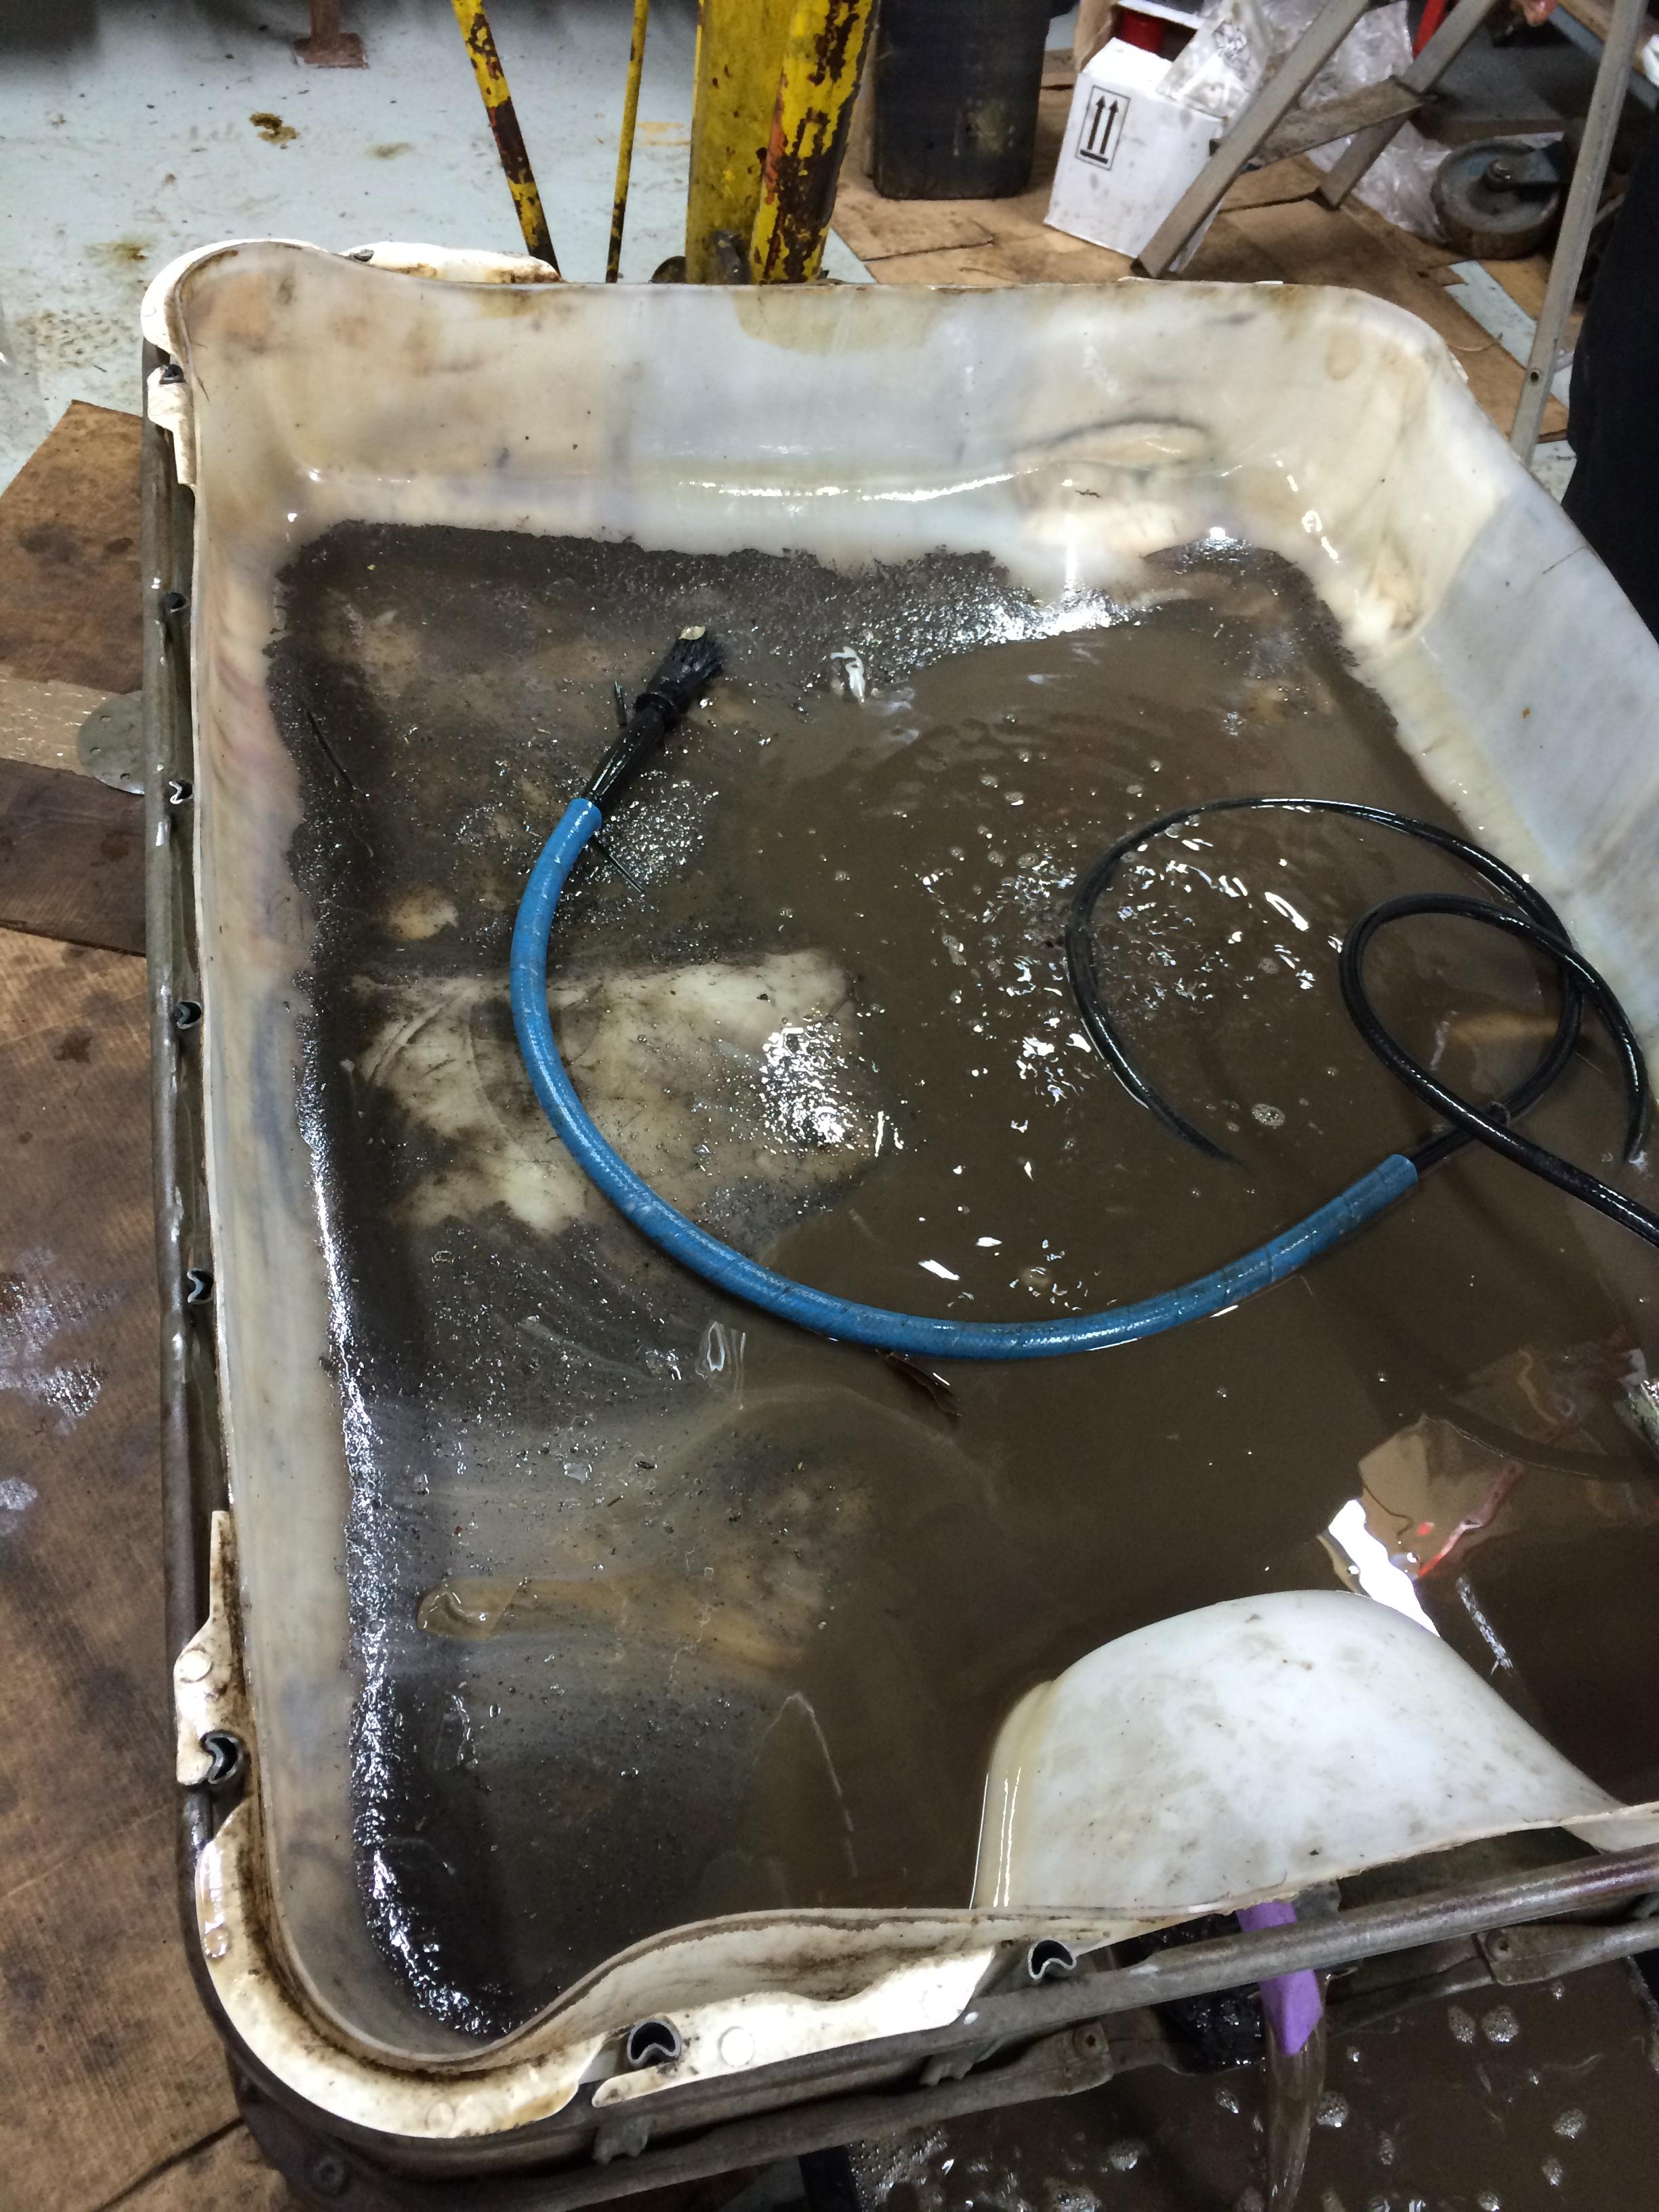
The first job this weekend was to clean out our parts washer, as you can see  we have removed a lot of muck and crud from this old girl!

super_charger_refit 005

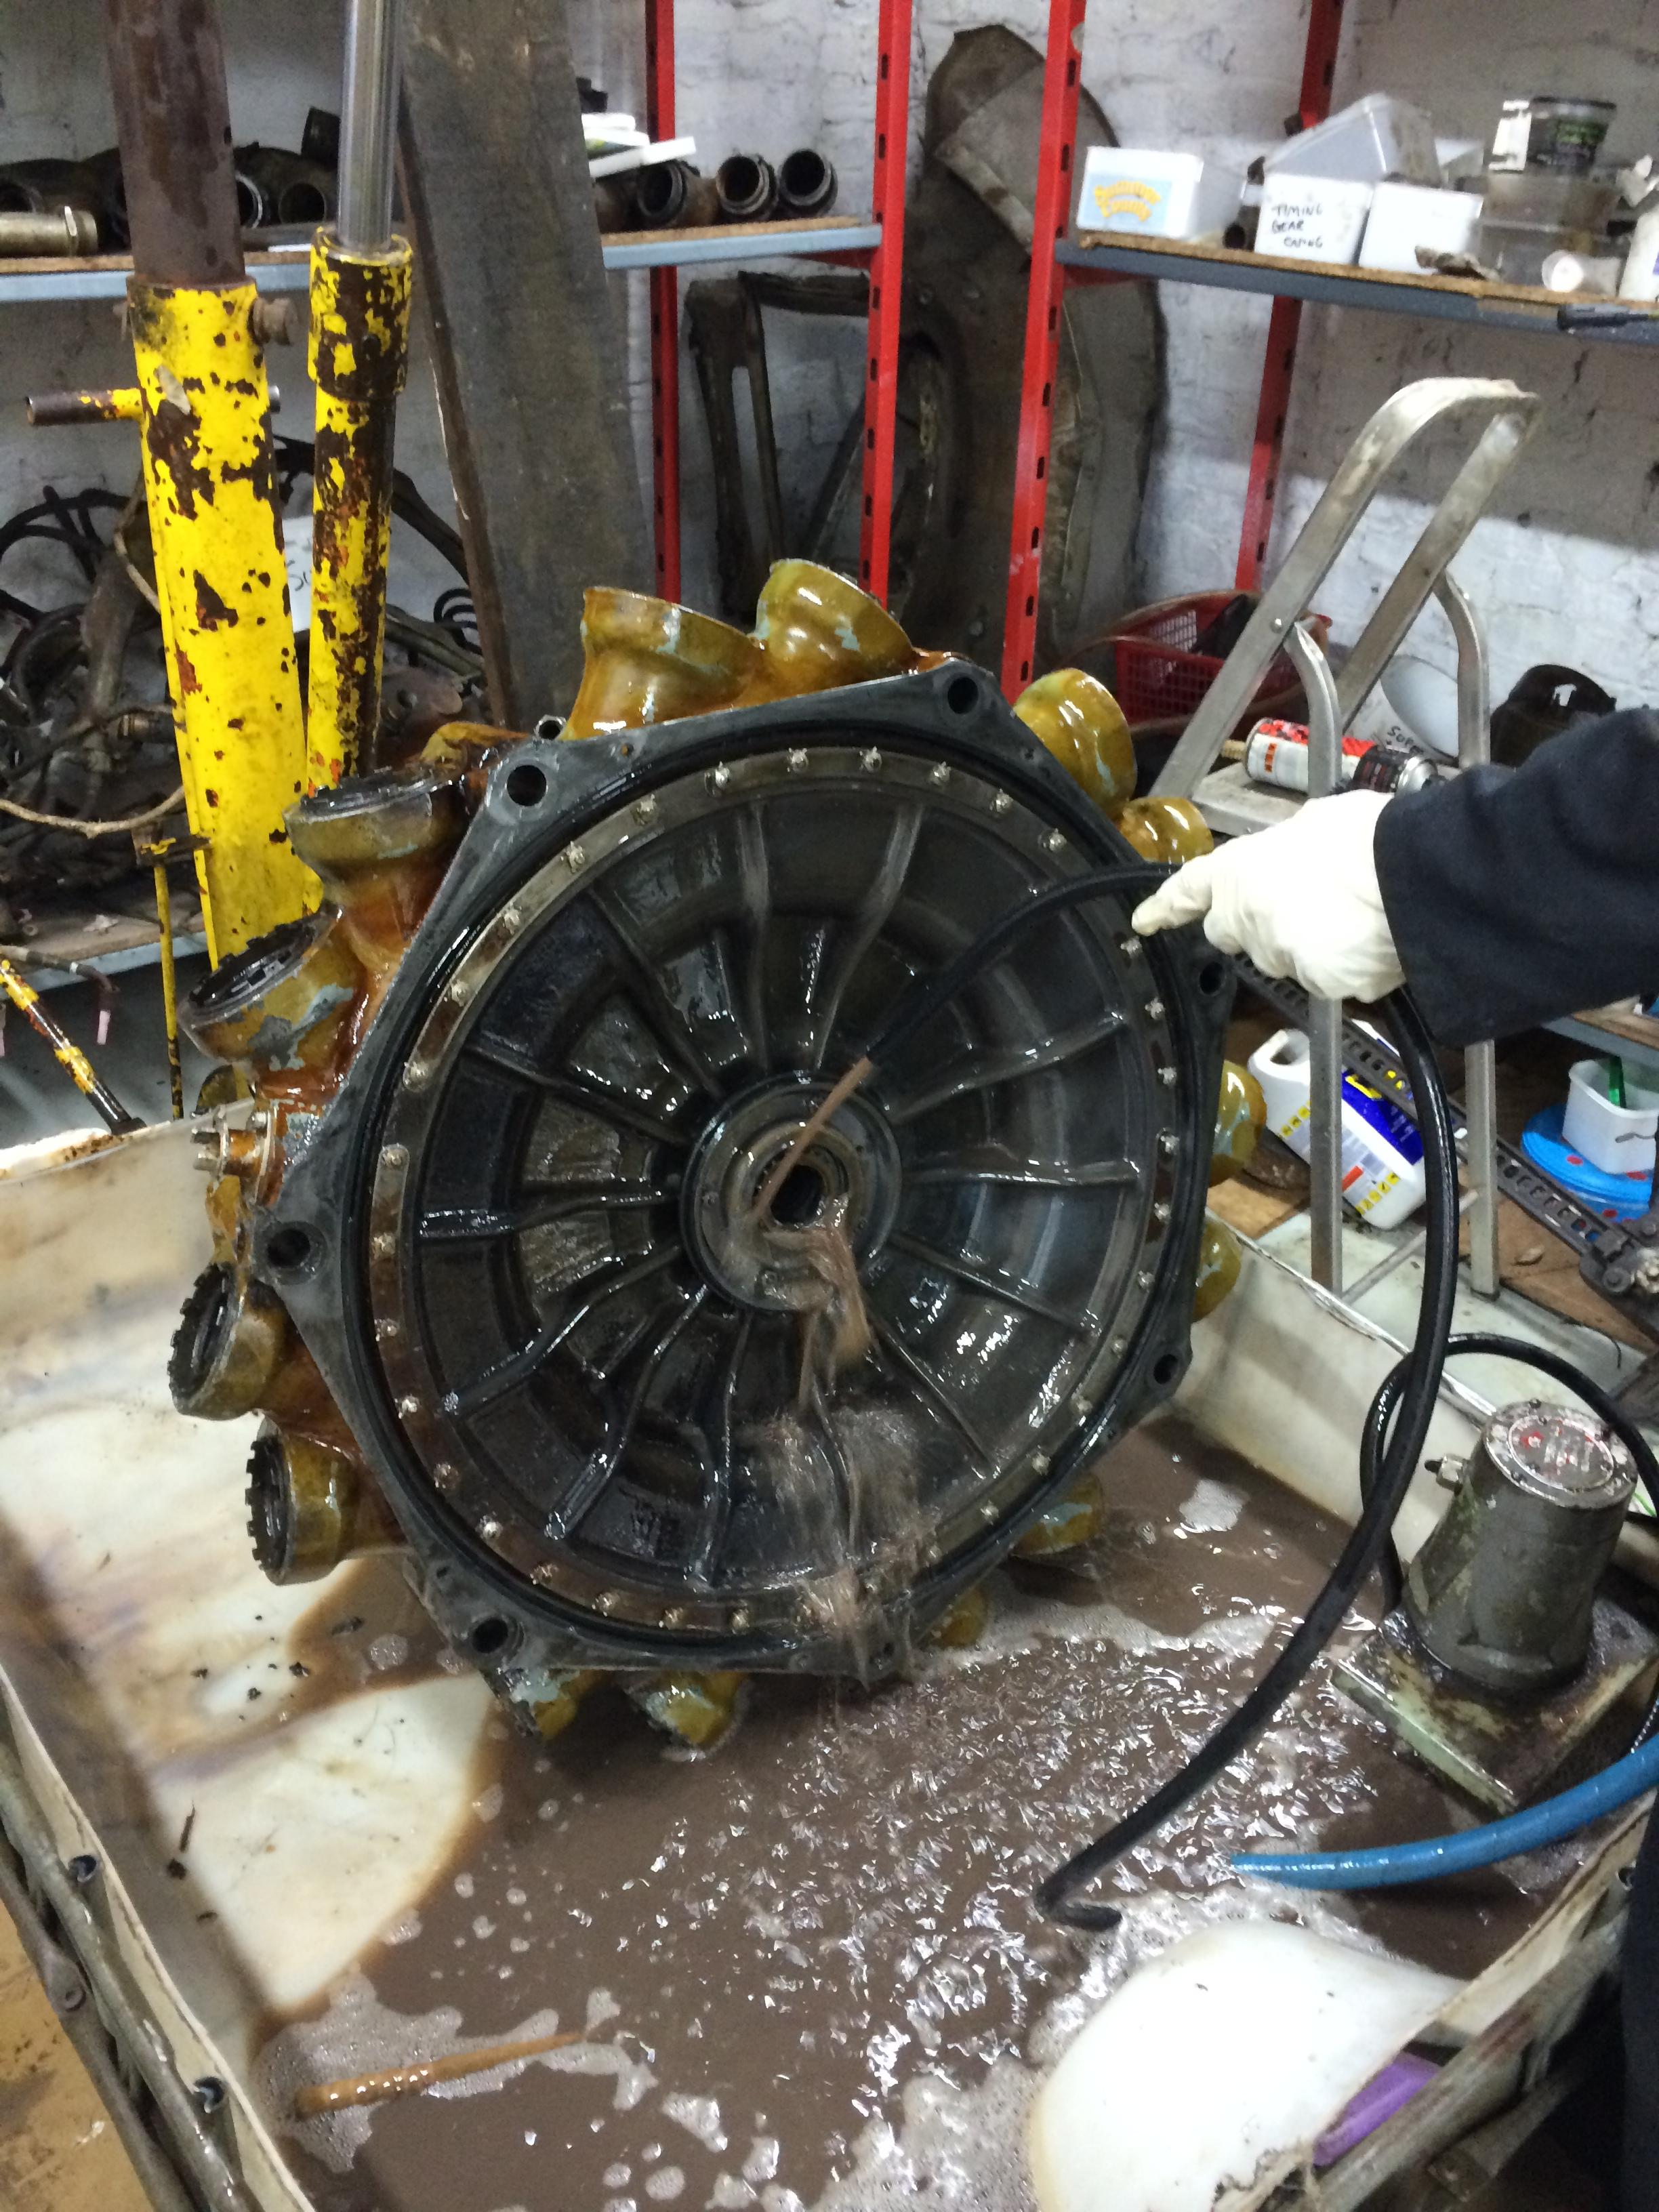
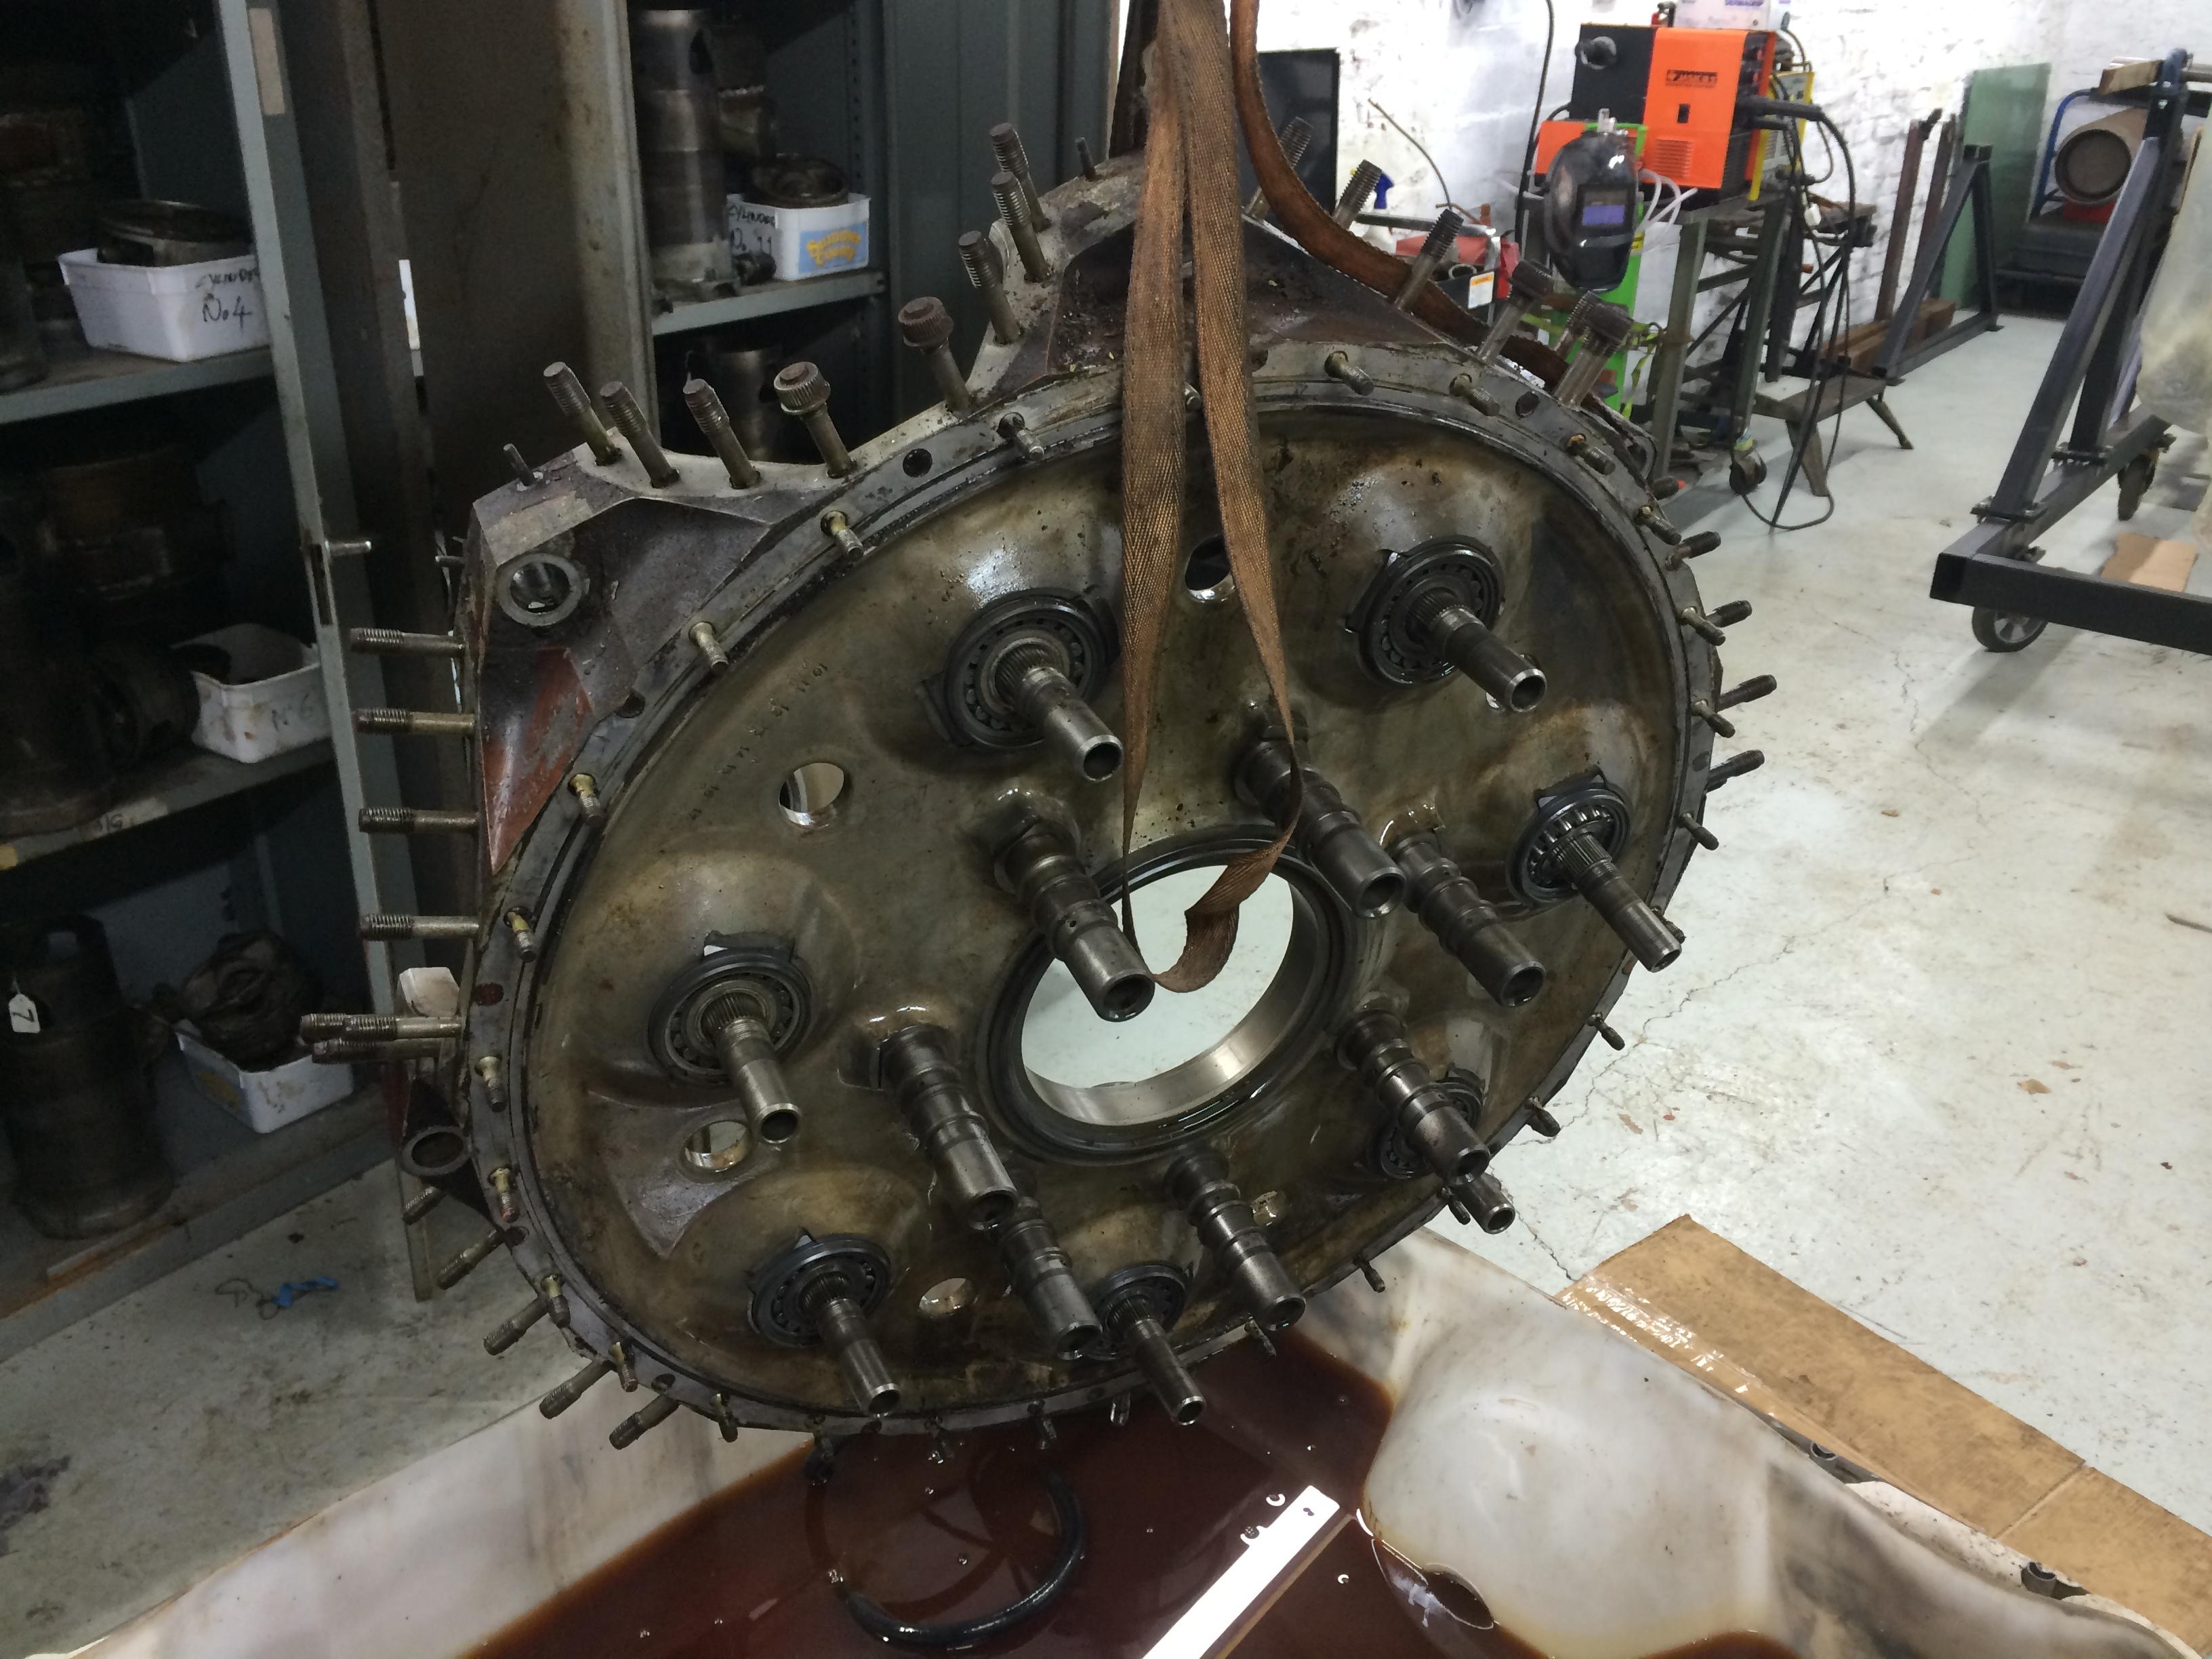
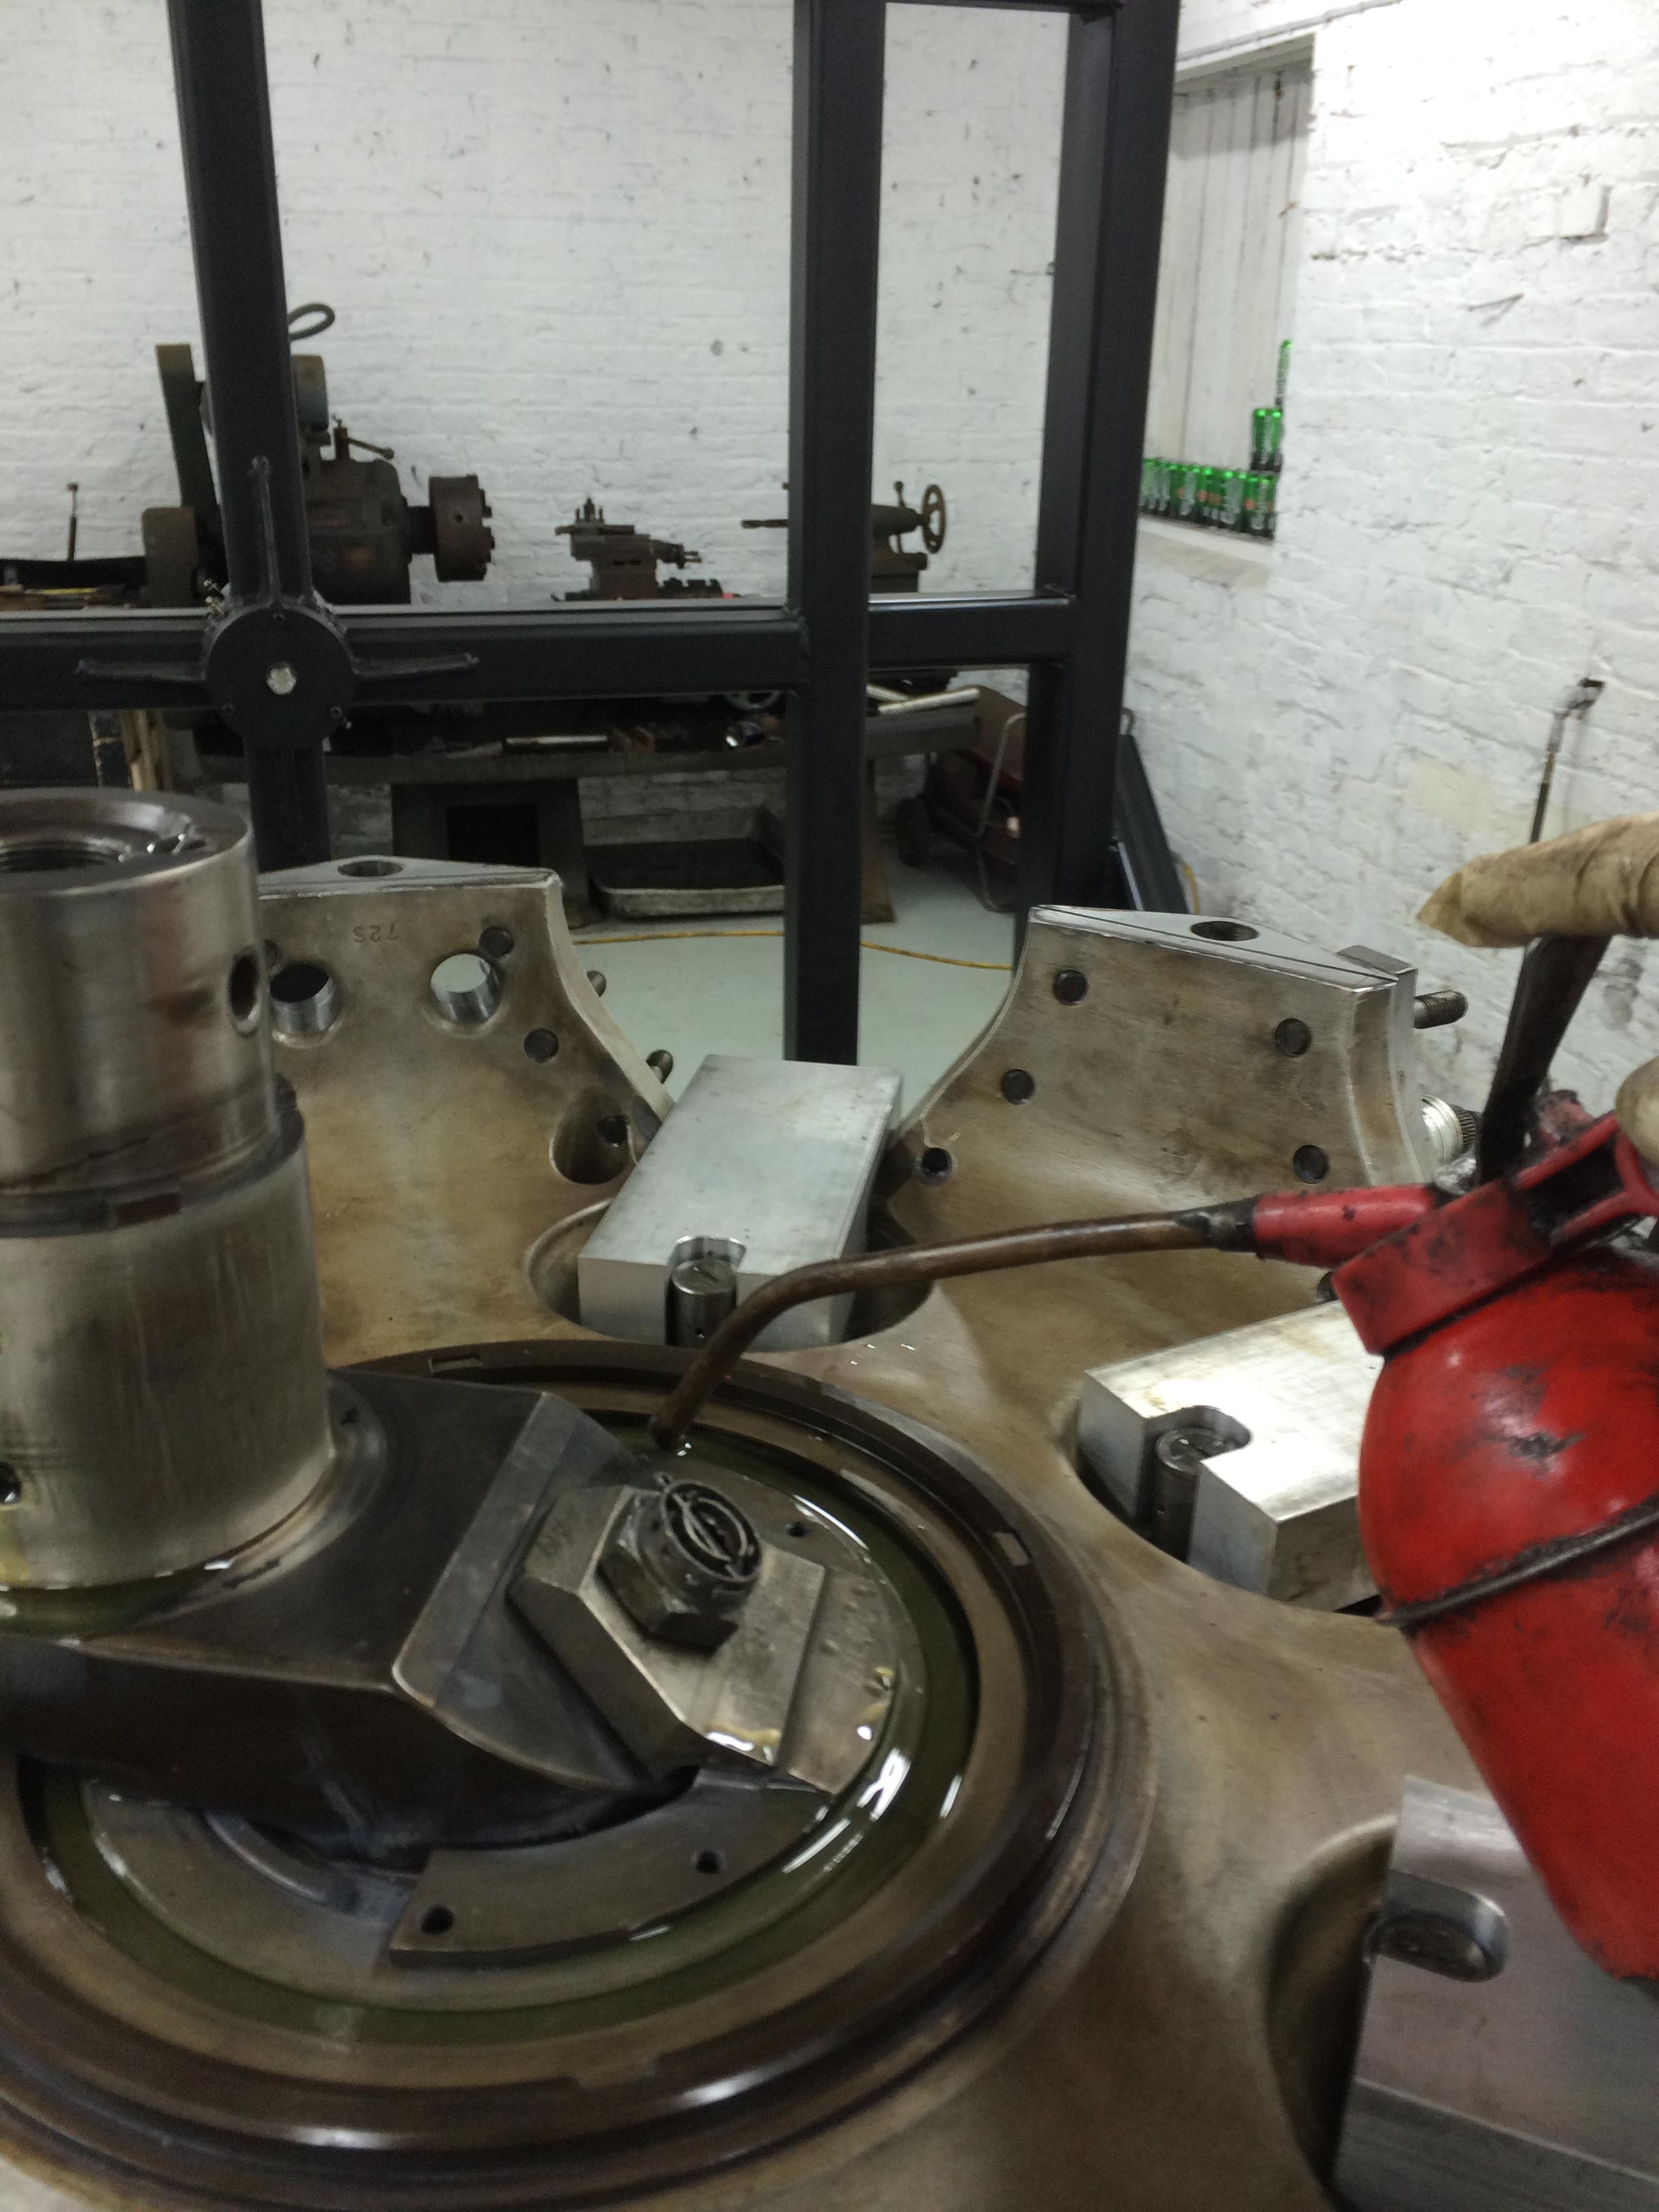
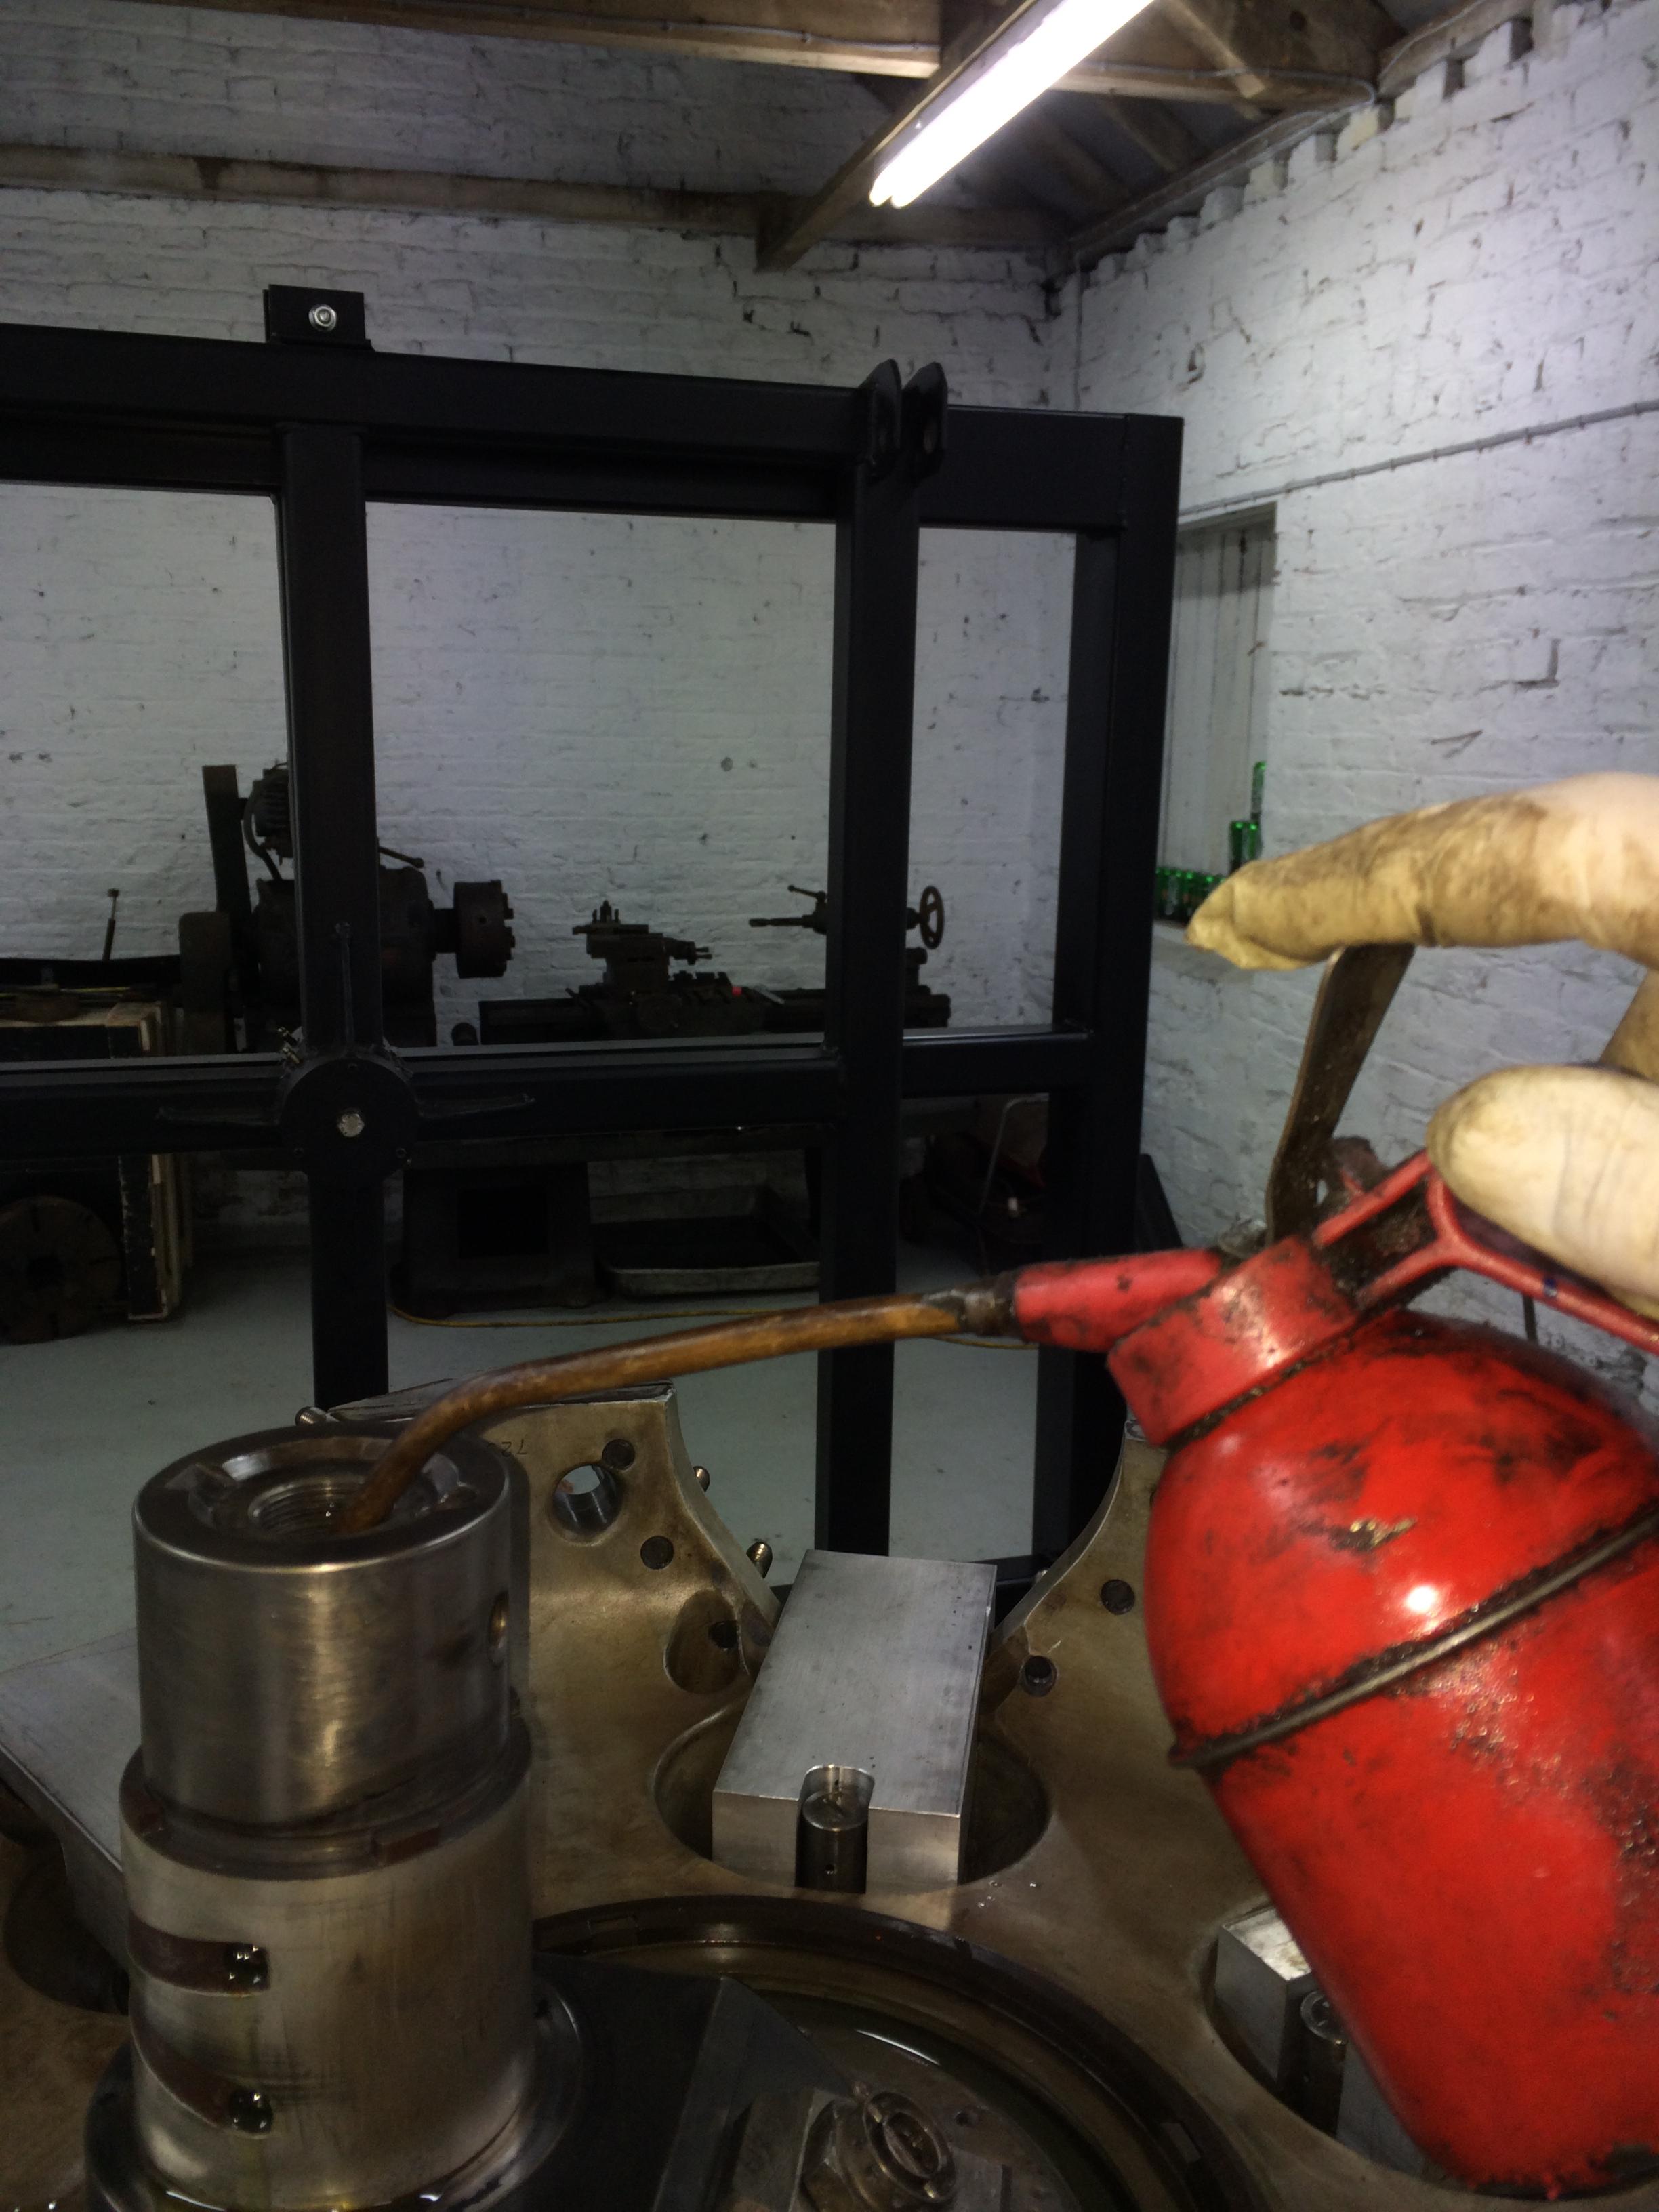
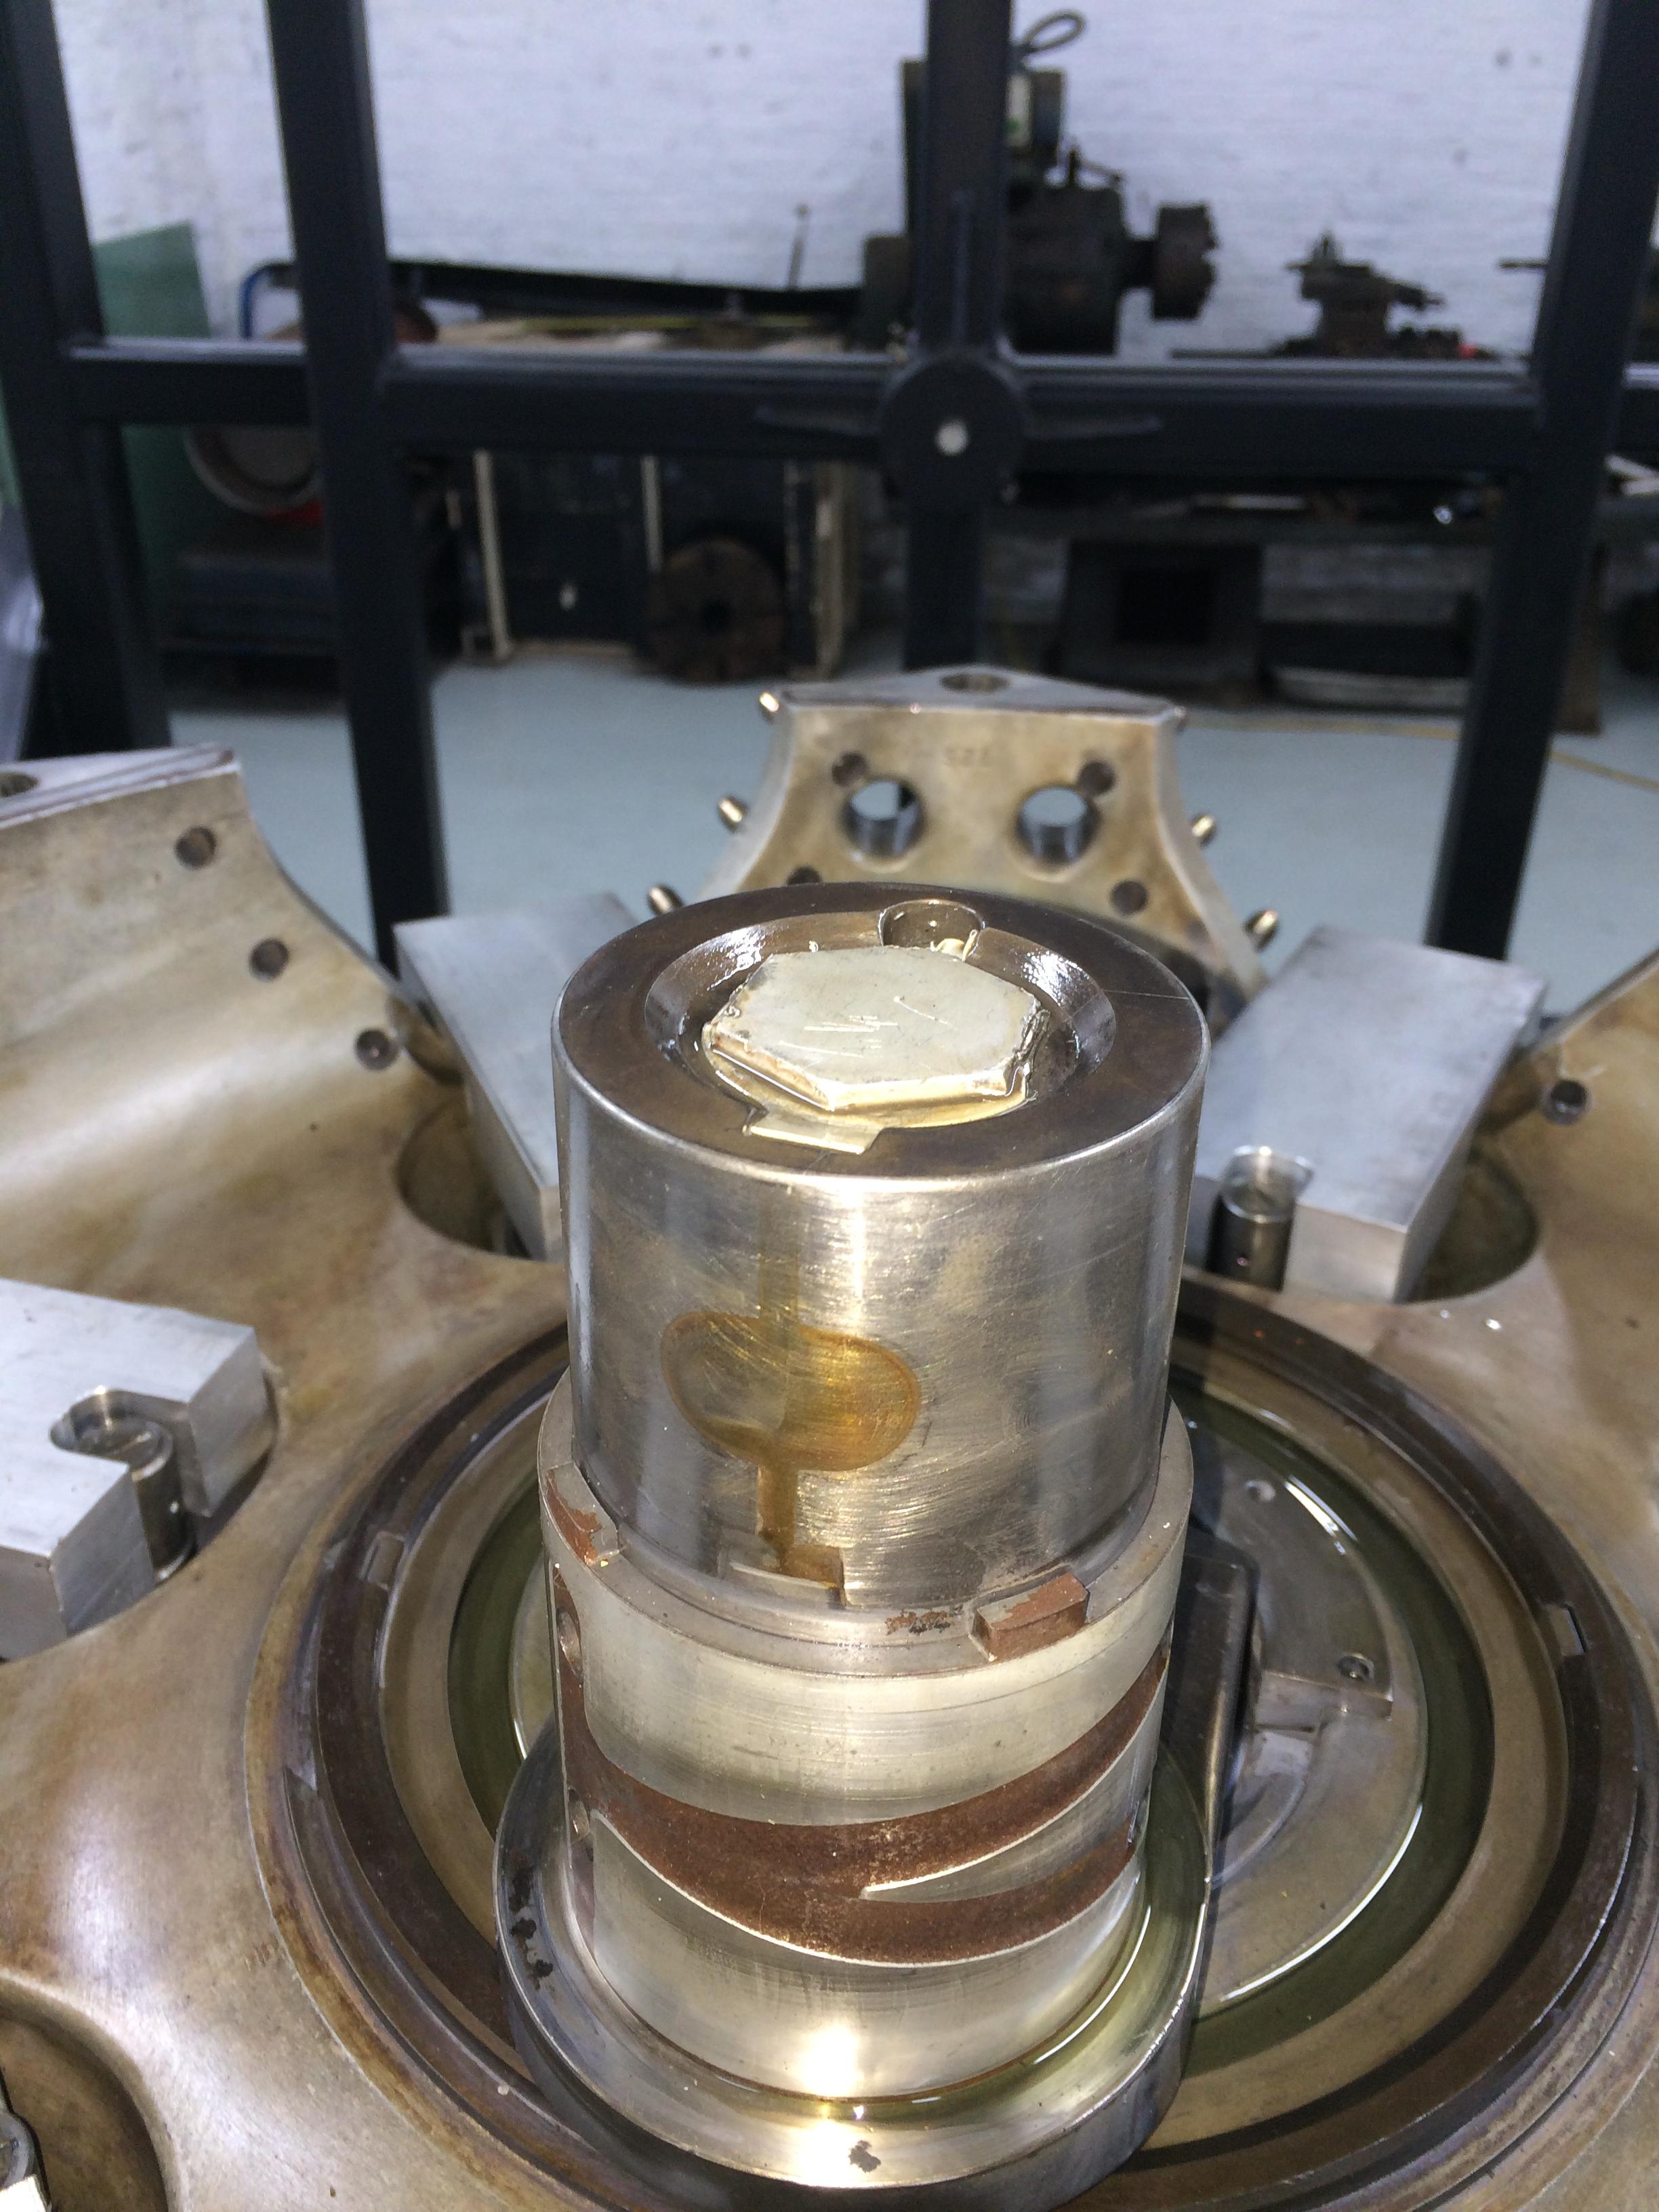
After flattening down the out side of the super charger we flushed out all the oil ways.

super_charger_refit 004


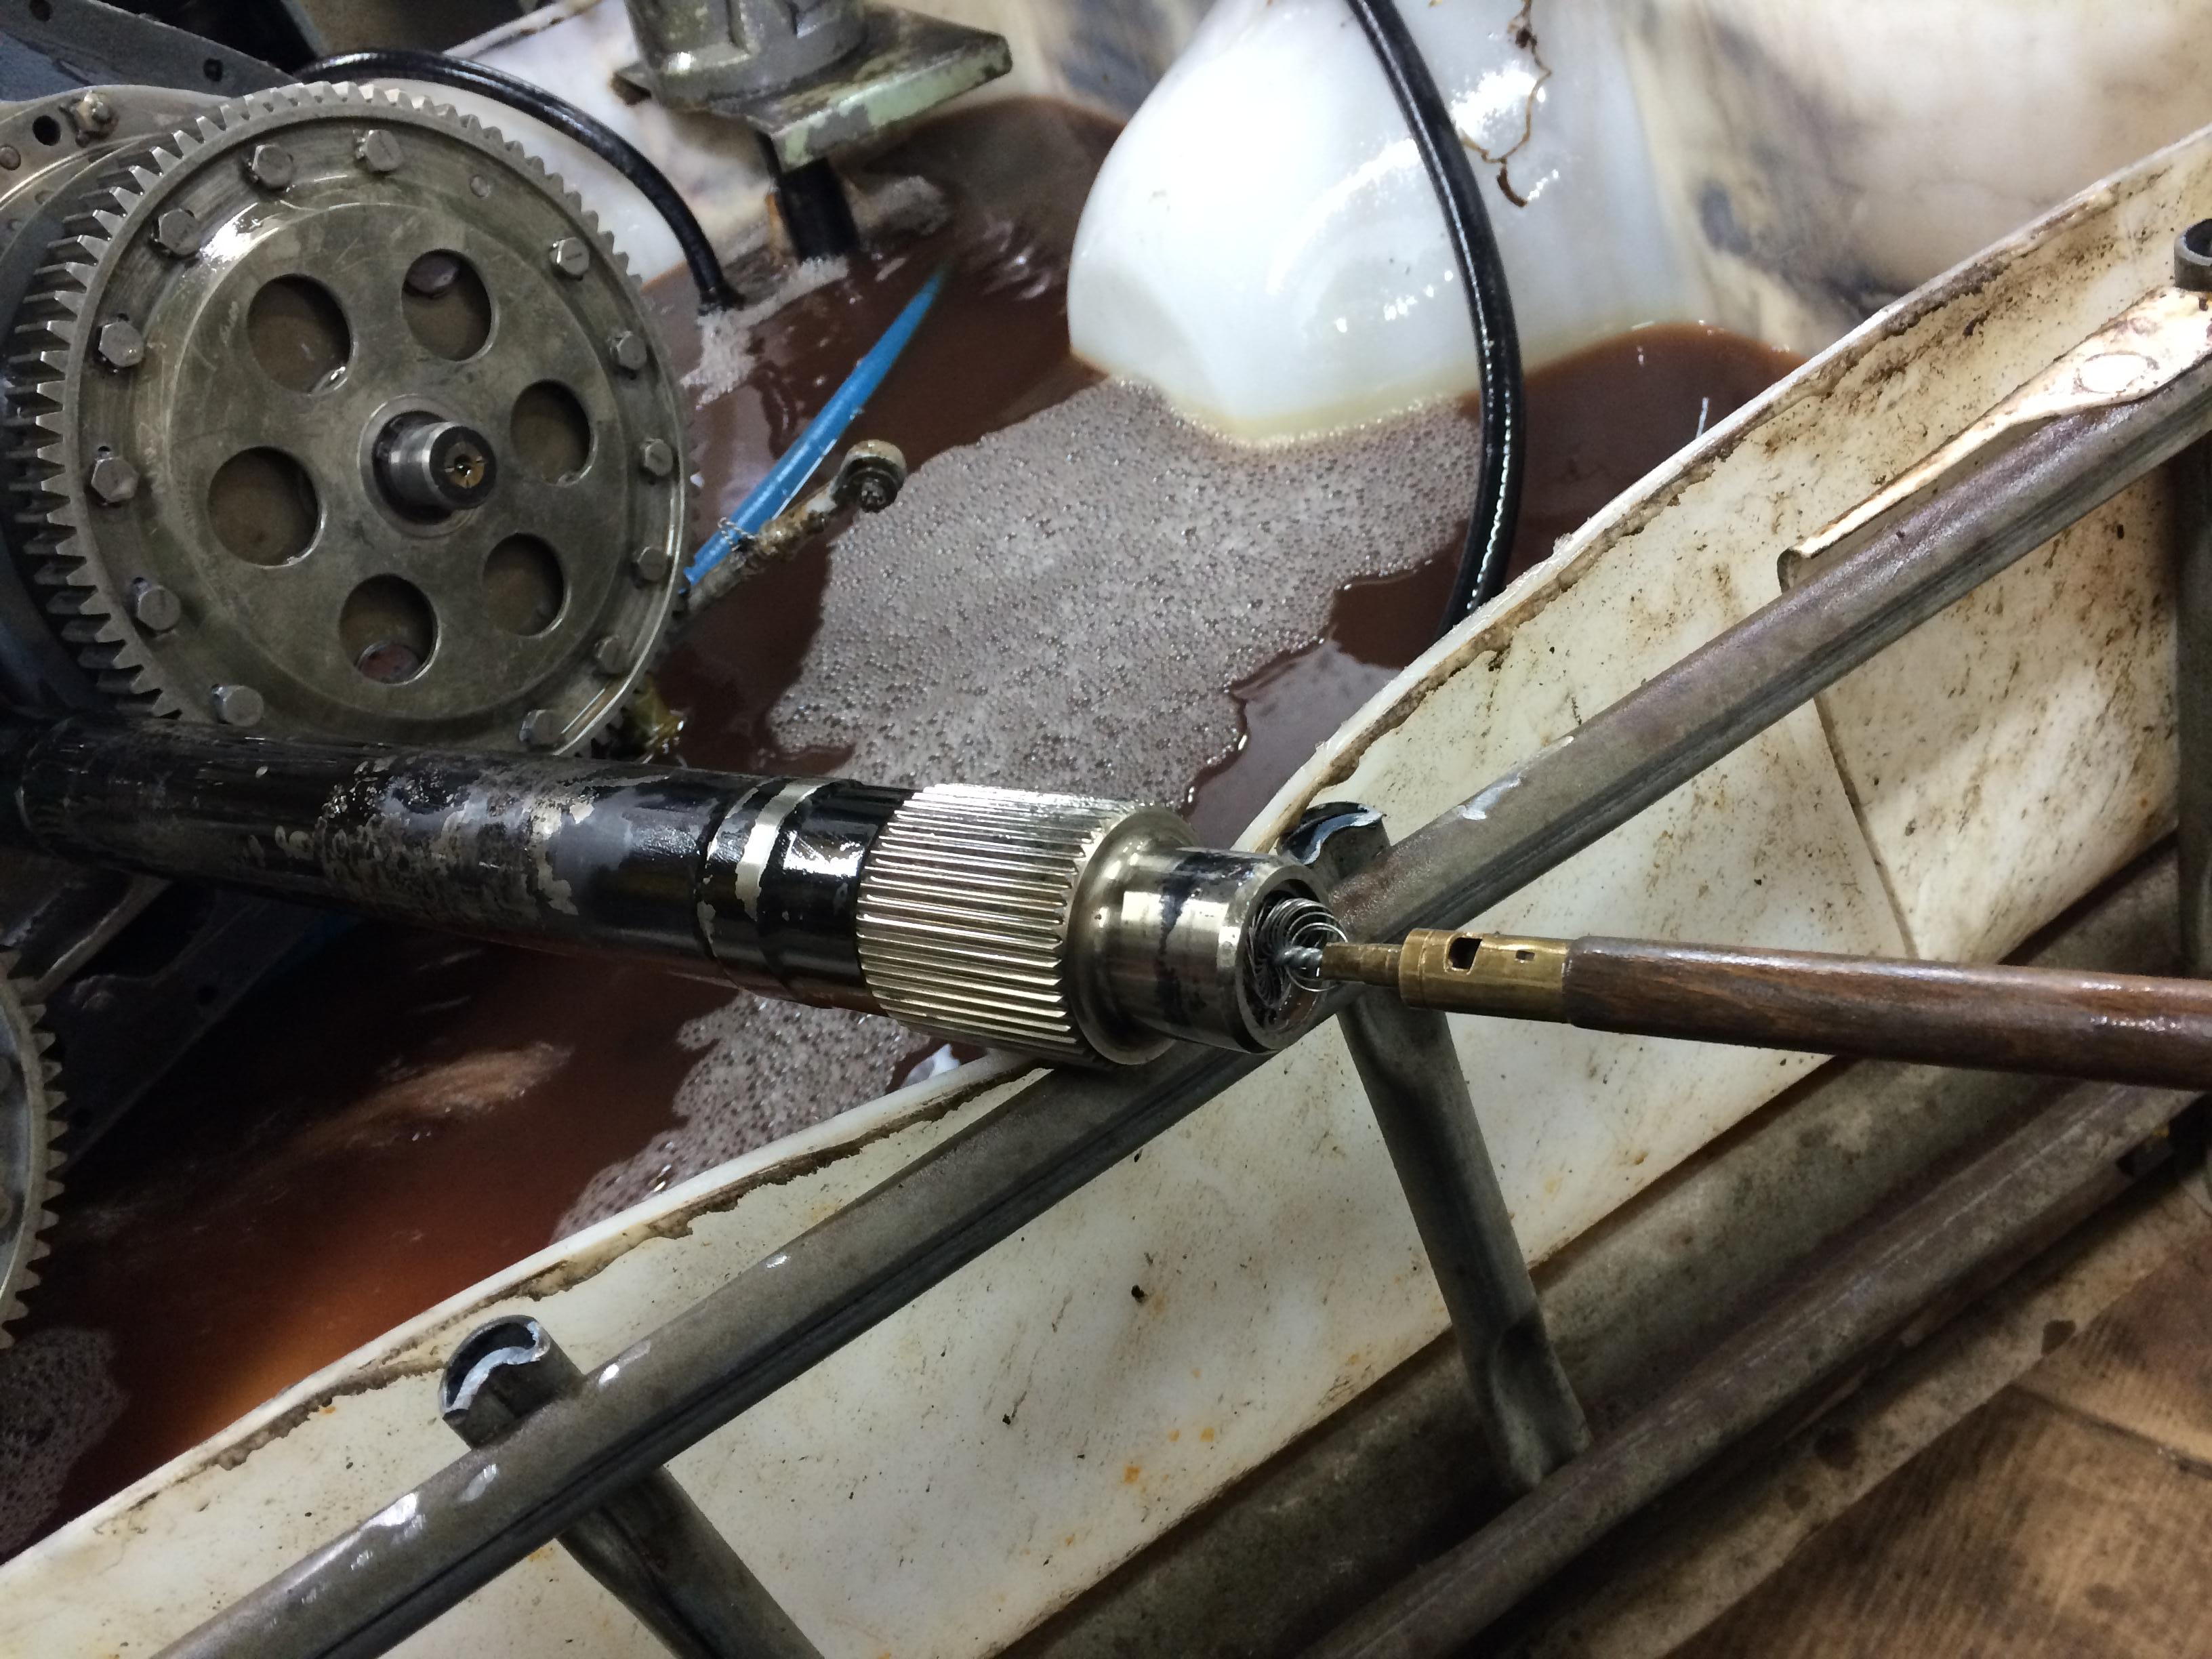
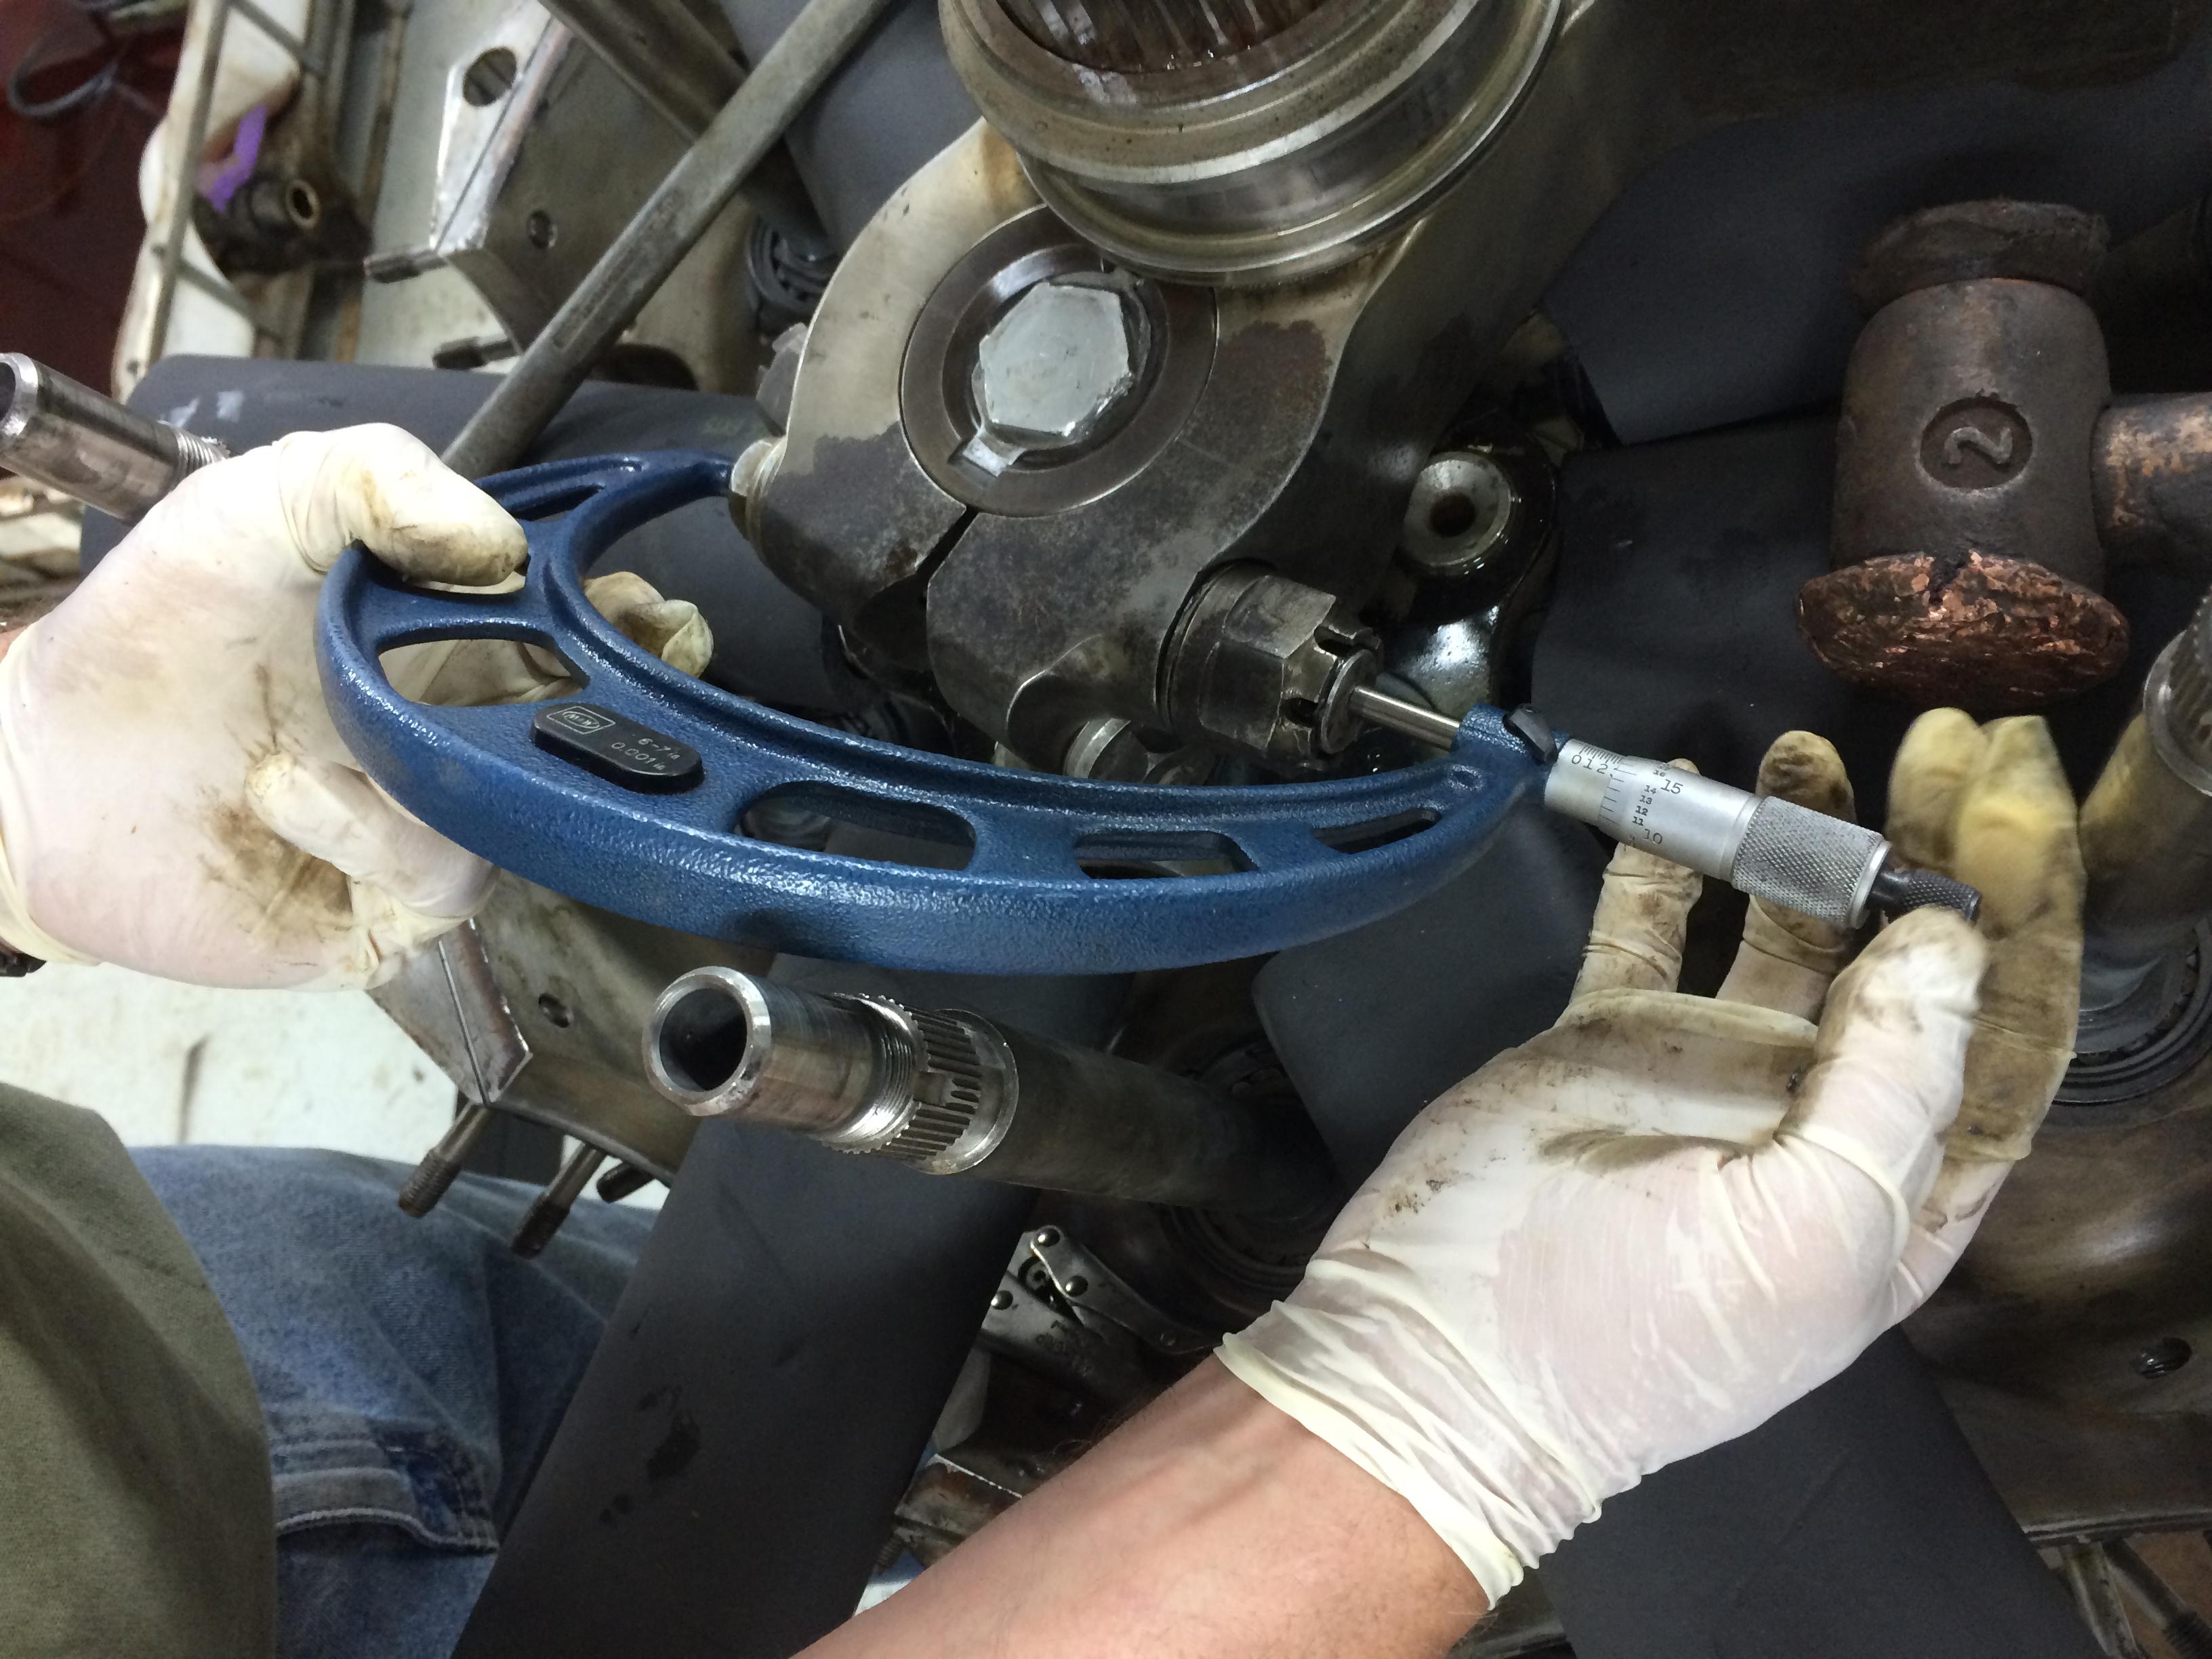
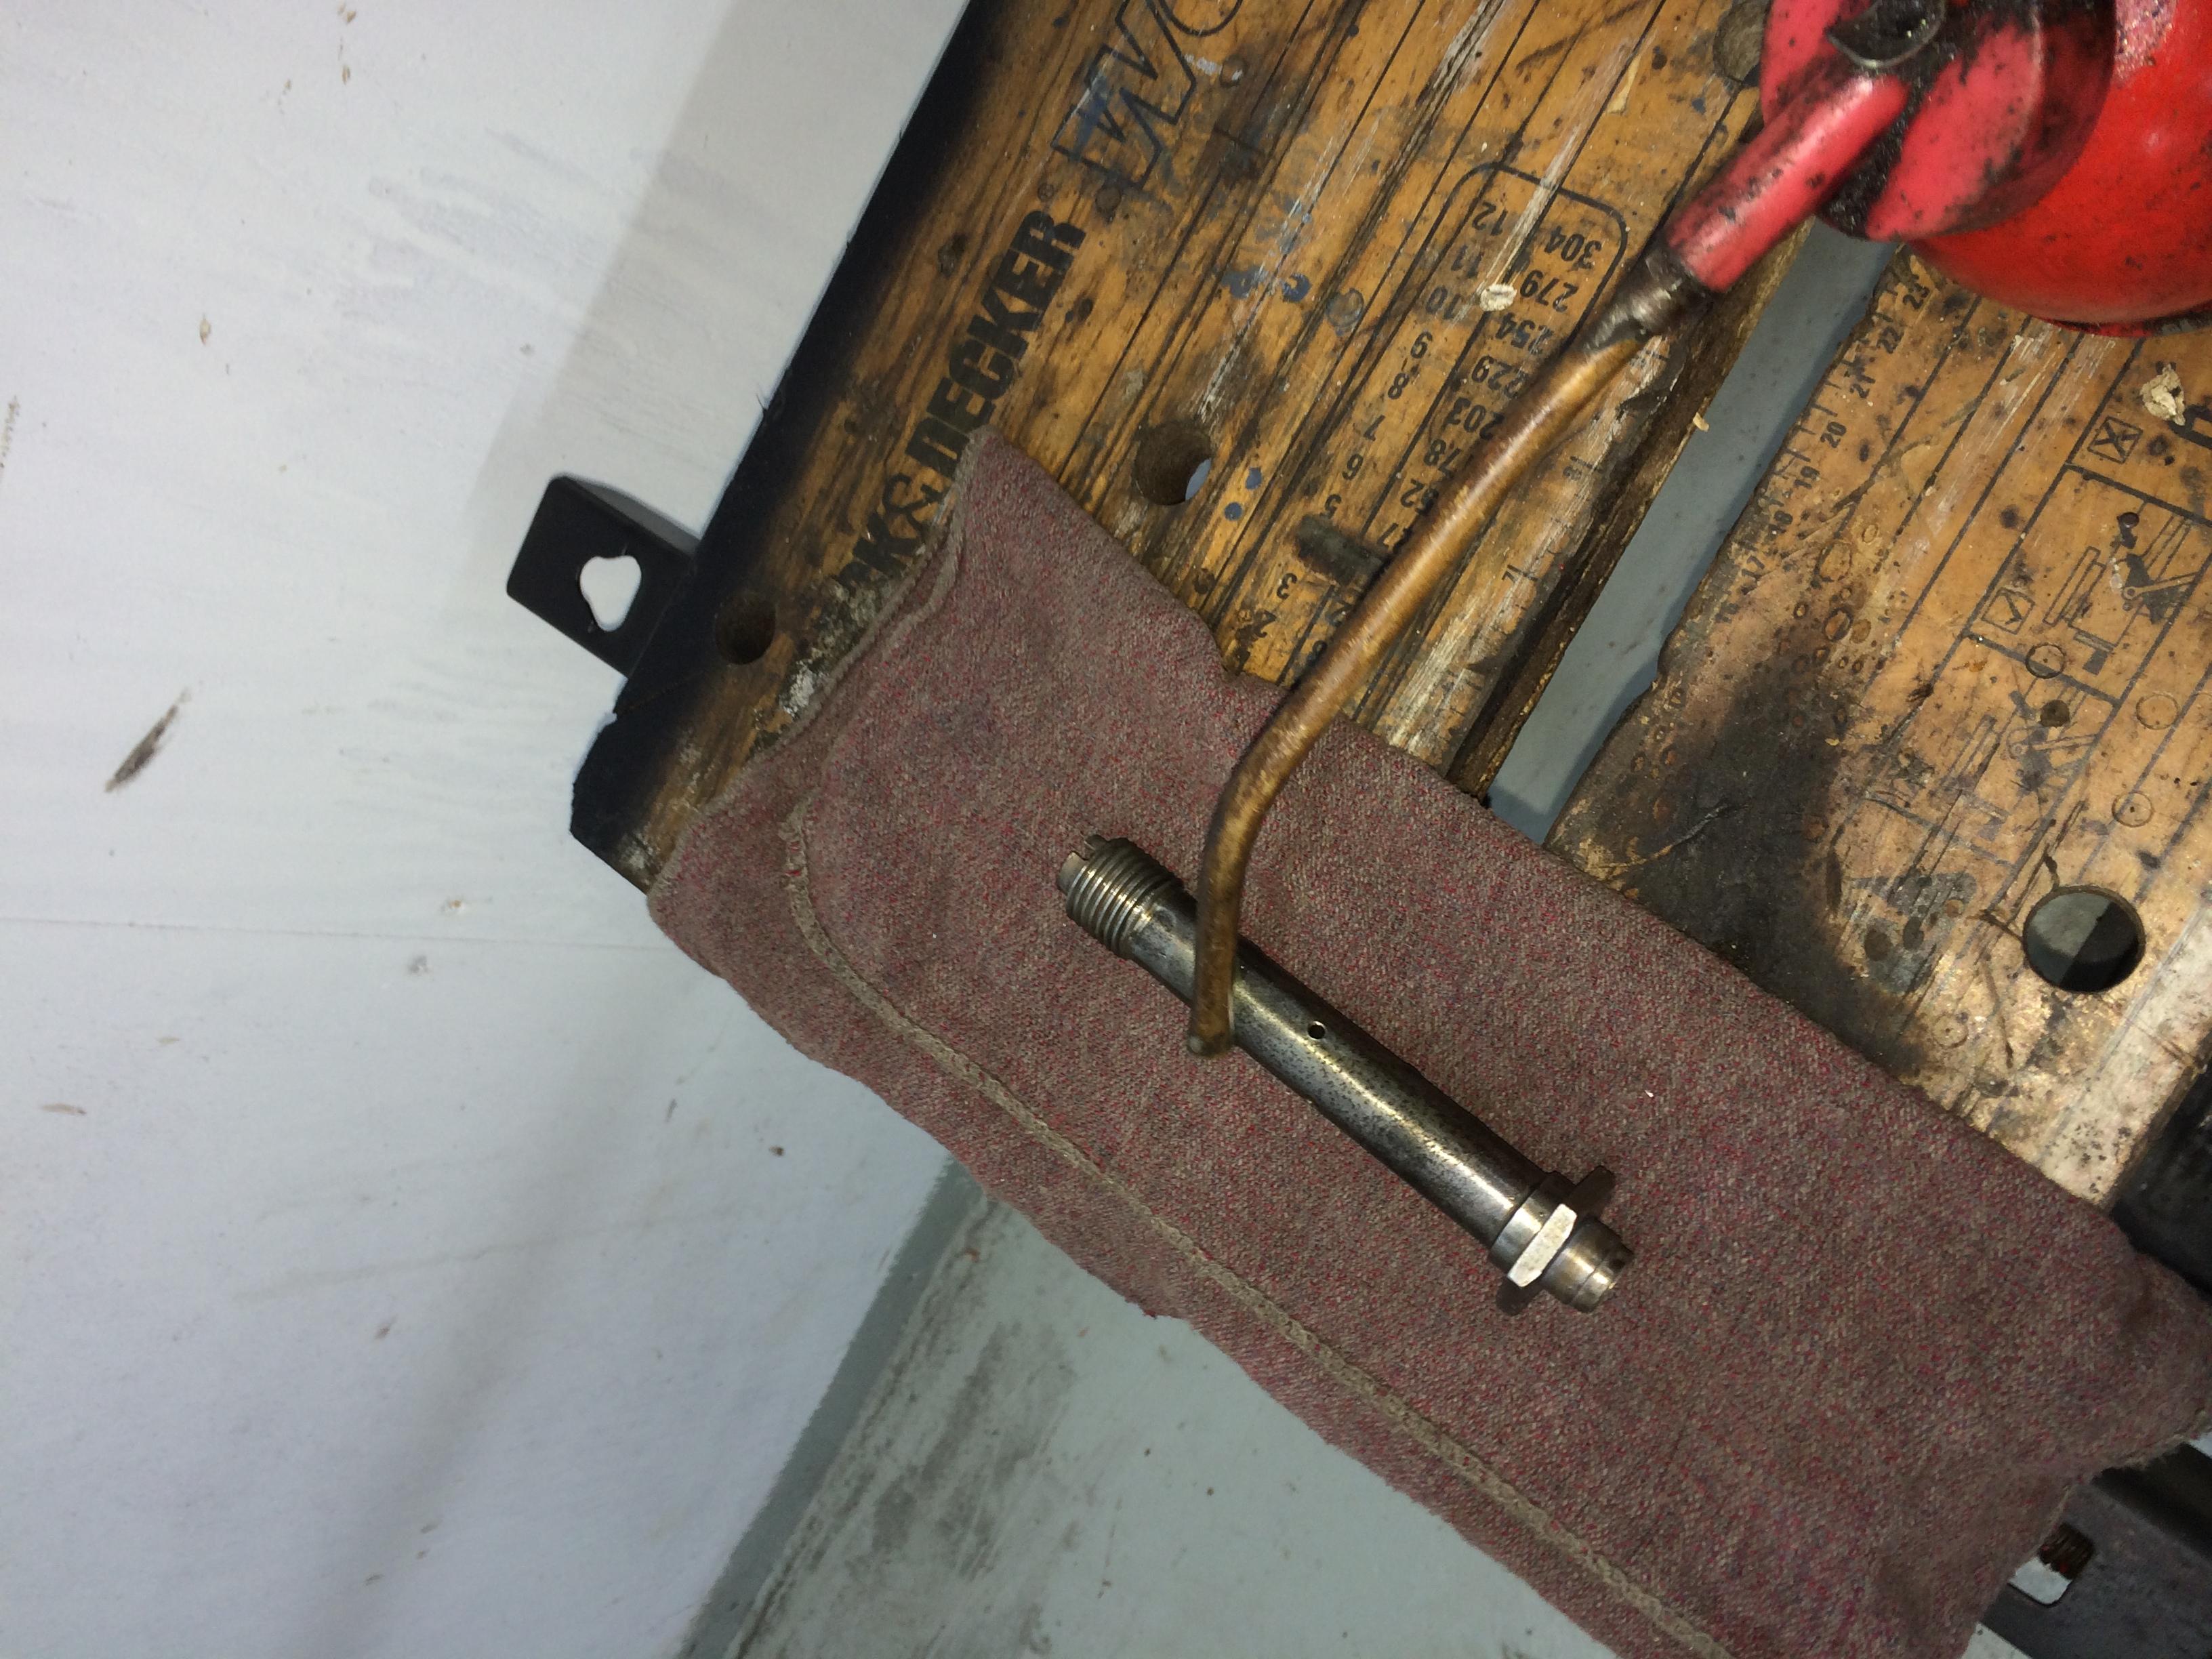
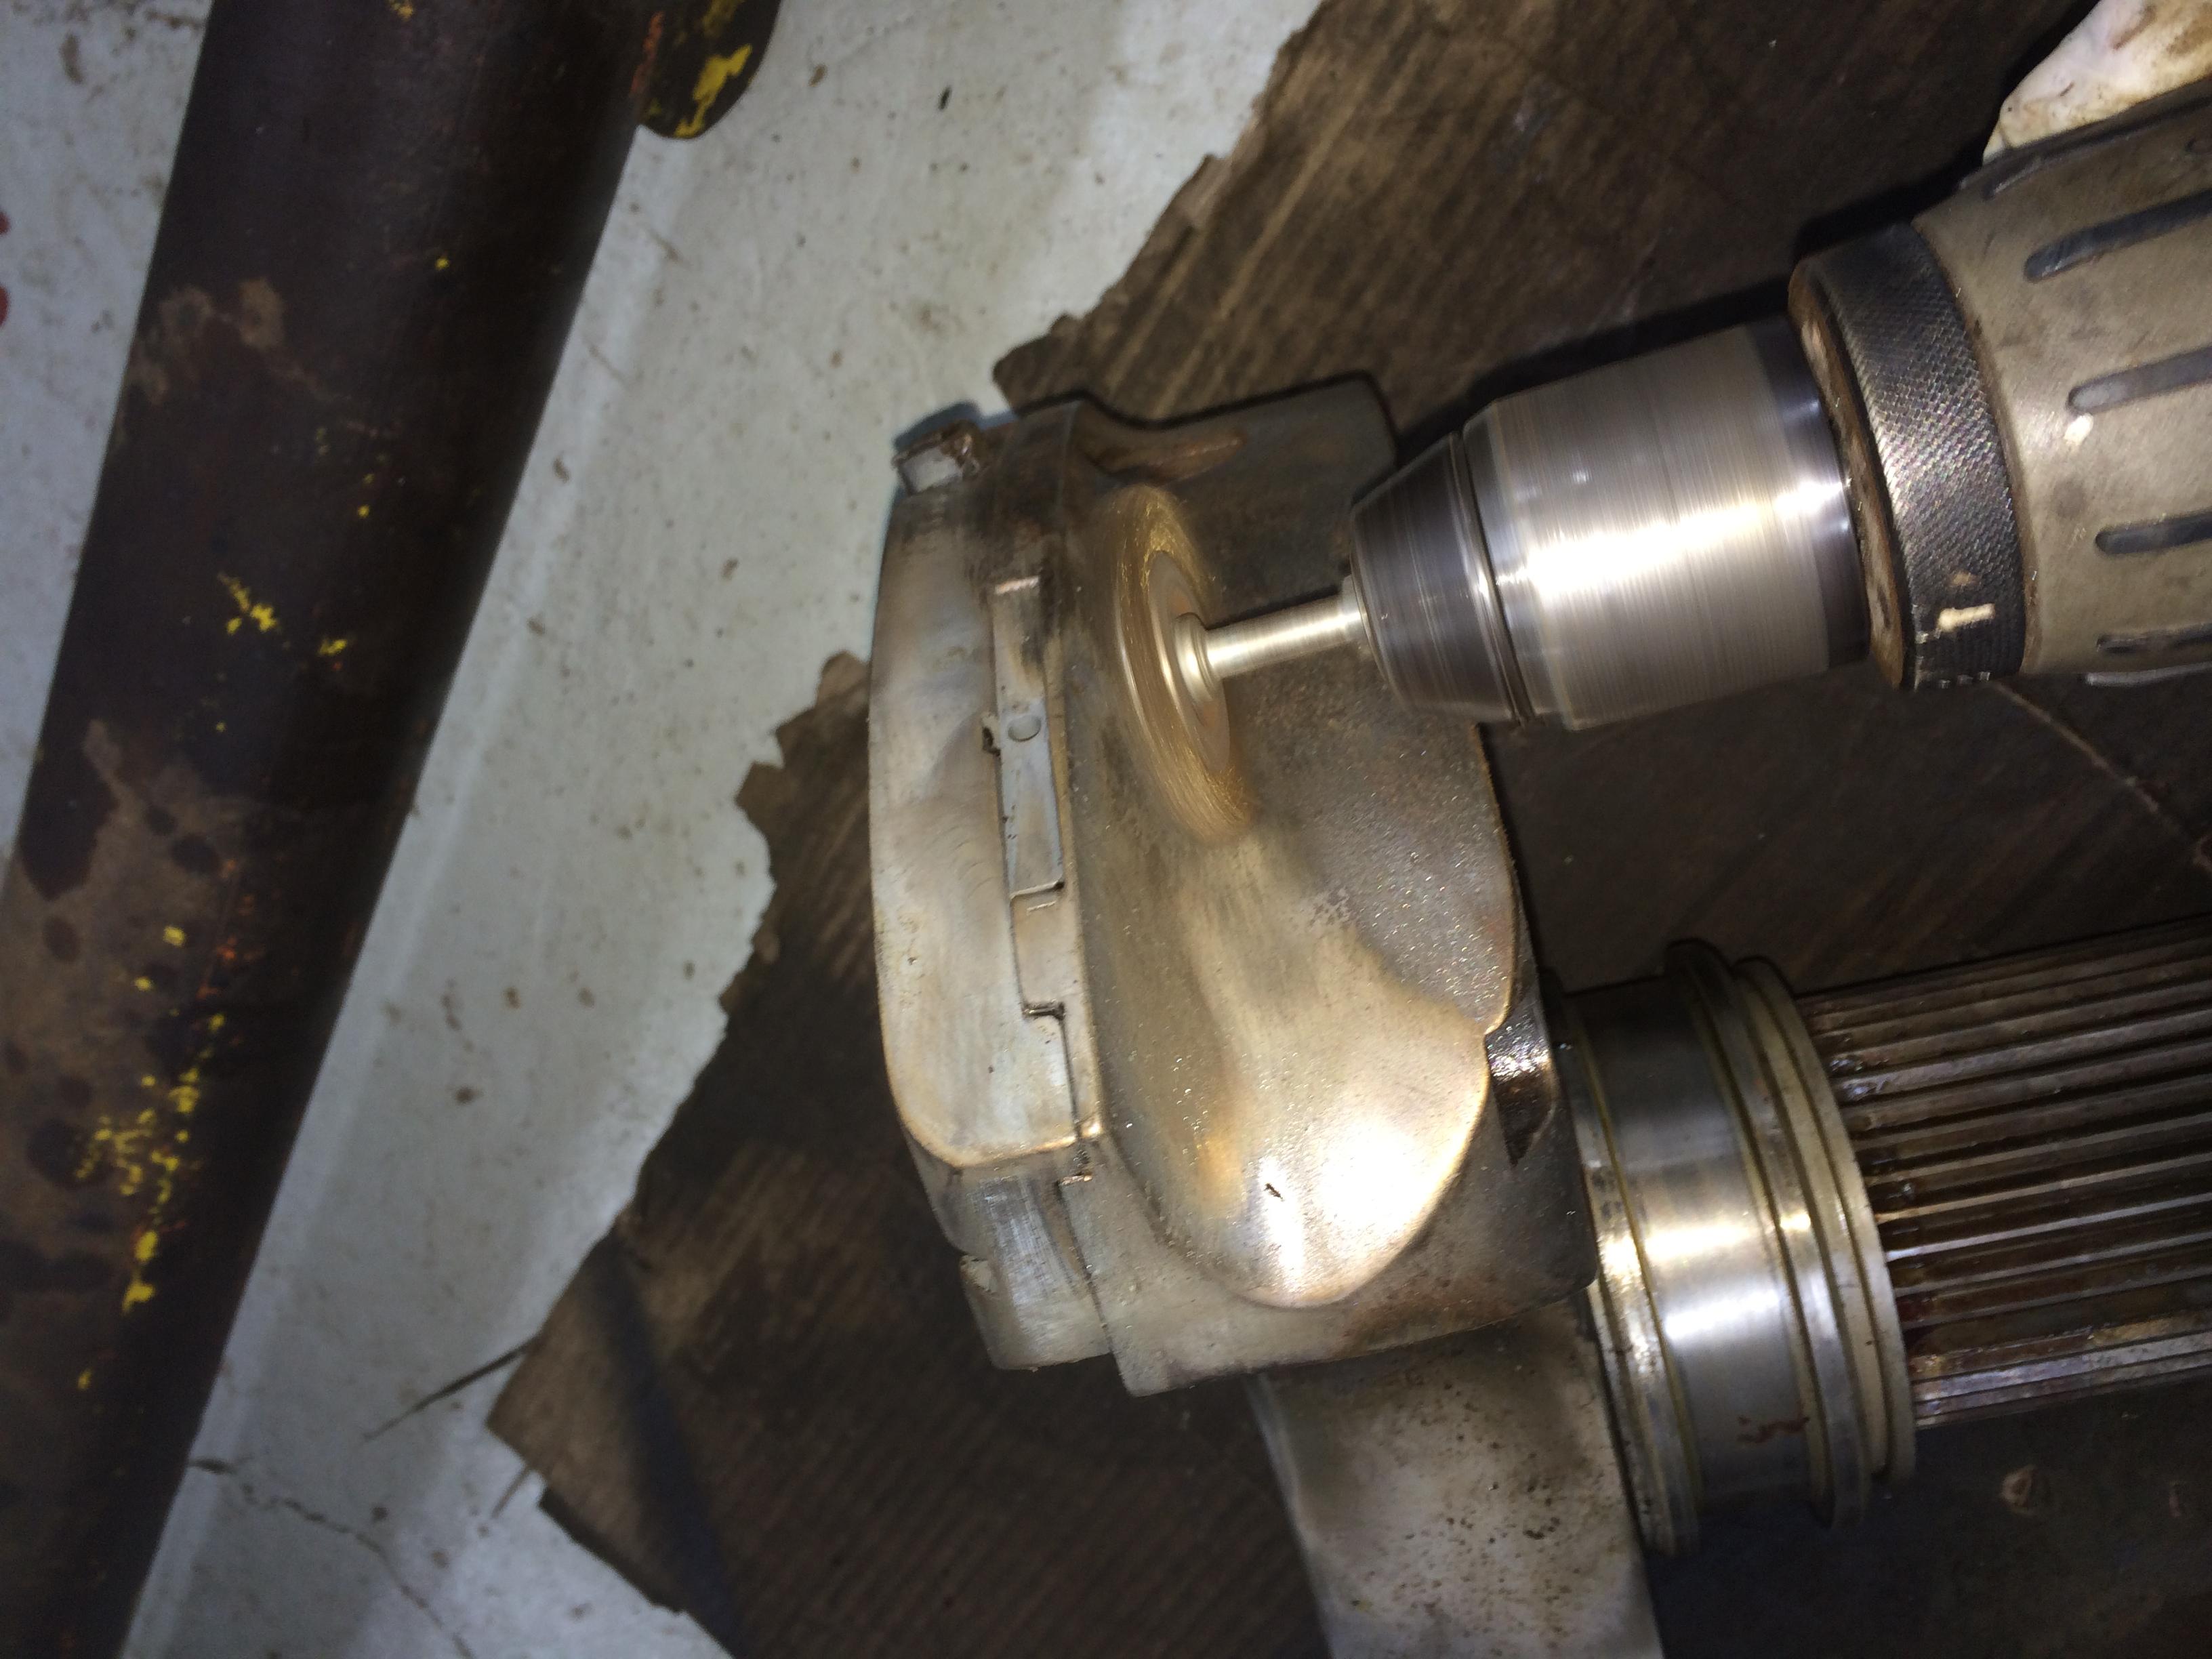
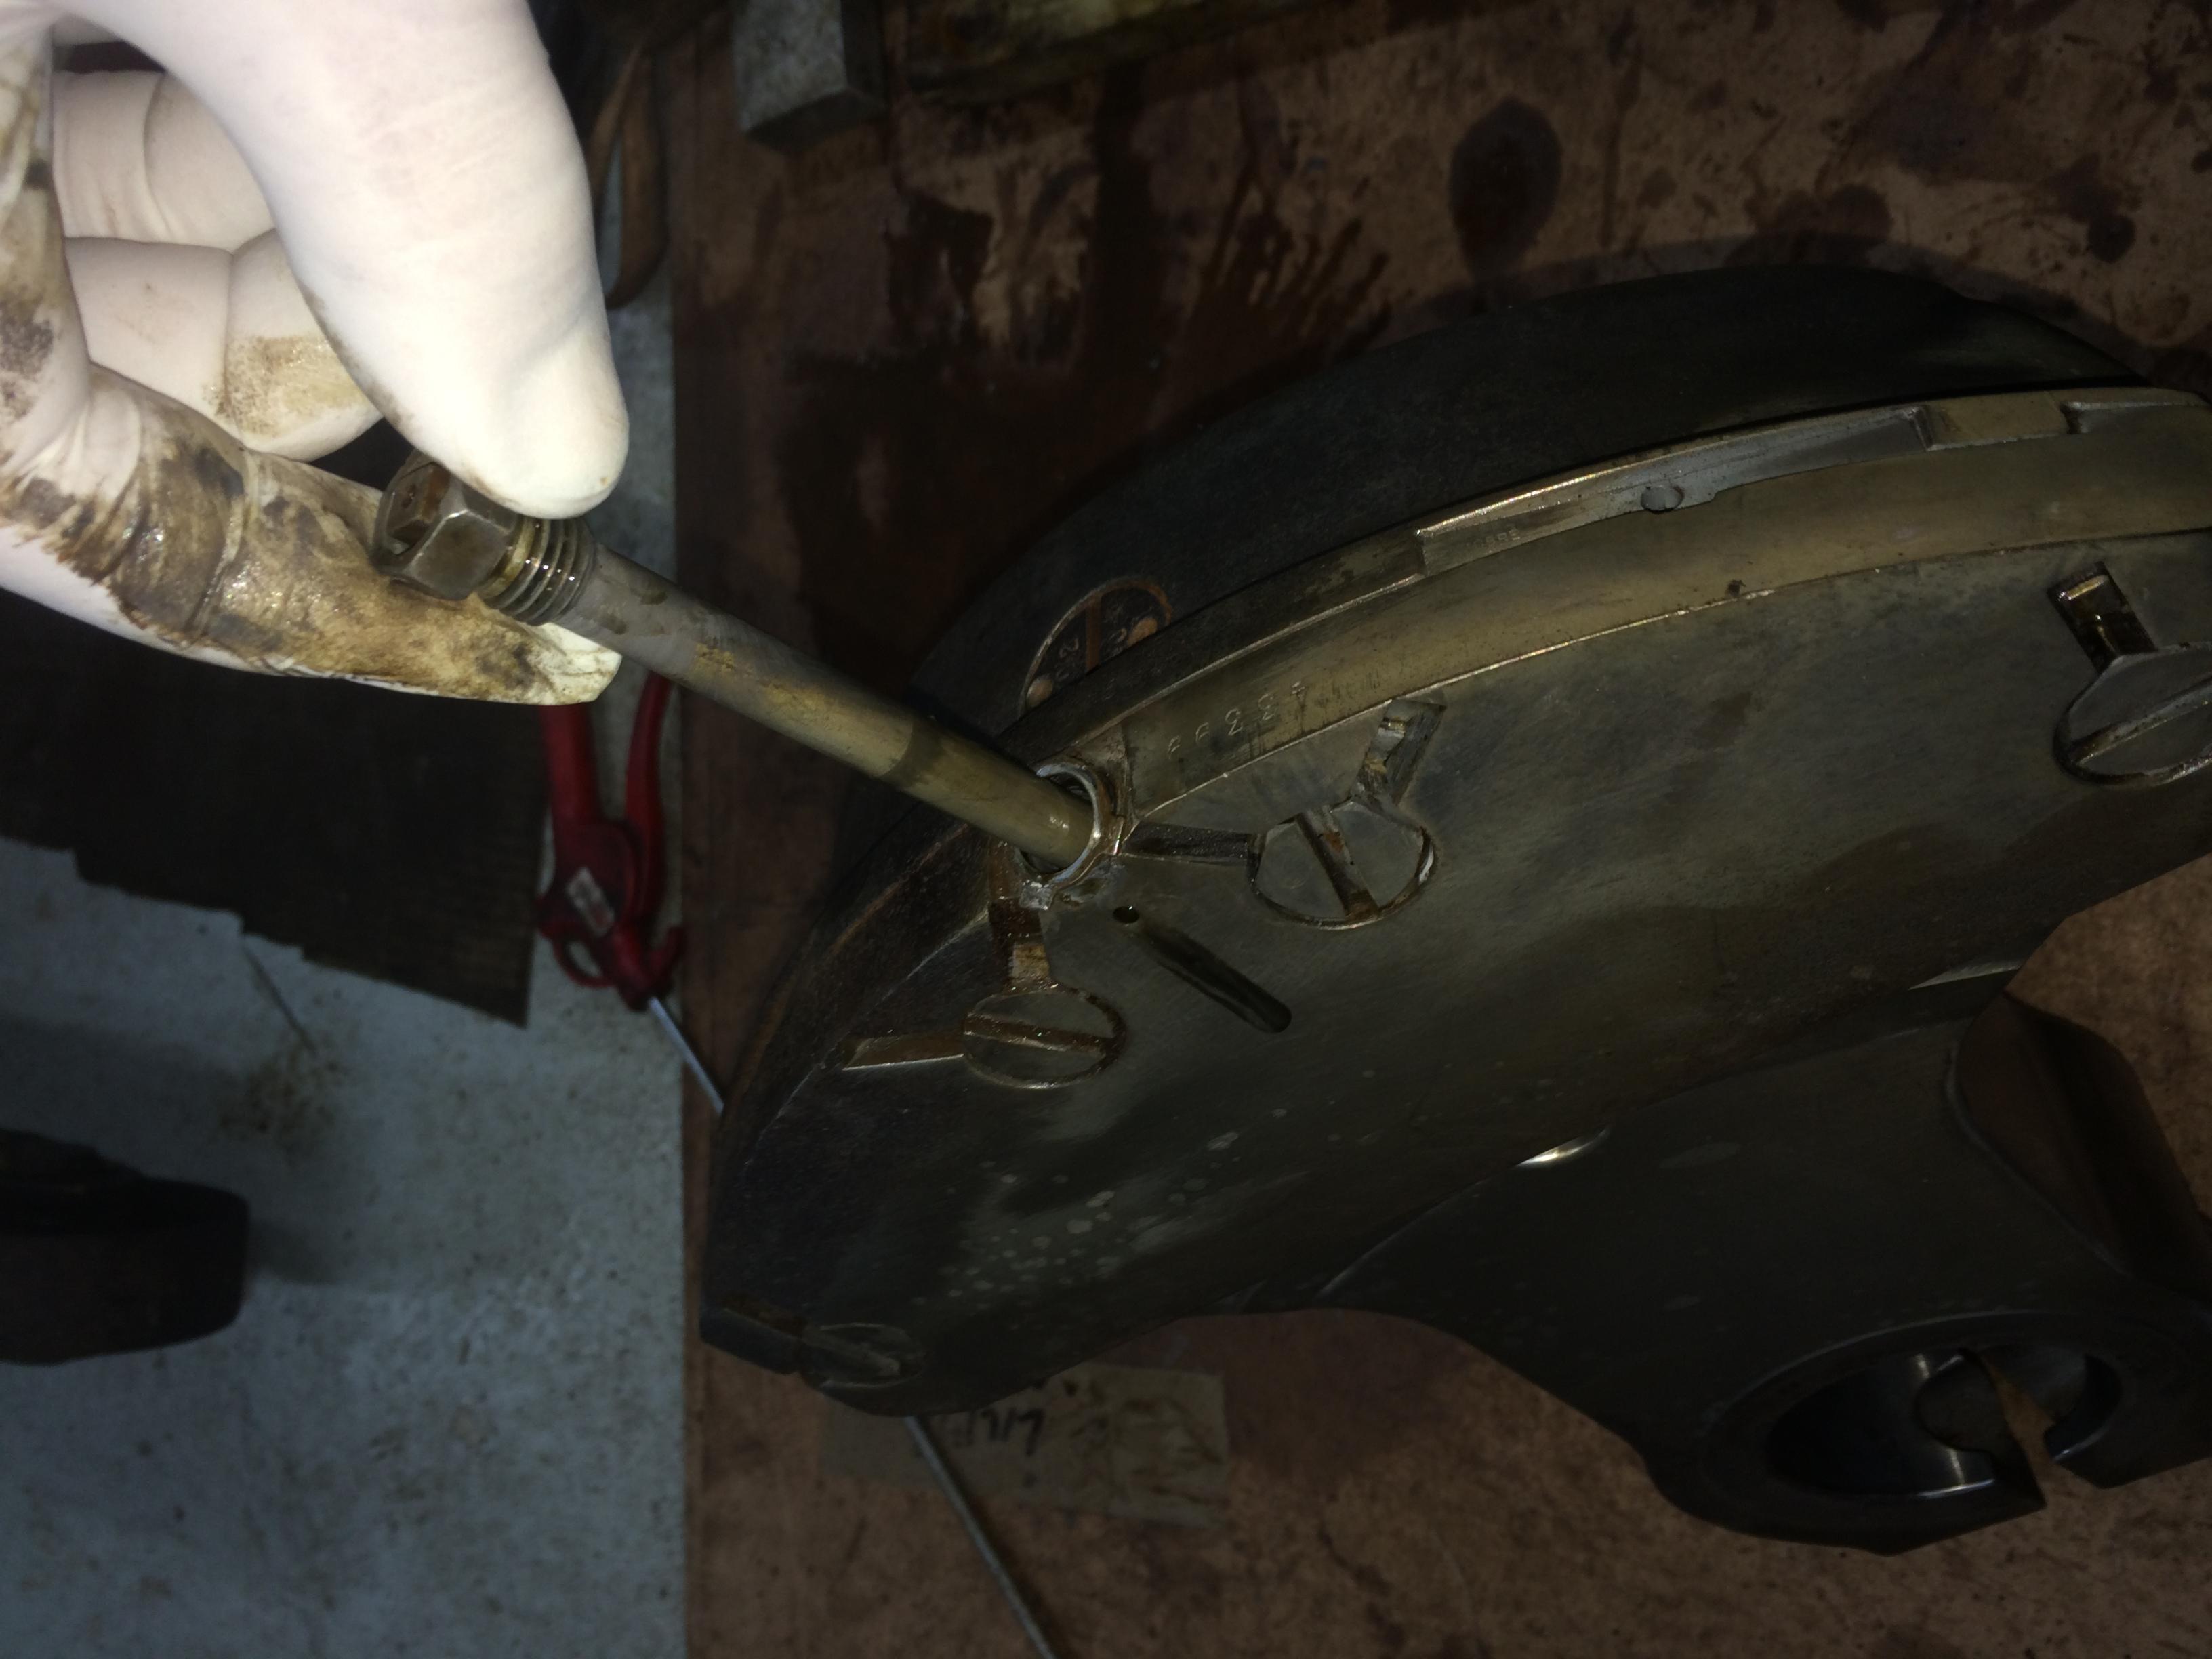
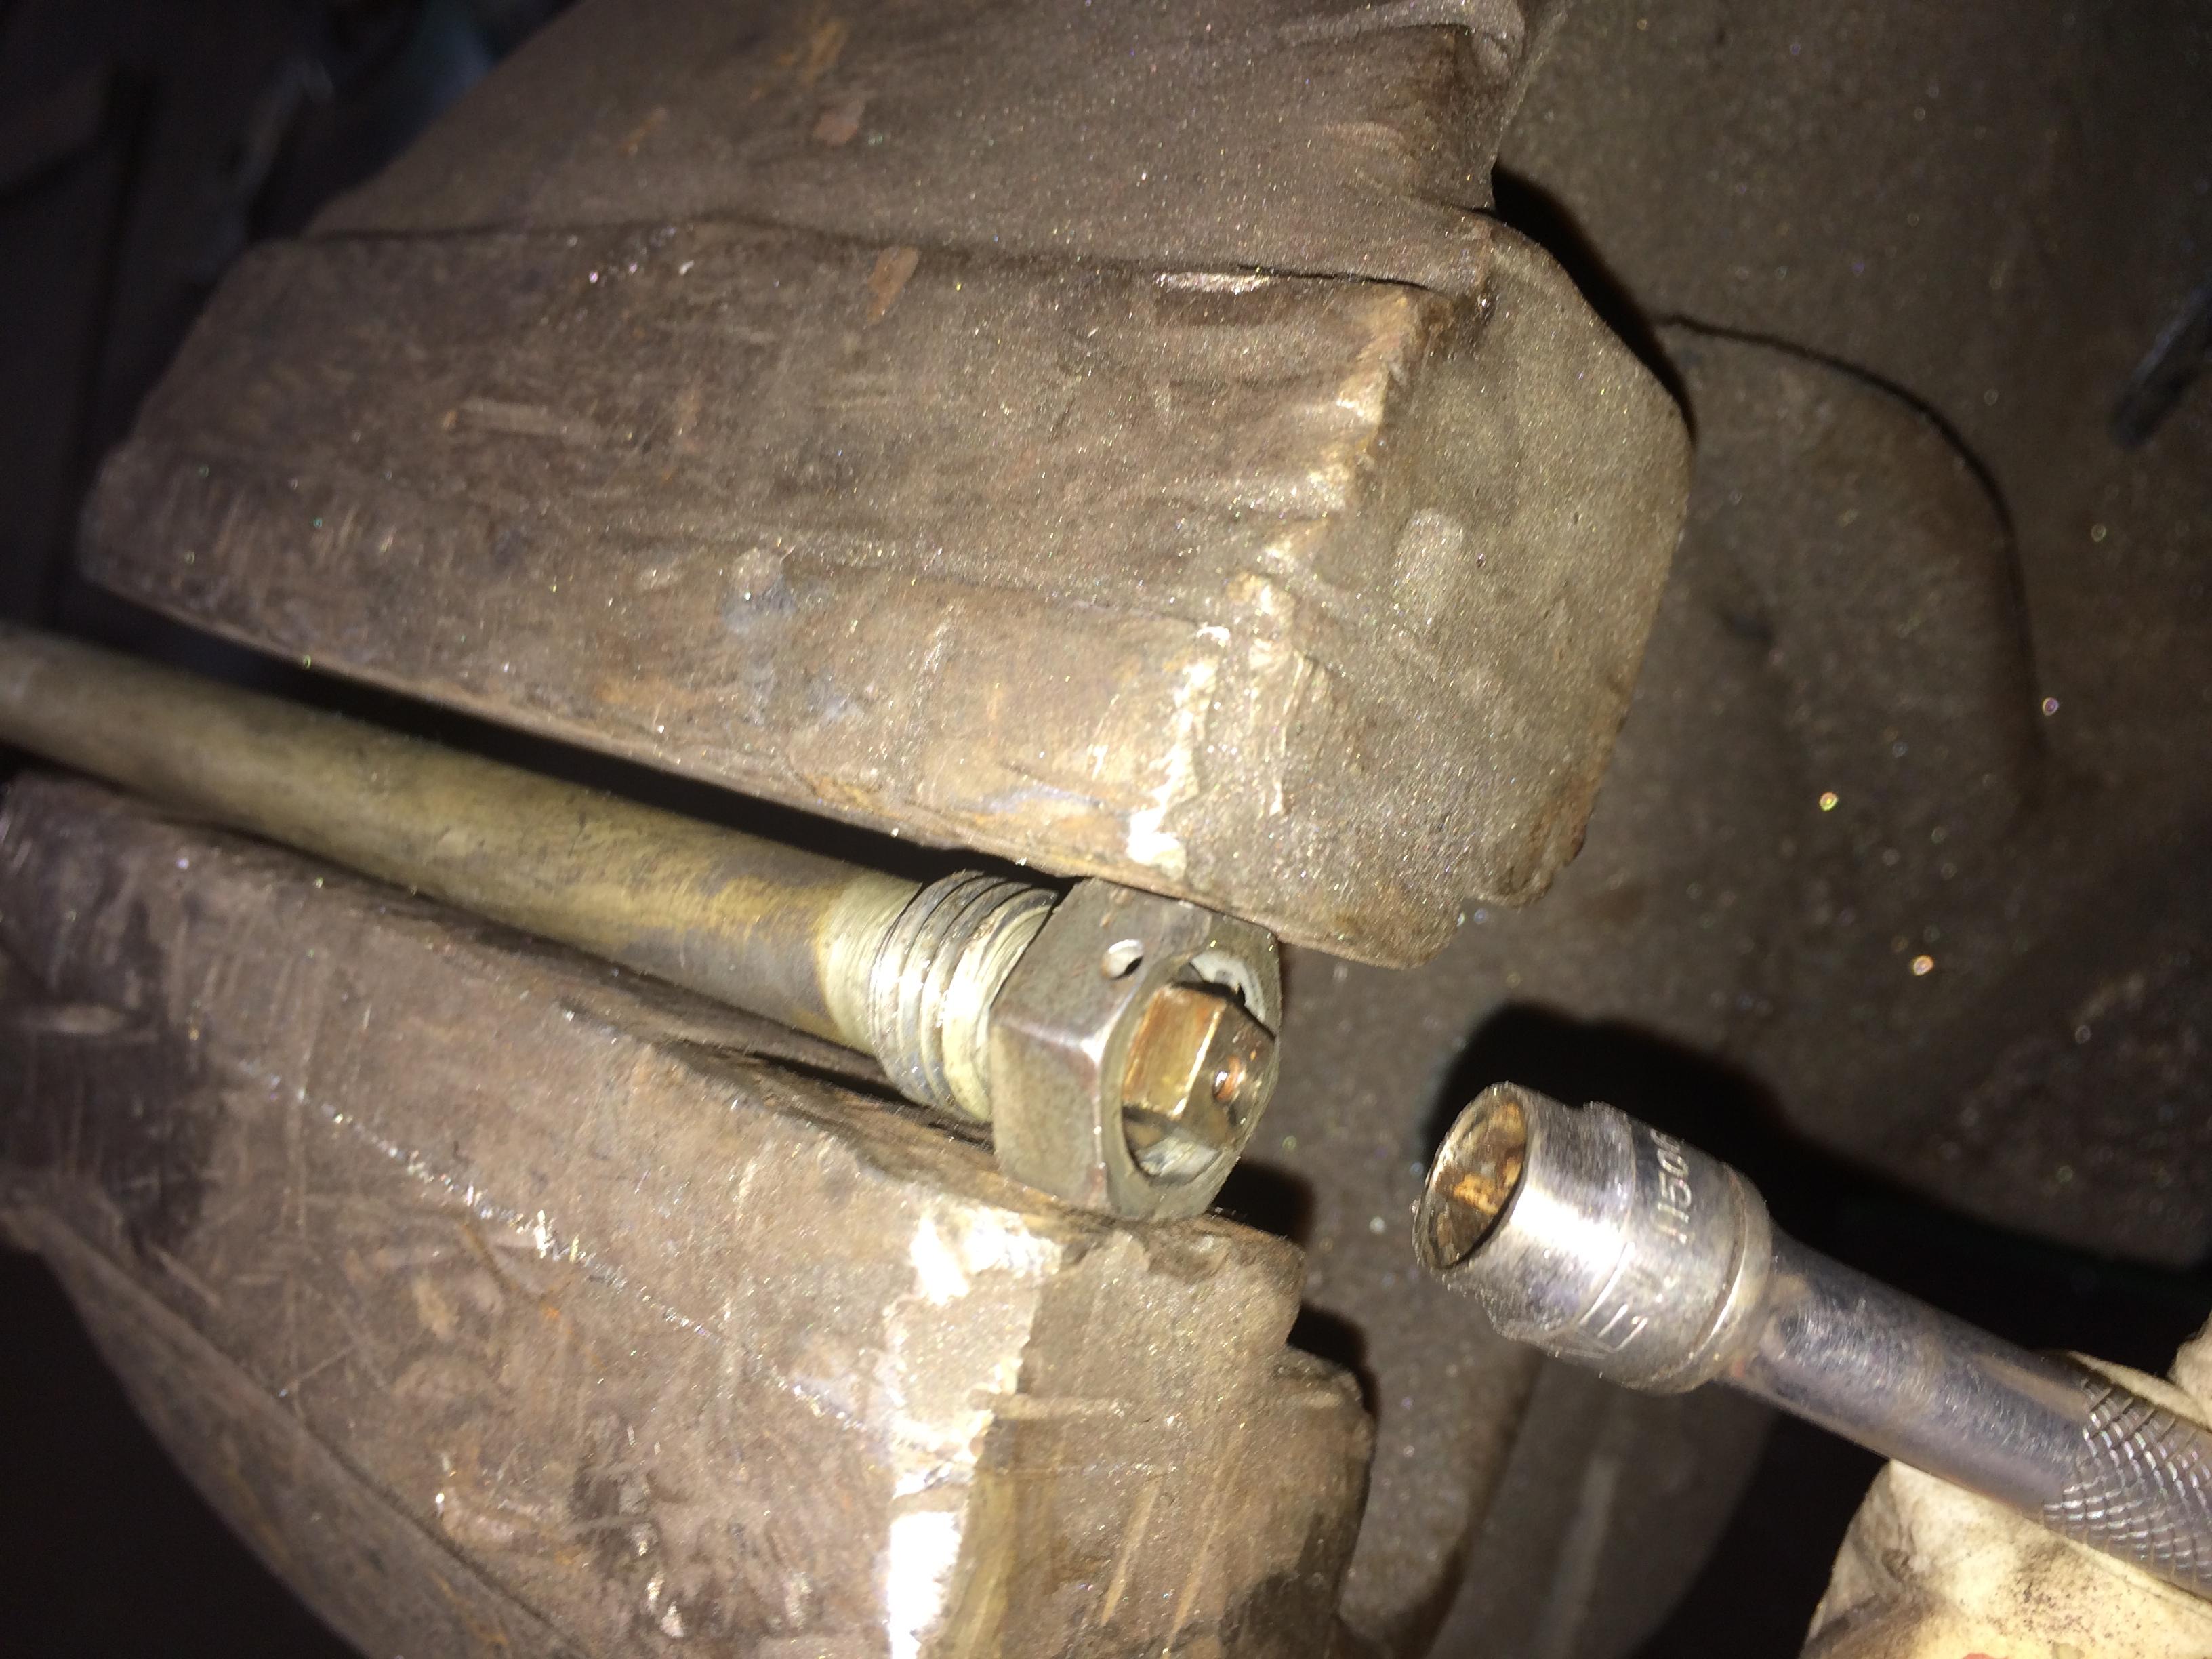
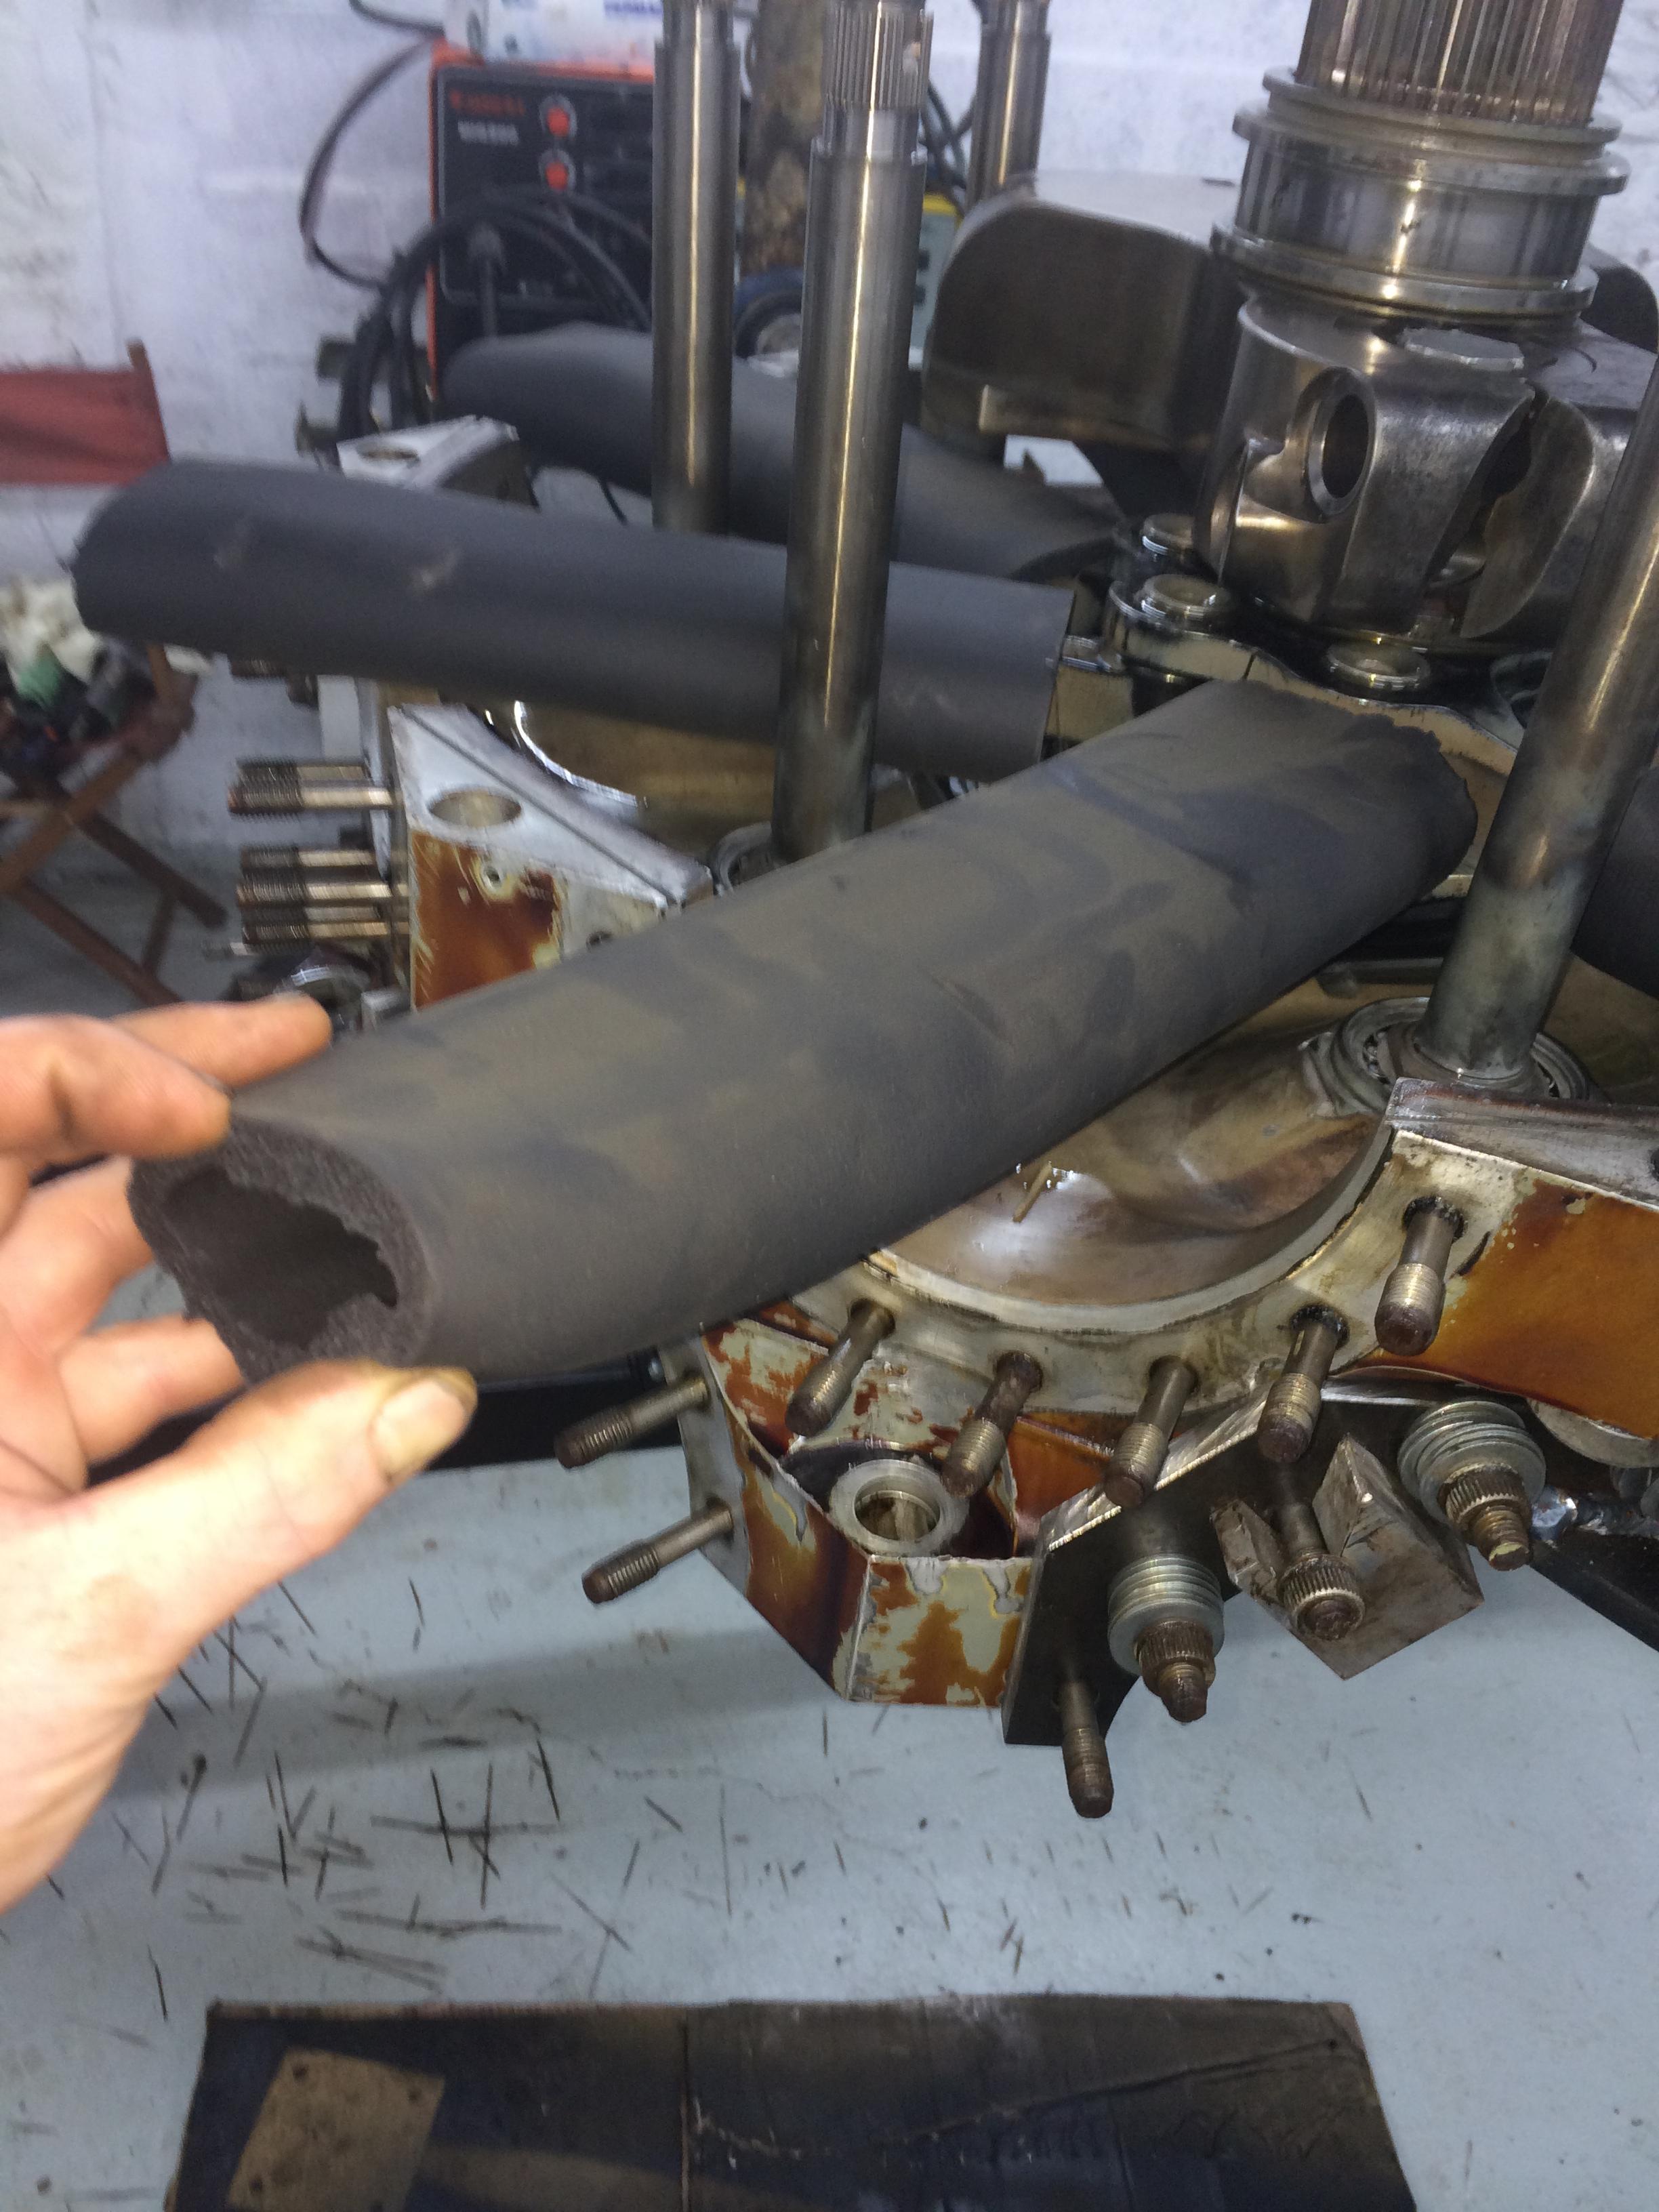
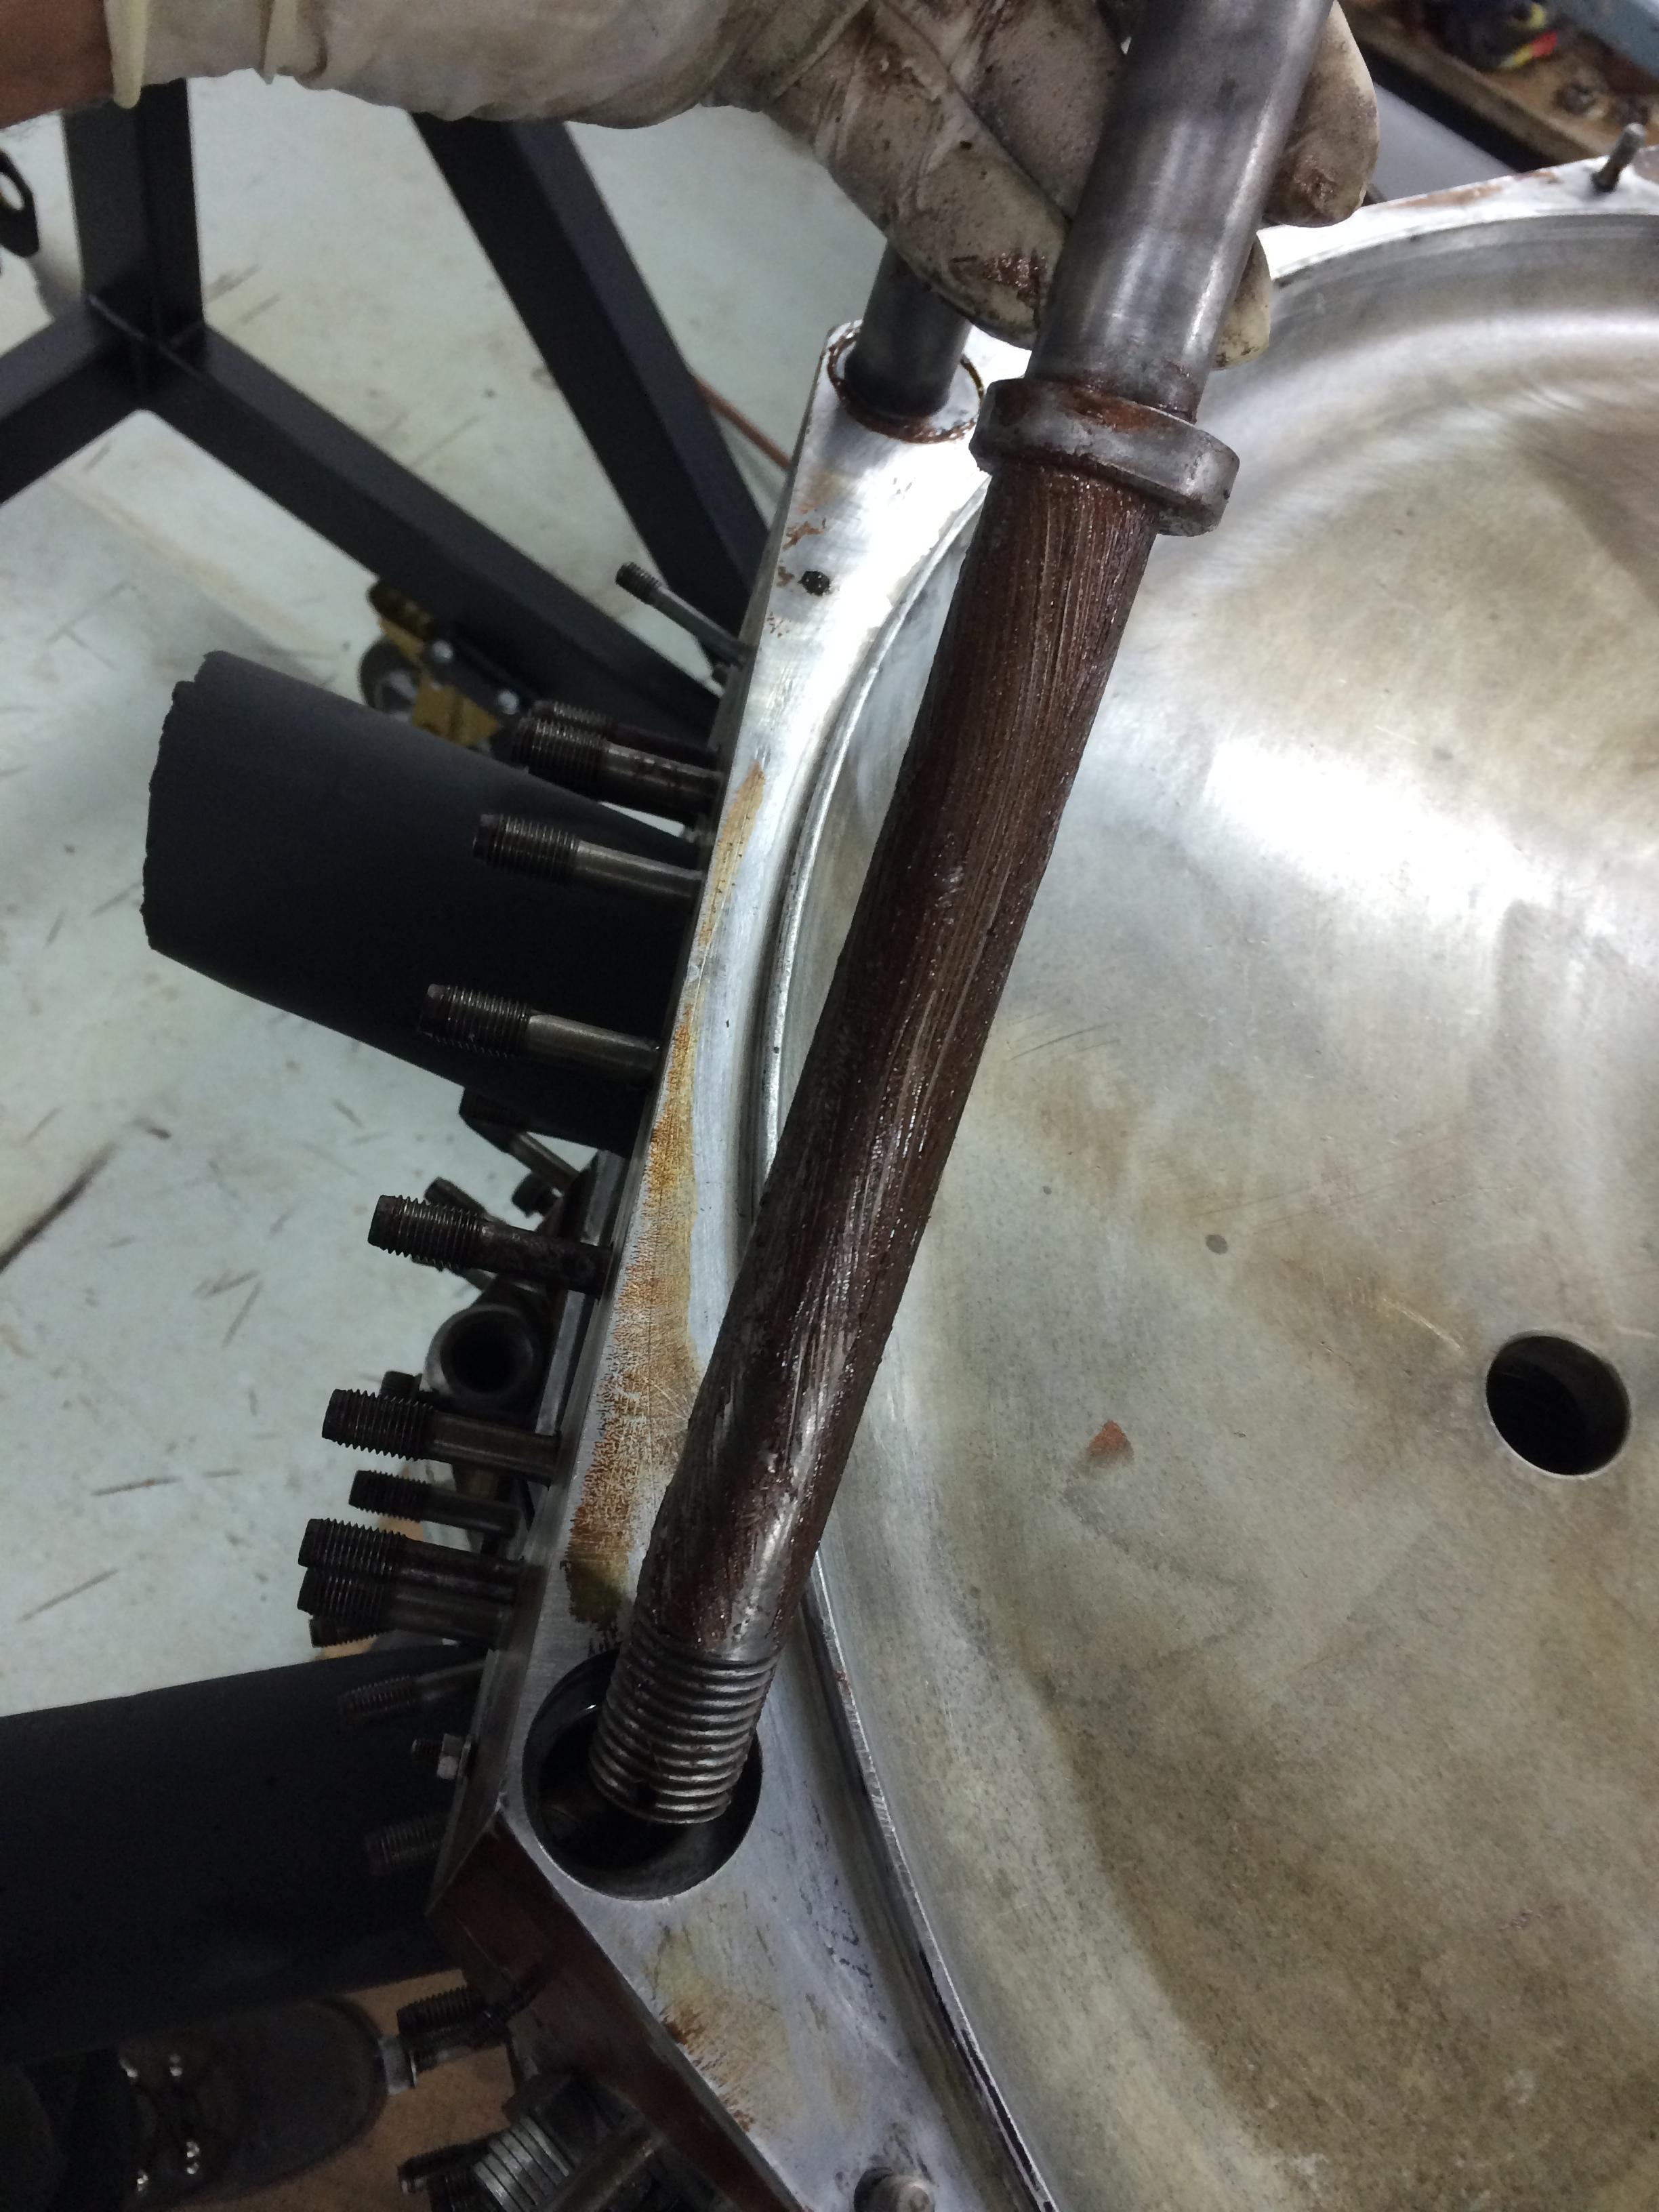
The gear box drive shaft took some cleaning, as there is an inner tube inside the the drive shaft to create an annular oil gallery, this was well bunged up with muck but using the 12 bore shot gun barrel cleaner we soon had it cleaned out.

super_charger_refit 003

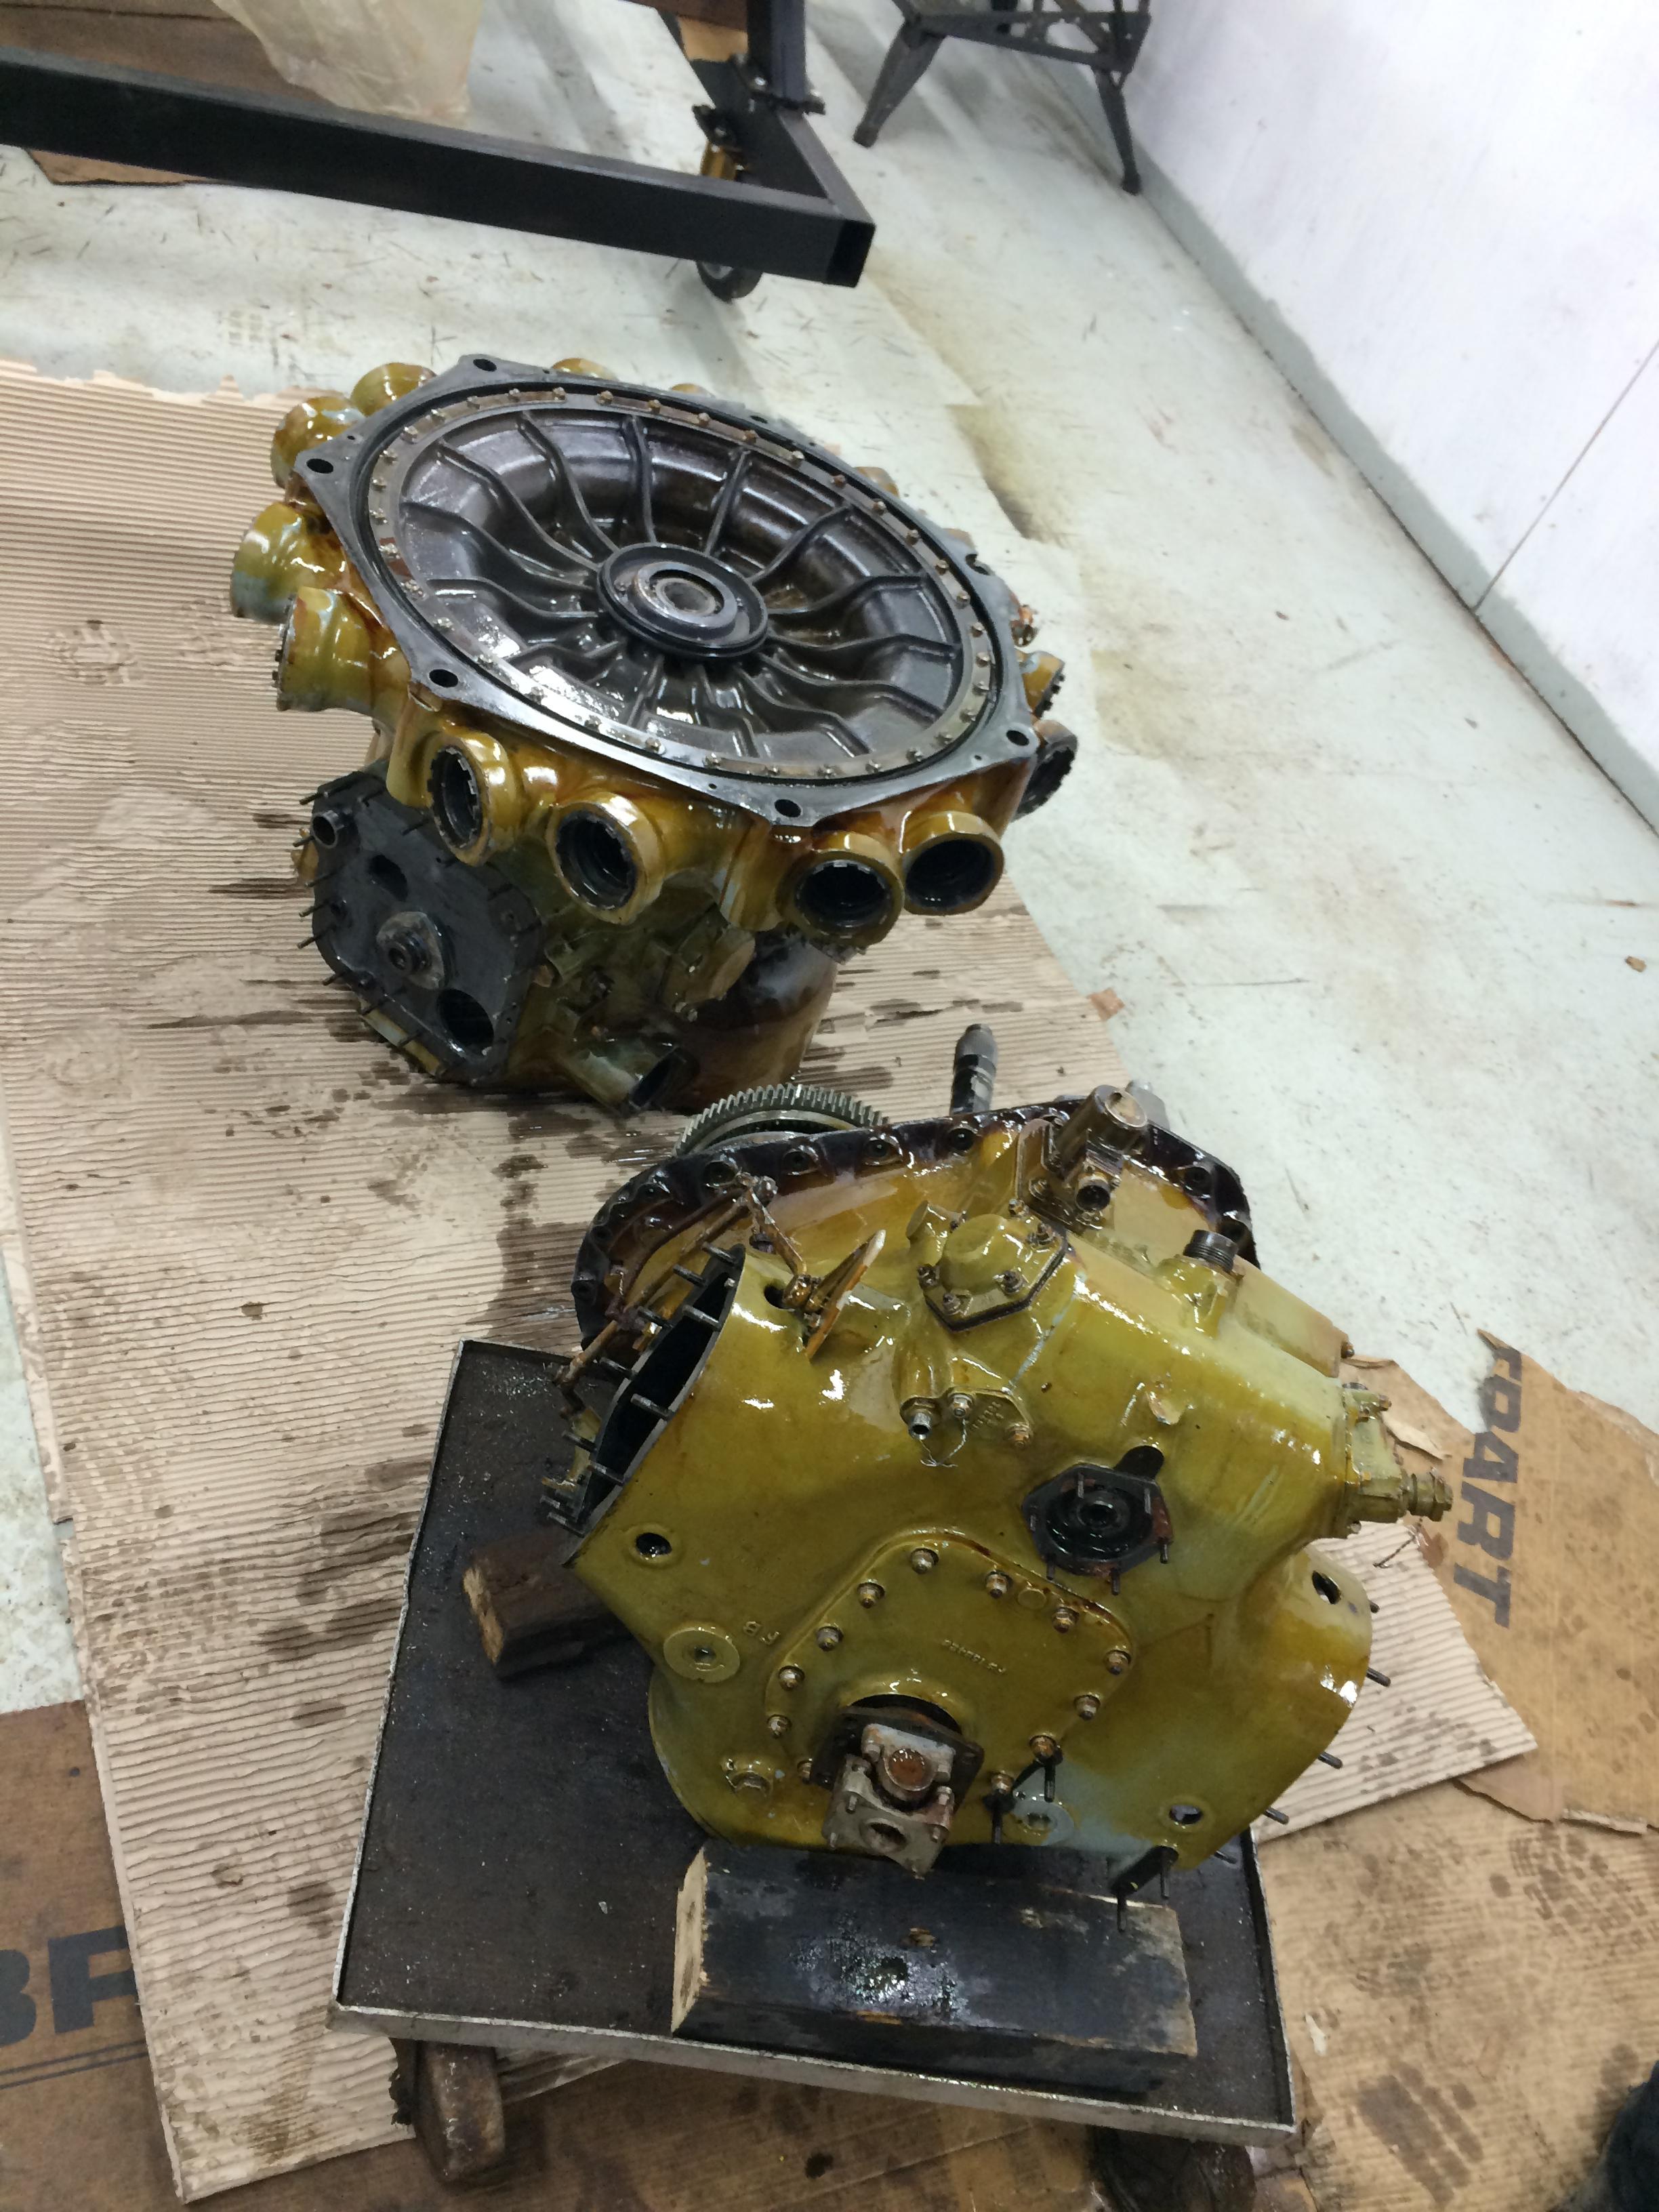
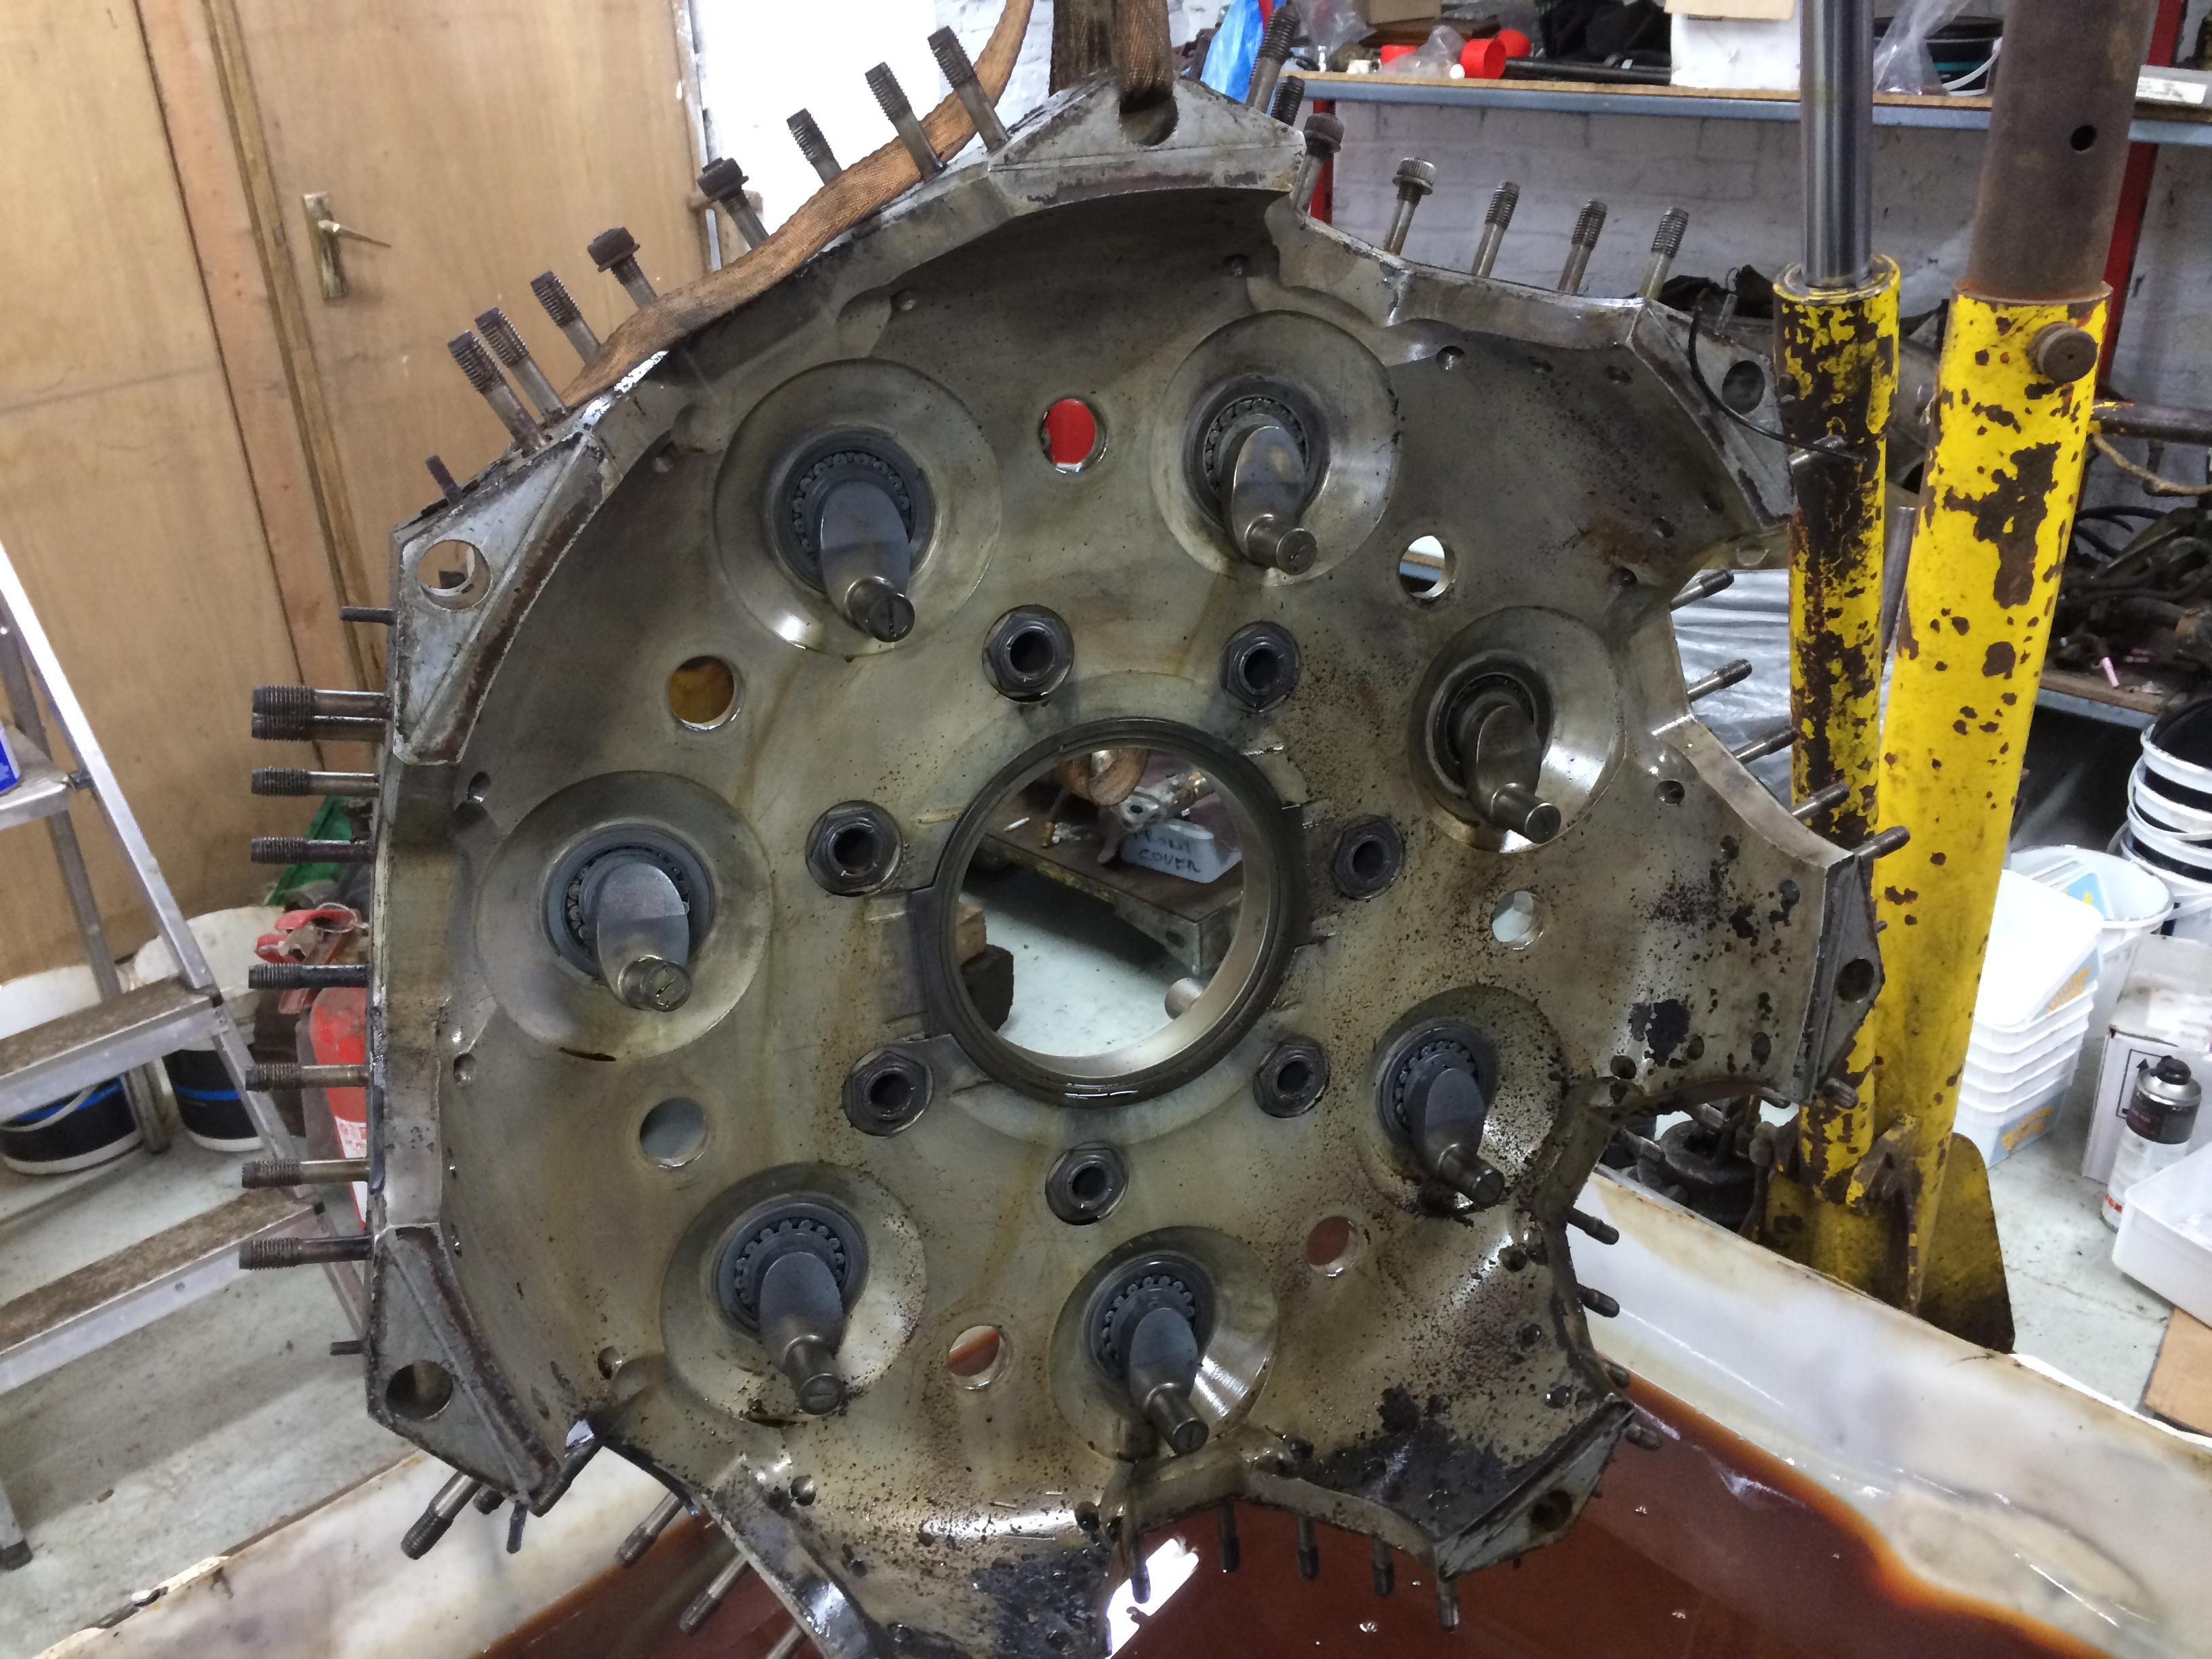
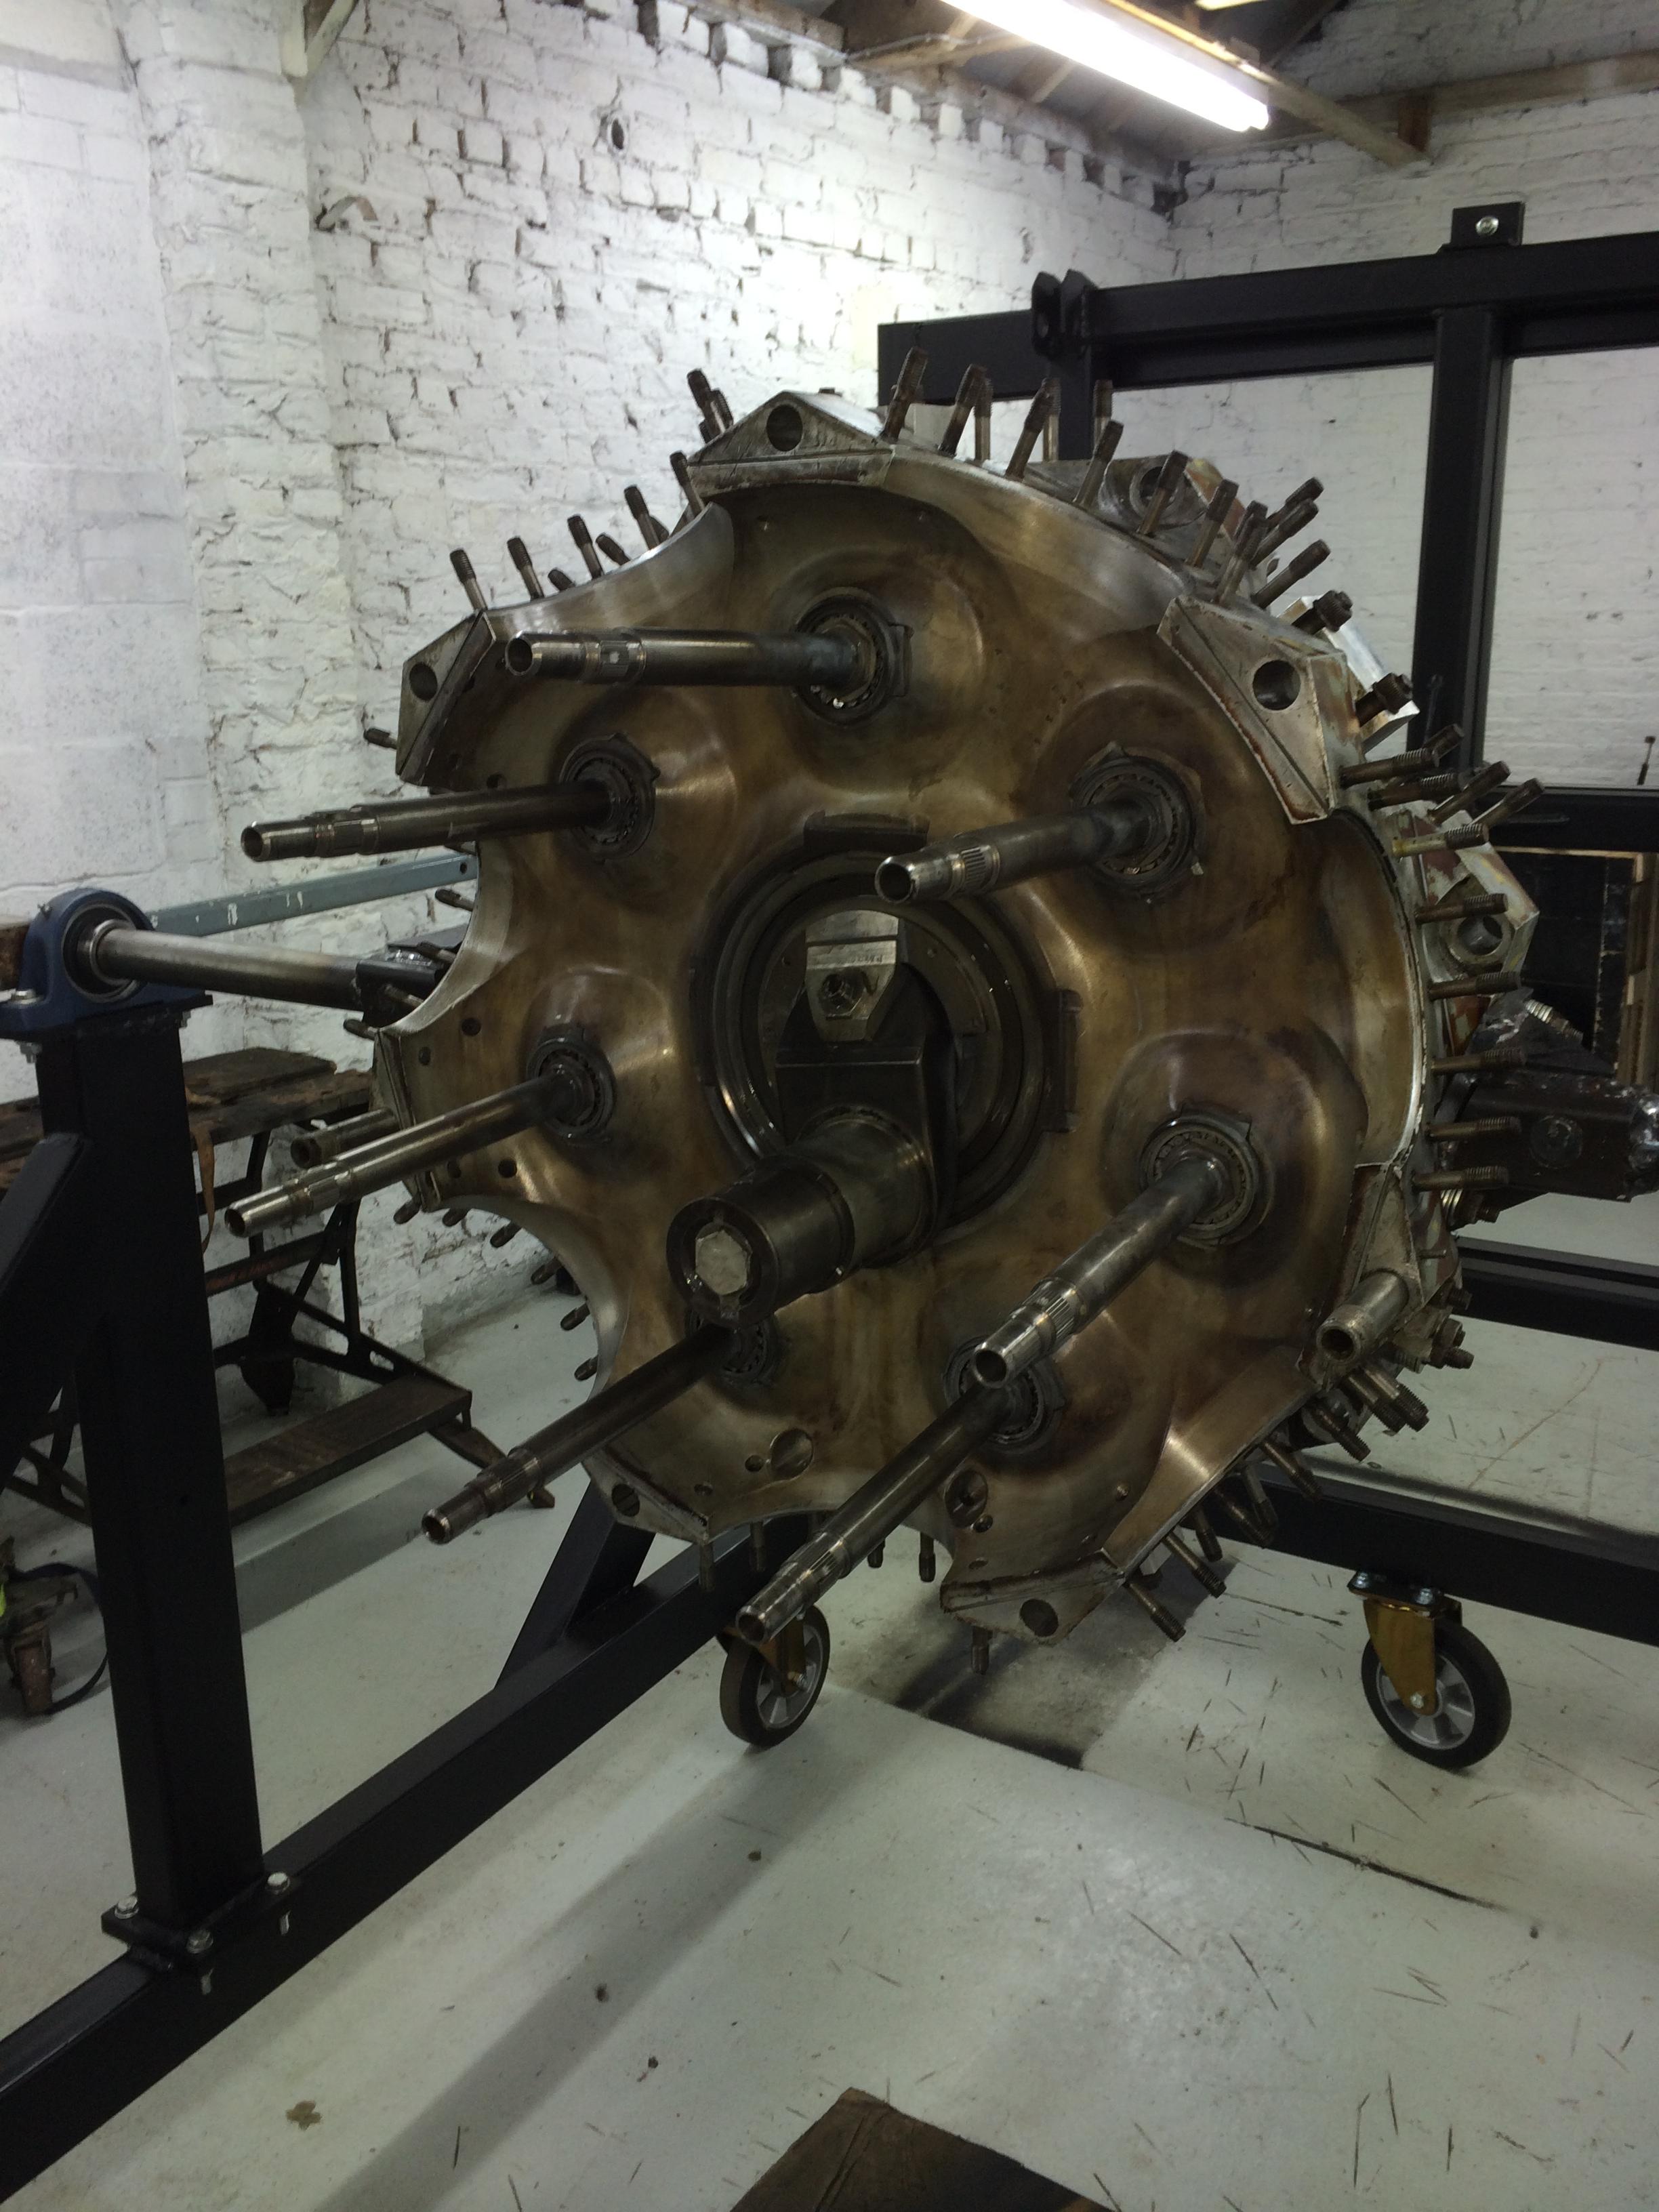
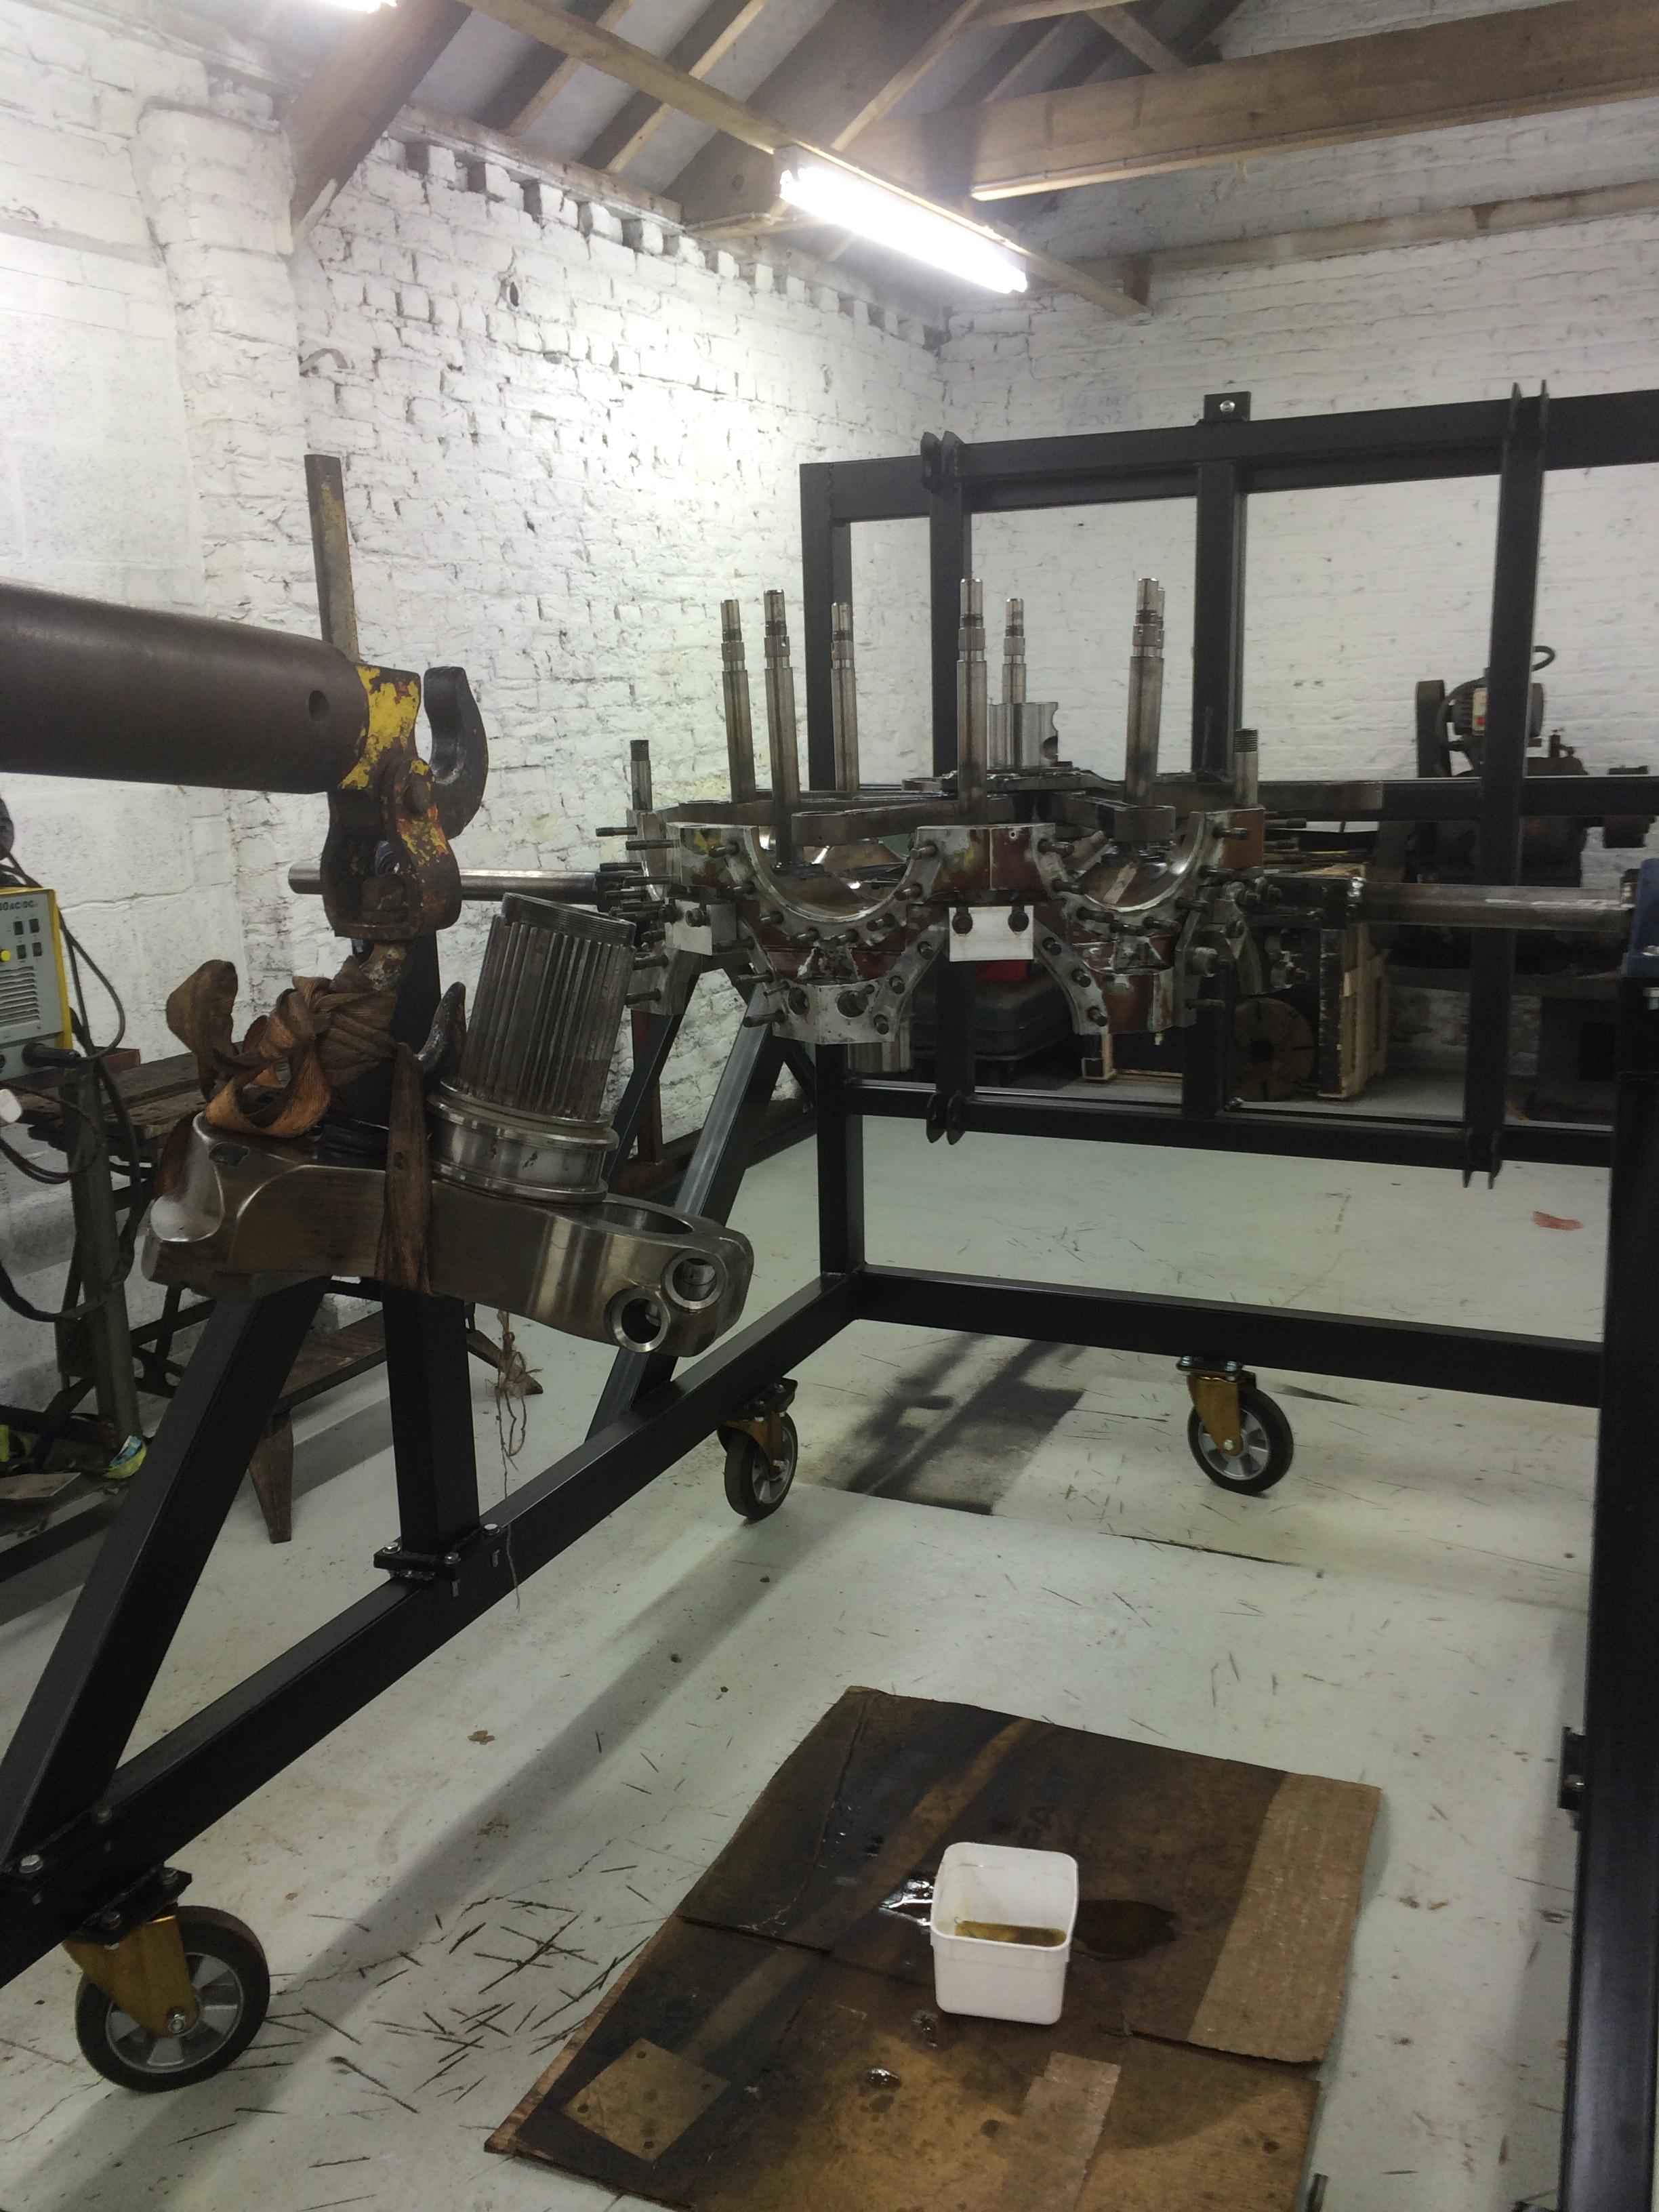
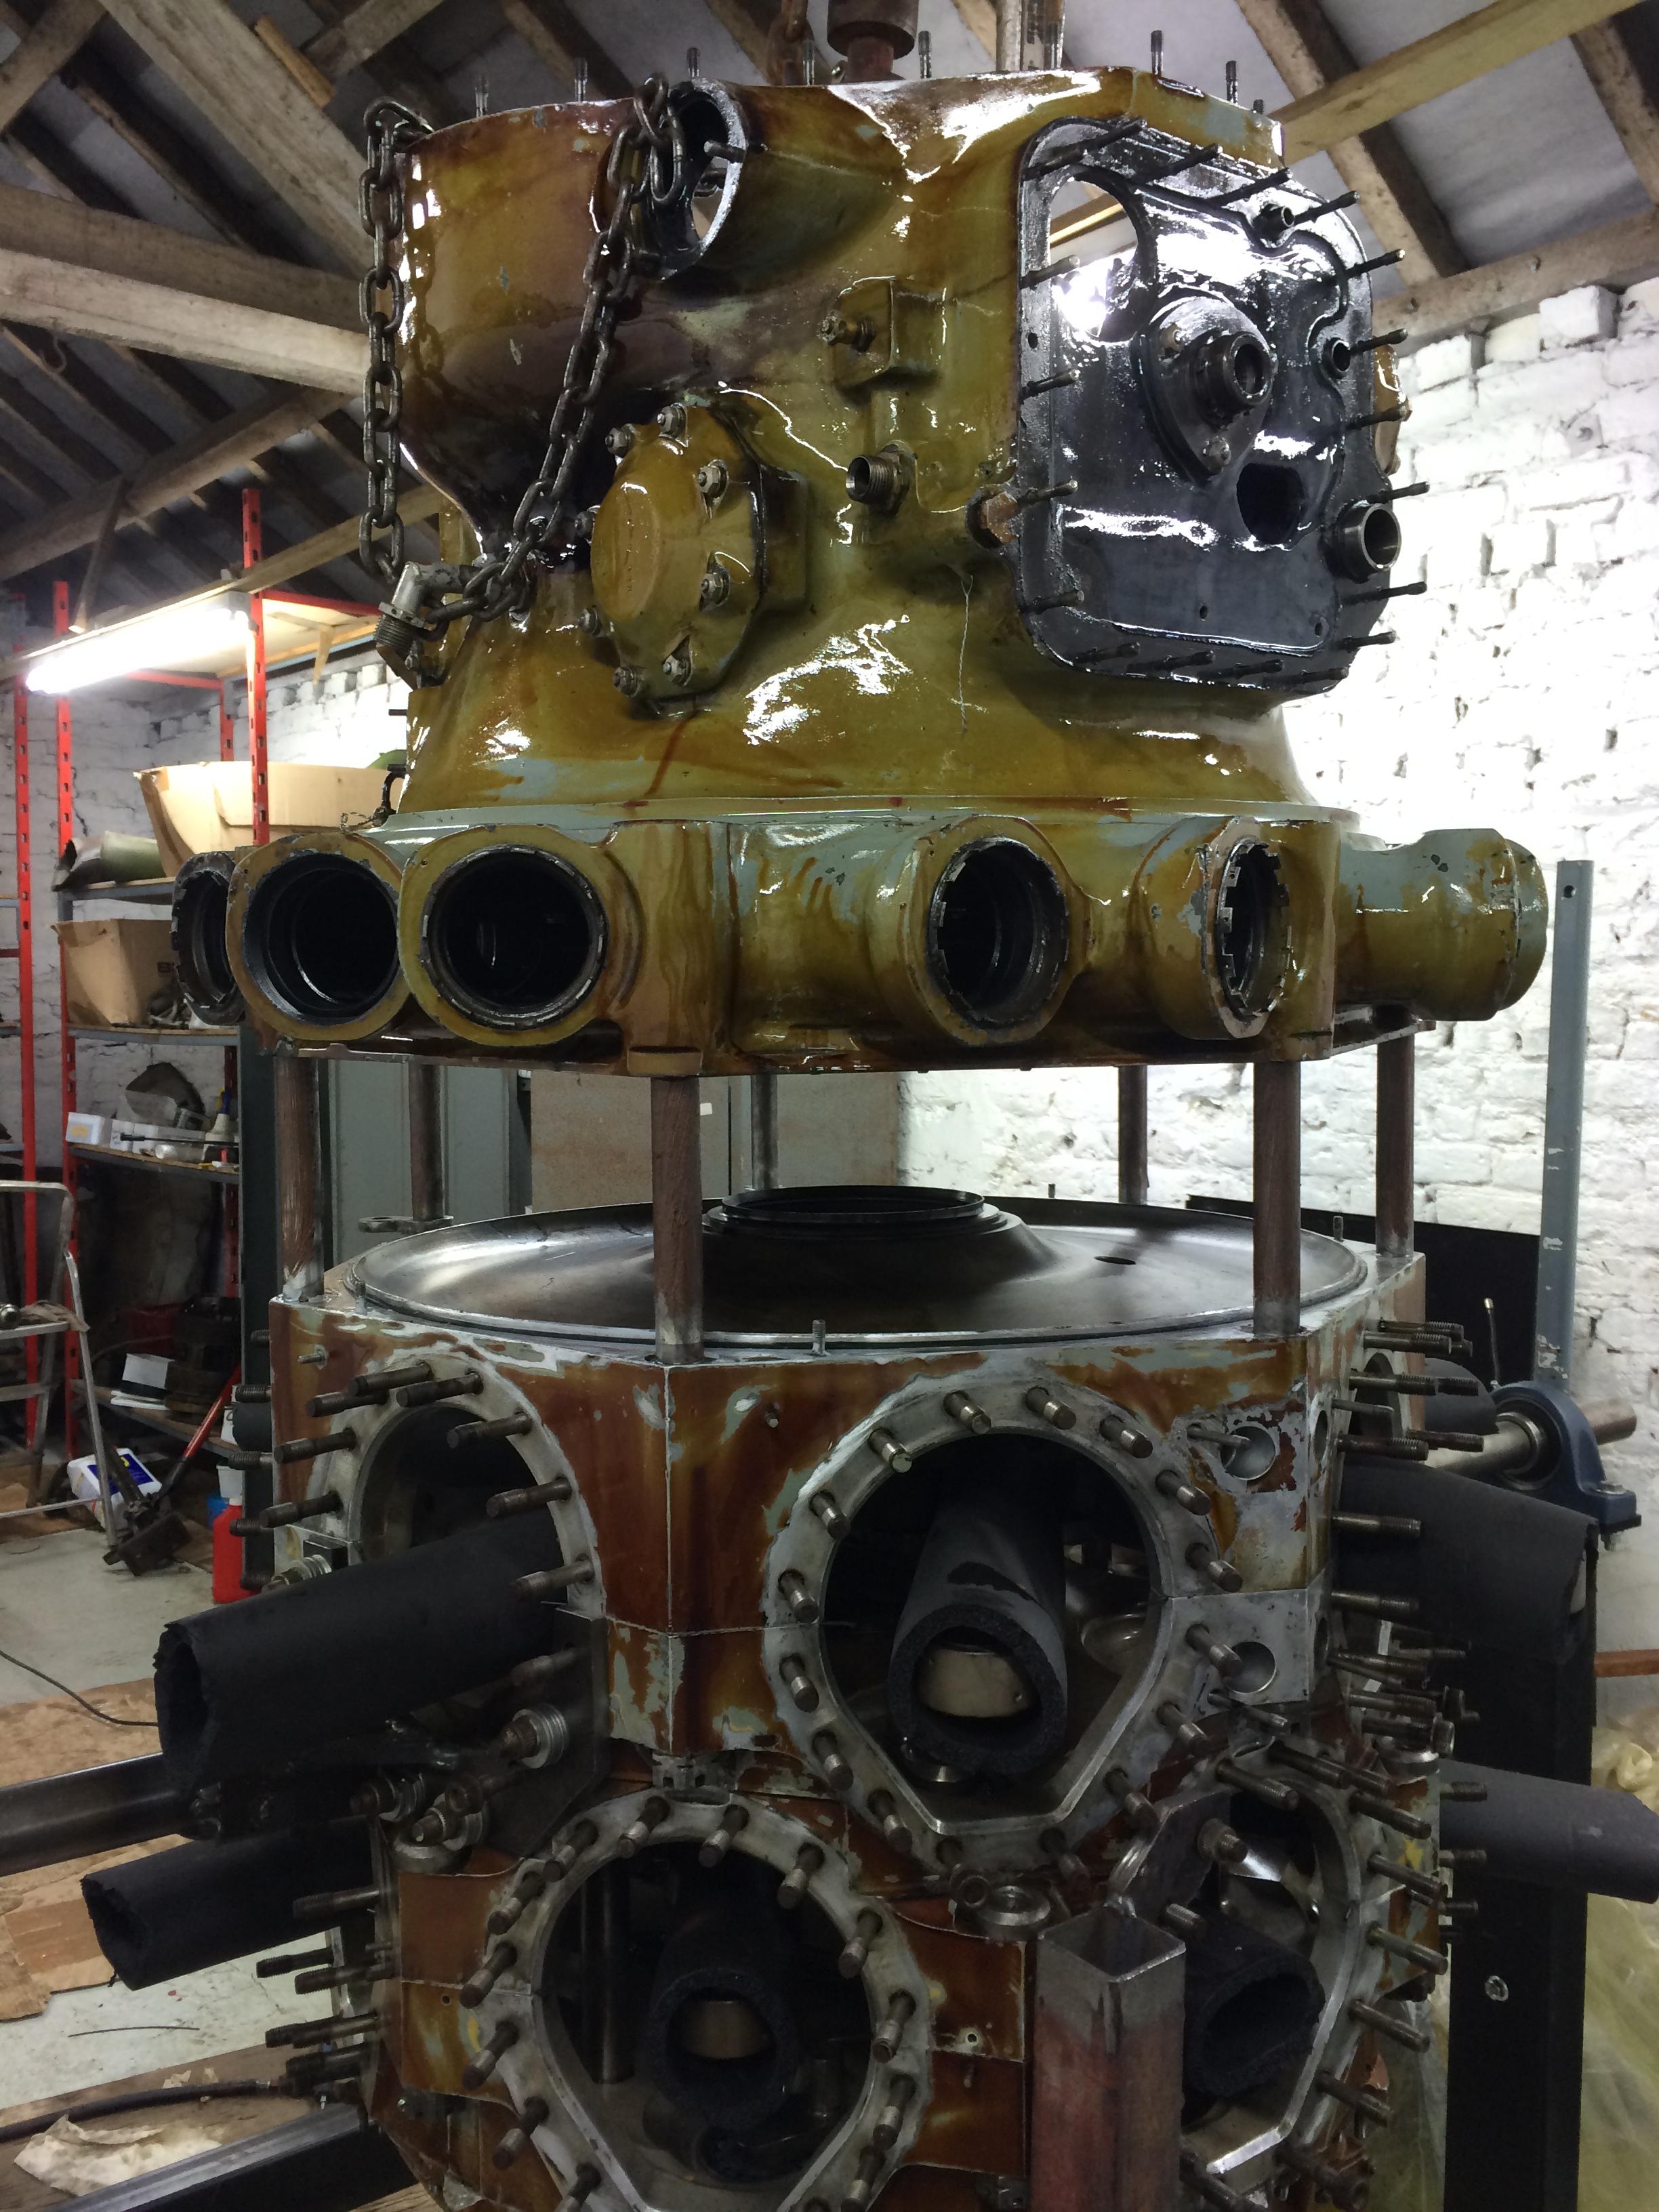
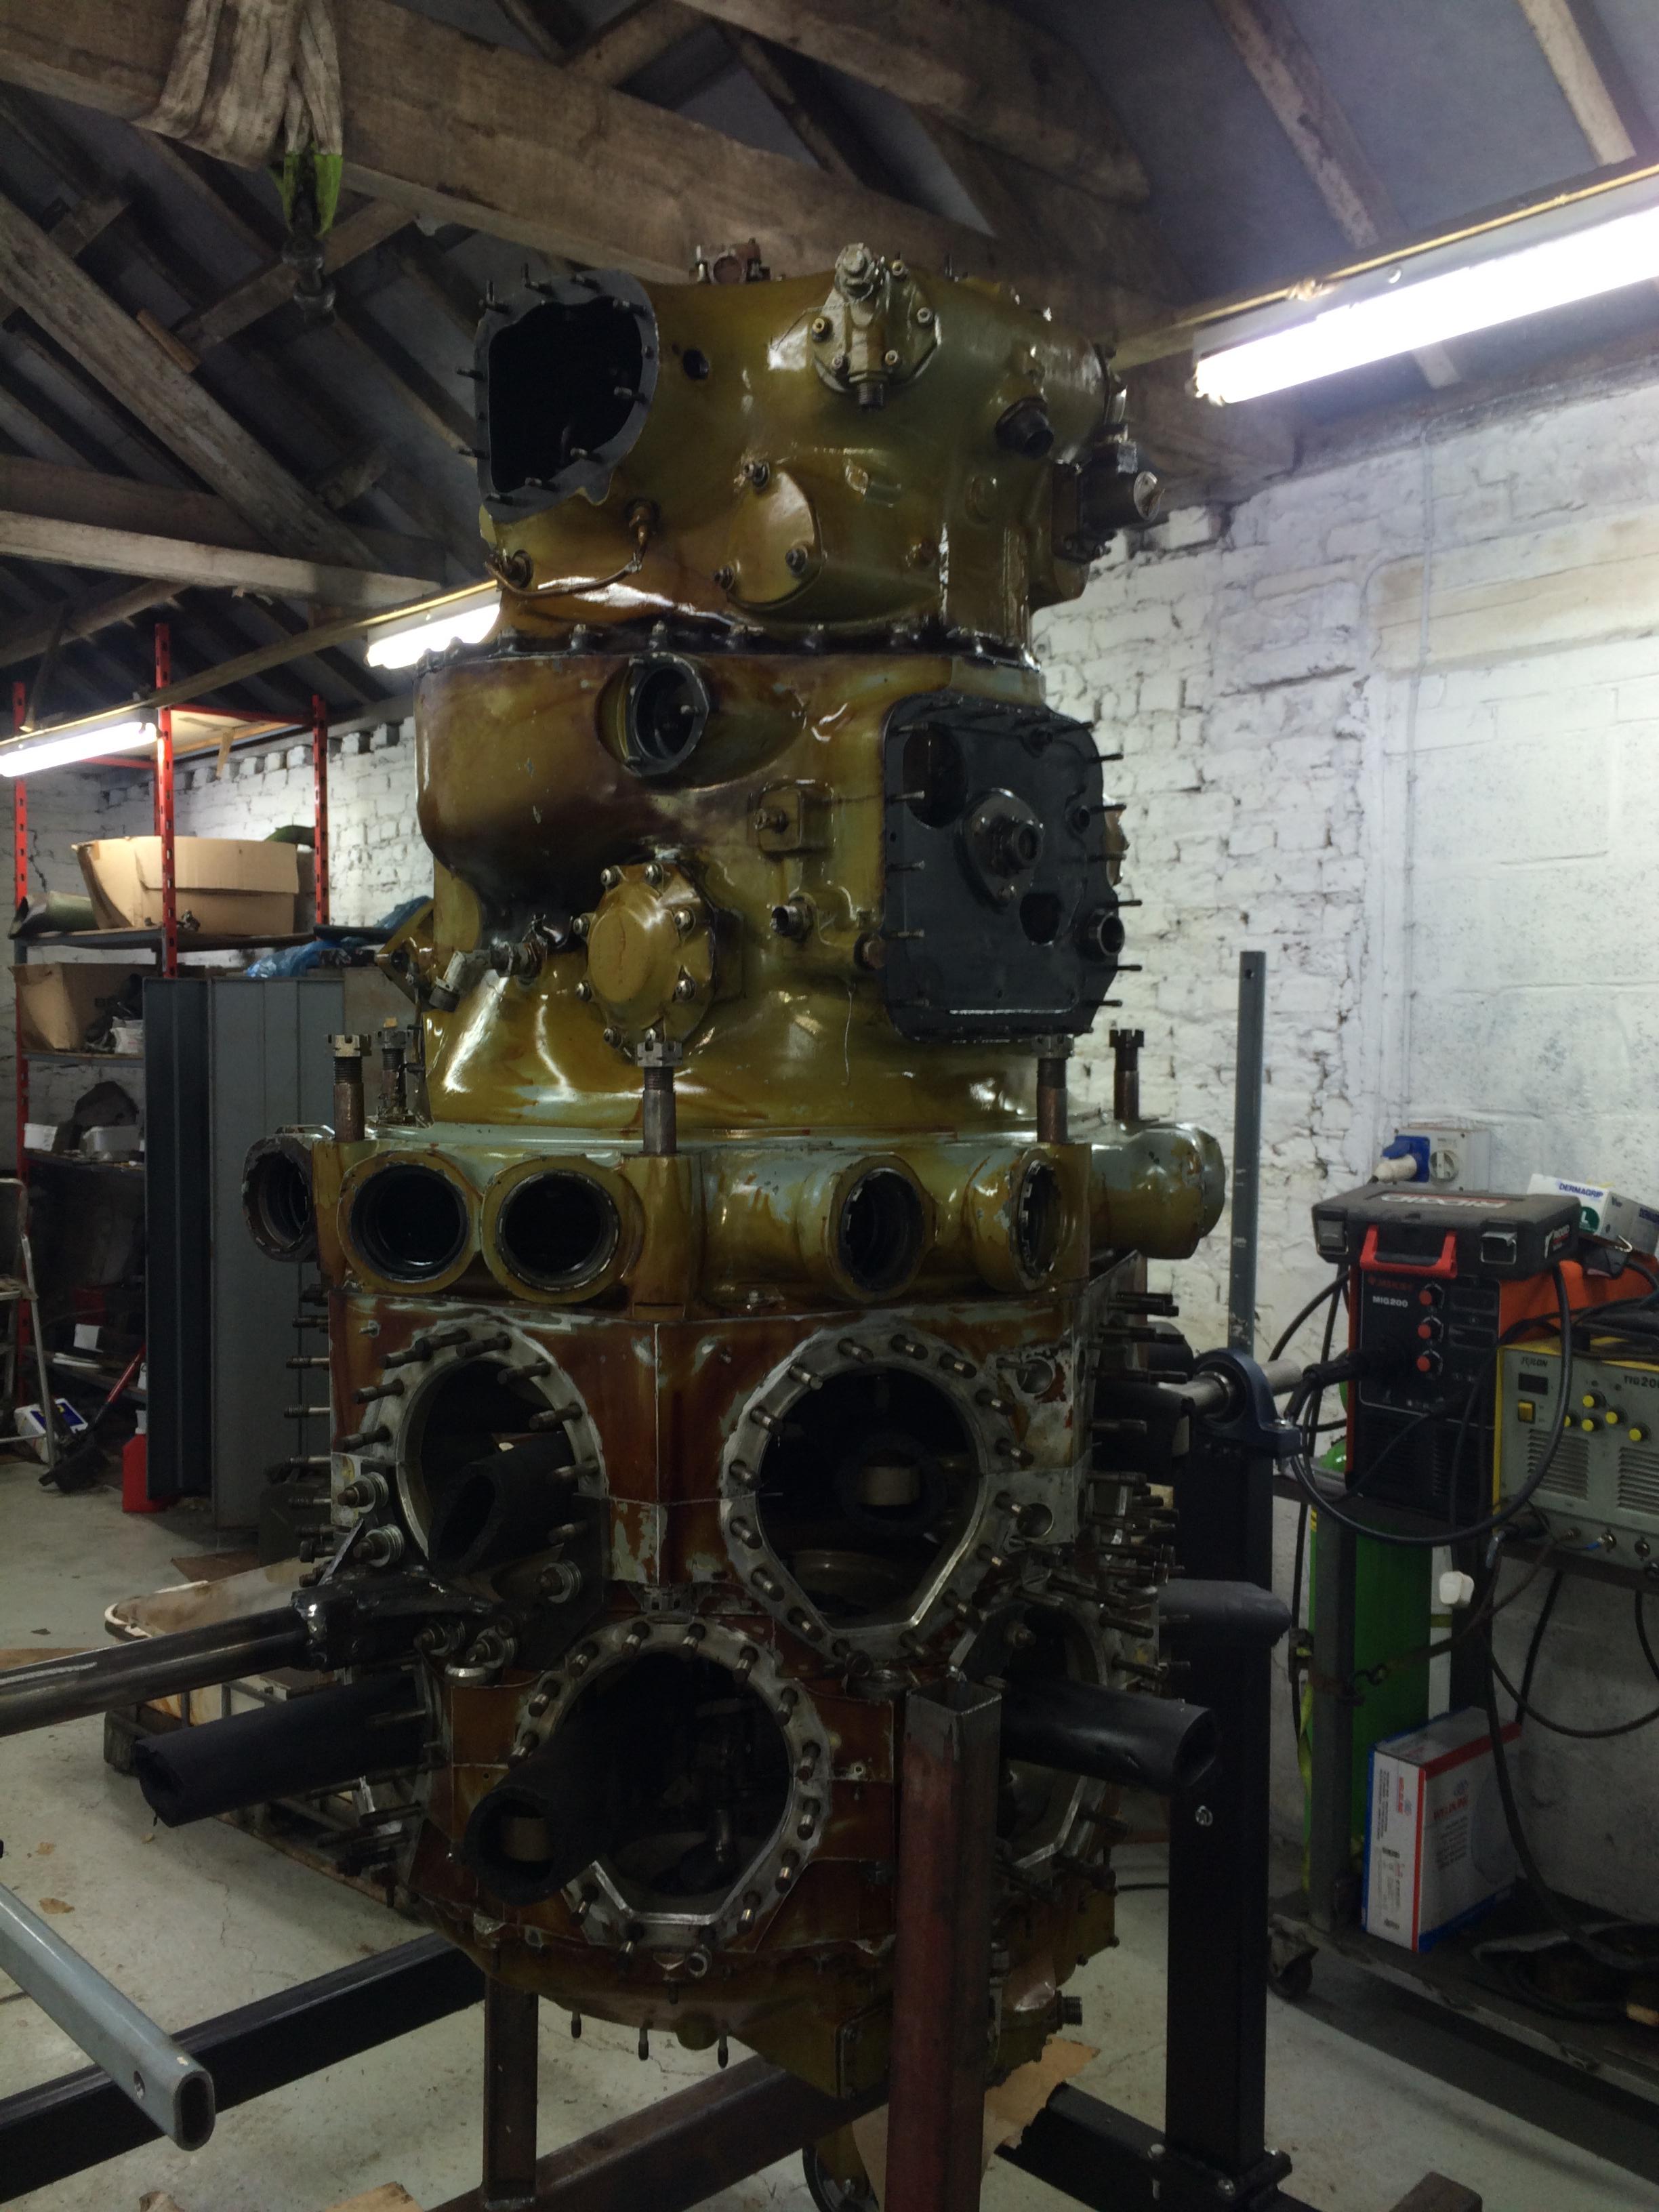
After a couple of hours work we had the Super charger and Gearbox ready to be refitted.

super_charger_refit 006 super_charger_refit 007

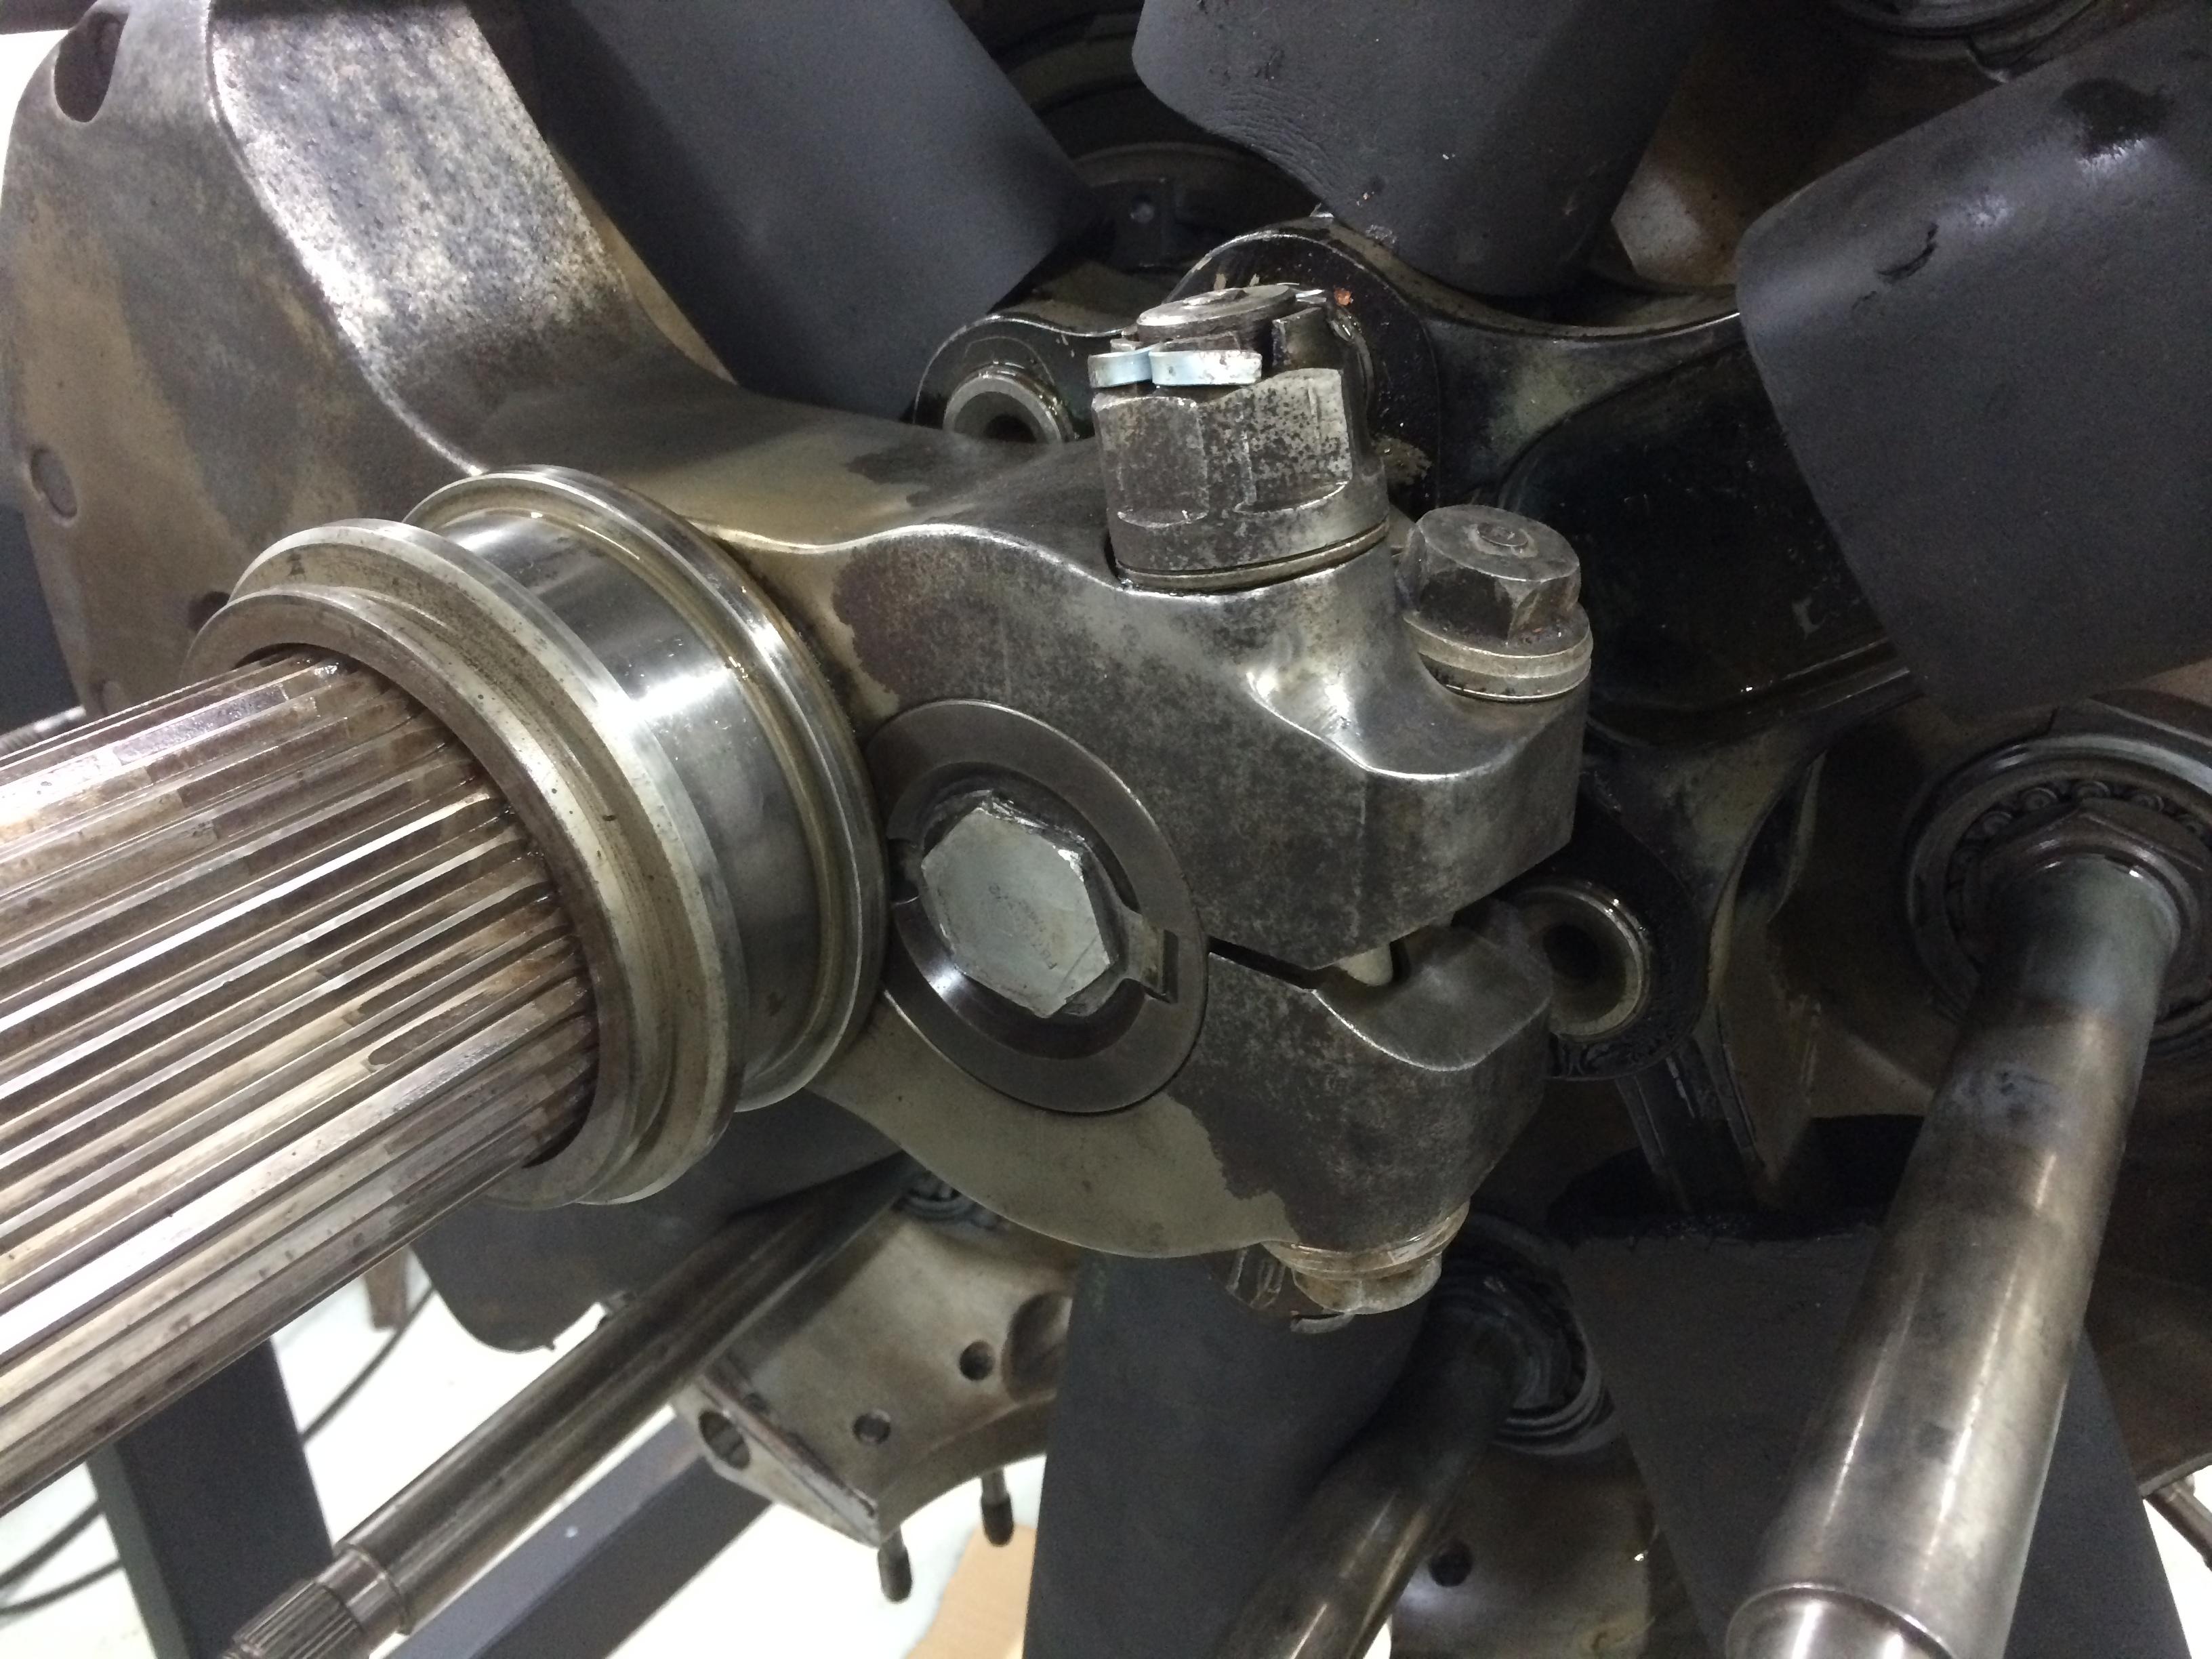
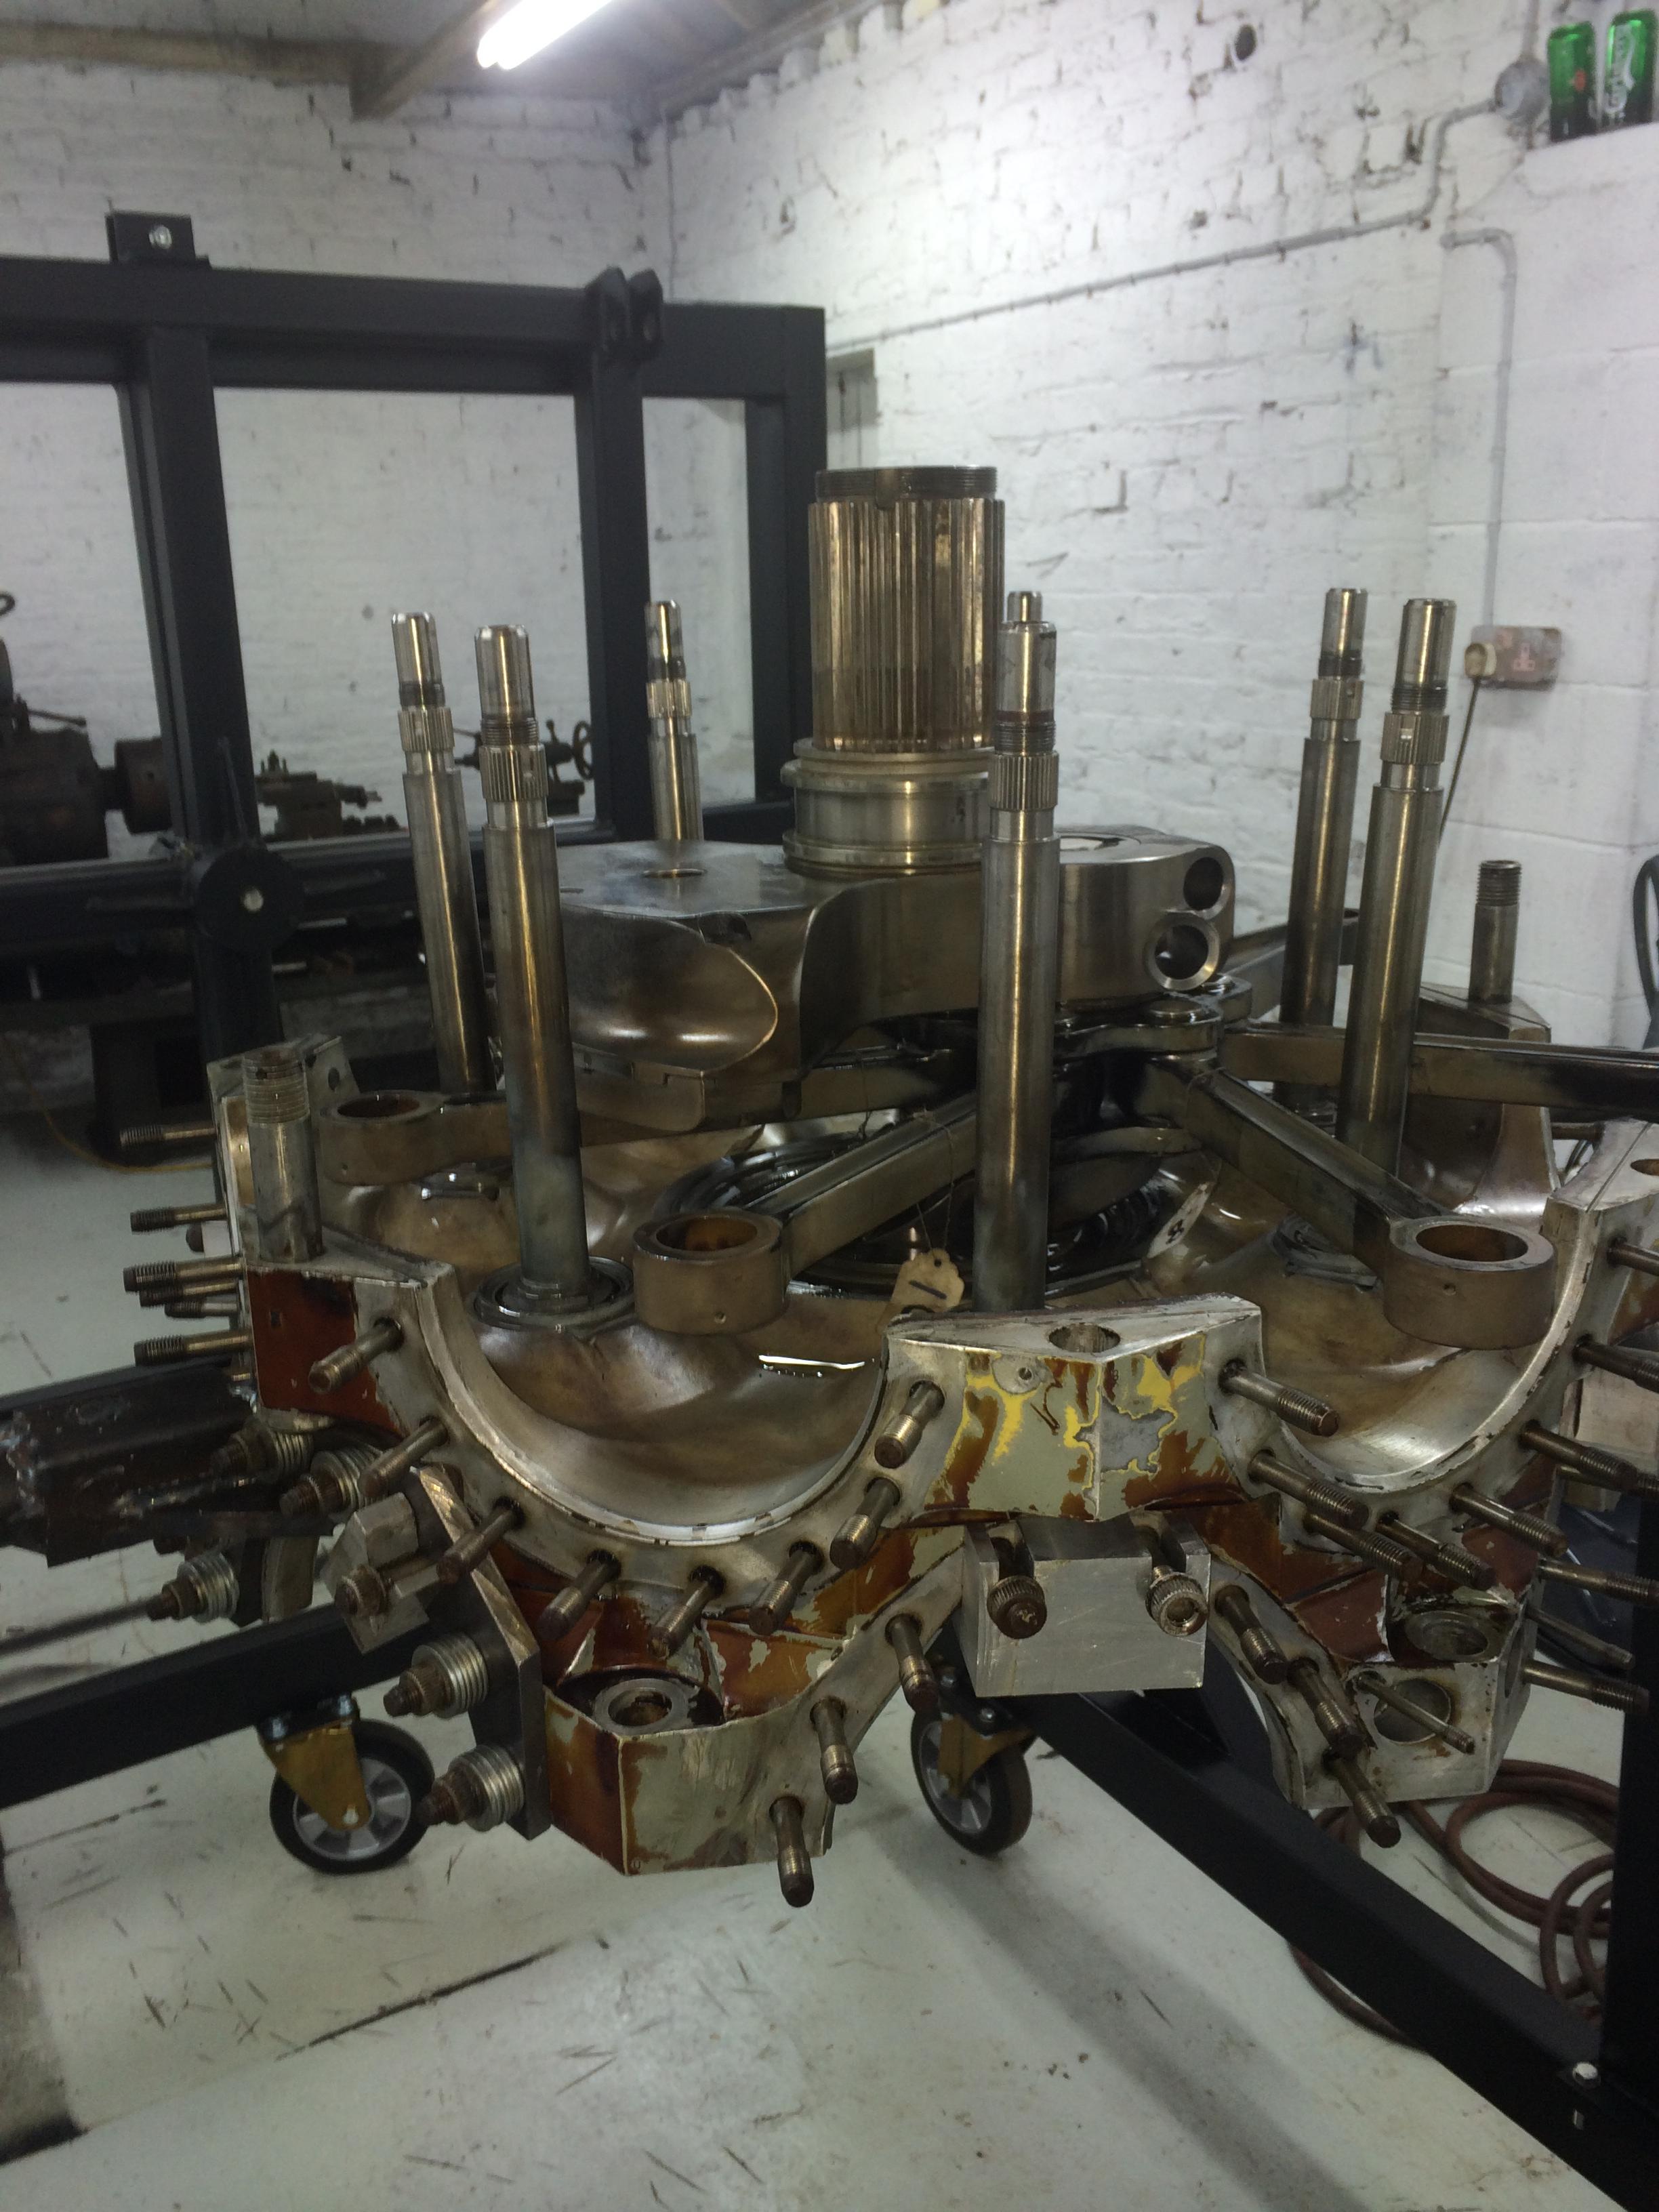
After cleaning the rear crankcase bolts, we lubed them with grease and refitted them, then refitted the “O” ring and applied new sealant ready for the Super charger.

super_charger_refit 008 super_charger_refit 009    

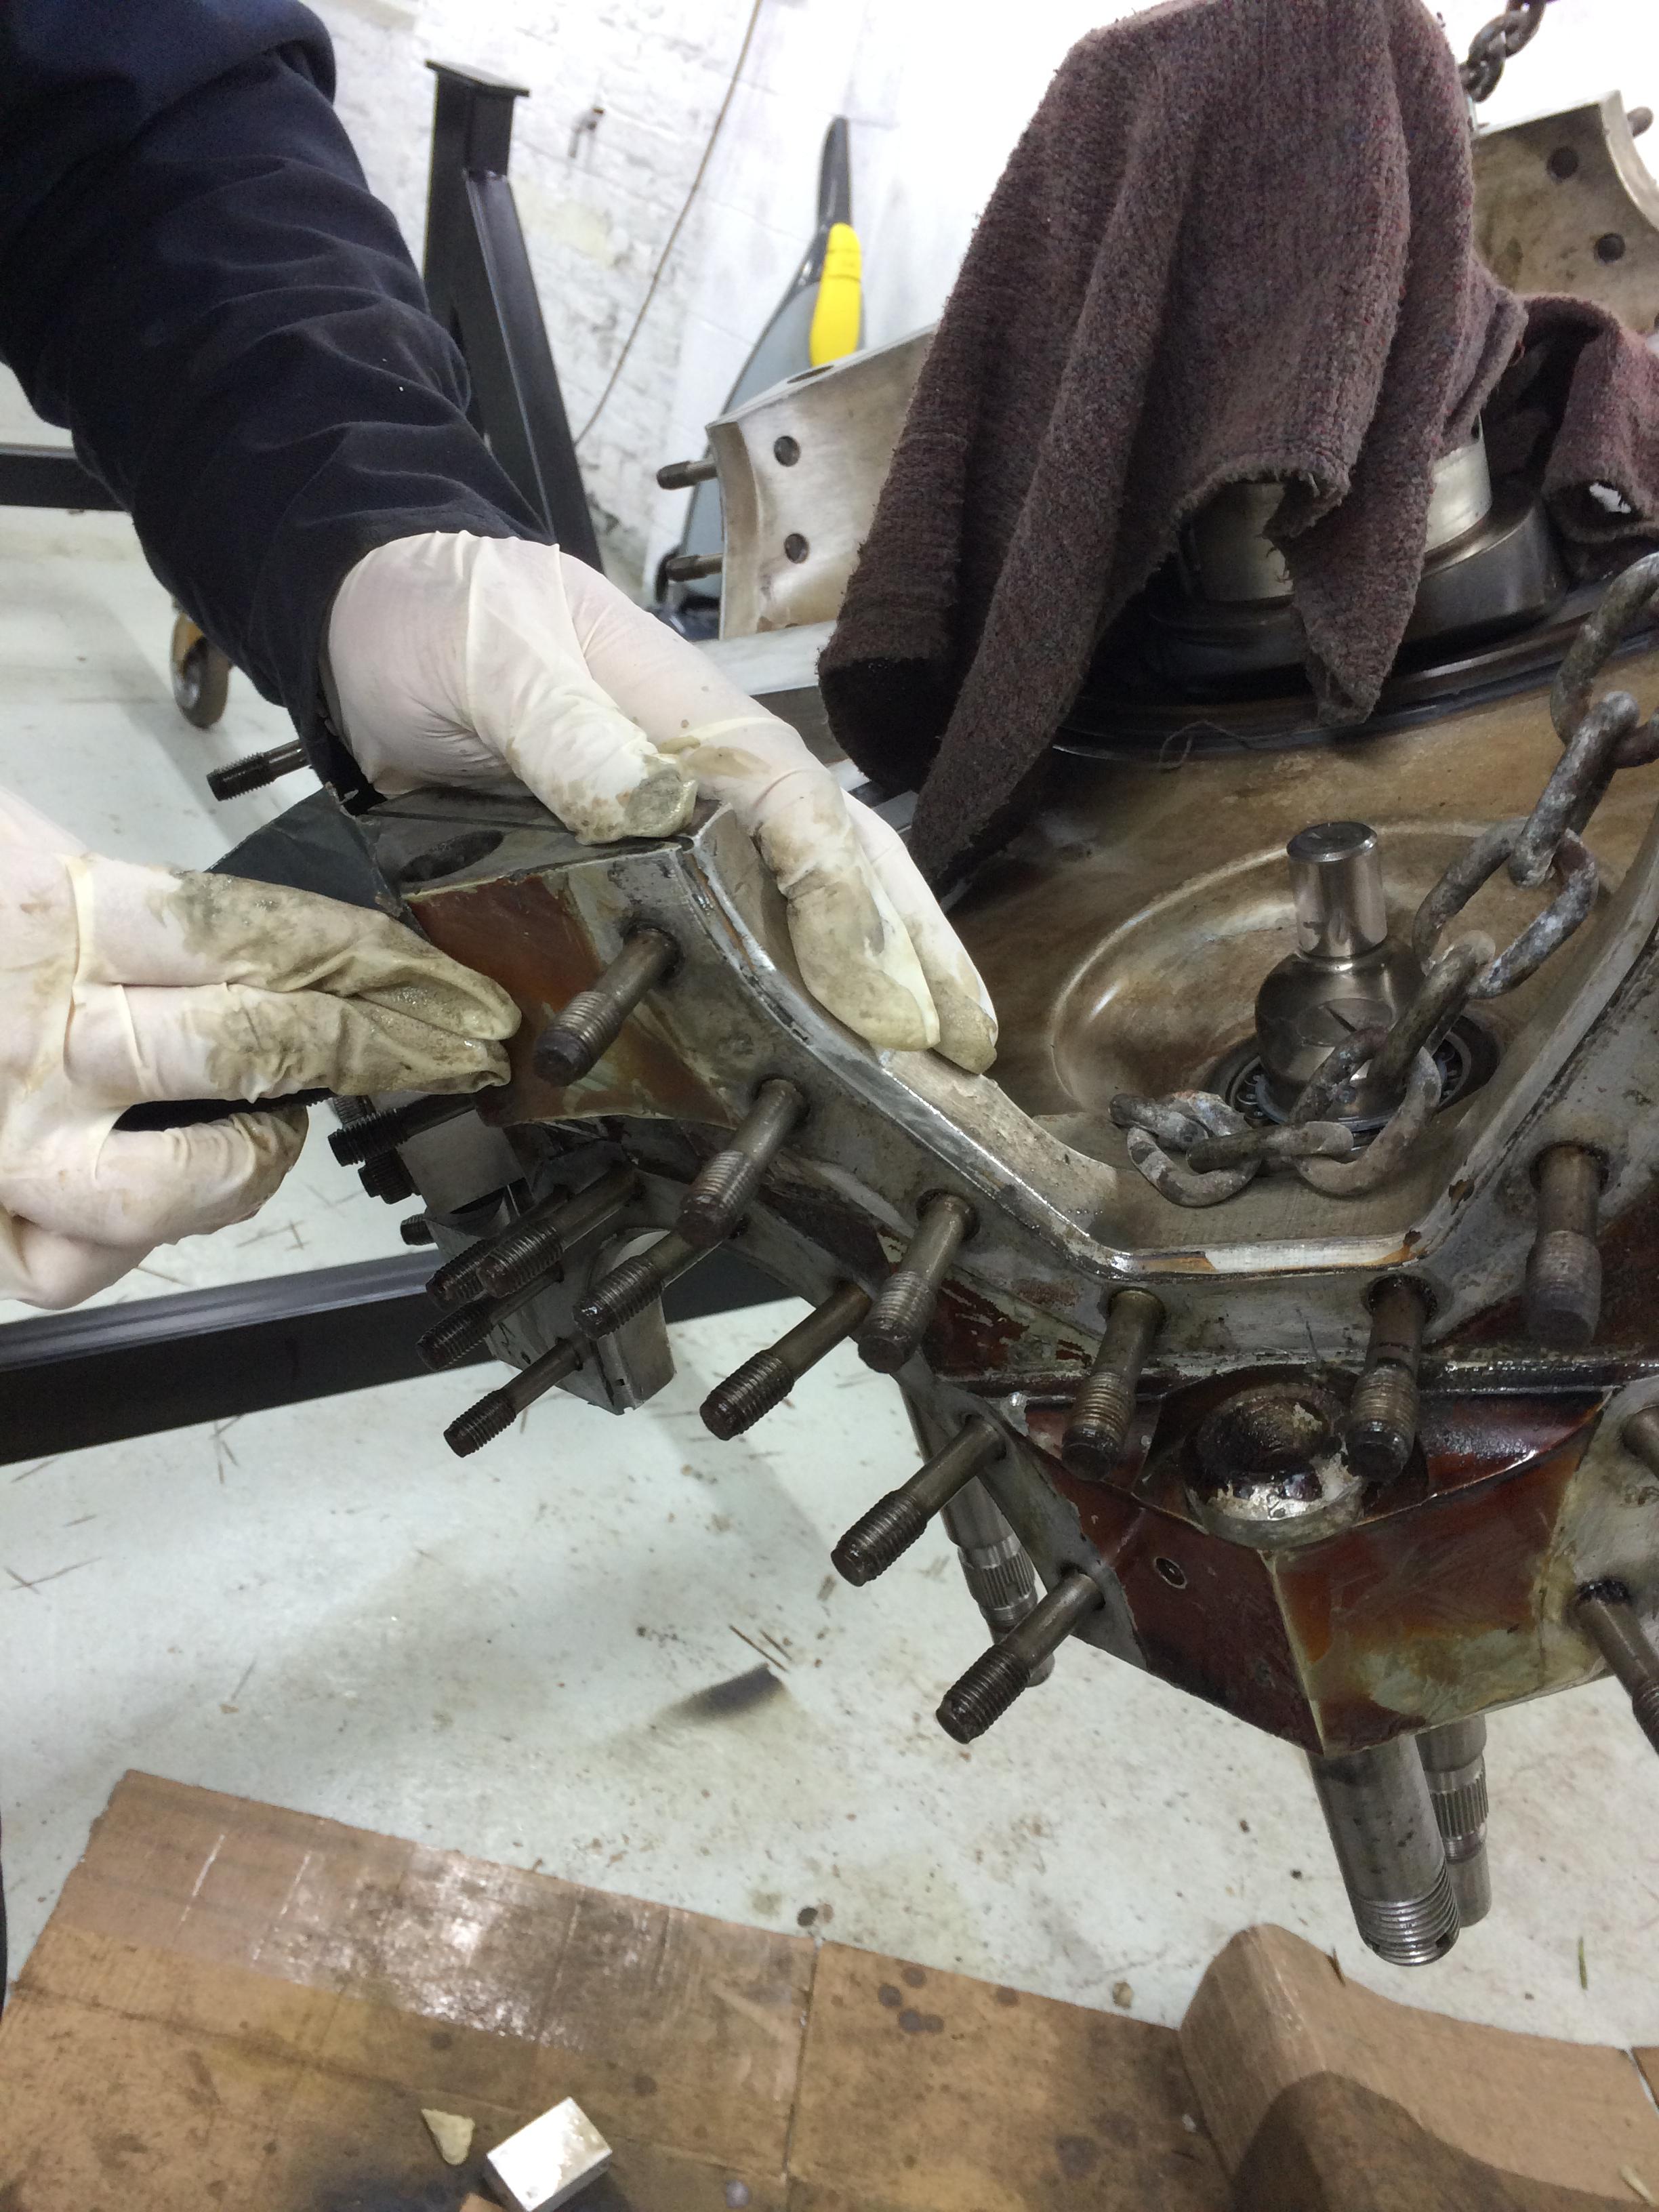
Peter looking serious here as we get ready to fit the Supercharger, must be time for a beer!

super_charger_refit 010super_charger_refit 011


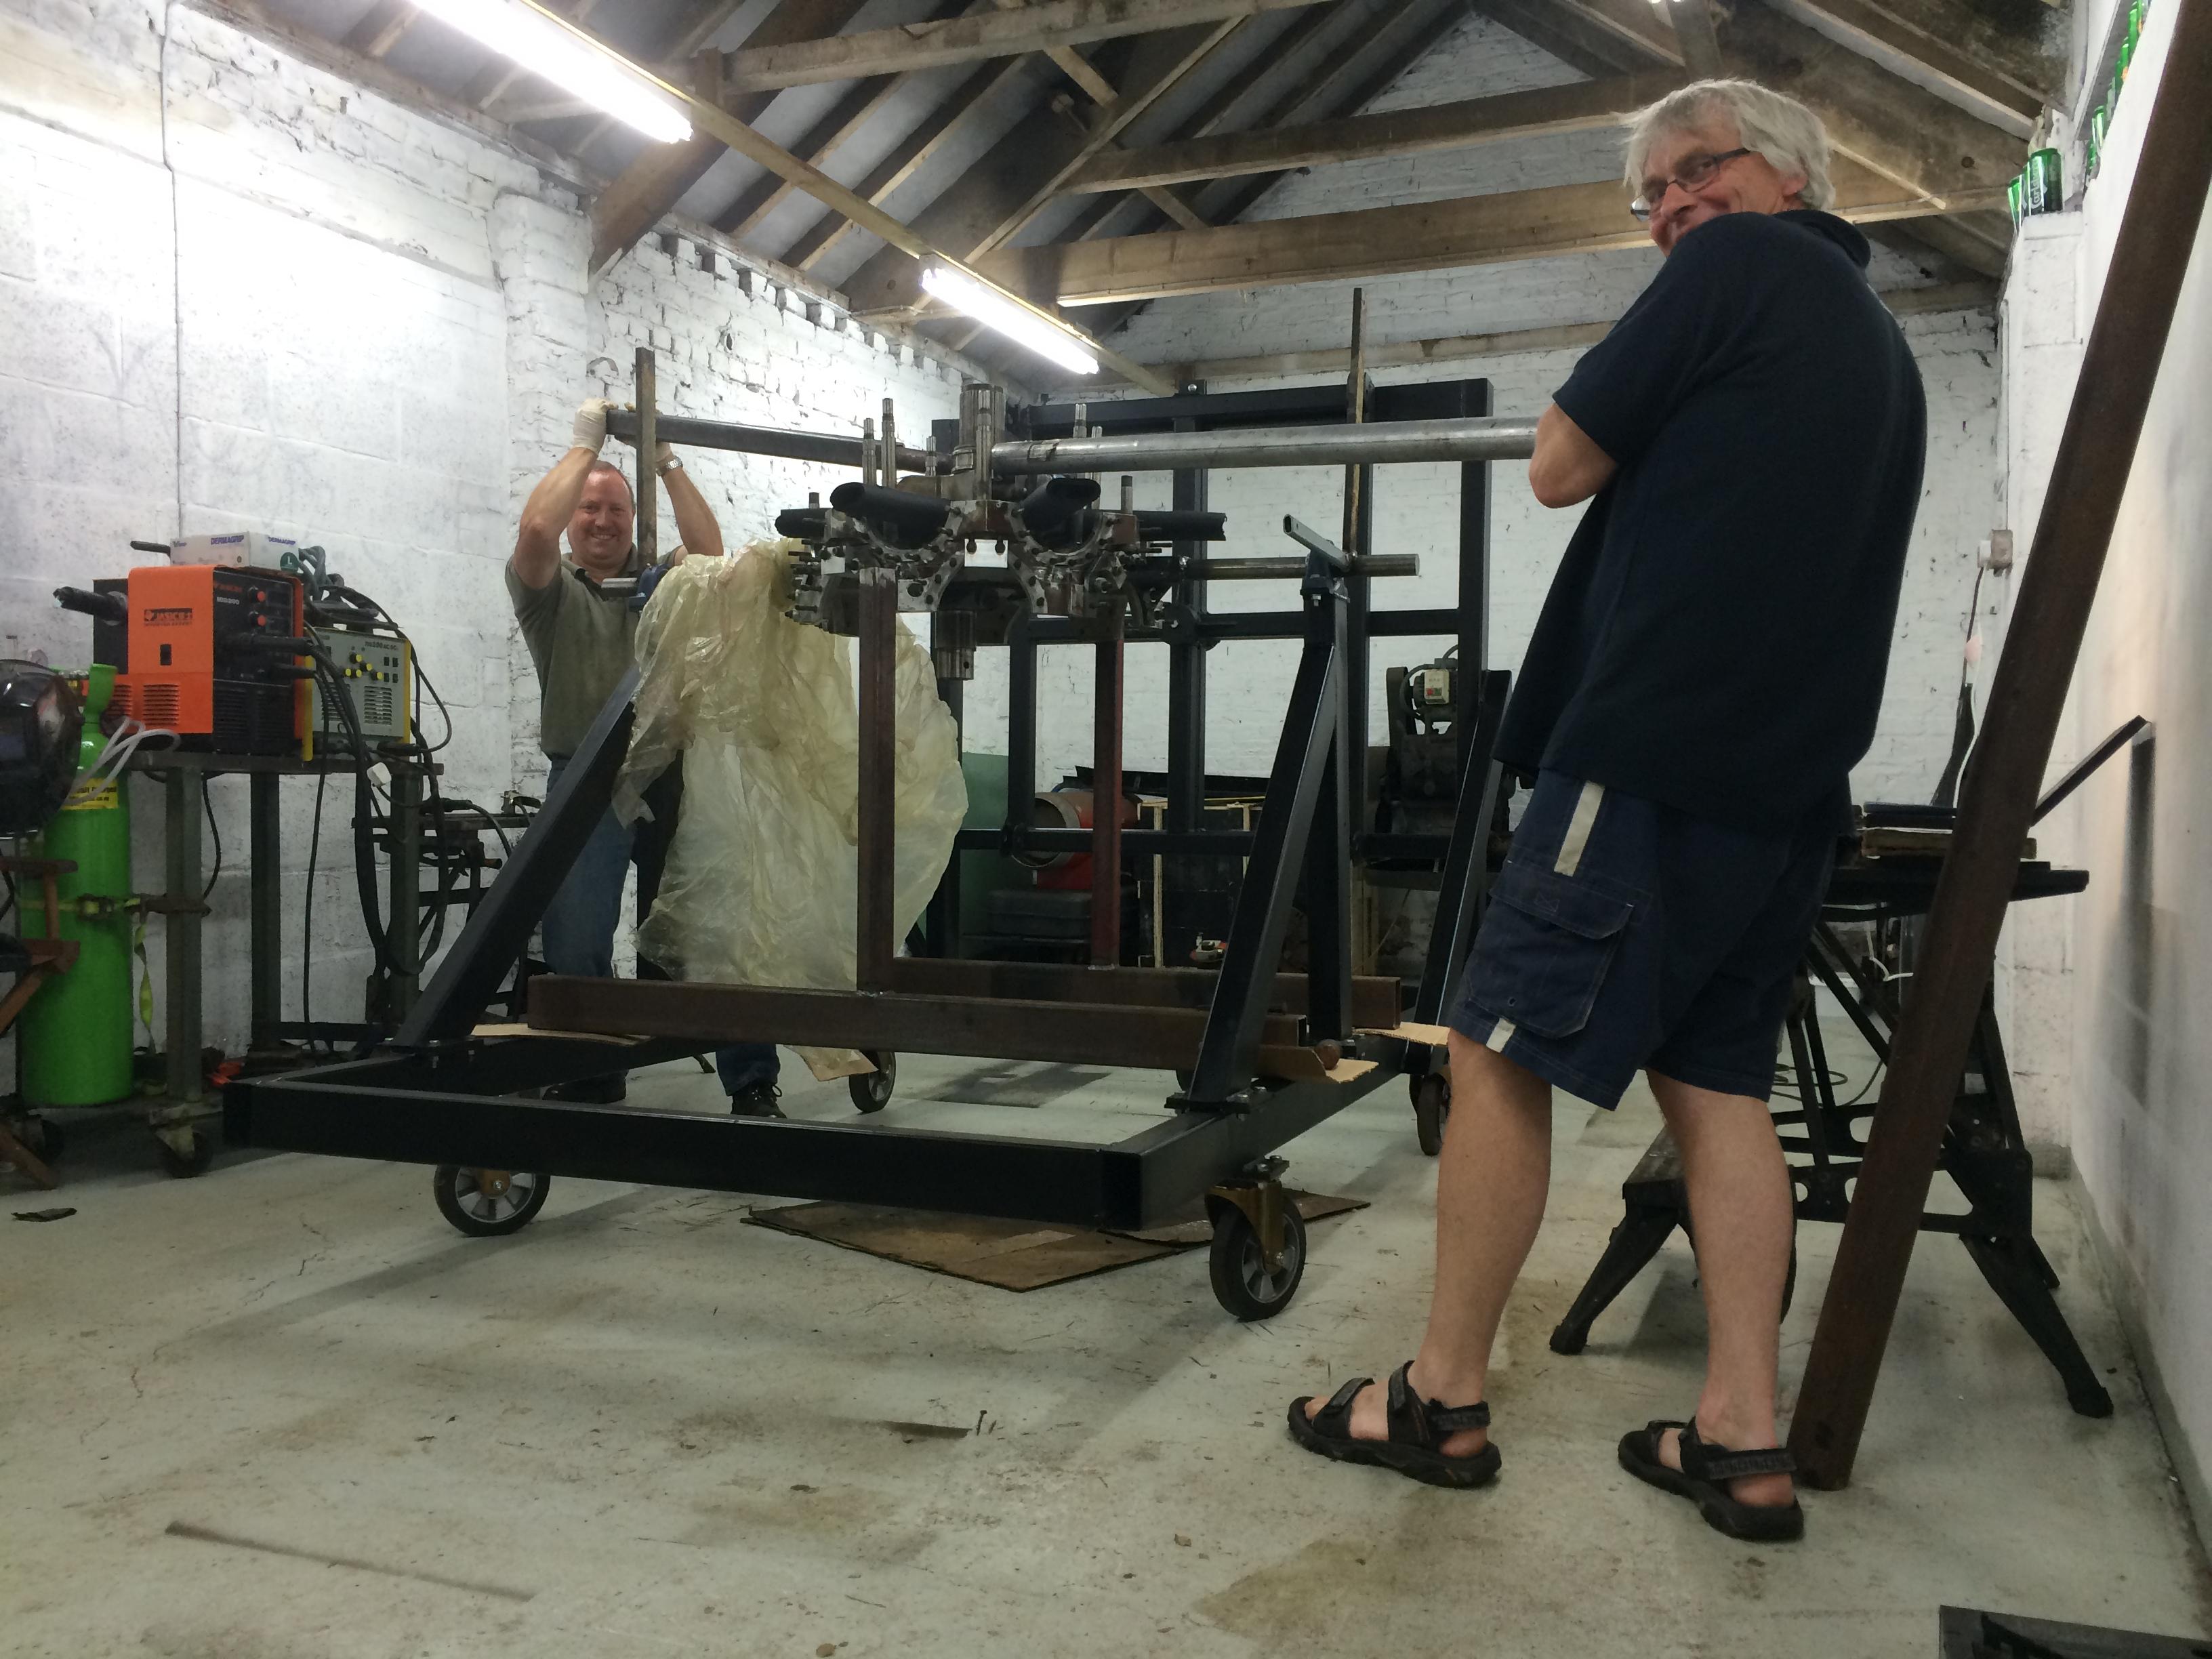
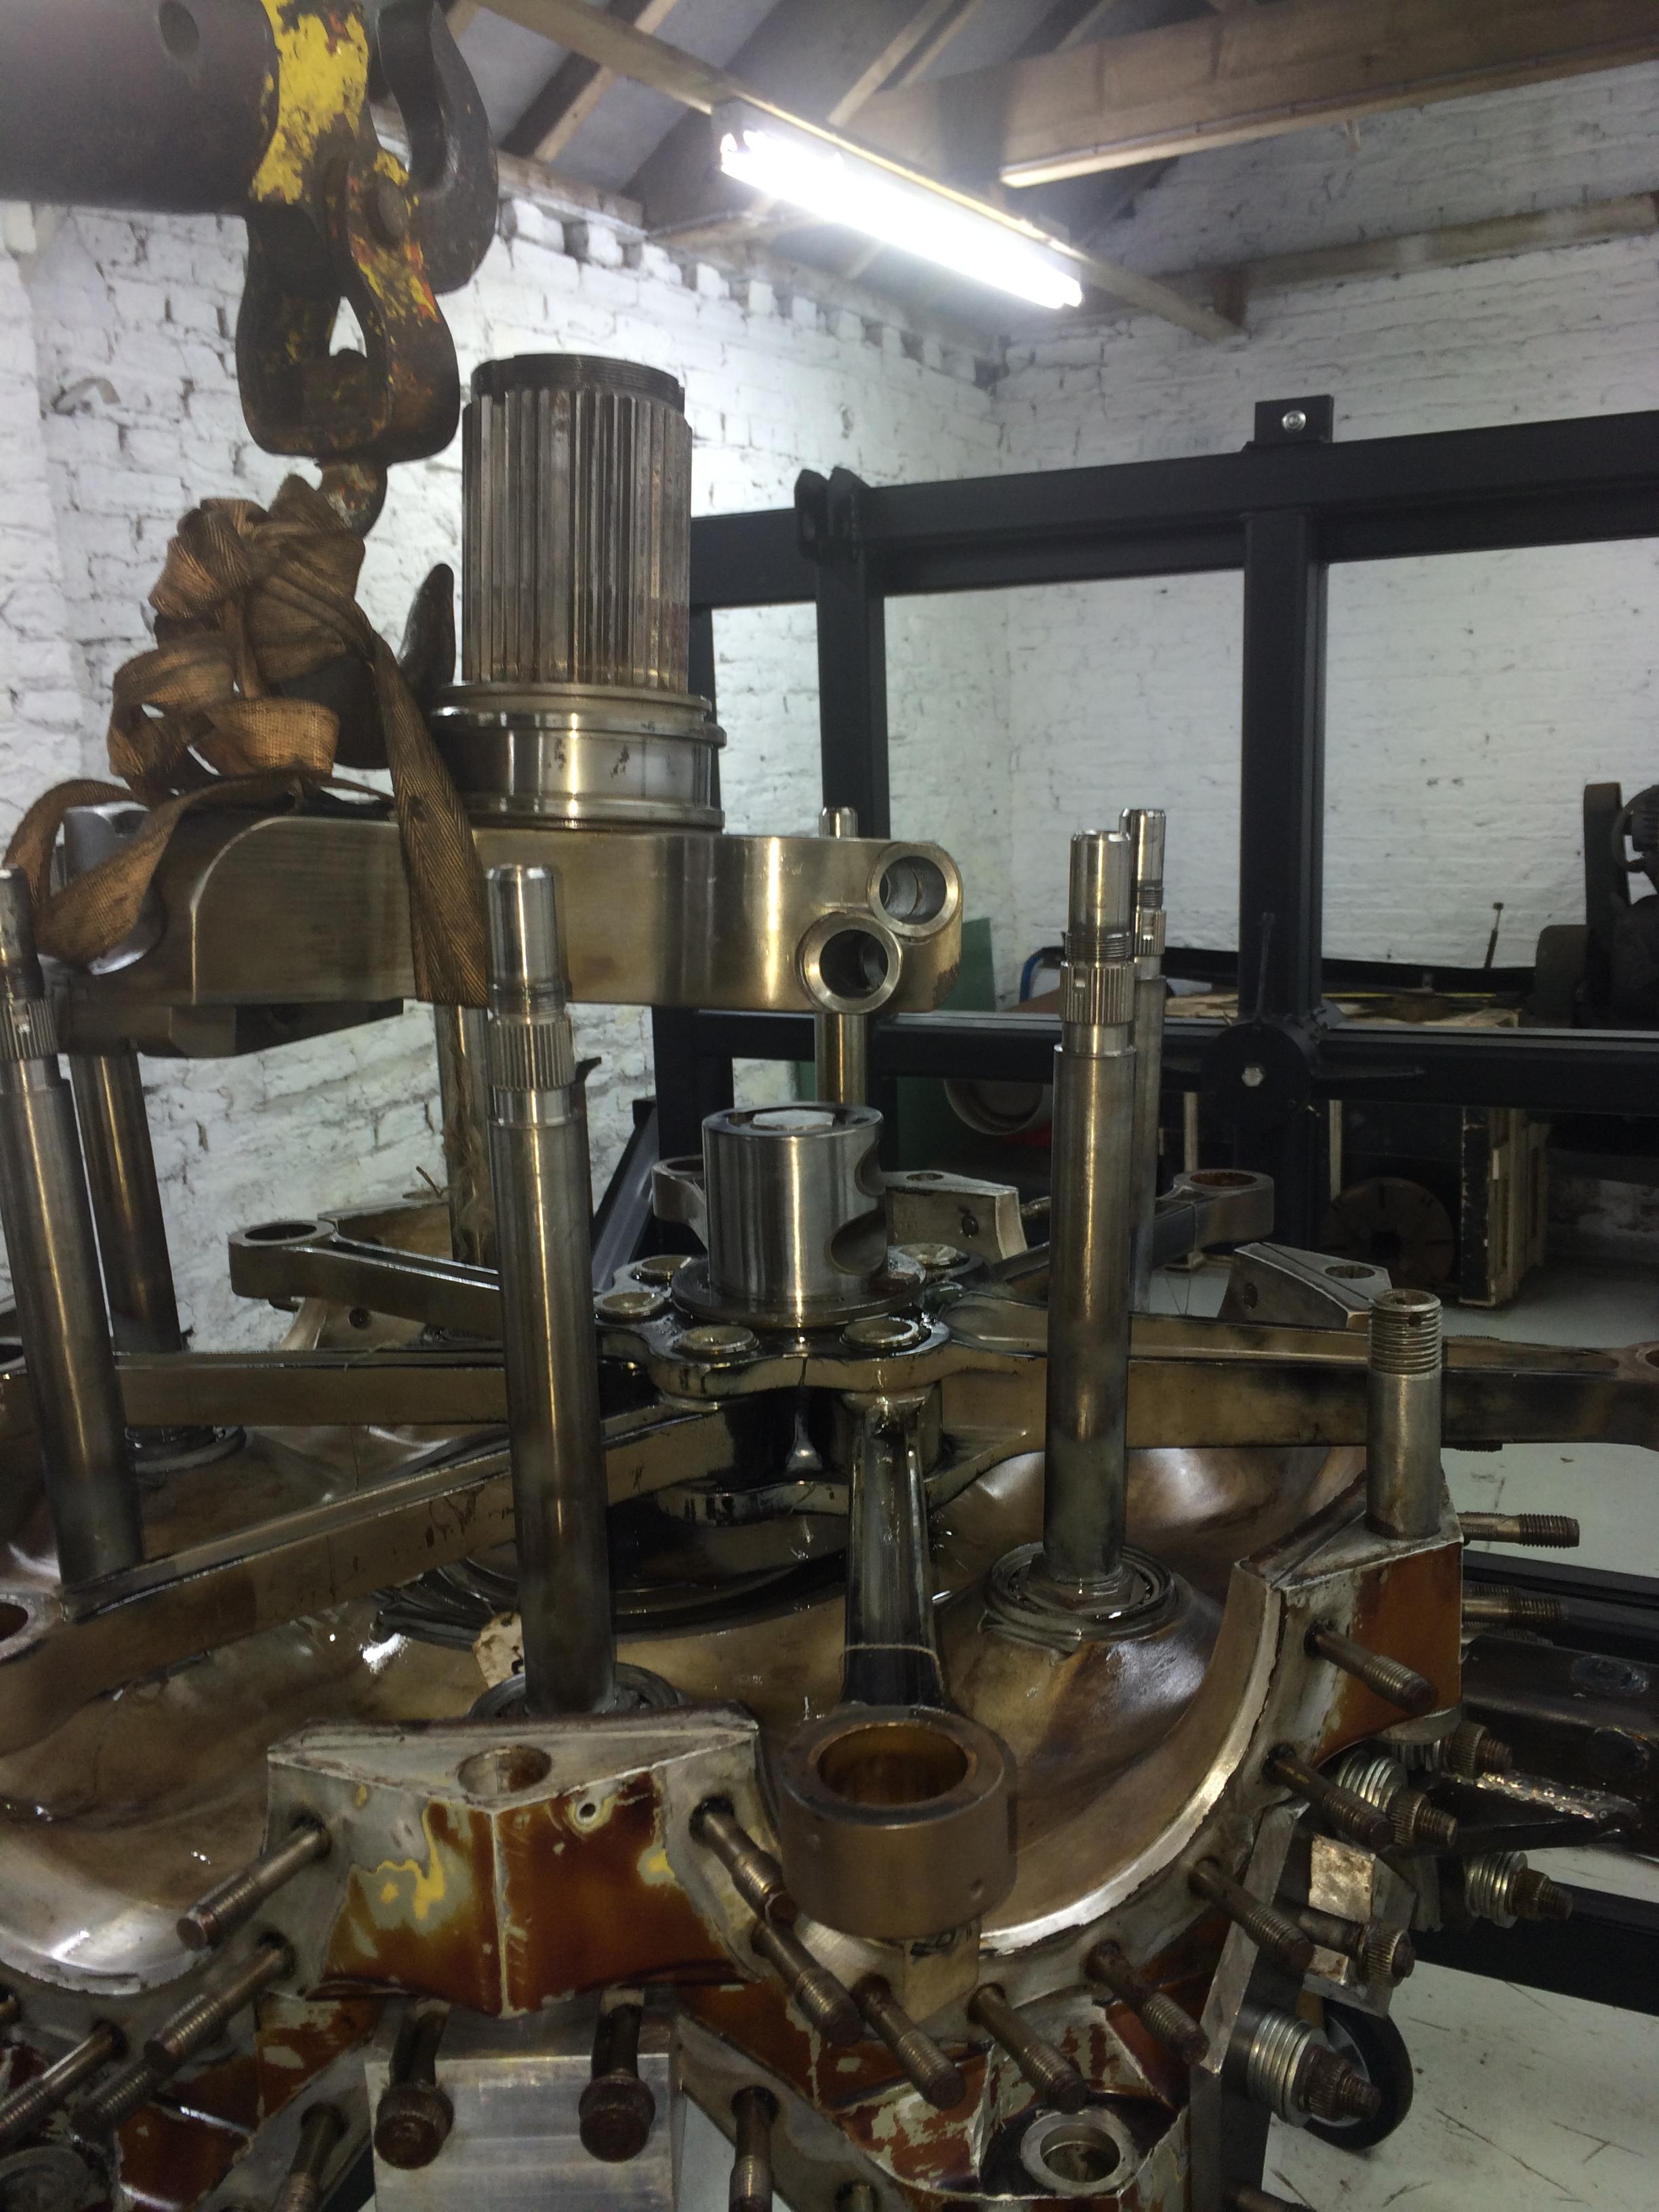
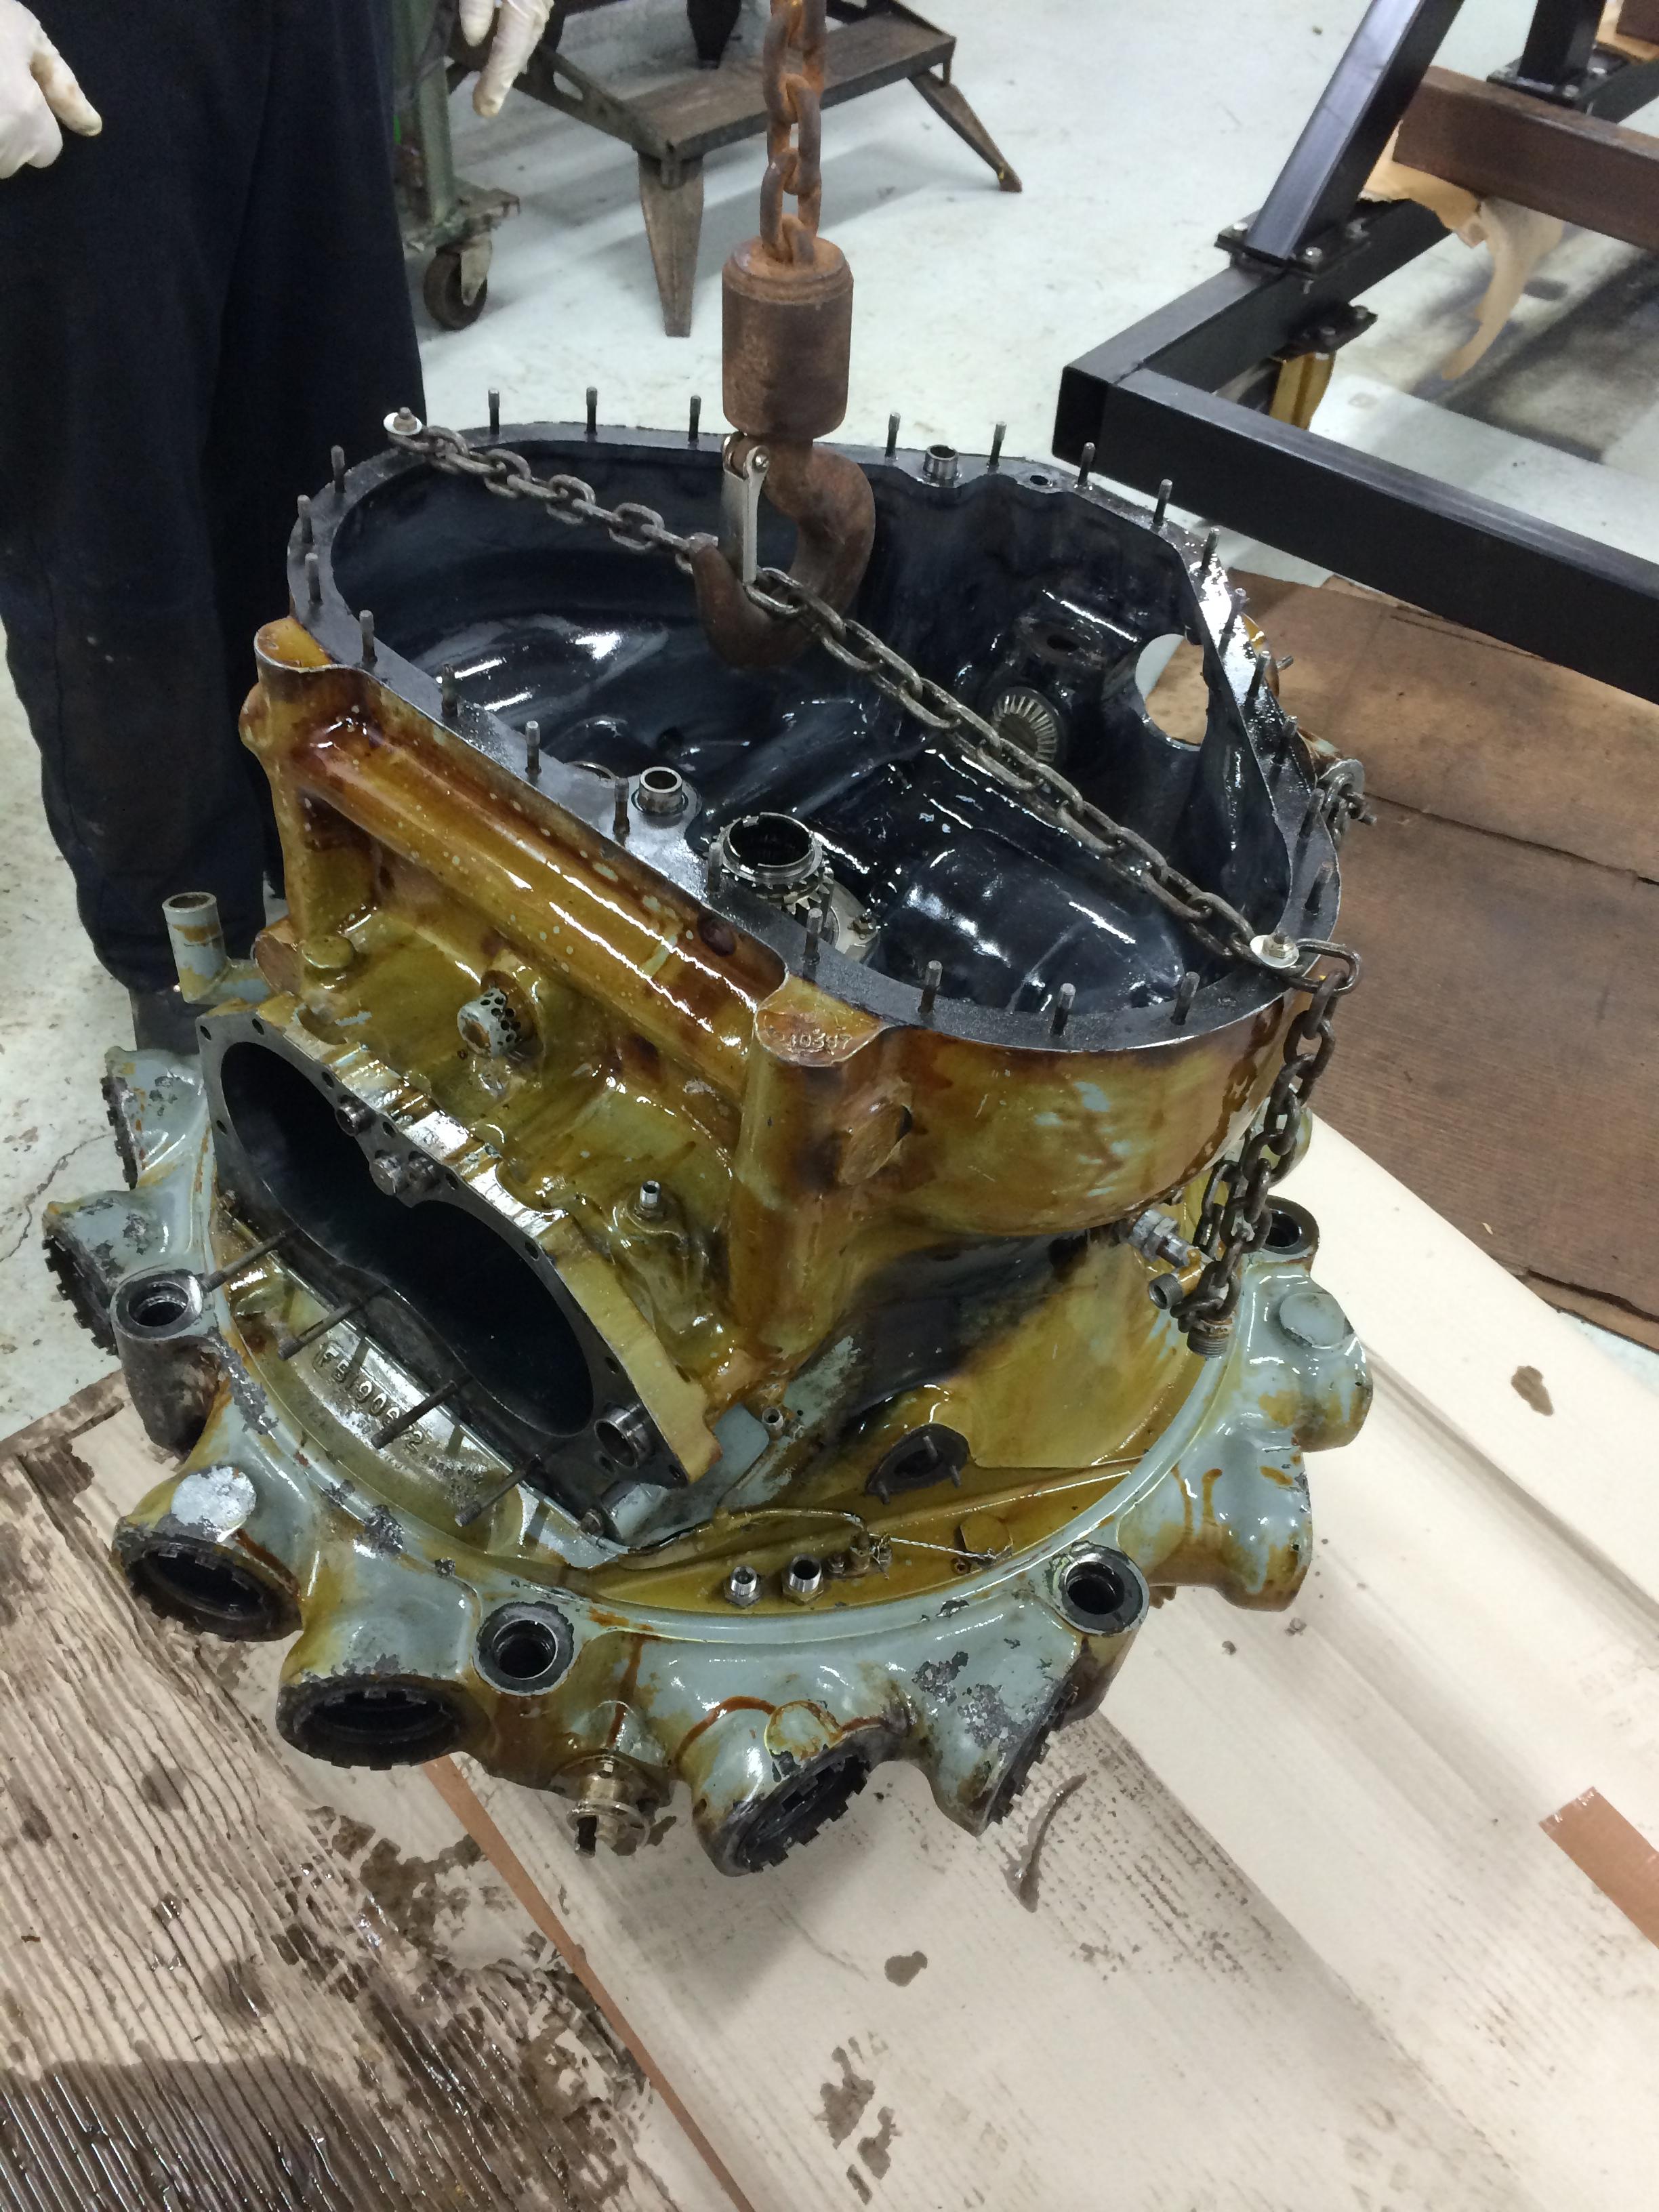
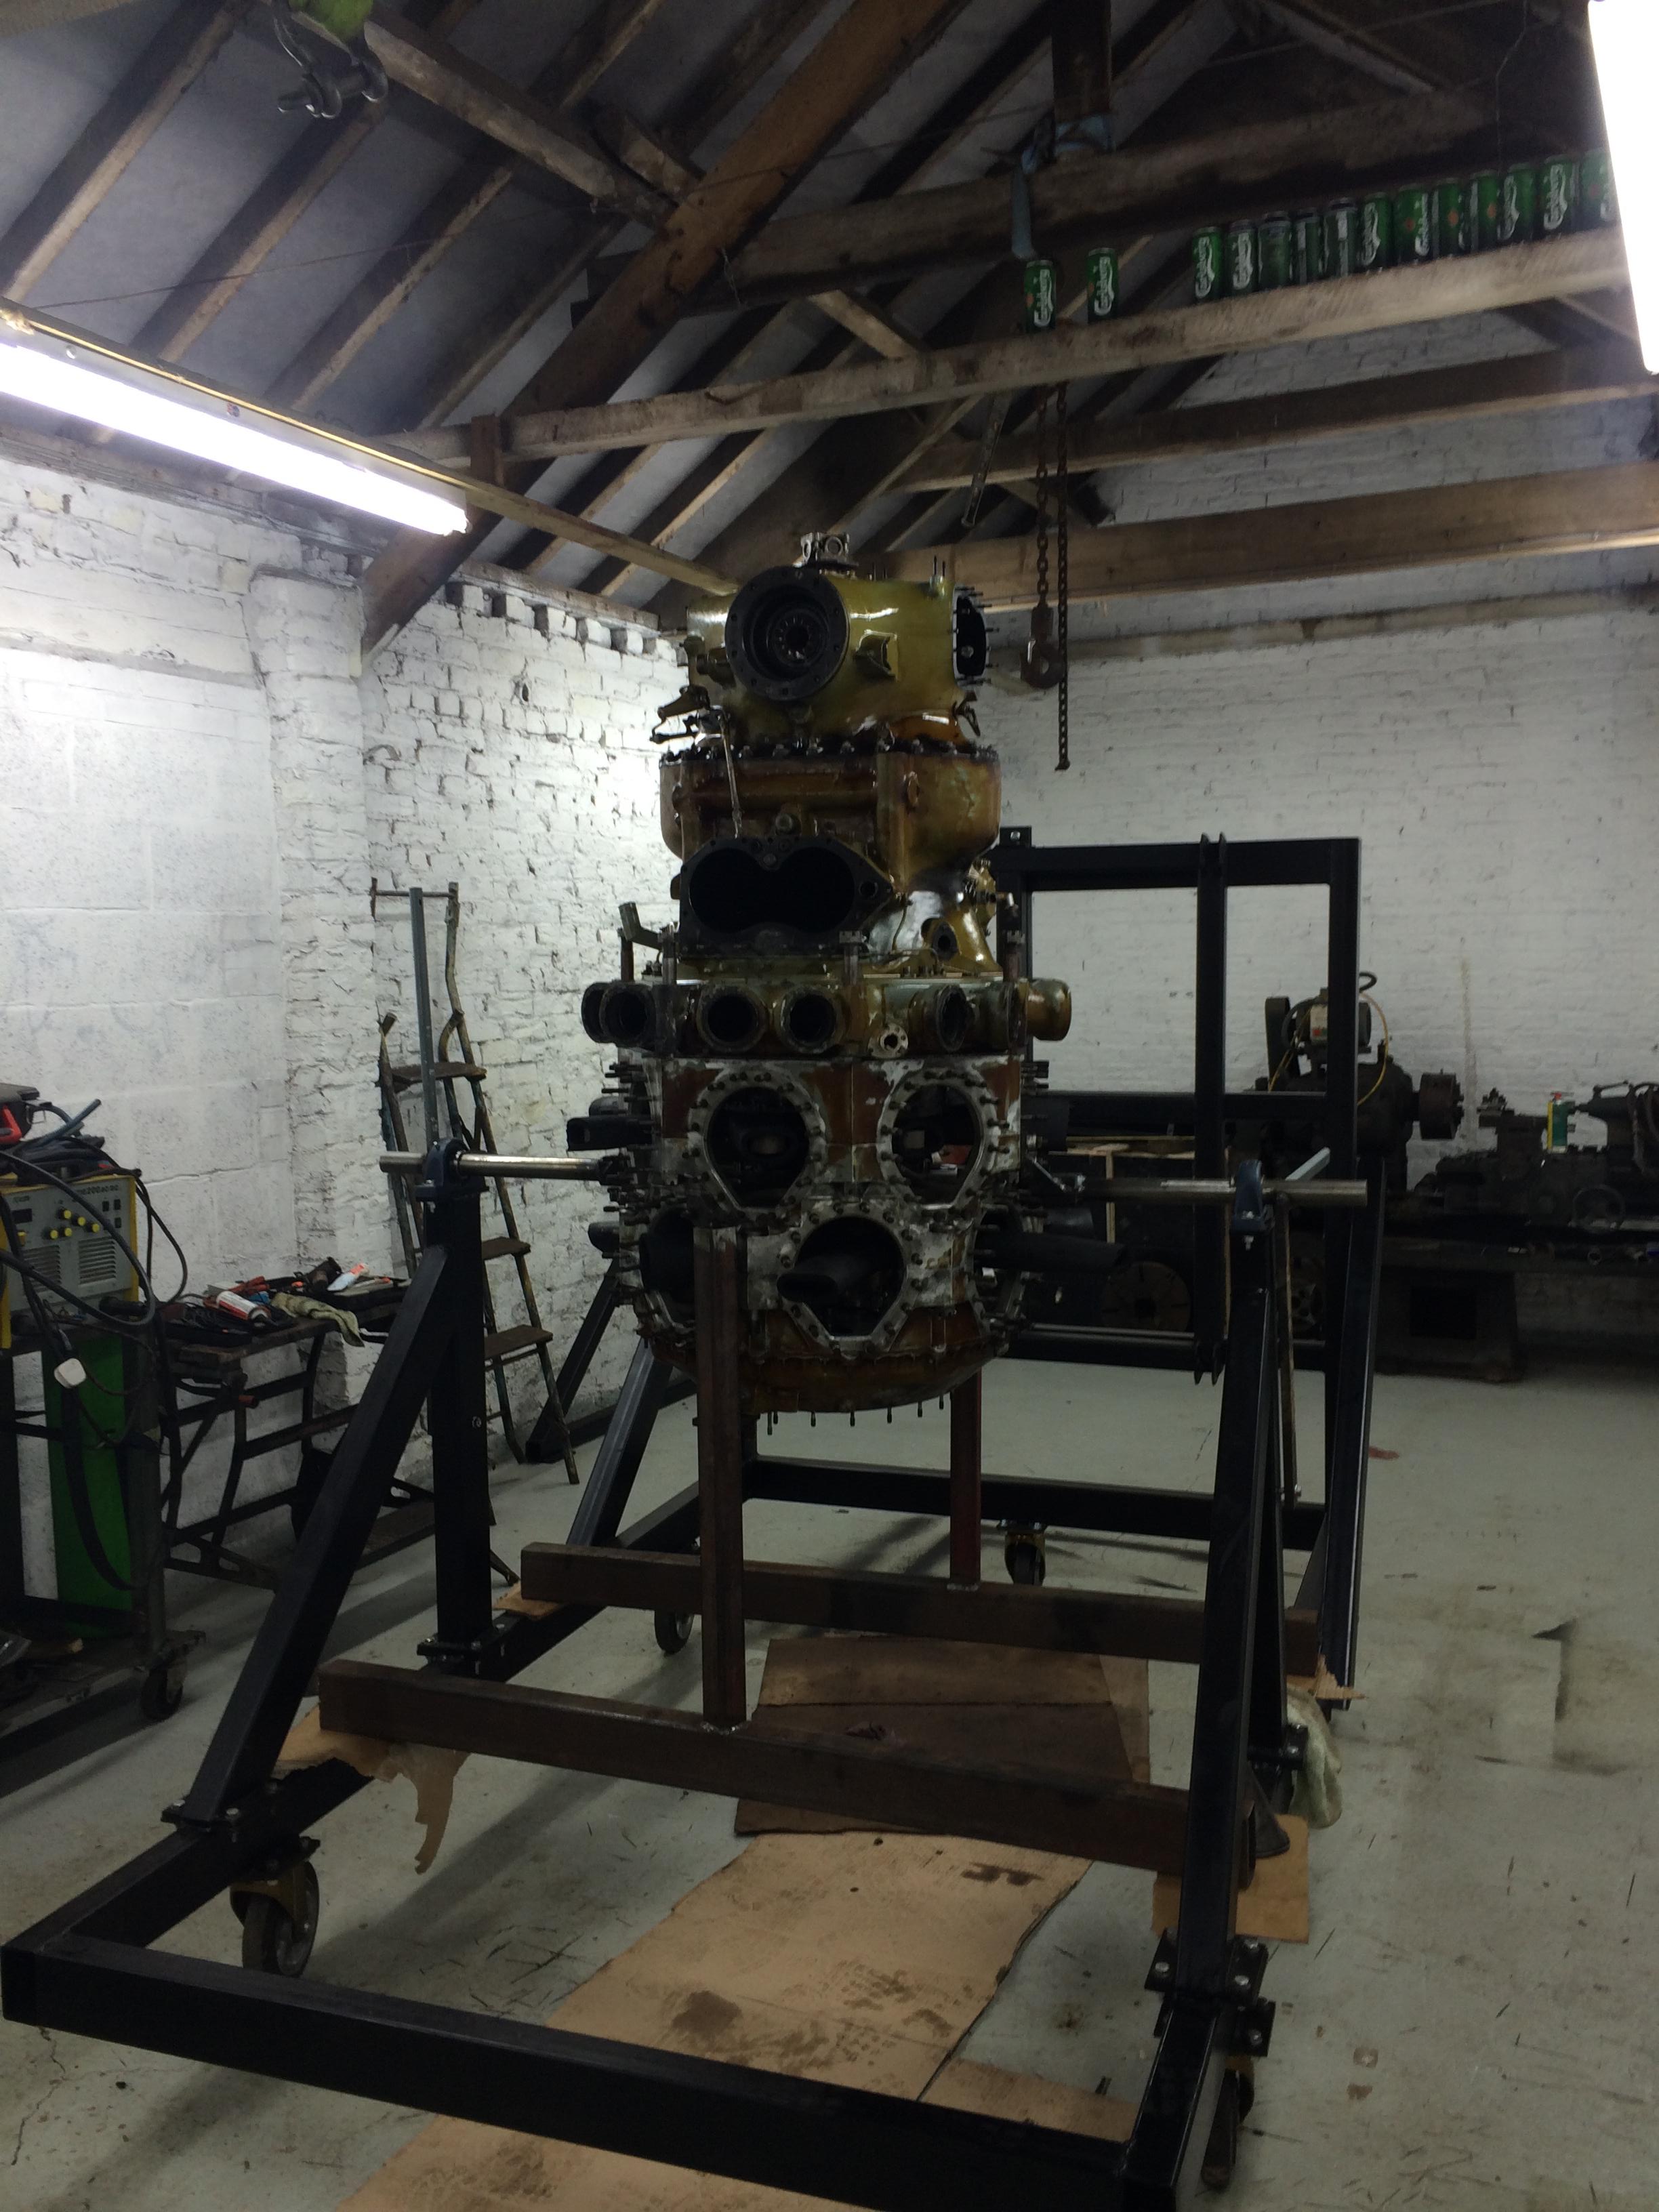
And on she goes, next job rejig the chain pull higher up in the roof to lift the gearbox on.


264 gearbox refit 010

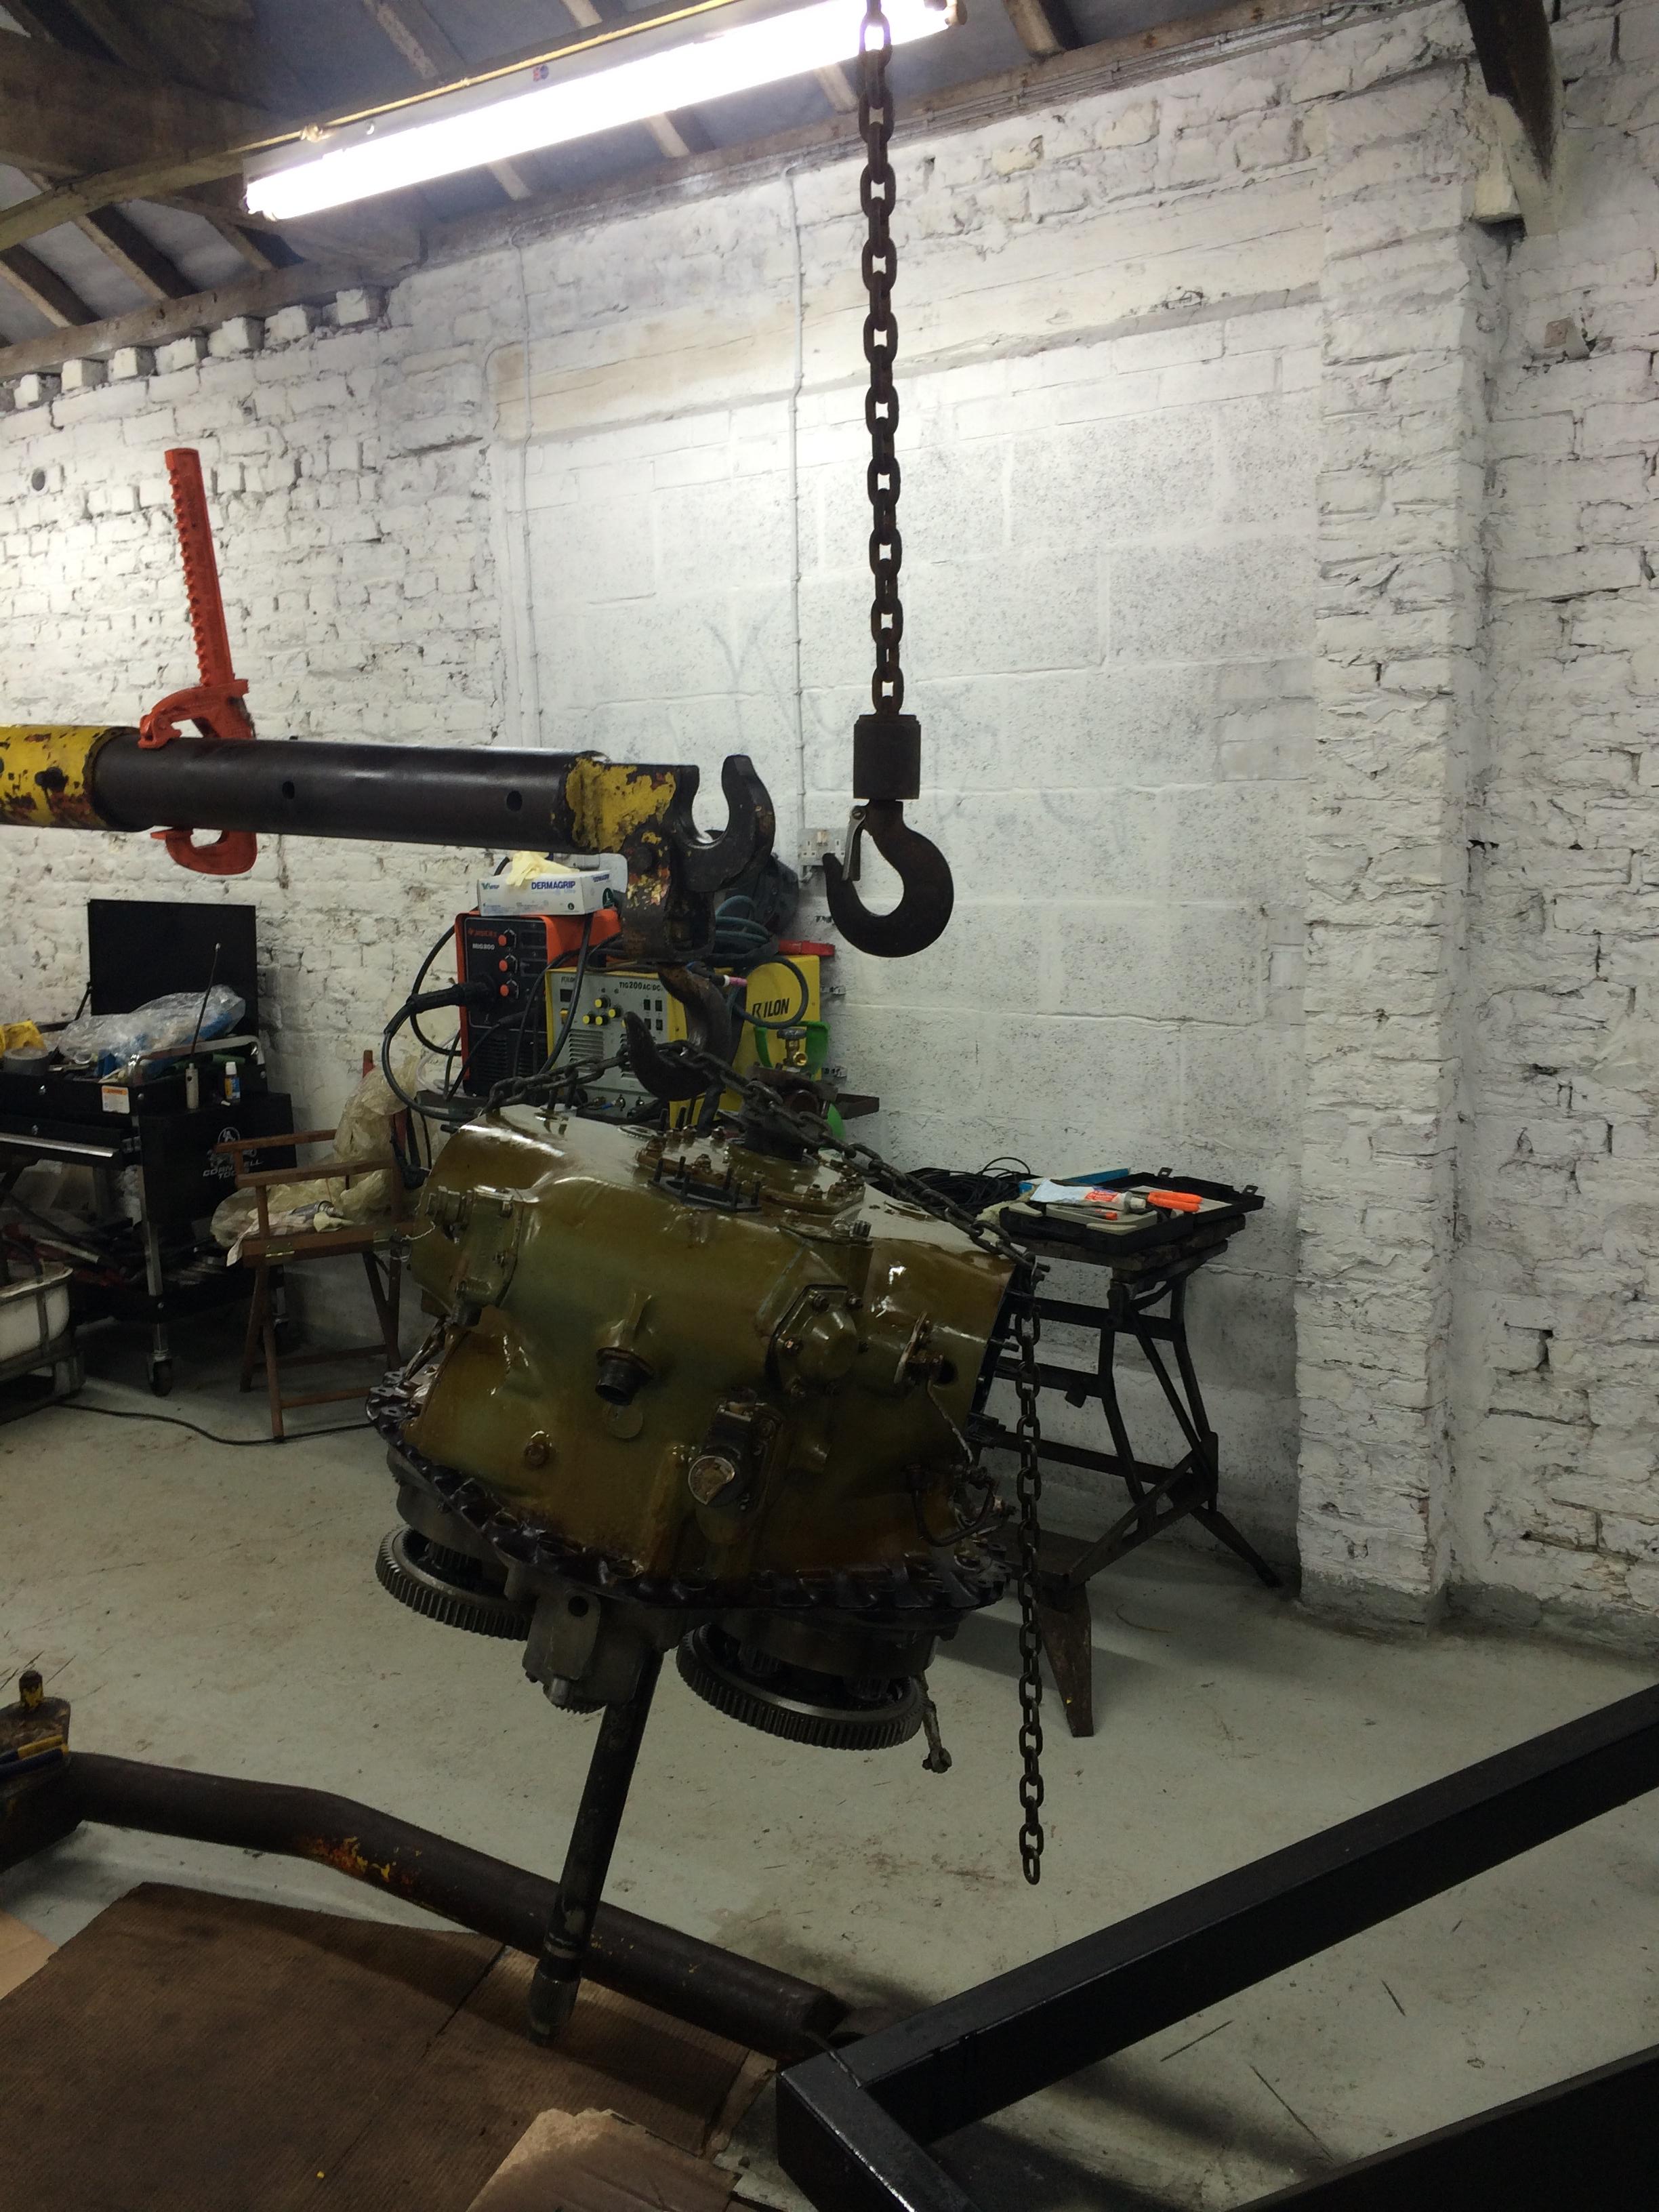
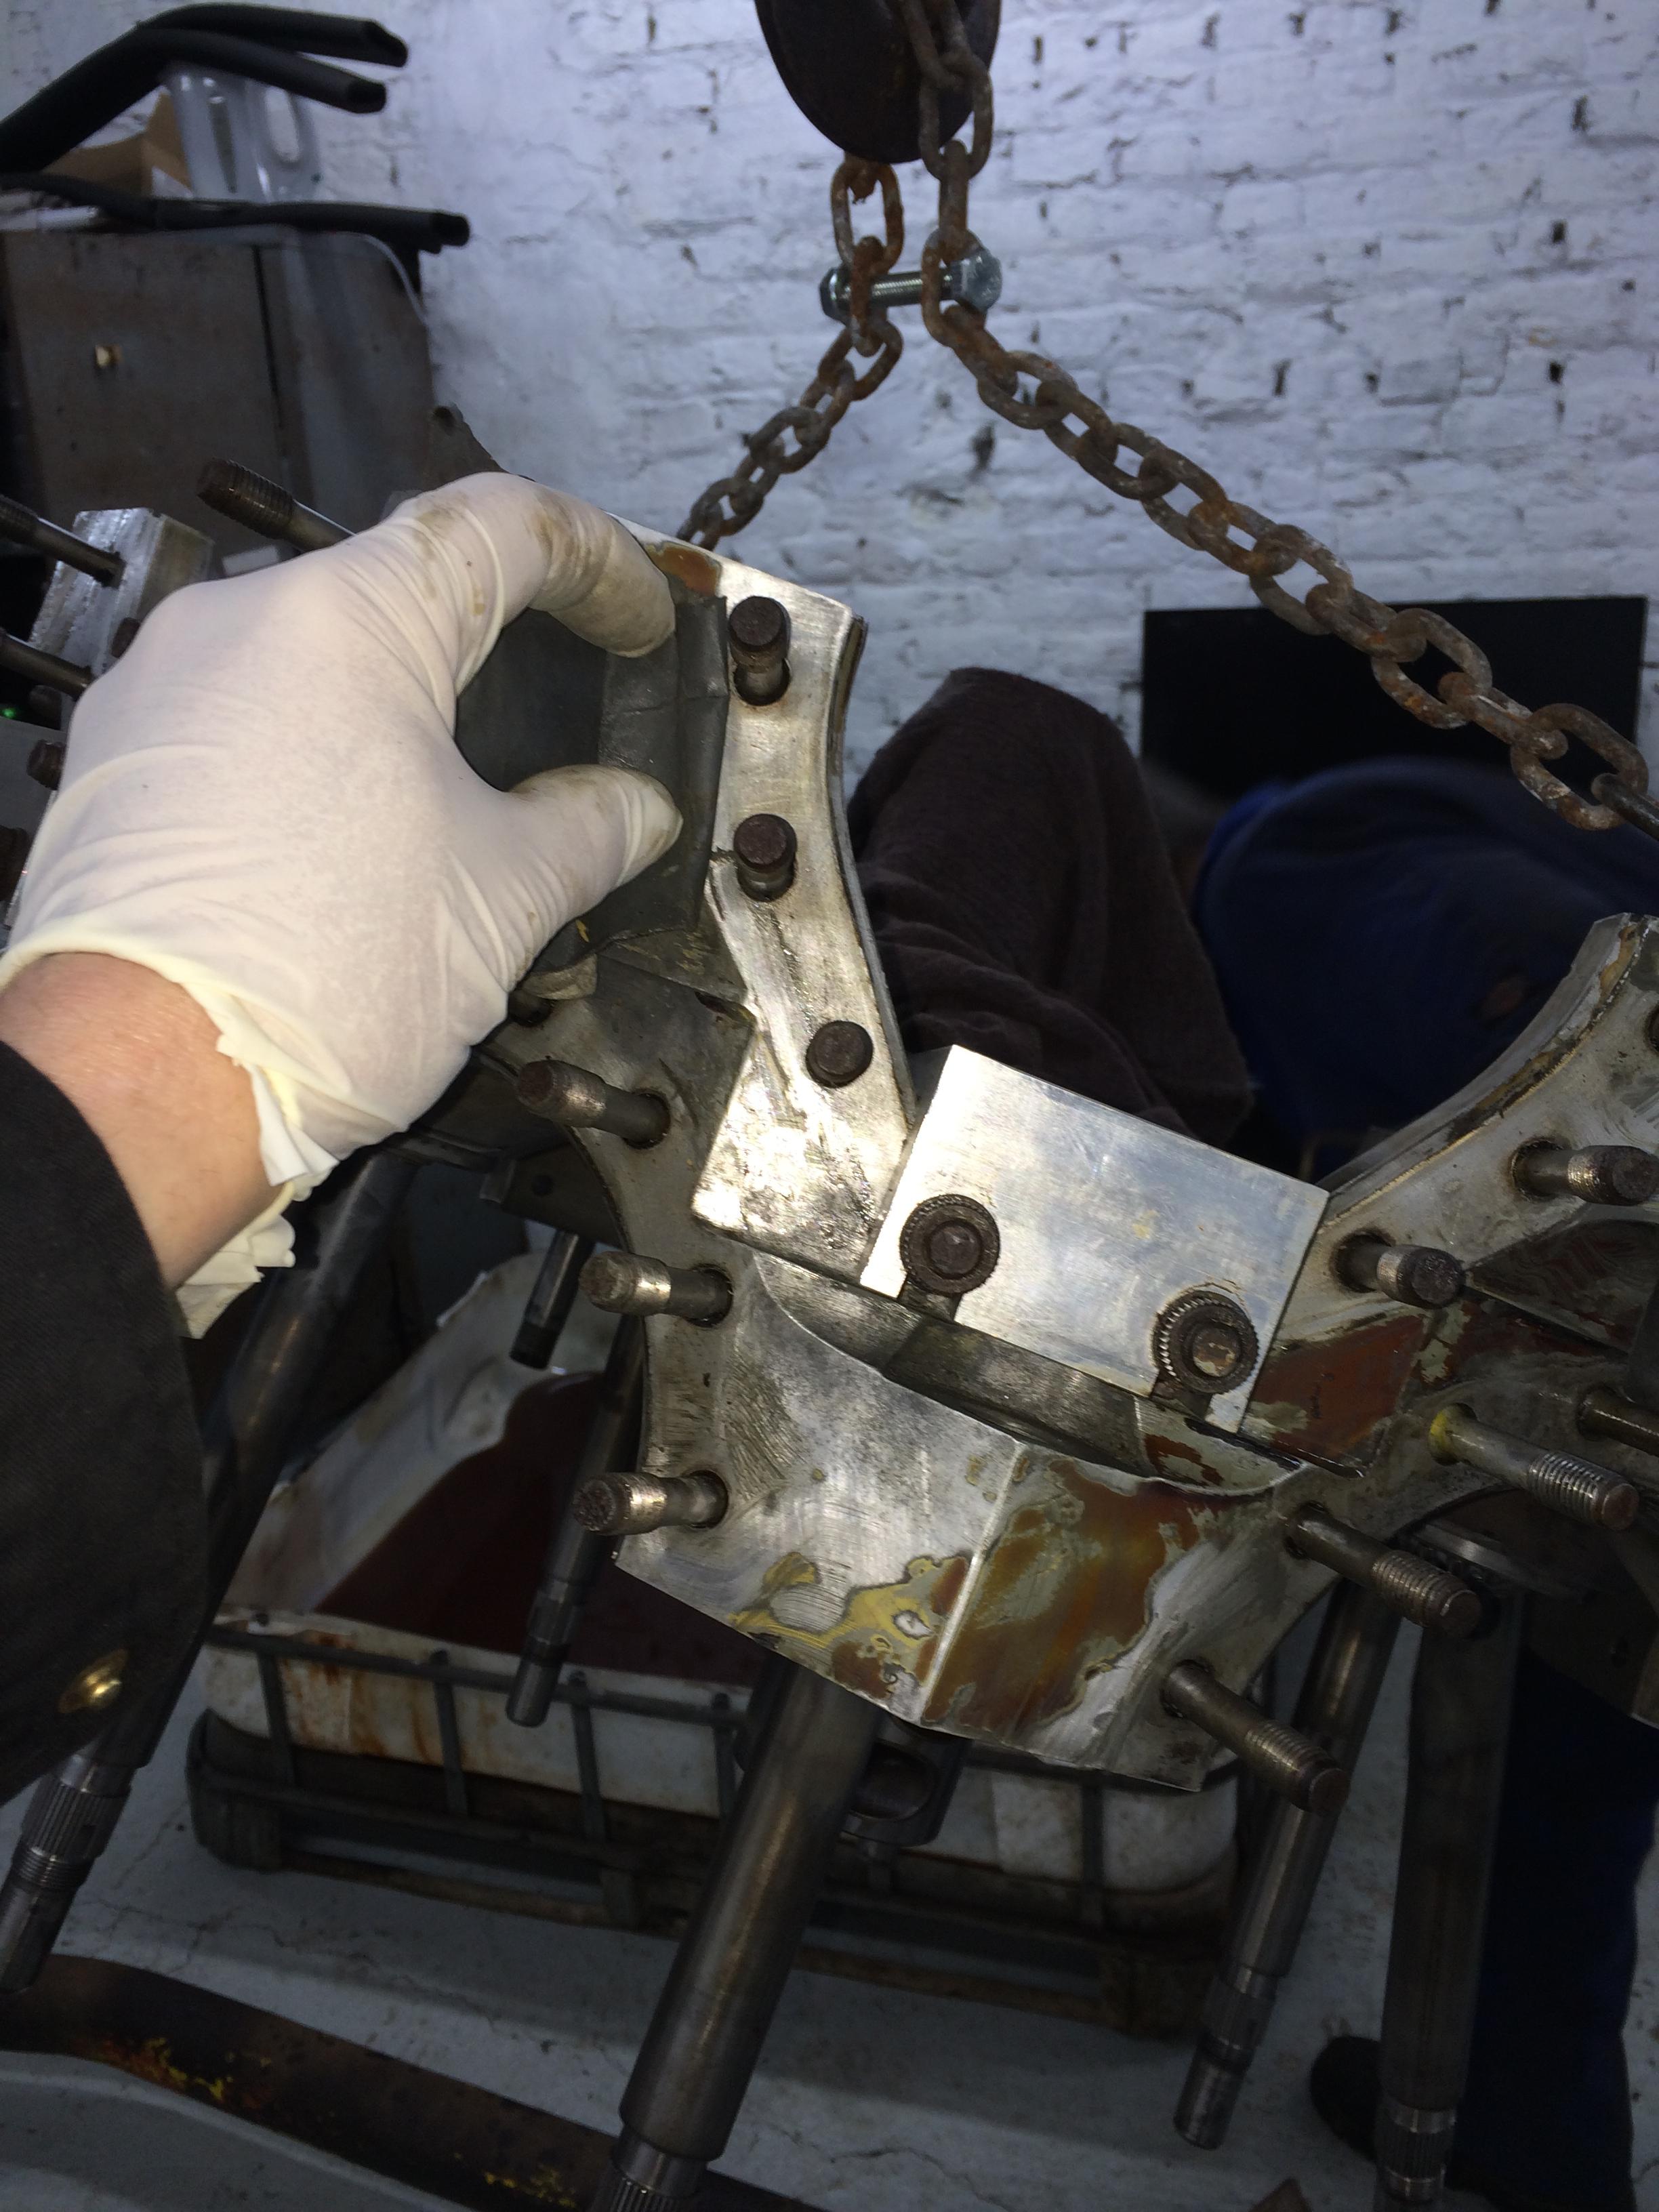
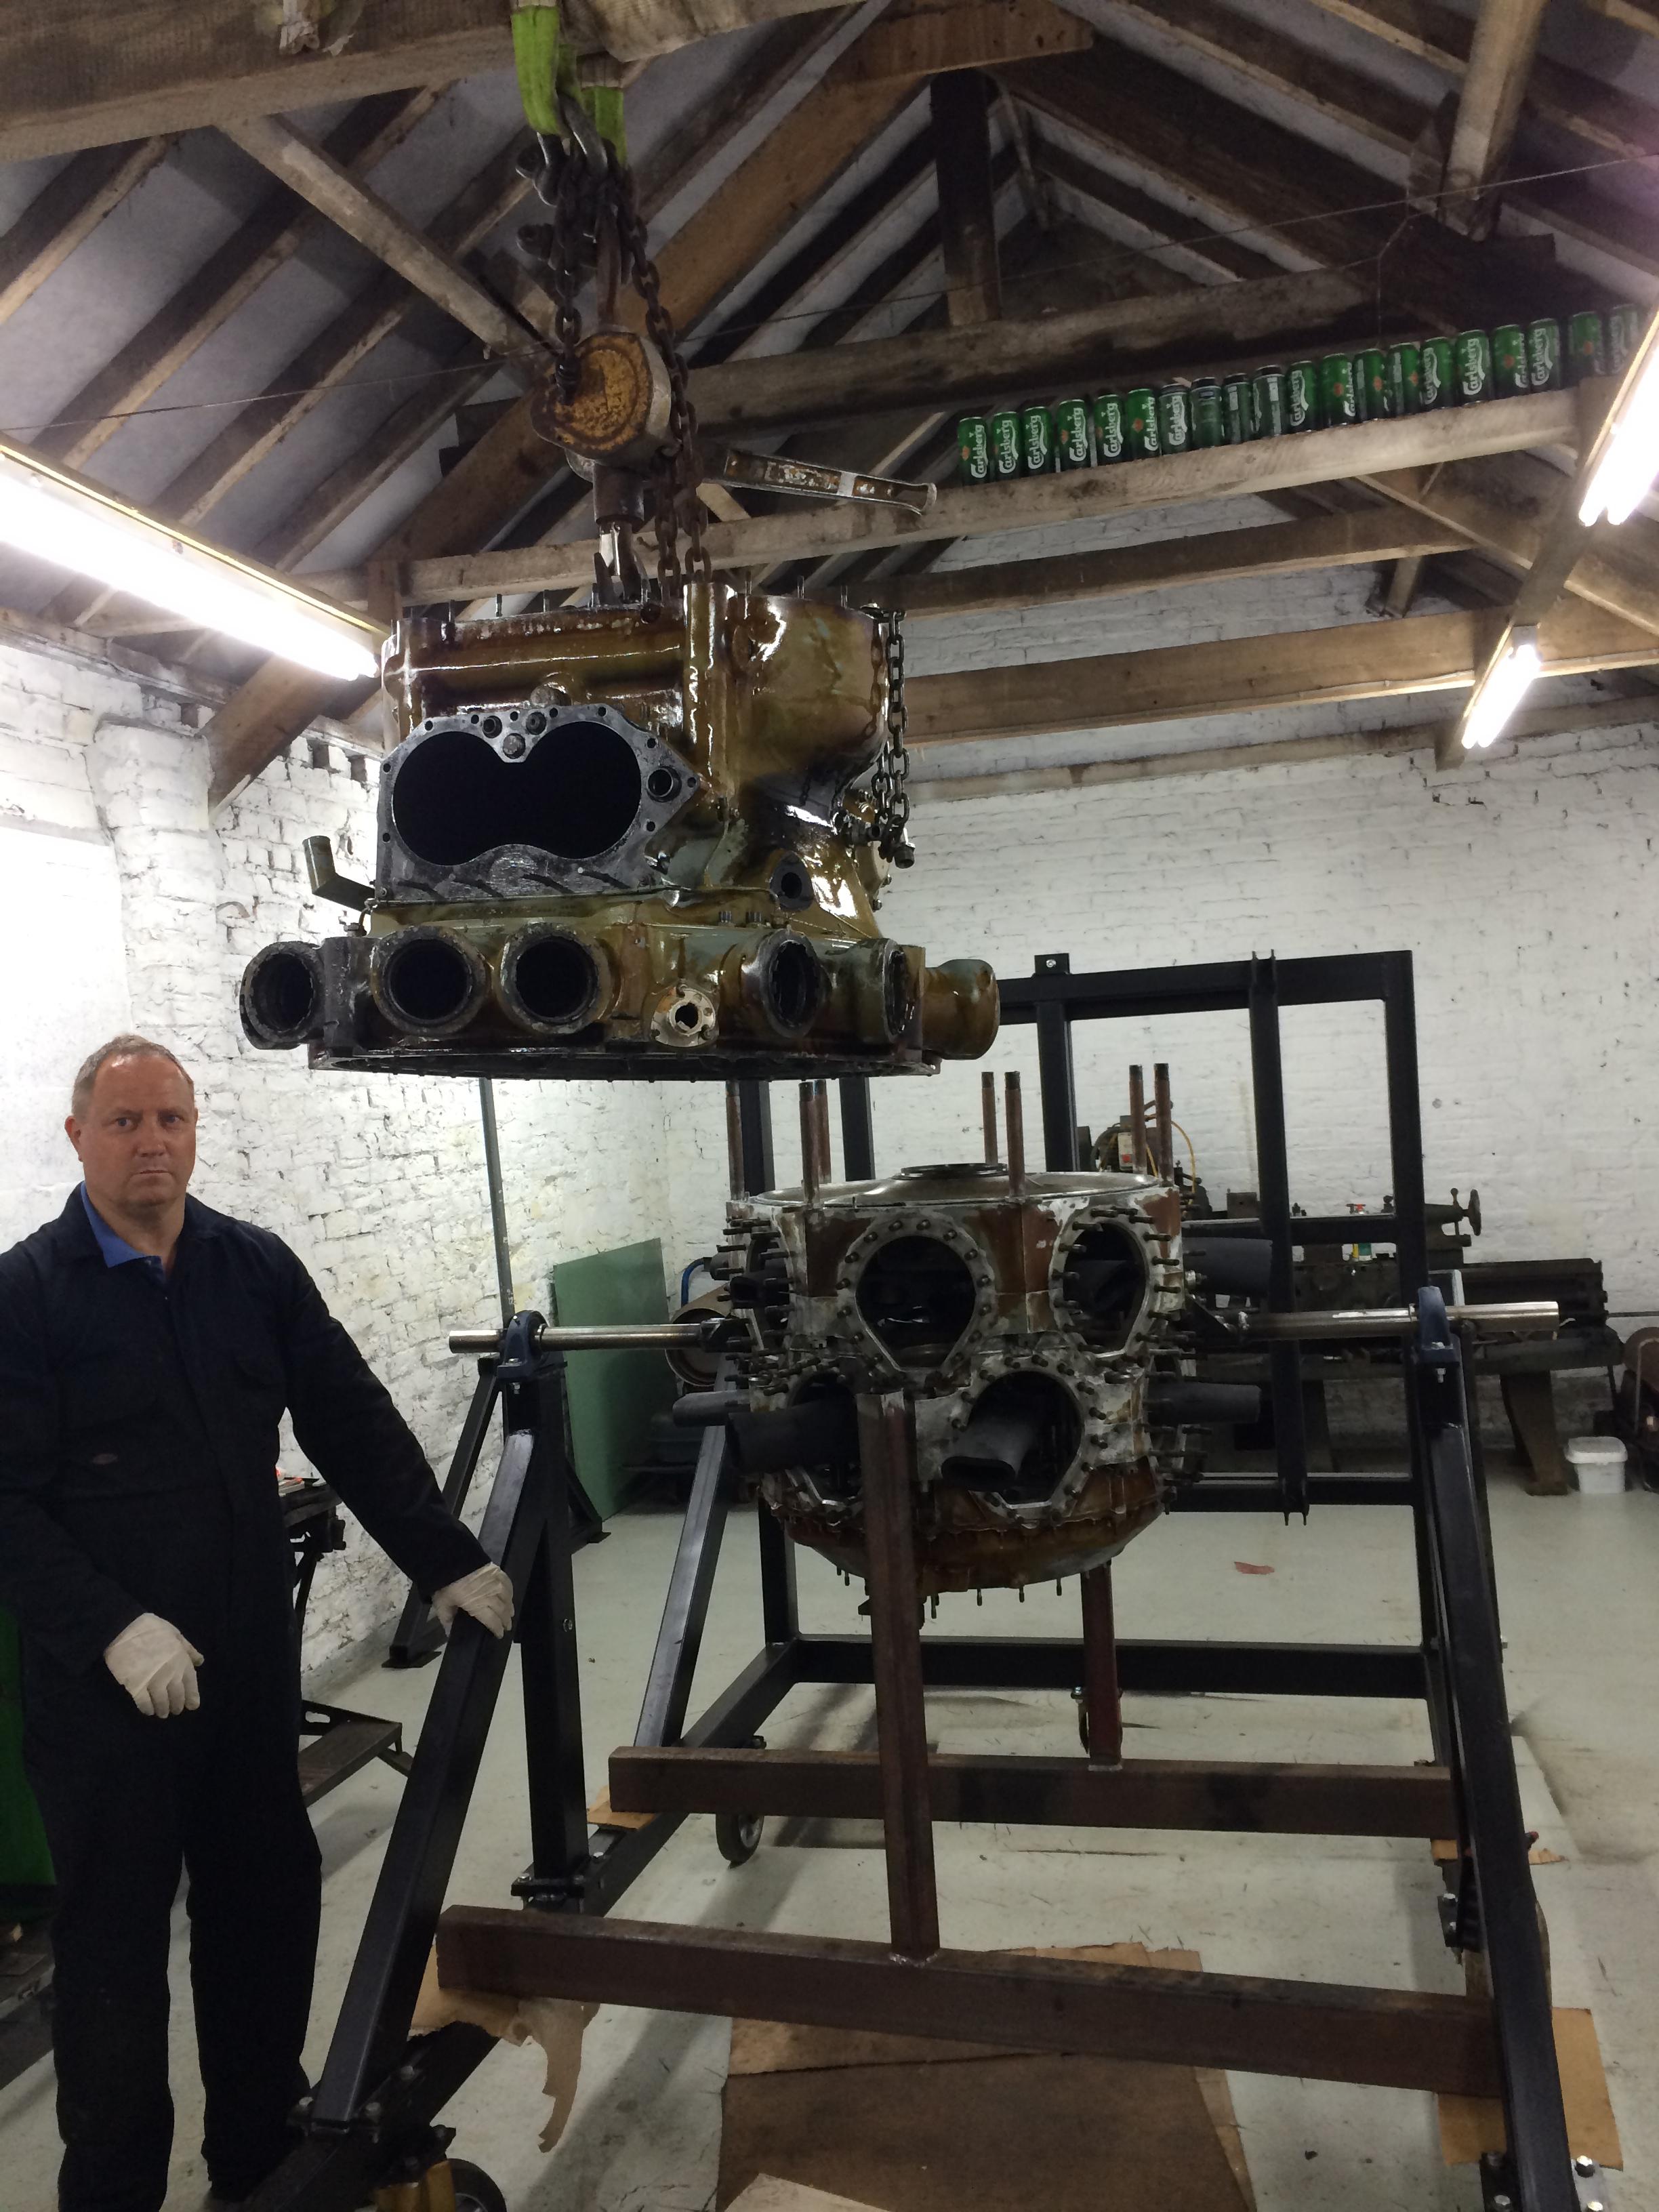
Here we have to pass the gearbox over to the chain hoist and lift it way into the roof!

264 gearbox refit 011 264 gearbox refit 012


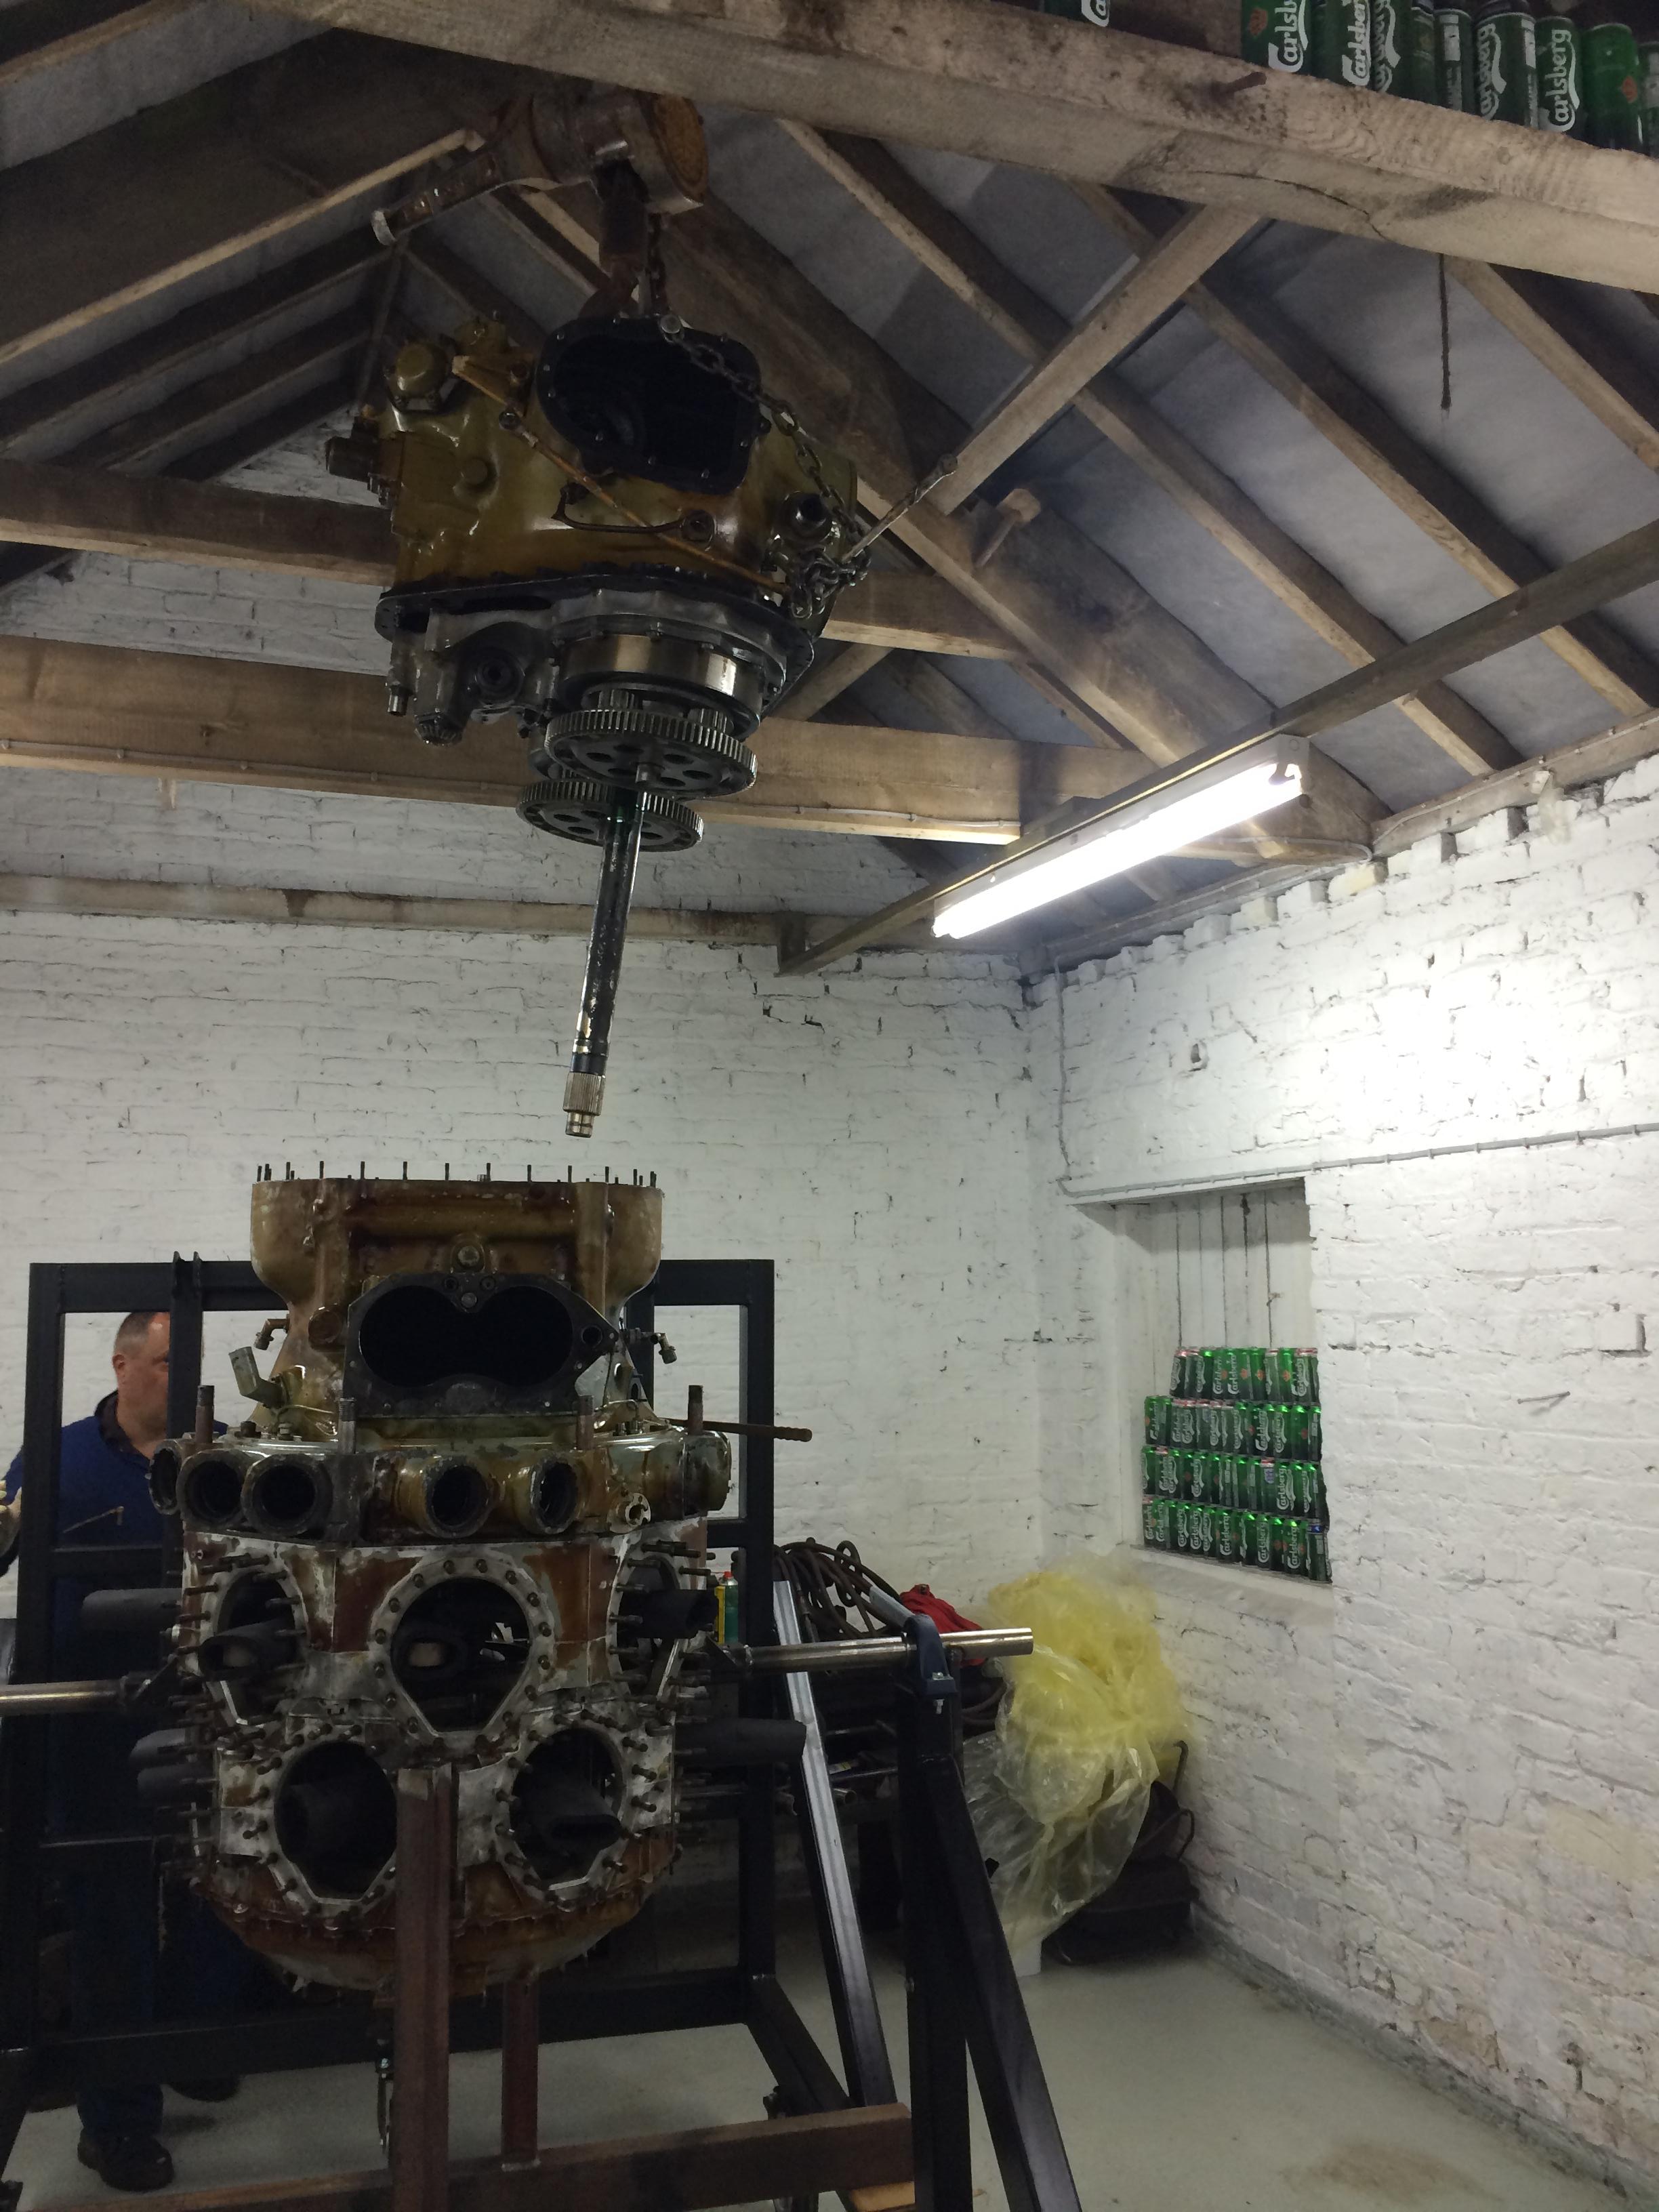
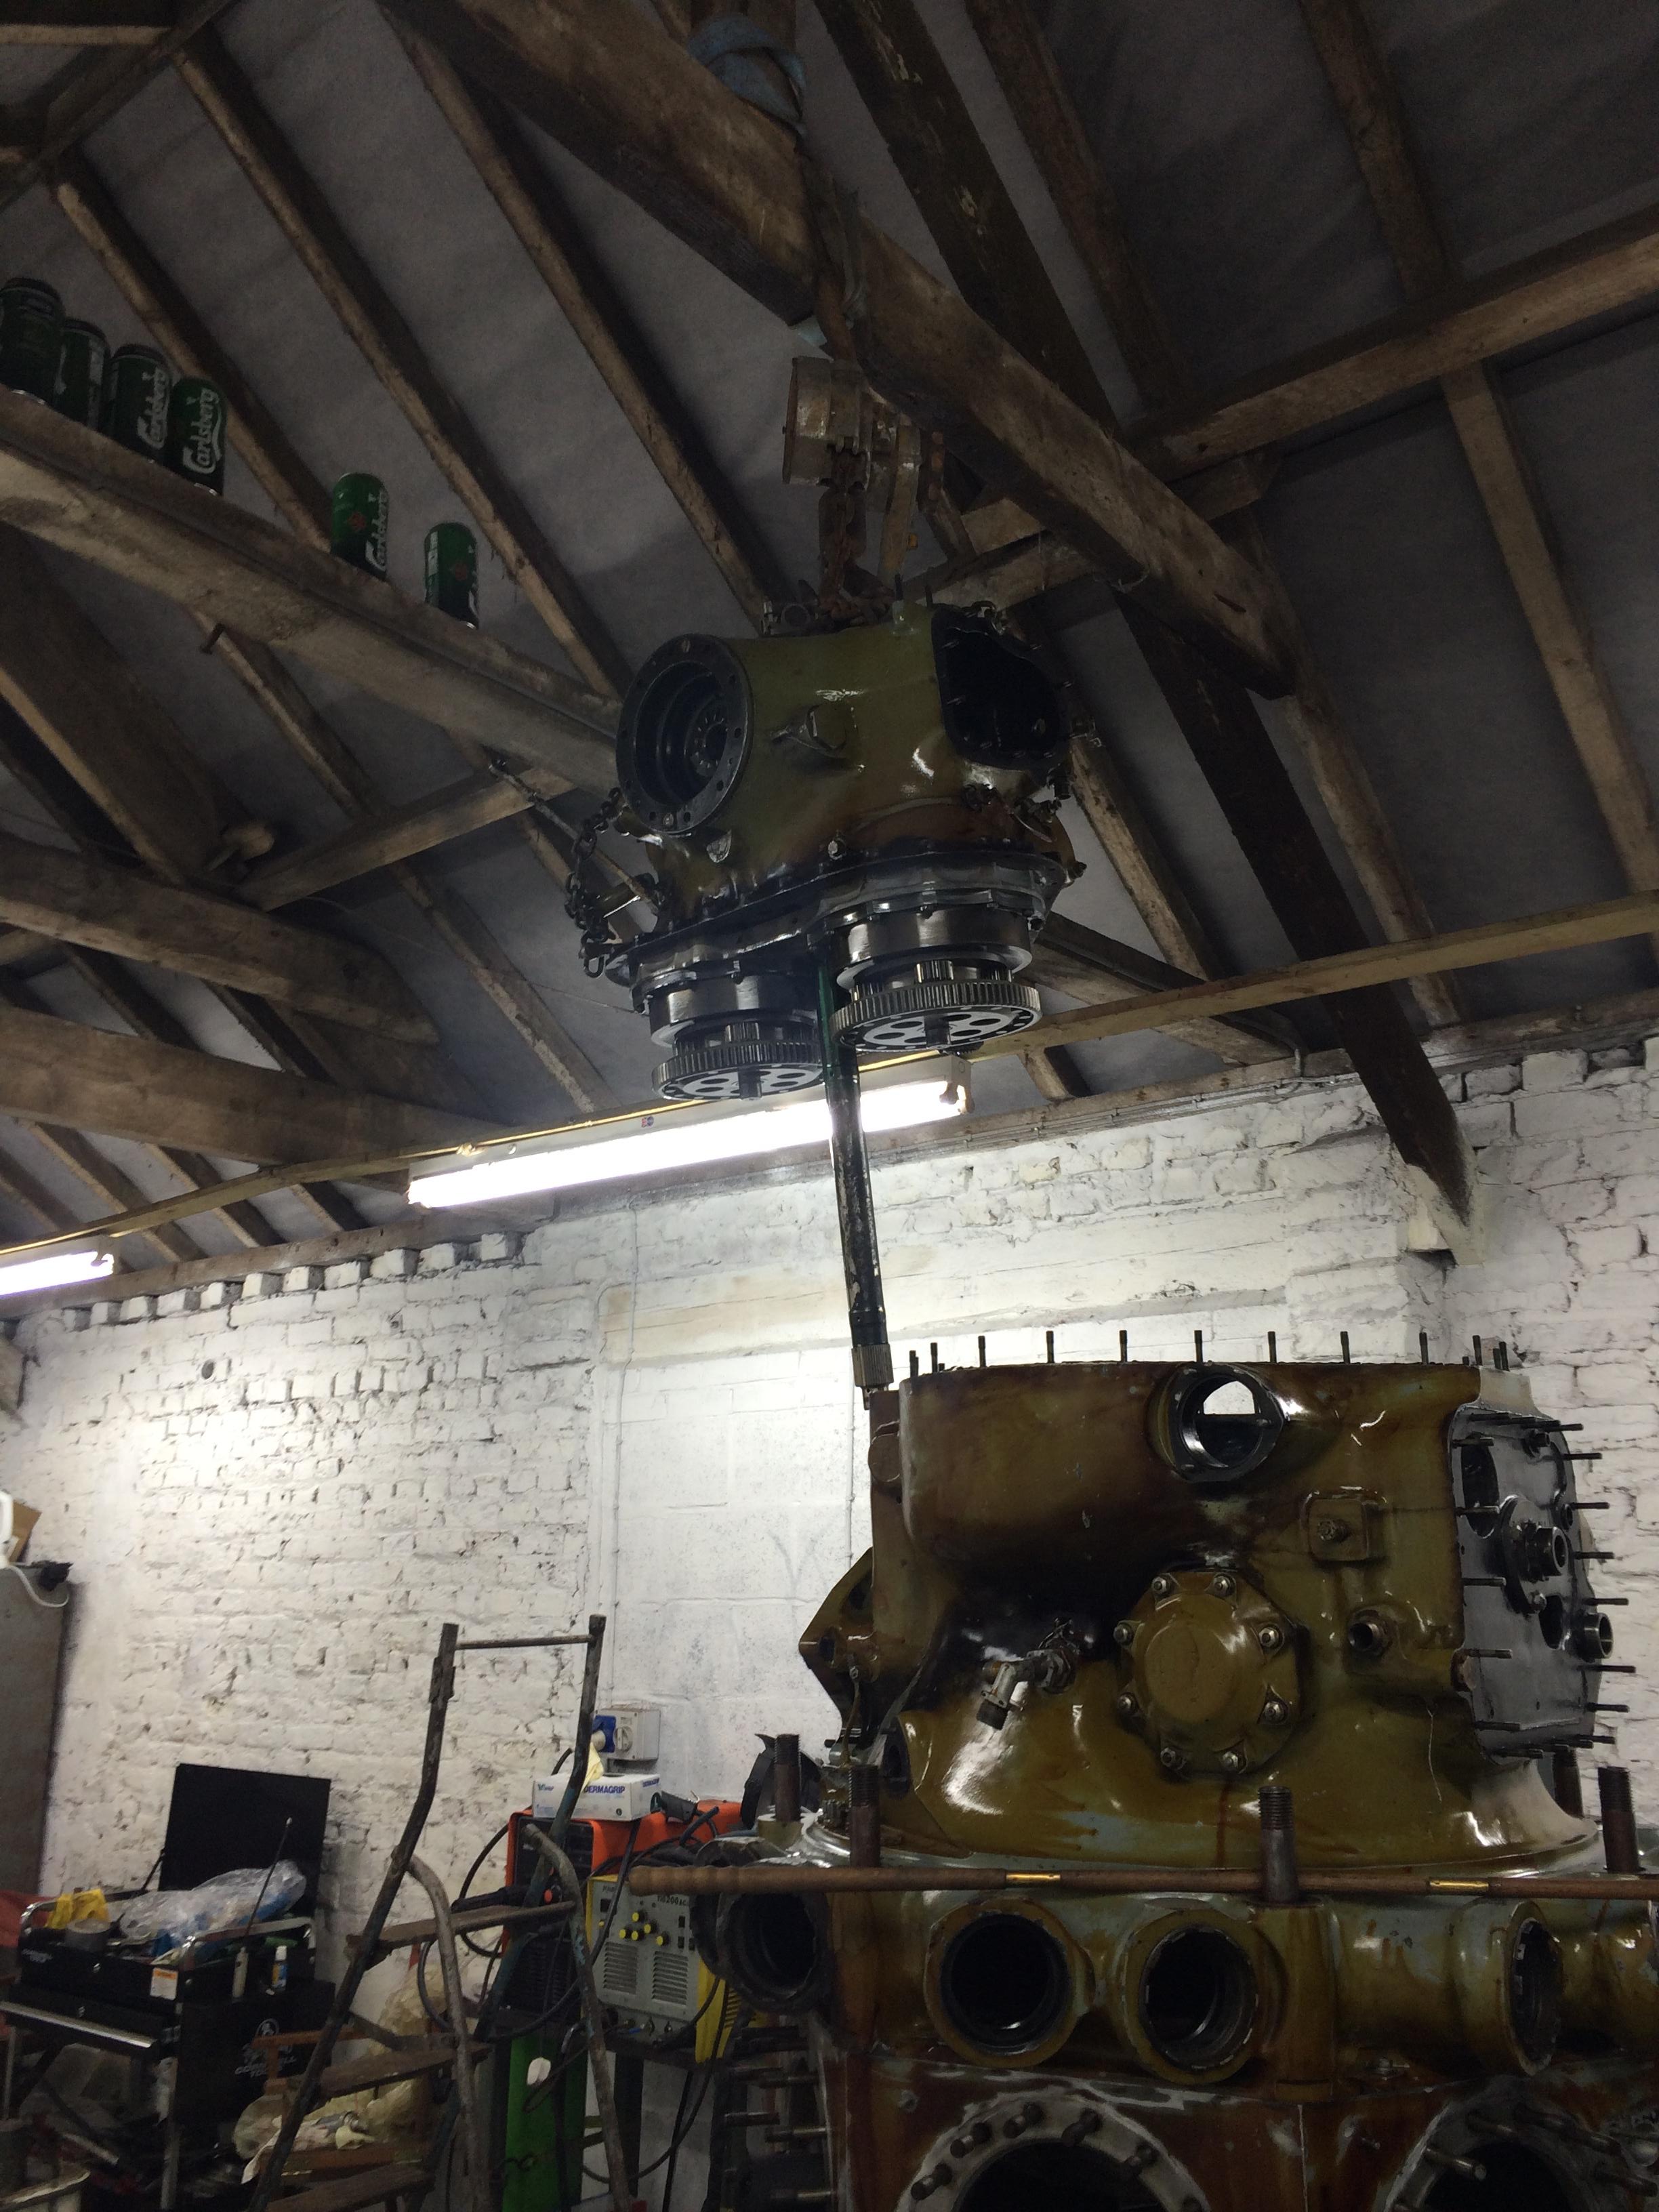
We had just enough height to clear the engine…

264 gearbox refit 013 264 gearbox refit 014


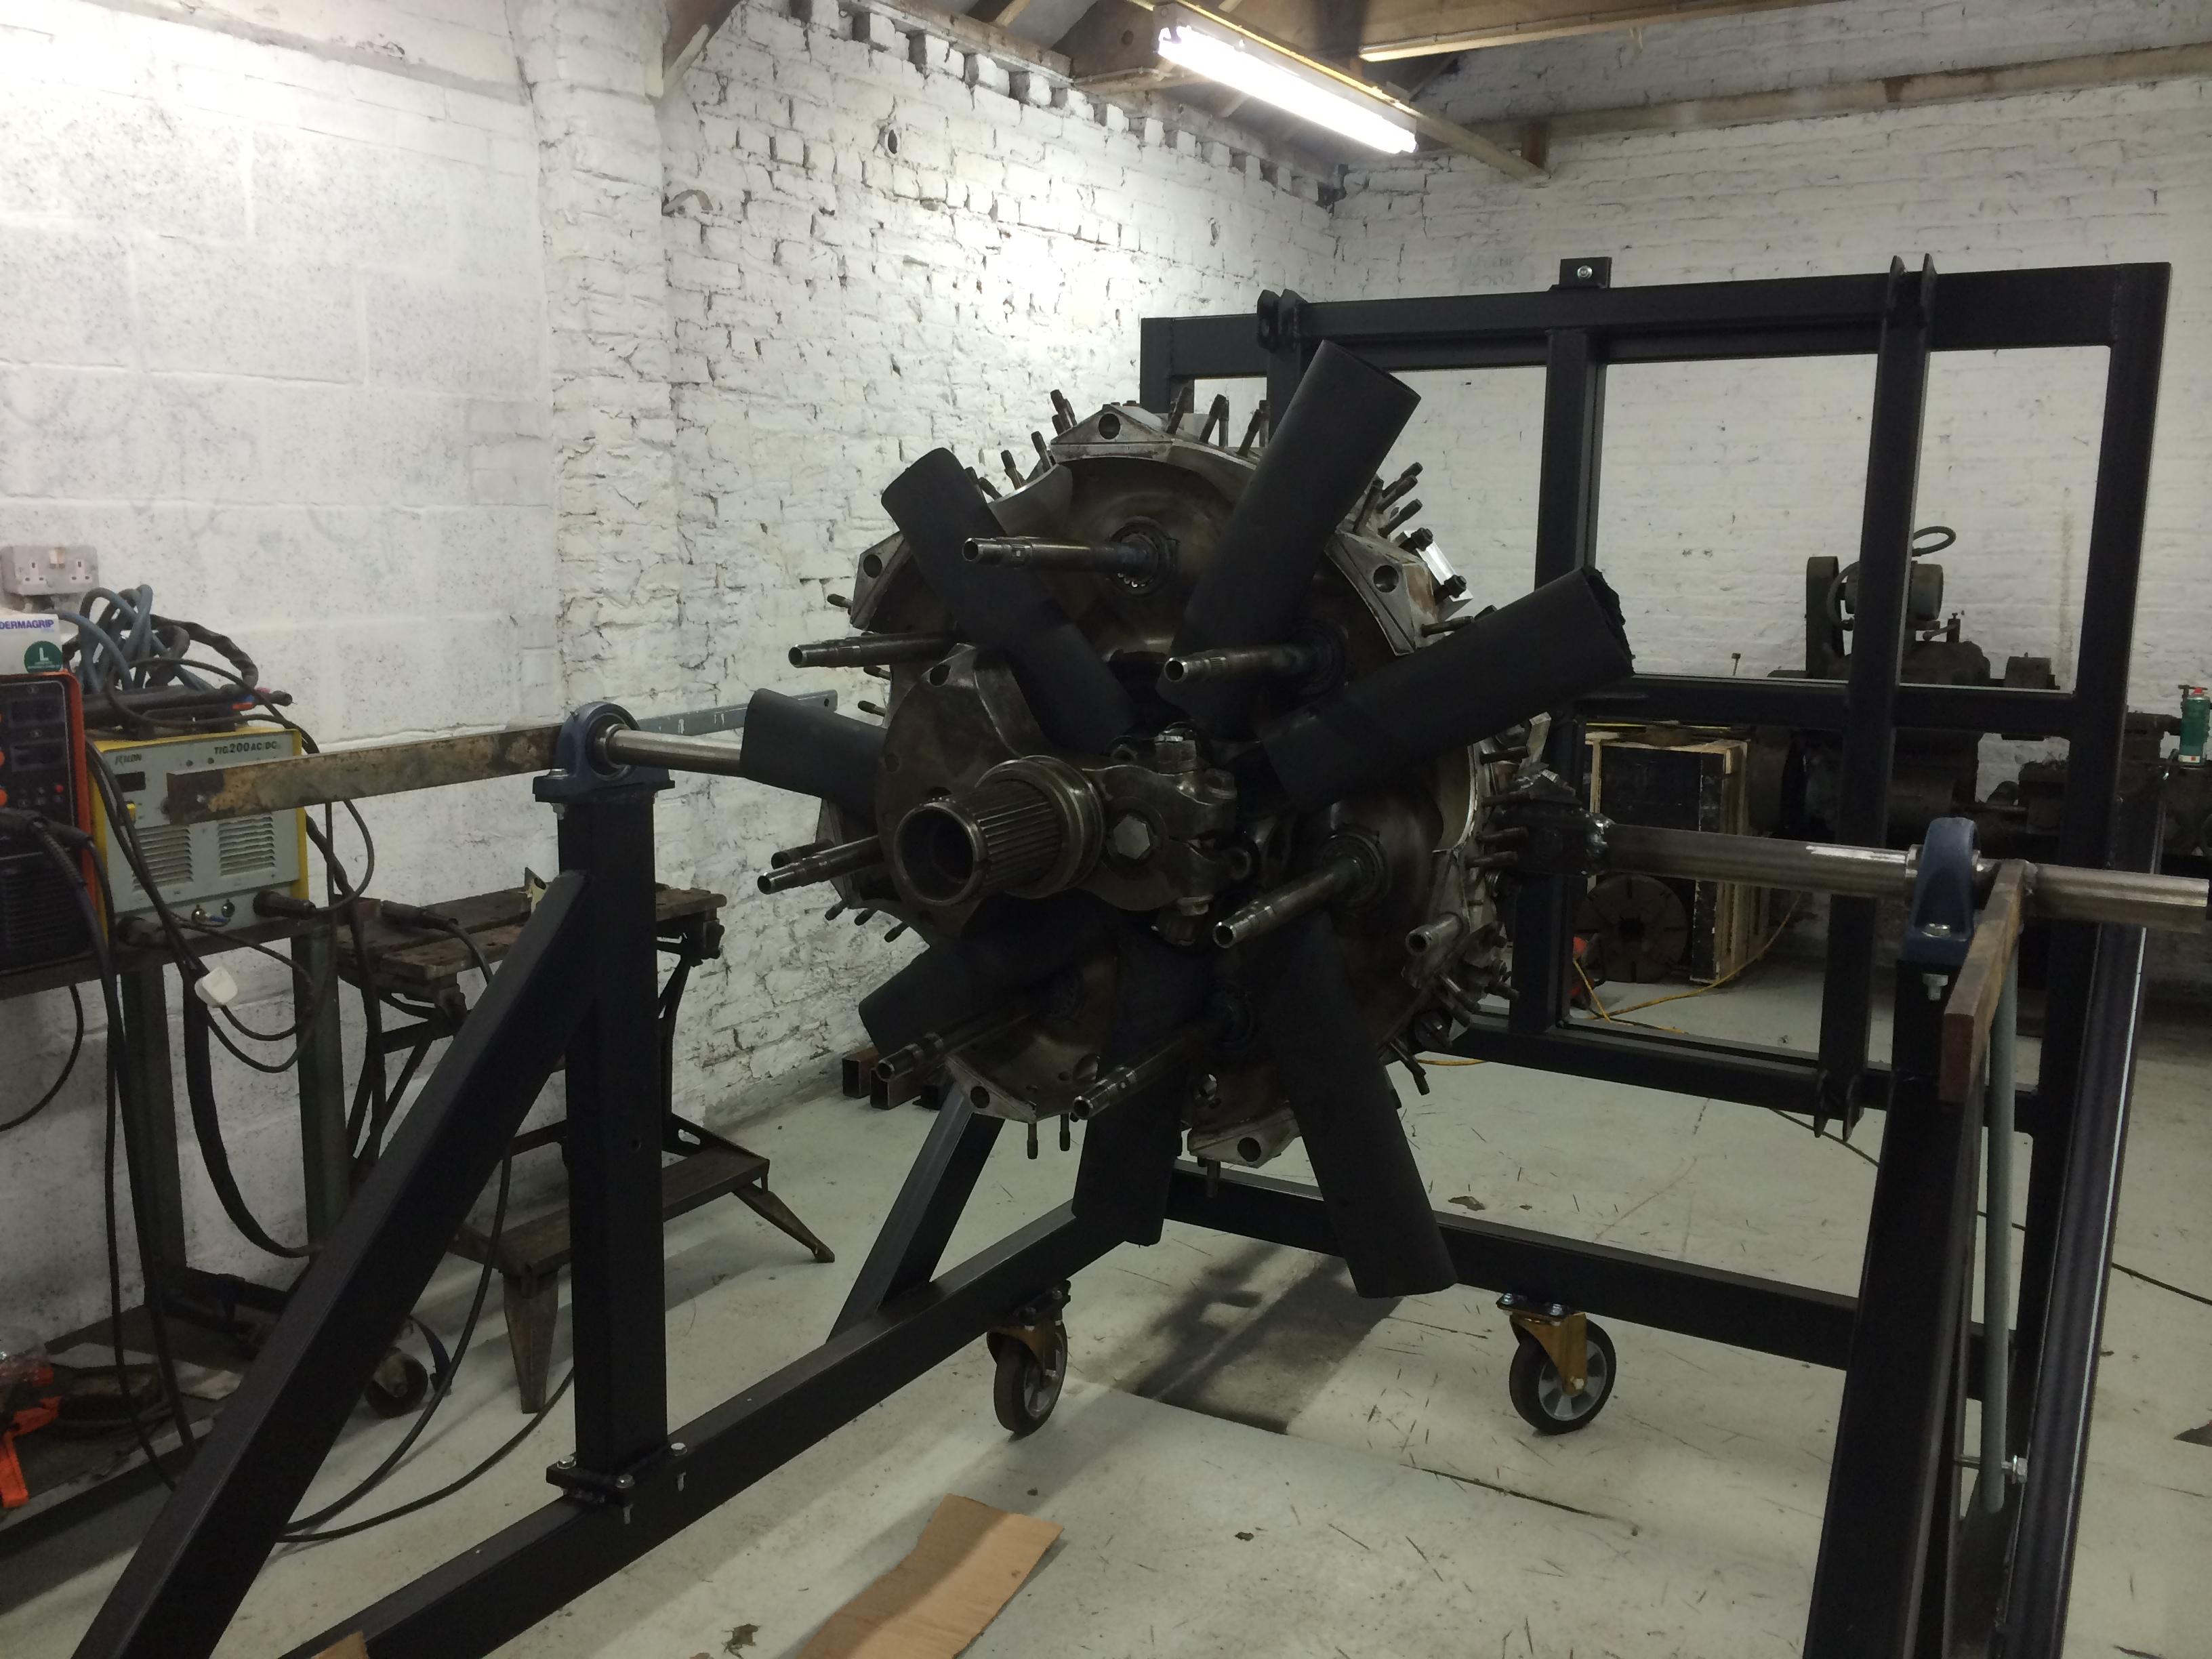
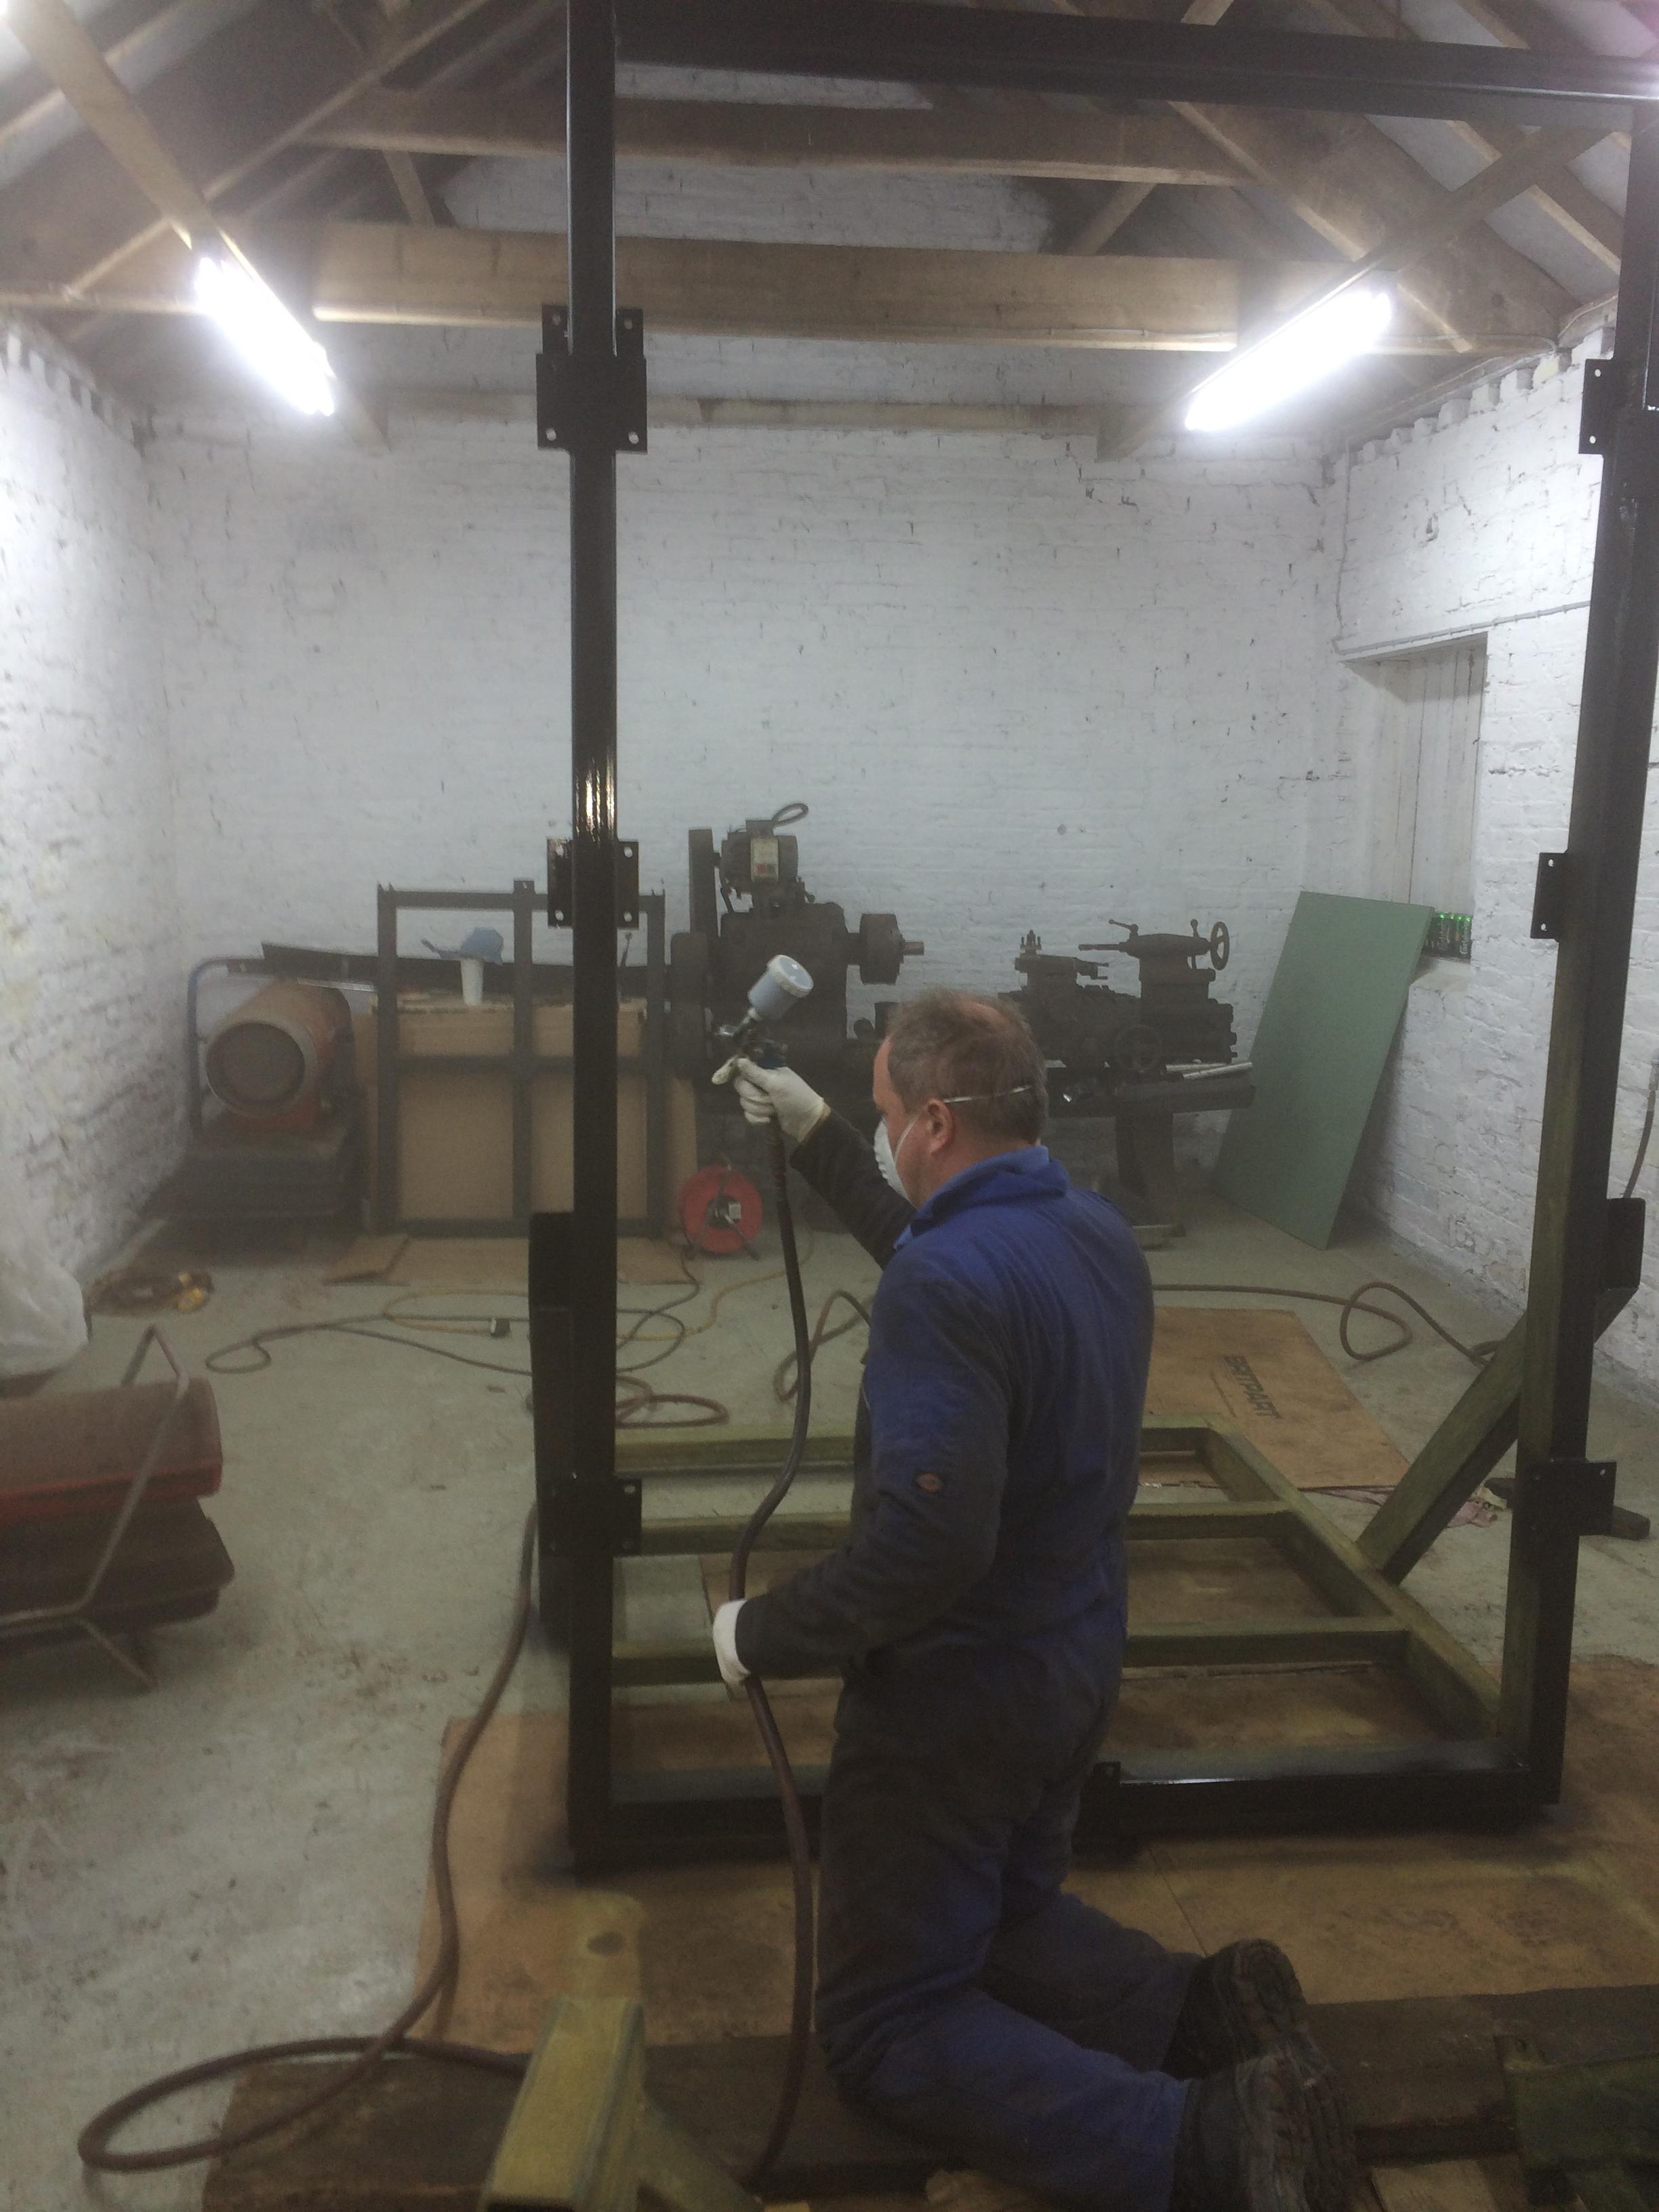
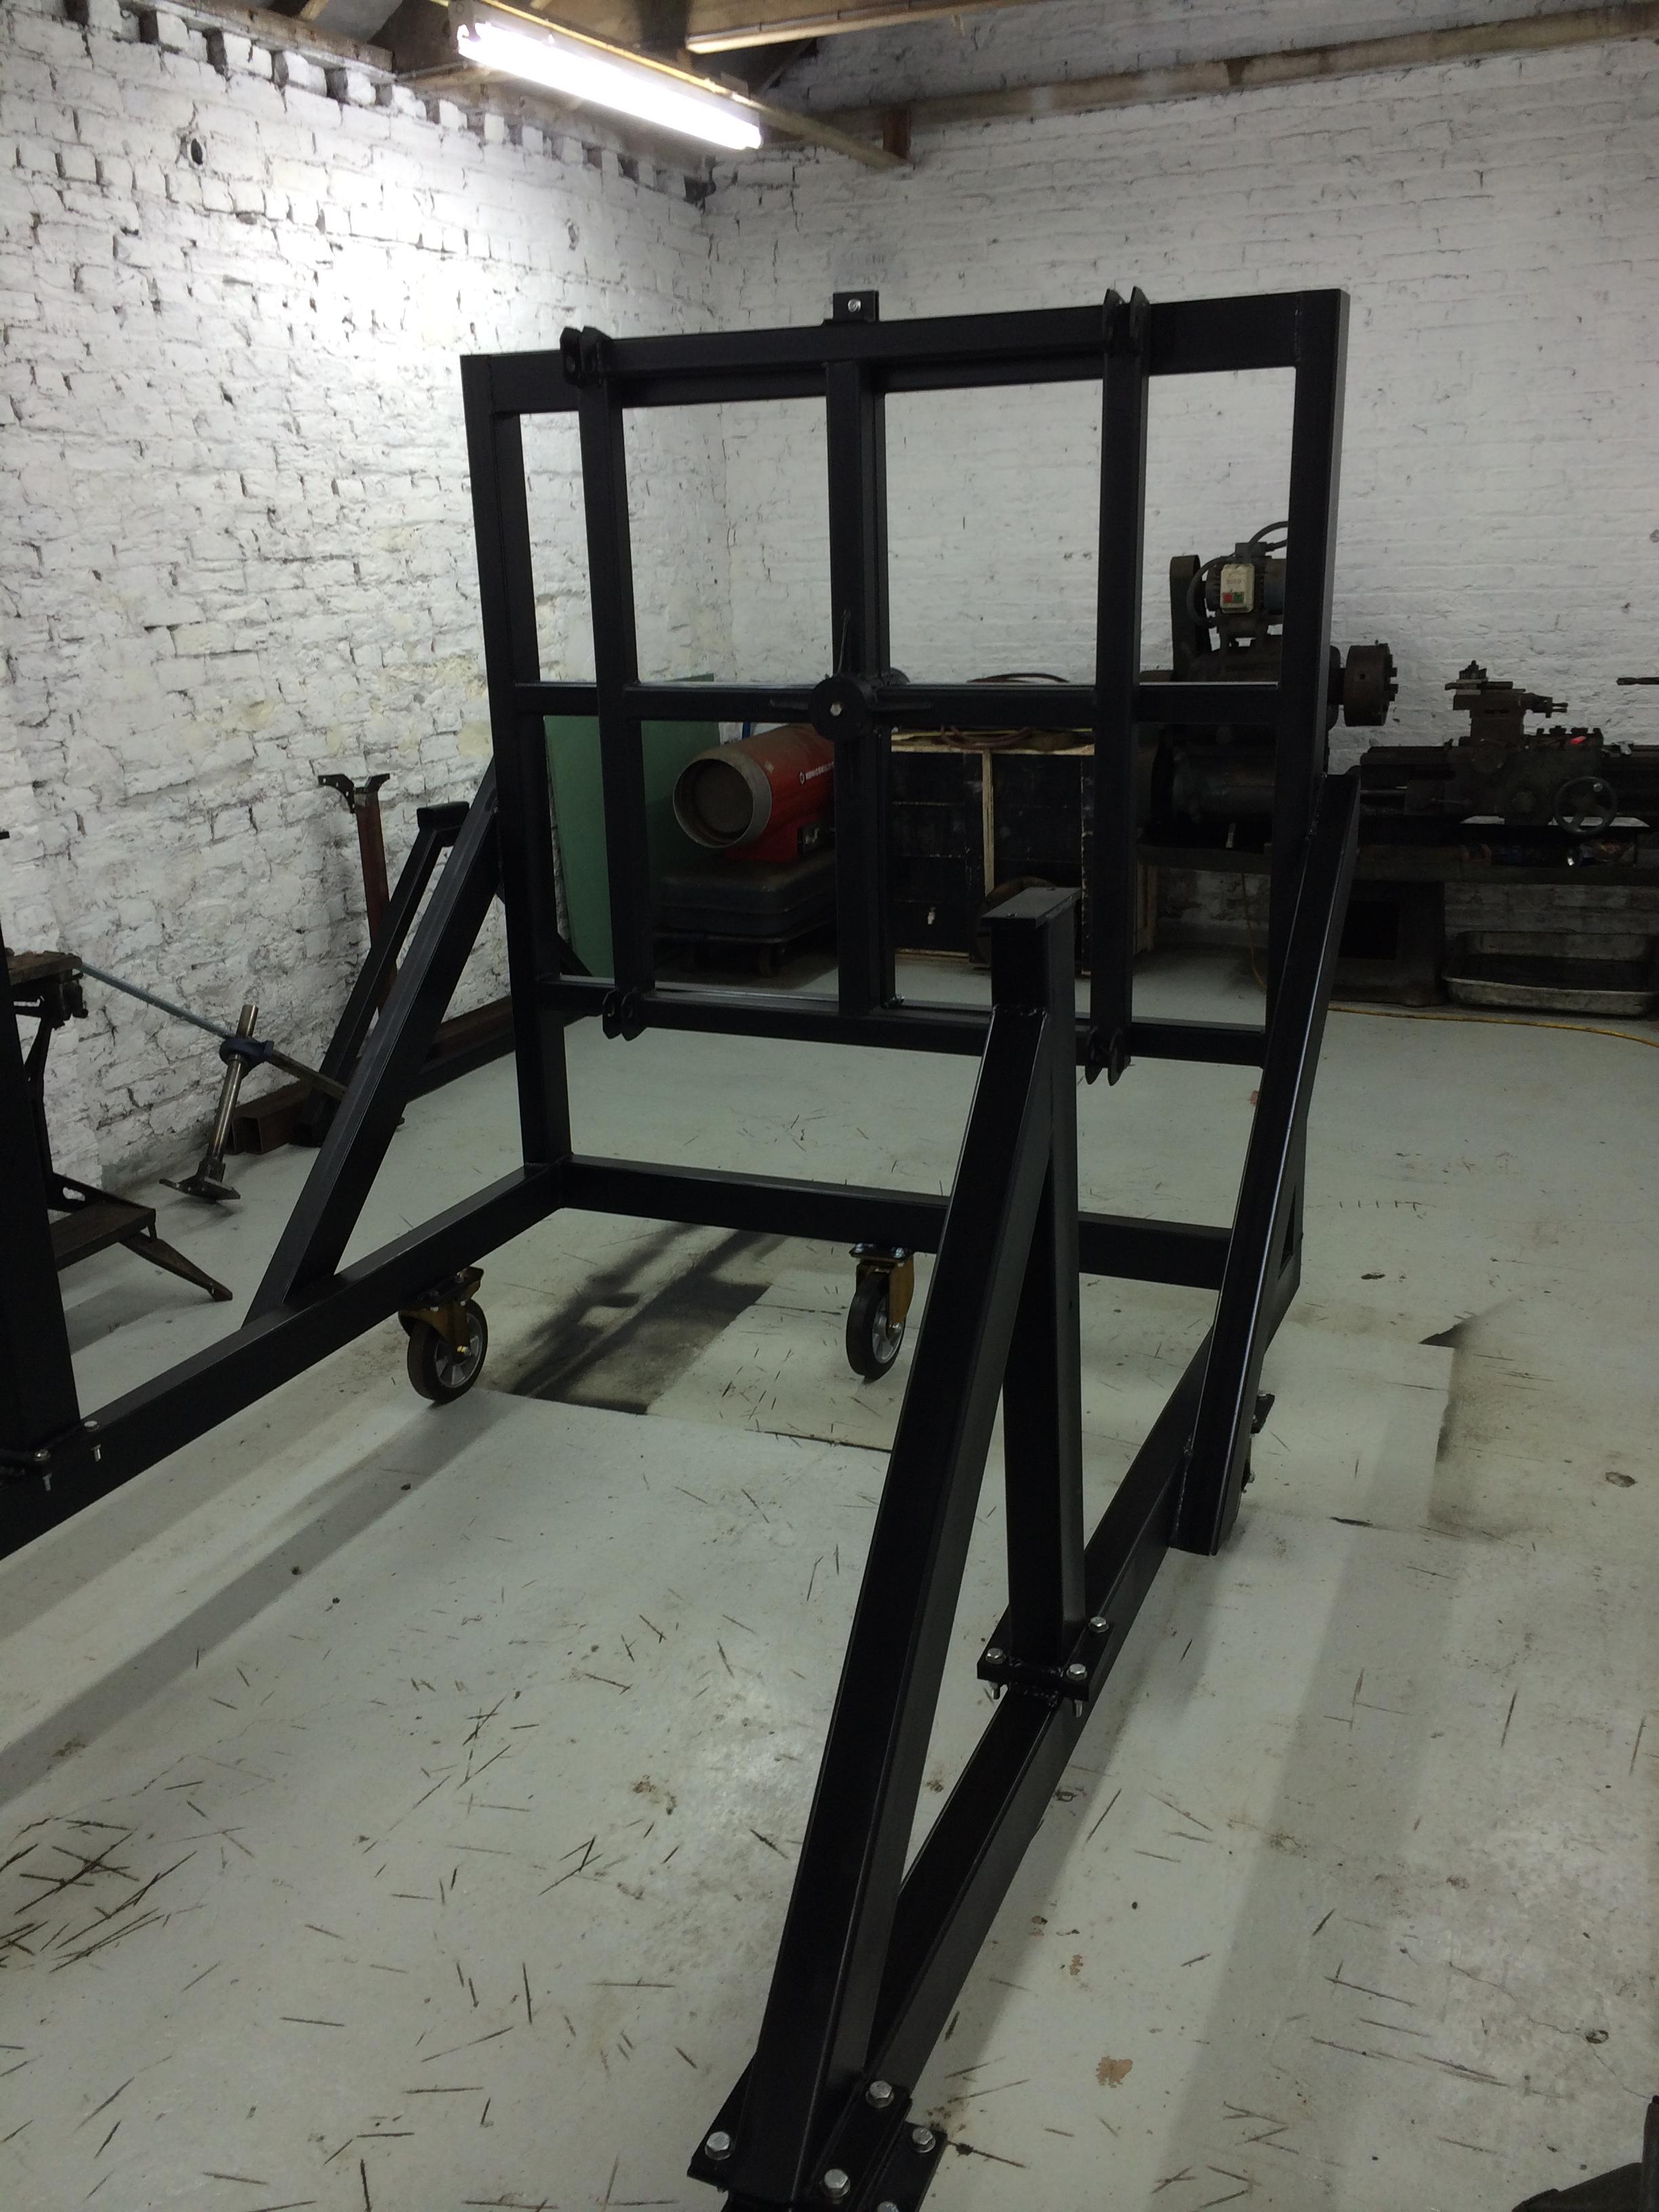
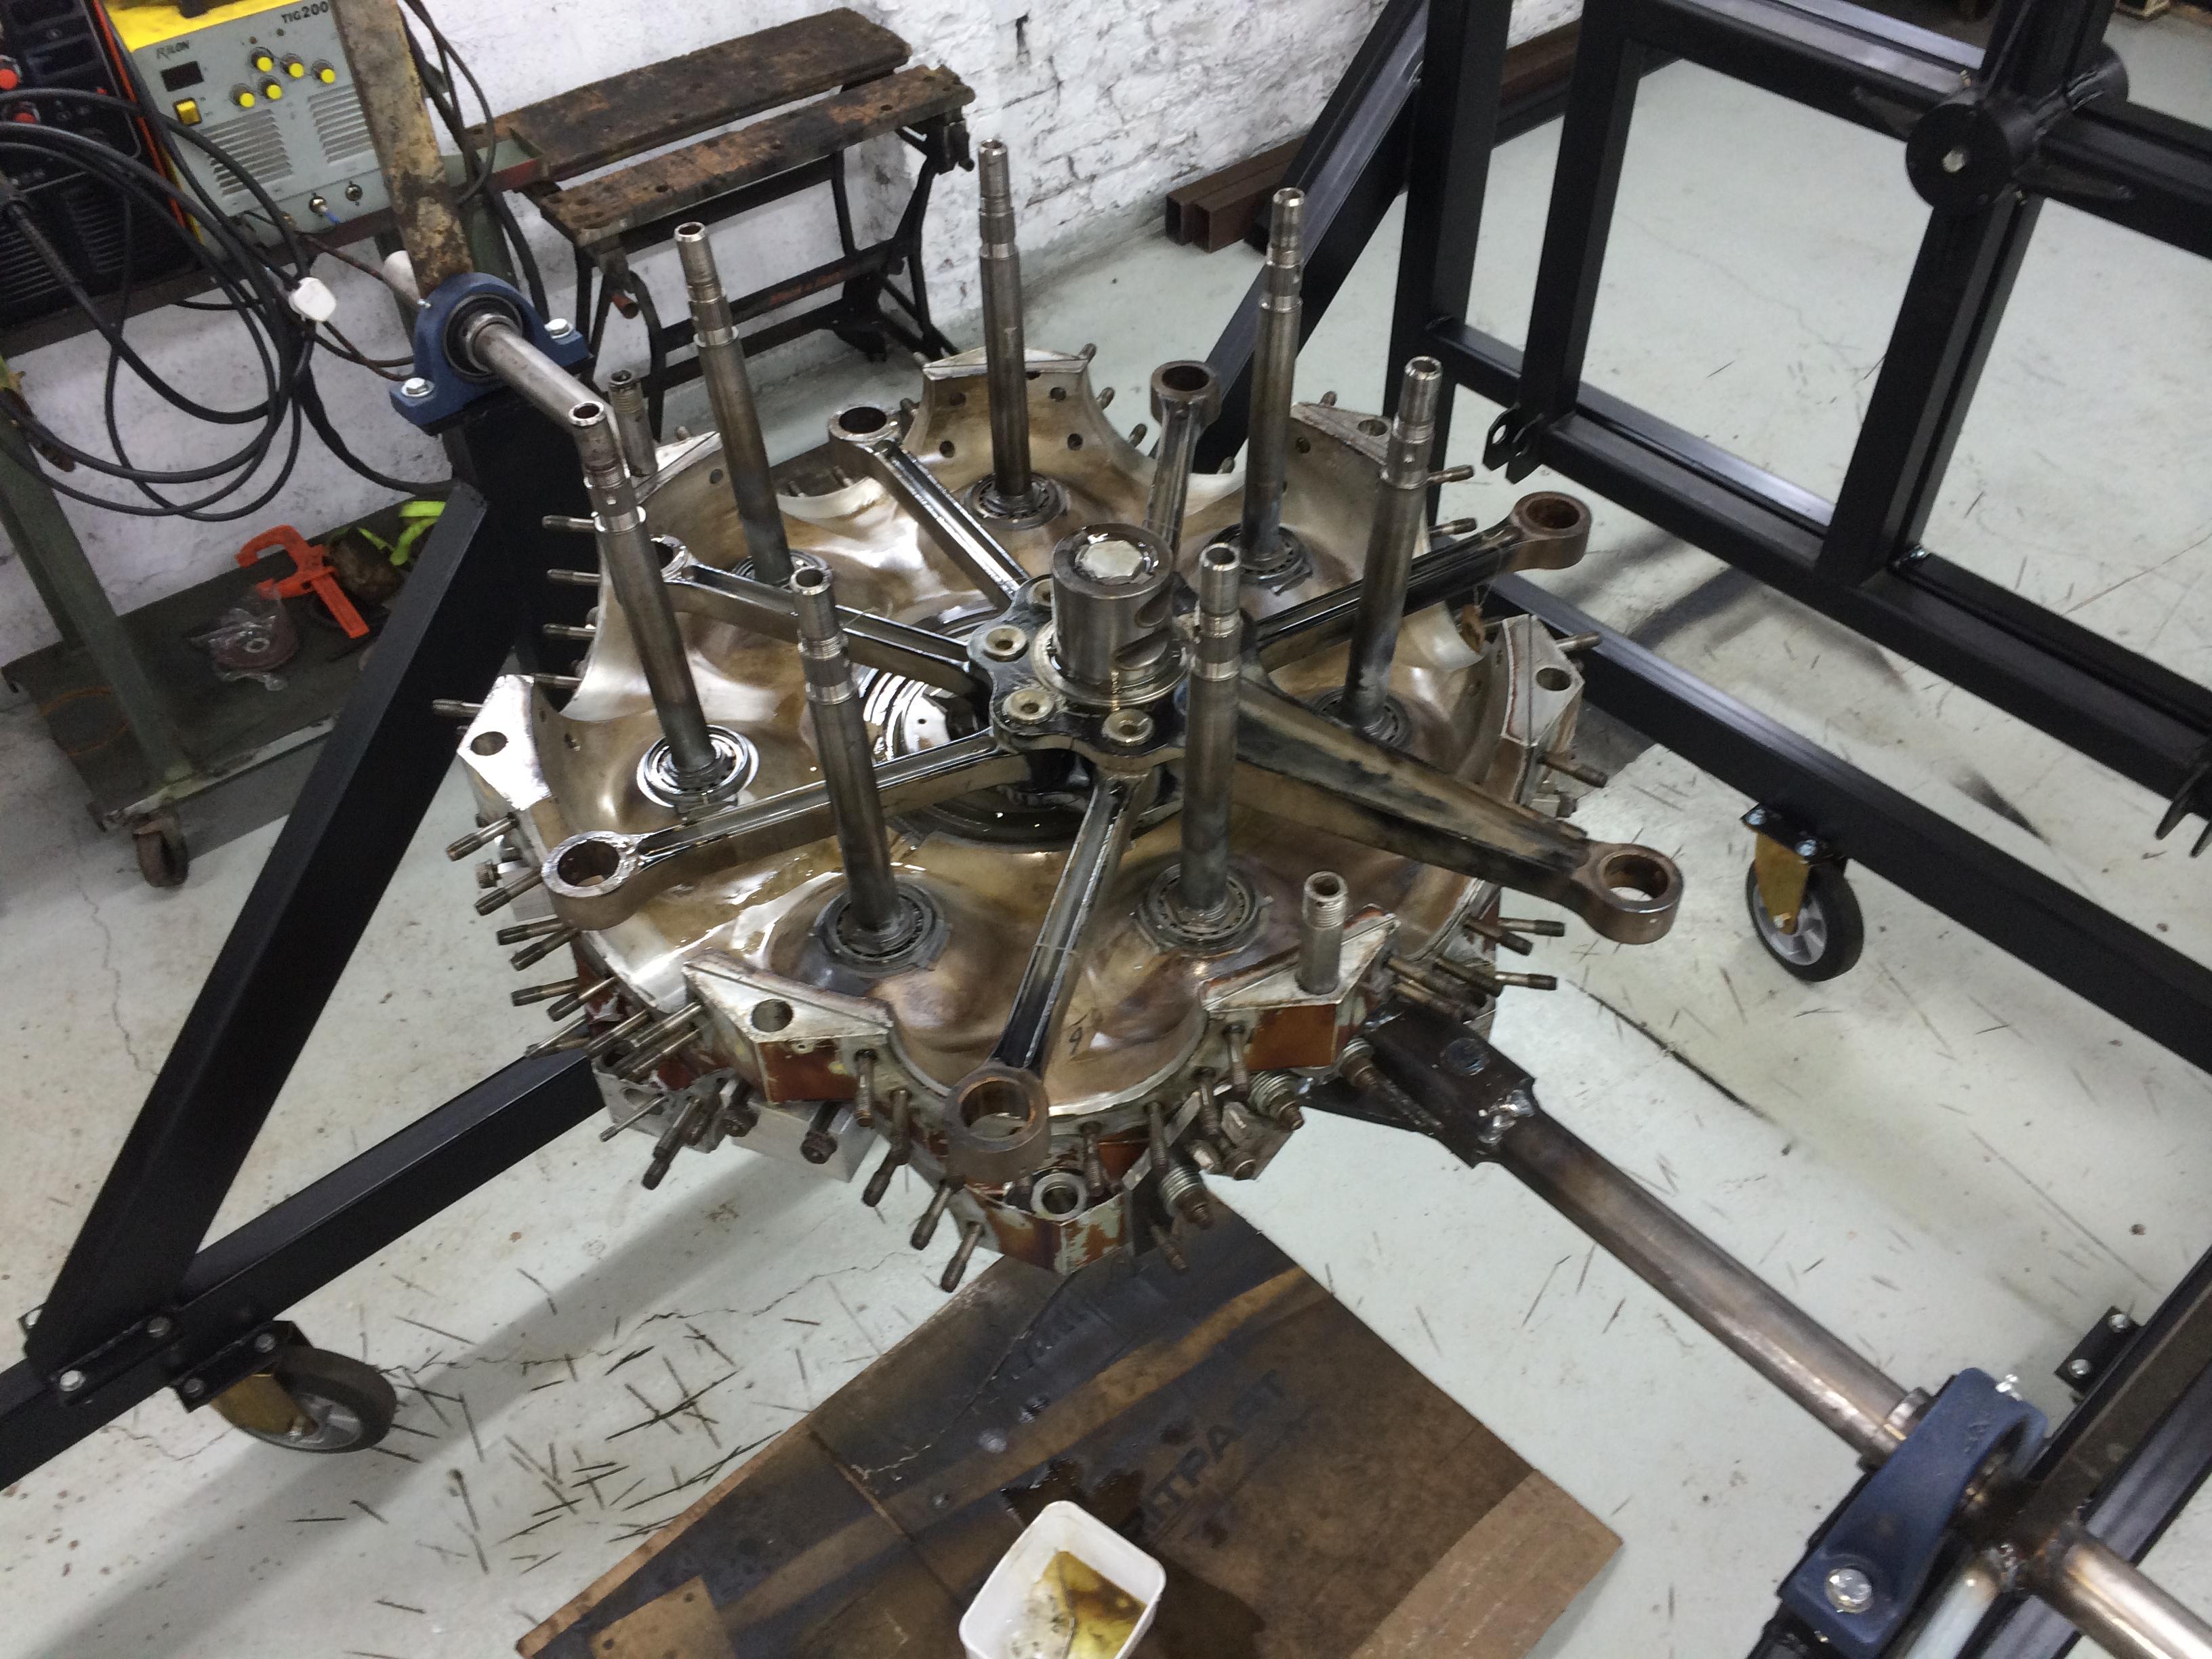
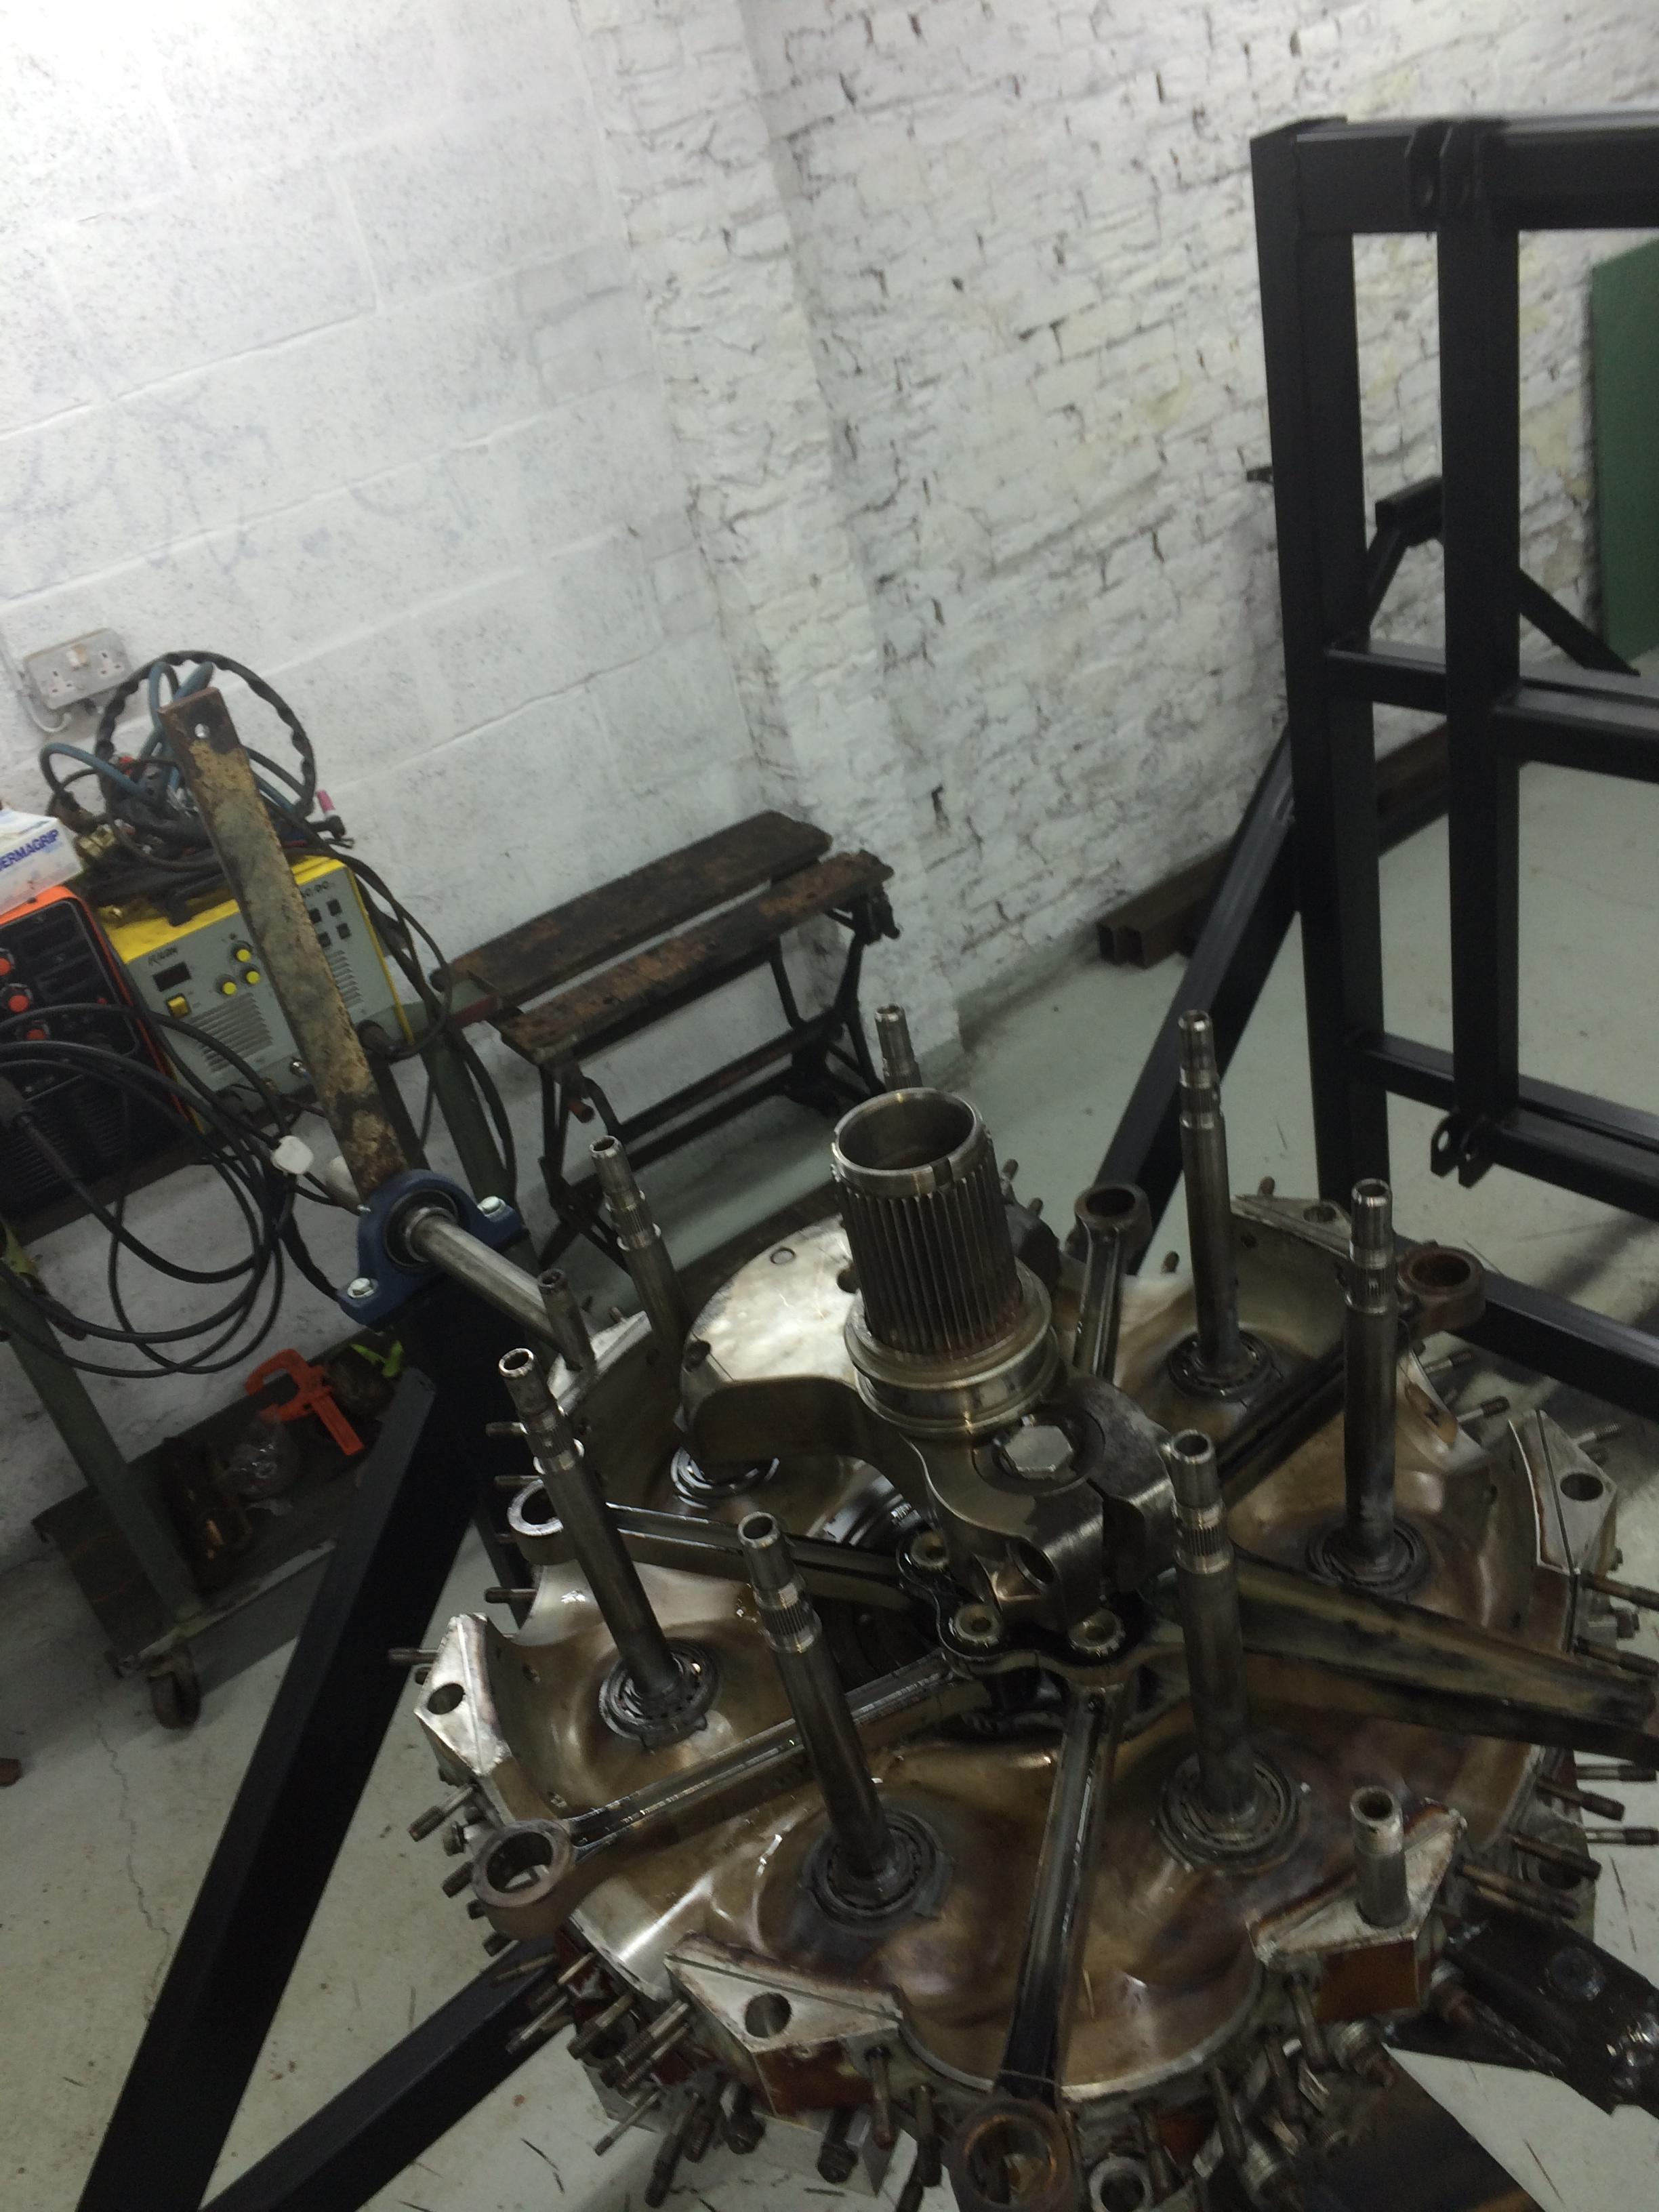
And there we have it, next job is to paint the engine mount ring and engine mount frame.

264 gearbox refit 016 264 gearbox refit 015


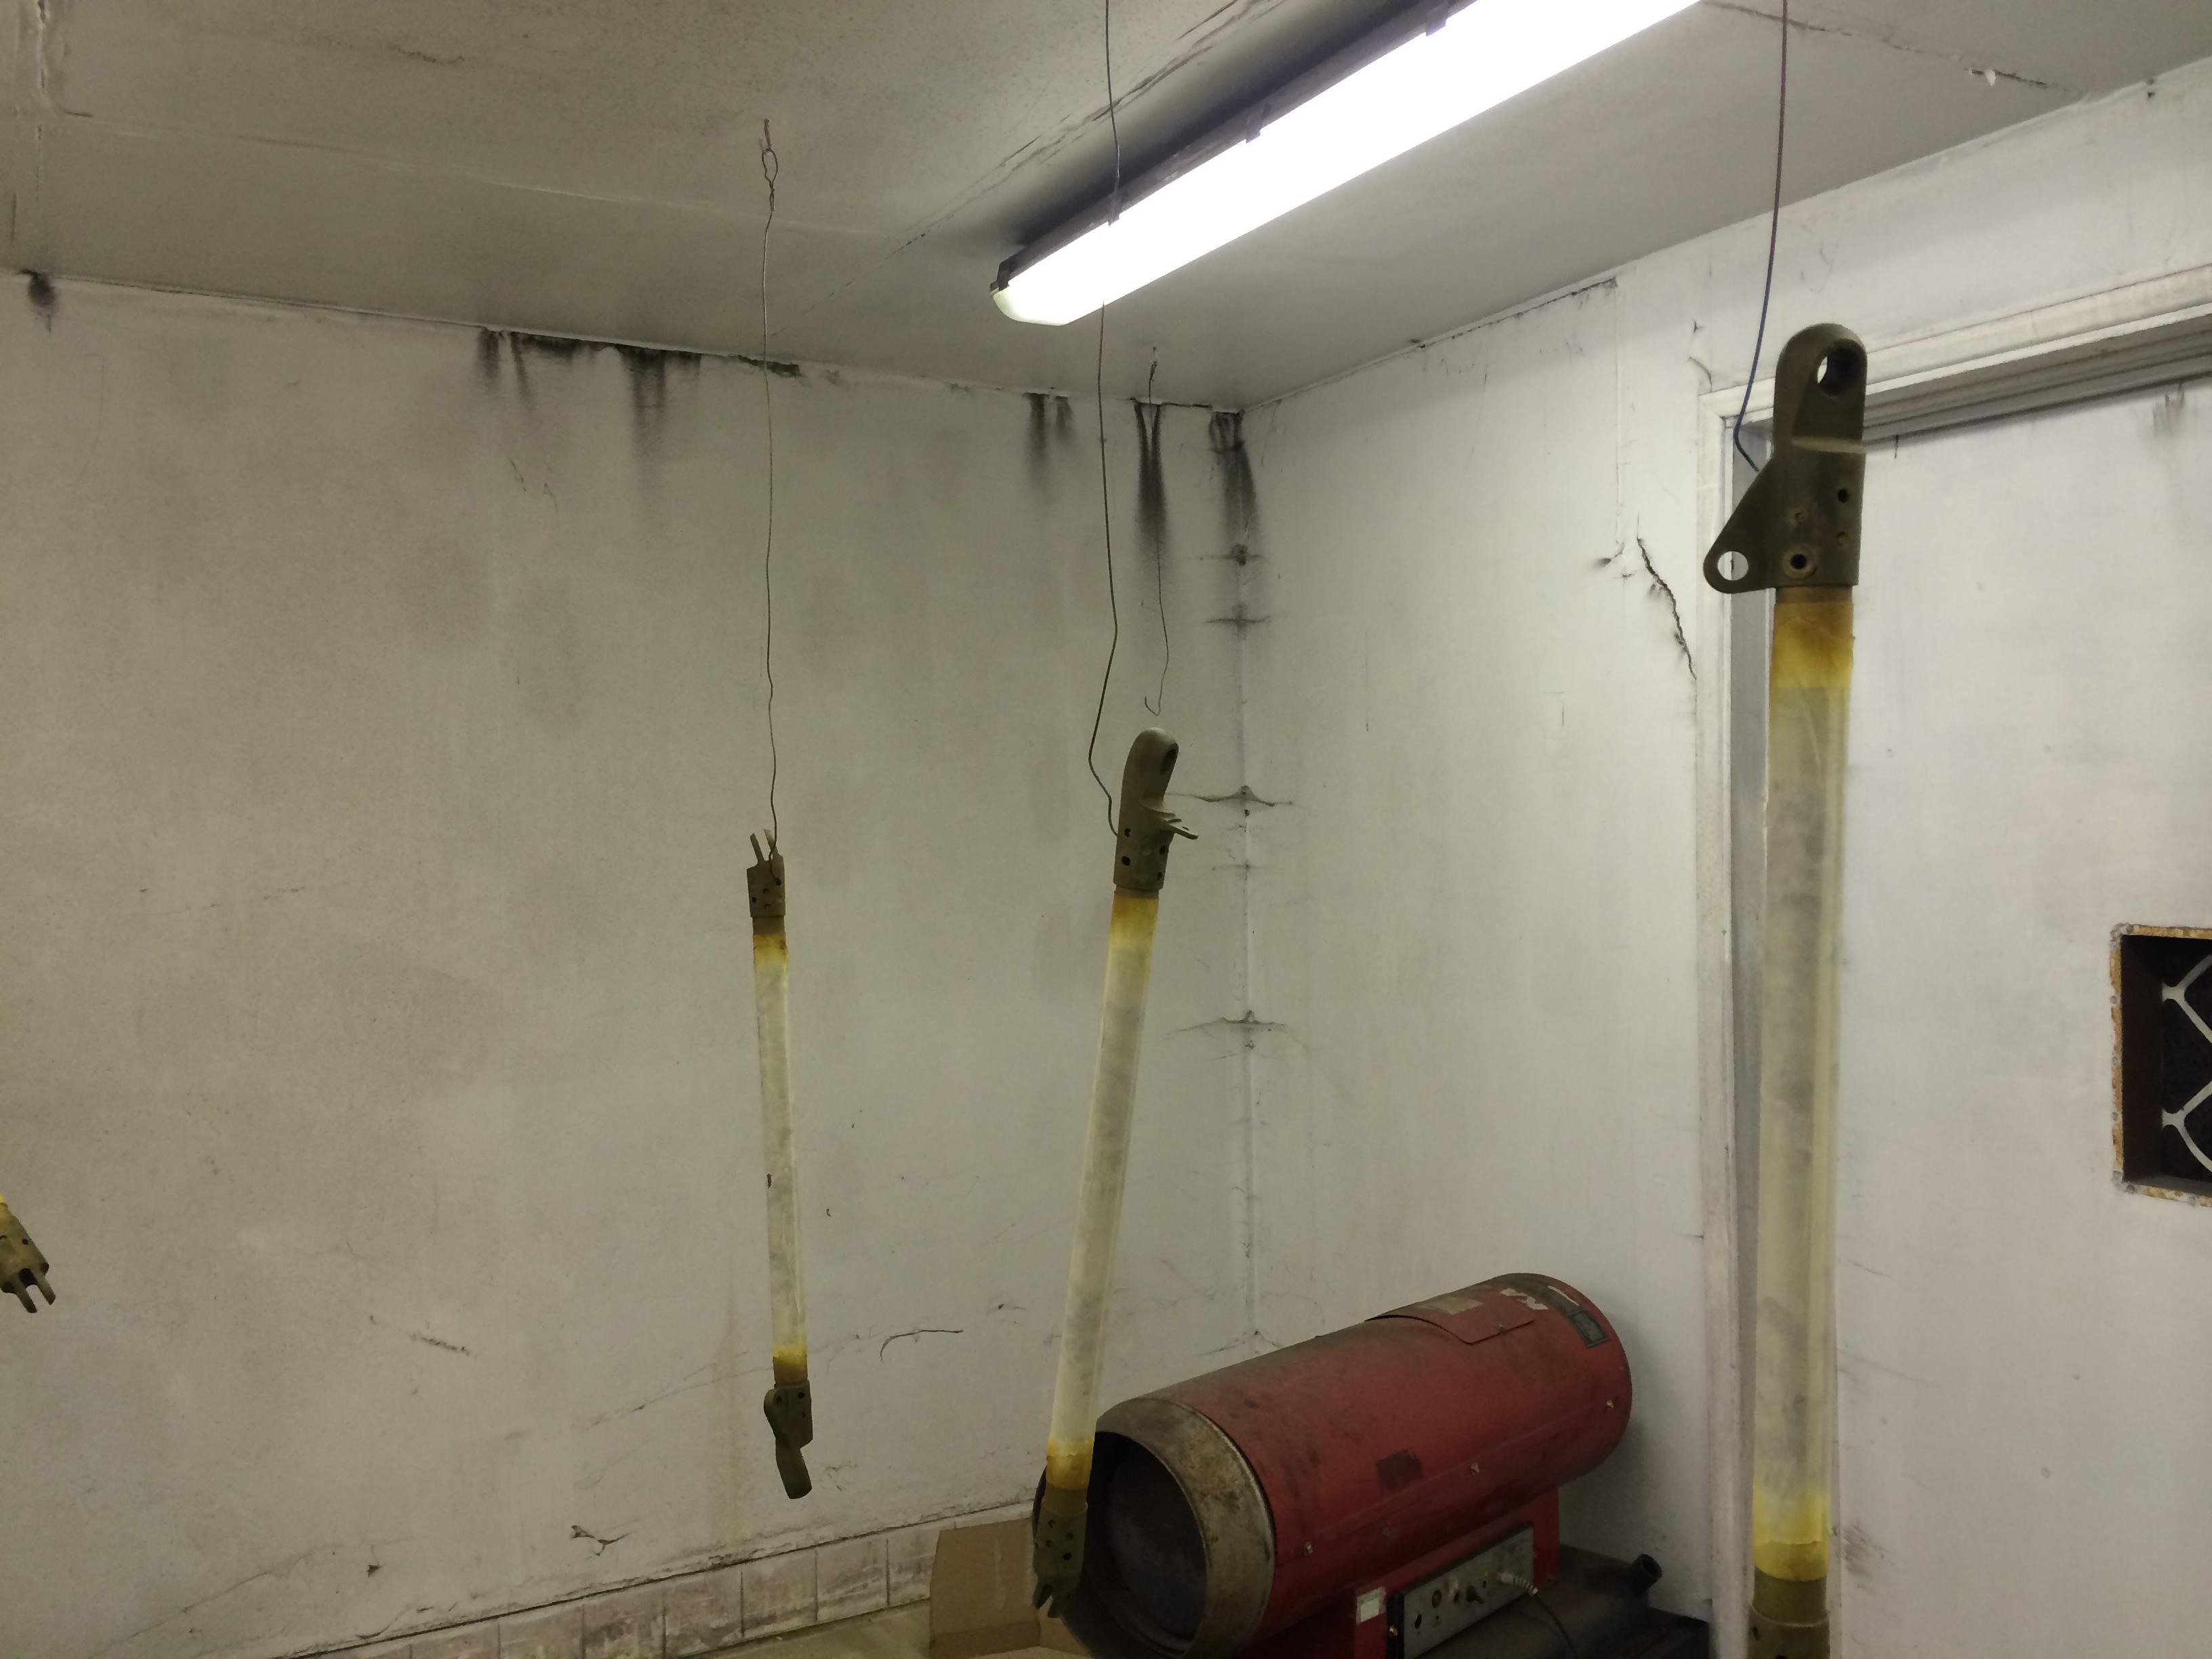
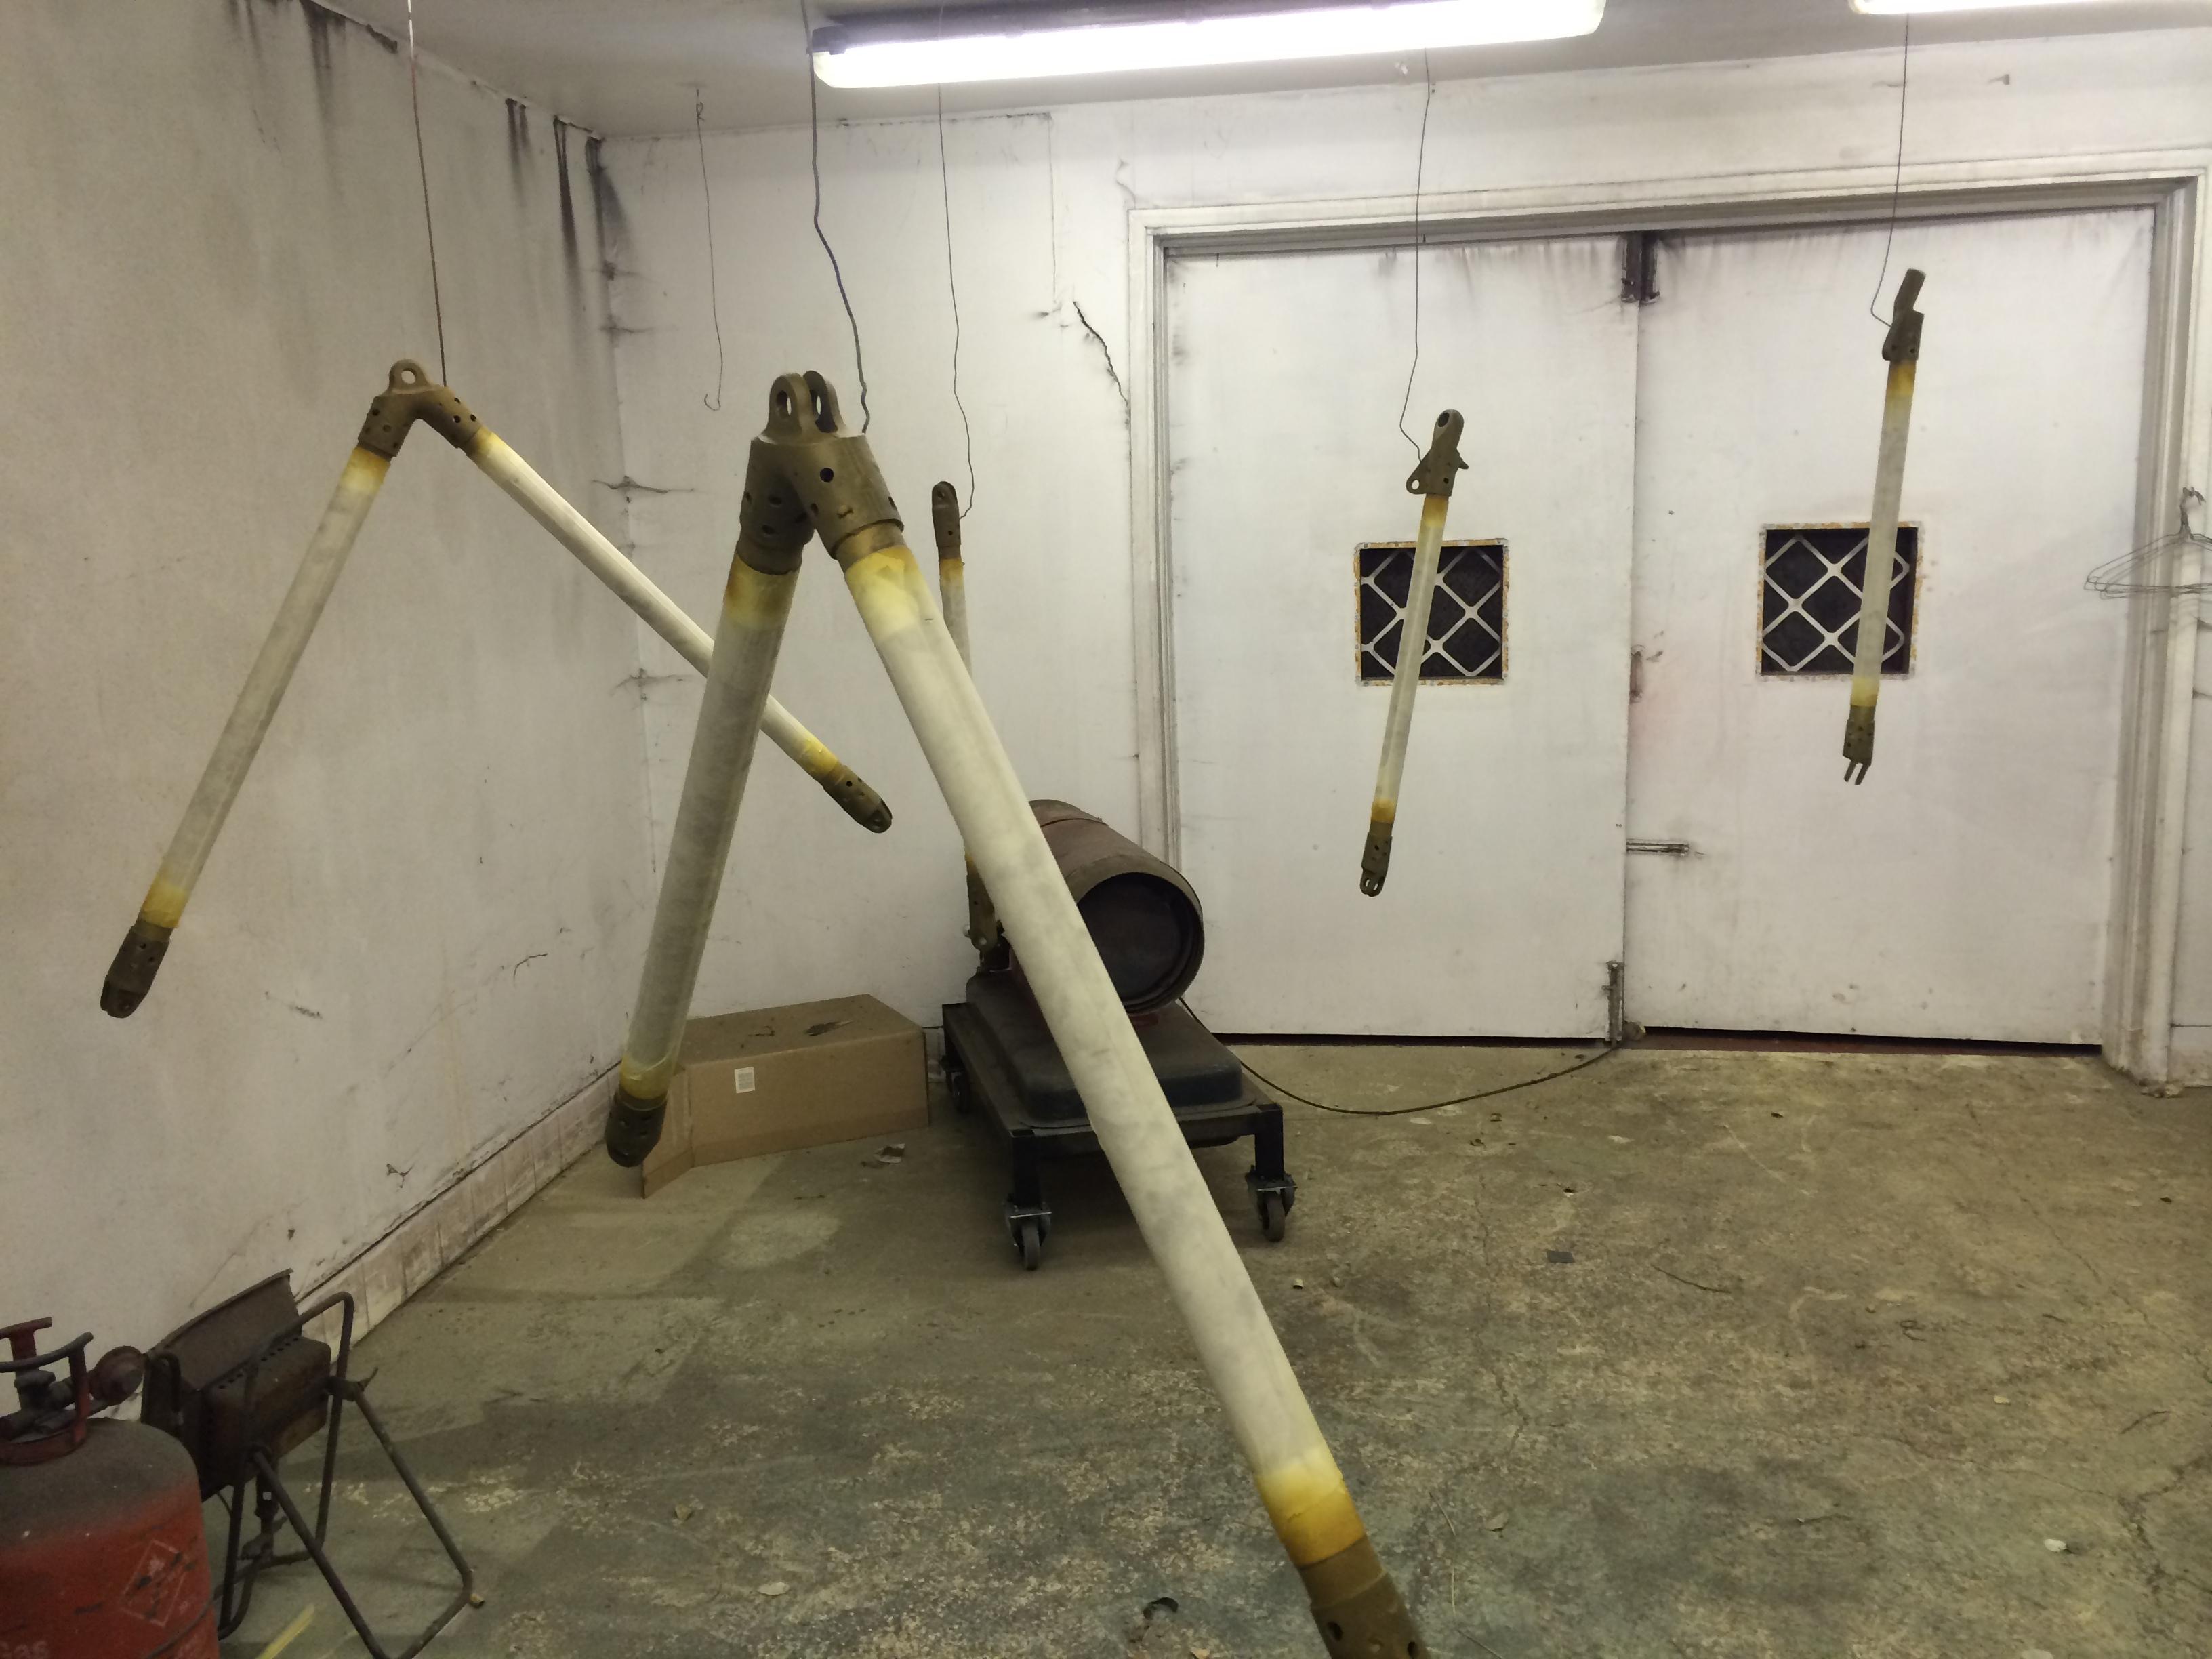
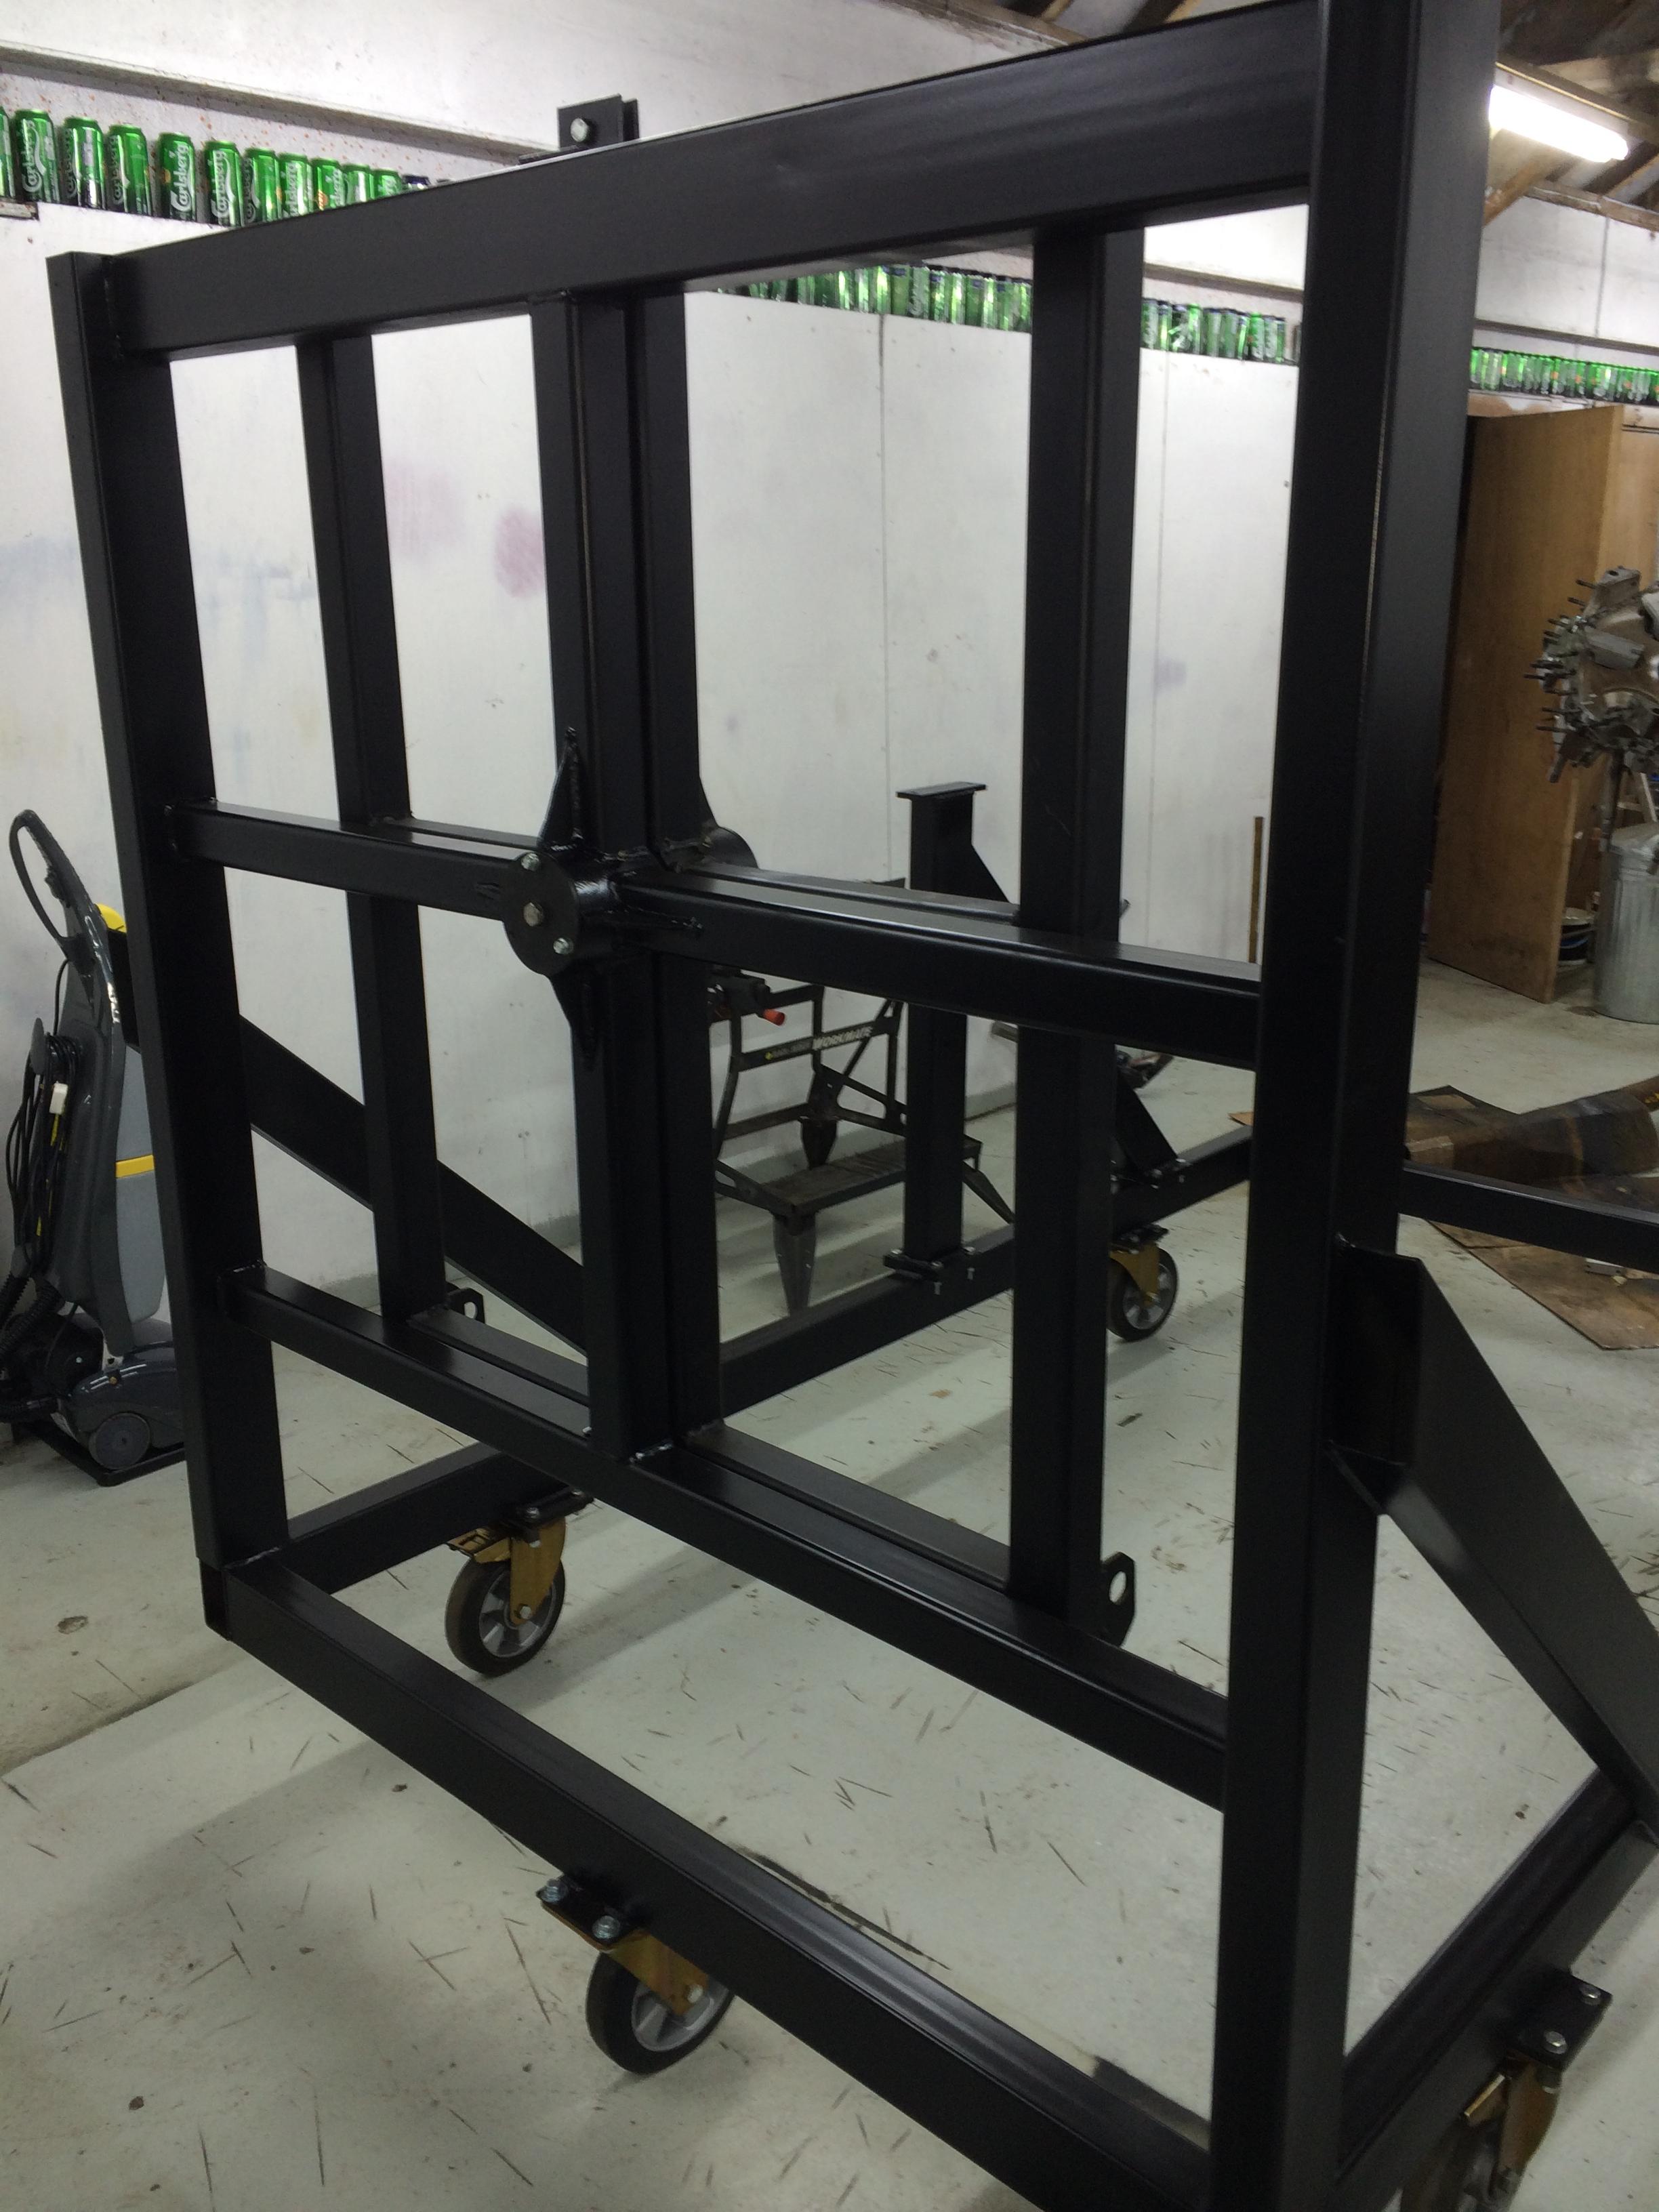
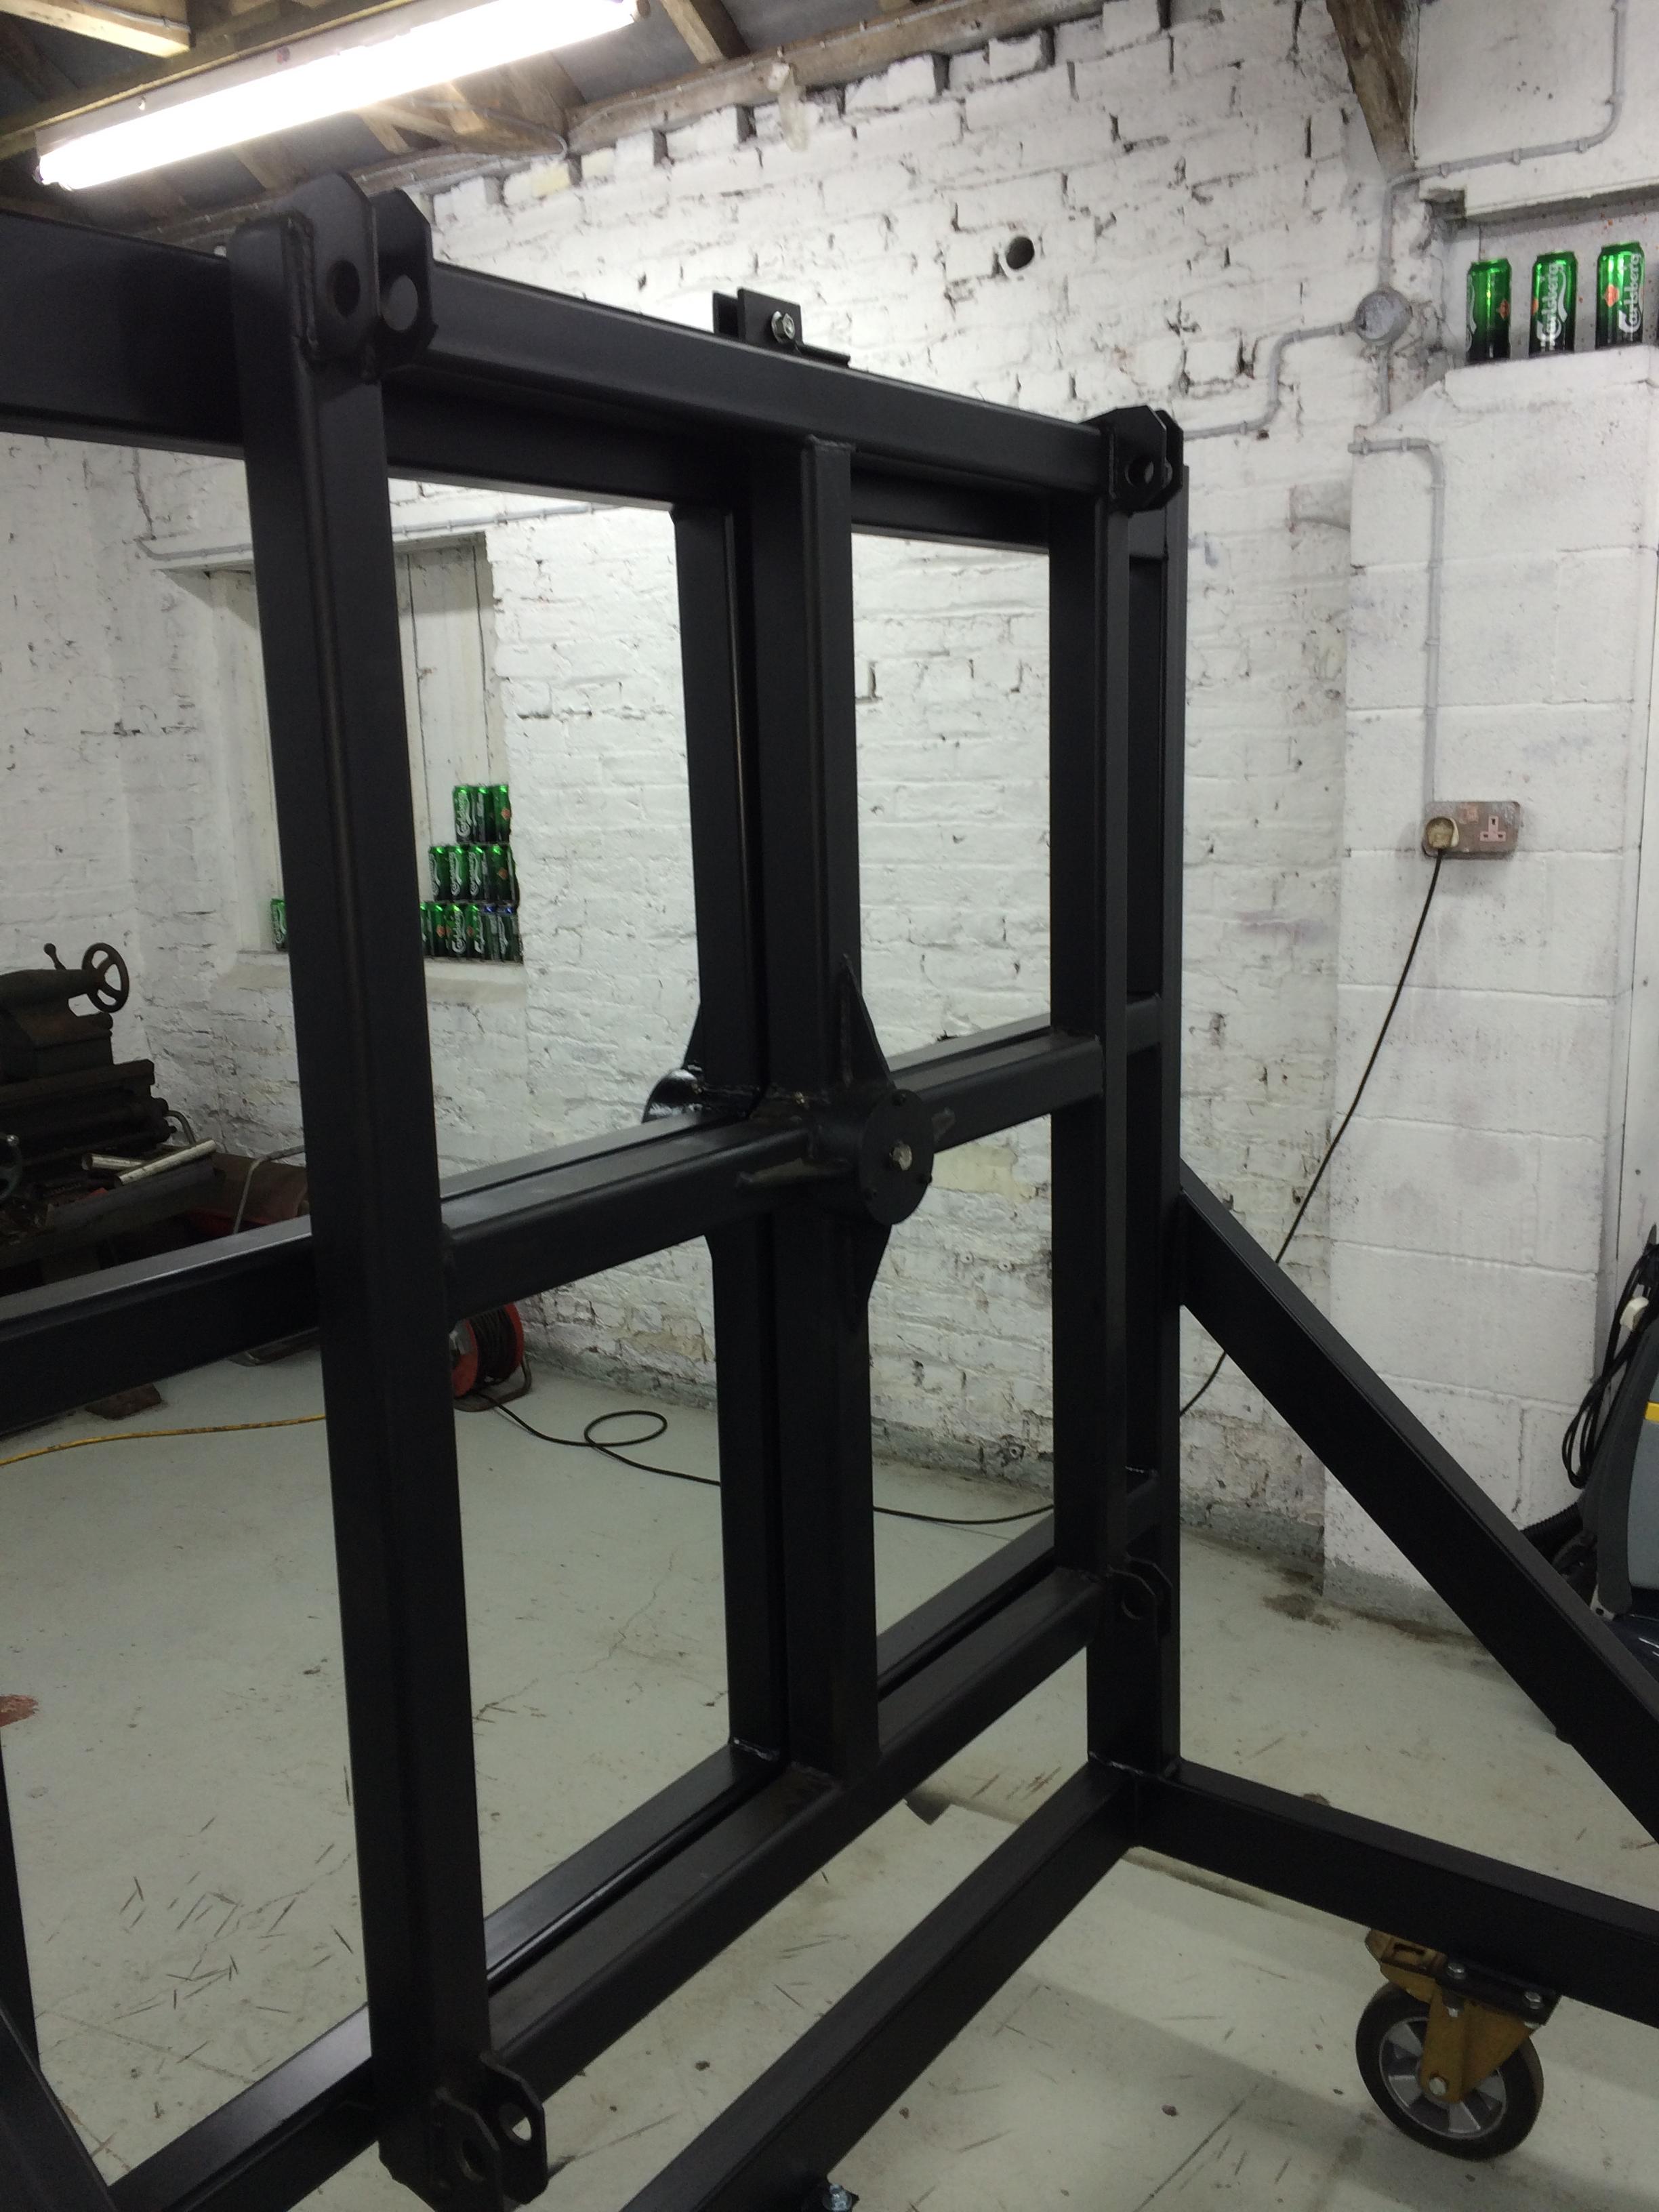
Engine mount frame painted, just the engine mount ring to do now then we can etch prime the back half of the engine, fit the engine mount and rotate the engine back to the horizontal position.

Front Crankshaft Re-Assemble

The next job will be to fit and tighten the front maniton stretch bolts.

Triangle de vert 2014 002Triangle de vert 2014 003

To tighten the maniton bolts, first check the length, then put all the Carlsberg to good use and stretch the bolts by 0.014″ to 0.016″

Triangle de vert 2014 004


Once tightened we fitted new split pins.

Triangle de vert 2014 005

We have now removed the extra steady legs from the stand, ready for the front section to be fitted.

Triangle de vert 2014 006 Triangle de vert 2014 007


Before we fit that we will clean out the front sleeve drive shafts and lock them off with the blocks we have made, and then flat off all of the external paint.

Assembly Starts

Well we have been busy cleaning the middle crank case section, flattening down the paint so it will be ready for paint when assembled.

April 27 004 April 27 002

Before we can start putting parts back onto the engine assembly stand, Pete did a great job of prepping the stand then etch prime , then a couple of coats of satin black.

April 27 001

April 27 008 April 27 009 April 27 010

The first section to go back on was the center section.

April 27 029

Next after cleaning the crank oil jets they were refitted. We are using 75/90 oil to lubricate all parts as they are fitted.

April 27 011

A good slug of oil fed into main center bearing.

April 27 014 April 27 013


Also plenty of oil down the center of the crank before fitting the end plugs.

April 27 012April 27 028

Next after a final wipe down, the front even row master rod and con rods were reassembled ready to be fitted.

April 27 031April 27 032


Before the con rods can be fitted the oil feed ring is fitted and lubed up.

April 27 030


That’s a good mile stone achieved, the even set of con rods fitted, time for a beer!

April 27 033

Next job was to clean the front maniton of little patches of surface rust.

April 27 034

Also we removed the maniton jet and cleaned it out ,April 27 035

Another little special tool was made from a 1/4″ drive extension to remove the jet.

April 27 036


We the aid of our third member of the team Mr. Engine Hoist the front maniton was refitted and lined up.

April 27 037 April 27 038April 27 039April 27 040


We have fitted pipe insulation to the con rods to protect them while the rest of the assembly is carried out, so when we are turning the engine and the con rods flop about there coating won’t get damaged.

April 27 041


The next job will be to fit and tighten the front maniton stretch bolts, this will have to wait to next weekend, as this will take three people to achieve the tension required!