Category Archives: Uncategorized

Bristol Hercules 759 Running Frame


We soon realized that we could not run with a front support like the 216 , as the nacelle is in the way and the prop is to close to the front edge of the nacelle. So we designed extra bracing for the rear mounting frame, then passed that over to to Dom and he cut it out on his CNC Plasma cutter.

img_3618 img_3619 img_3621


We used 5 mm steel to make the extra side mounts with internal gussets .

img_4727 img_4728

Then a couple of extra stays back on to the lower frame.


img_4734


We plan to mount the tanks more to the side , which will cover  up the extra steel work and leave the center section open so the rear of the engine is visible.img_5174 img_5175 img_5178img_5254

img_5255

New Tank mounts have been made just like on the 216 but offset to the outside.


img_5241

Note the extra casing that is fitted to this 759 to allow electrical connection to the prop hub,as there is limit switches inside to allow interlocking for prop thrust reverse.


img_5242 img_5244 img_5245


With my very helpful wife Gill the prop hub and one blade was mounted to check clearances. As you can see the blade in full feather would touch the frame. After a bit more measuring , we decided that 60 mm needed to come out.

img_5248 img_5251

After Chopping the frame back by 60 mm, it was all clamped back up and welded up. Next job make up the tanks.


Sleeve Valve Demonstration Uinit

At the shows, there is always two questions asked from young and old.

1. How dose a Radial engine work

2. How does a Sleeve Valve work

So we decided to make a display unit that can be taken to shows and people can have a hands on demonstration of both of these questions.img_4837-copy img_4846

We had a old 264 engine that we had removed all useful parts, so we decided to use this to make our display unit. First I cut up the front crank case section then the timing case cover using a reciprocating saw.


img_4852

img_4858img_4853


Next I fitted a Cylinder and five sets of timing gears


img_4864


Next job was to weld back together the master rod, as this had to be cut to strip the engine as that cylinder would not come off.

img_4865

img_4870

Next I cout down the front half of the crank manaton and make a replacement crank pin to allow the master rod to be attached.

img_4944 img_4946


The last job was to make a cranking handle , it works a treat. Over winter Pete will tidy the casing up and crankshaft on the milling machine, then all we have to do is make a perspex box to go over it , as there is plenty of finger trapping gears and sleeve valve ports etc.


216 Finished, Show time

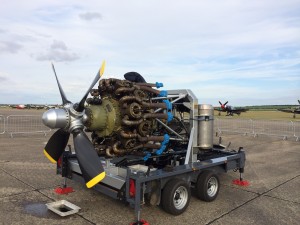
Well we have had a very busy few months finishing off the 216 and attending a few shows this summer,

DSC01595 DSC01602 DSC01610


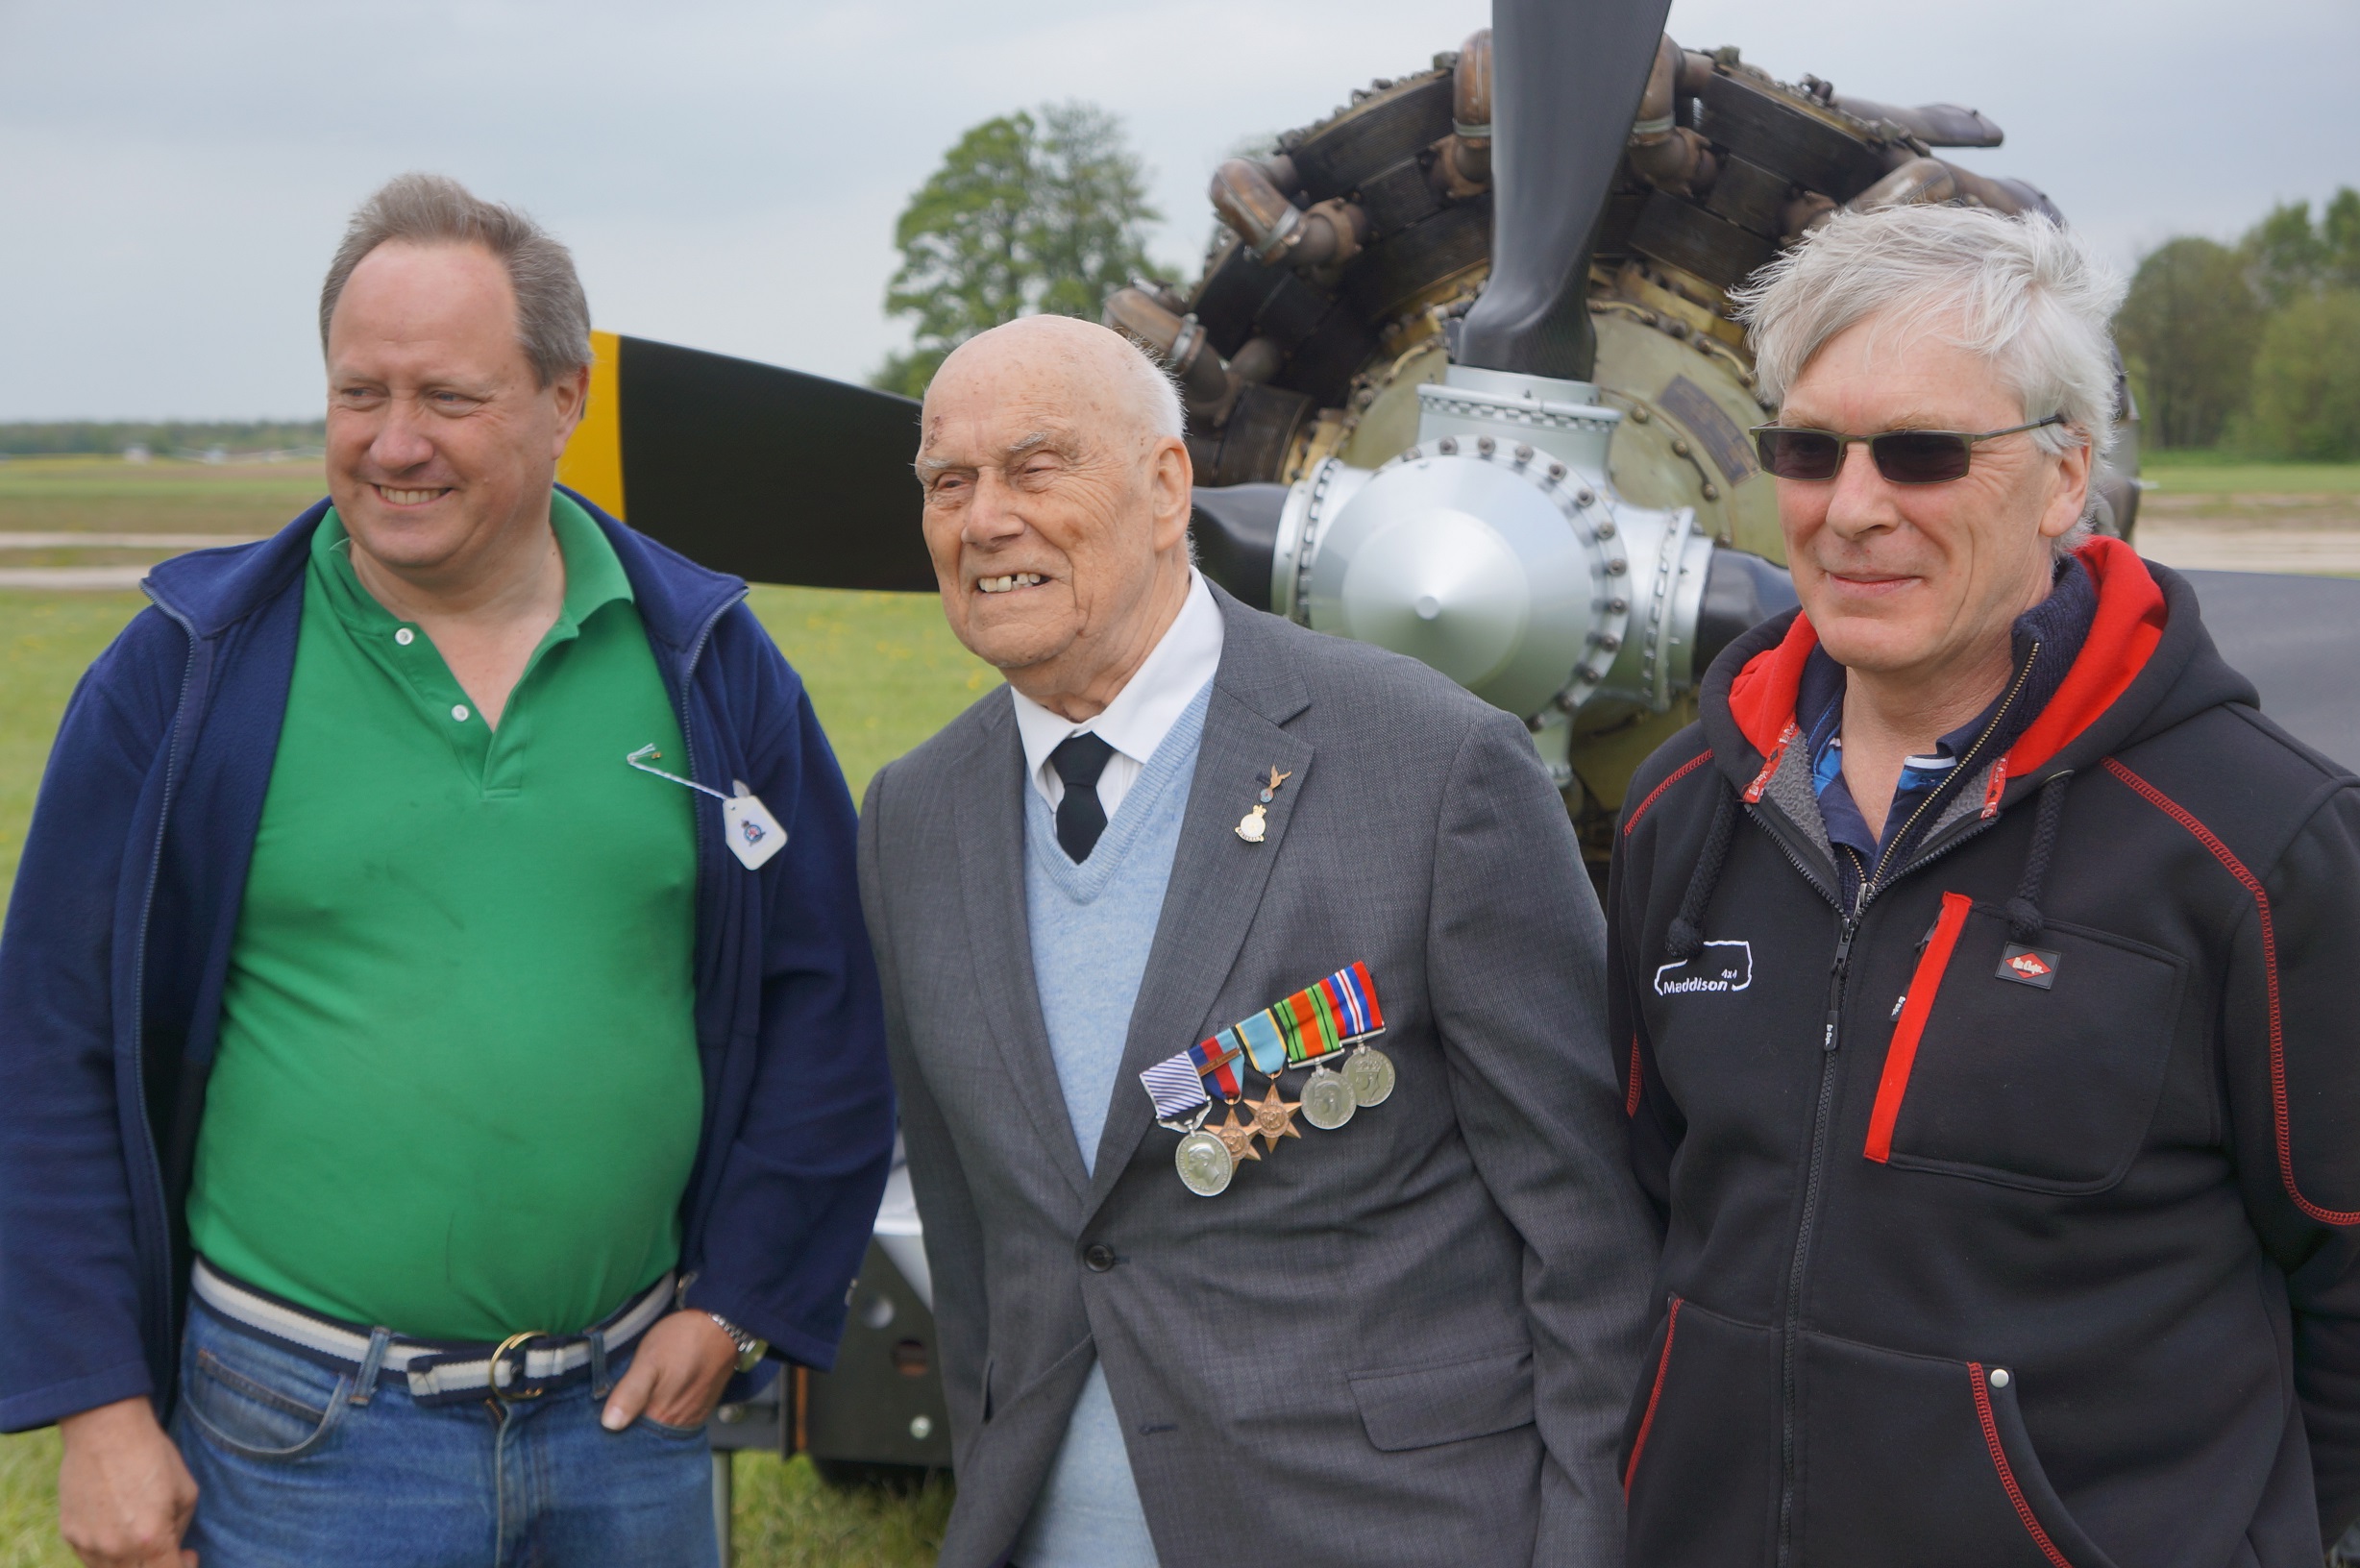
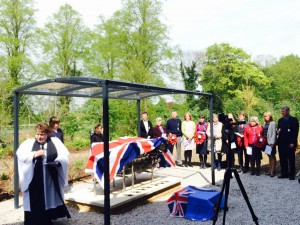
Our first outing was at the old RAF Pocklington Airfield where we had been invited to the 102 Squadron reunion  on the 9th and 10th of may, where the Merlin that we had cleaned up was unveiled

JB848a JB848b


On the Sunday we invited an 93 year old Halifax Pilot of 102 squadron Tom Sawyer to start up our 216, we didn’t have to ask him twice! he was chuffed to bits.

DSC01622

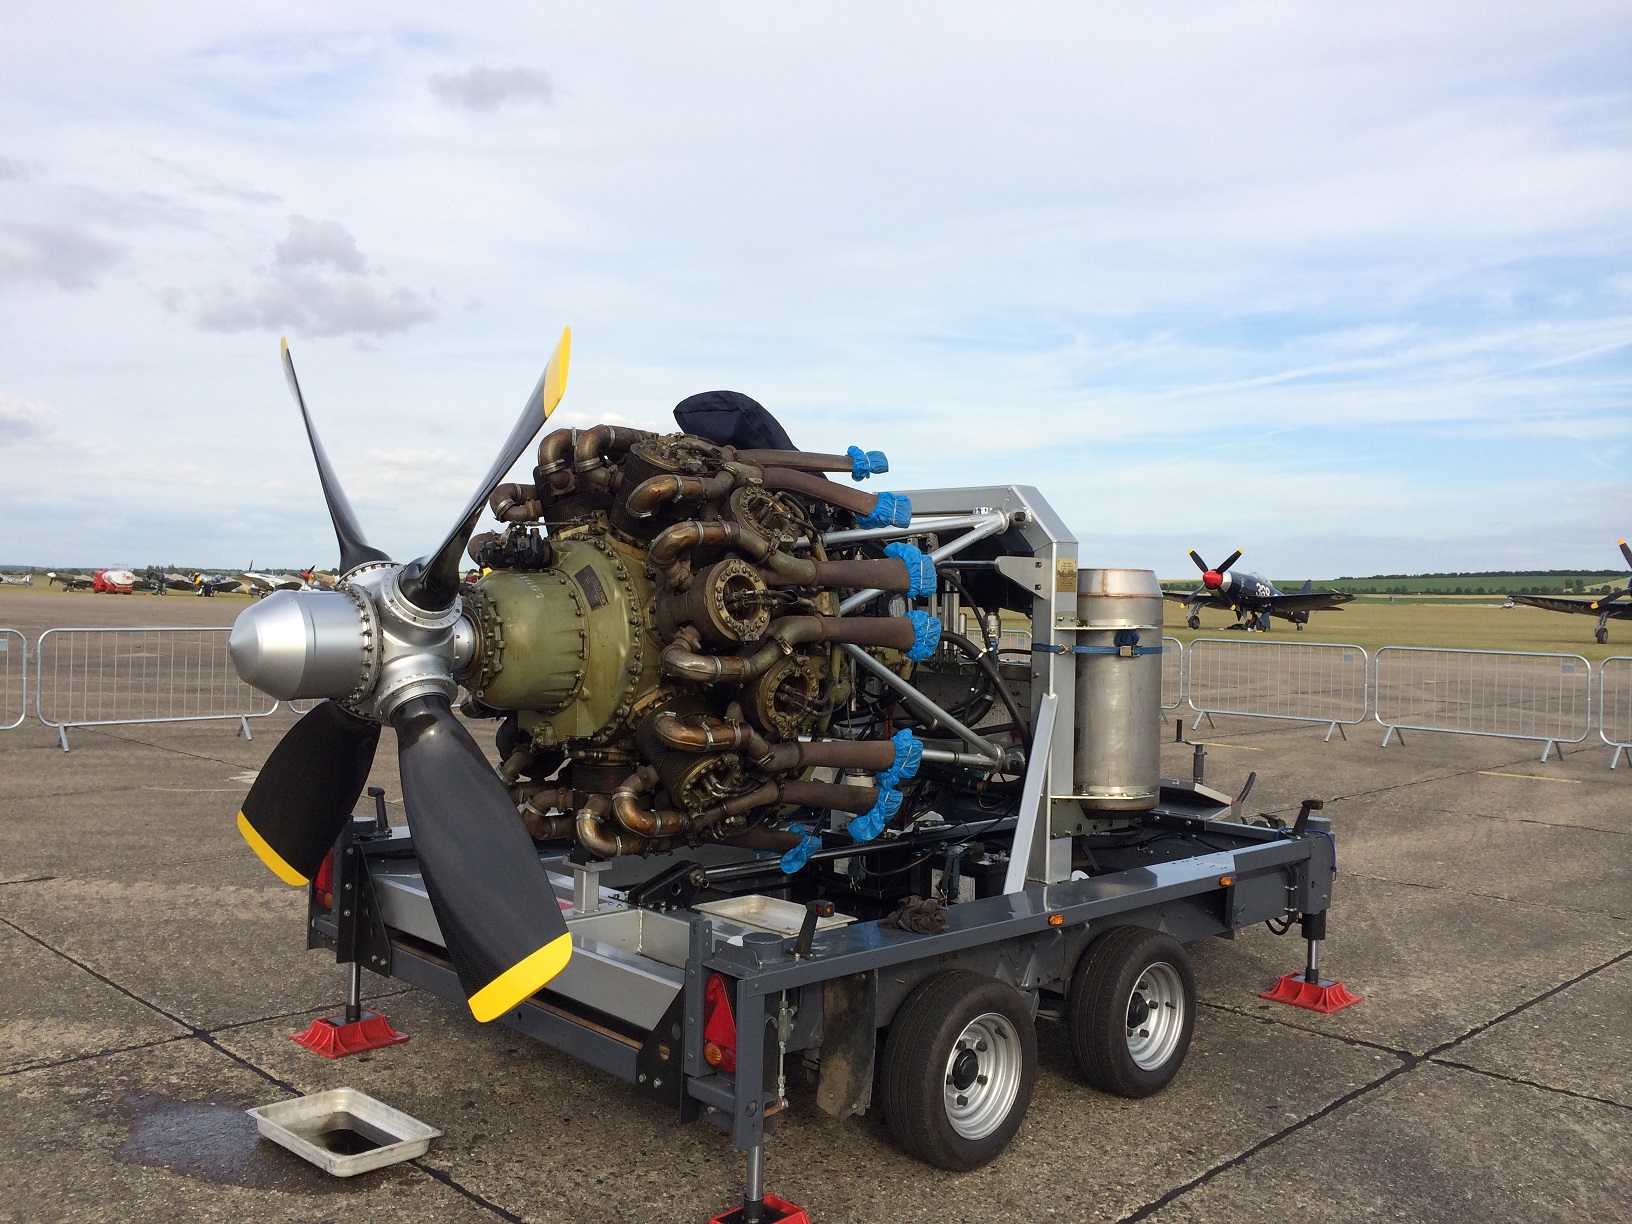
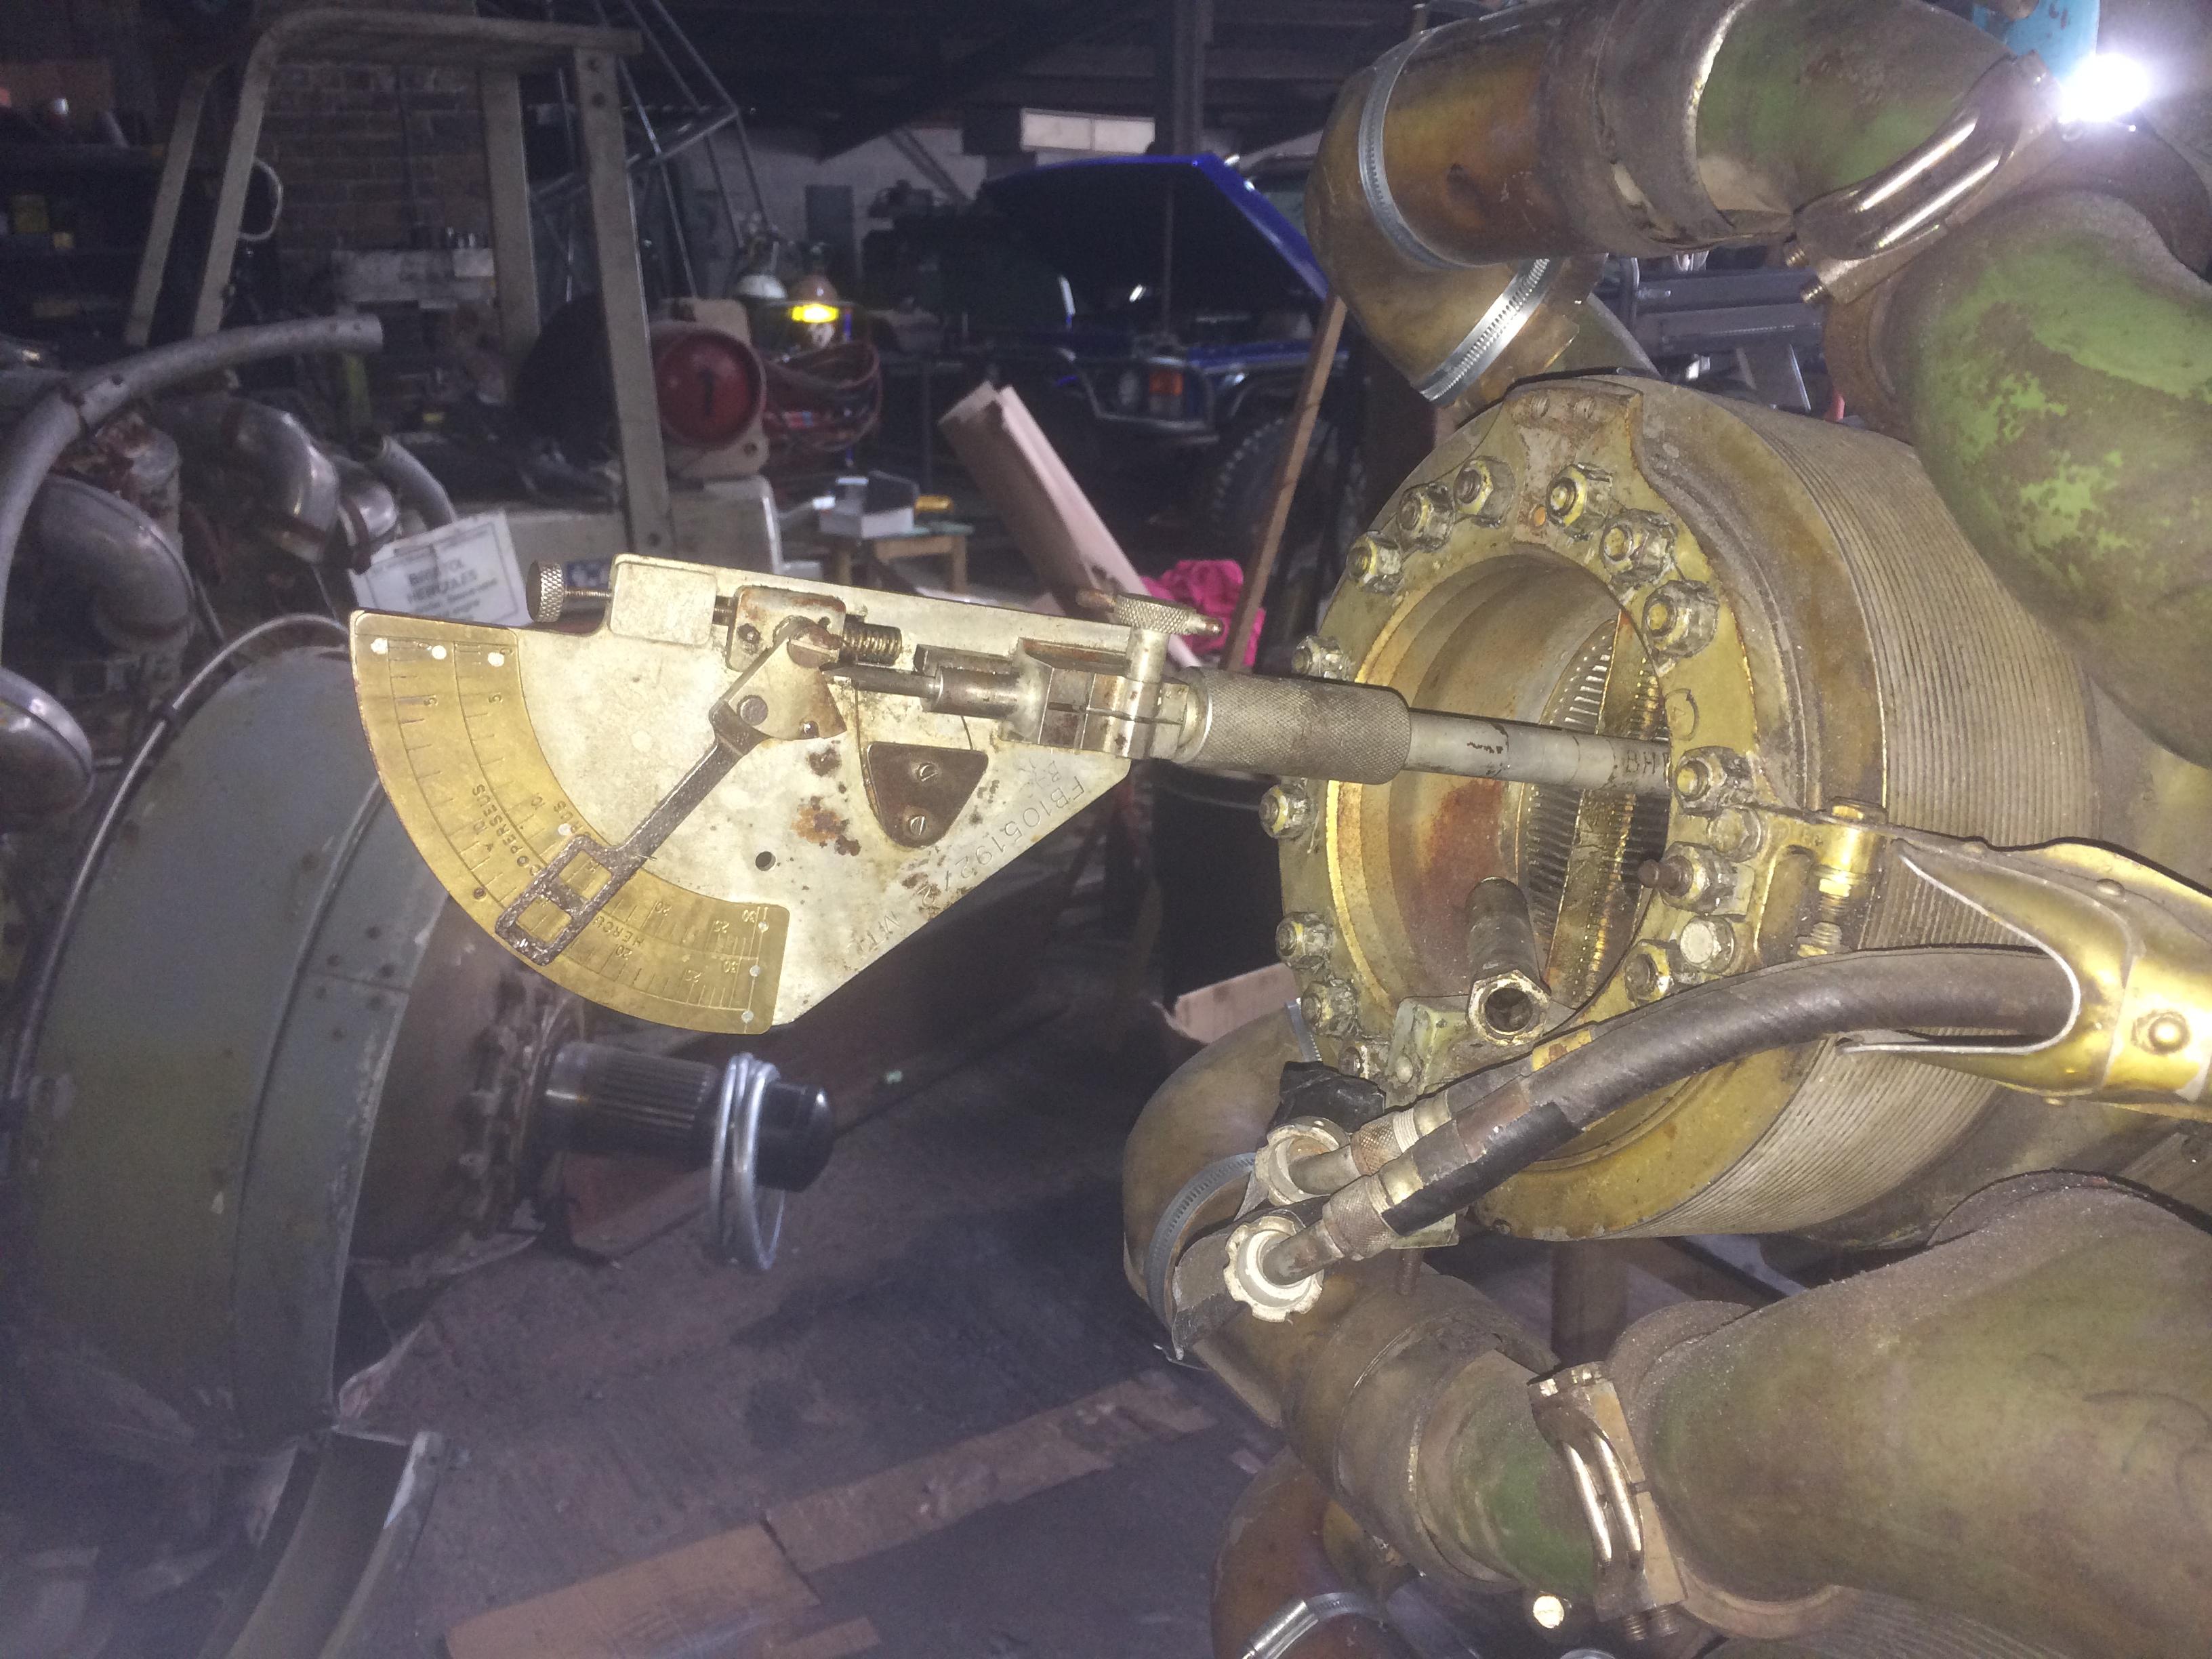
The next outing for us was at the Duxford Flying Legends 11th and 12th of July, before we went down we made a new tachometer from a Land Rover defender speedo. and a new air intake and fit some new guages.

IMG_1624 IMG_1625

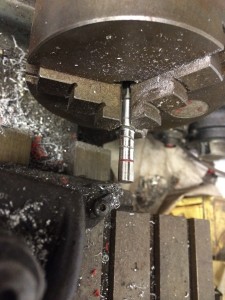
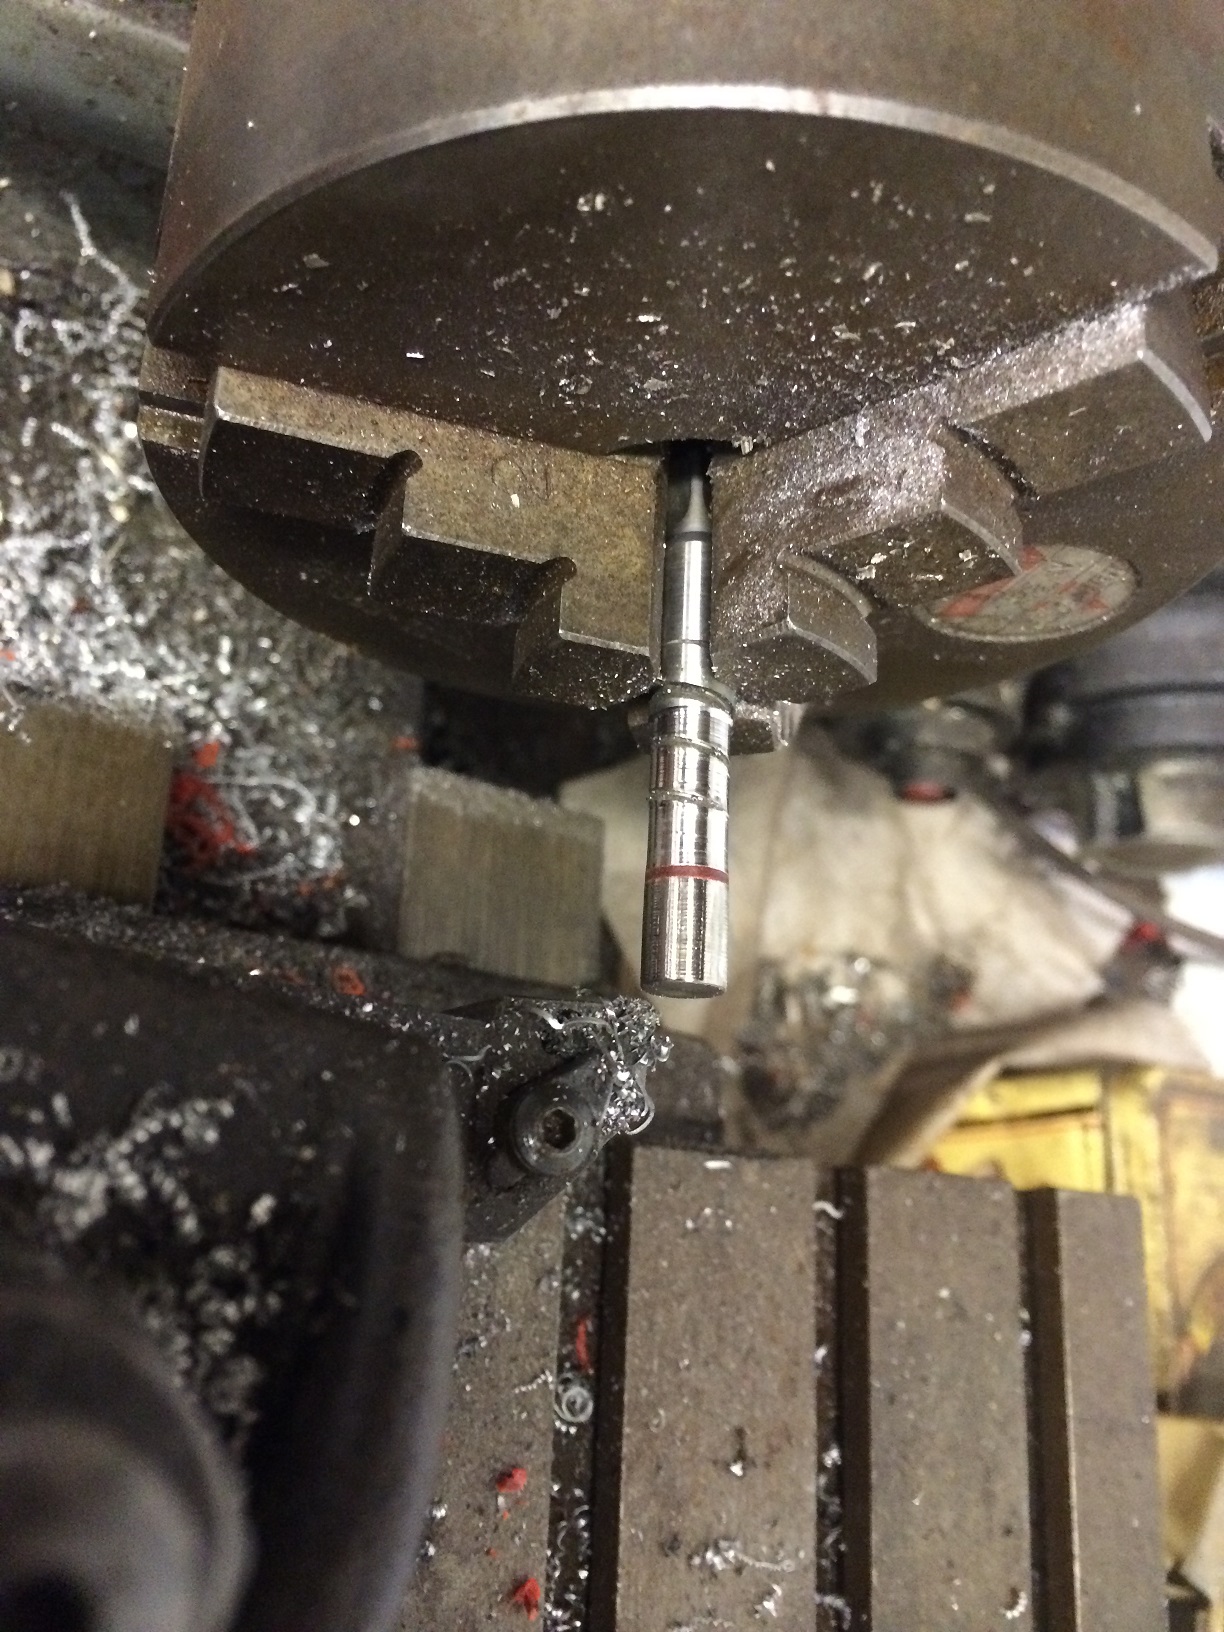
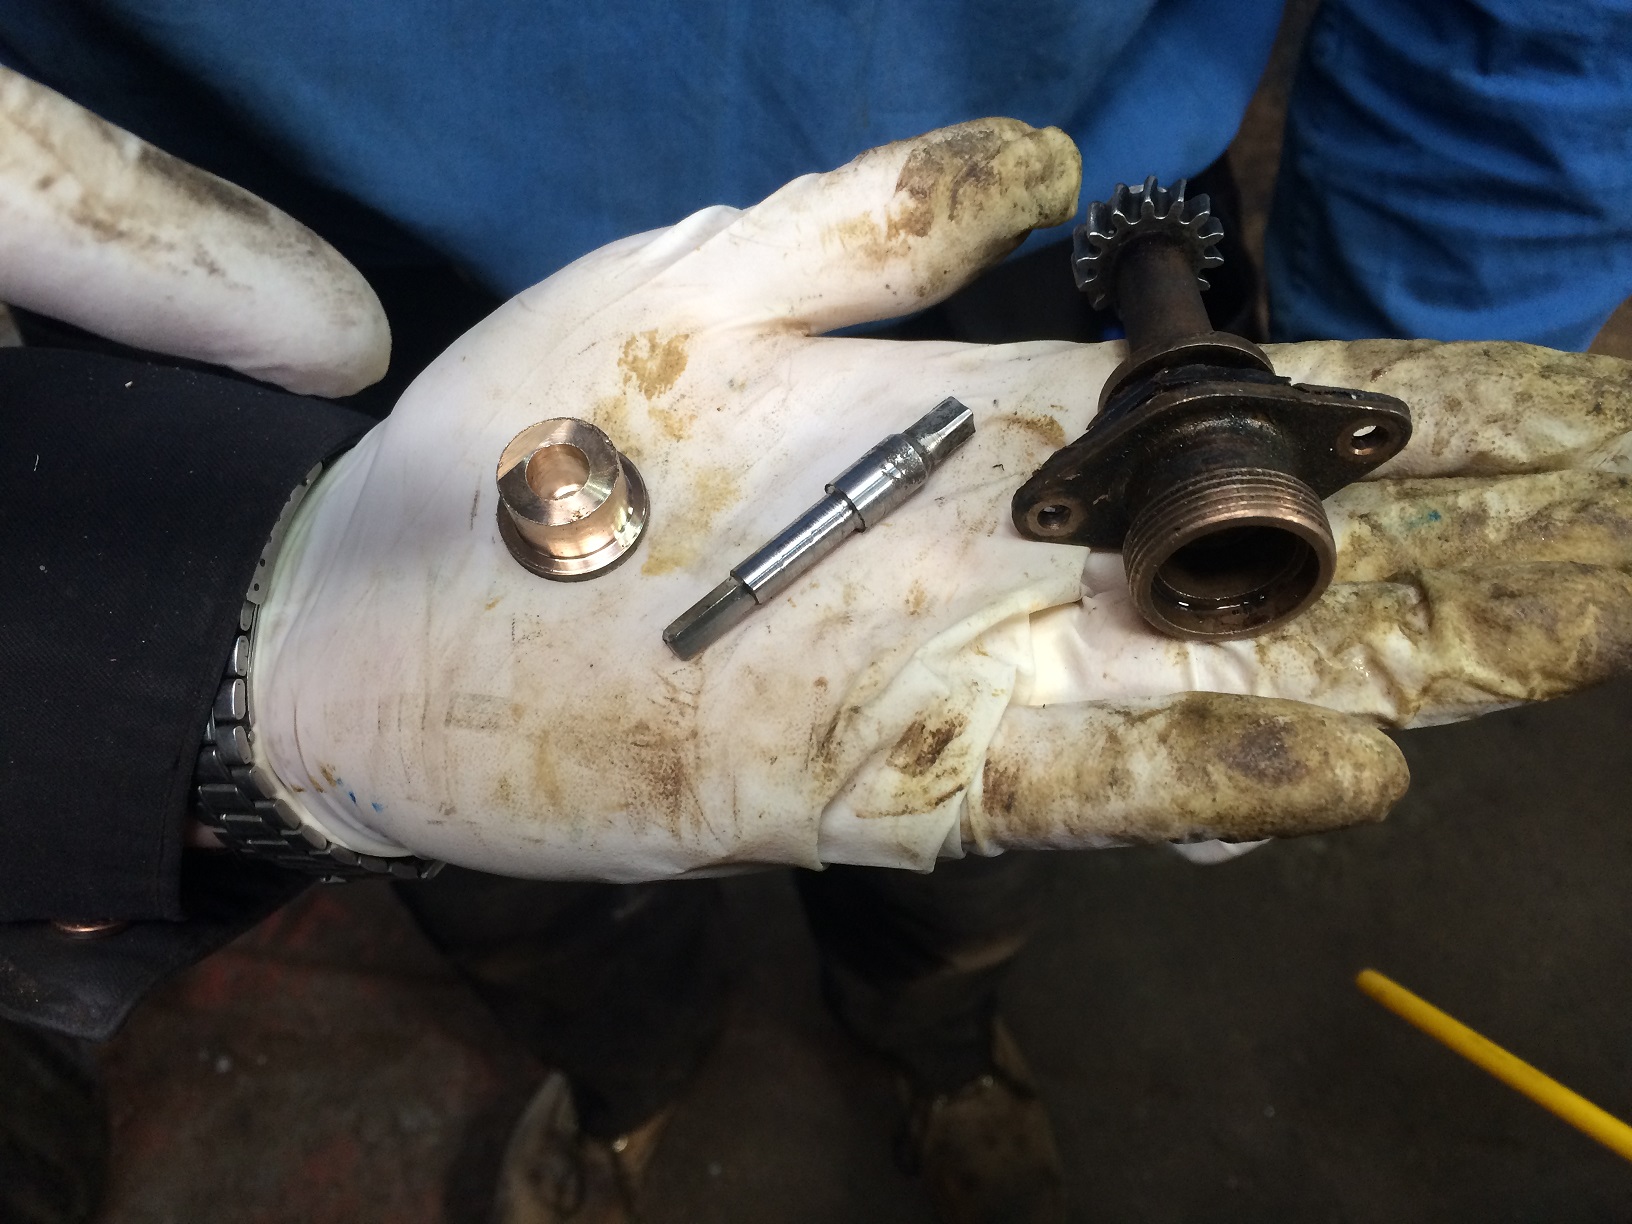
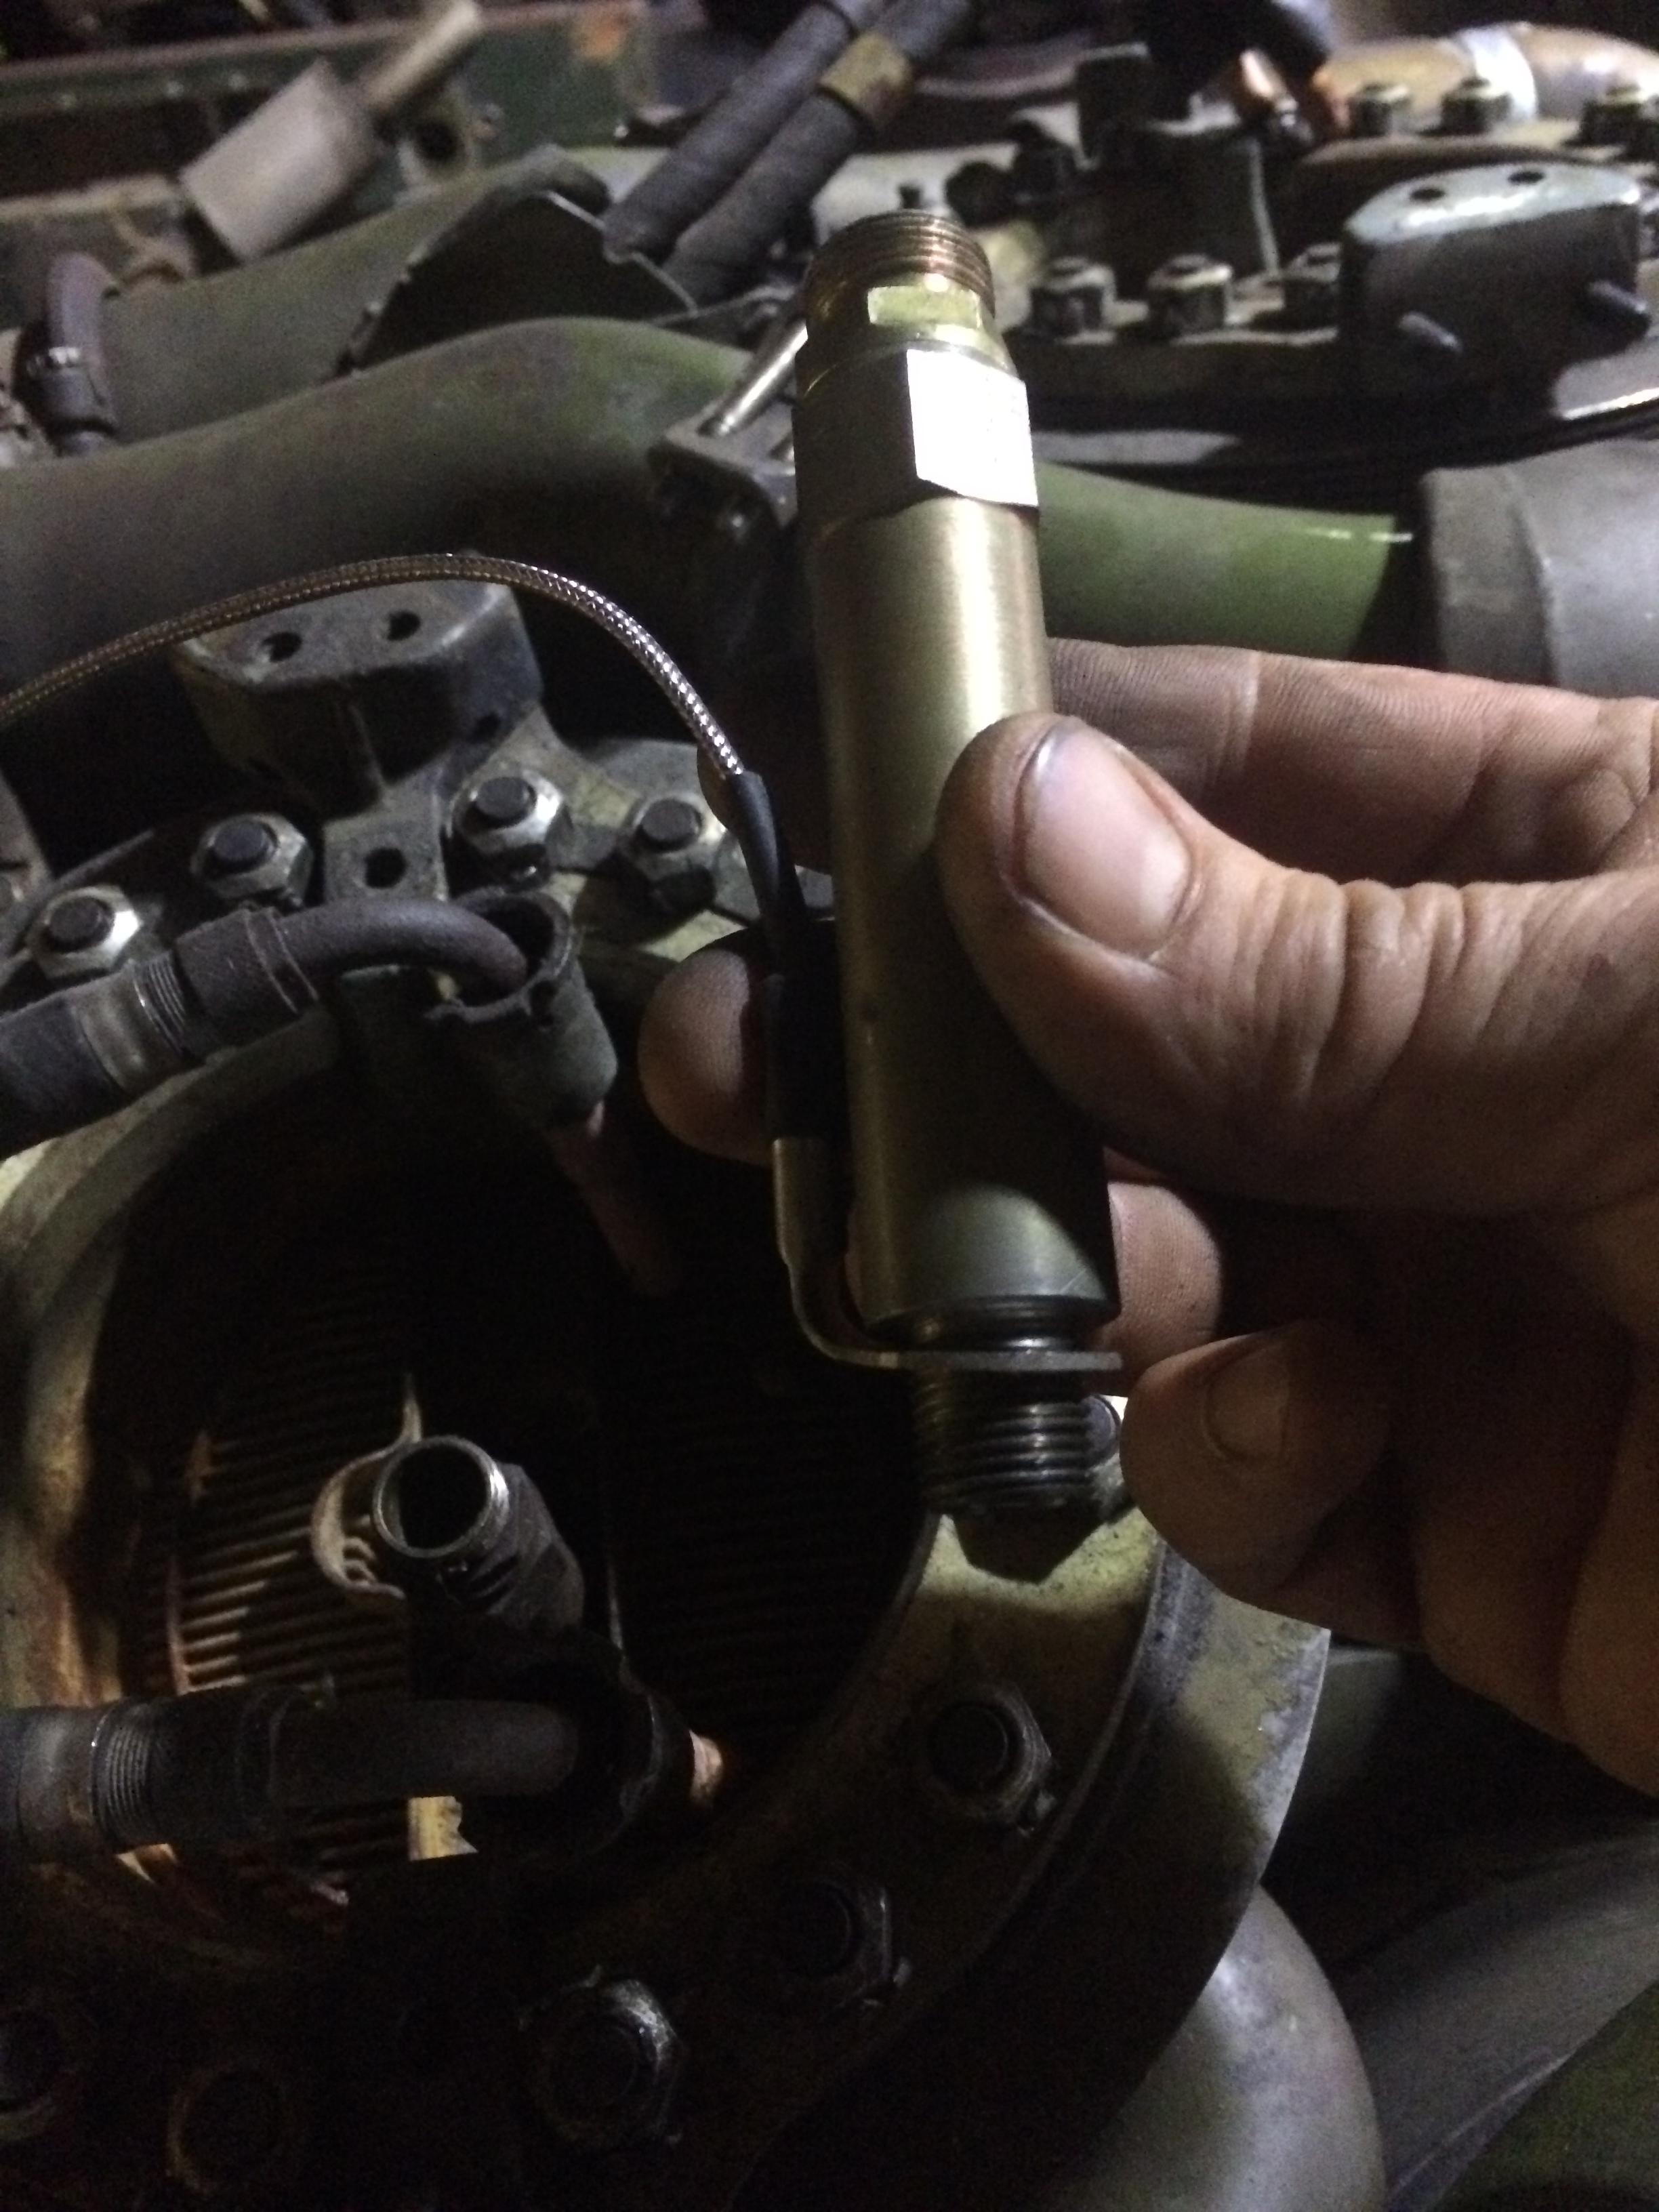
We modified the Land Rover speedometer  drive spindle to fit the square drive on the Hercules, then made a brass bush to hold it in.IMG_1628 IMG_1629

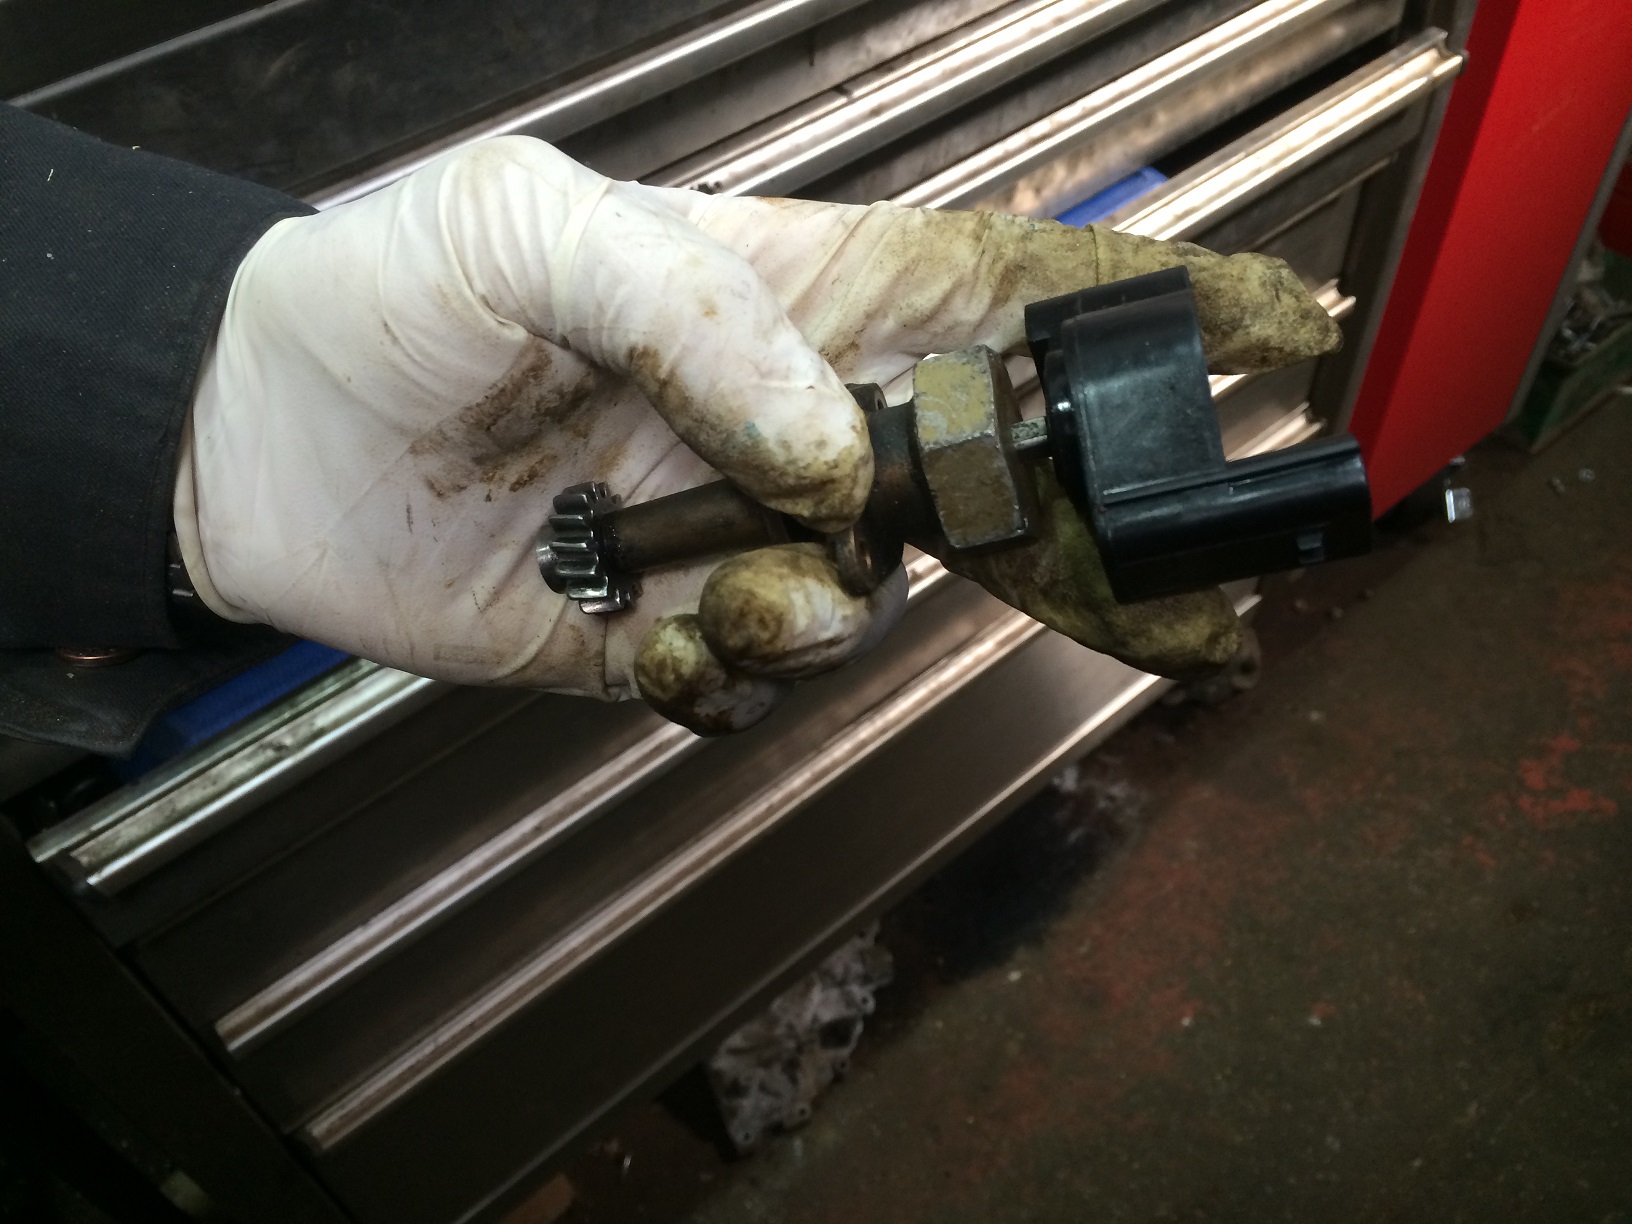
And here we have the finished article, the original tachometer drive altered to drive a Land Rover speed transducer which then drives a 80mm Land Rover Defender speedometer, we used a pulse multiplier bought from ebay to allow us to calibrate the speedometer.

Speed

We used an old Snapon timing light to calibrate the tachometer.

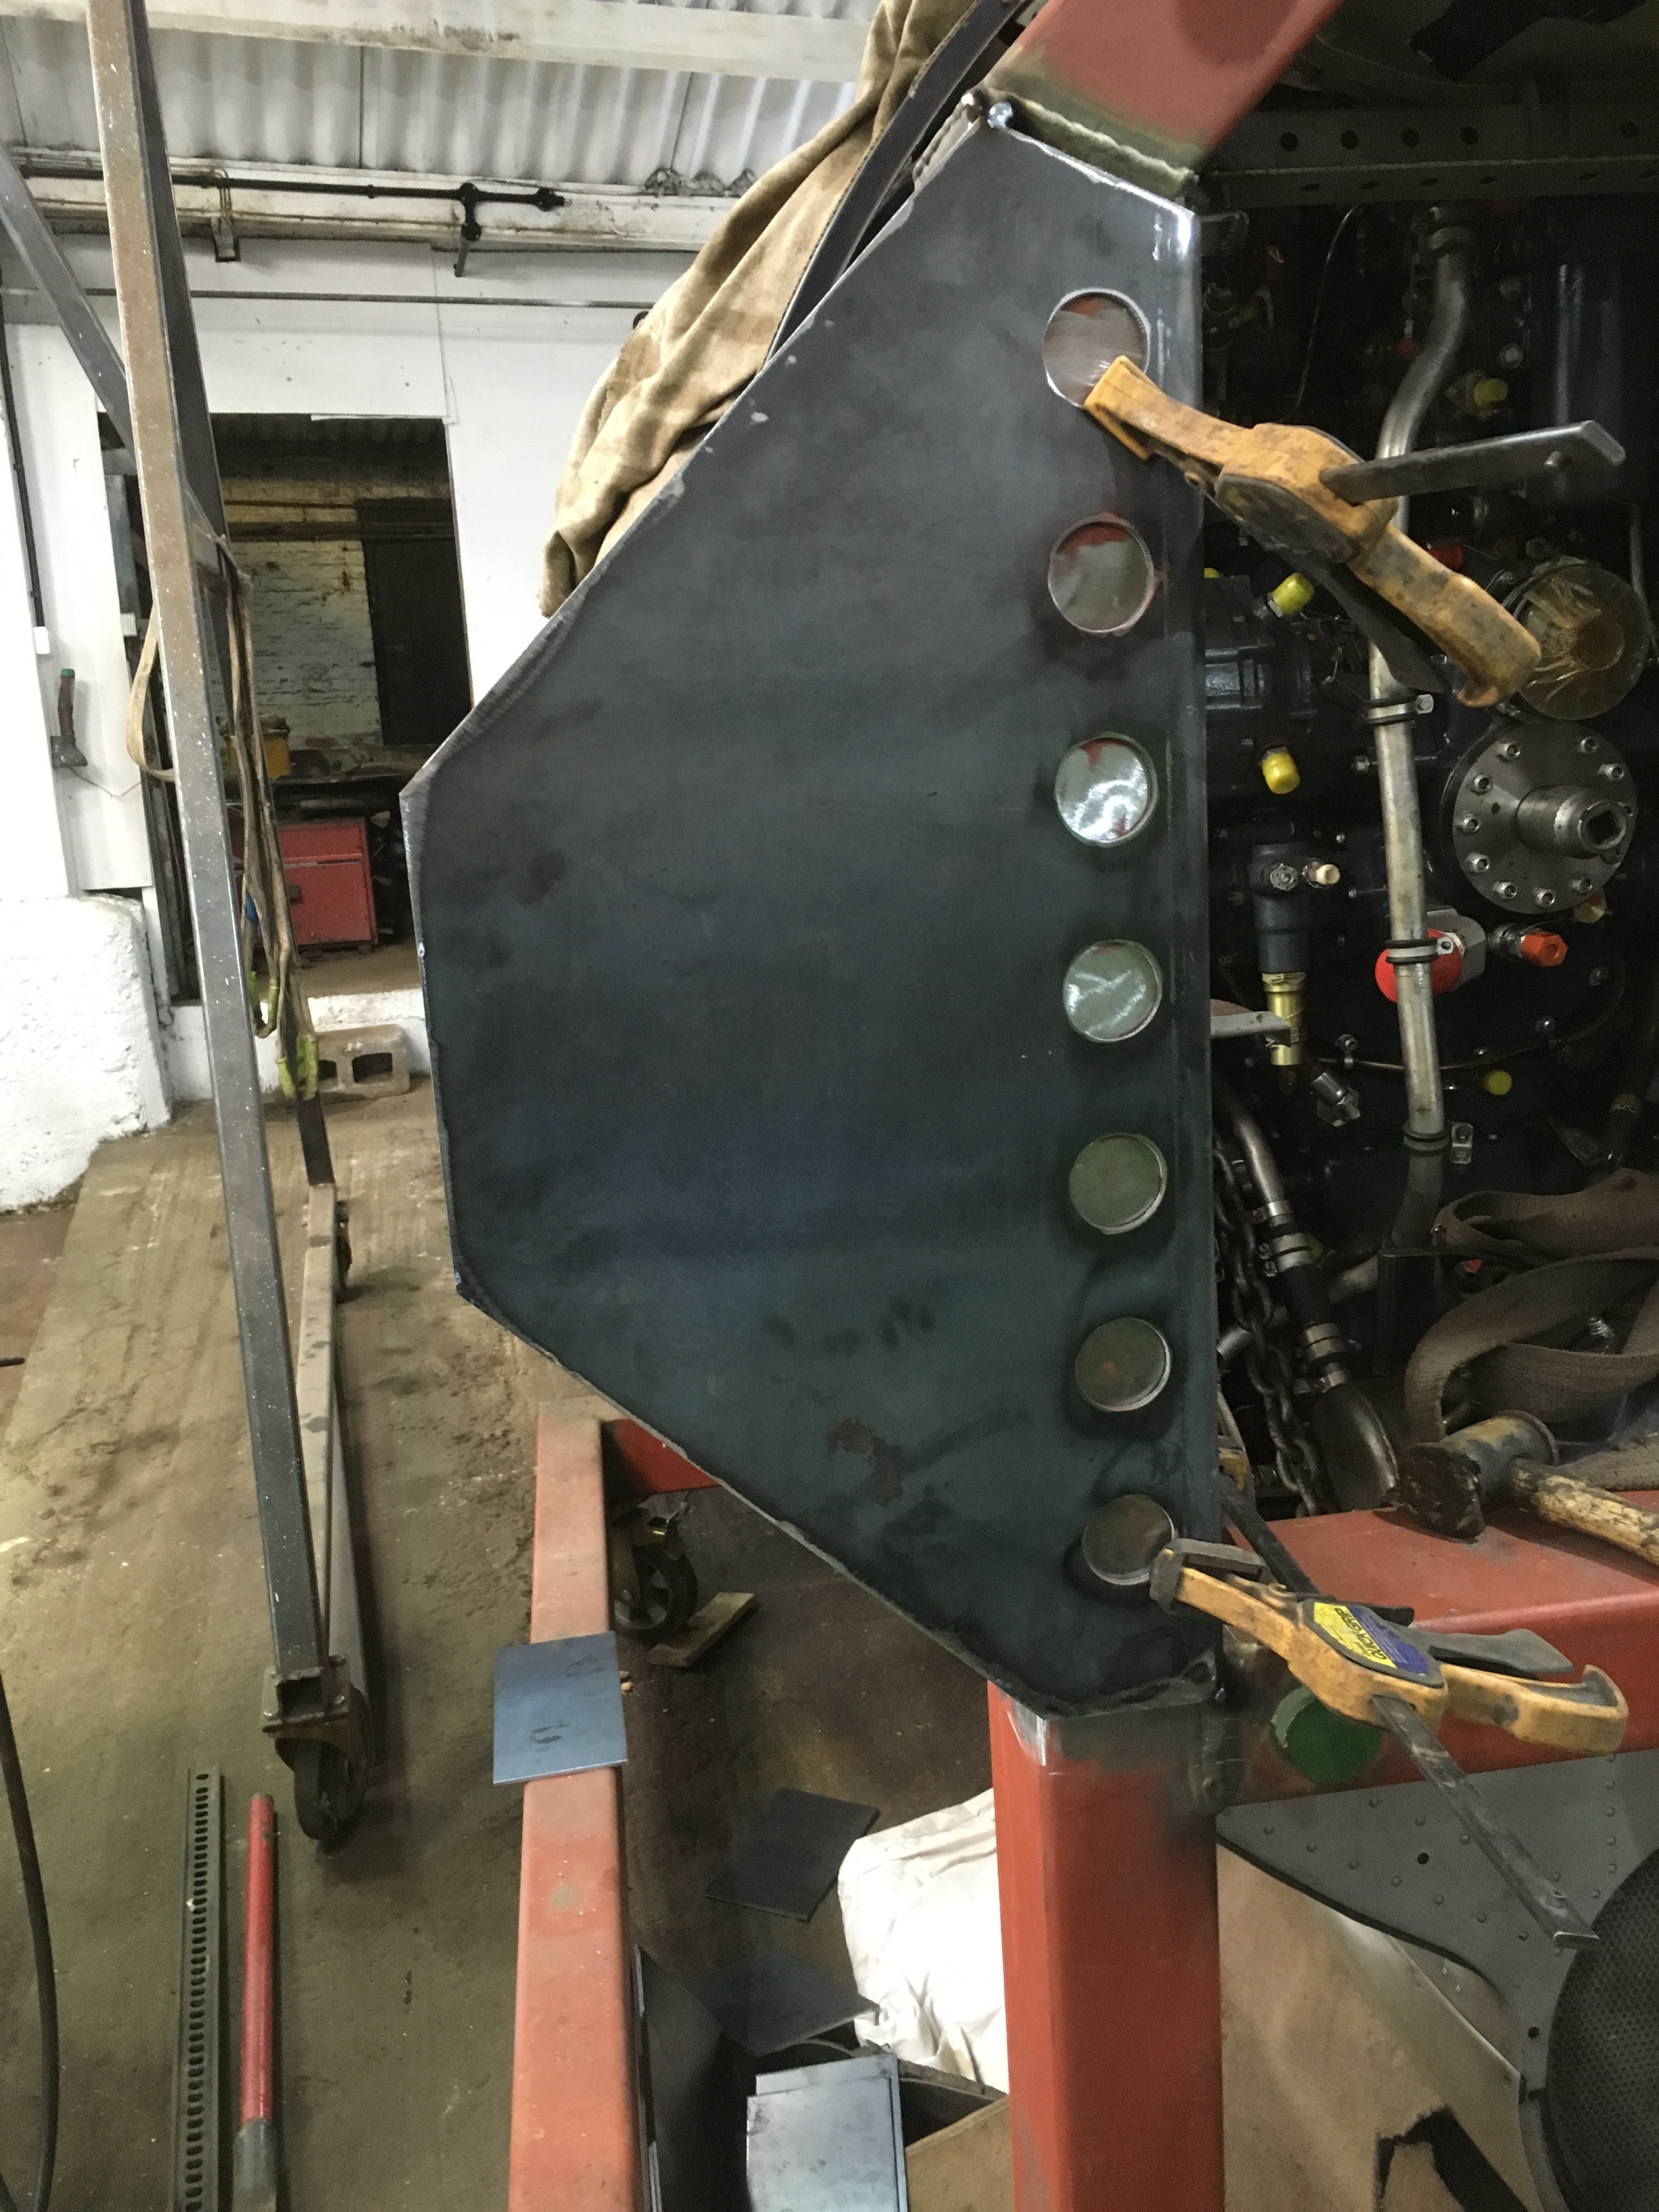
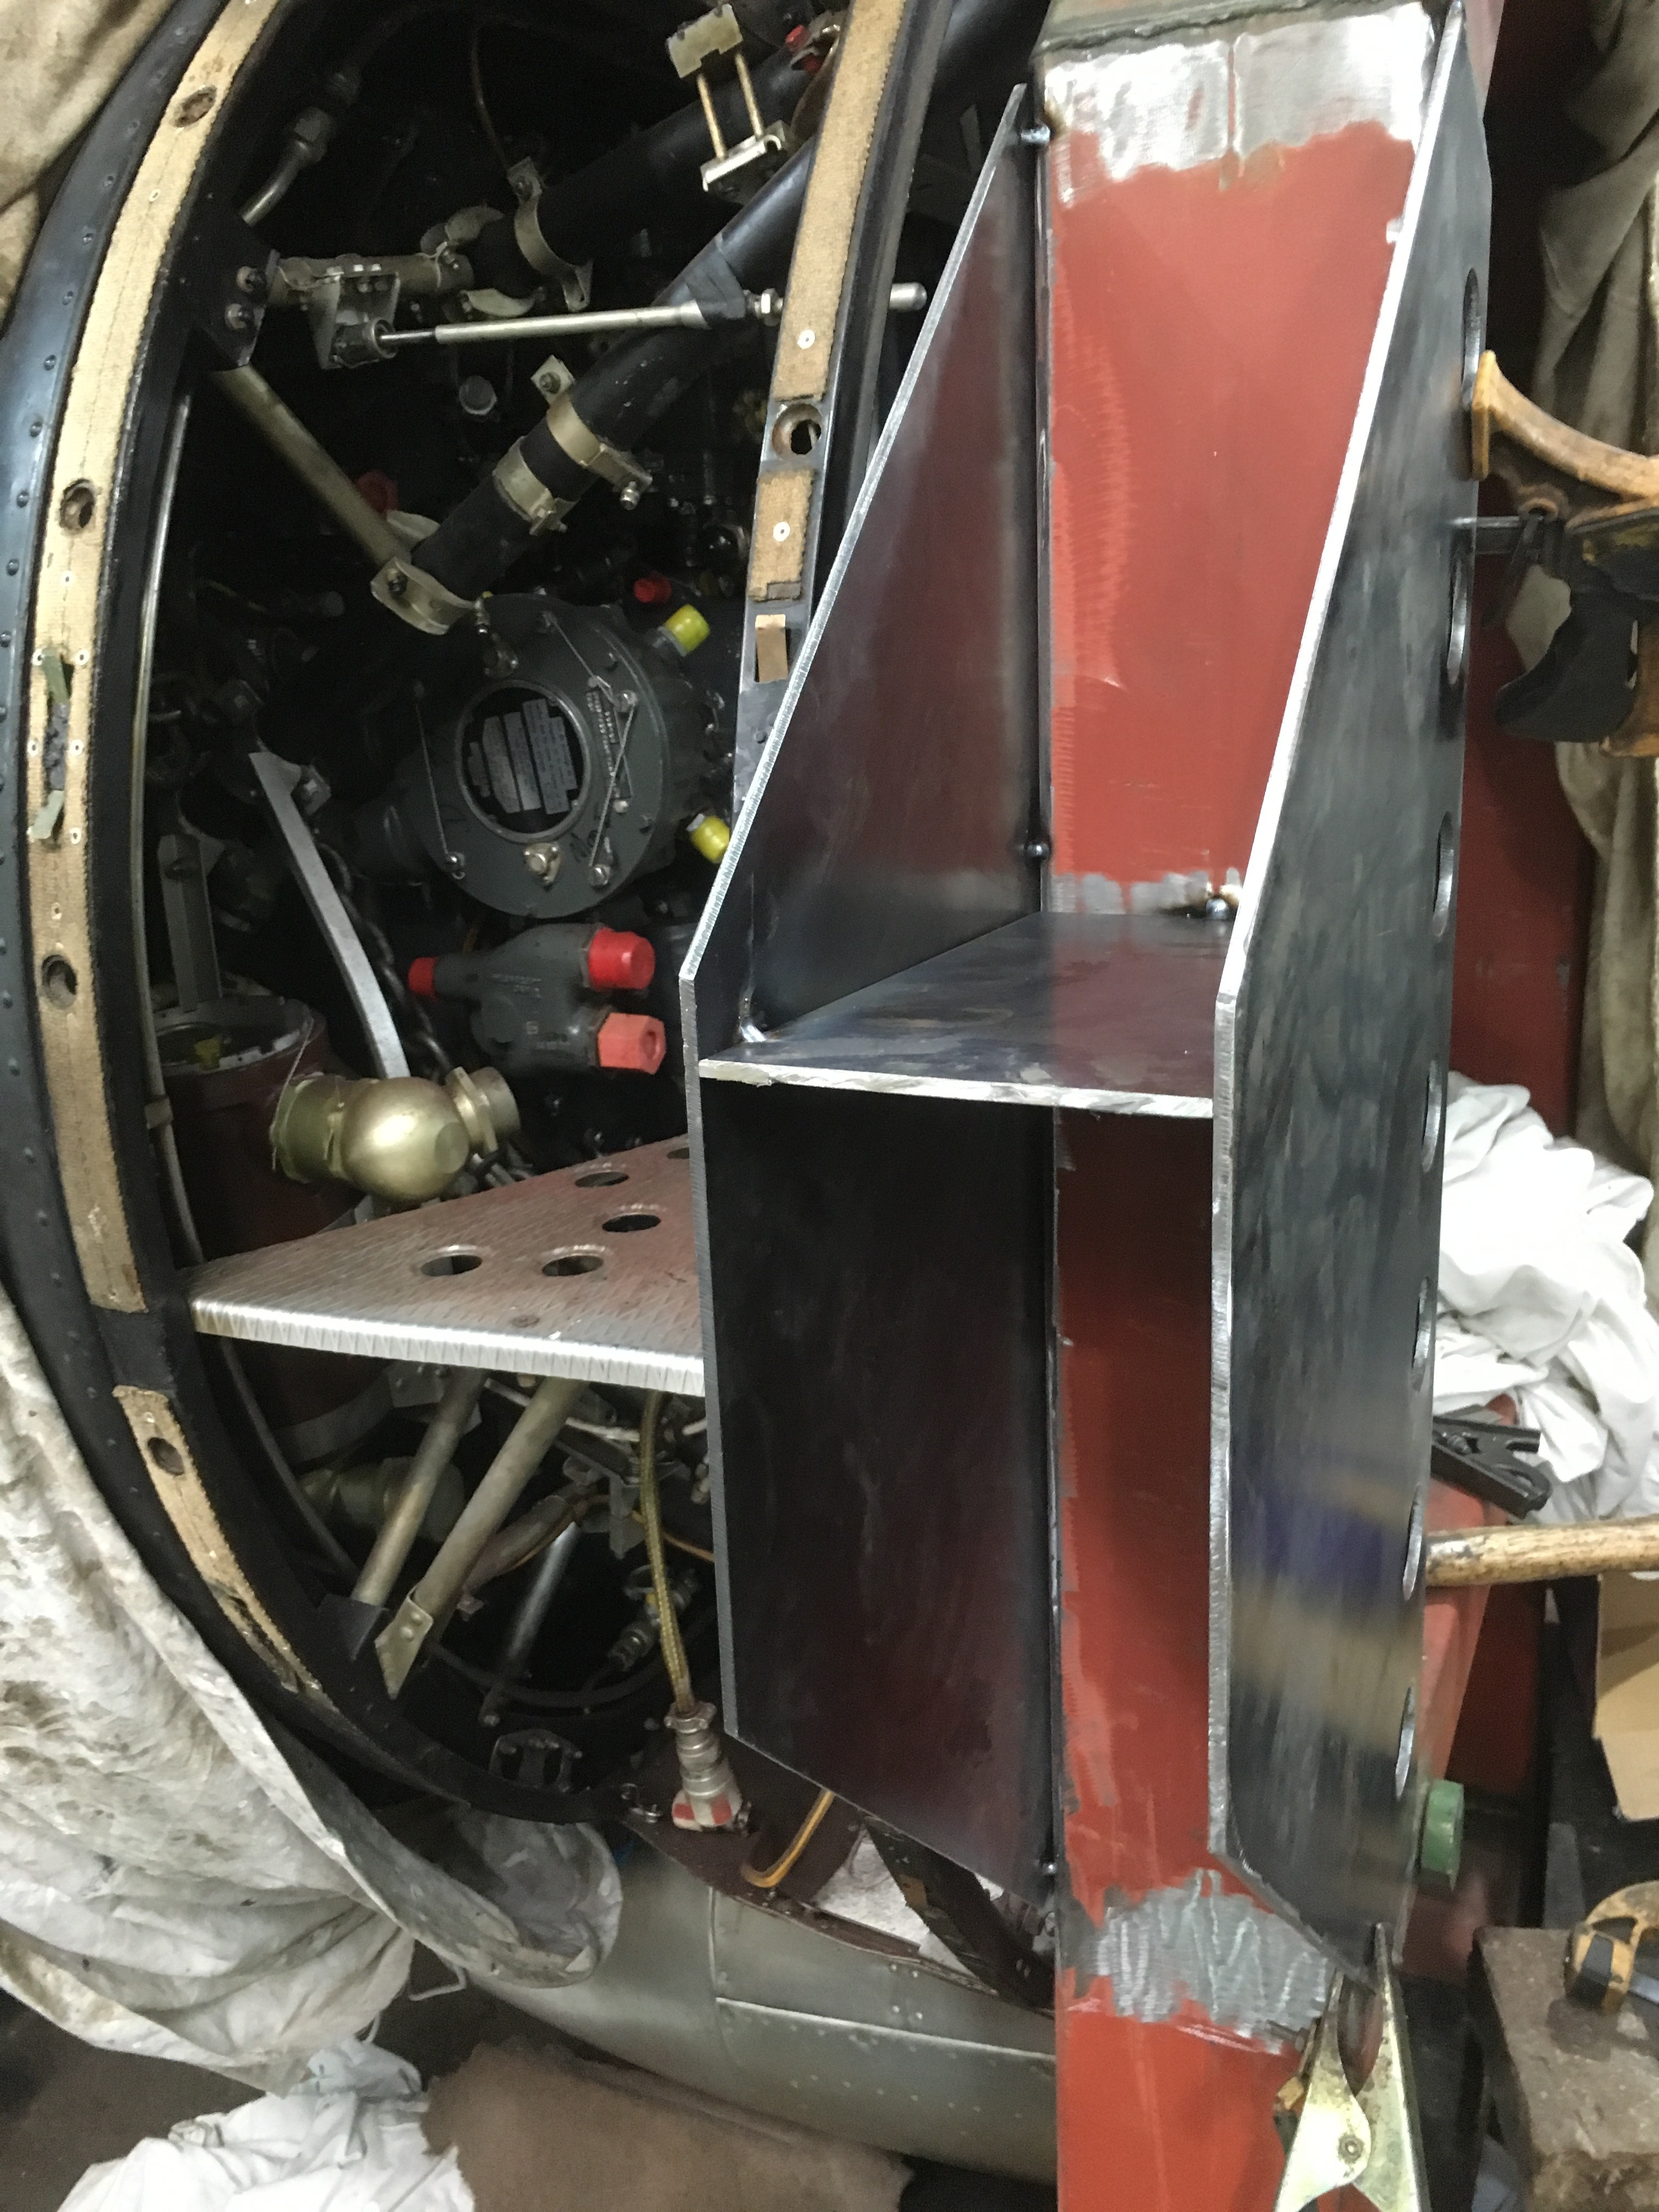
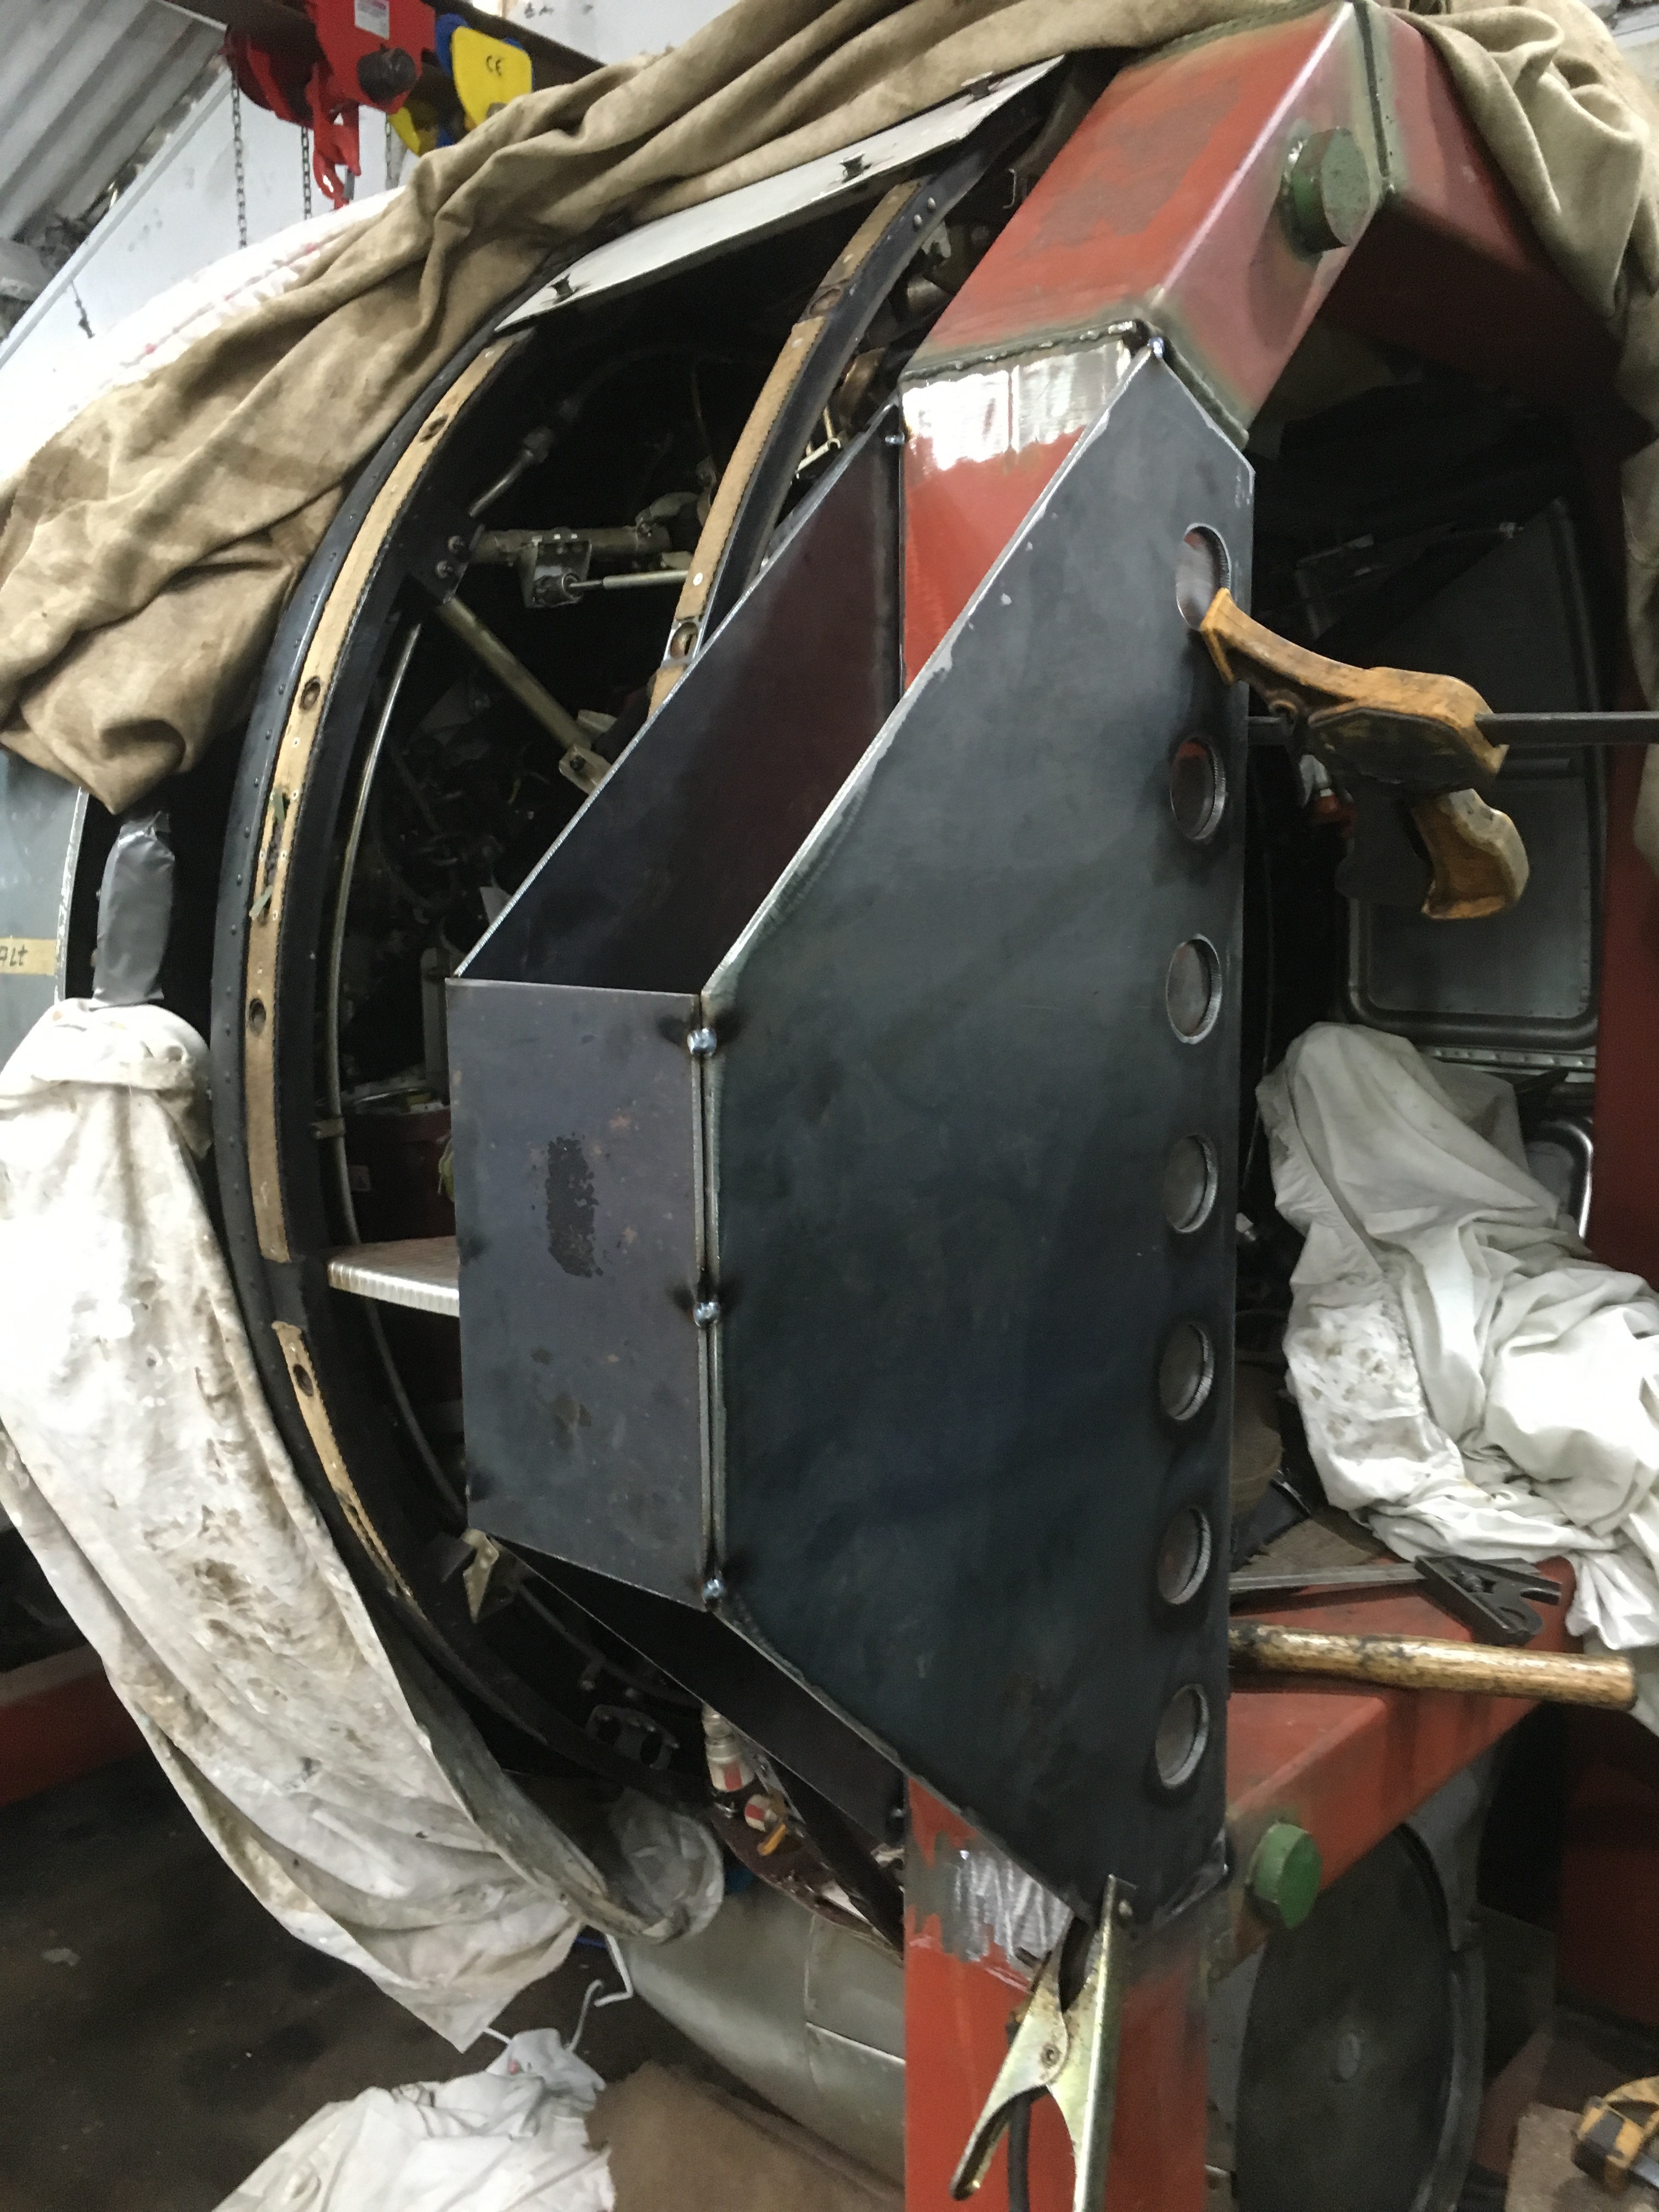
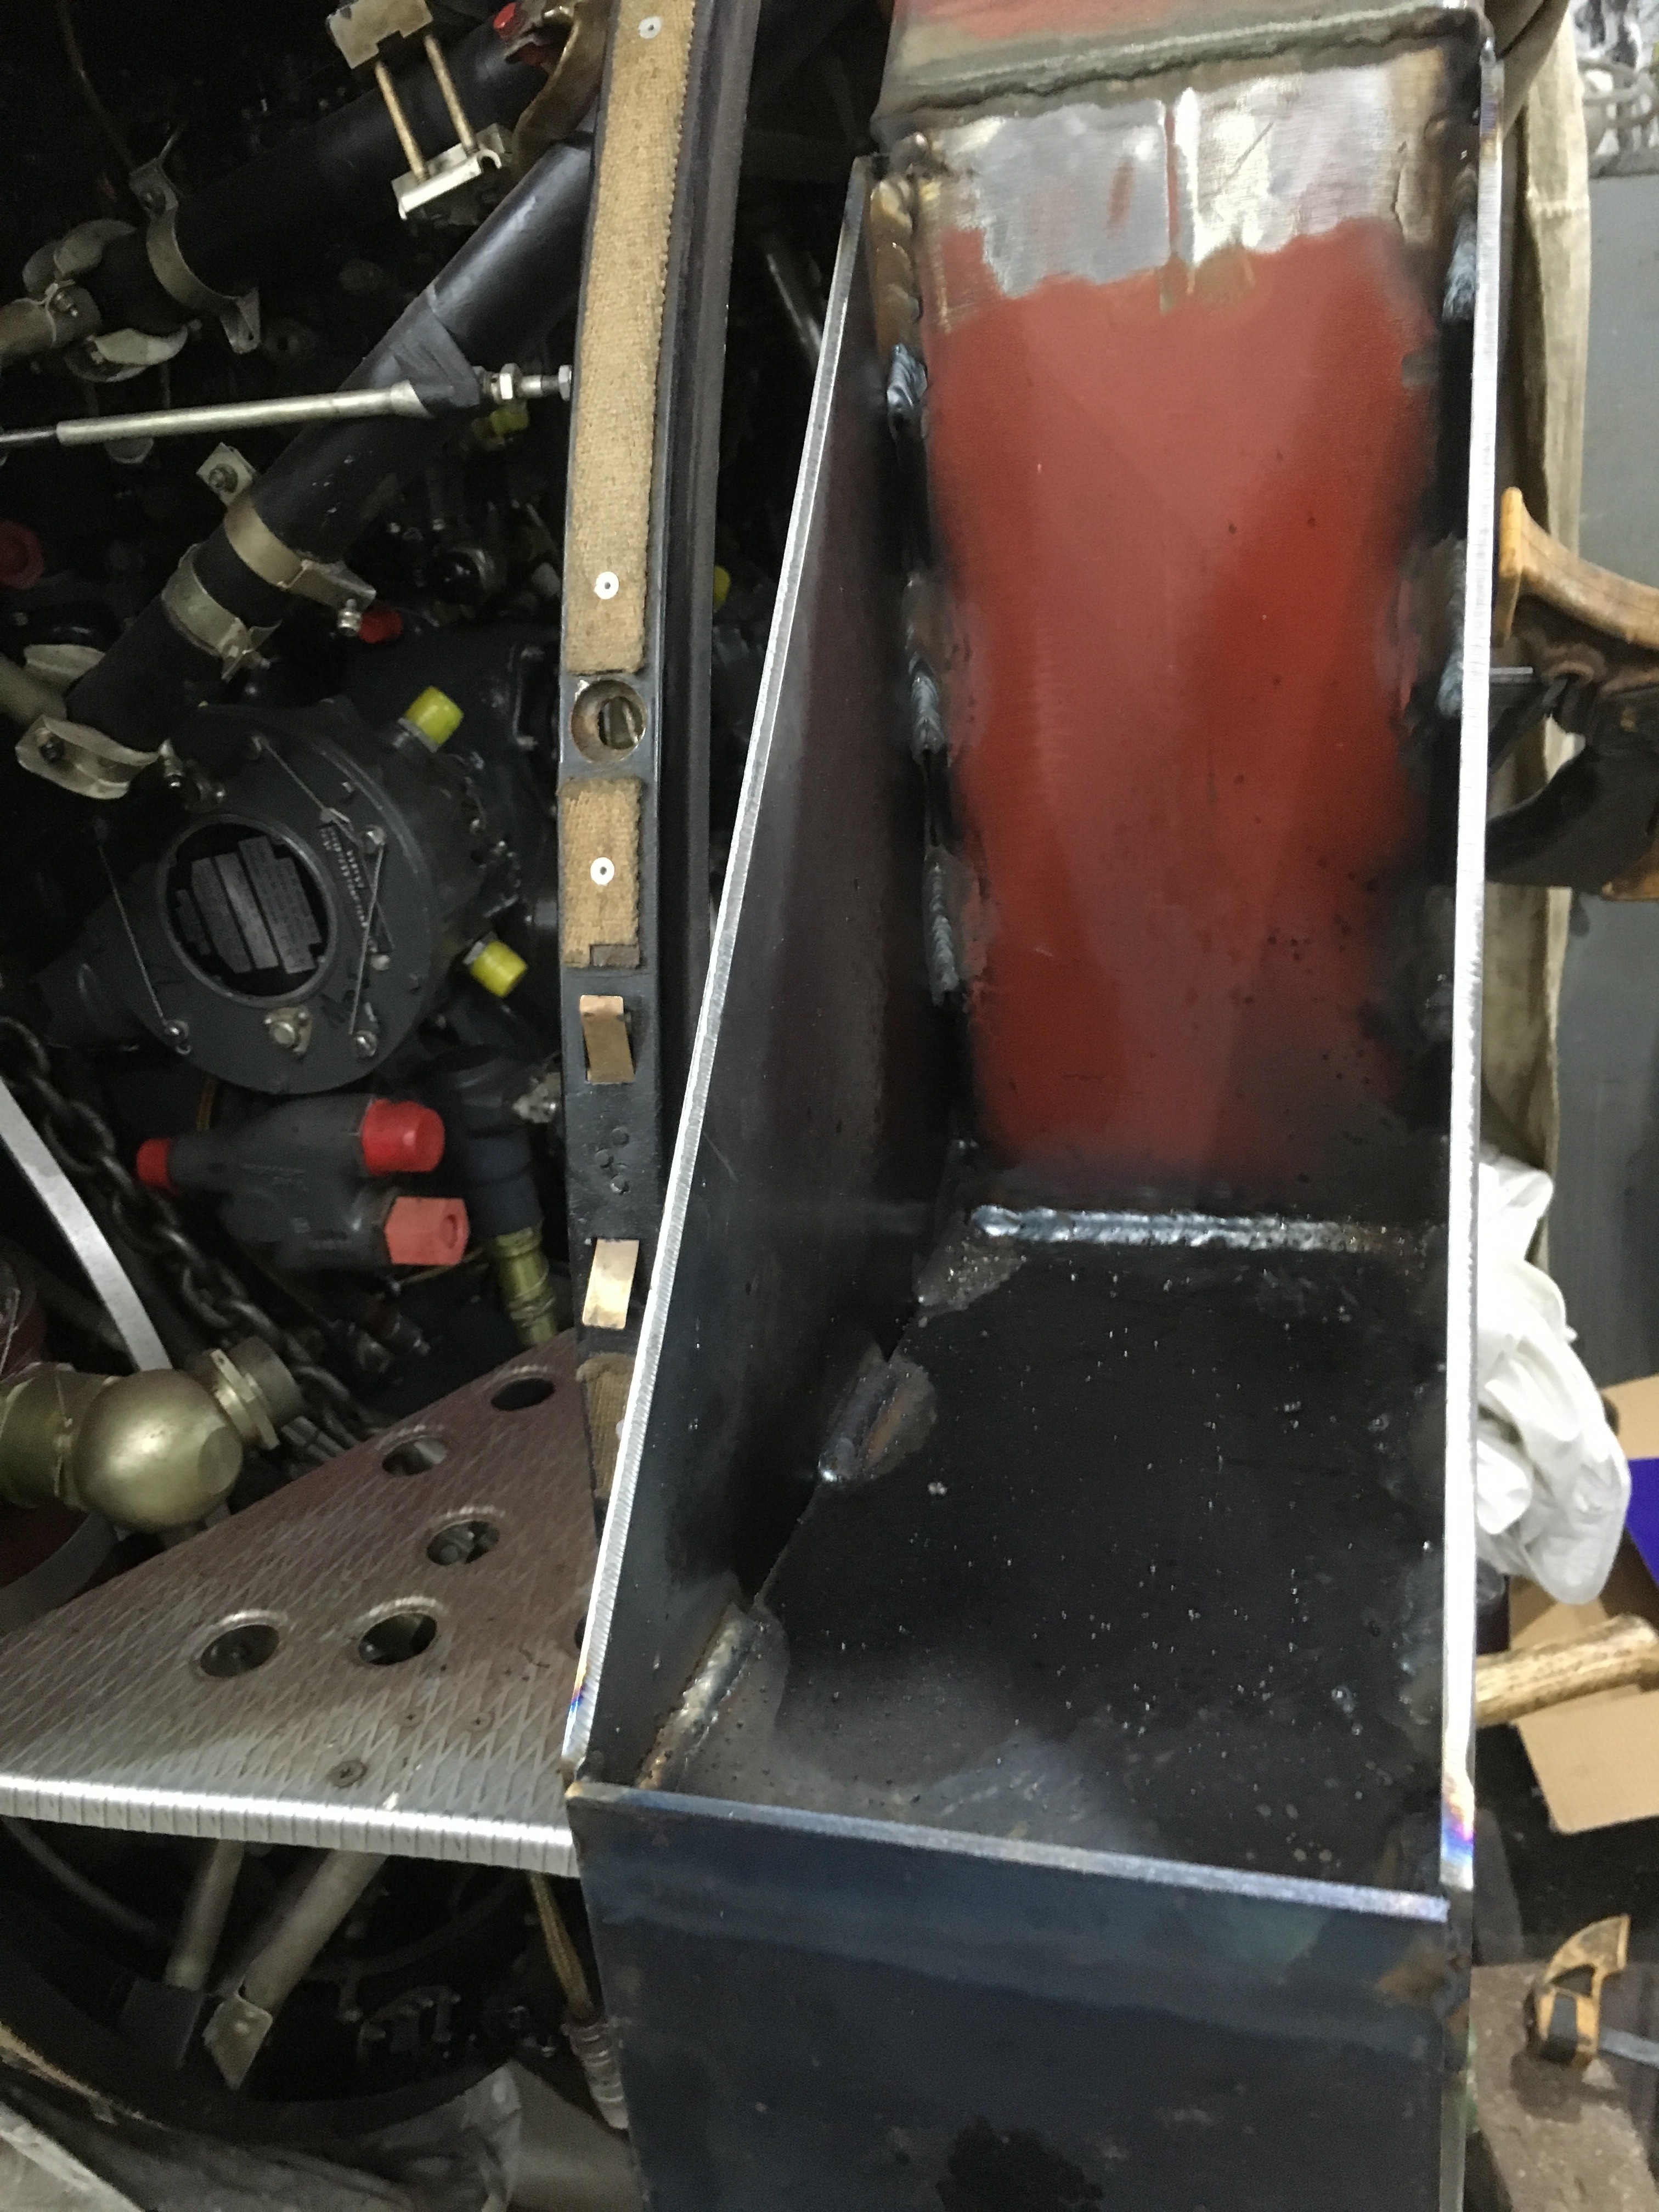
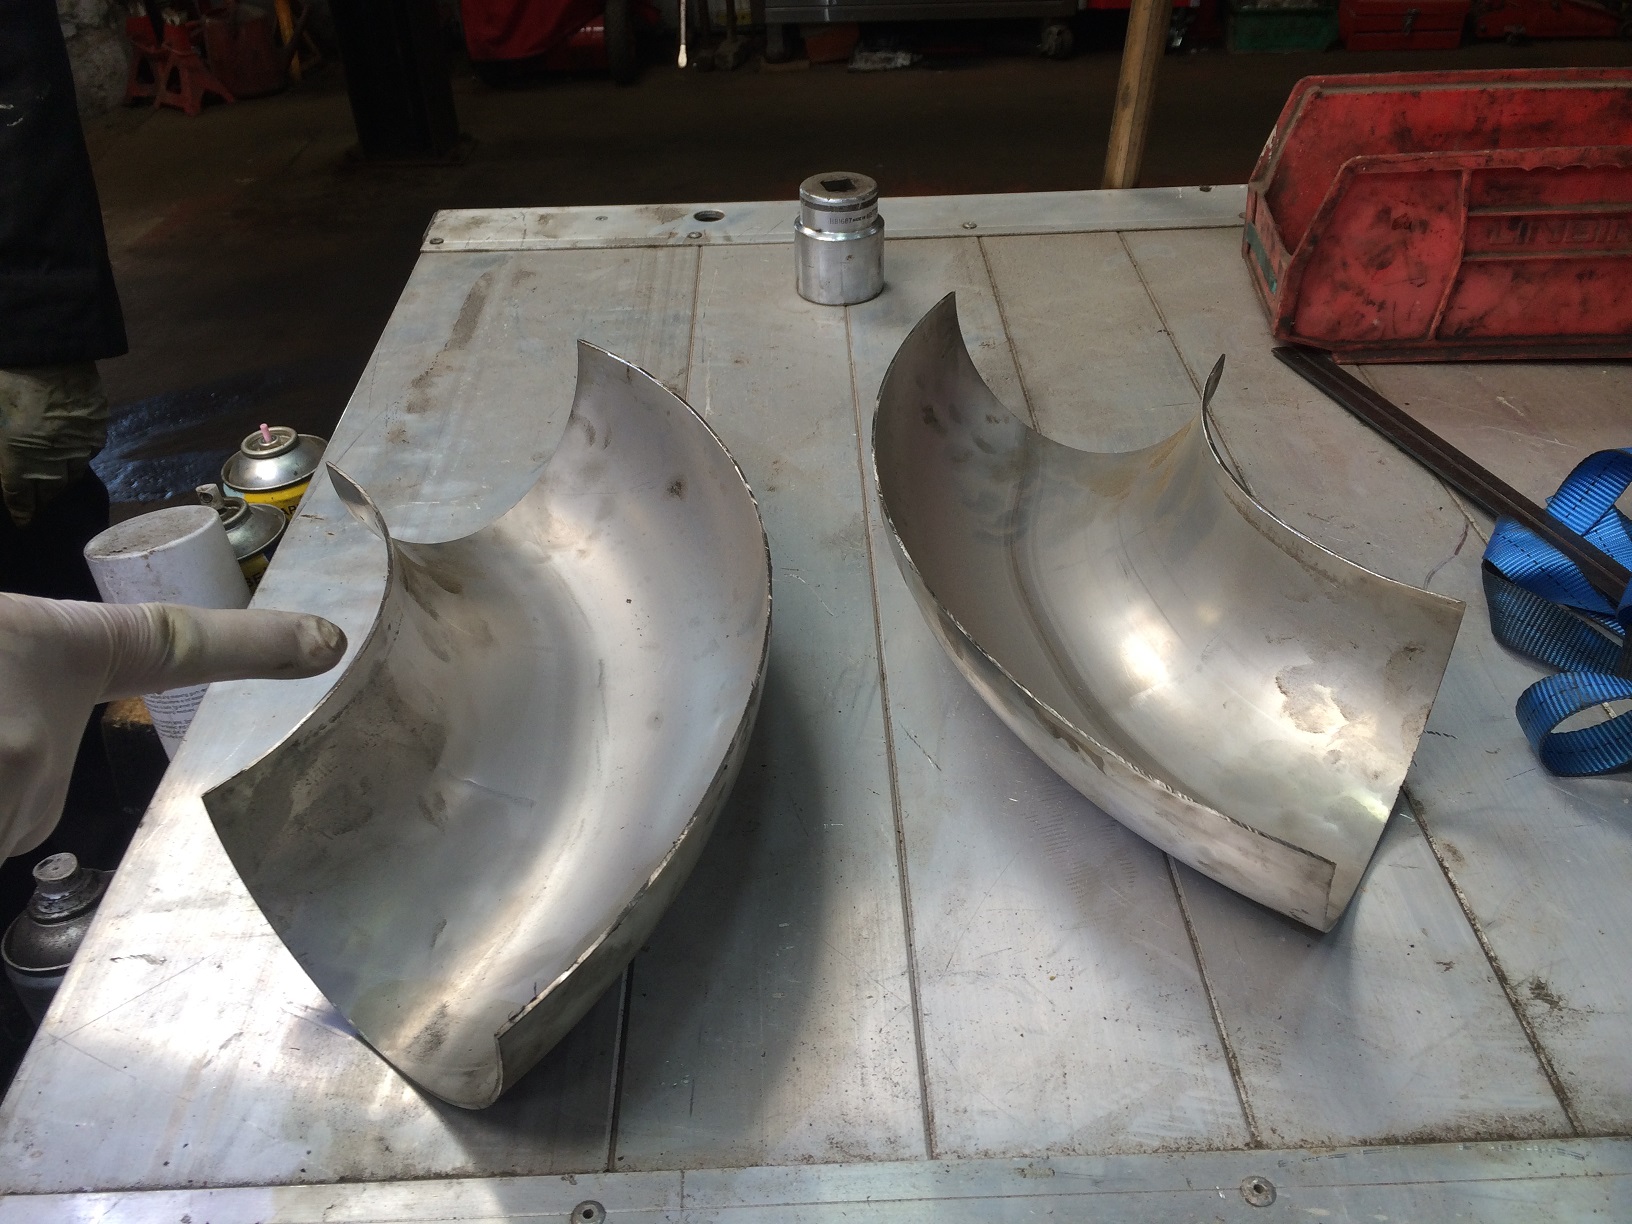
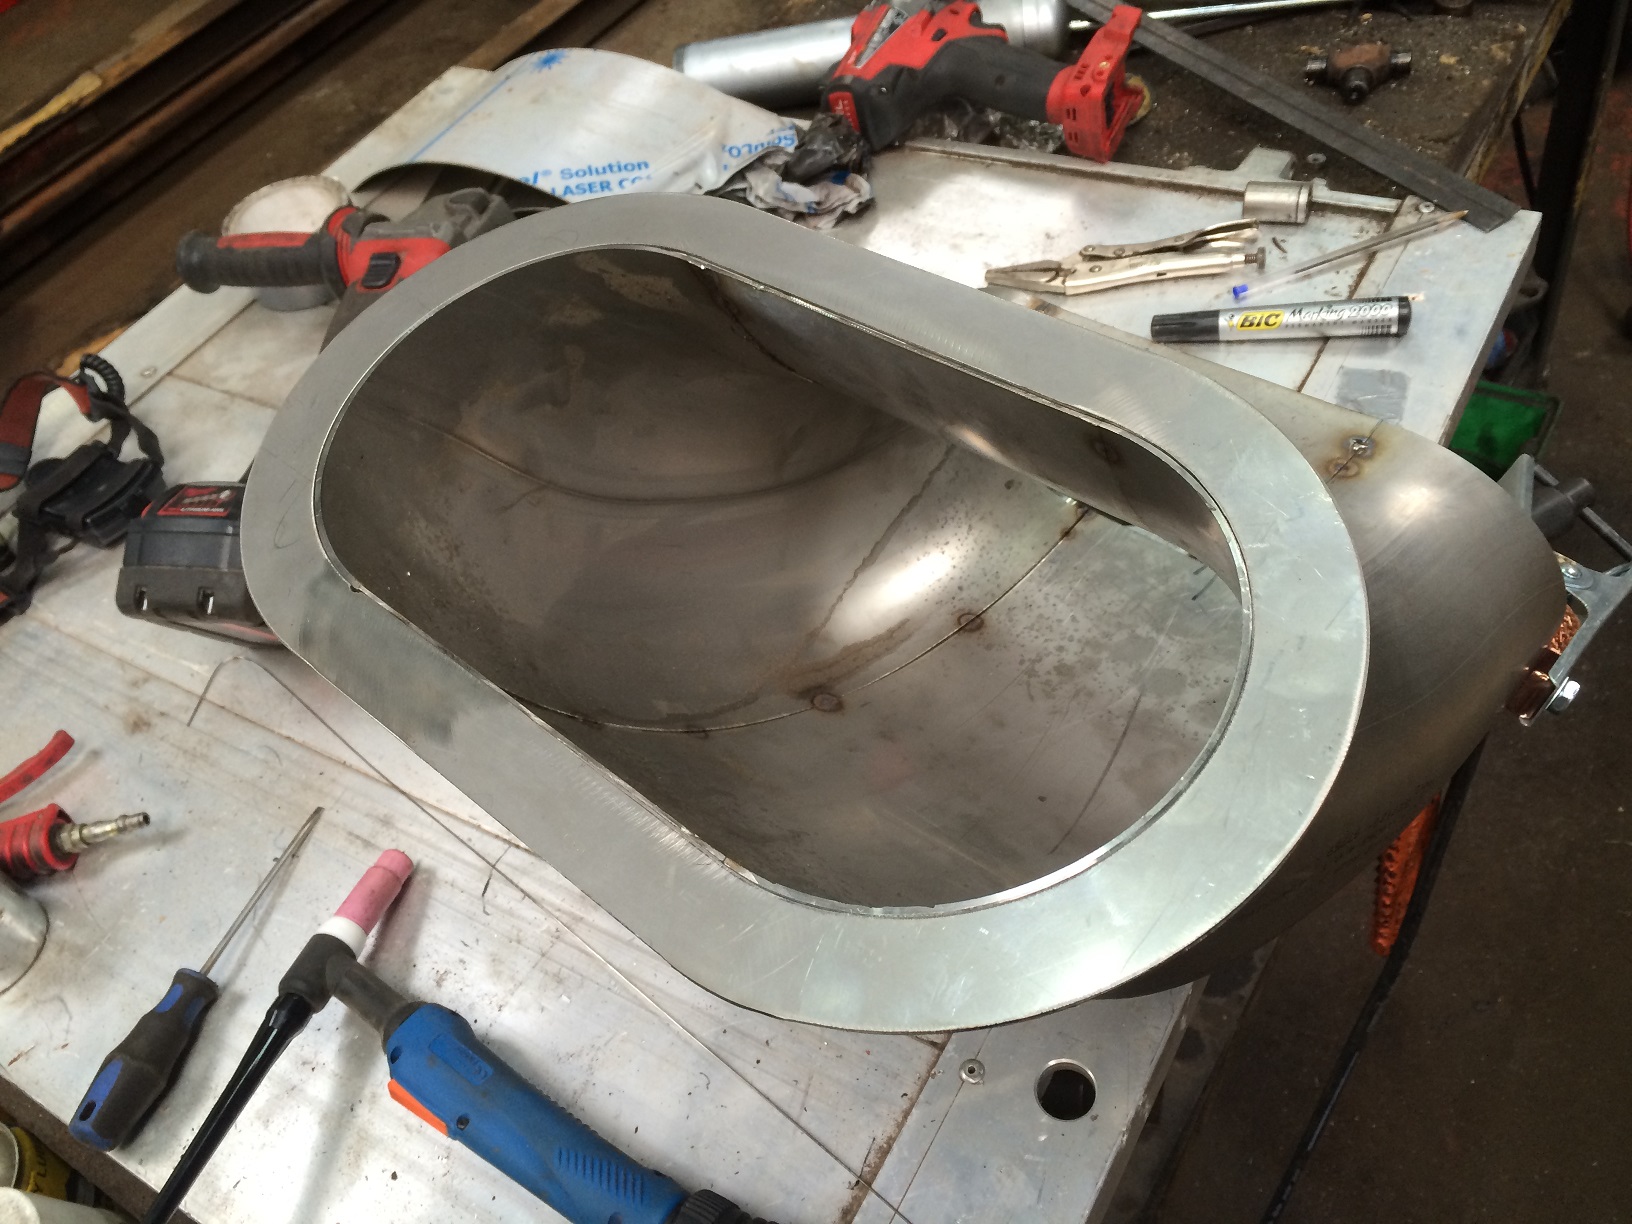
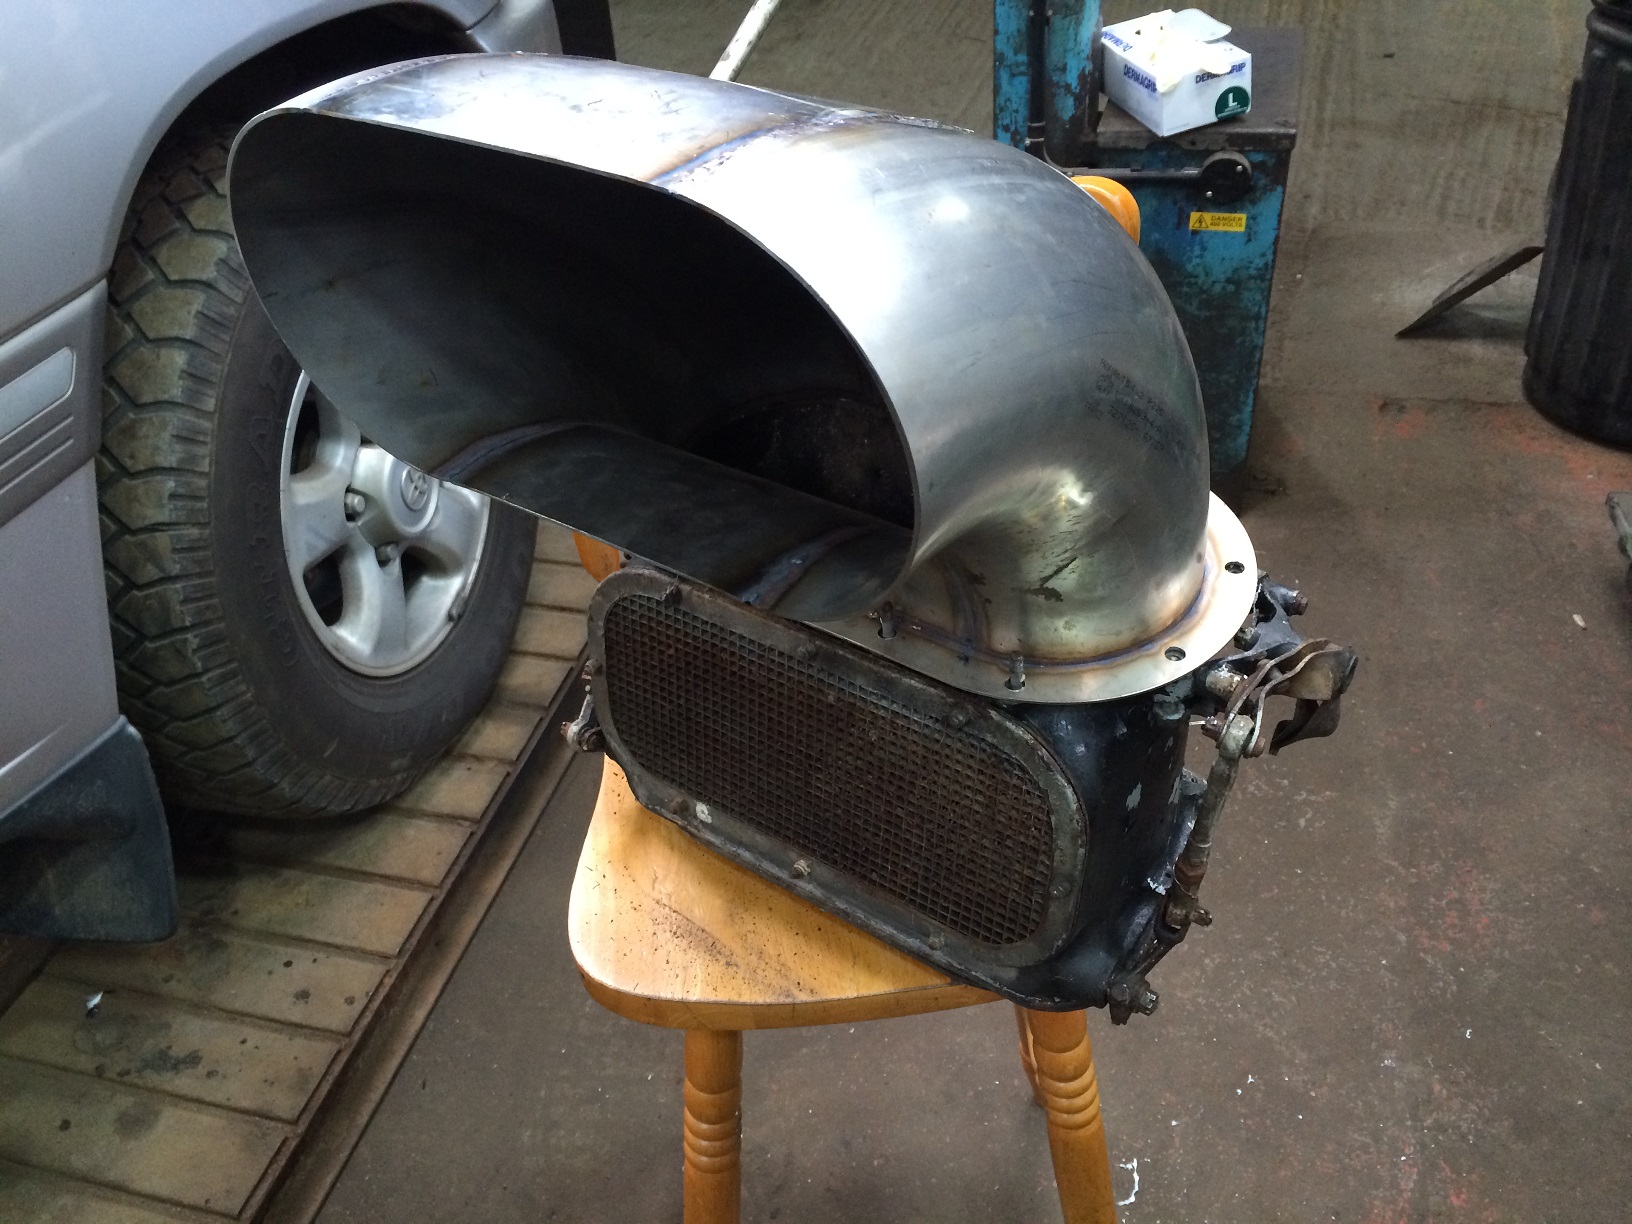
The next job was the air intake.

IMG_1630 IMG_1631

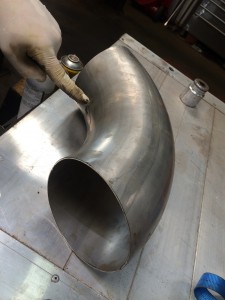
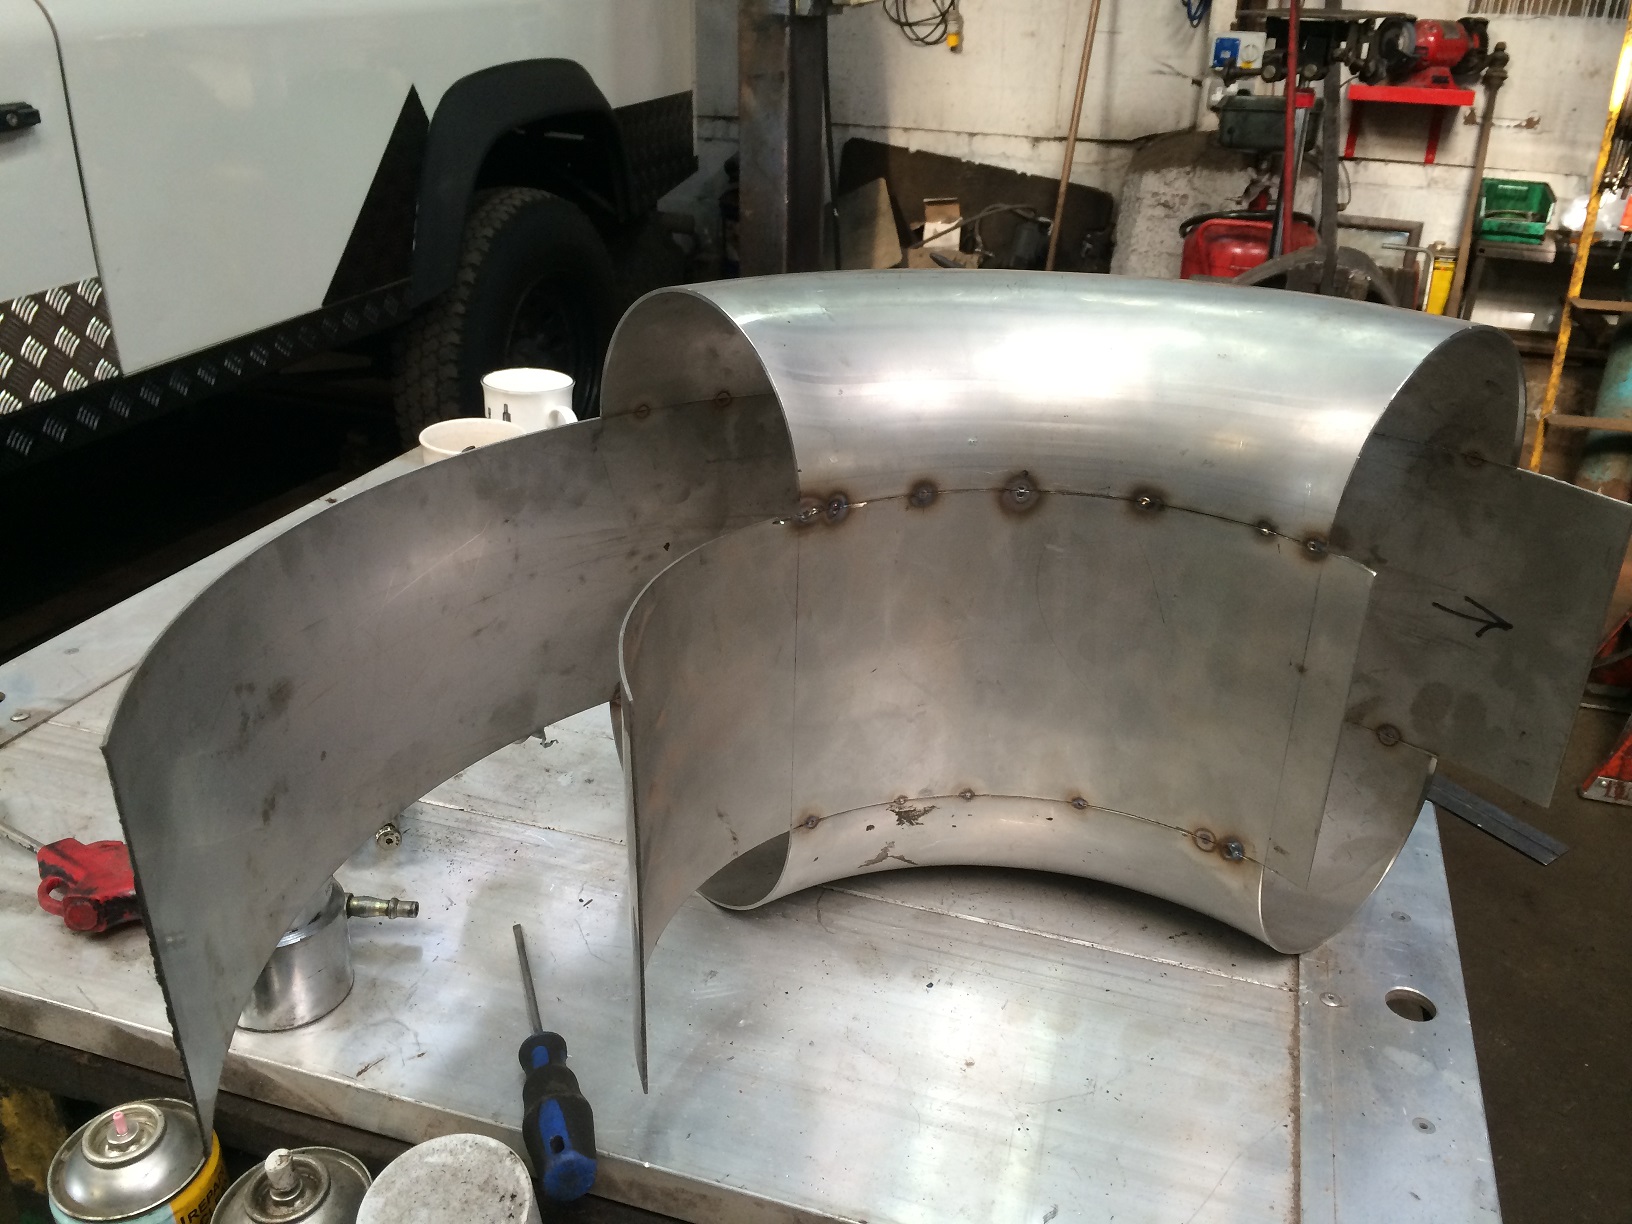
This was made from a stainless steel 6″ bend split in two then spaced out to suite the intake.

IMG_1636 IMG_1635

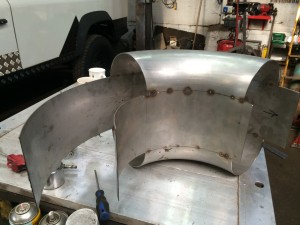
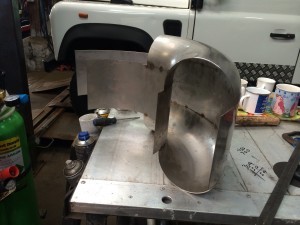
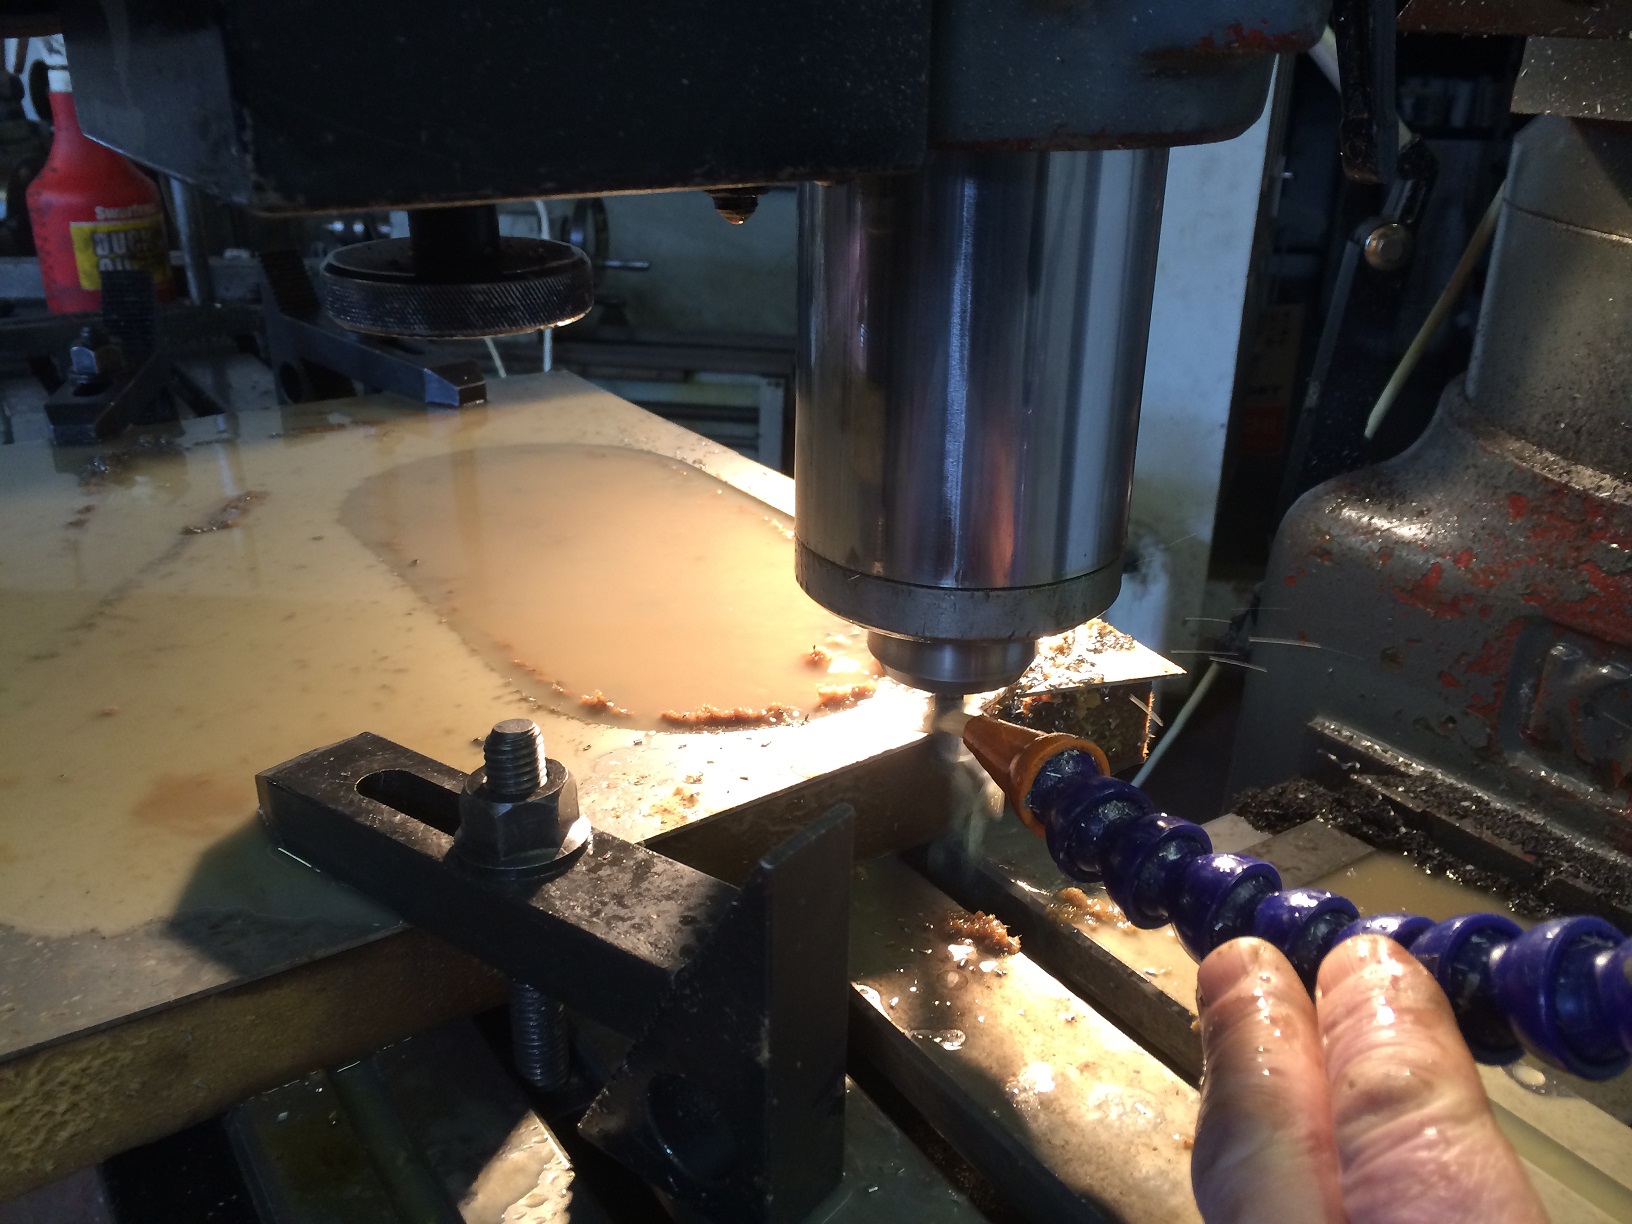
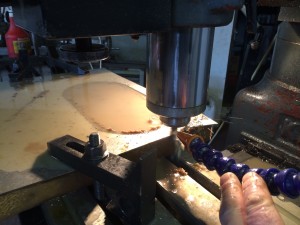
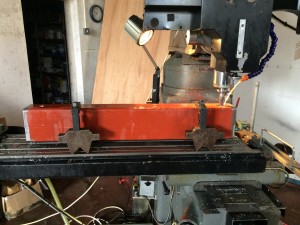
Pete made up a flange on the milling machine to fit the engine.

IMG_1639 IMG_1640 IMG_1641

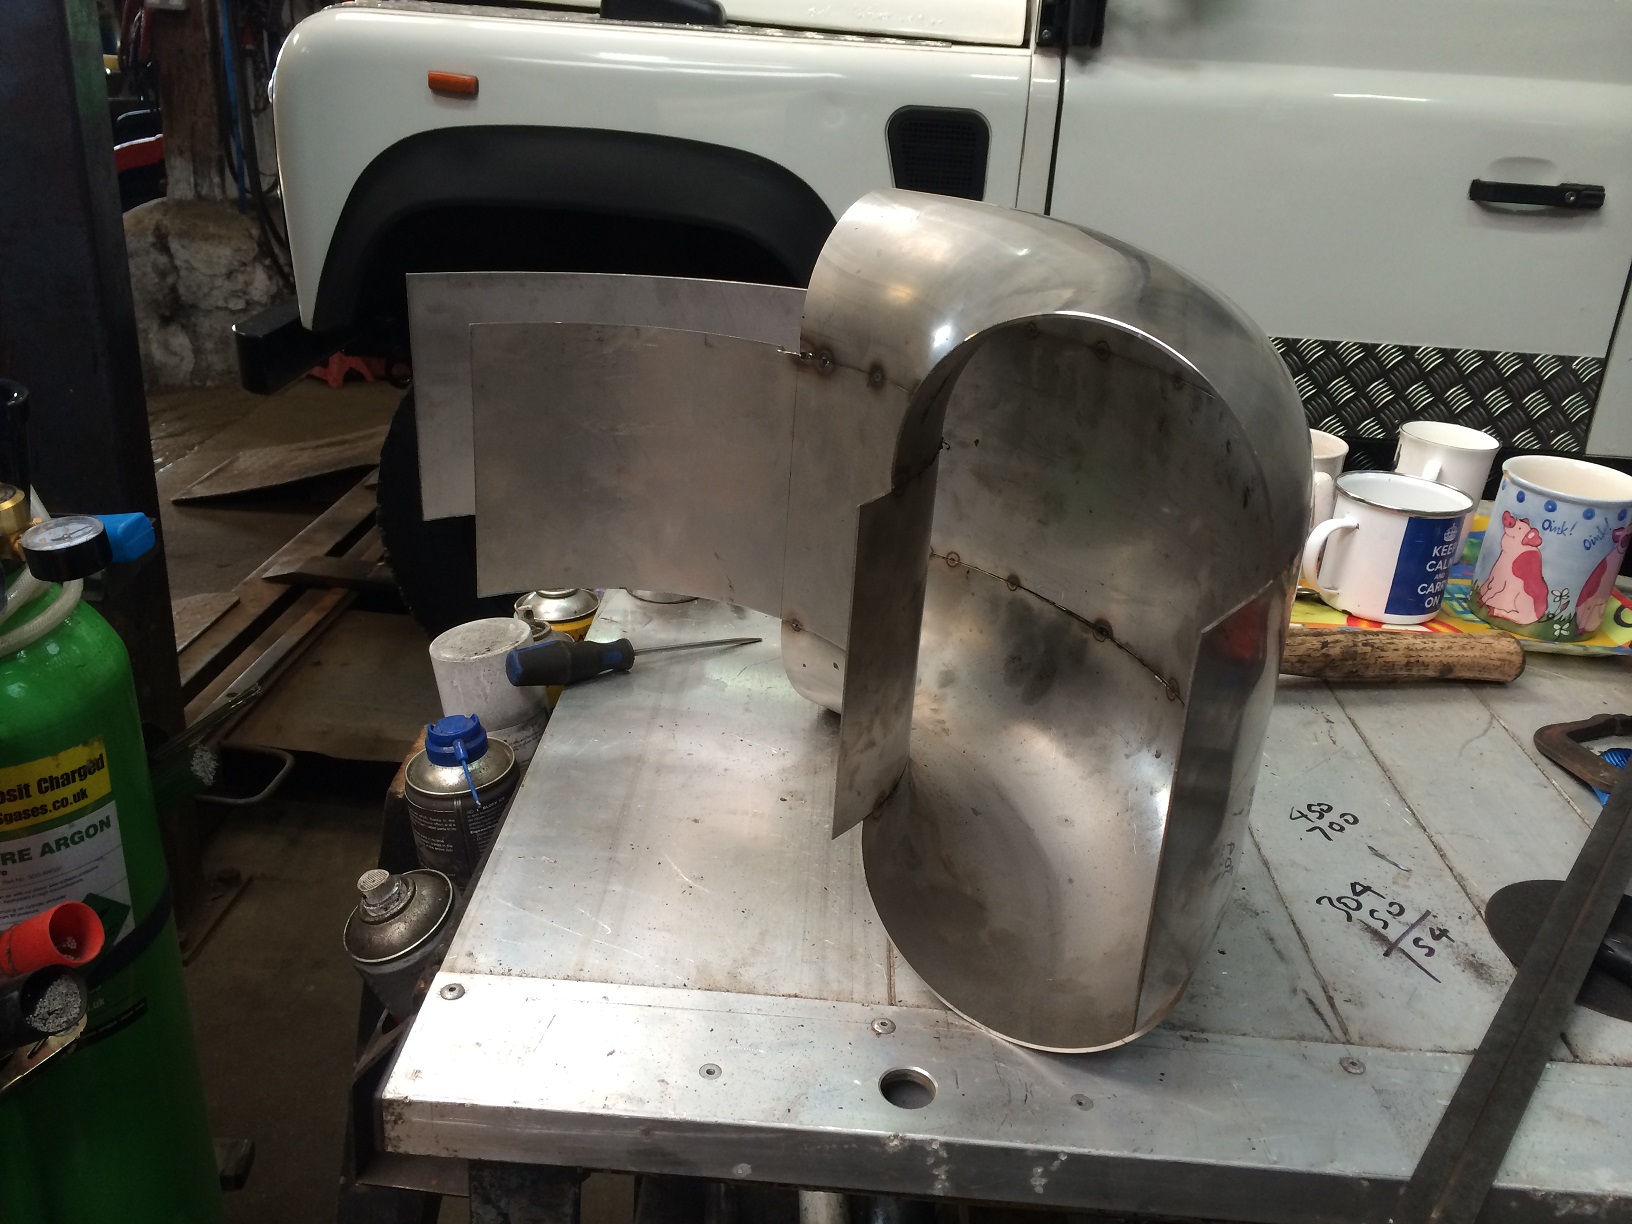
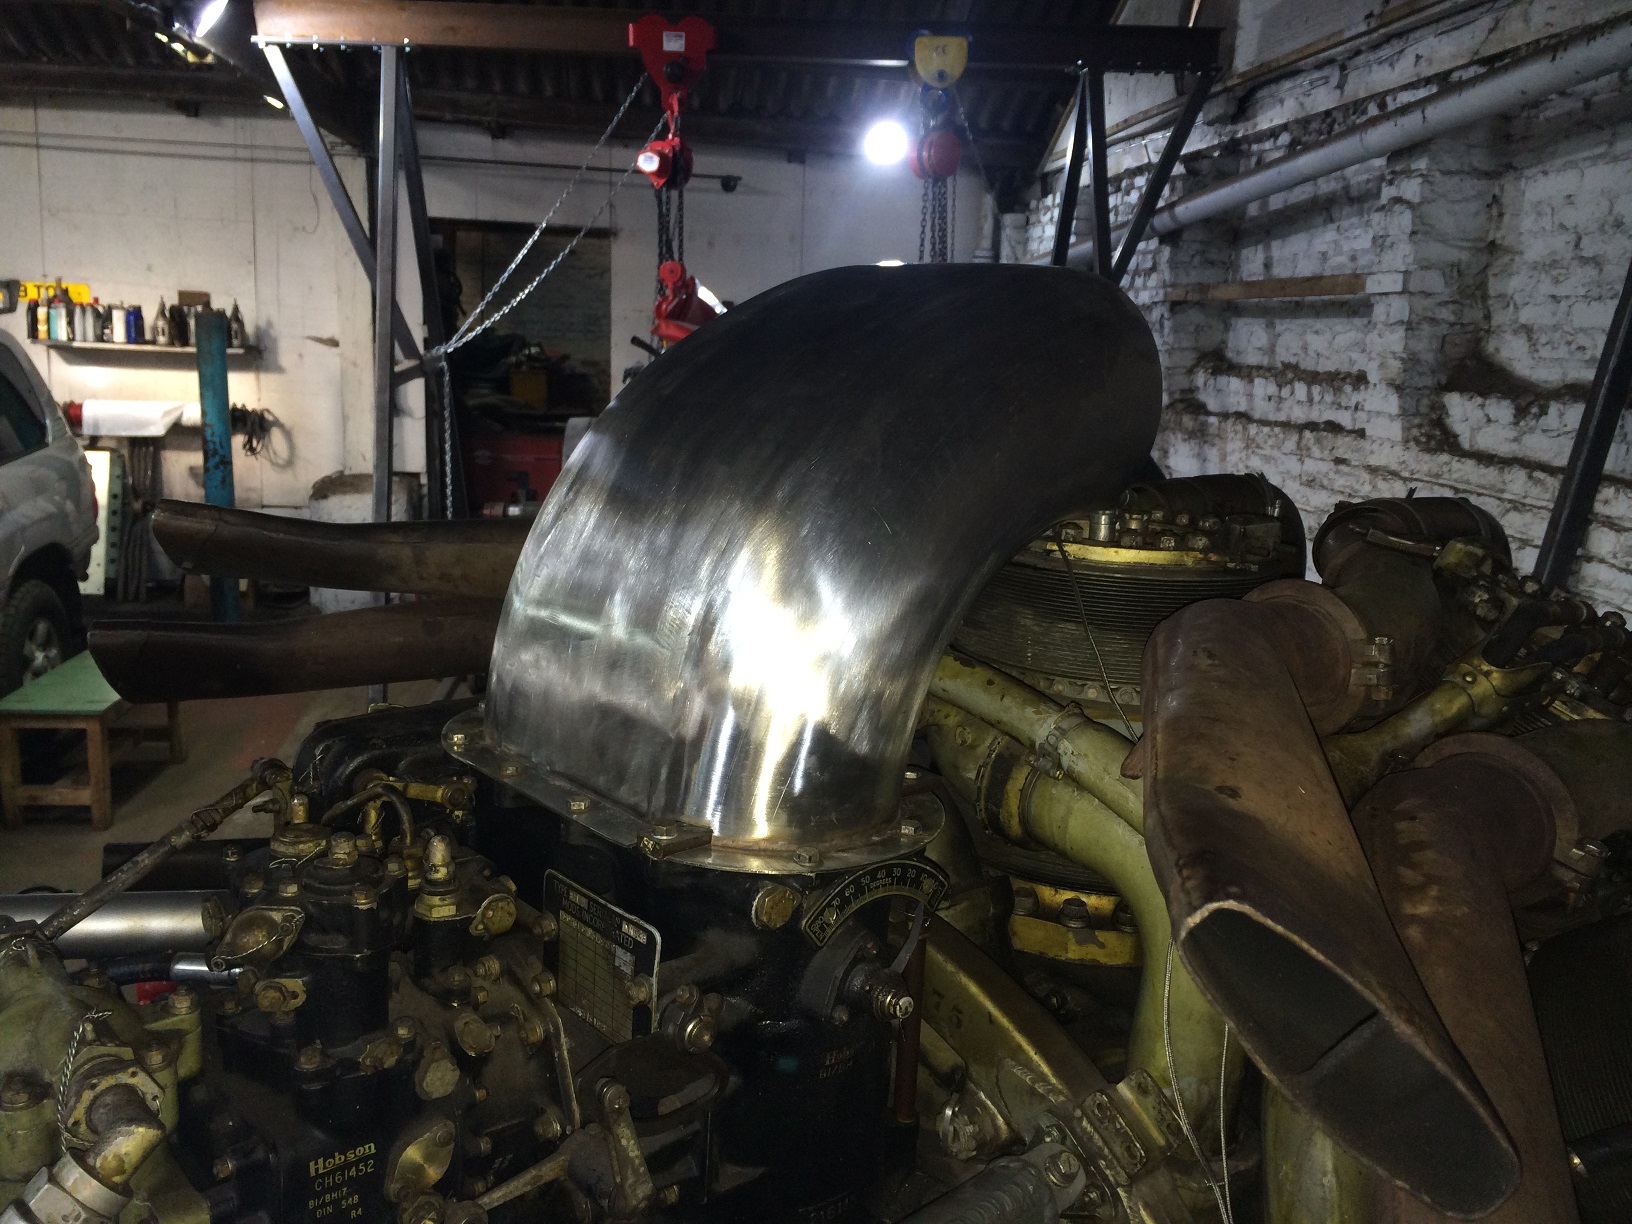
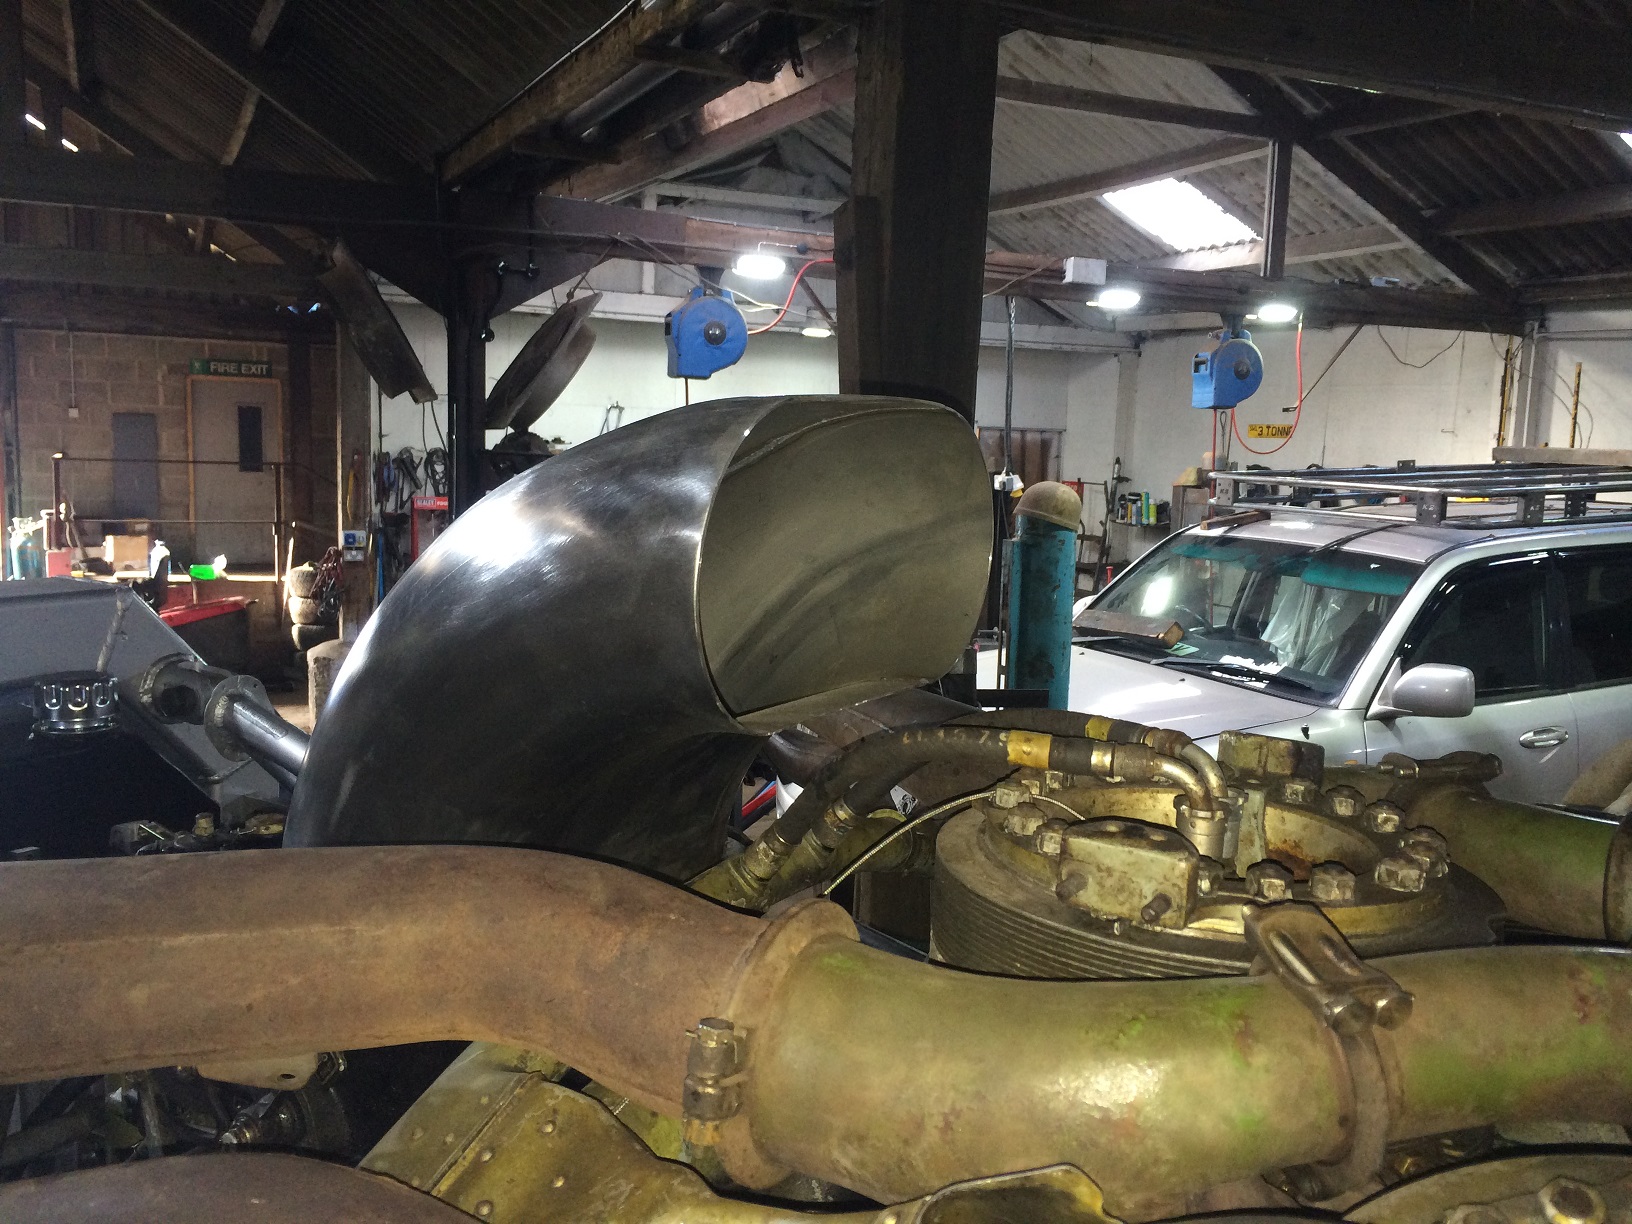
Once welded up and polished , it certainly looks the part.

IMG_1647 IMG_1646


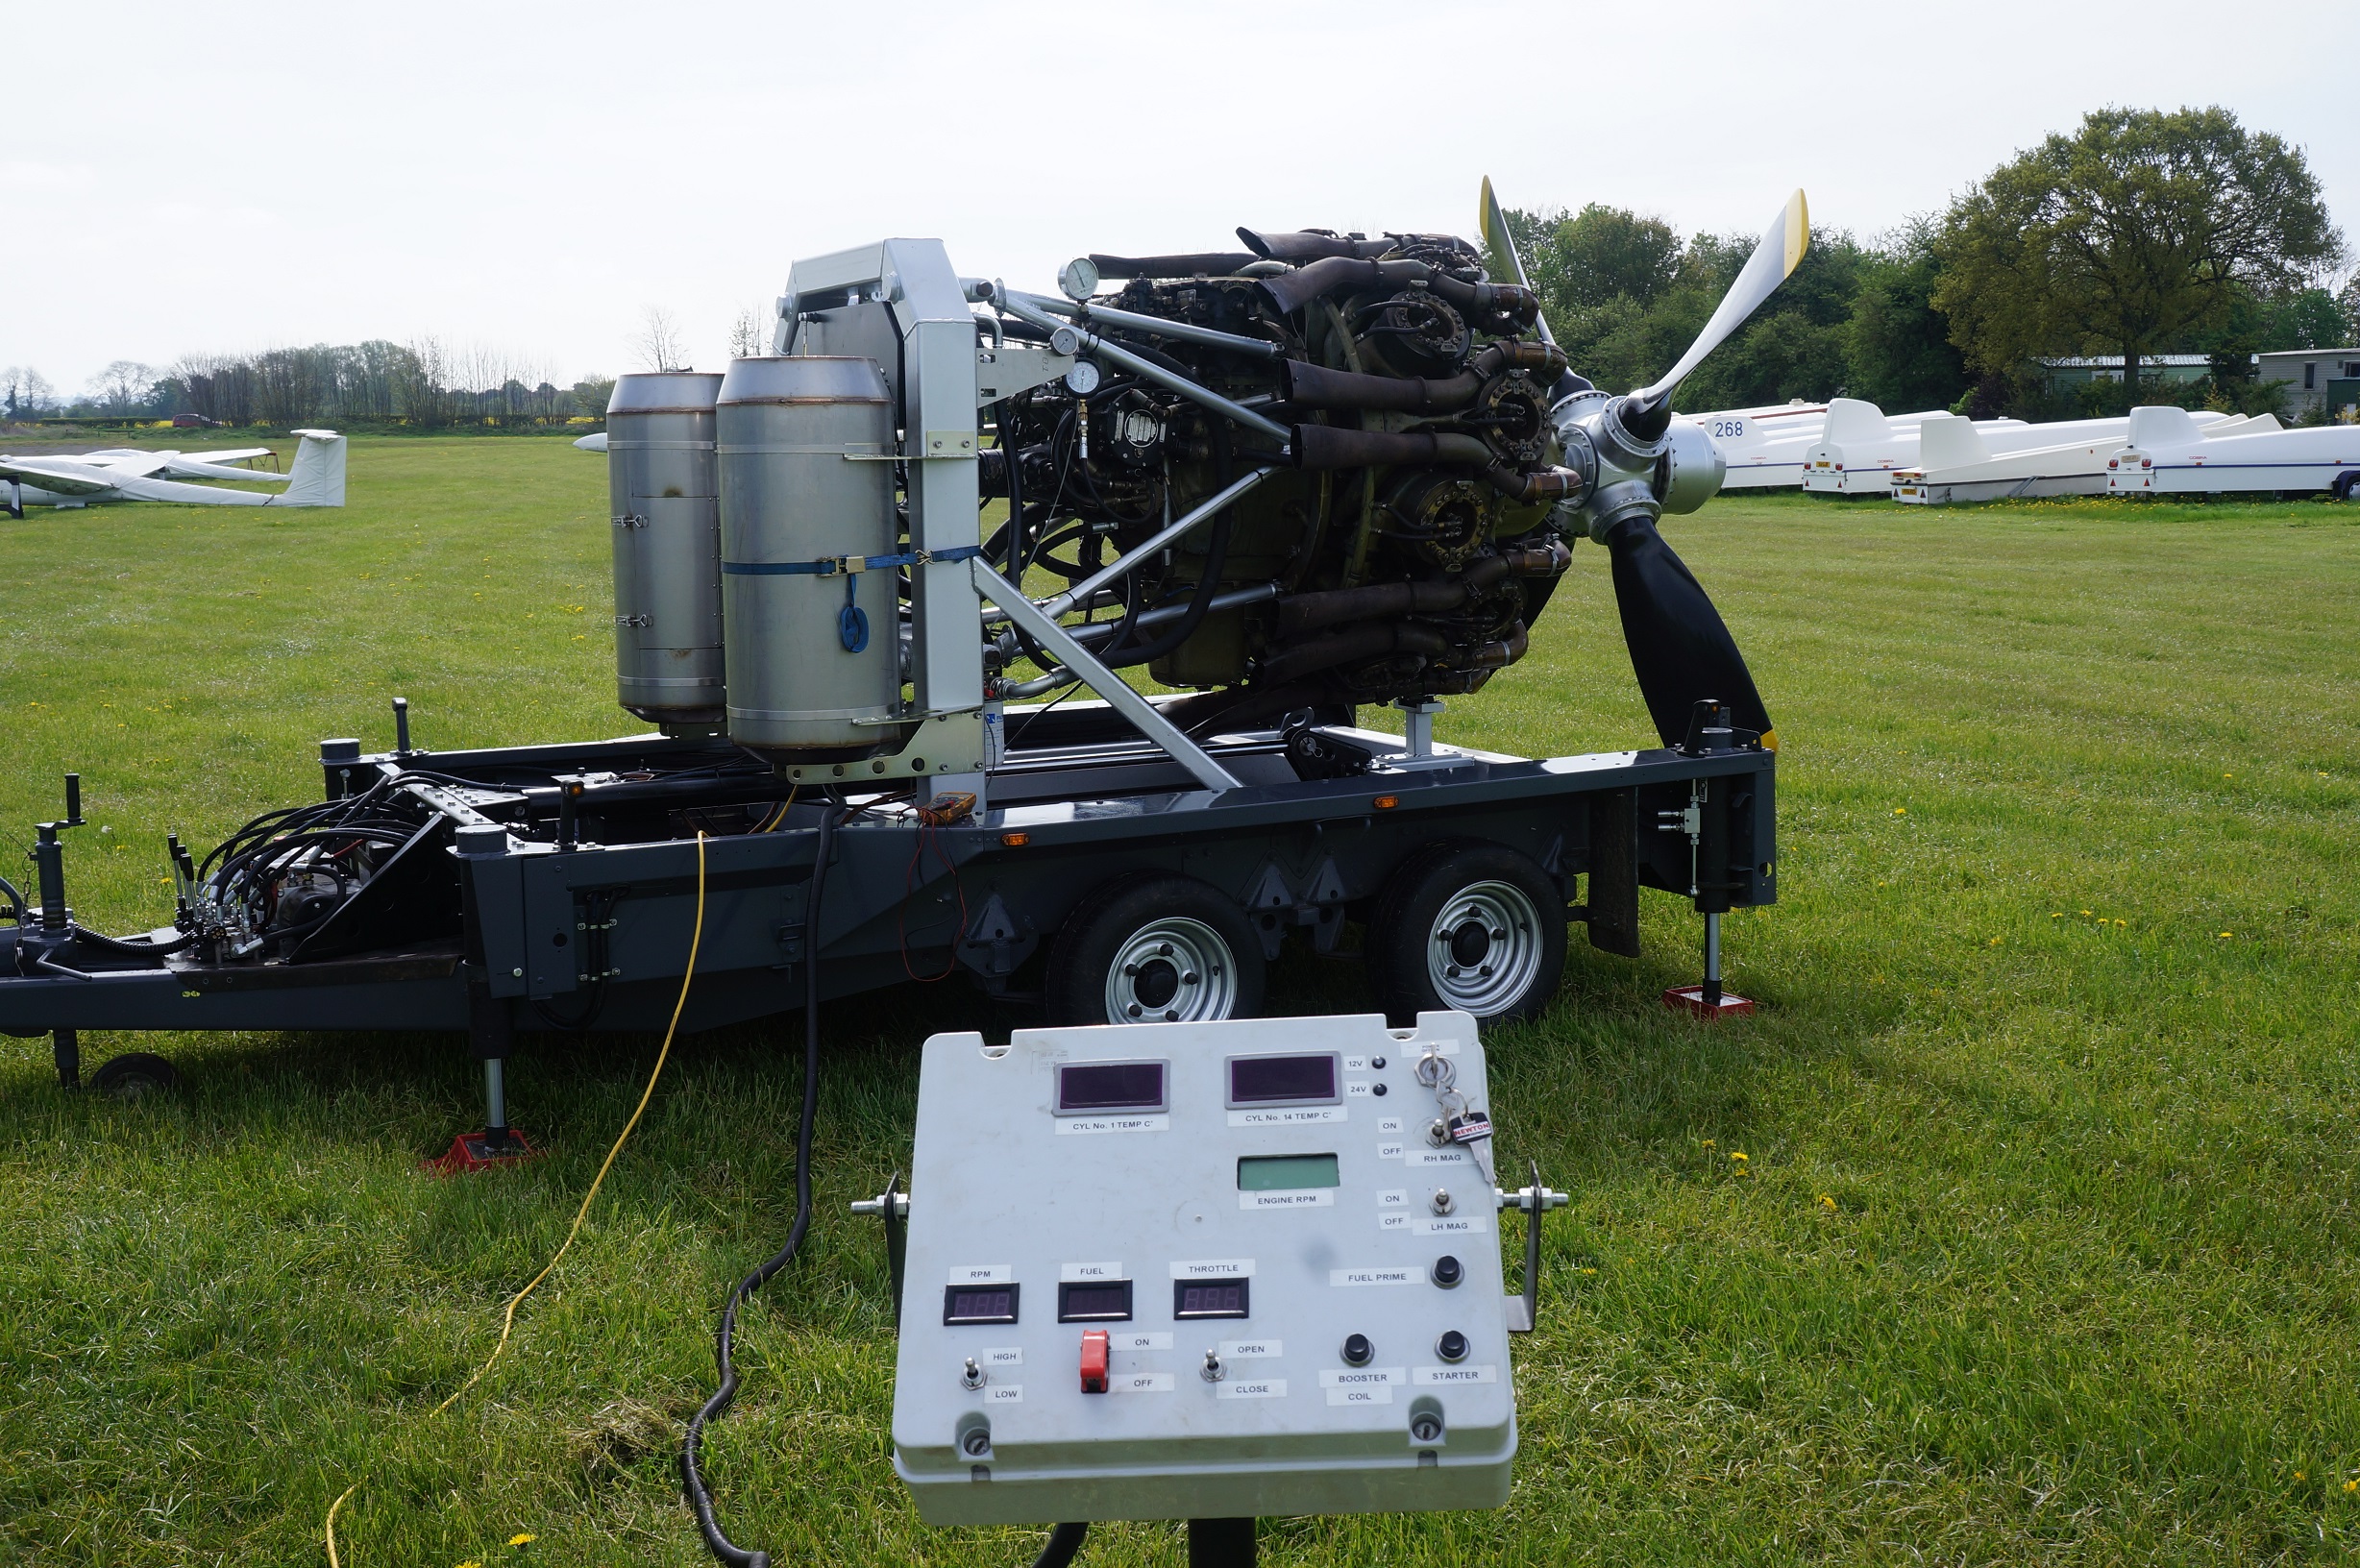
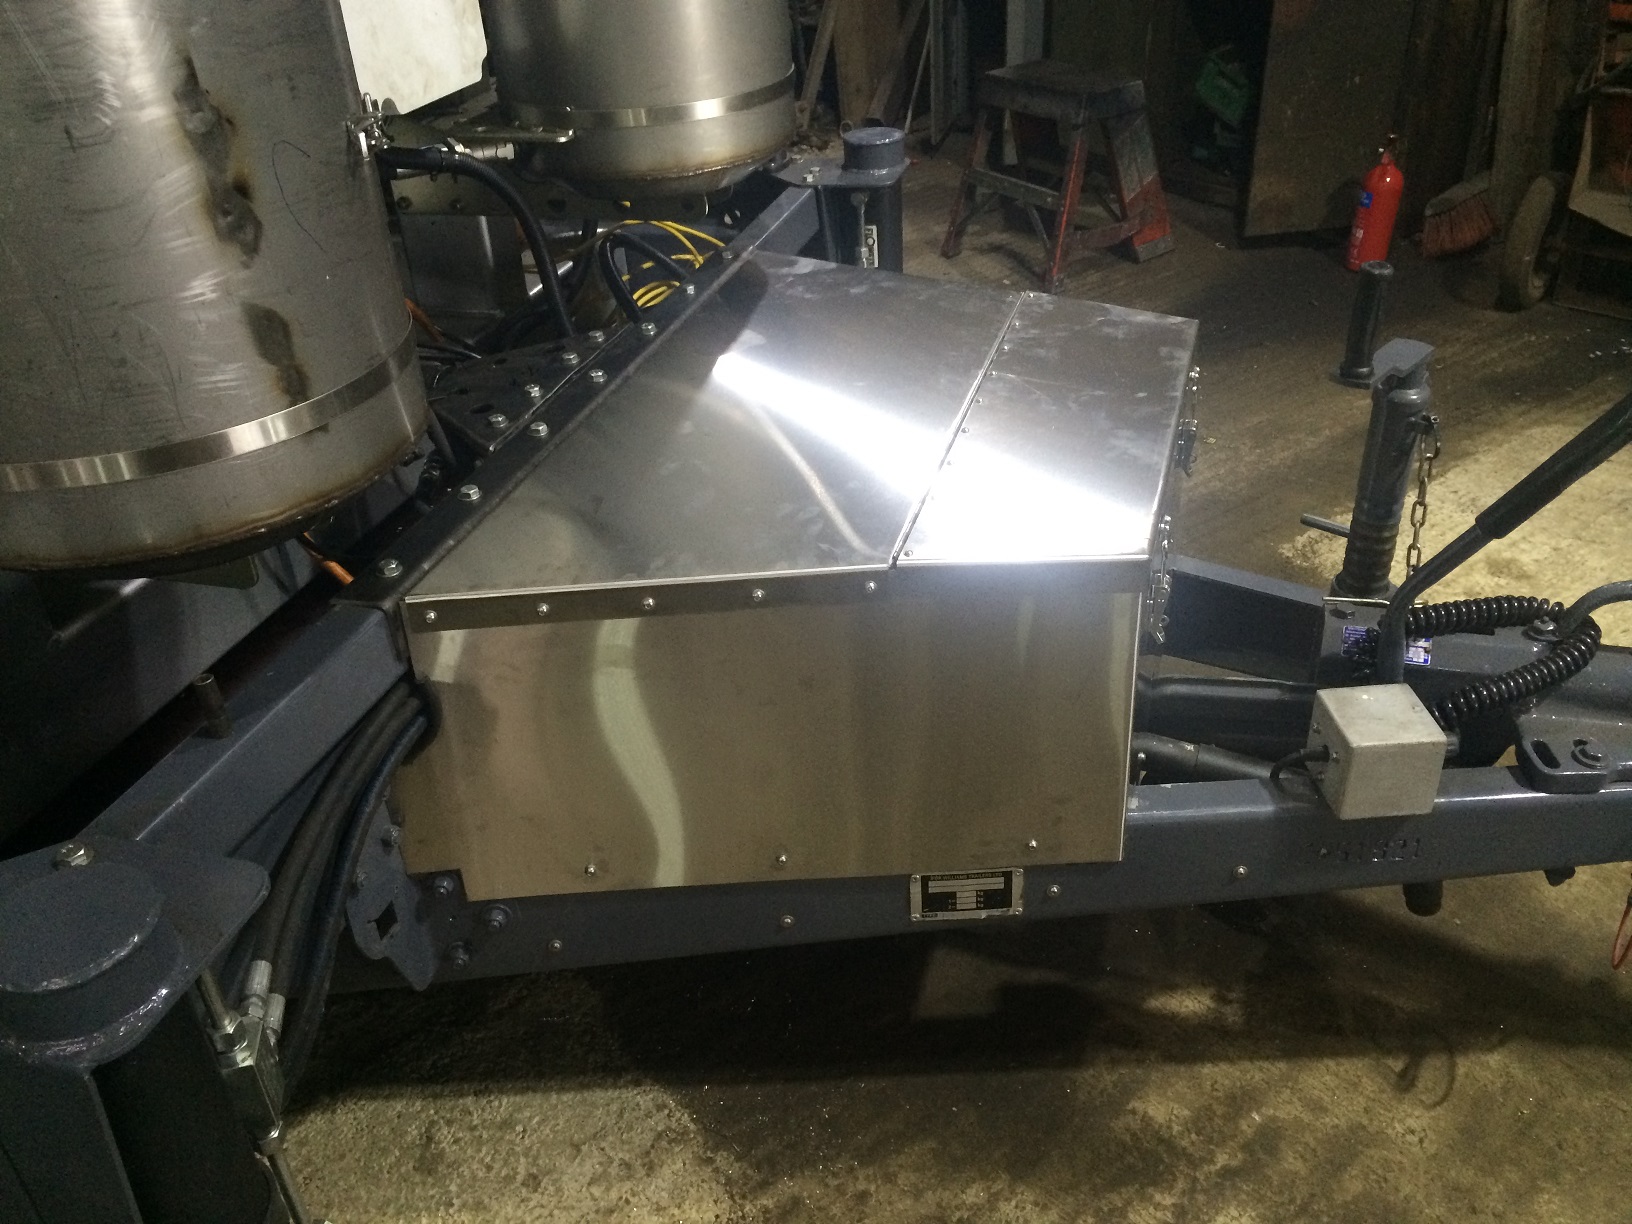
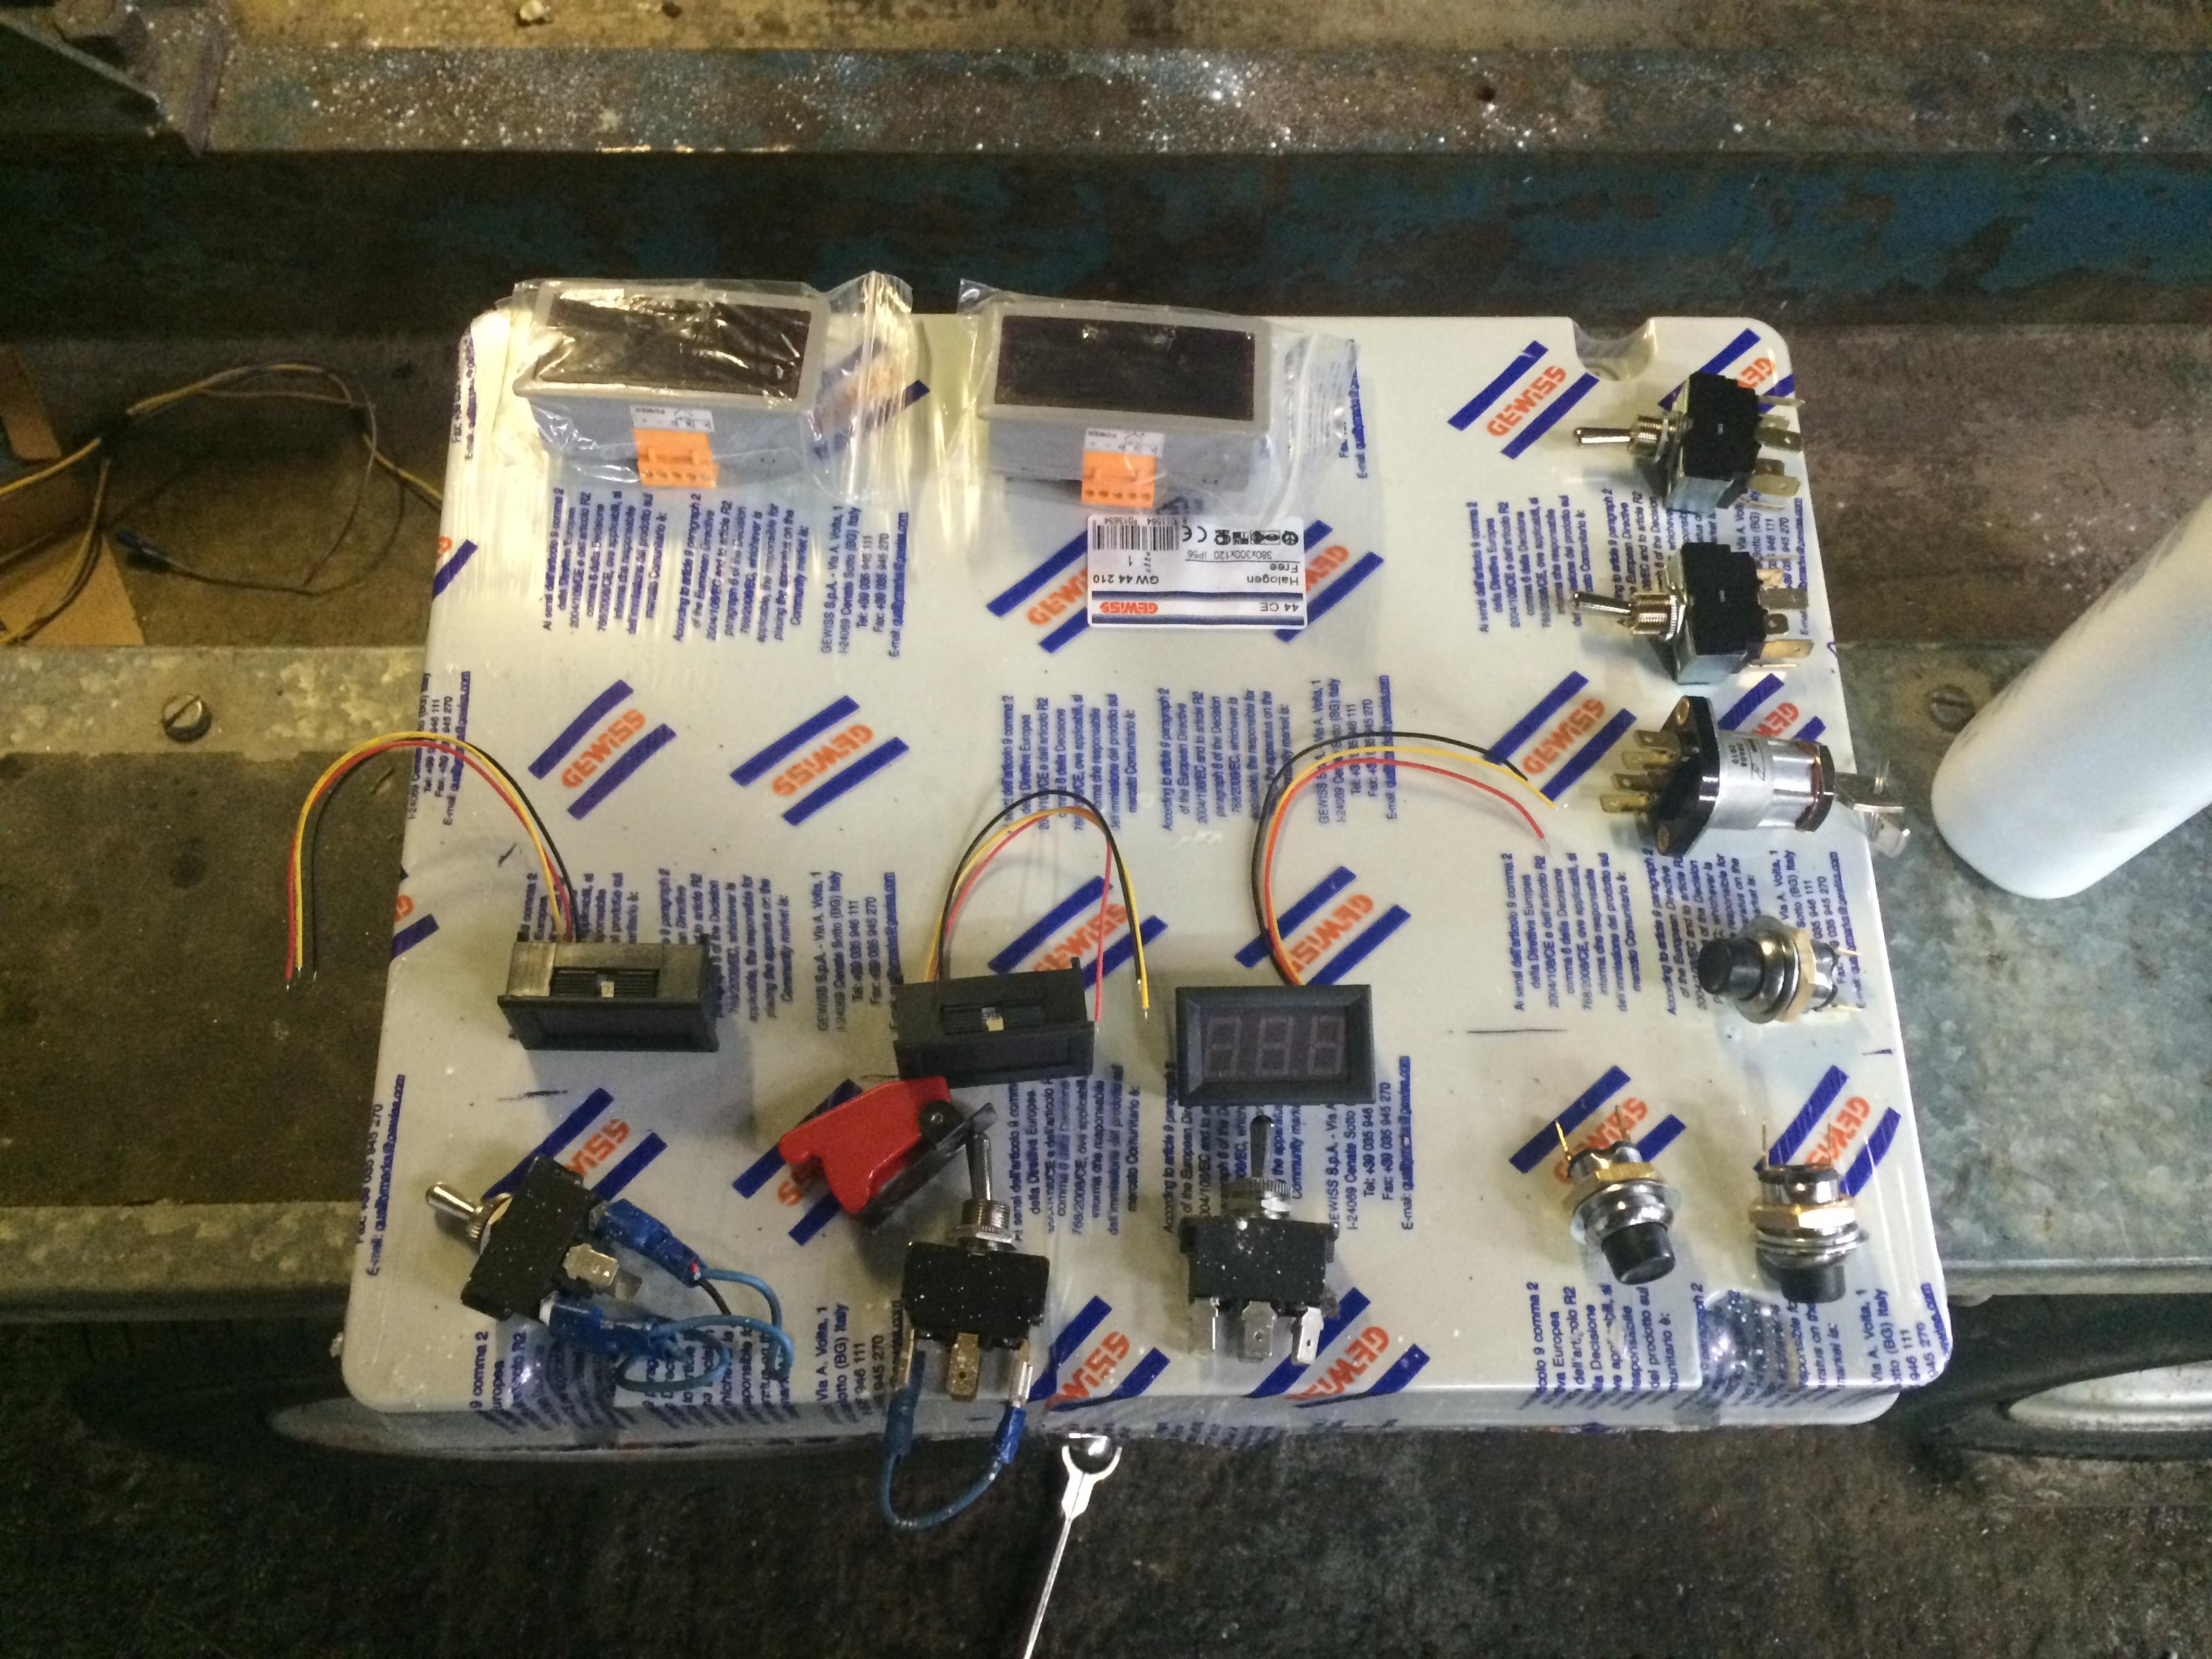
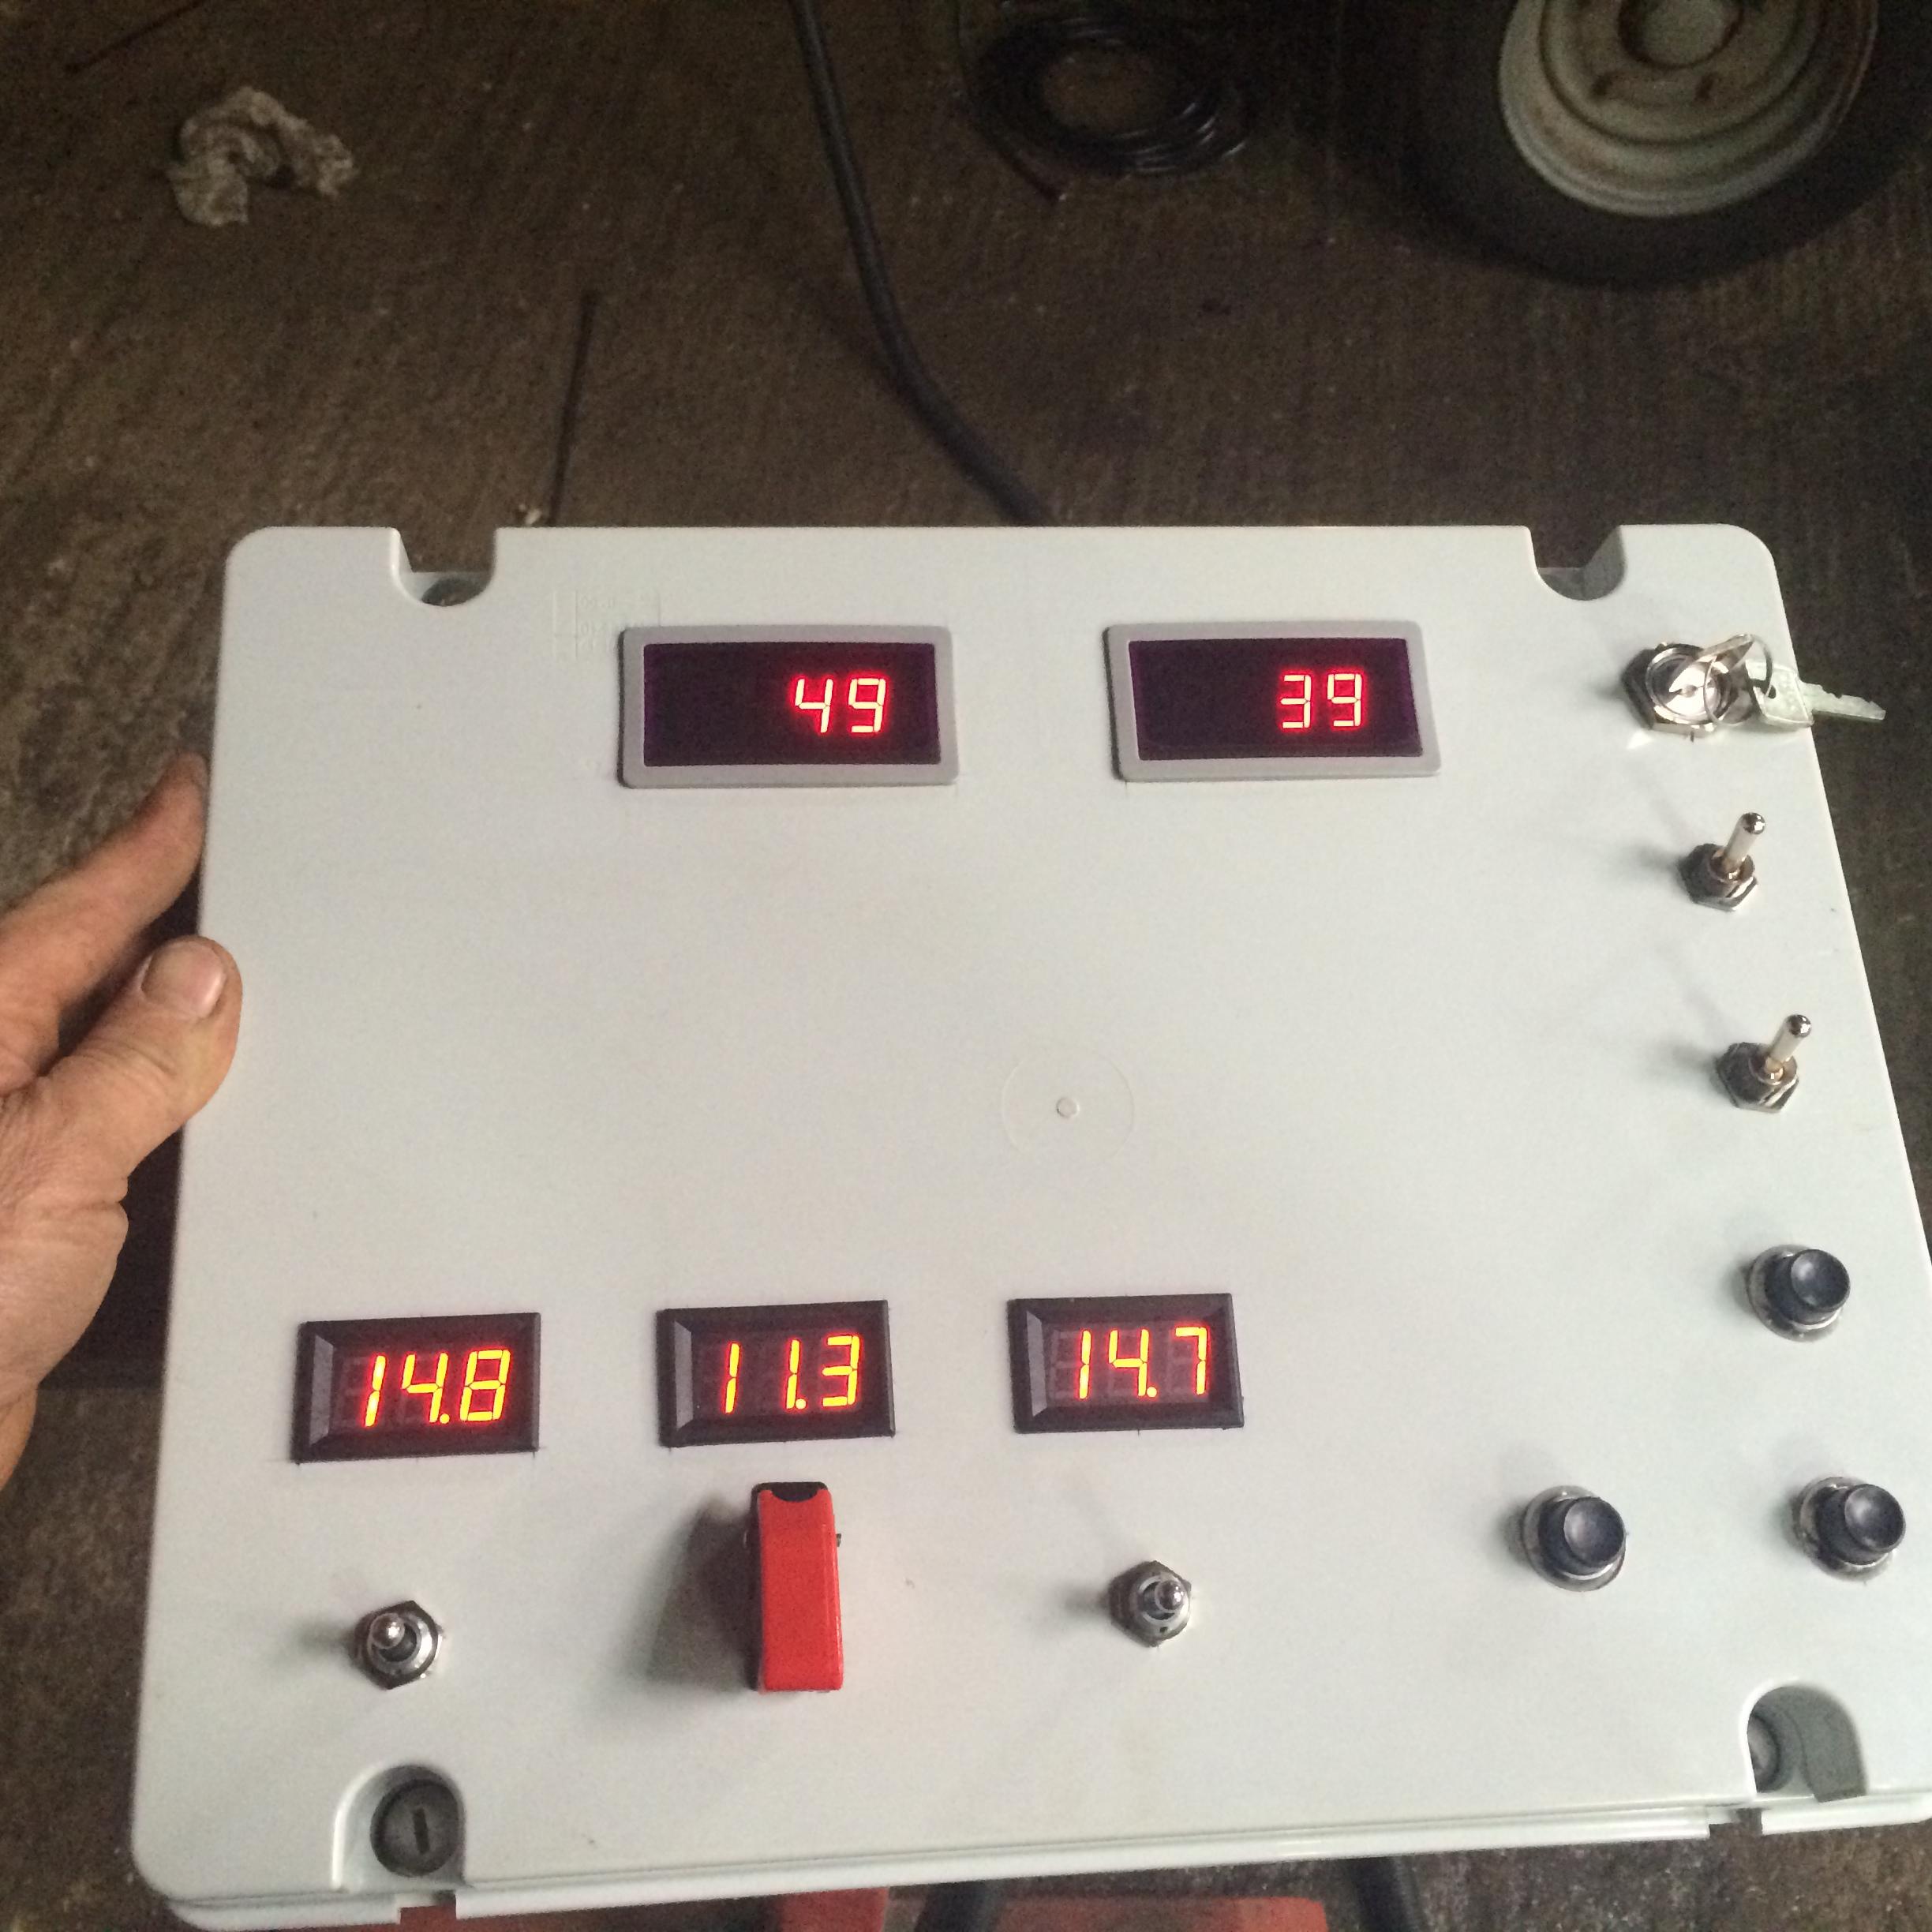
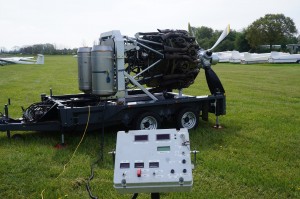
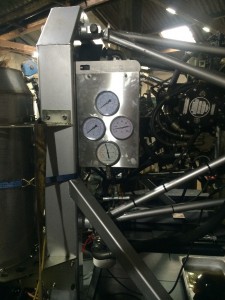
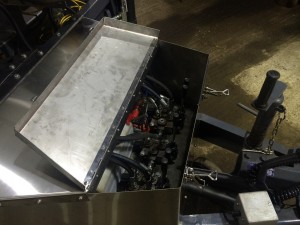
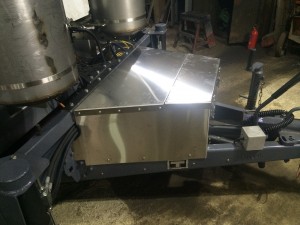
We then fitted some new Gauges and a new cover over the hydraulic controls for the trailer .

IMG_1650

IMG_1652 IMG_1651


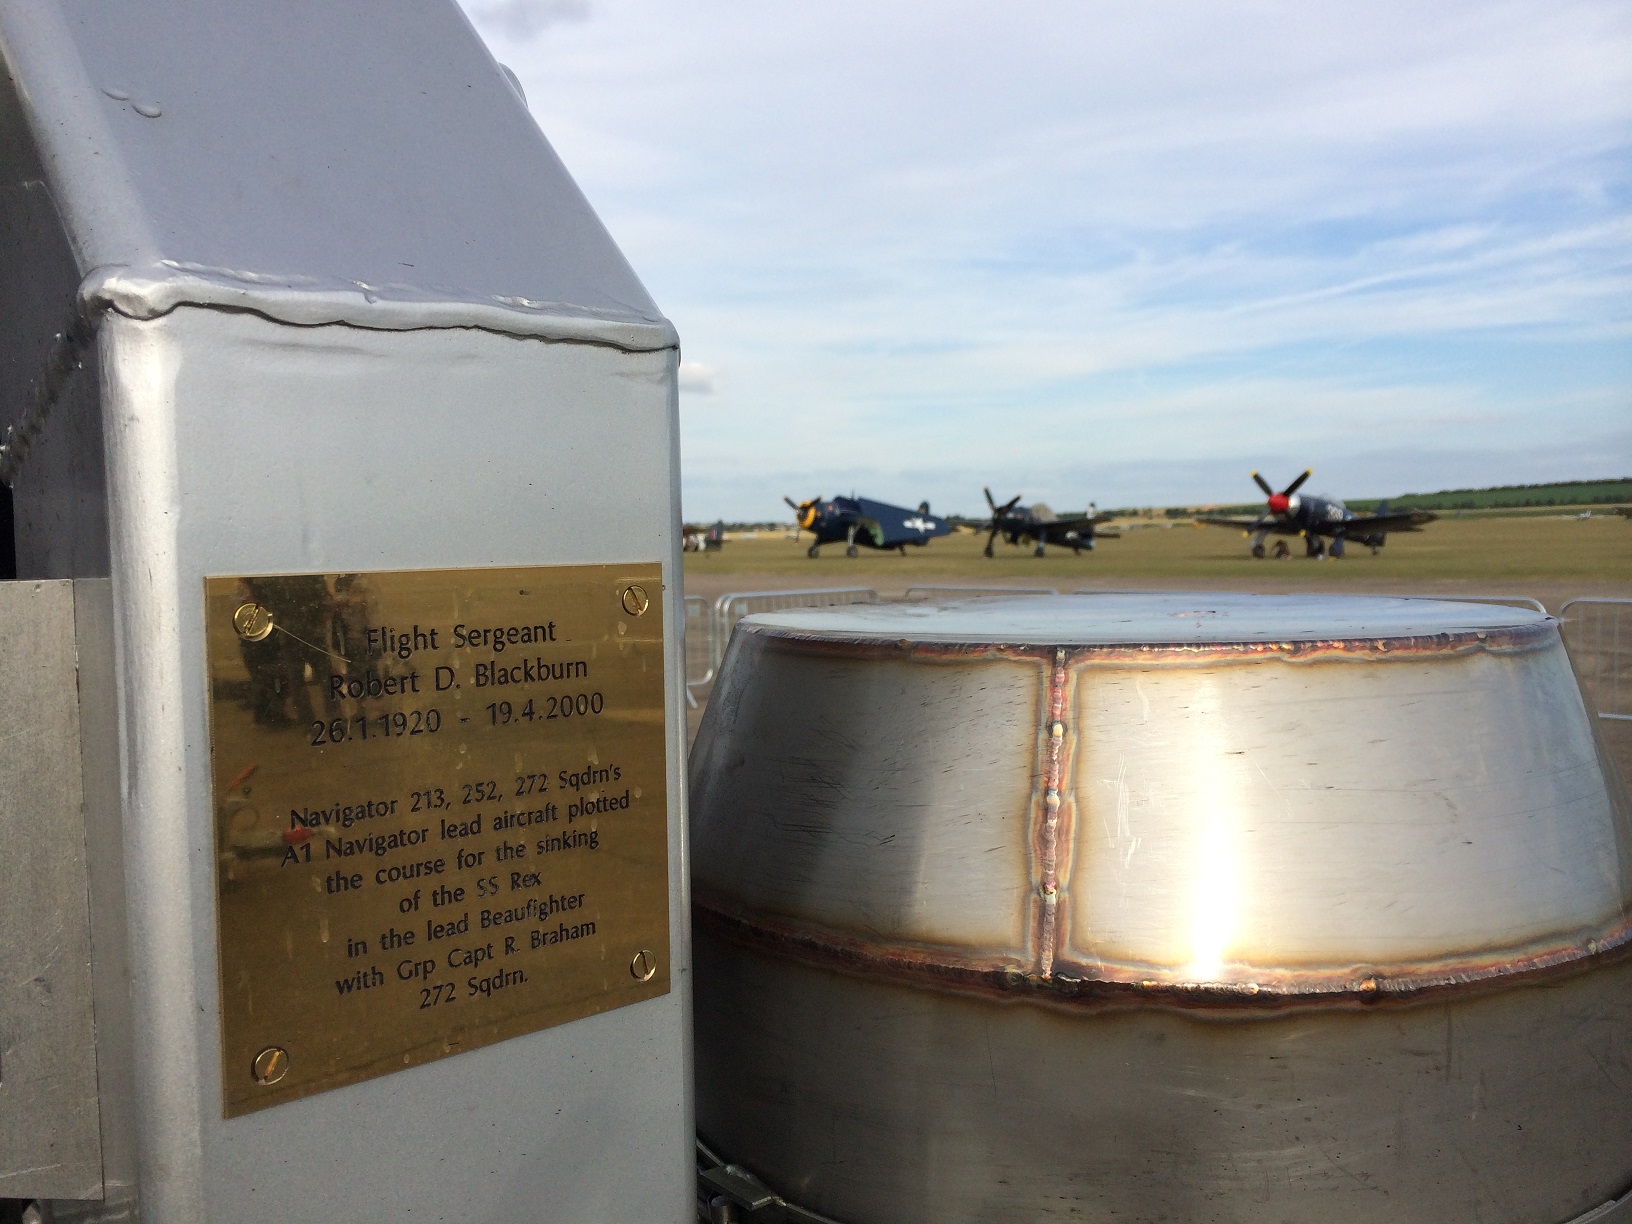
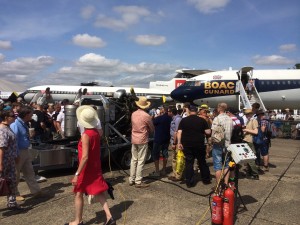
We had a great weekend down at the Duxford flying legends where we got through a lot of Av-Gas! Before we went down we fitted a couple of brass plaques, One for my Dads crew and the other for Peter Blackburn’s Dad.

IMG_1837 IMG_1752


IMG_1839

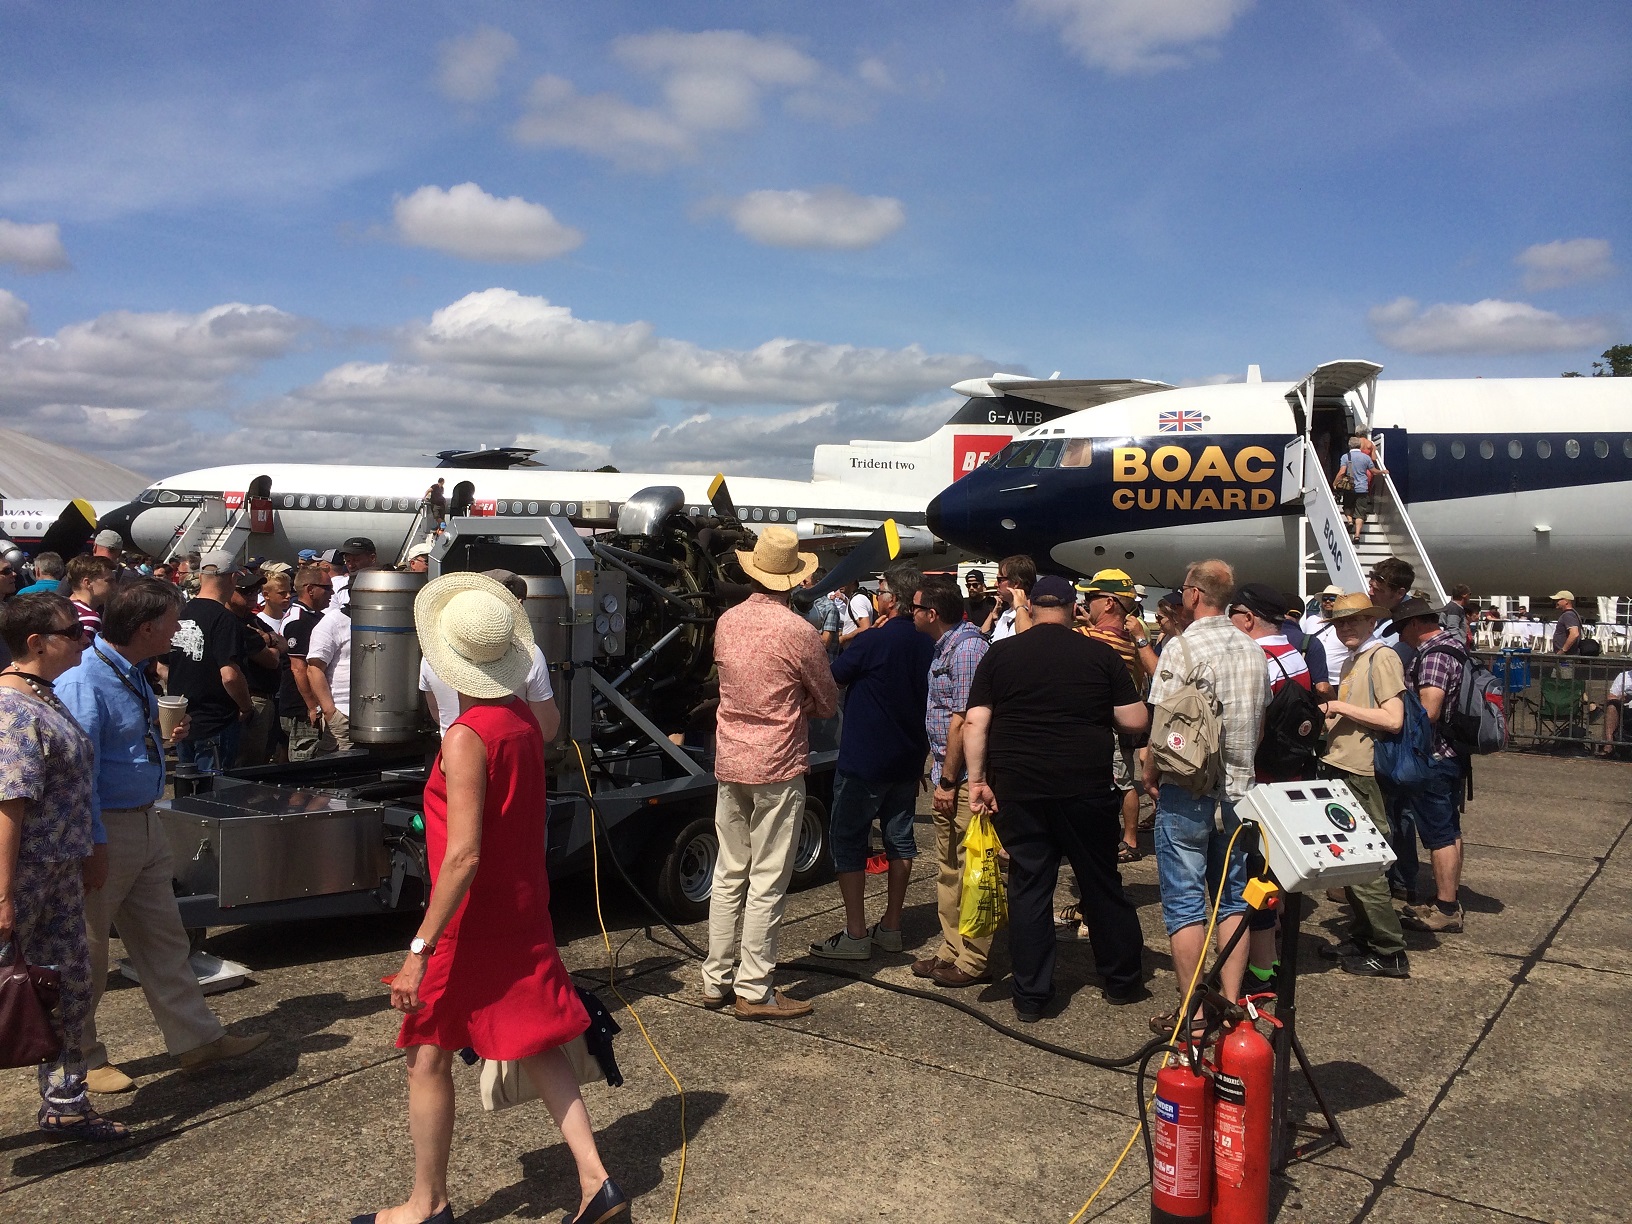
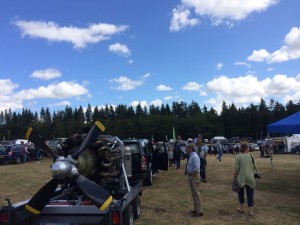
We ran the engine every 45 mins during Saturday and Sunday up to 13:00 just before the Air Show starts, It certainly drew a lot of attention.

IMG_1755 IMG_1753


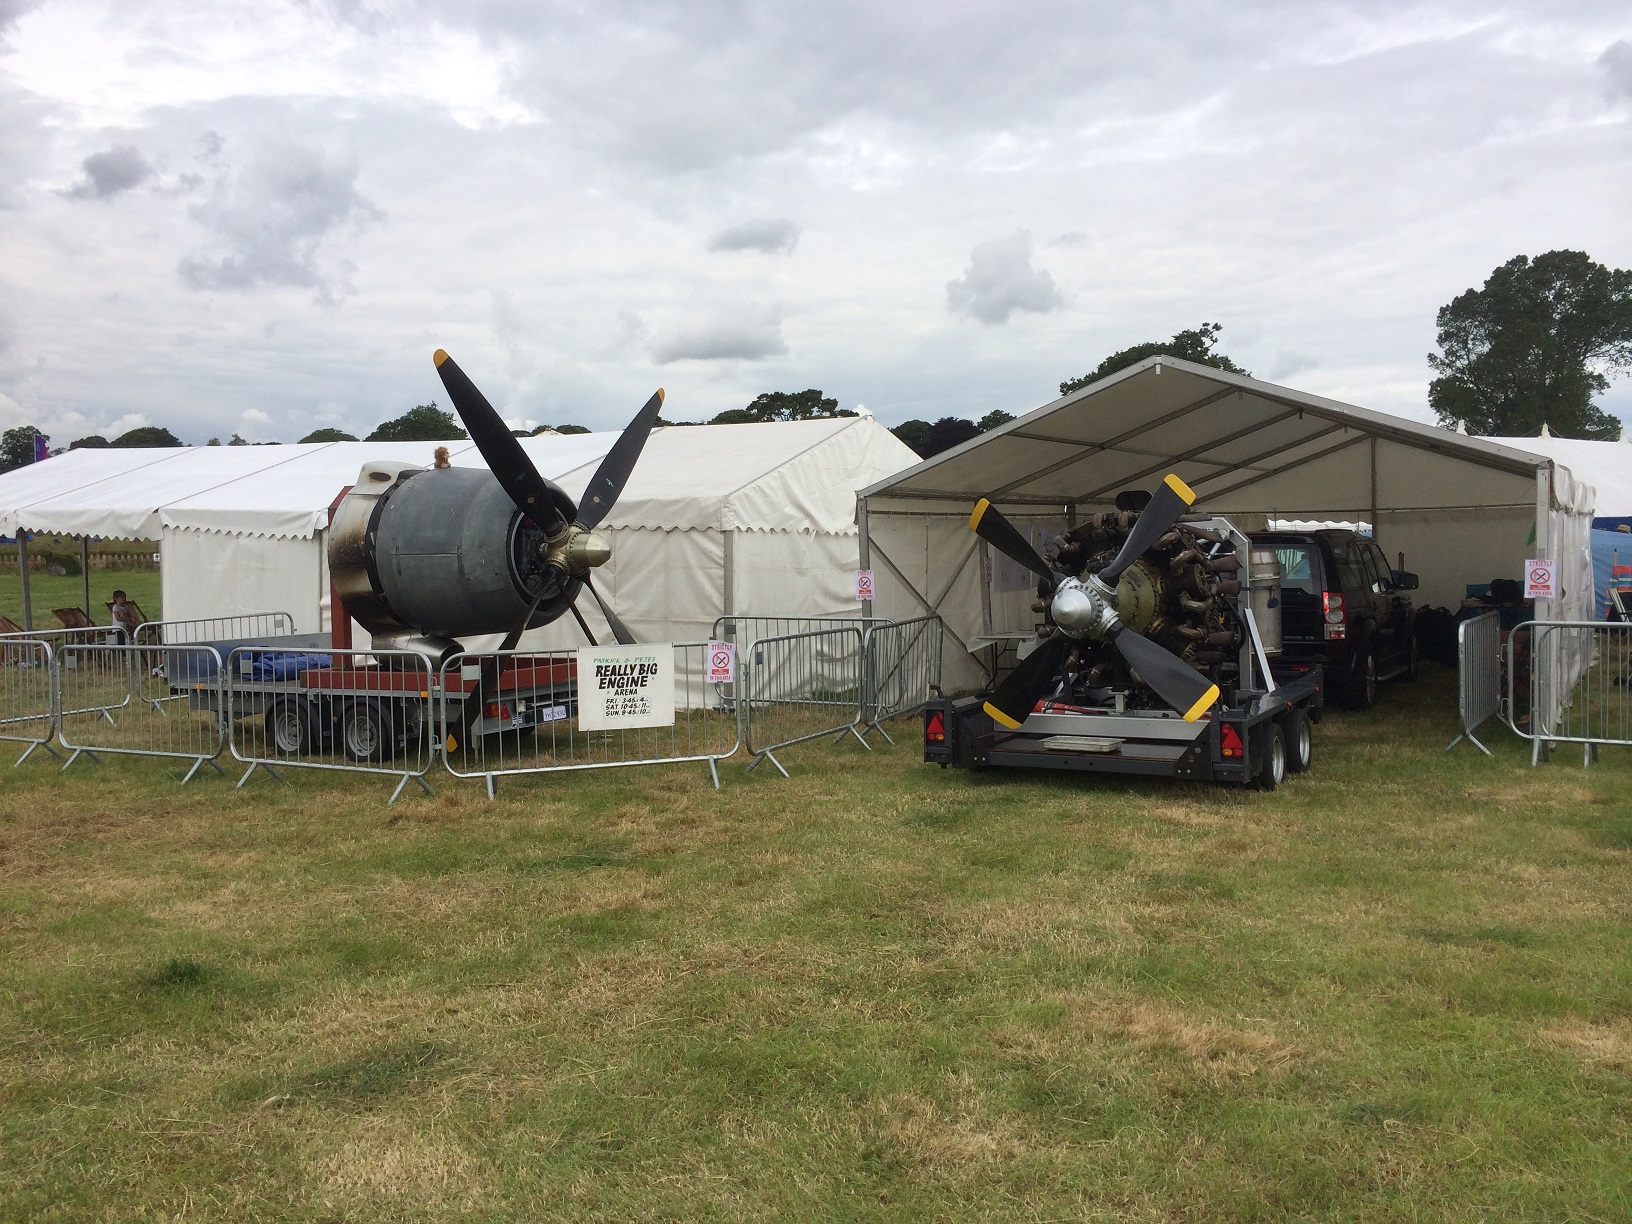
After Duxford our next show was a local three day family music festival called the DeerShed Festival only two miles away.

Last year we took the 216 just to show it as a static display, and the amount of people that asked us when we were going to start it! so this year we were invited back to run the engine and it was great success.

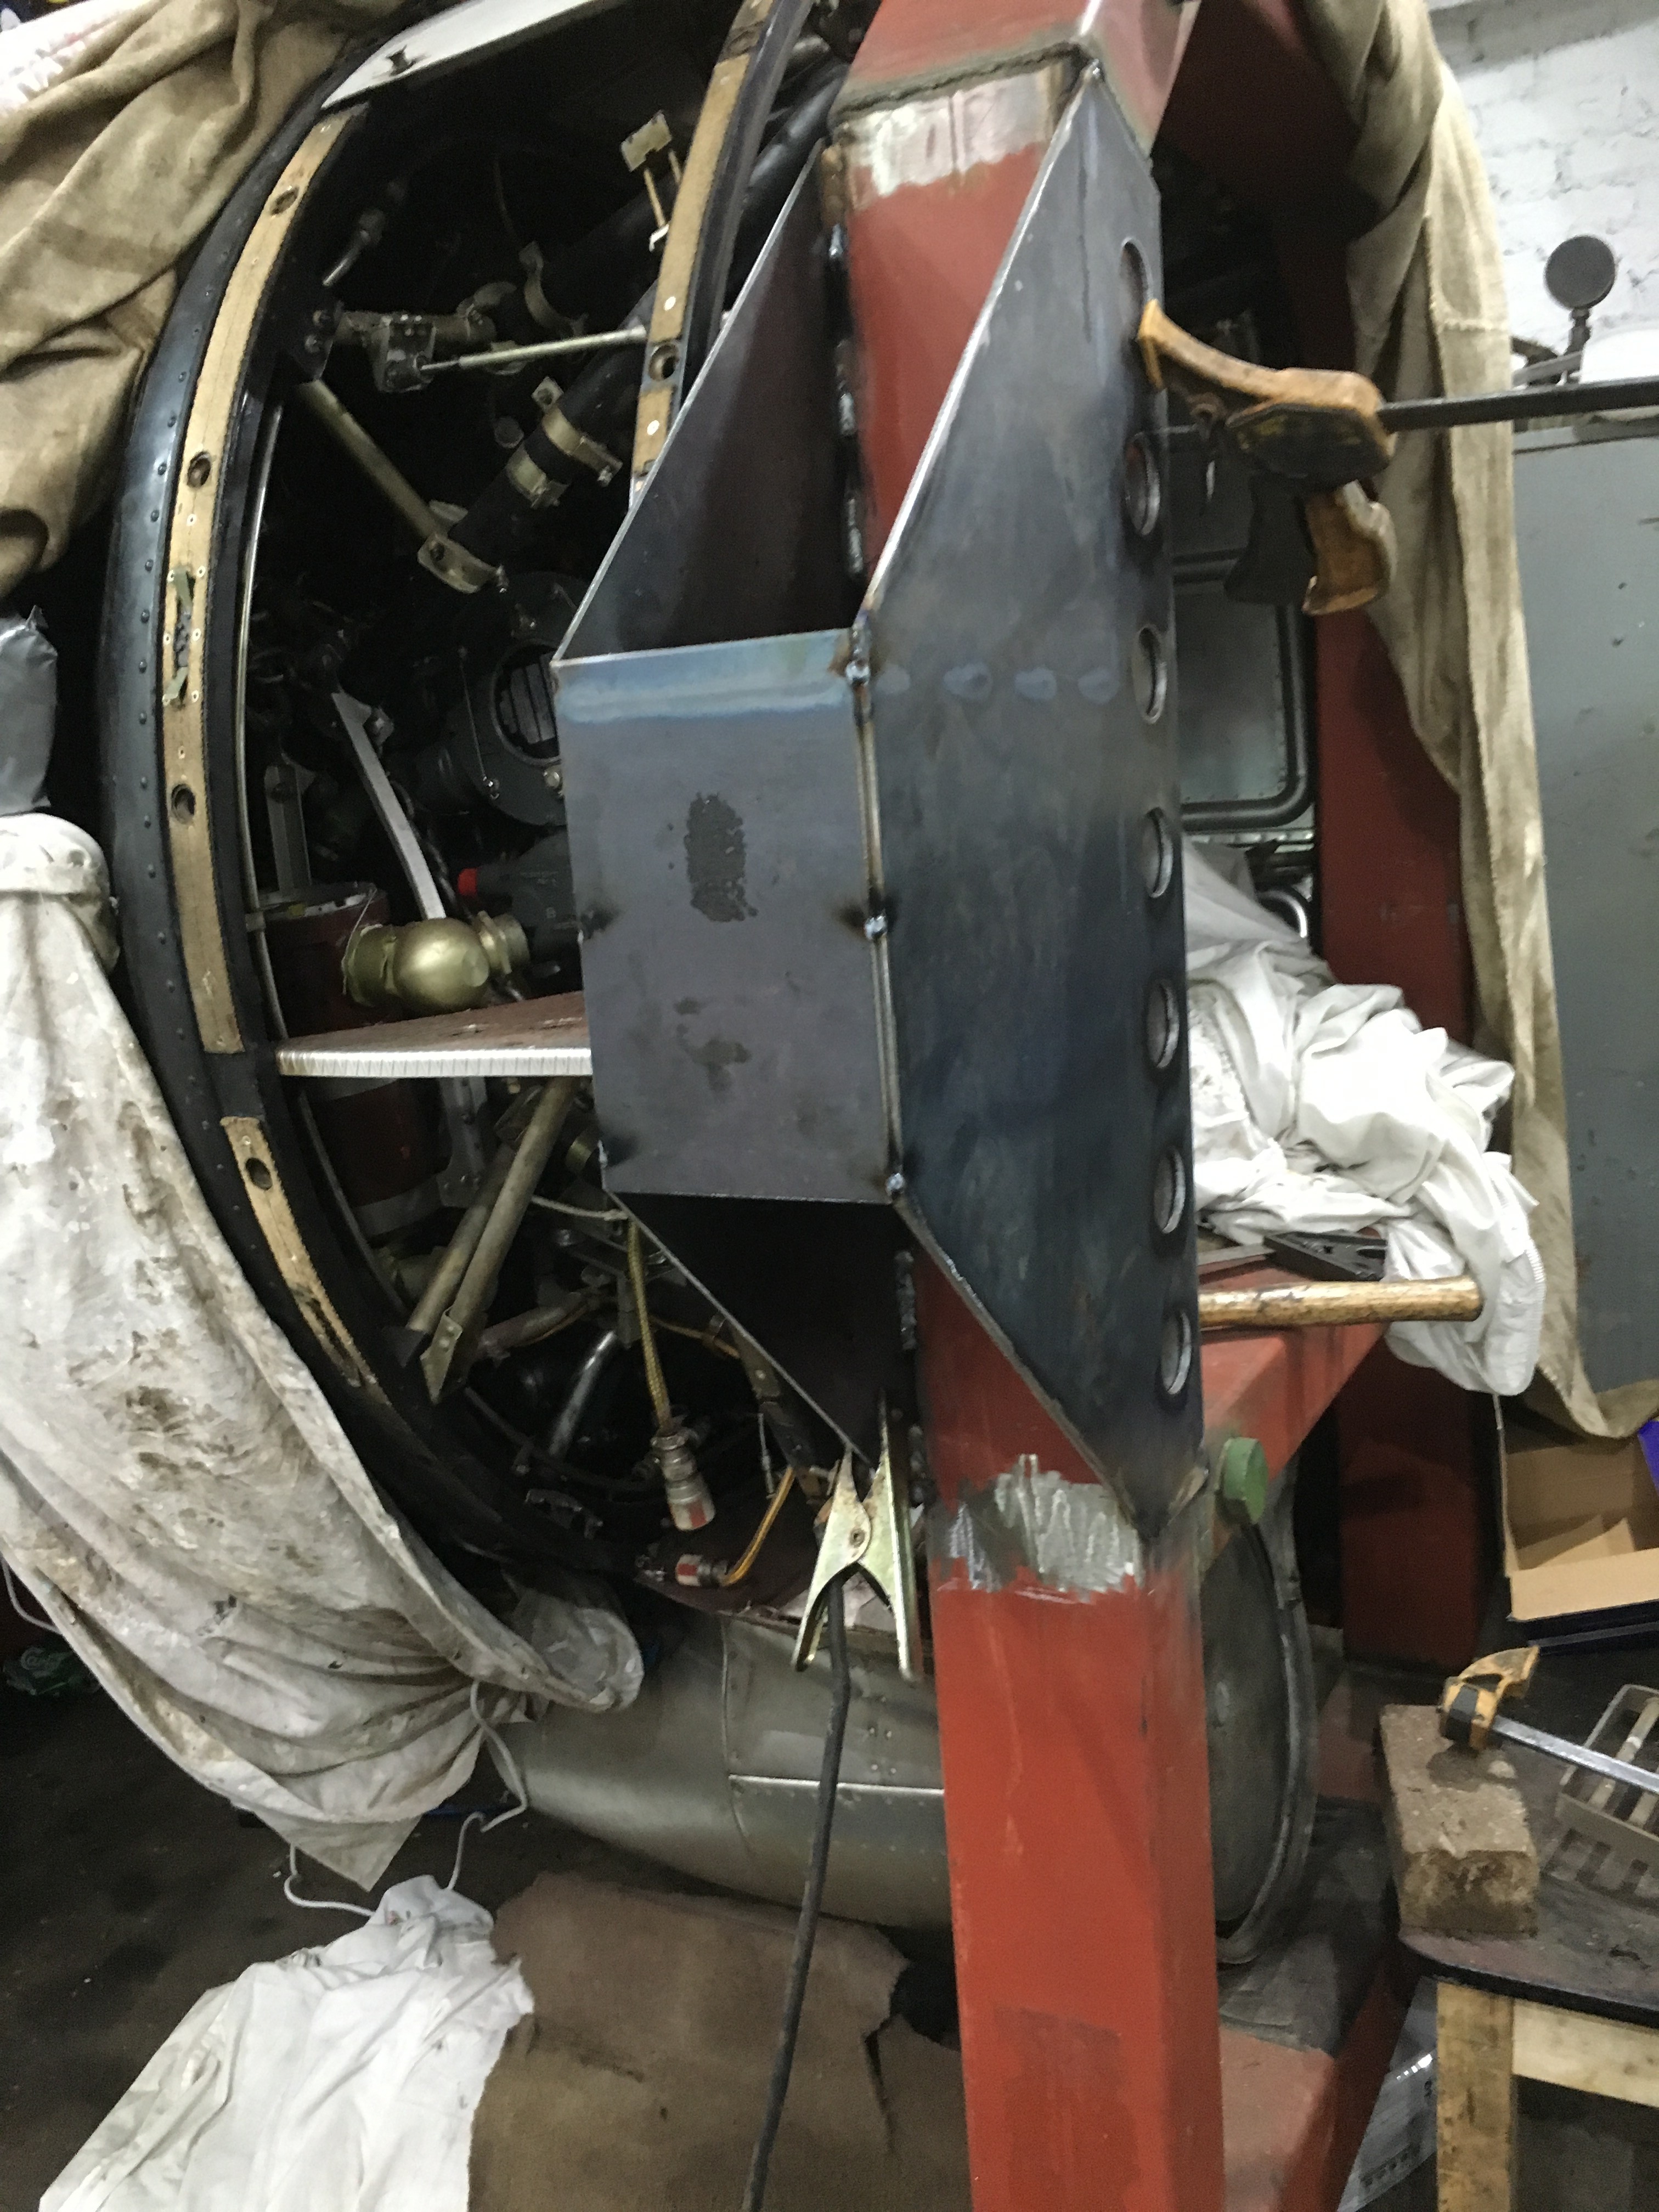
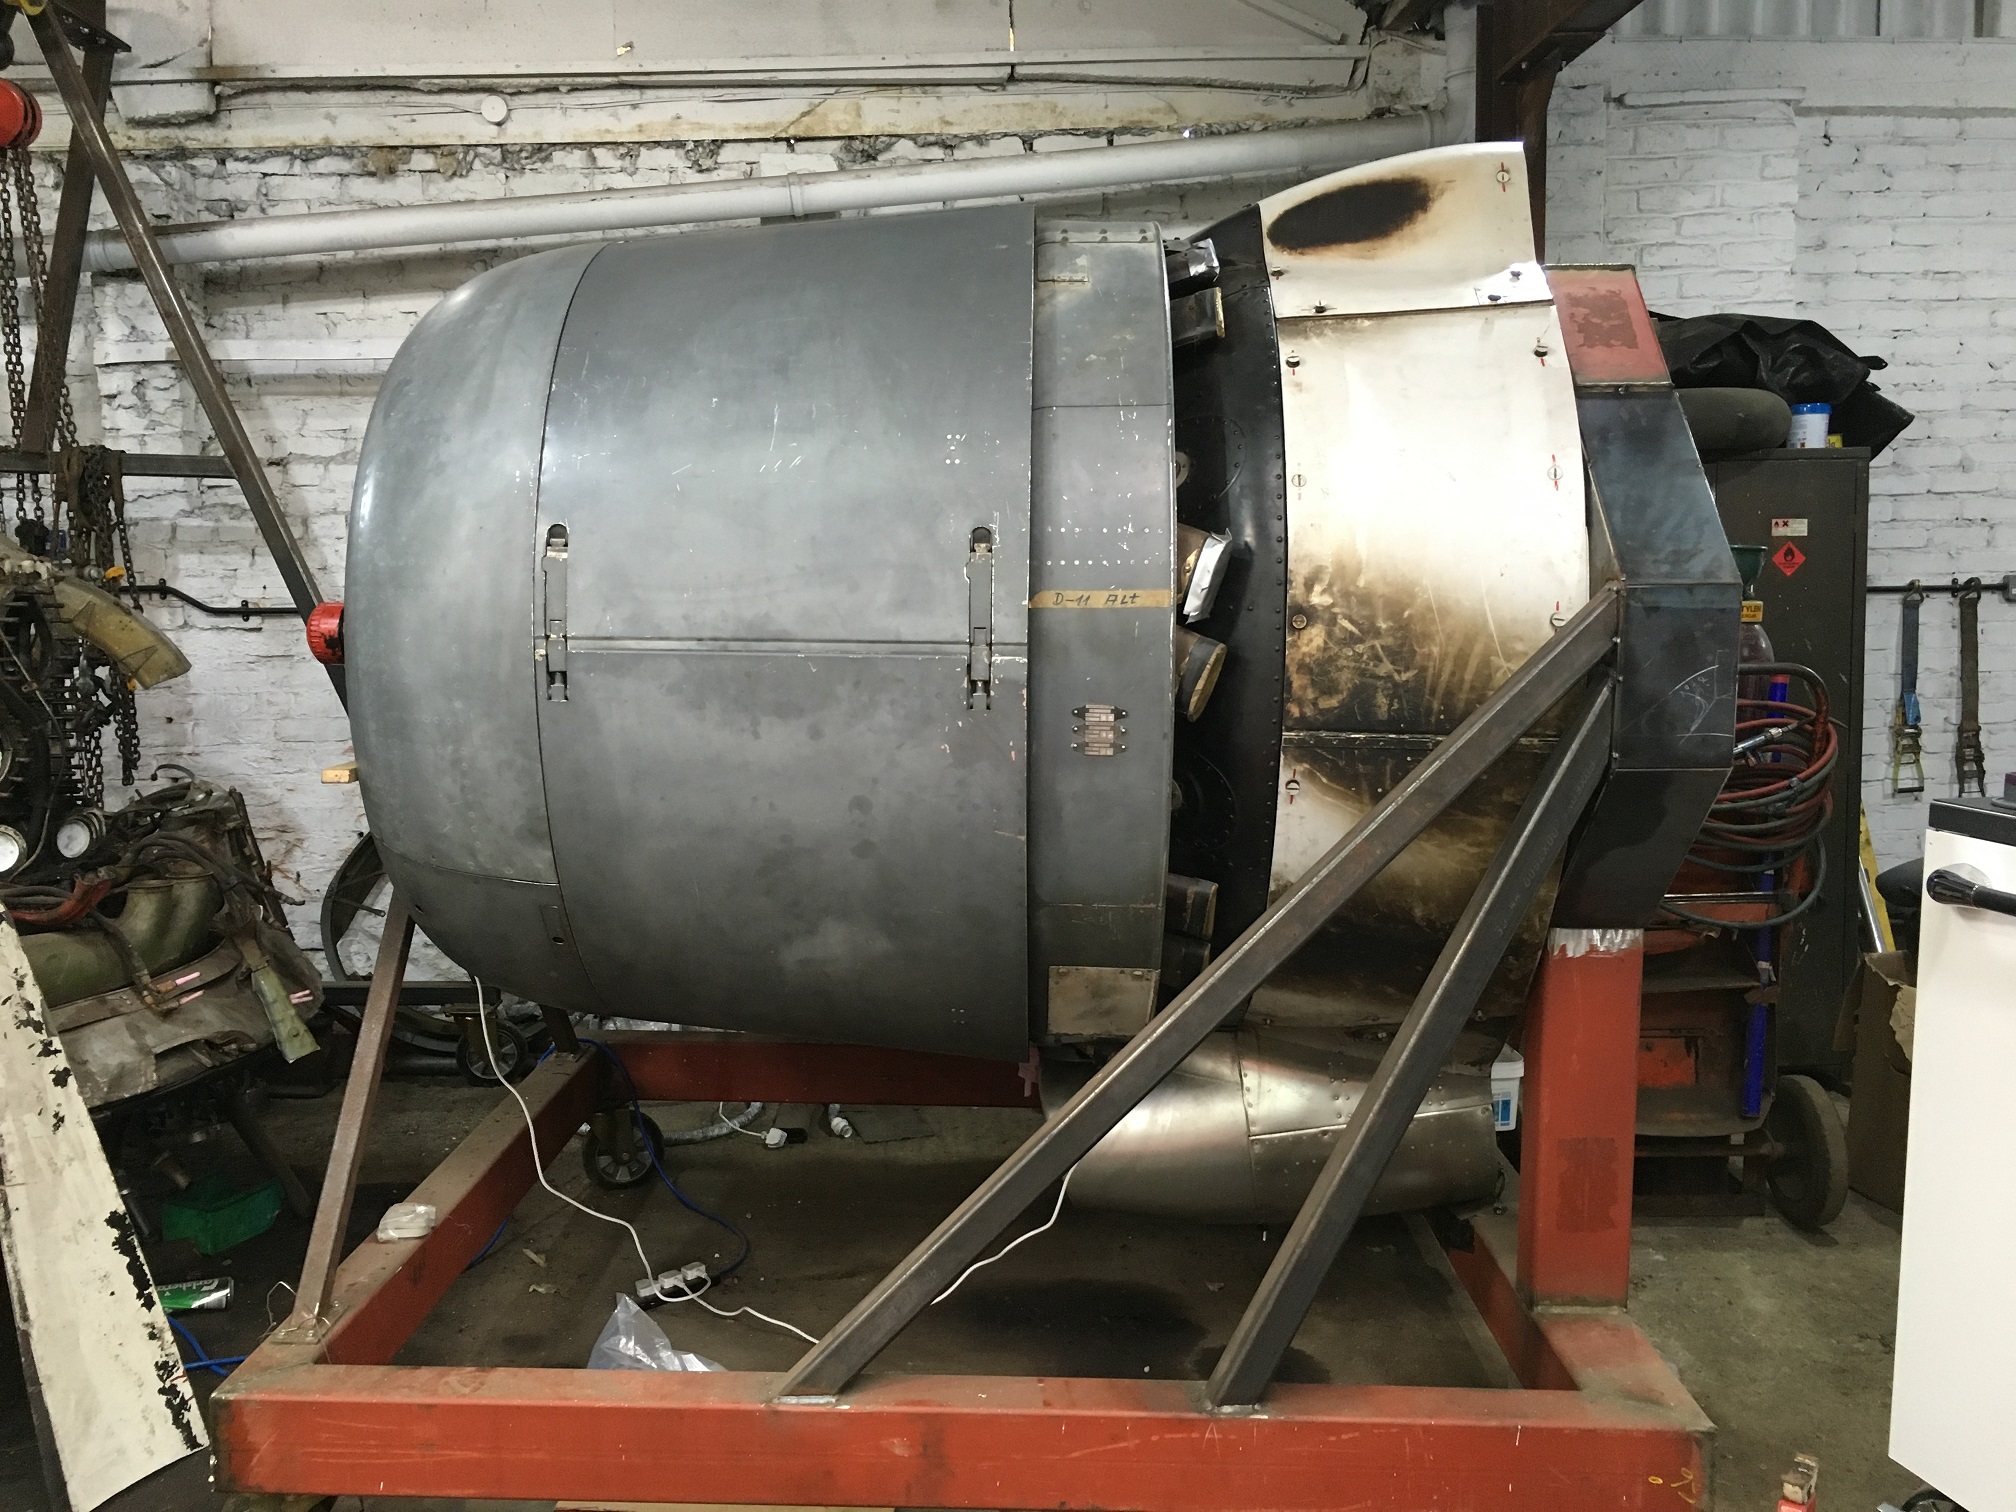
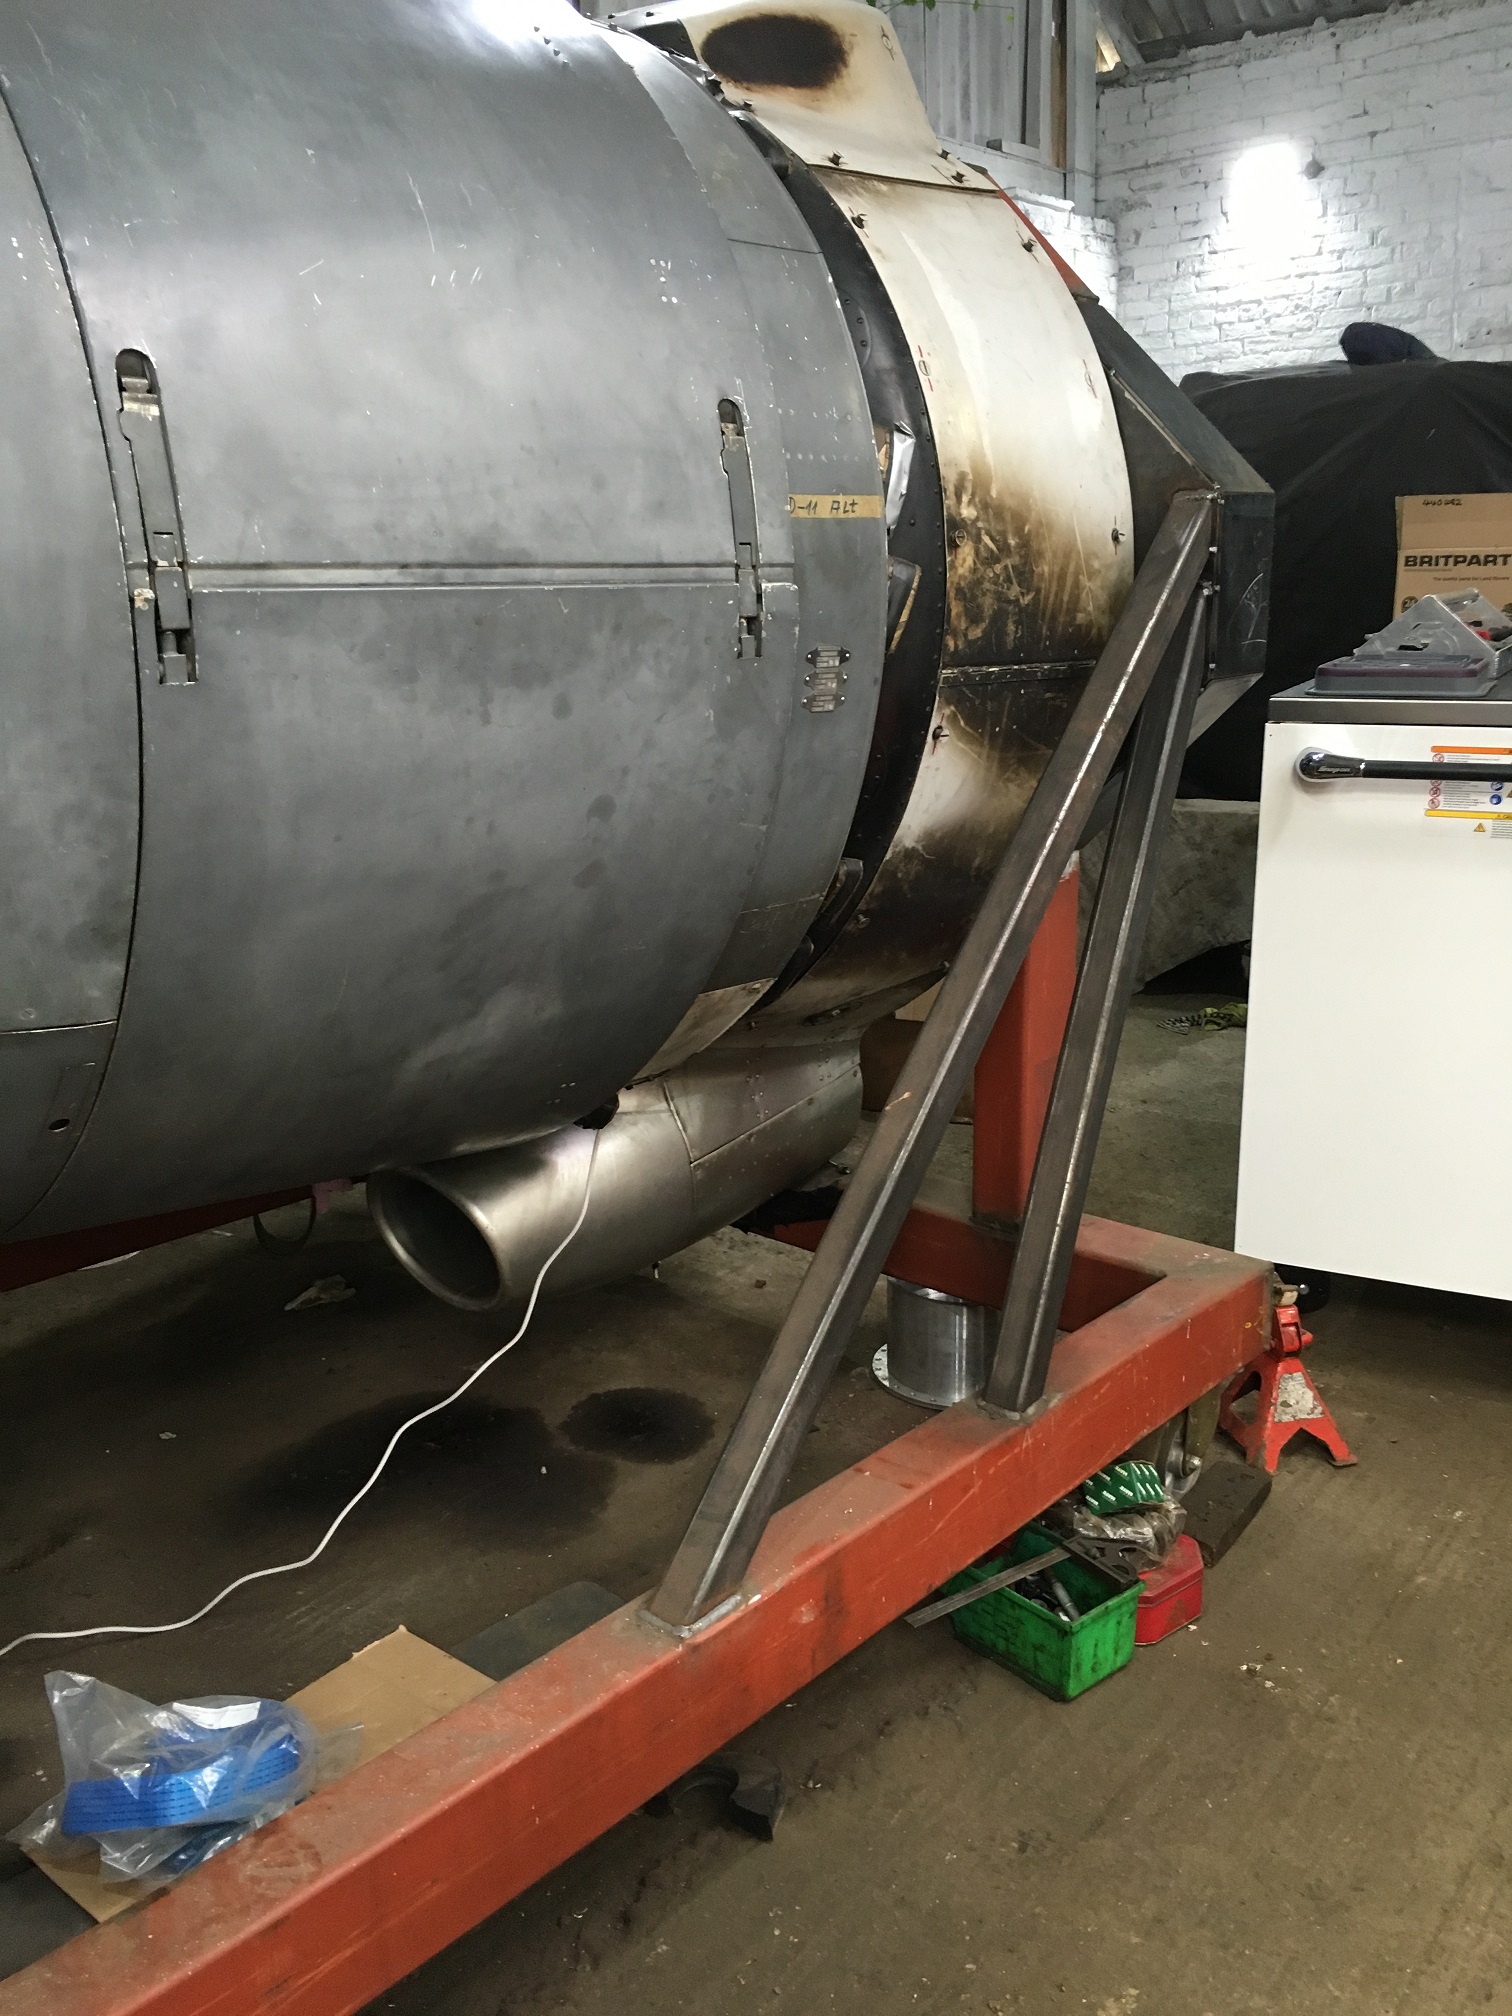
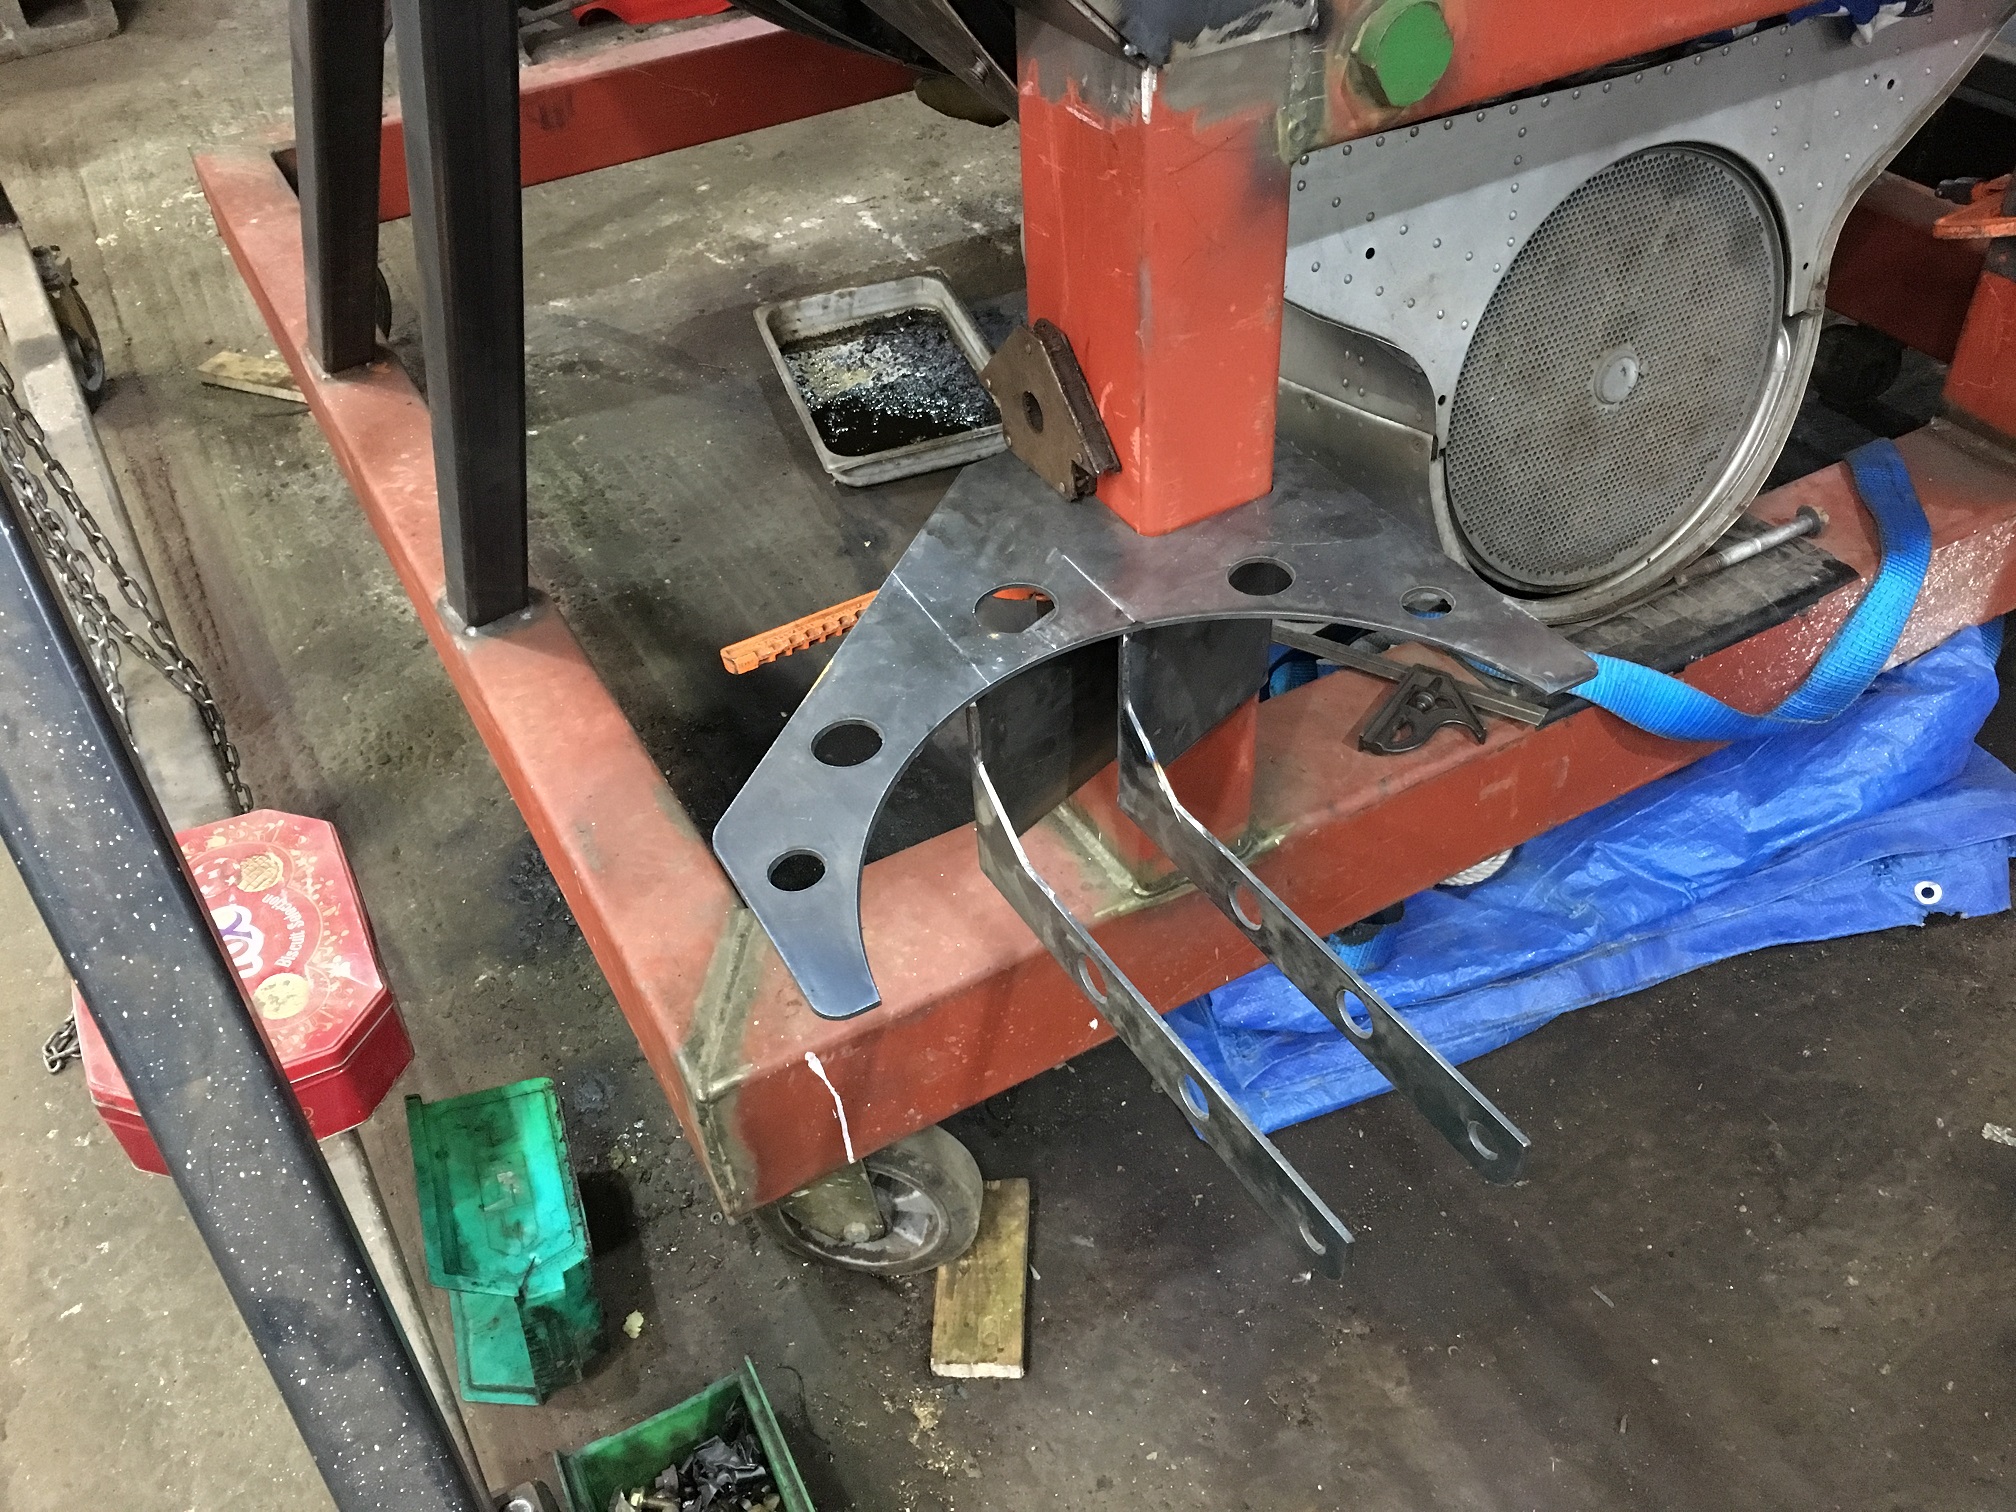
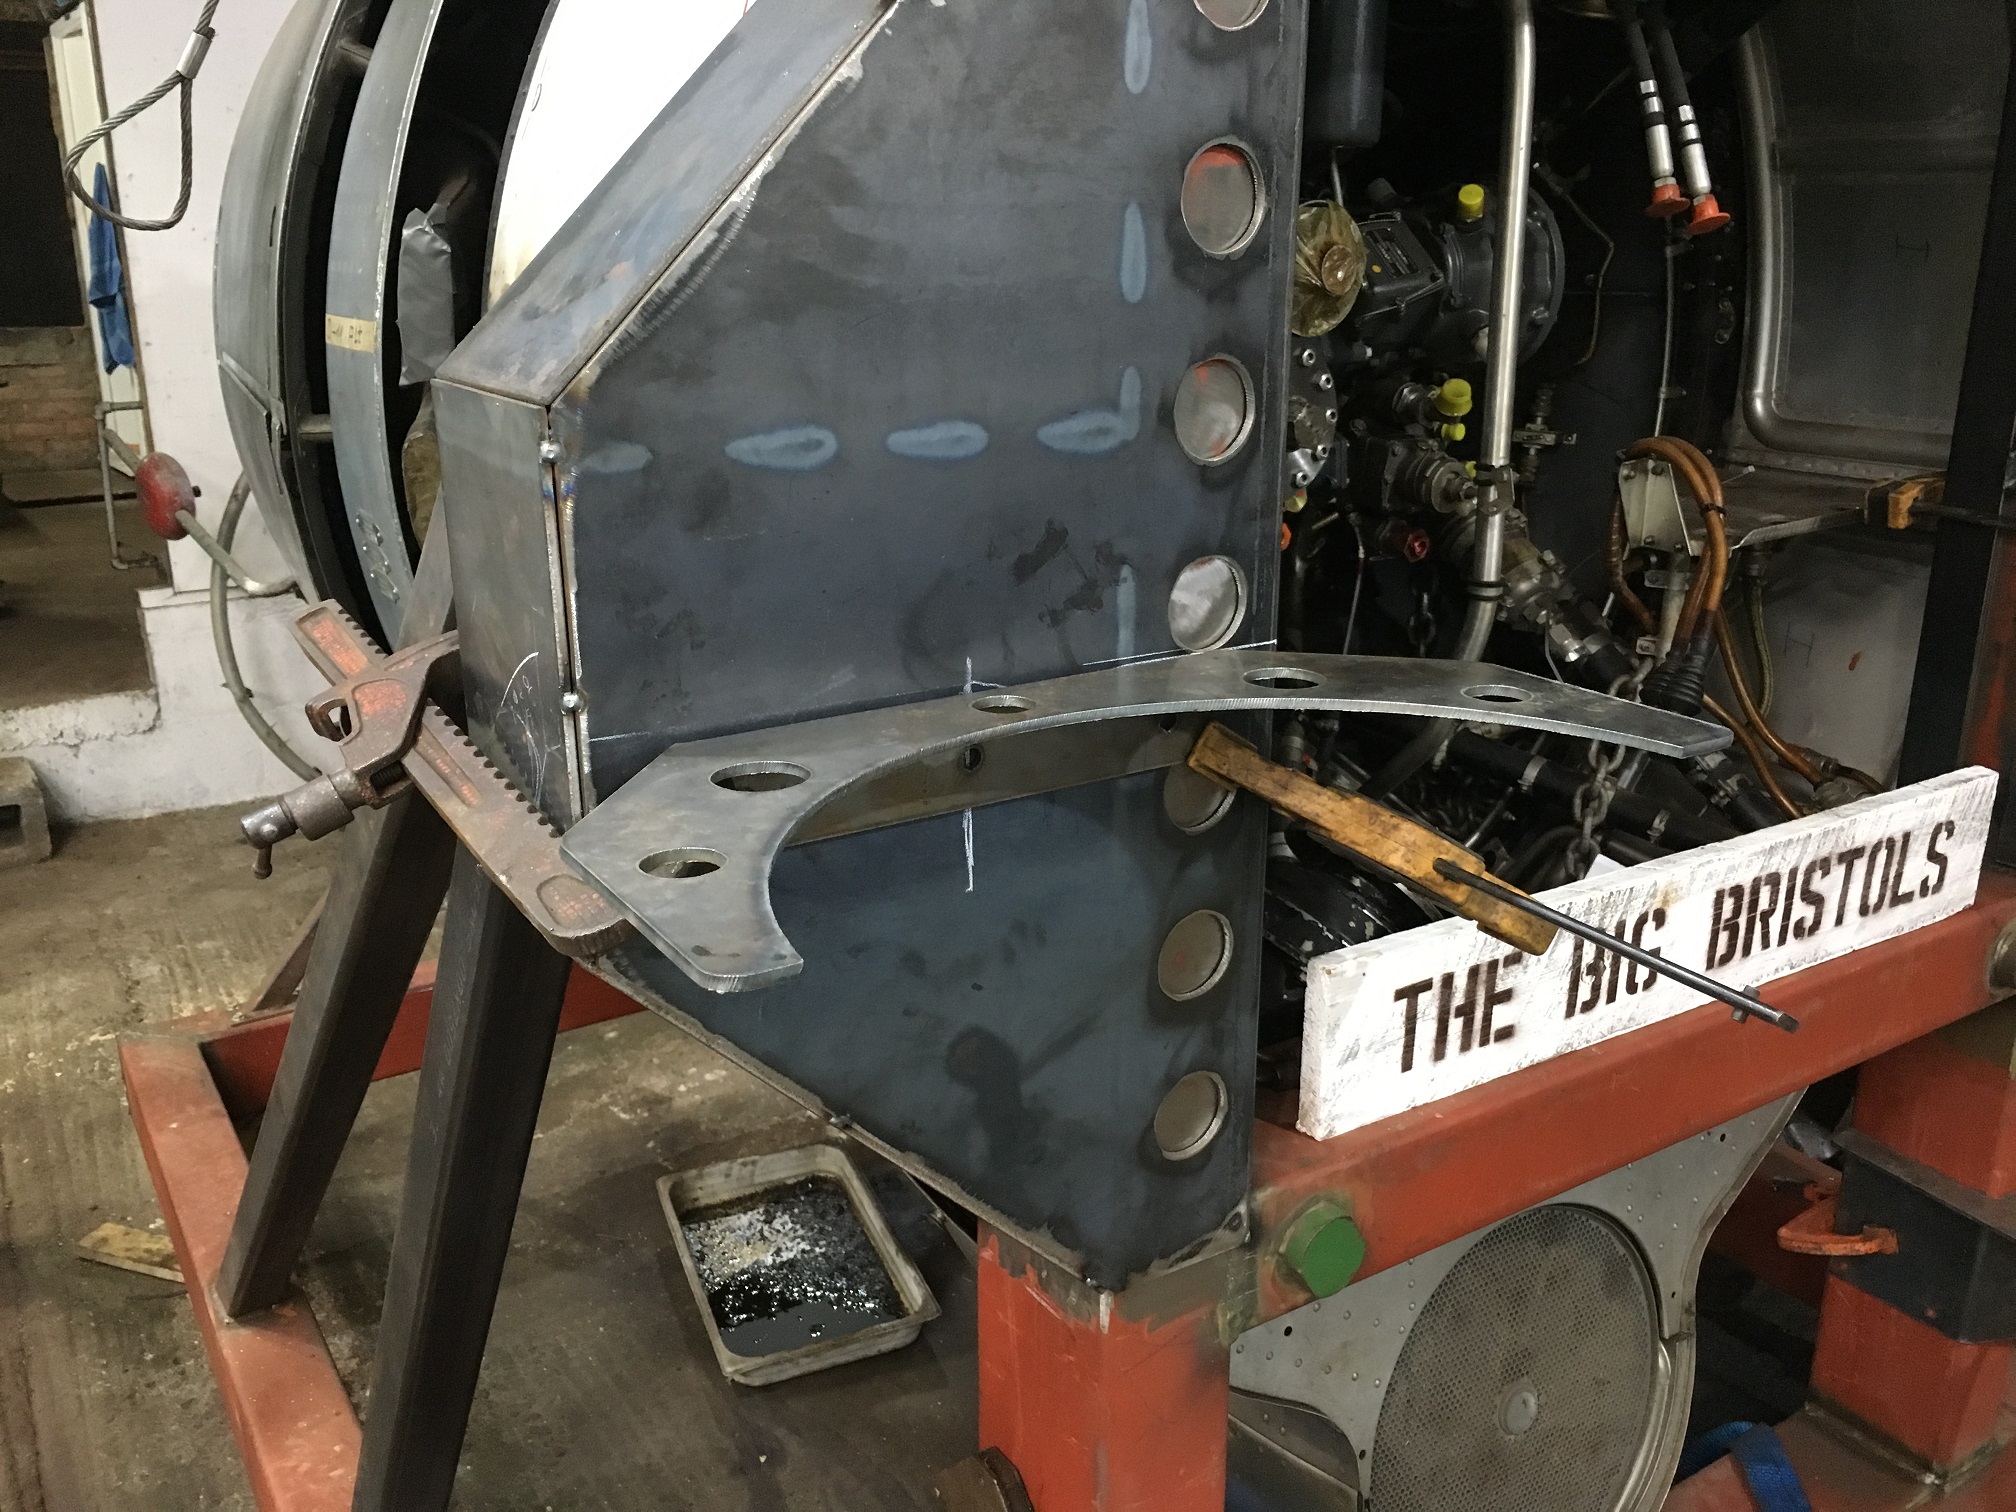
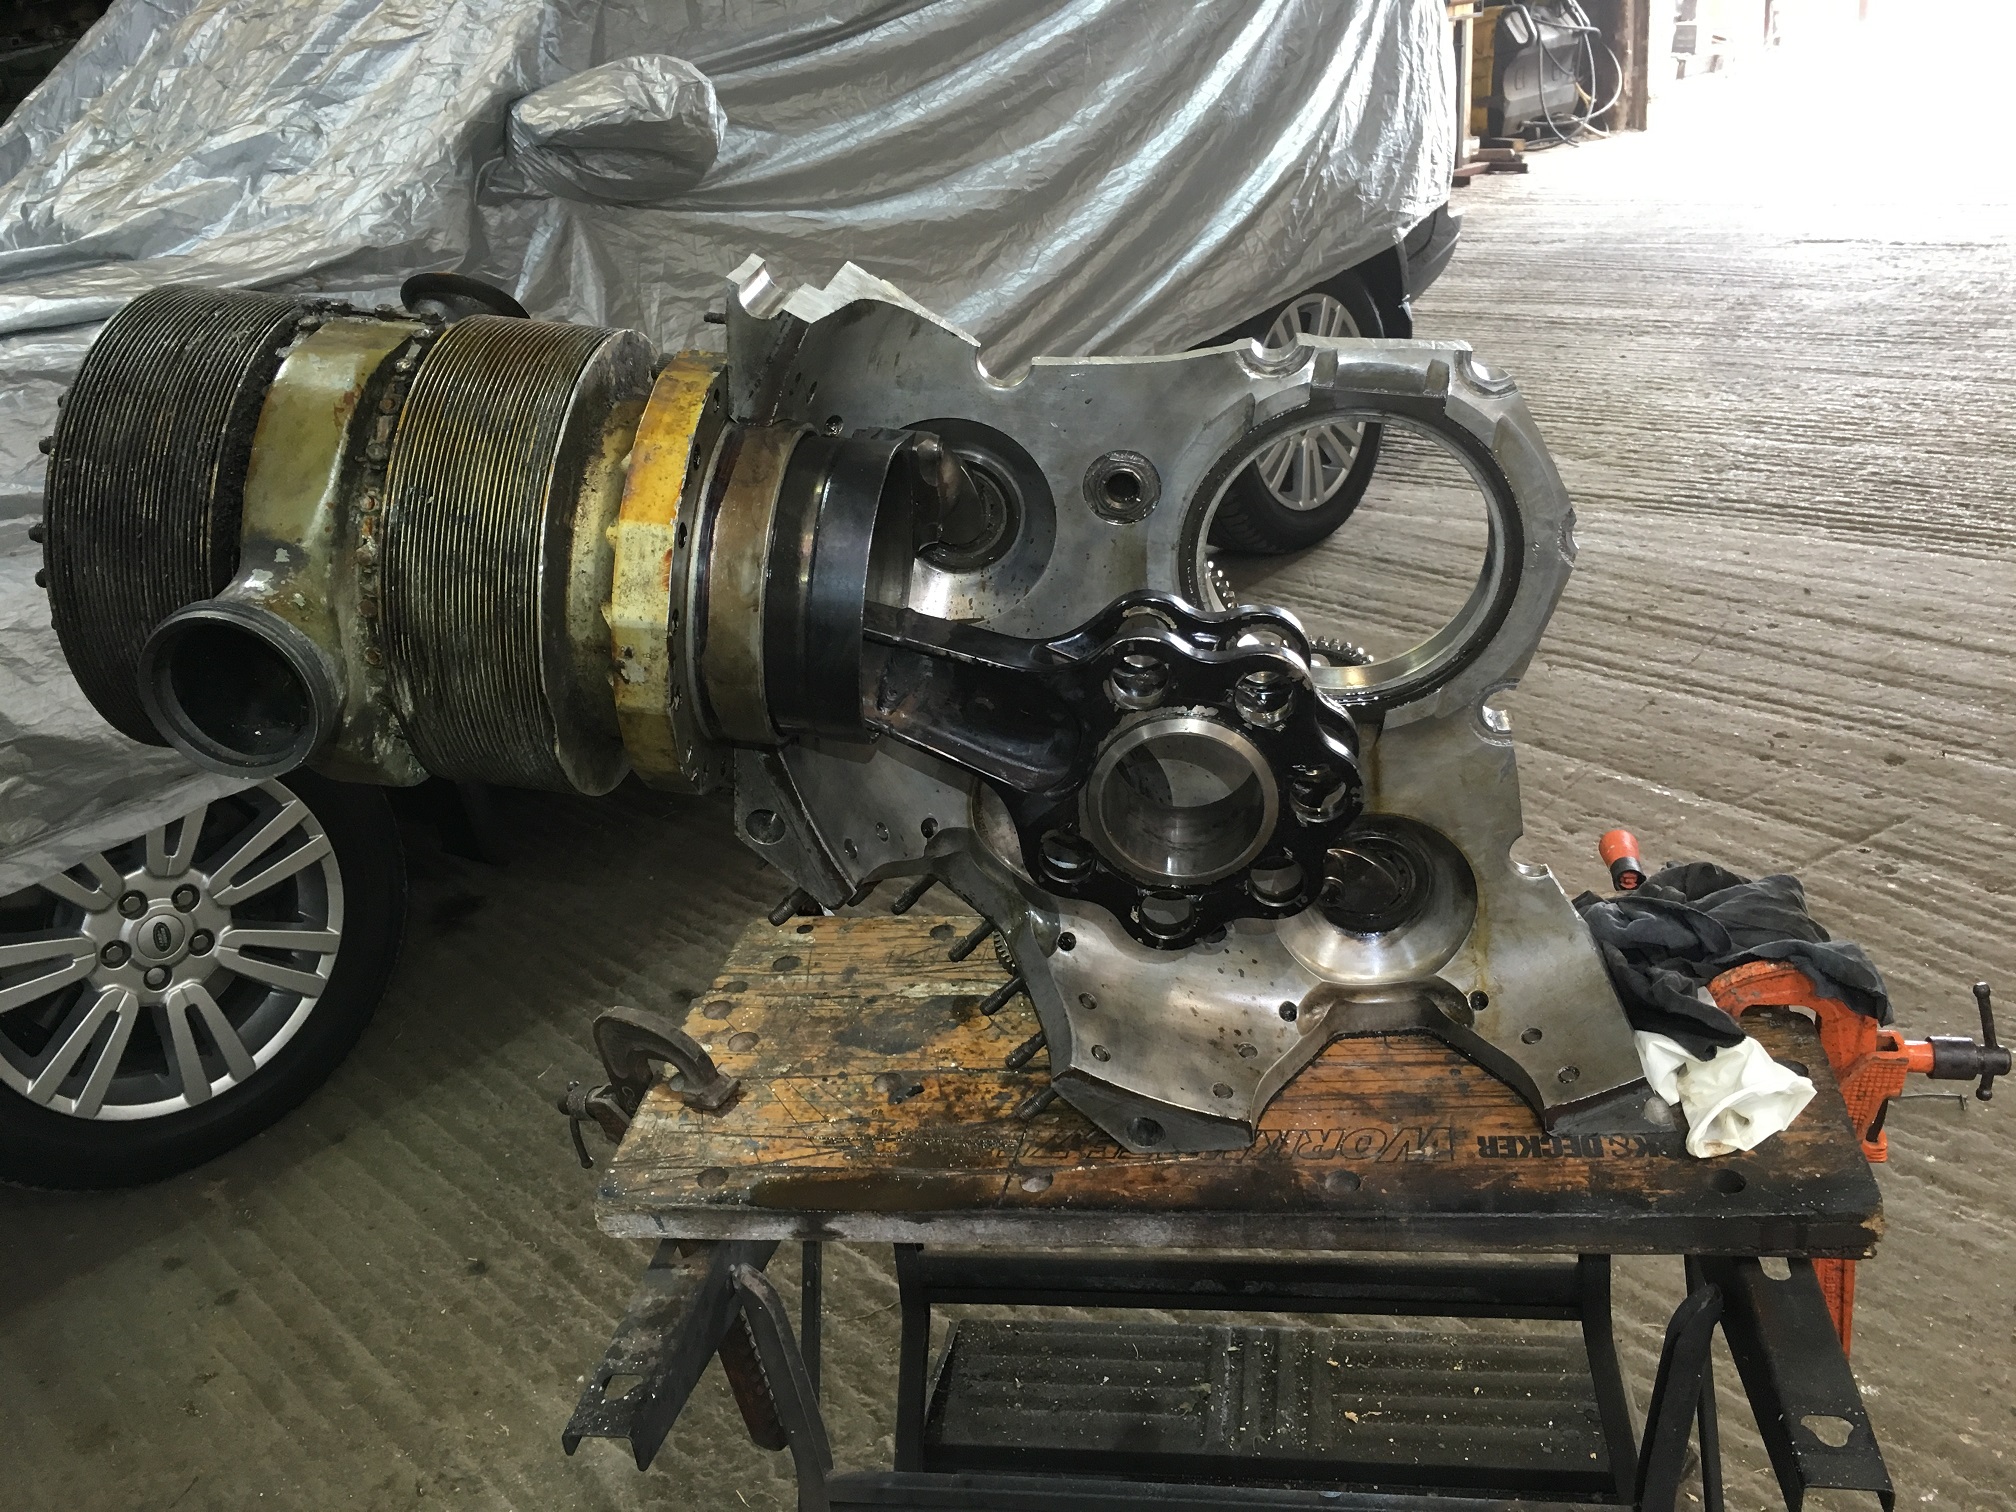
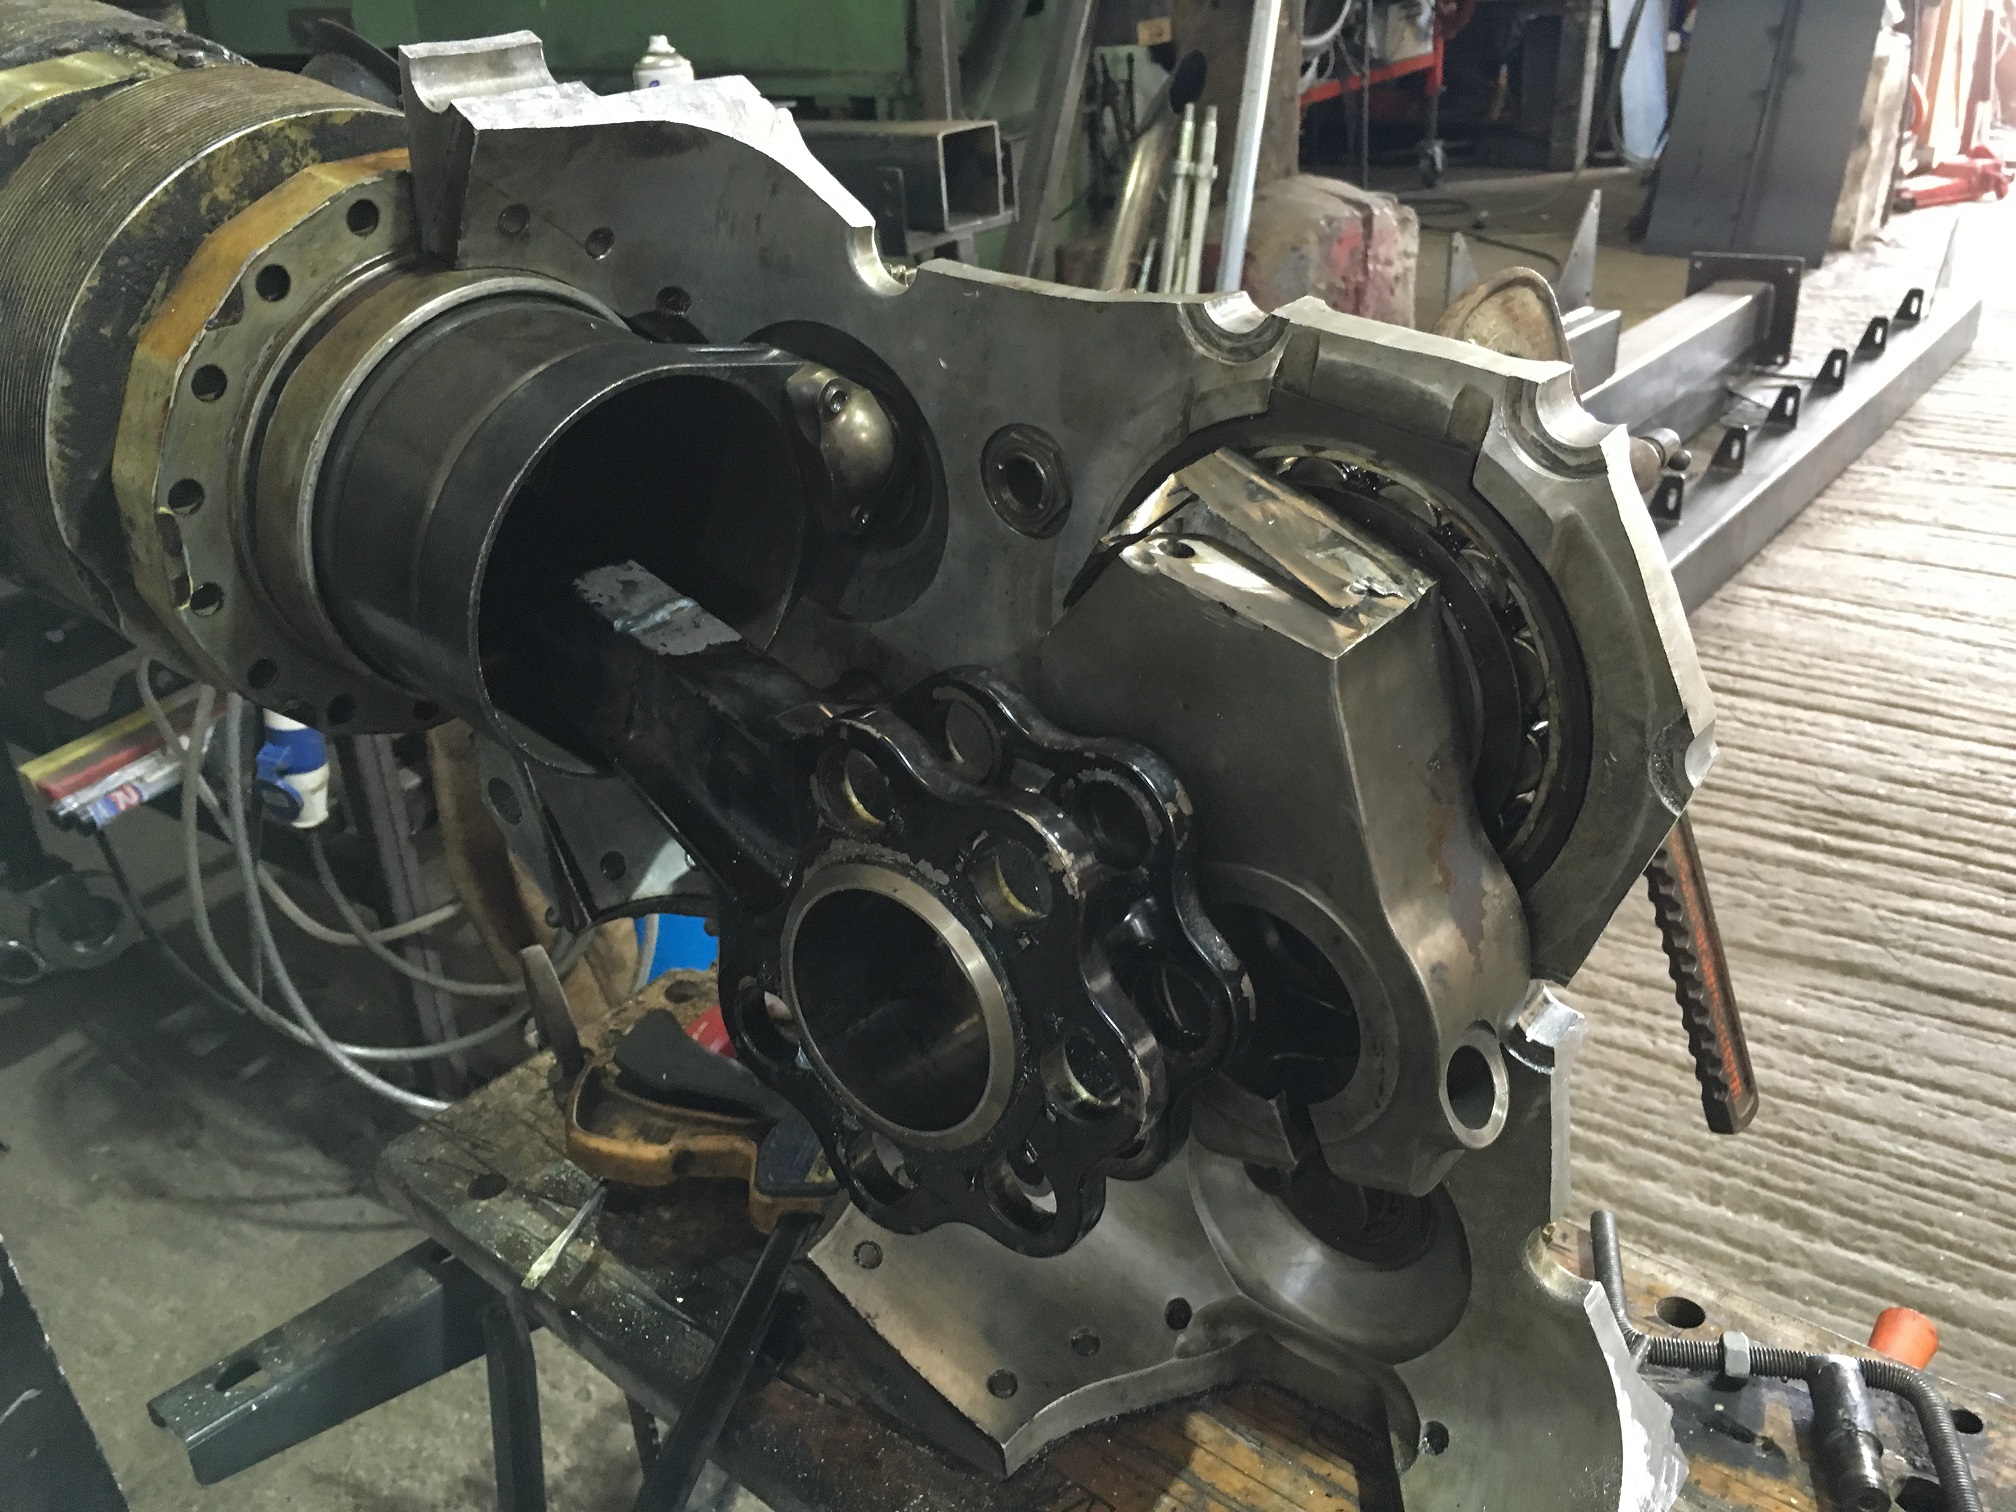
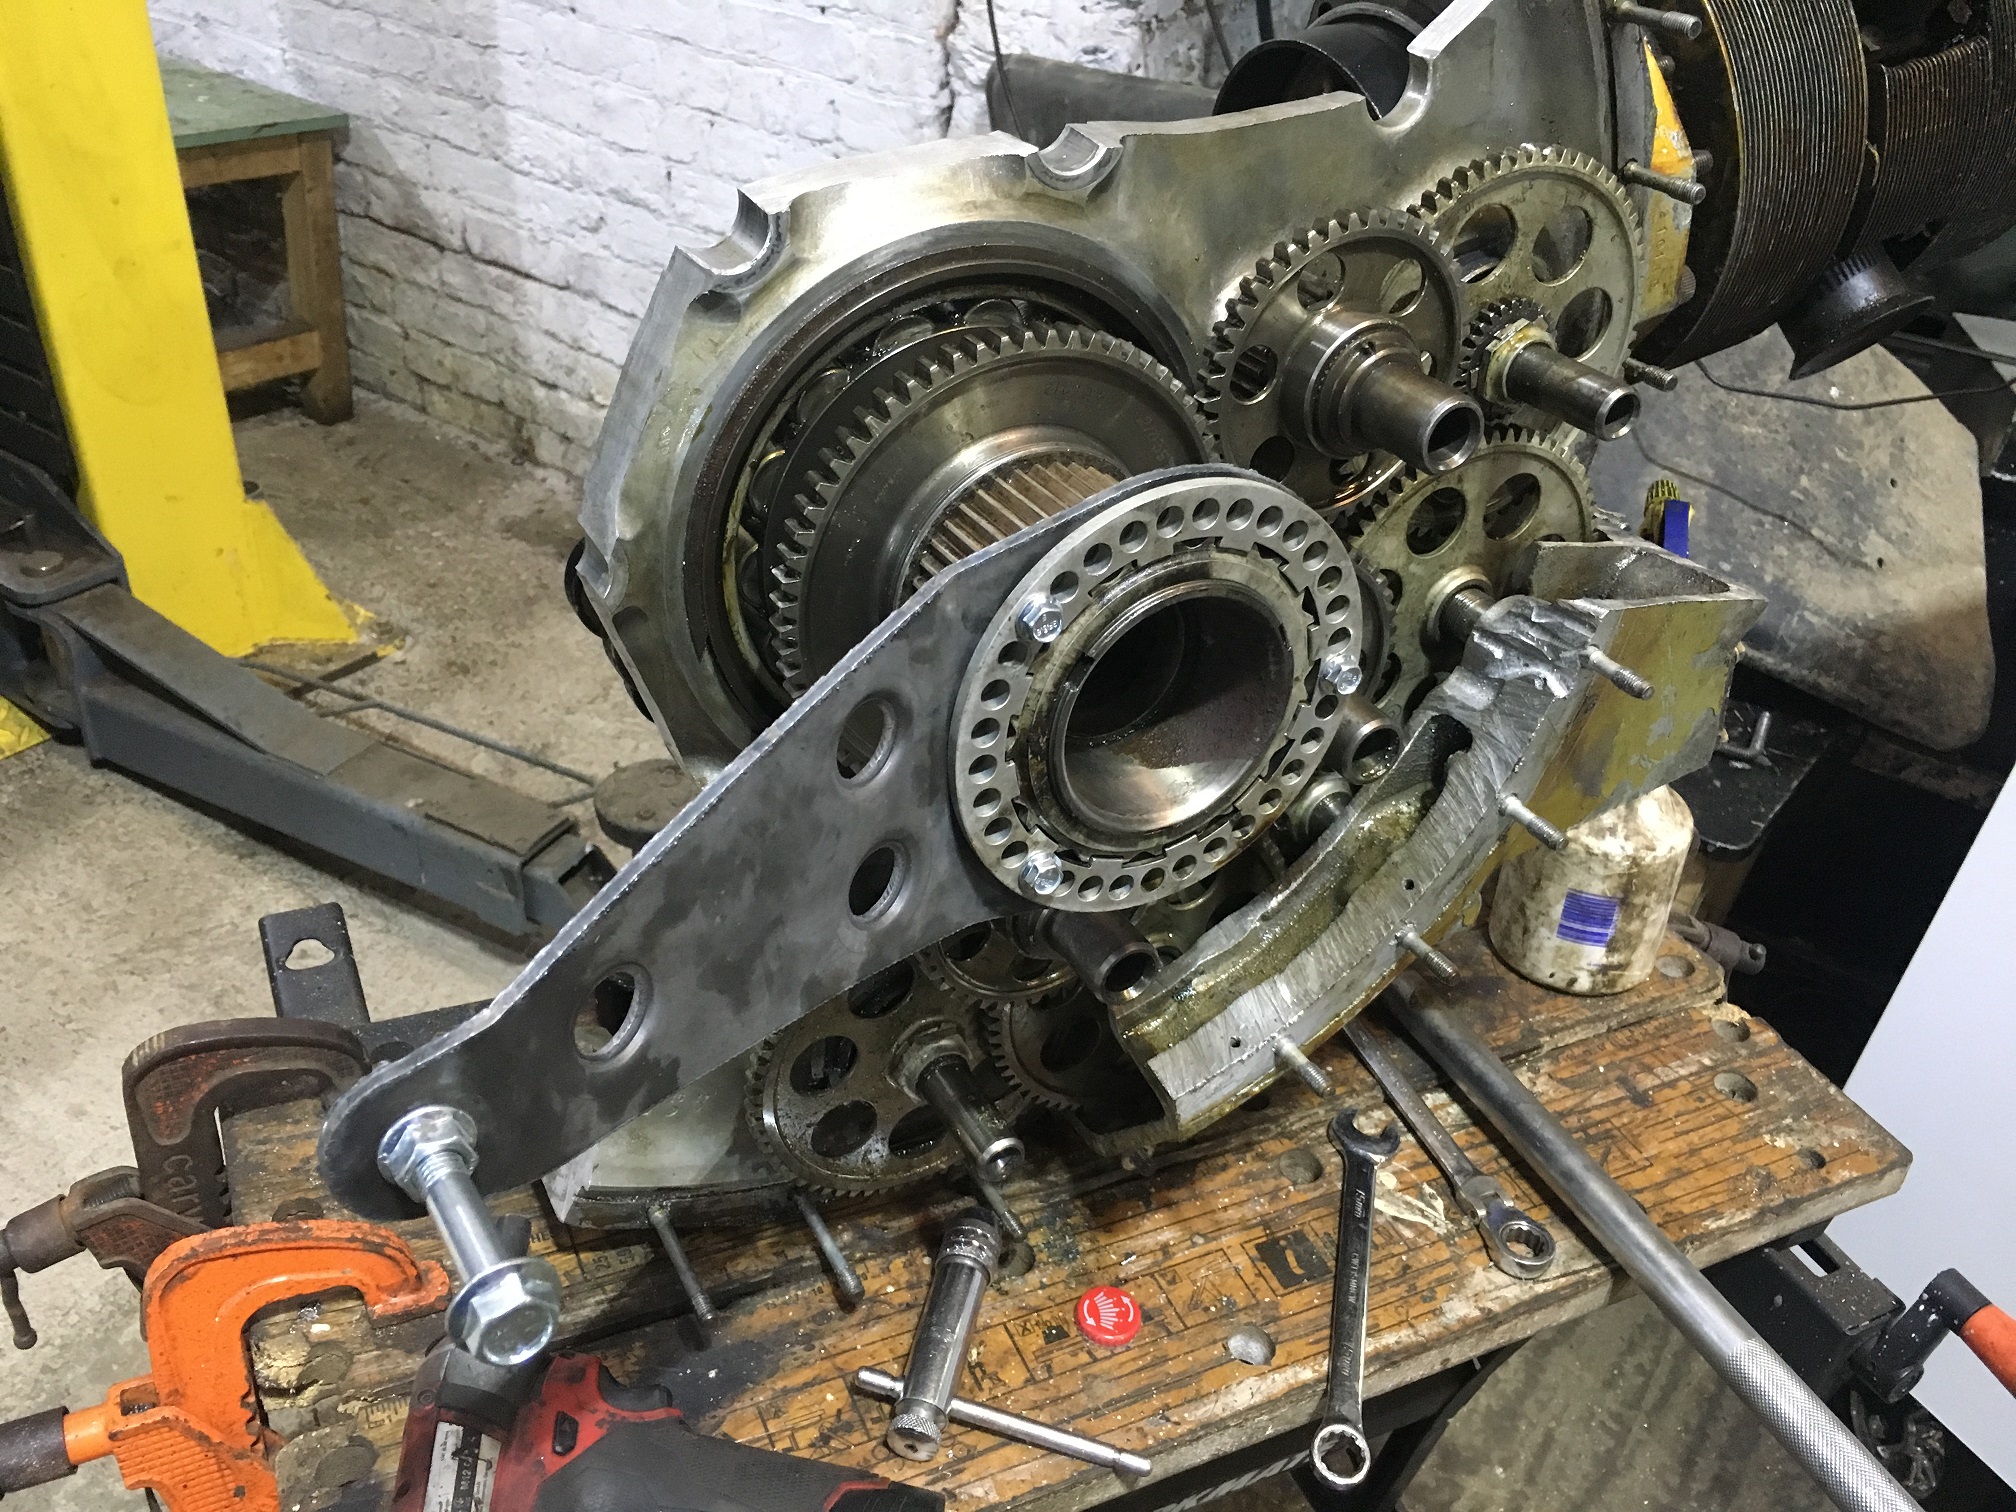
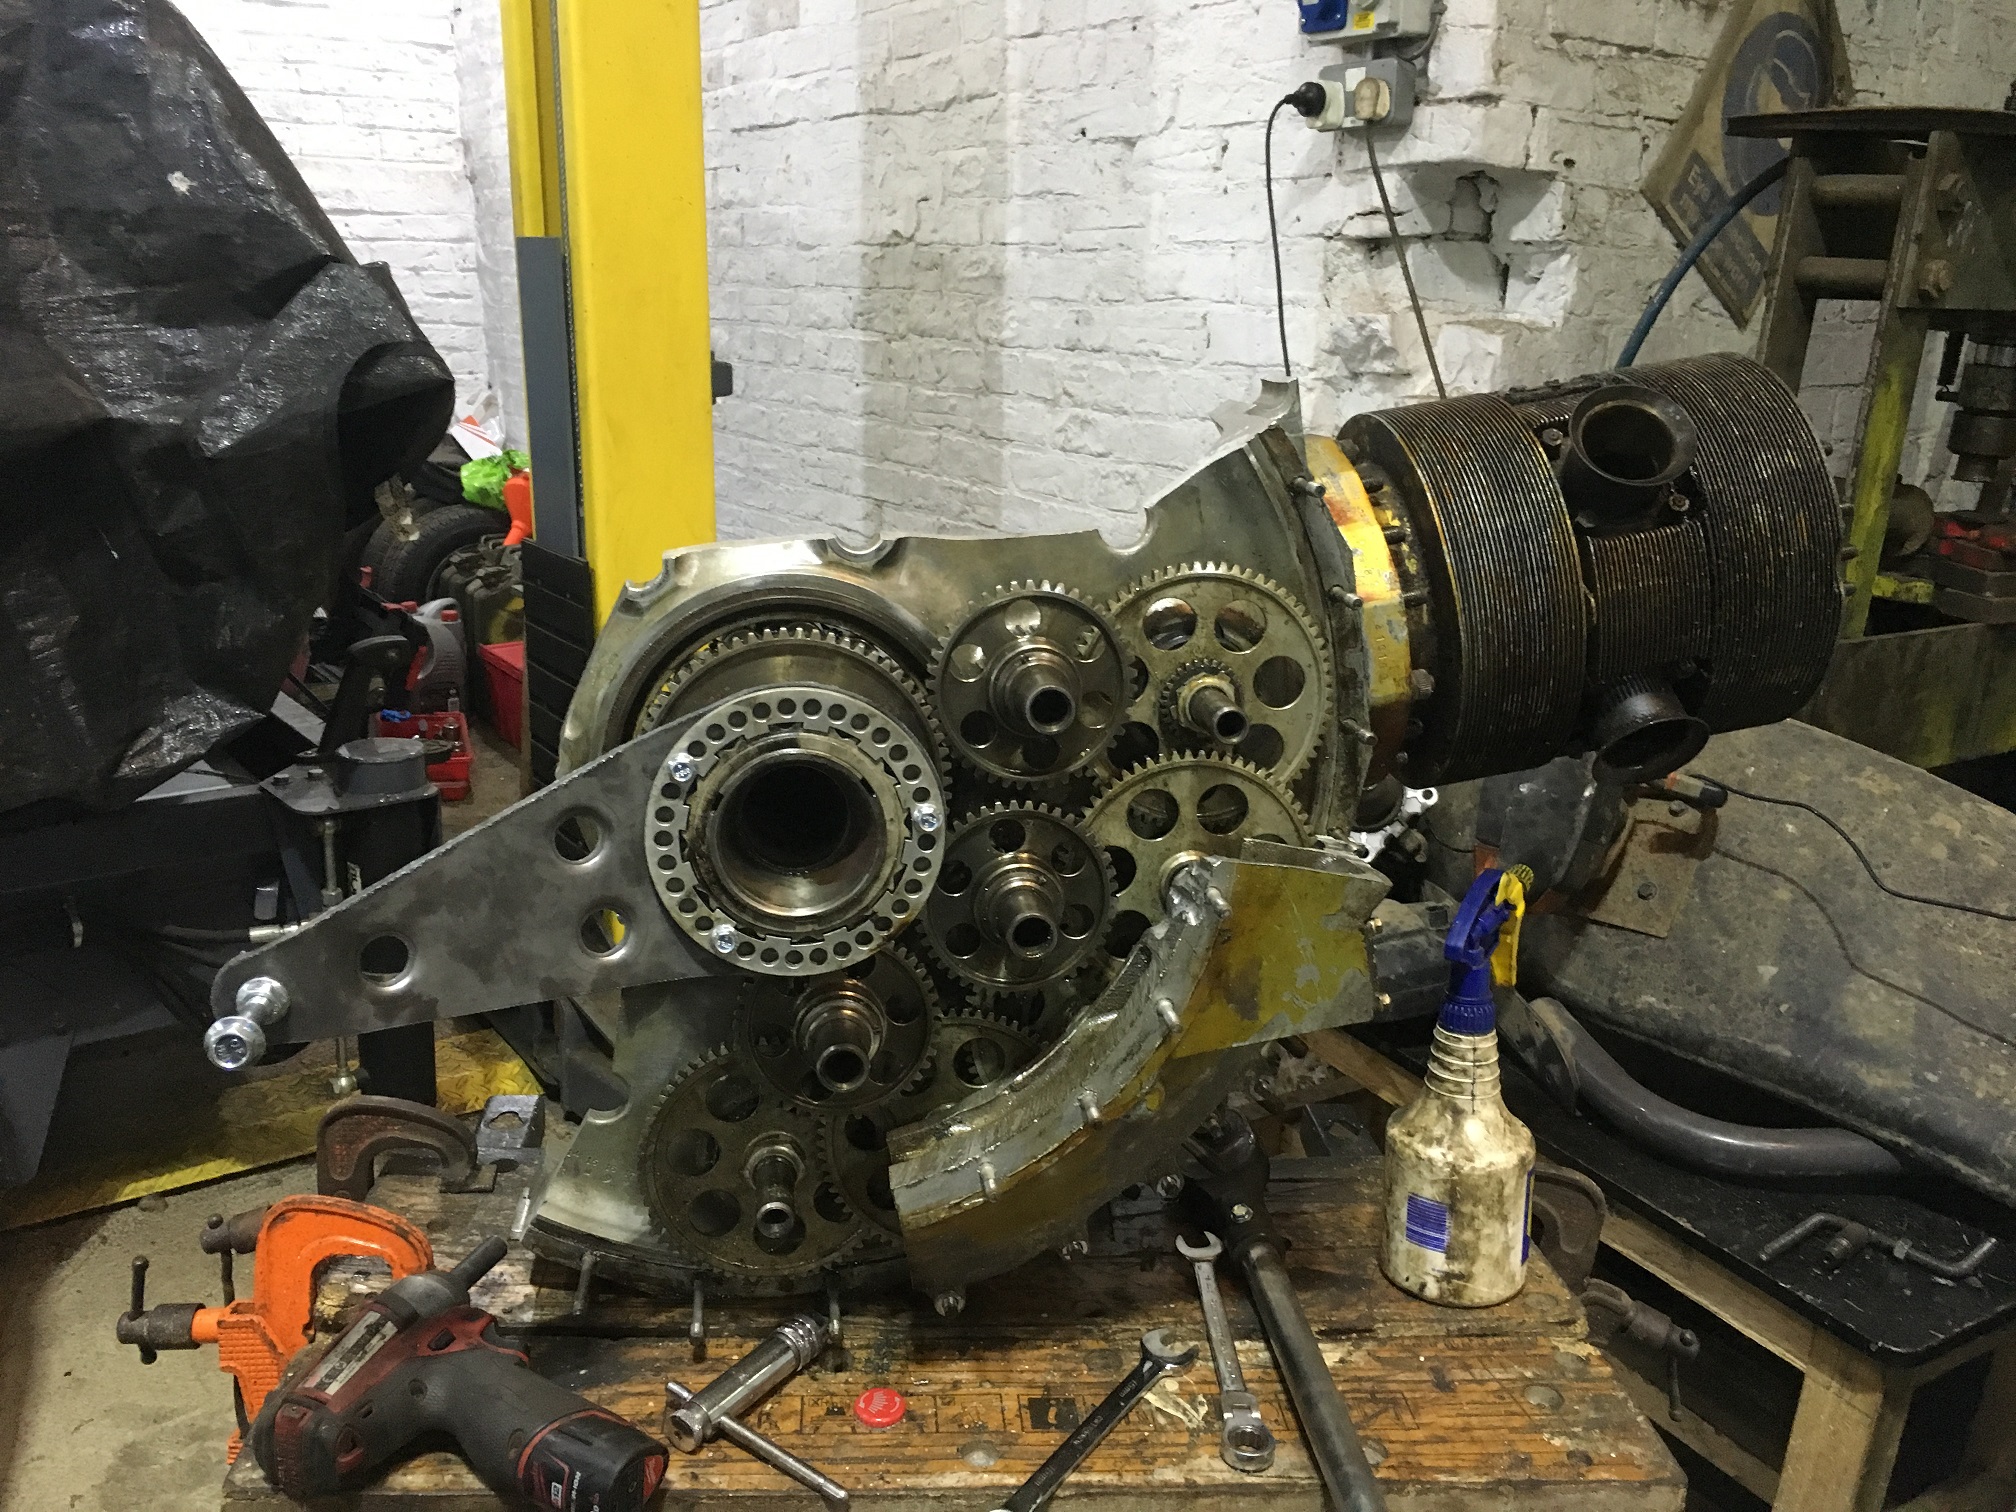
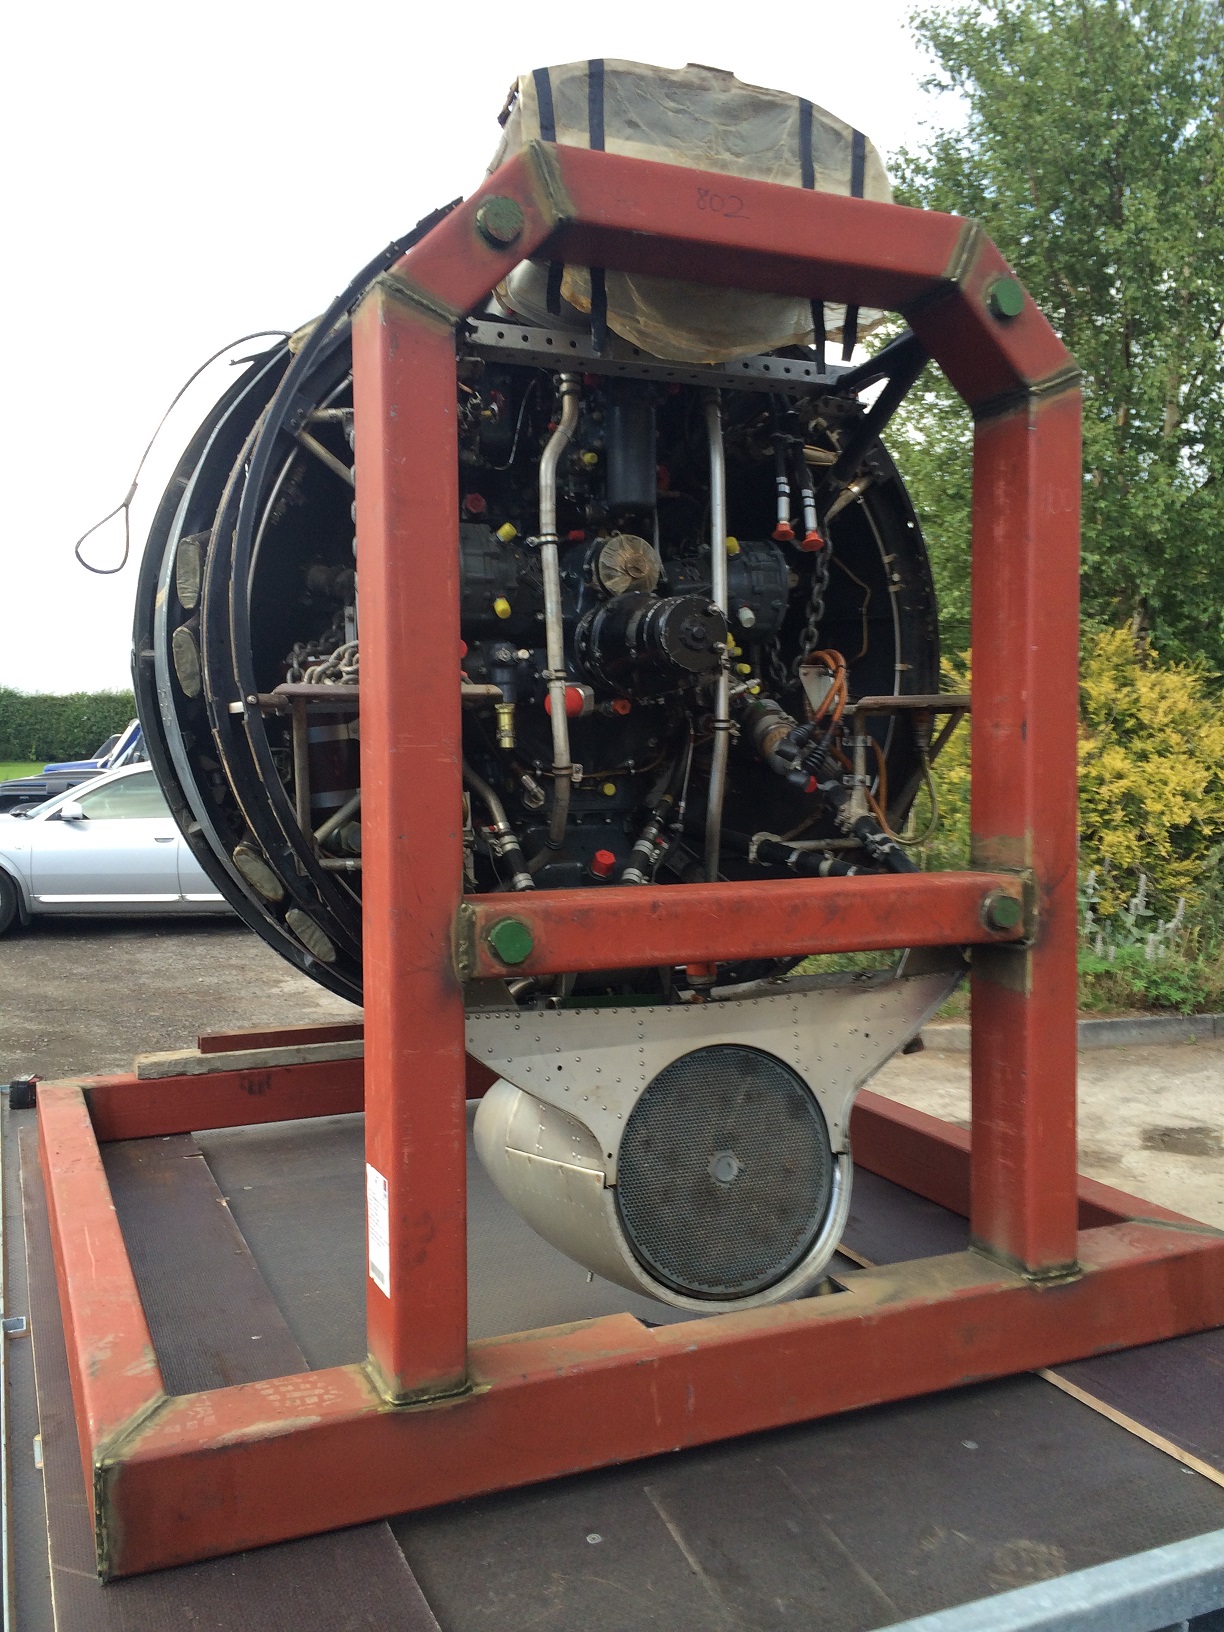
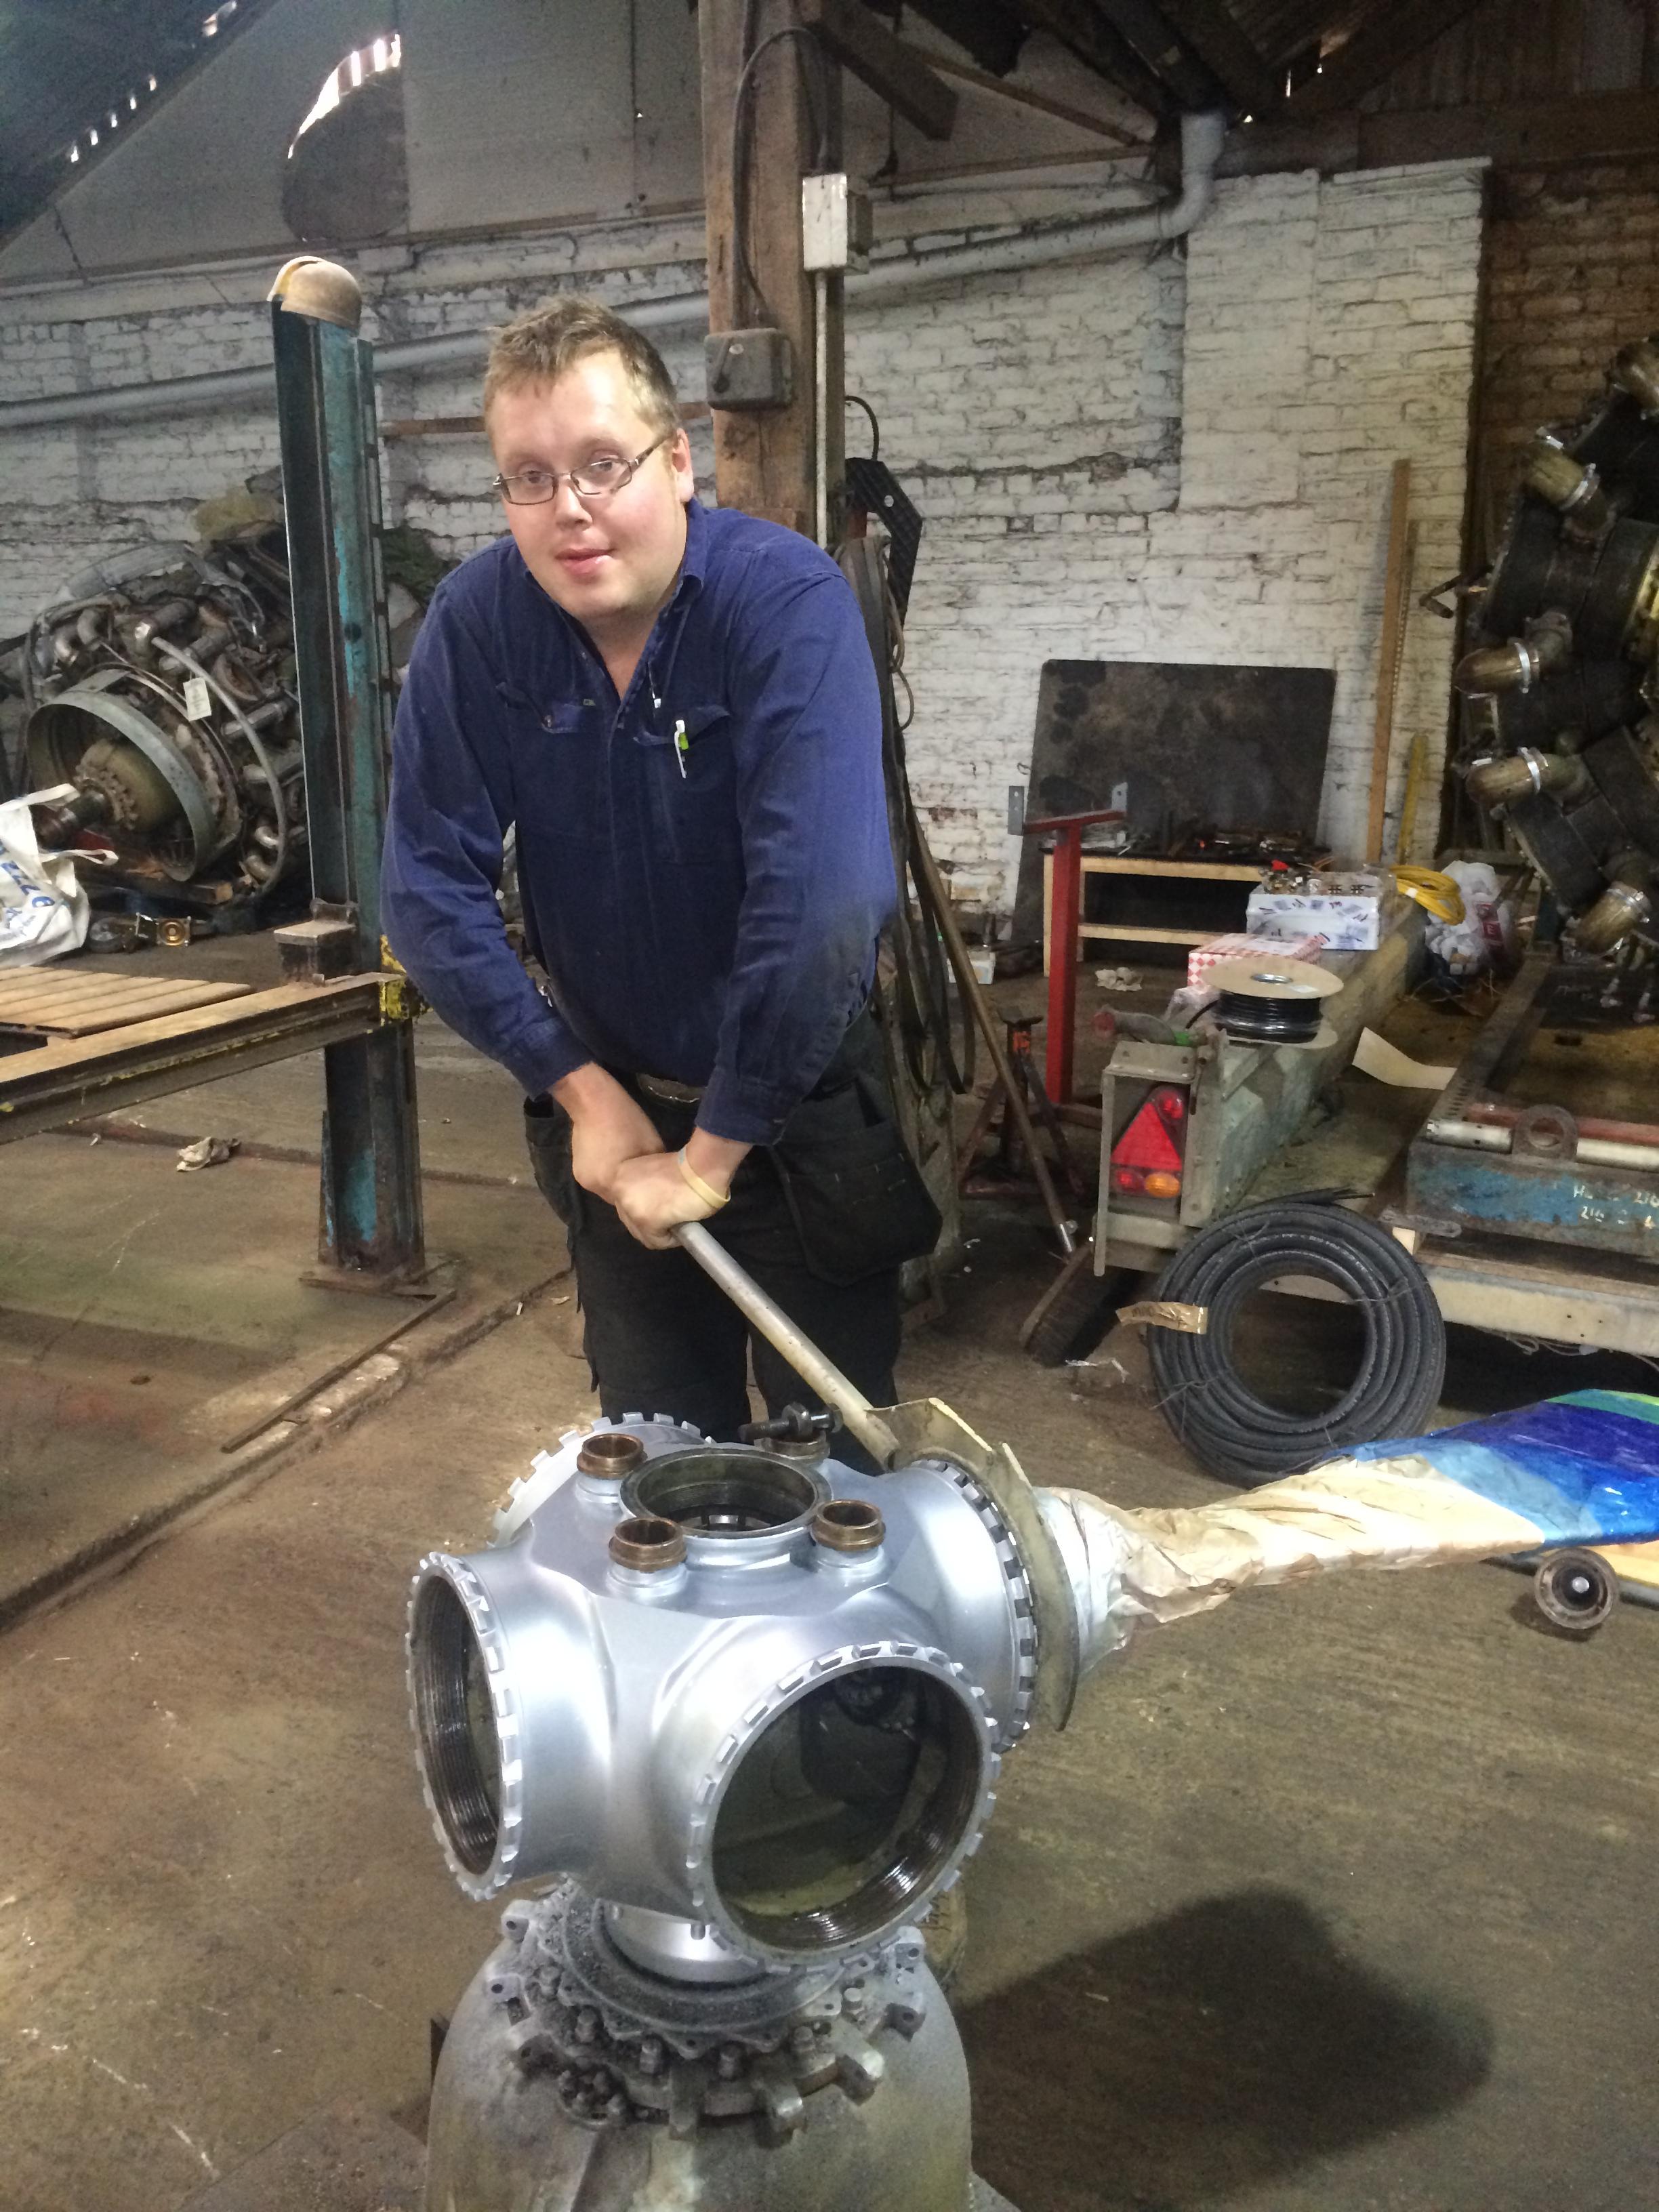
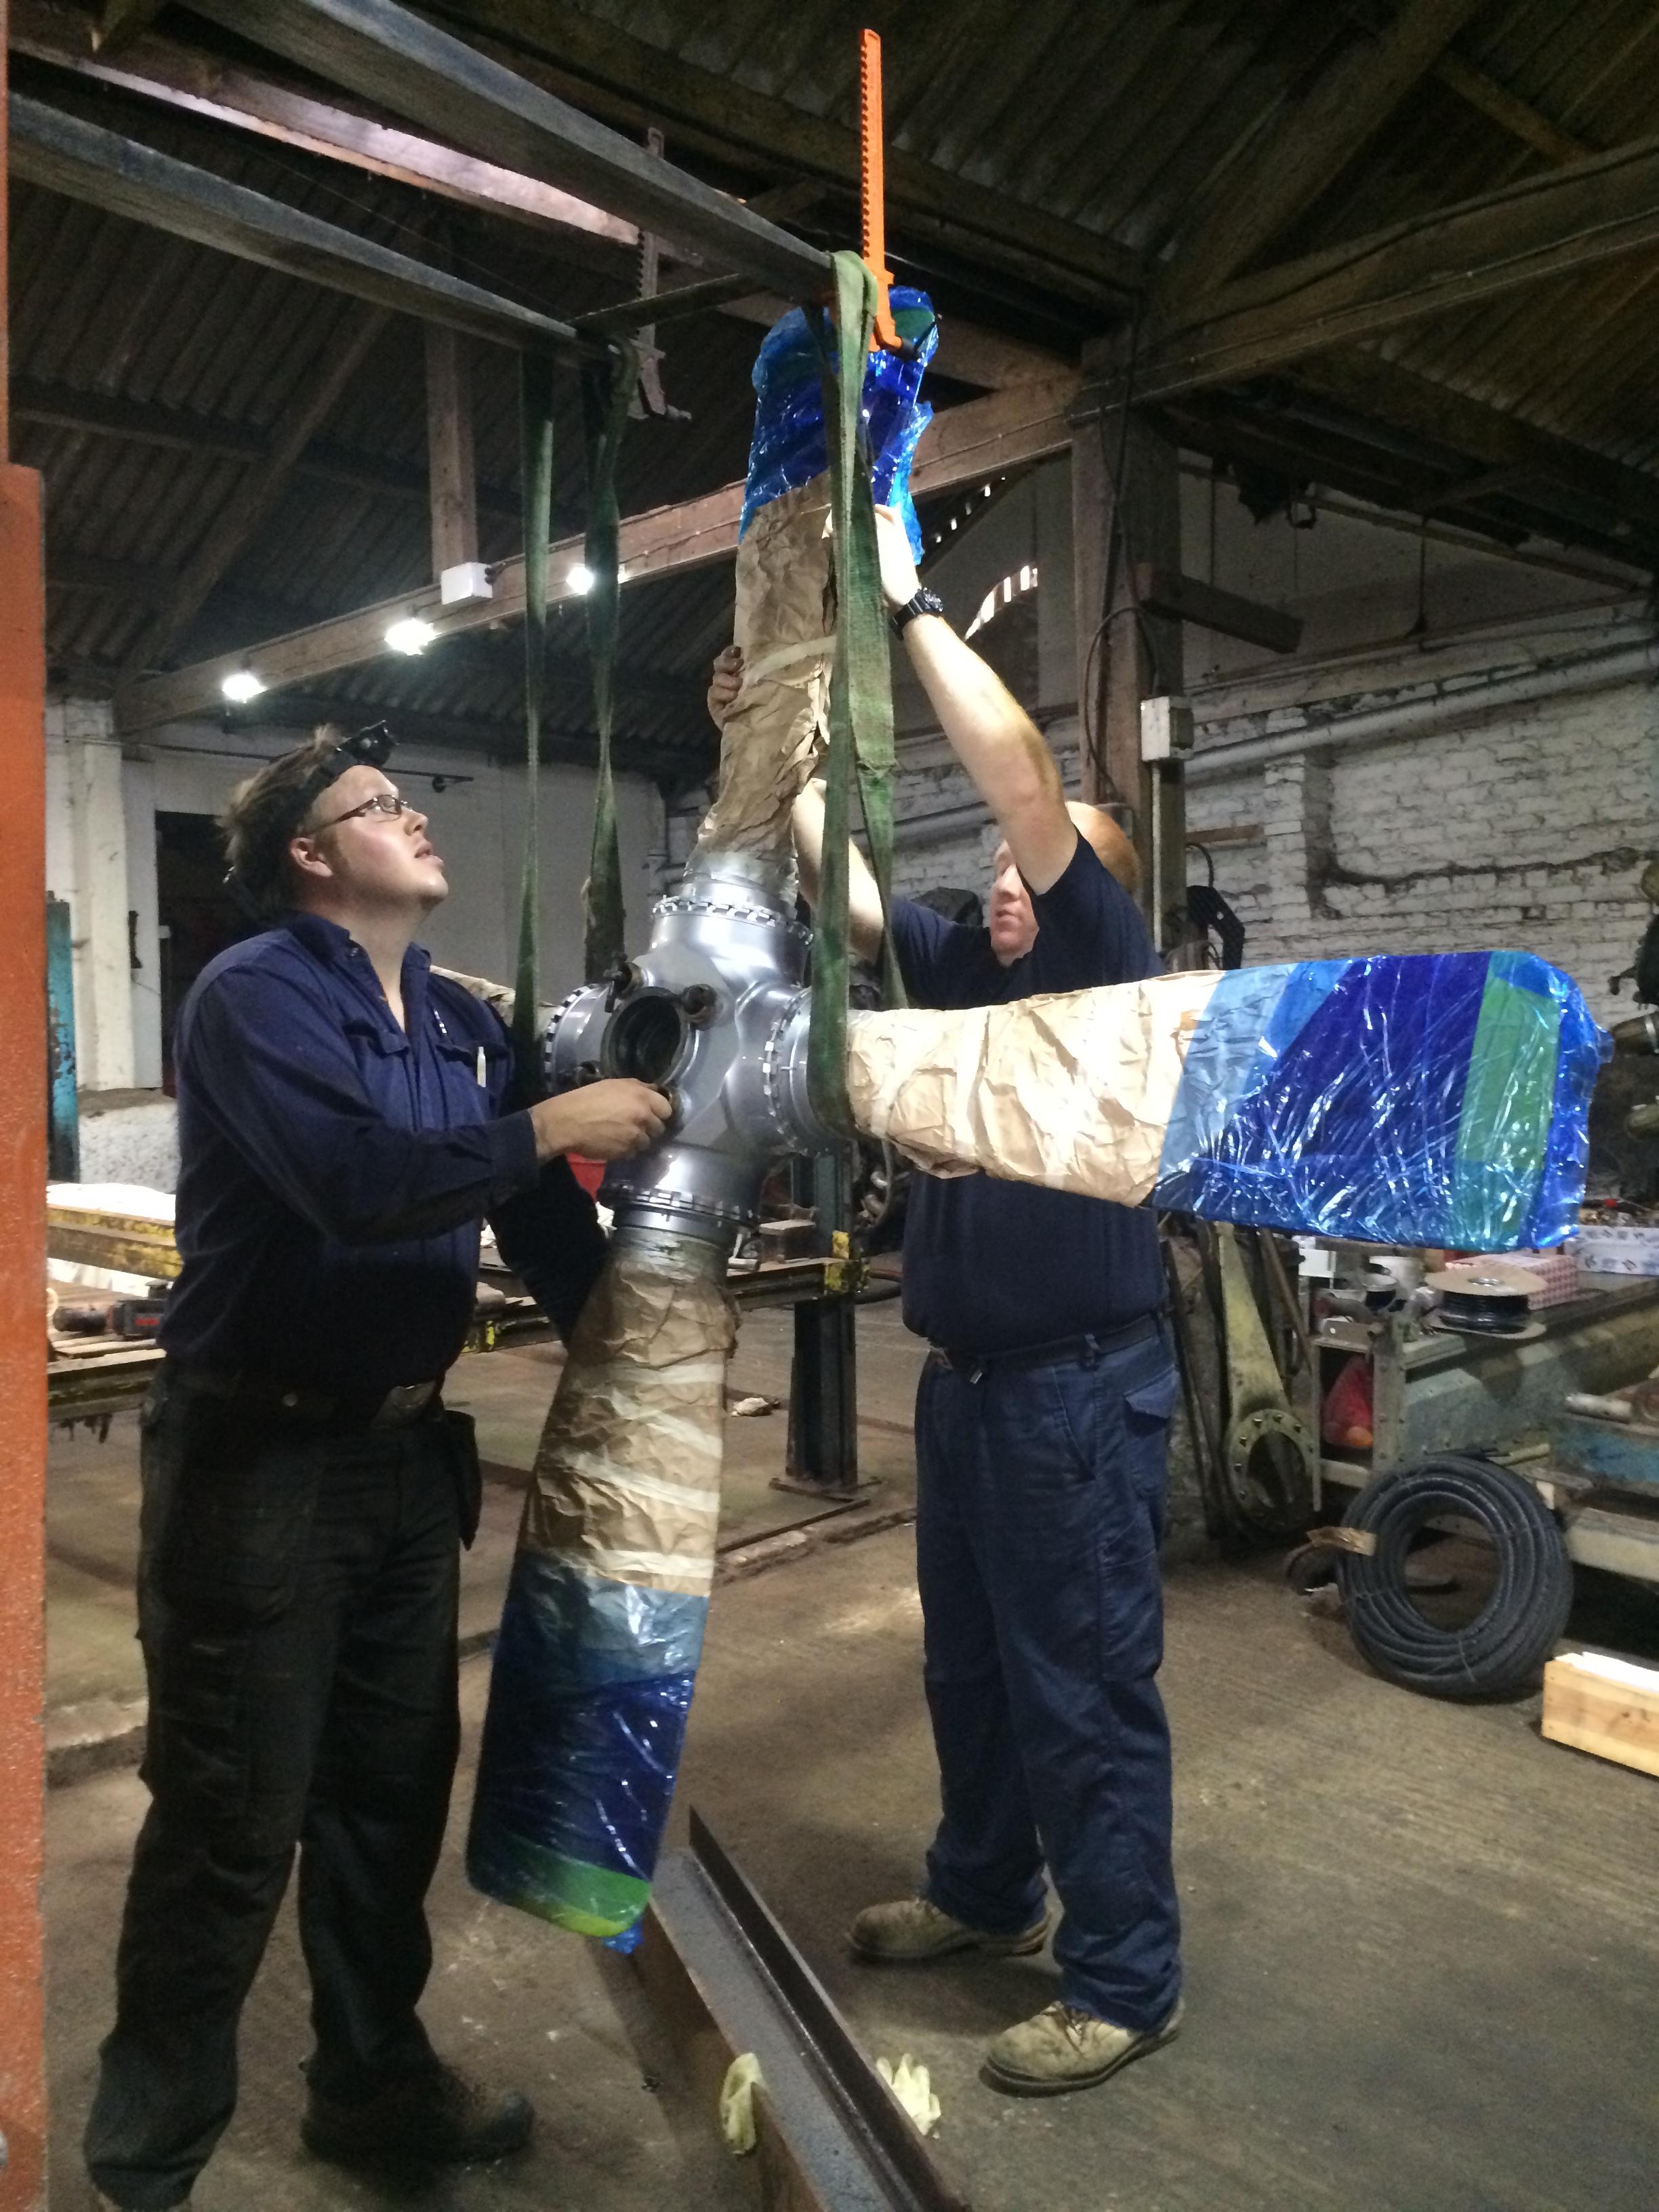
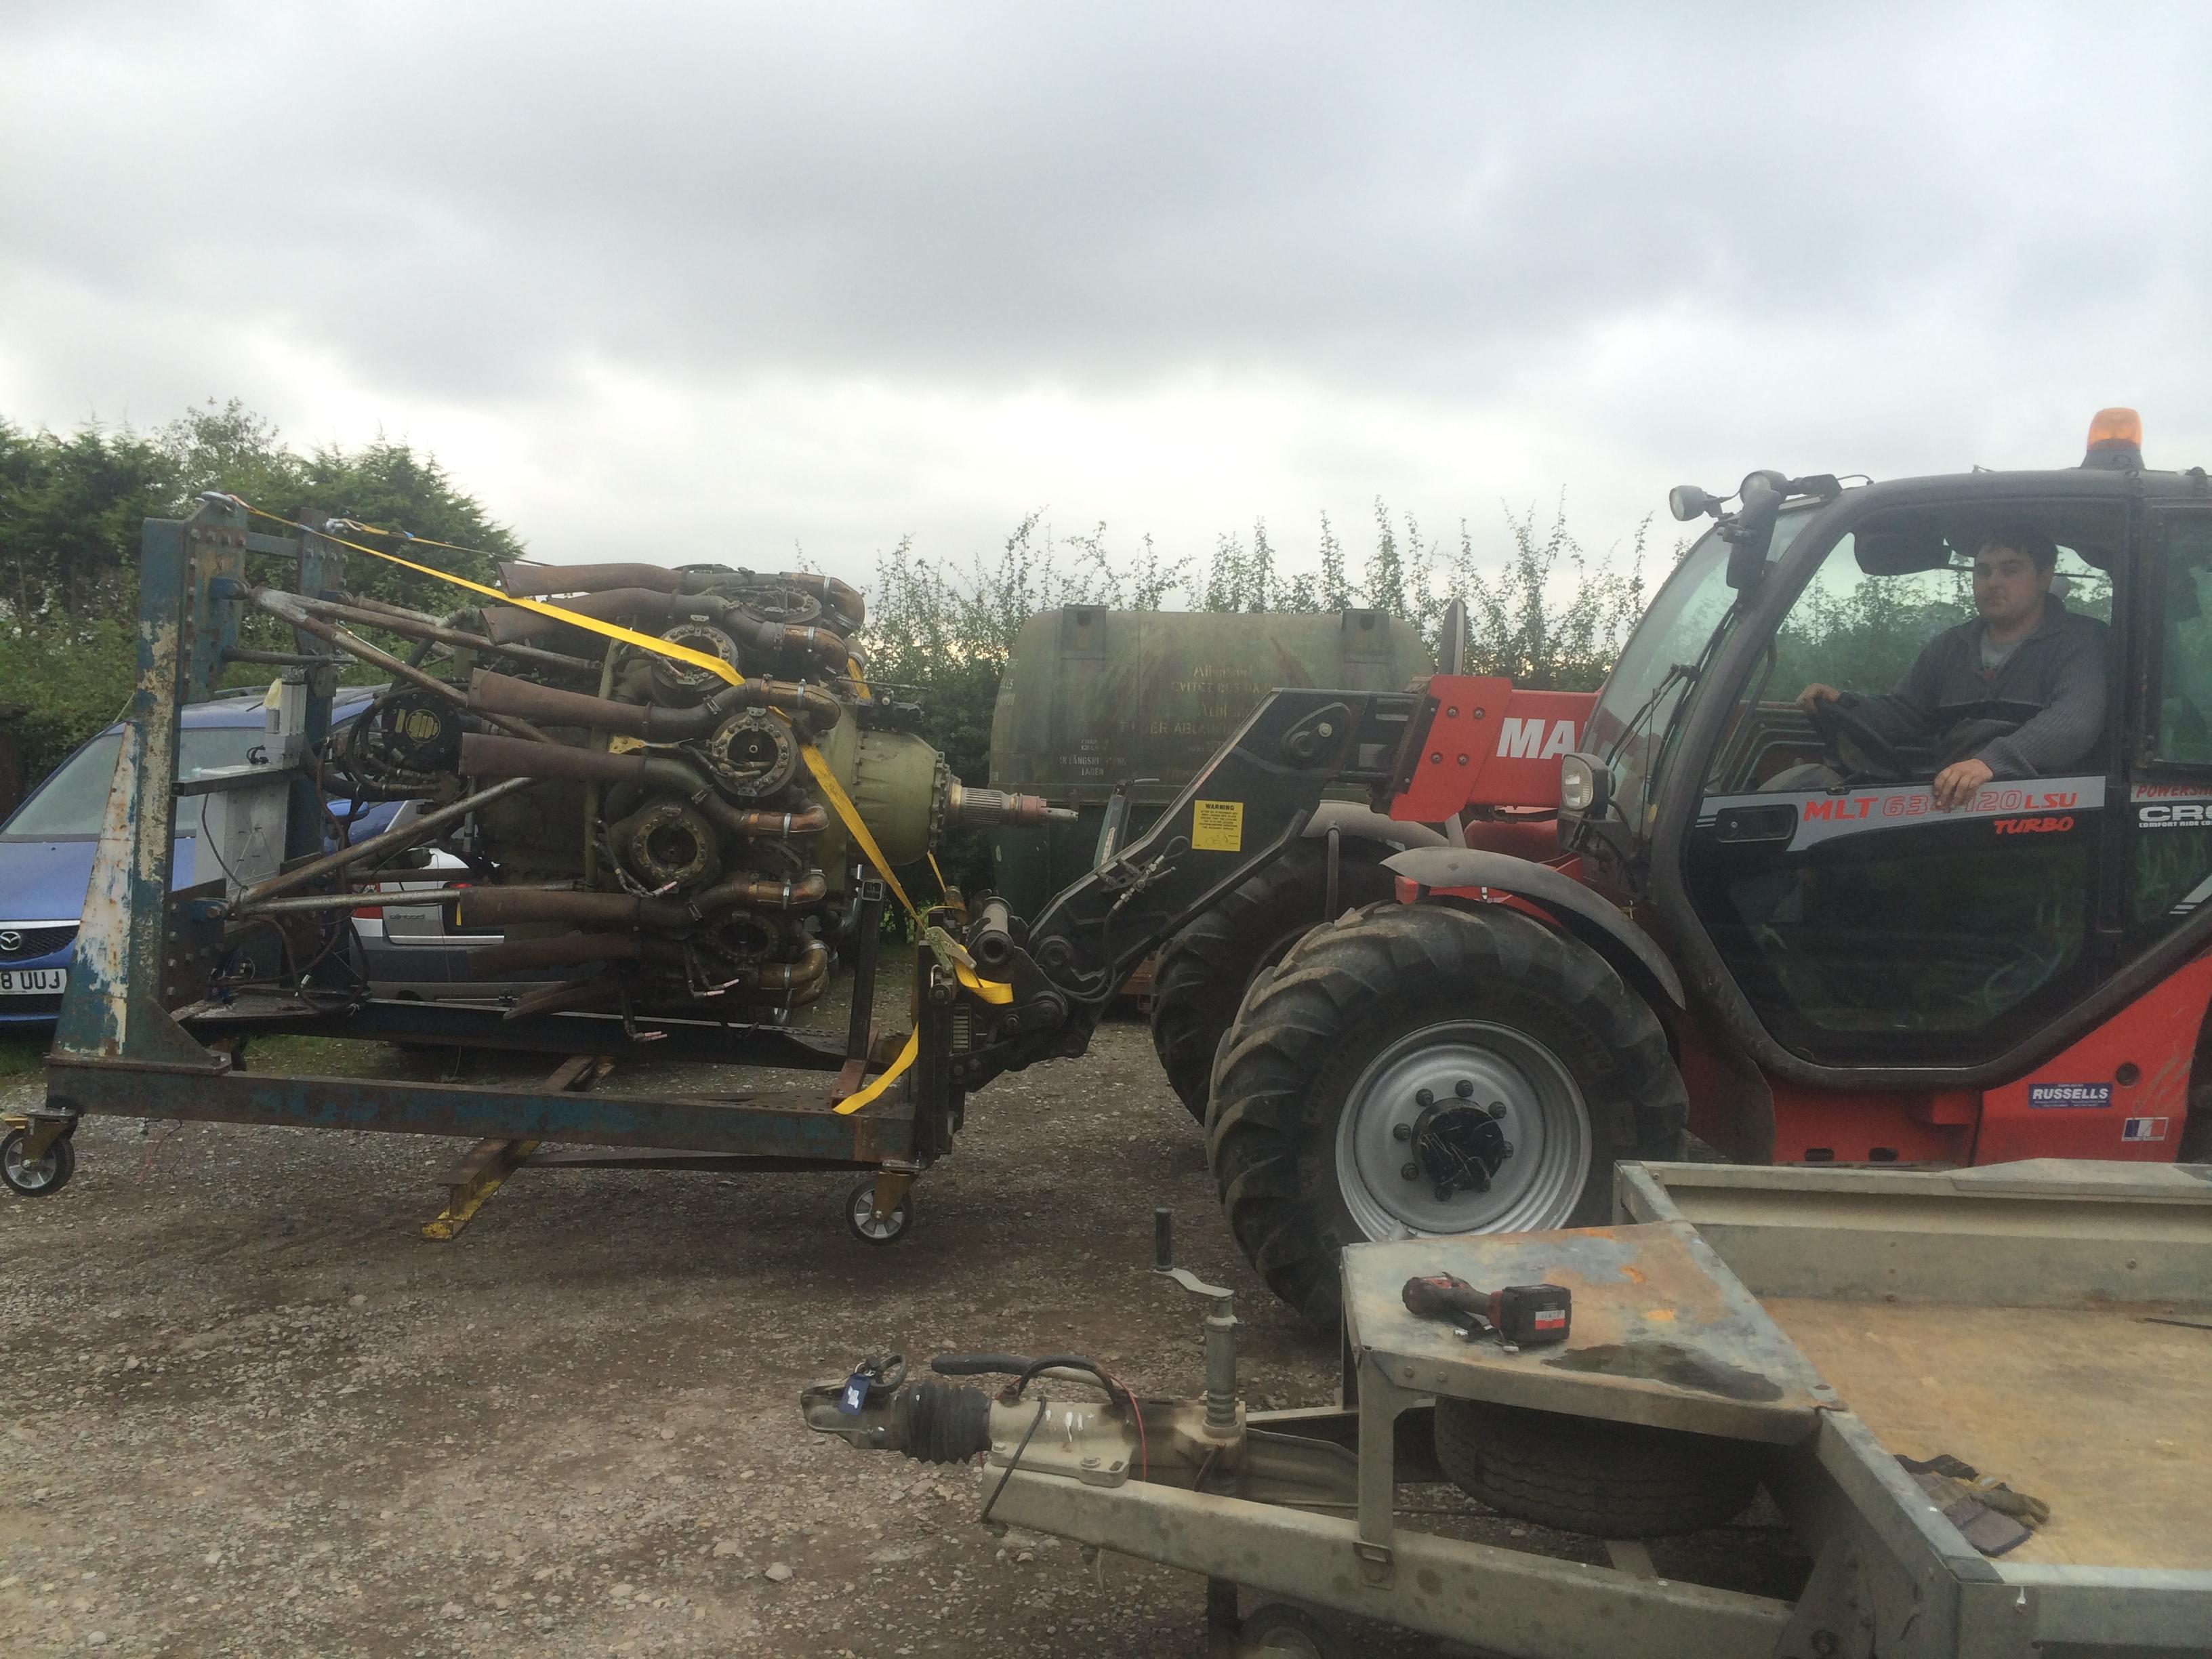
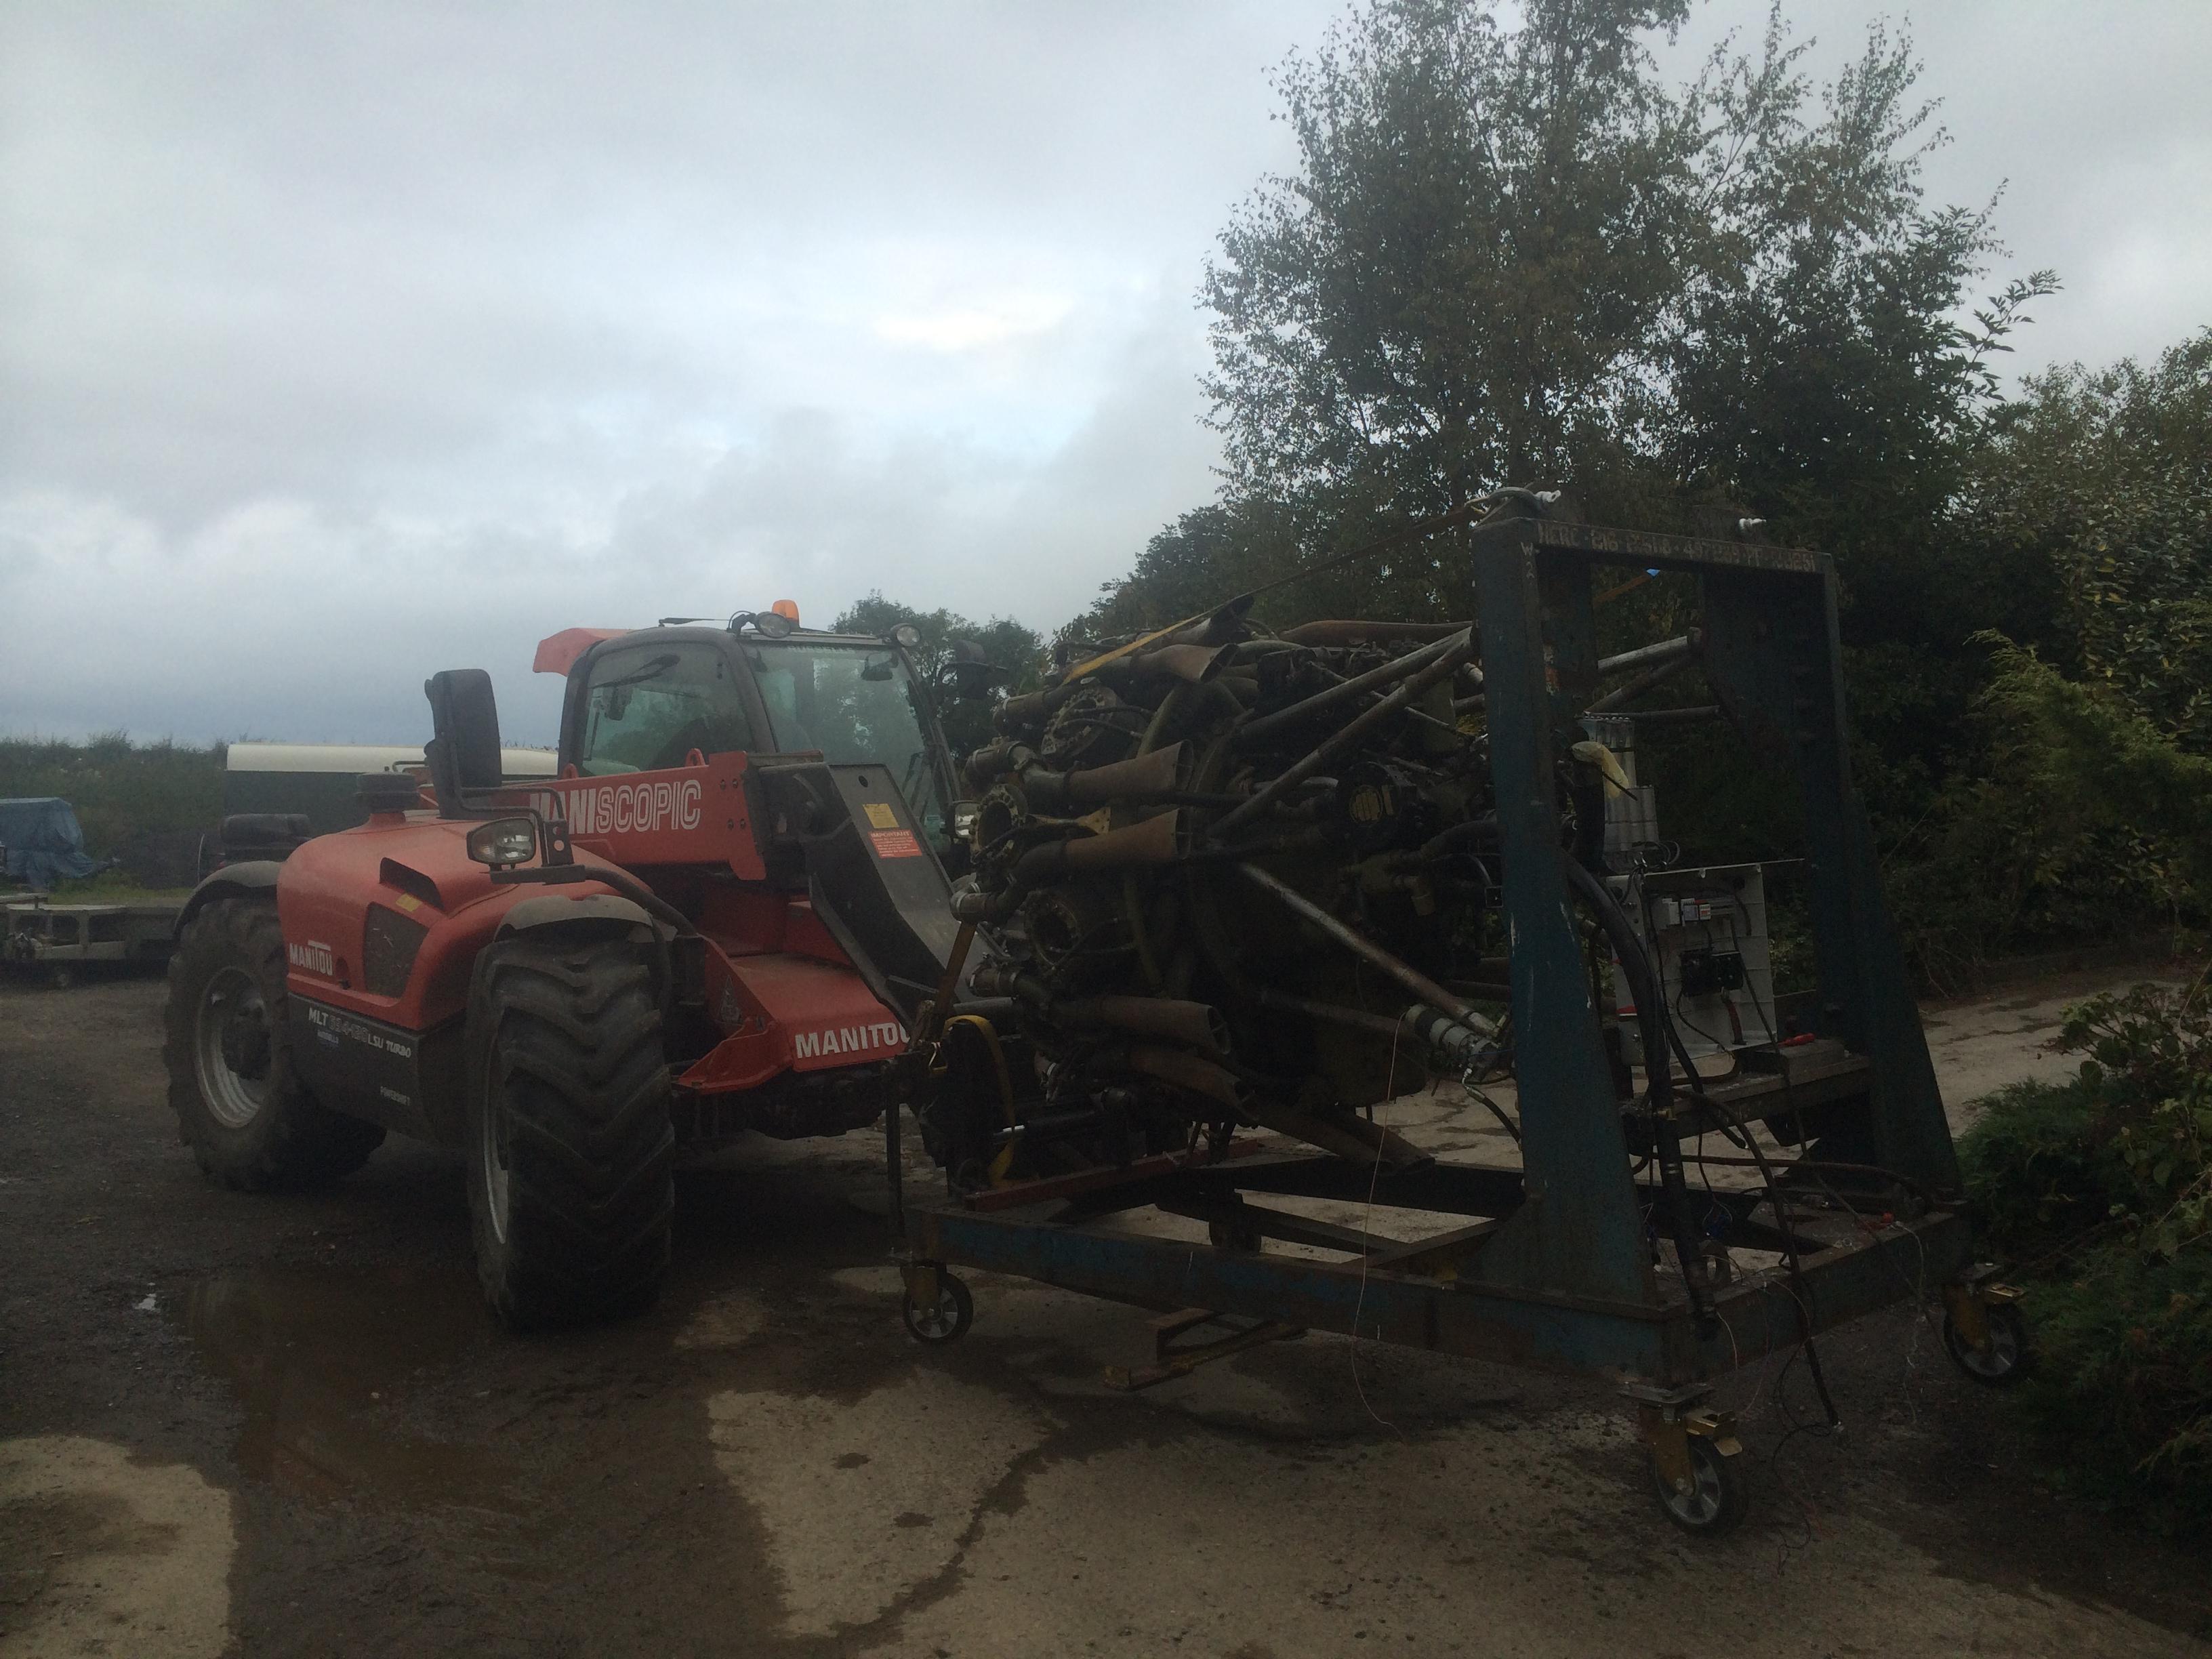
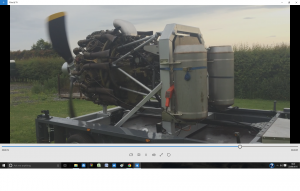
We decided before the DeerShed festival that we would take the 759 with us also, so this meant getting  it out of the pod and mounted on a frame! nothing like a bit of pressure, we only had two weeks to do this!

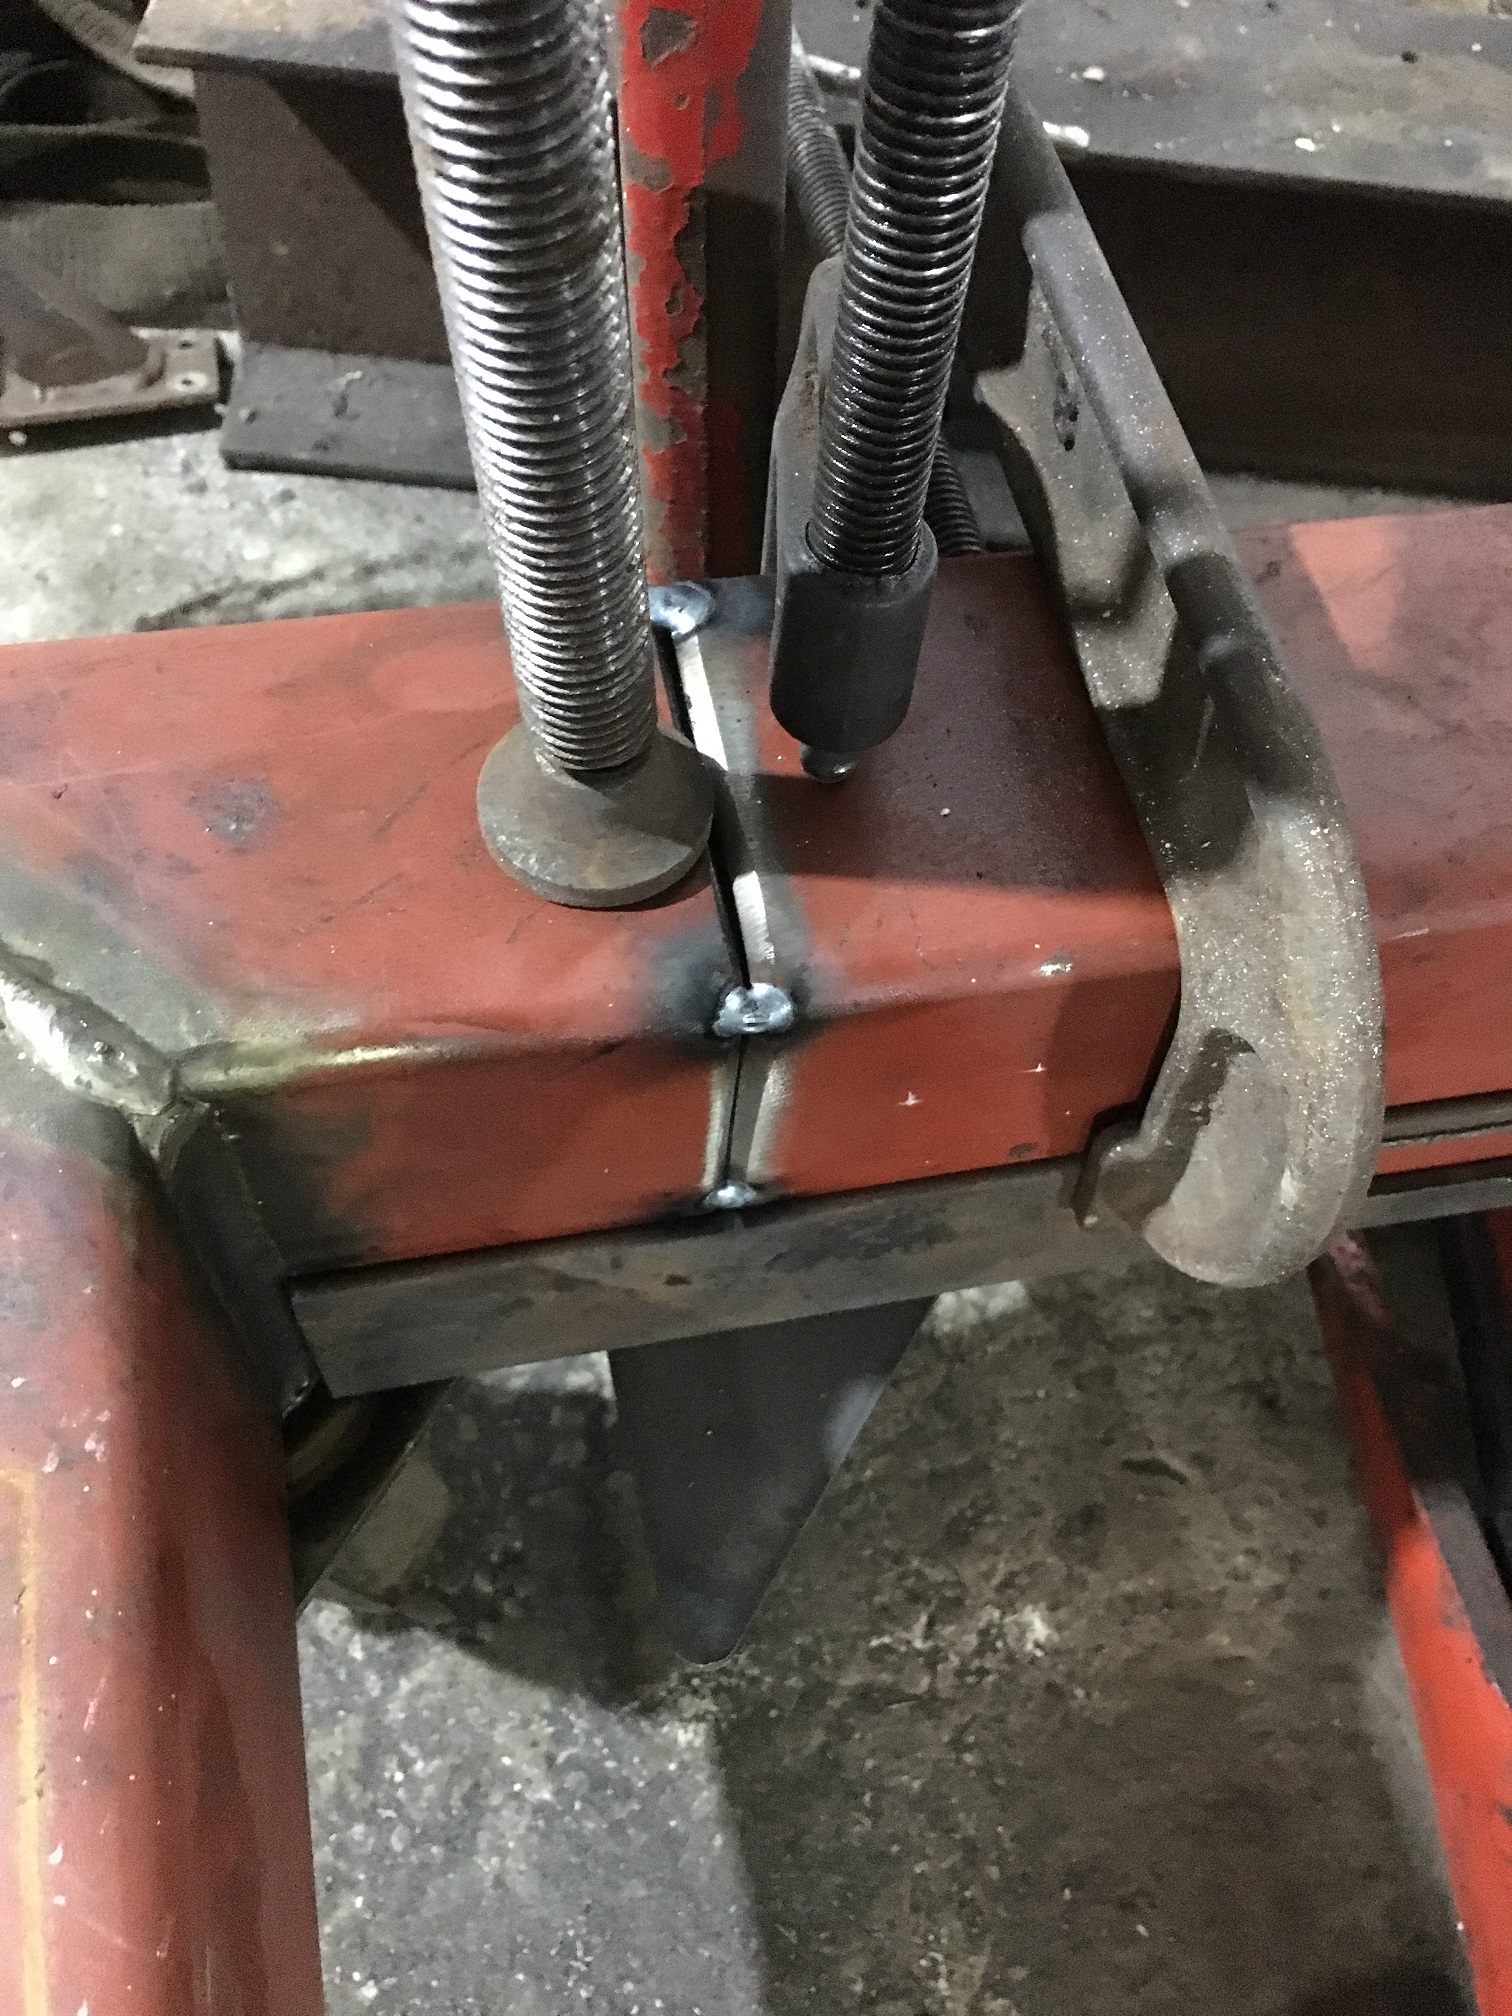
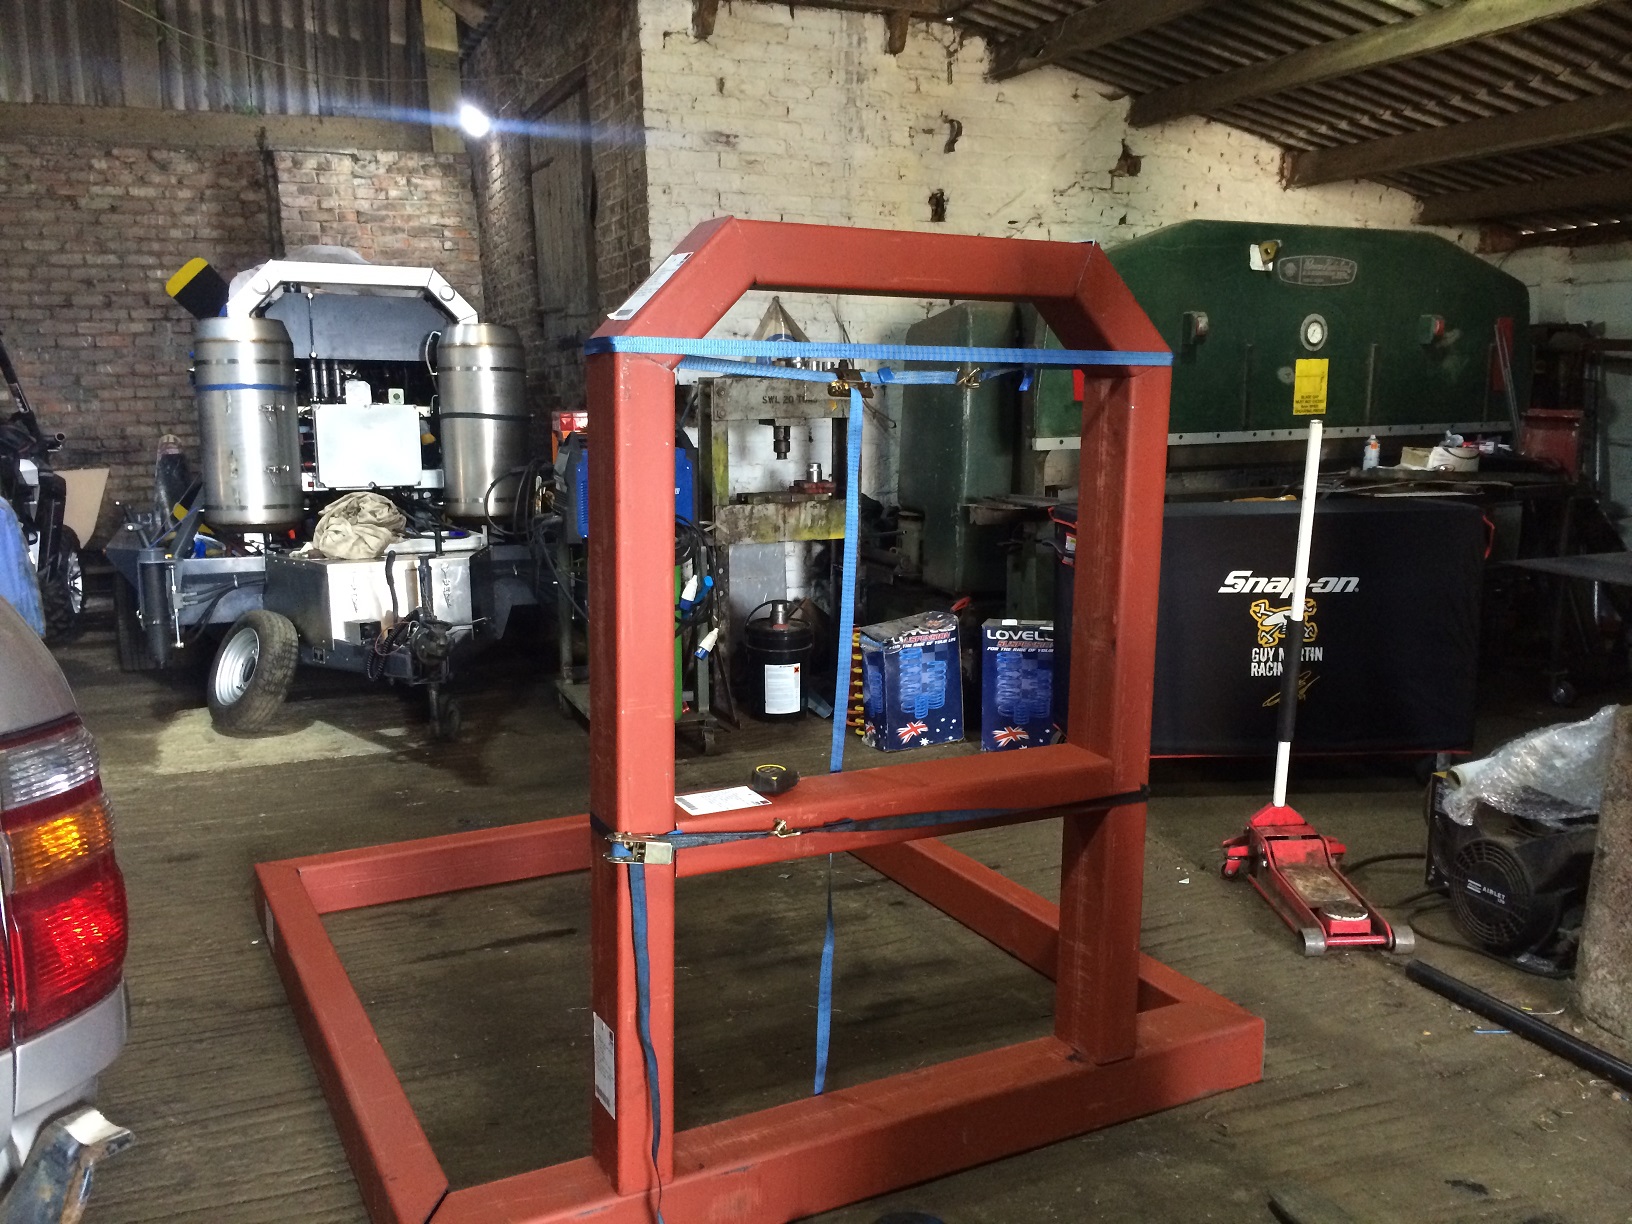
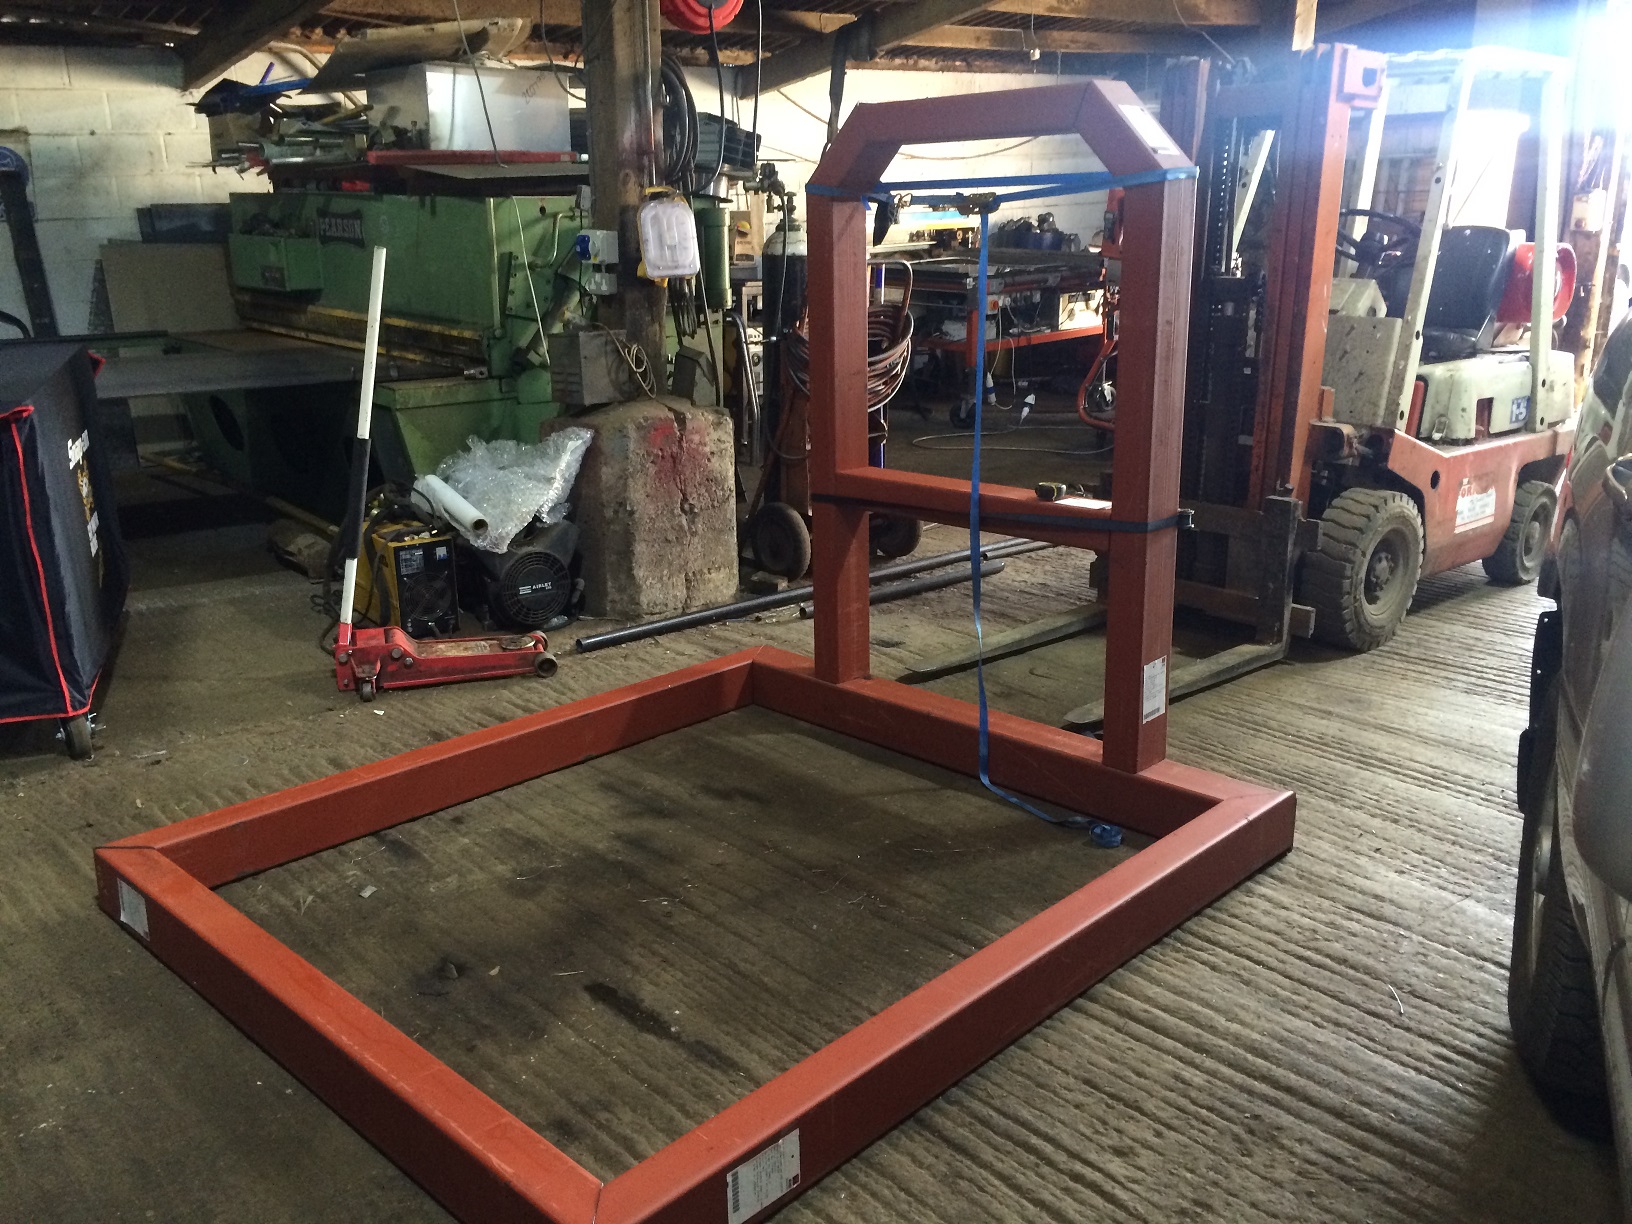
The first job was to make another frame.

IMG_1865 - Copy (2) IMG_1864 - Copy - Copy


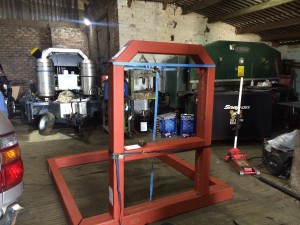
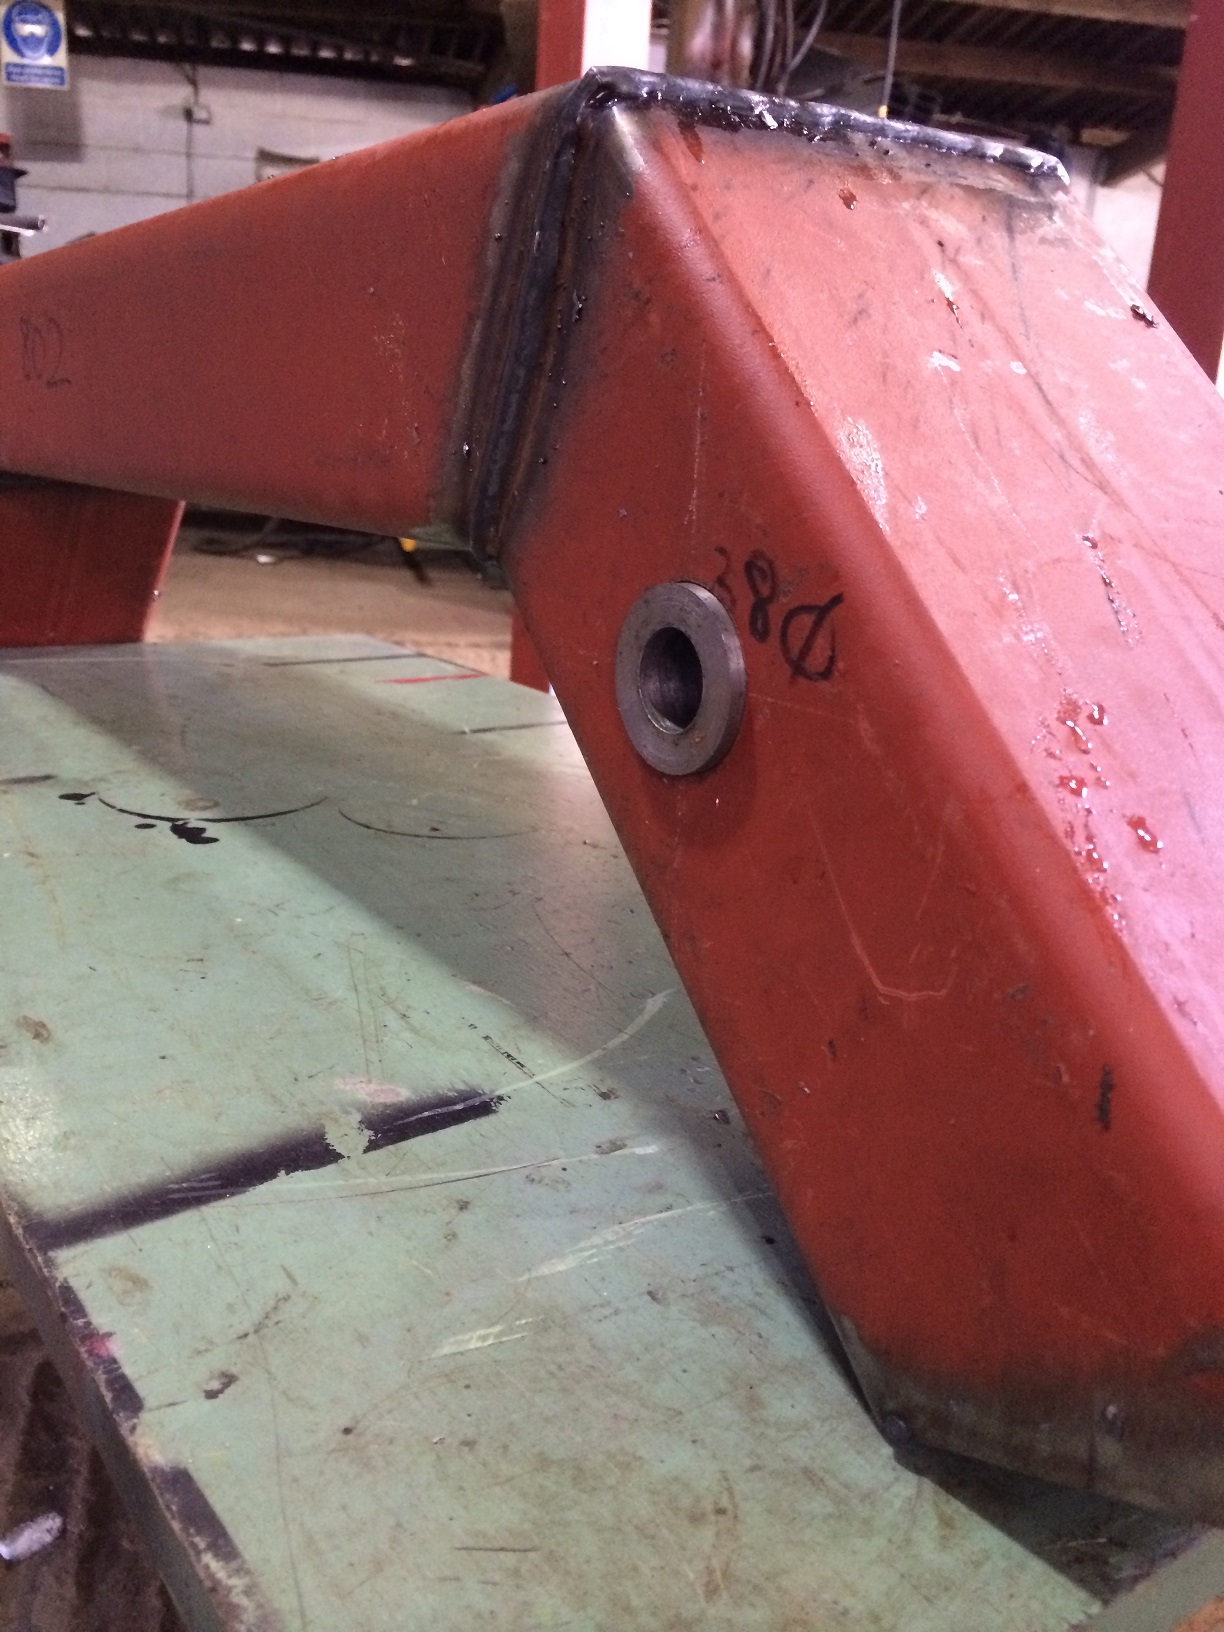
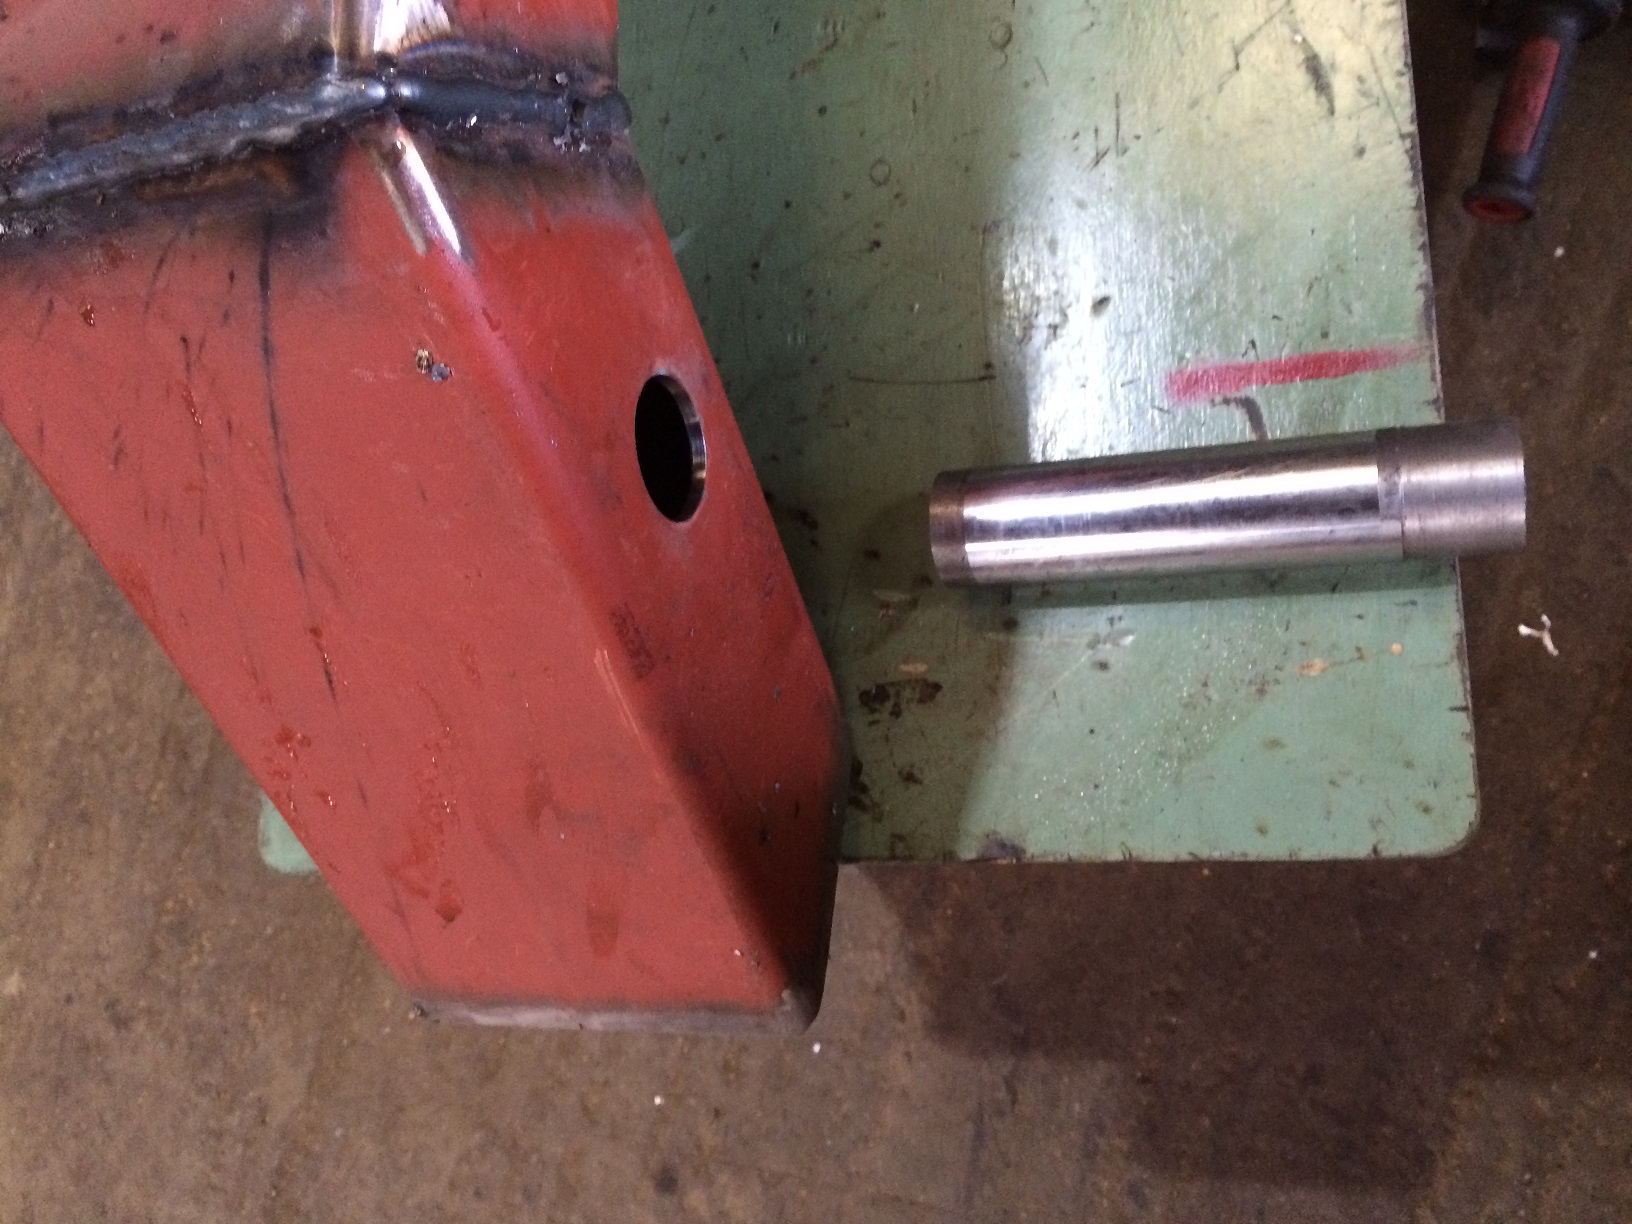
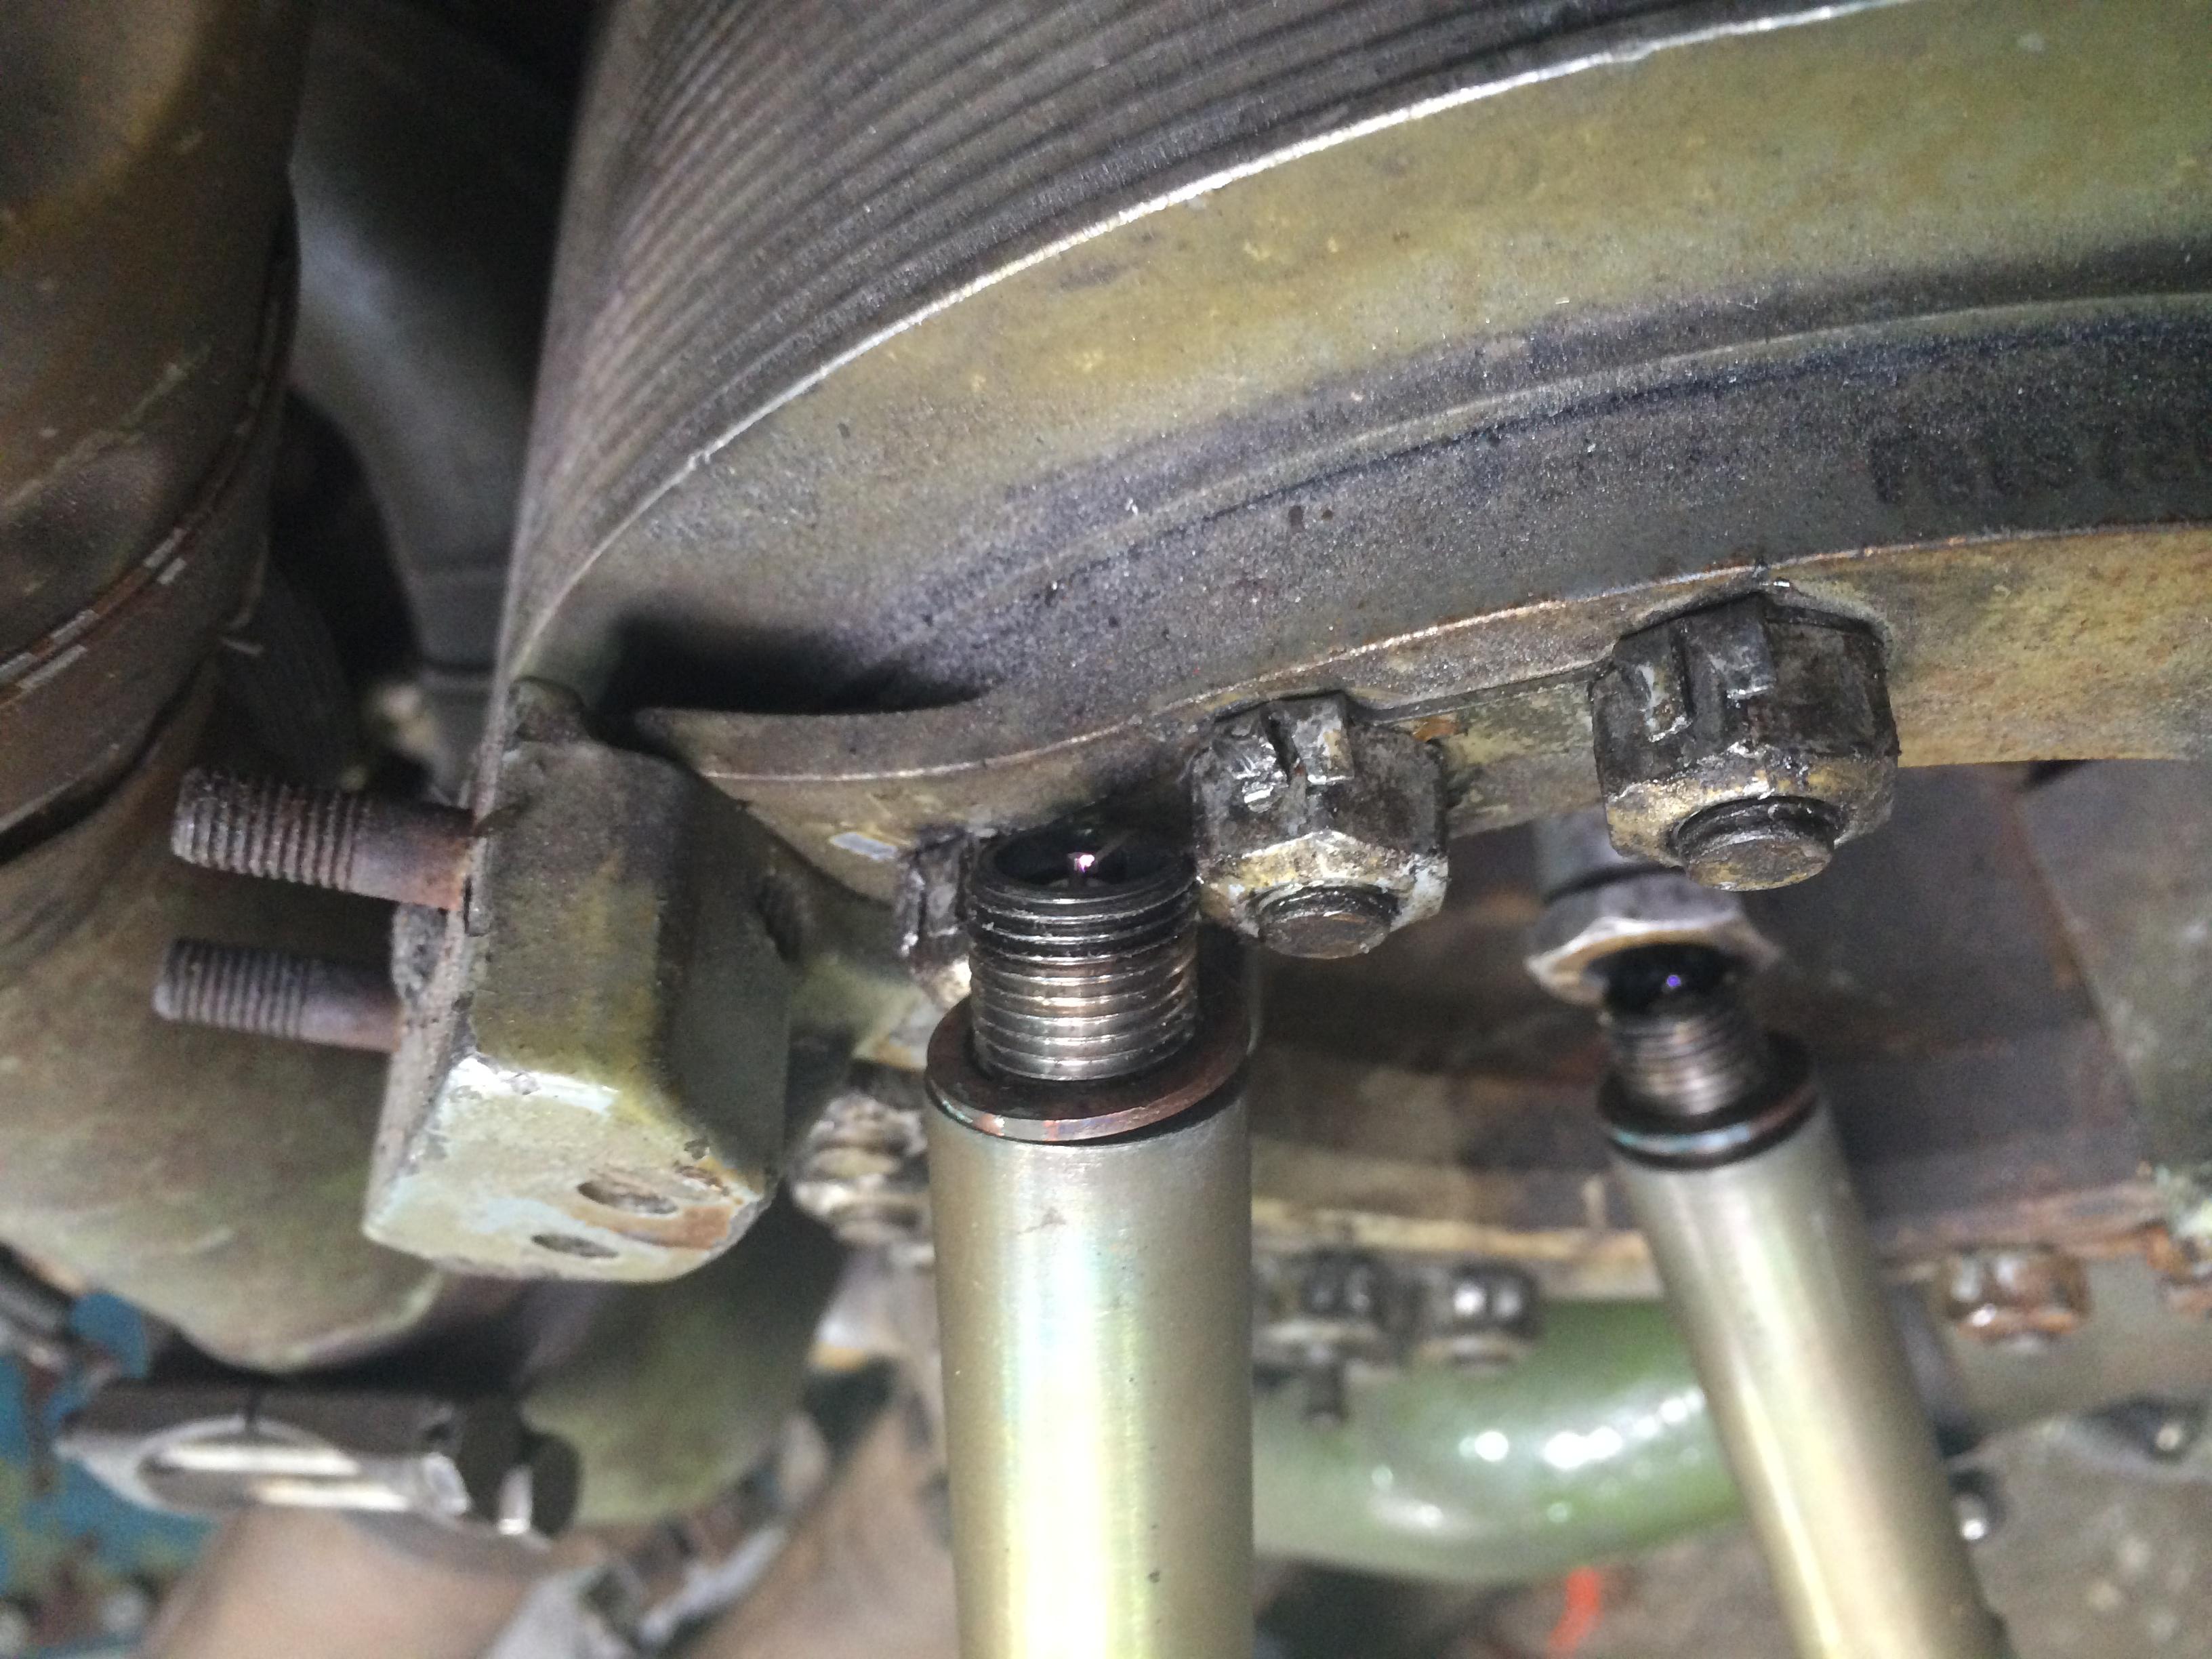
After a dry fit of the steel work, Pete milled in the mounting holes for the engine mounts.

IMG_1871 IMG_1870 - Copy (2) IMG_1869 - Copy (2)

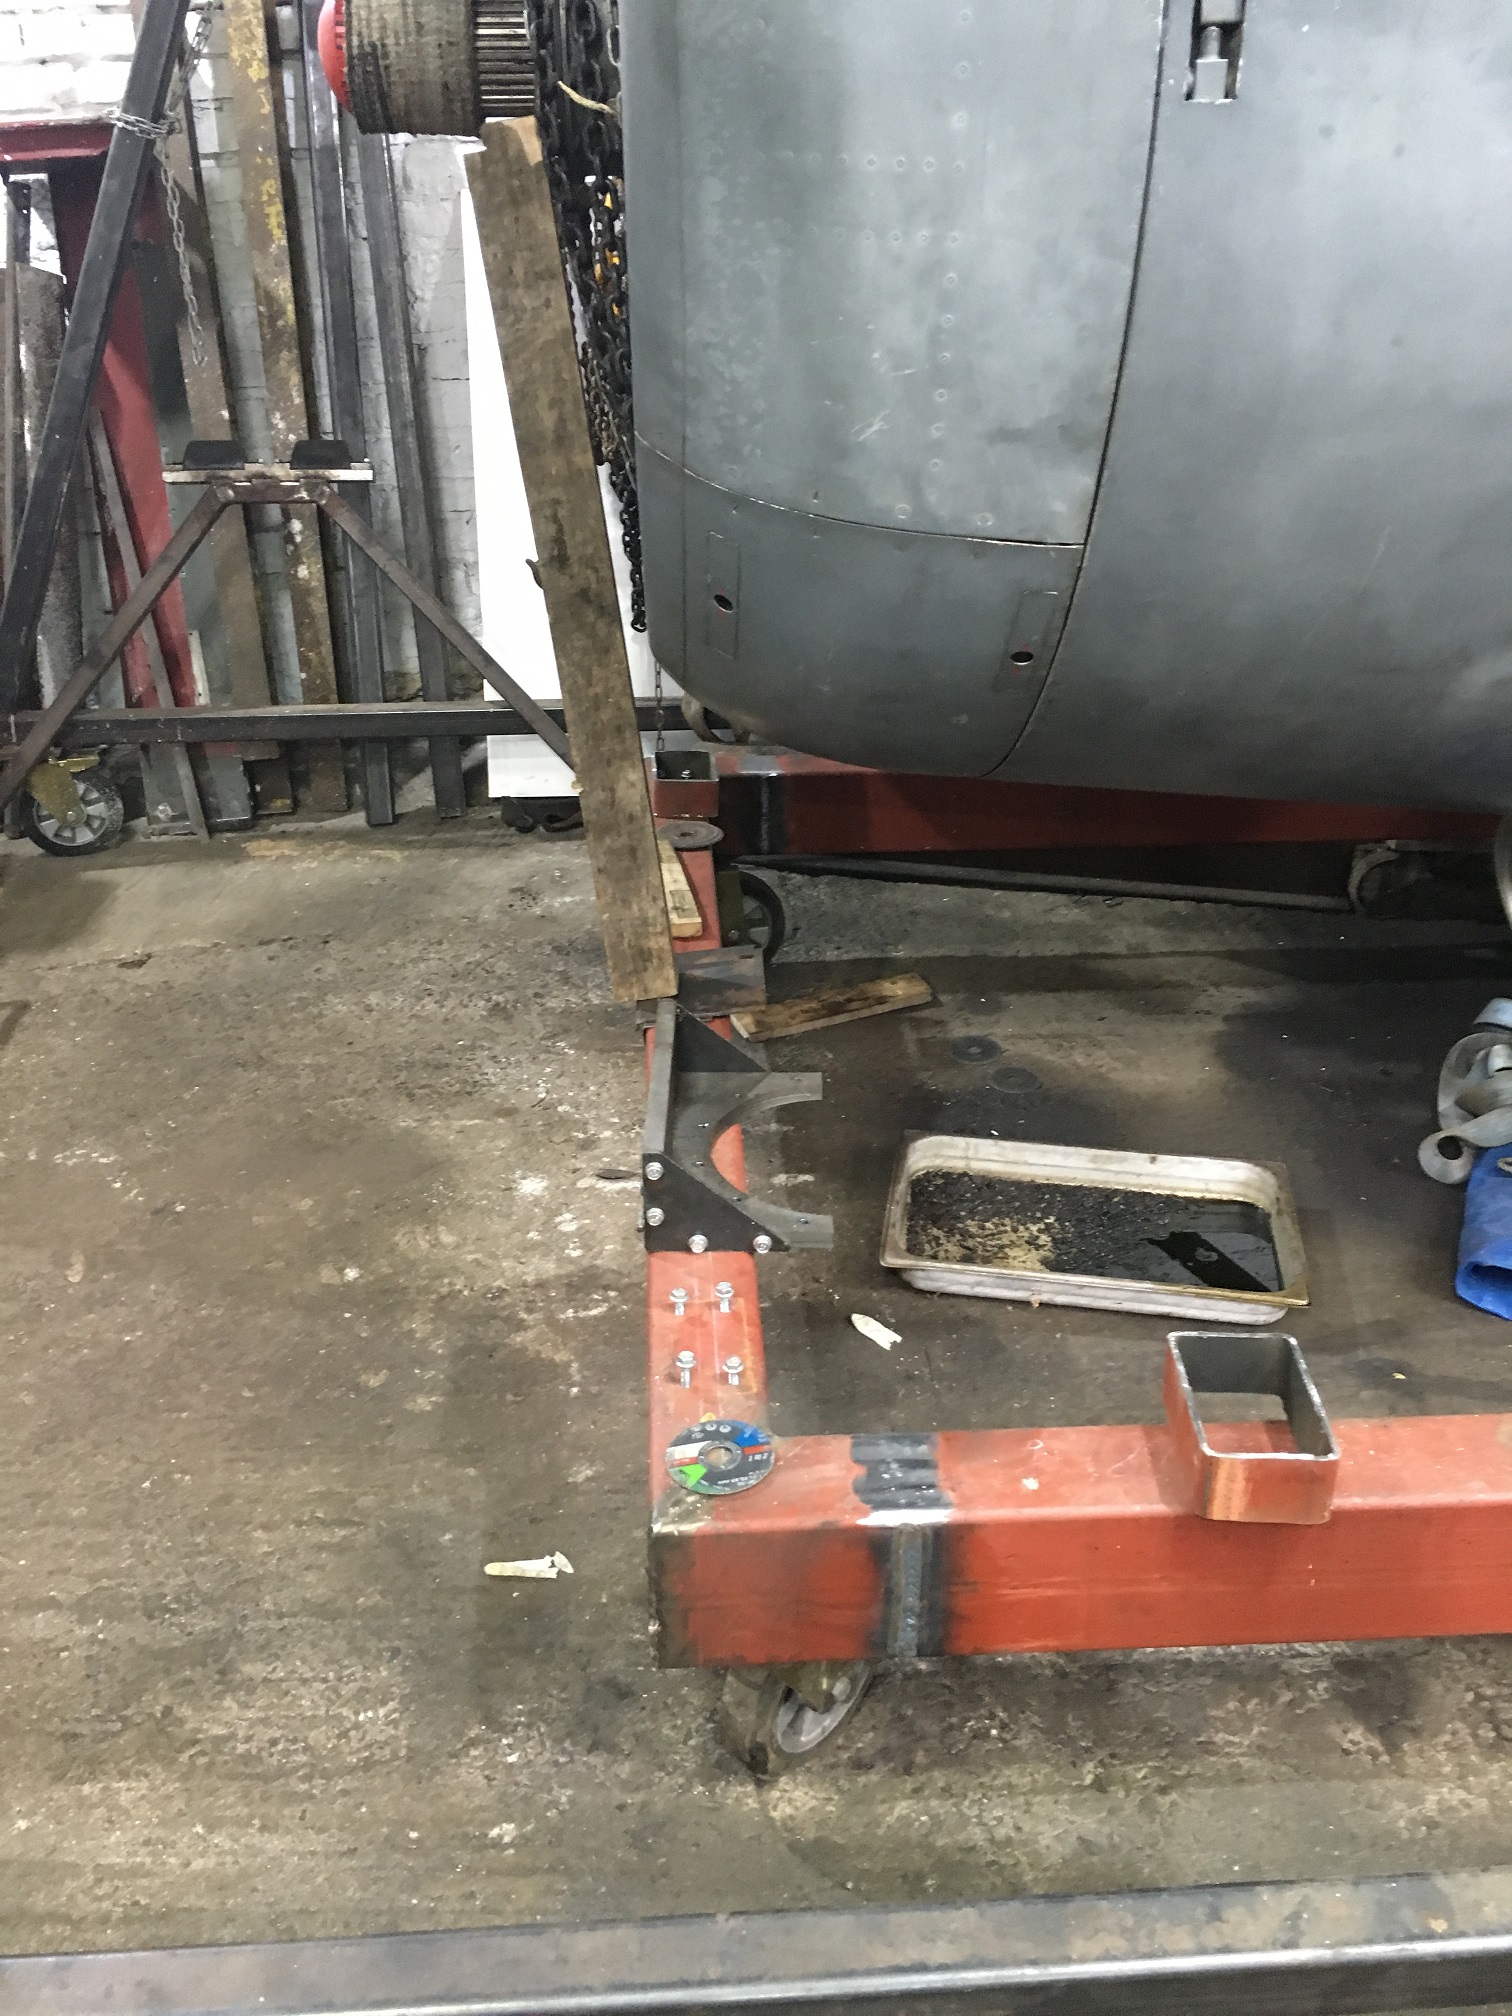
Once the mounts had been done the whole frame was welded up ready for the 759


IMG_1874 IMG_1876

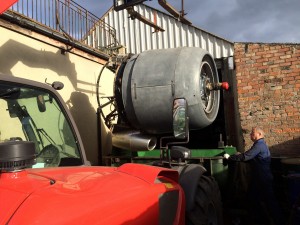
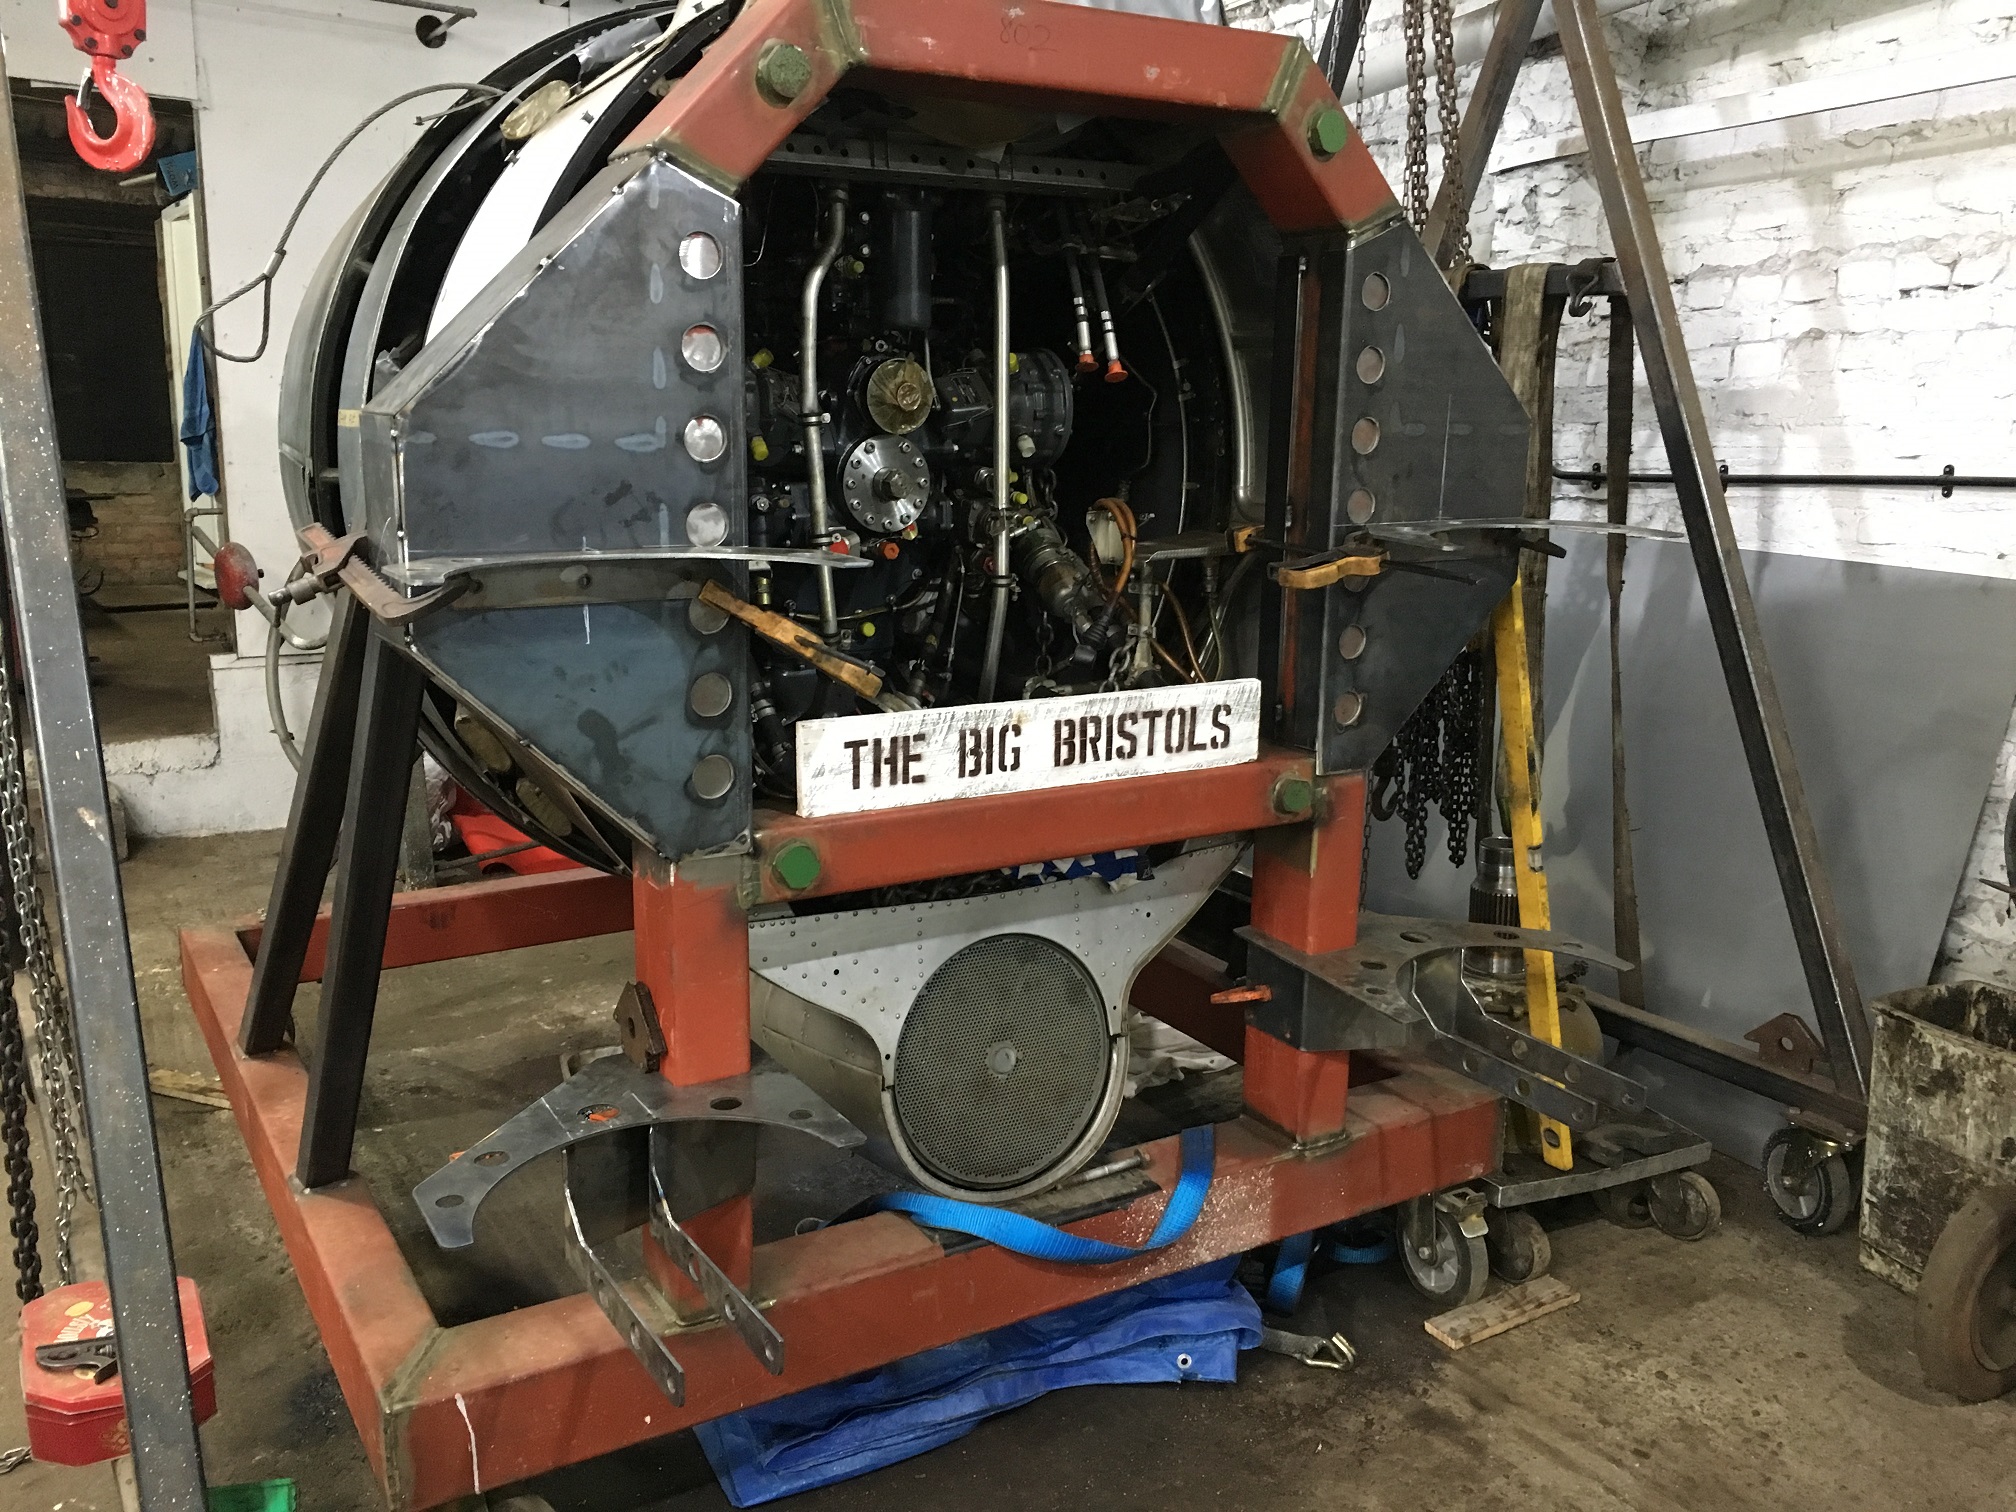
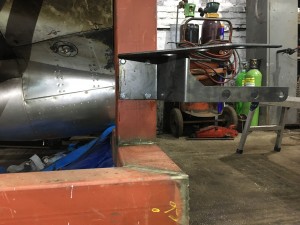
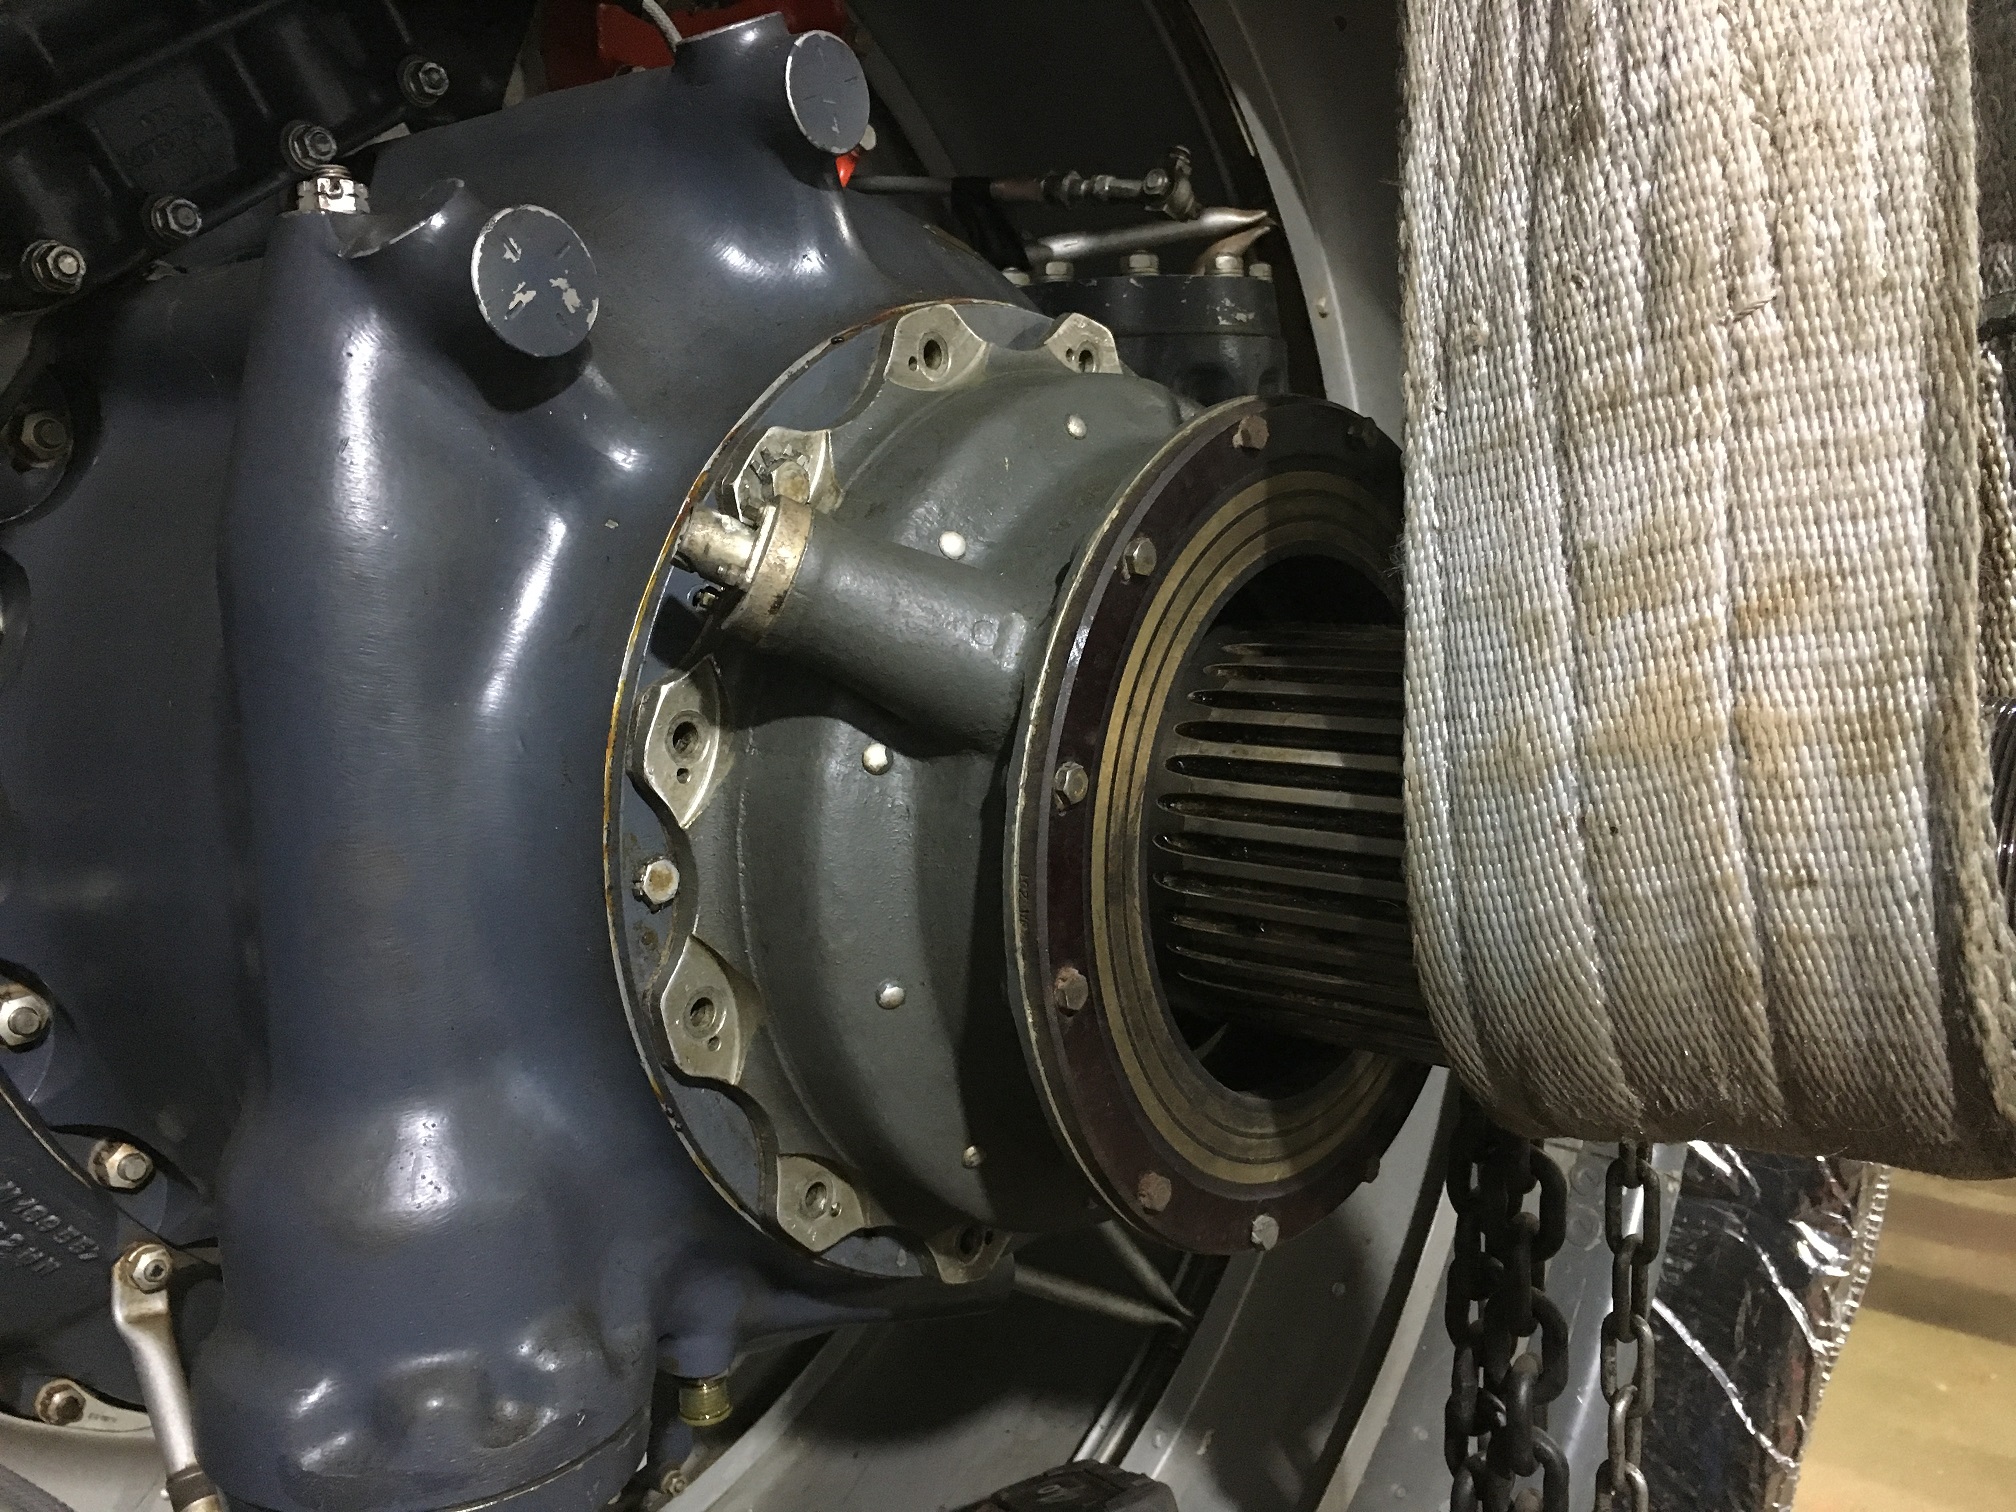
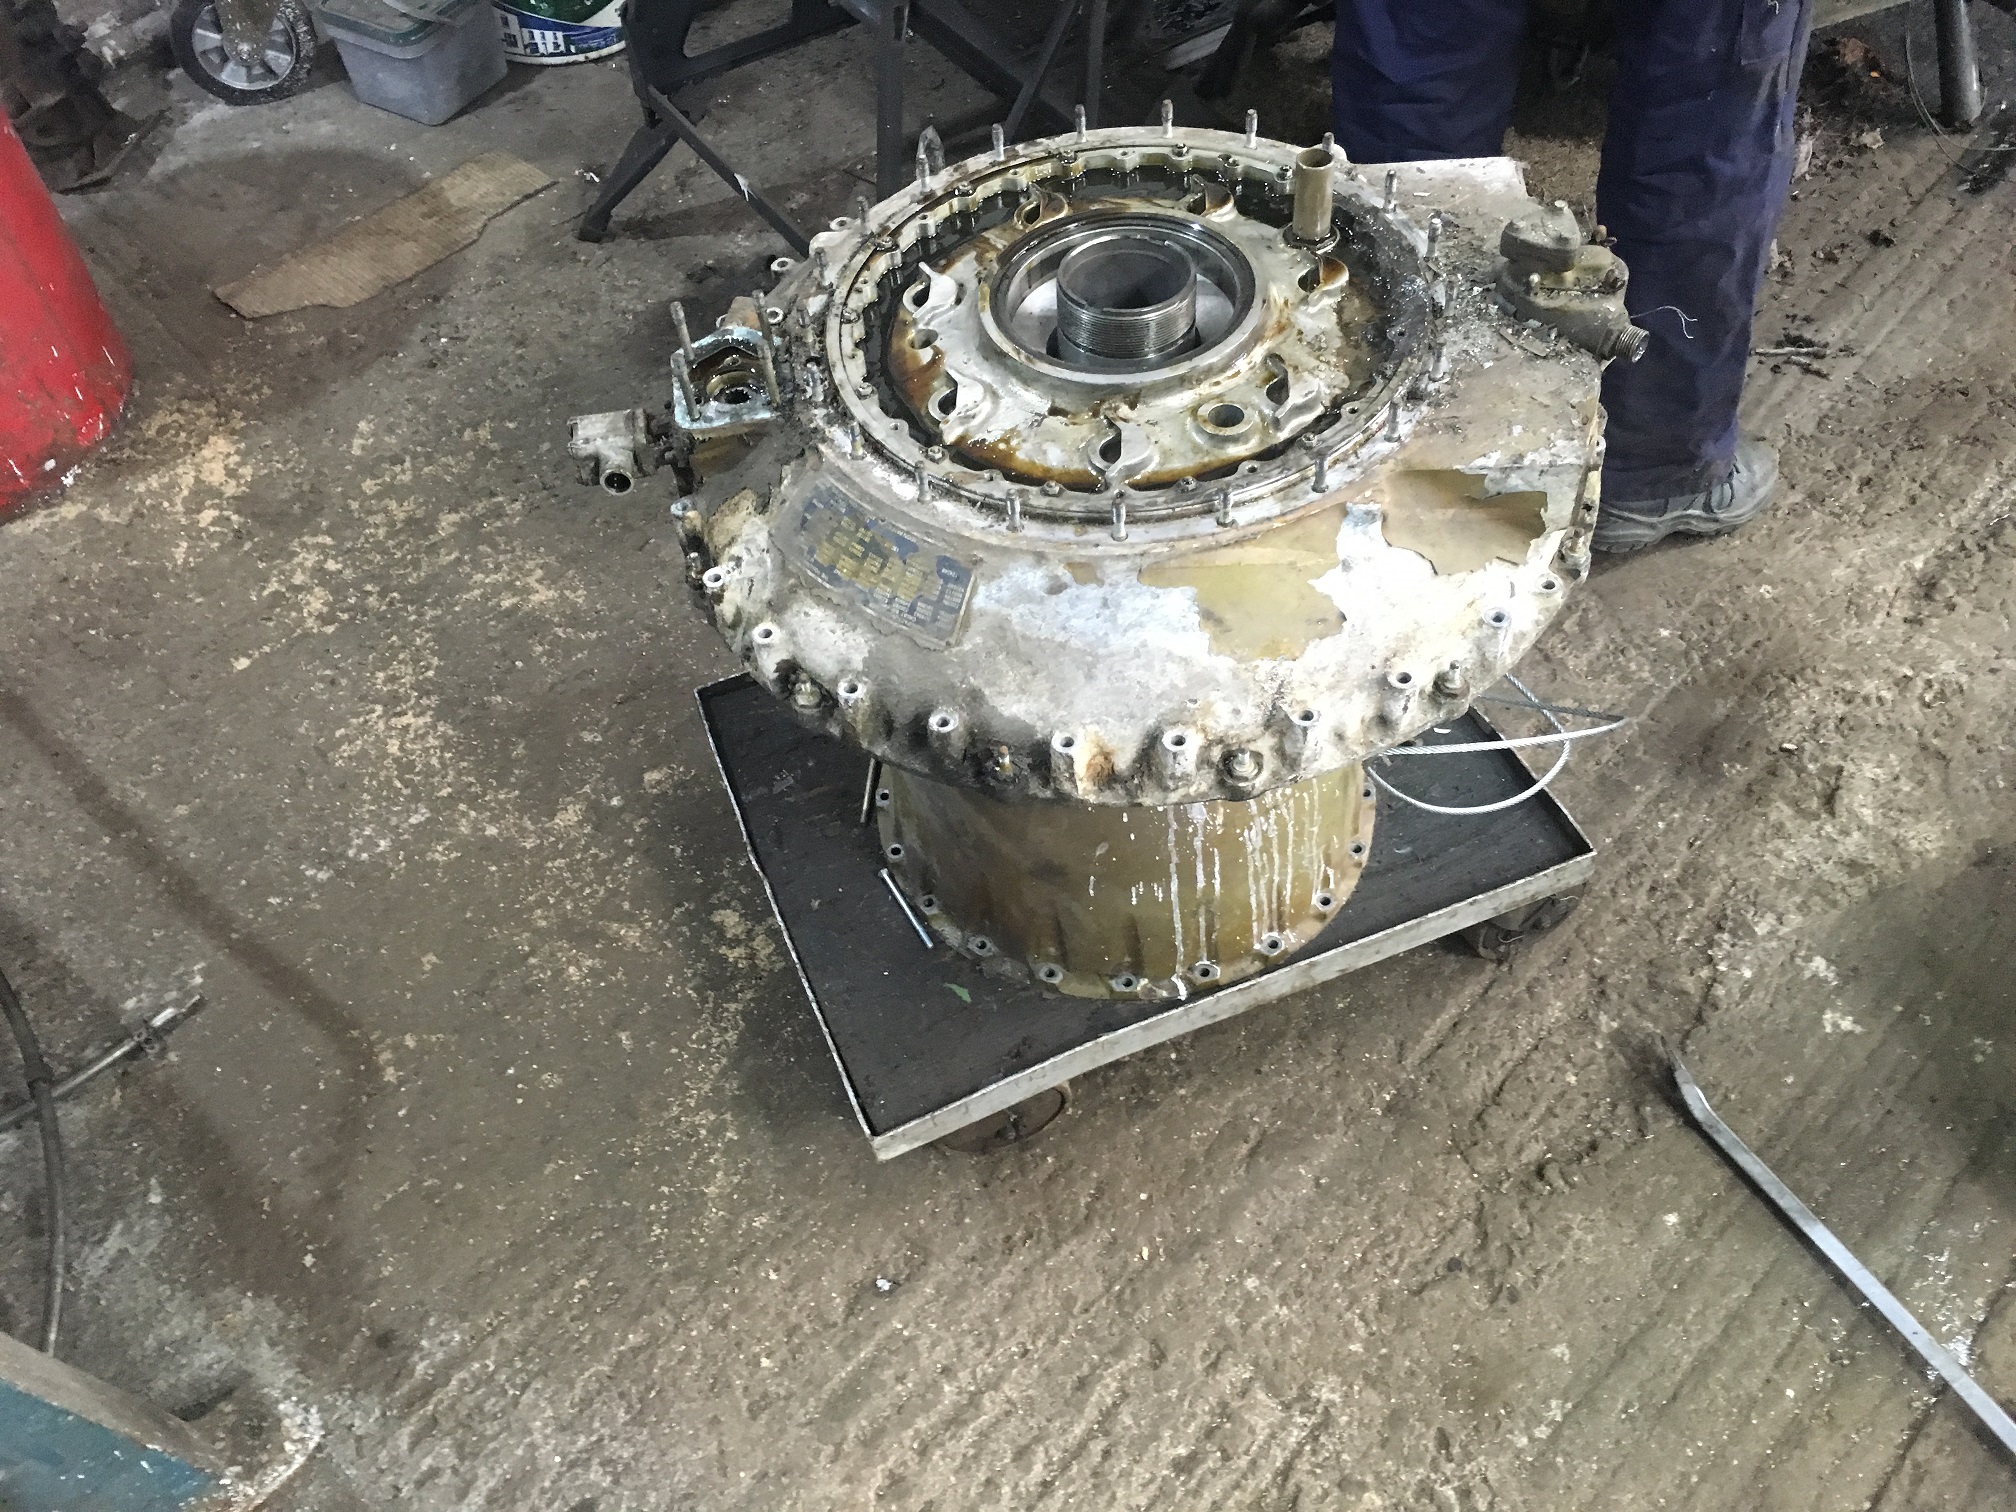
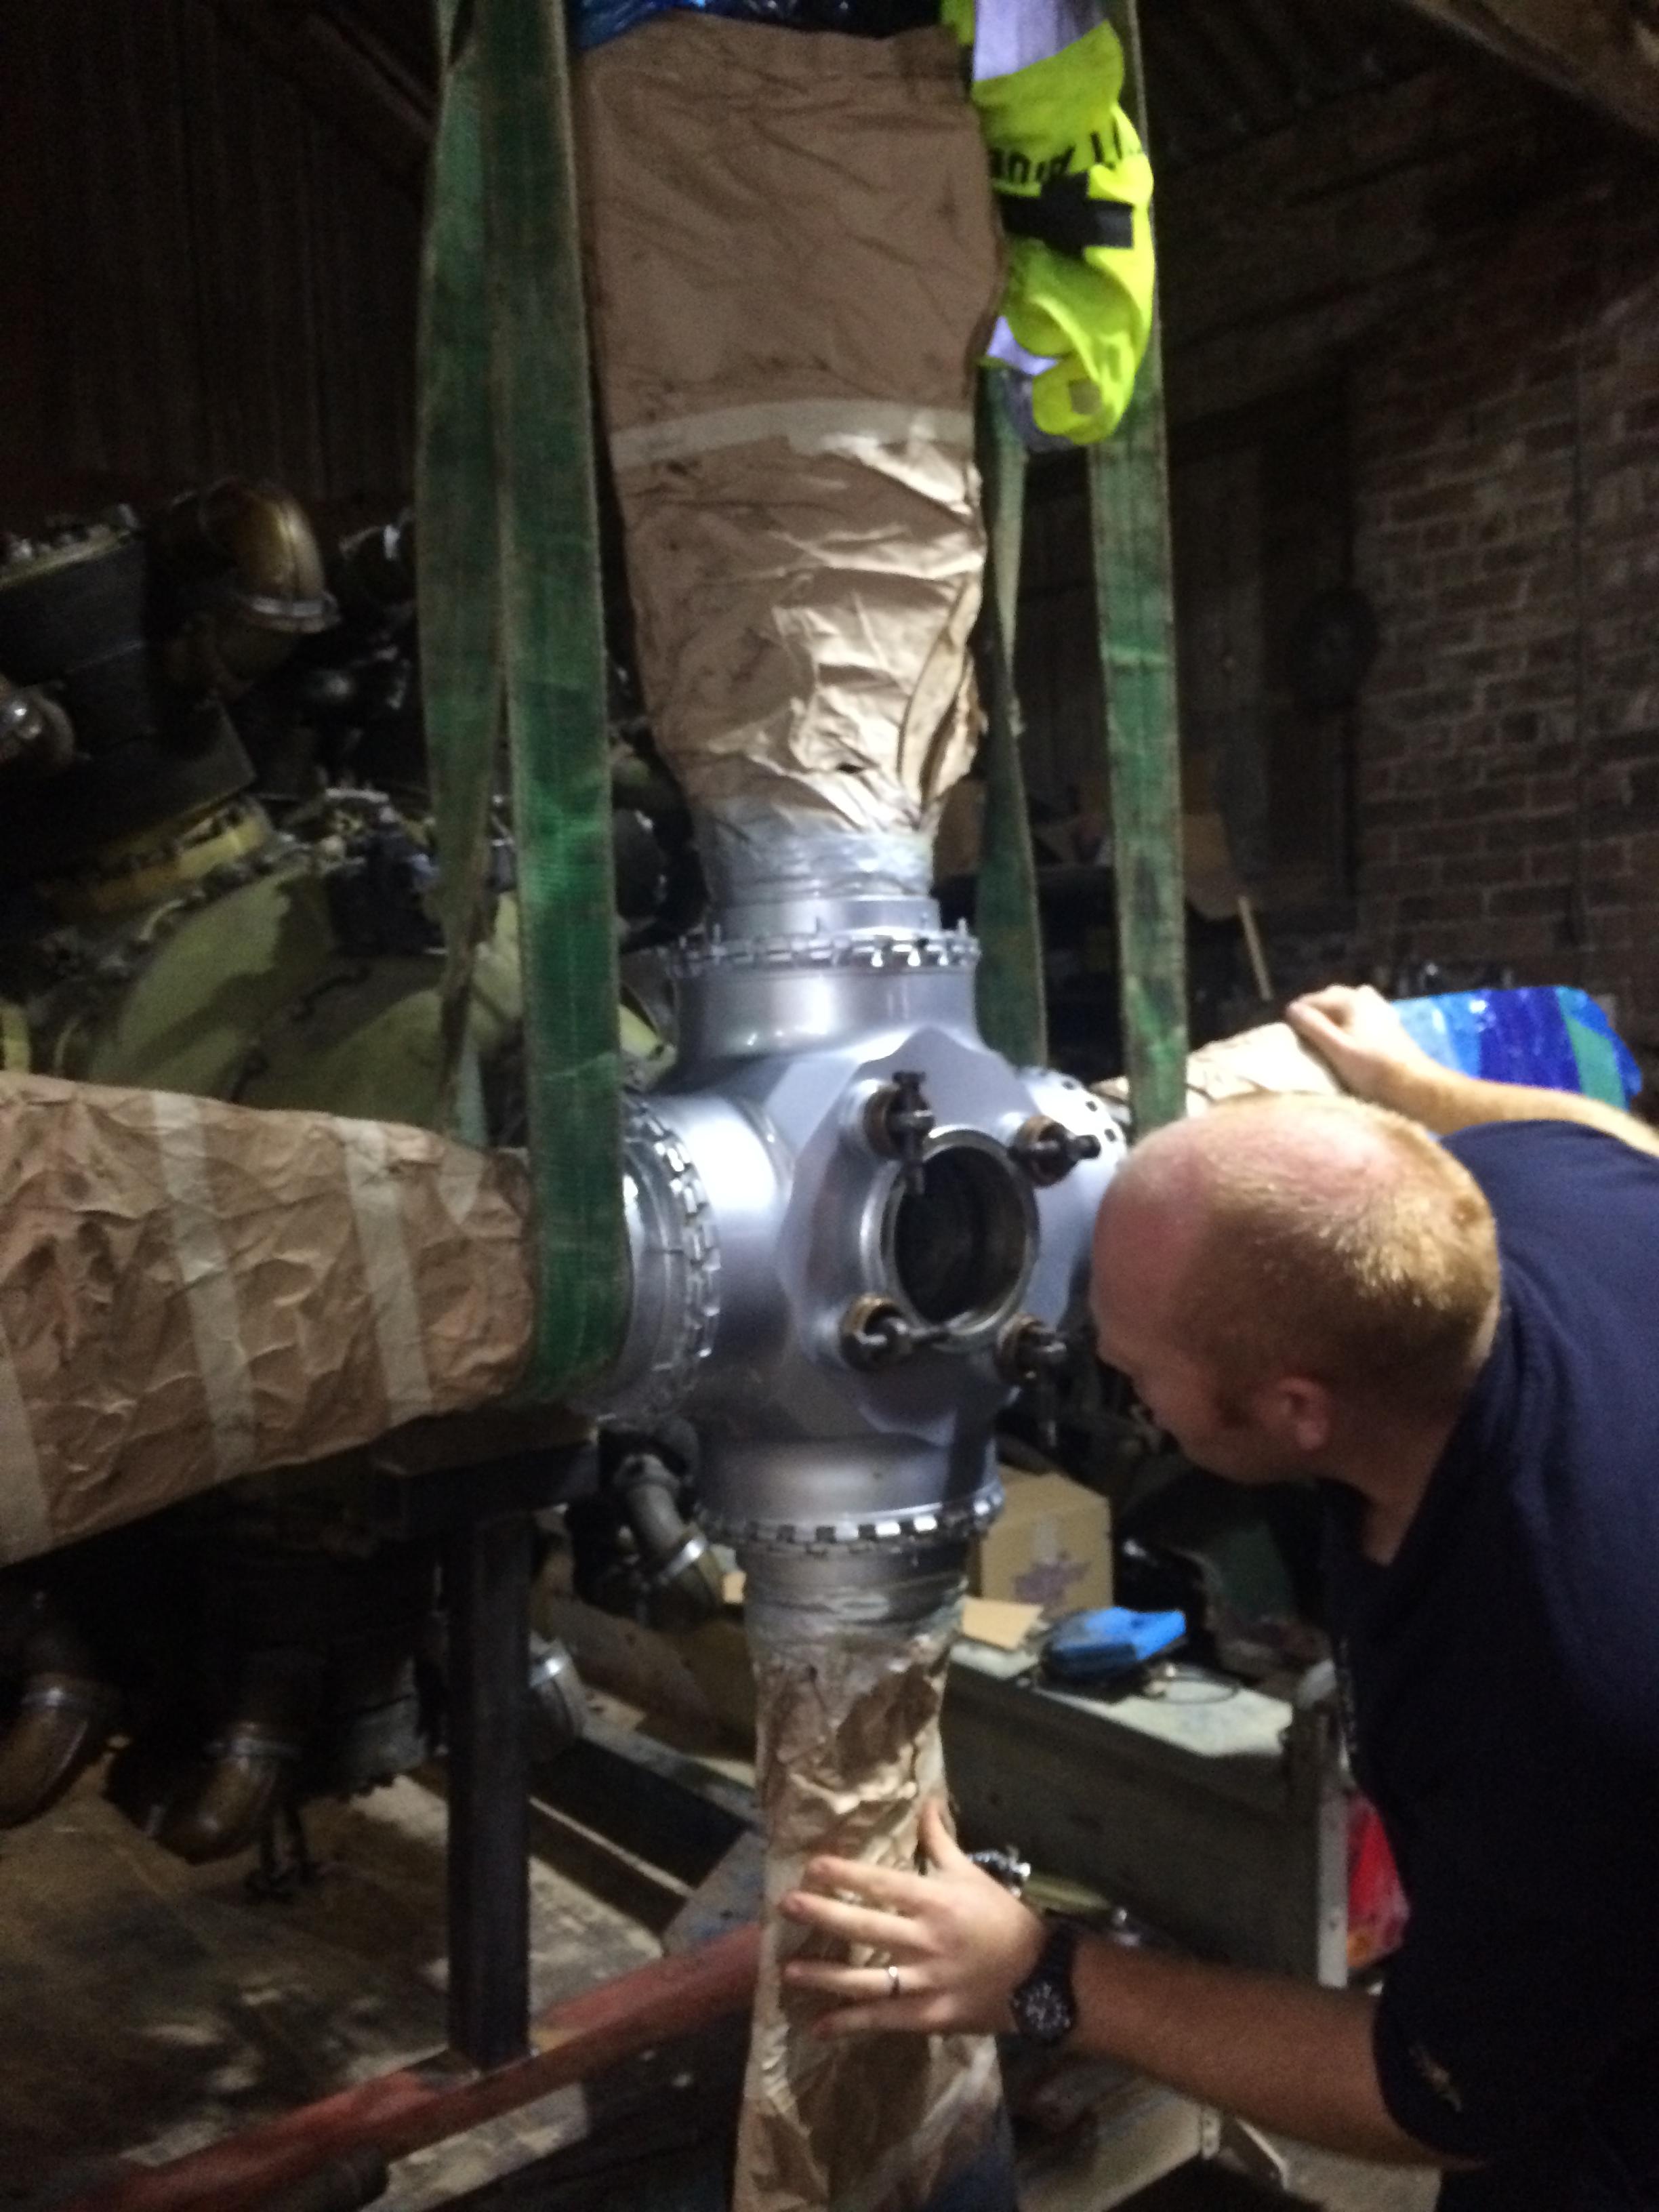
The first time the 759 has seen daylight since 1971, even as Peter was watching the engine come out of the pod a Swallow had a fly by.


IMG_1888 IMG_1887

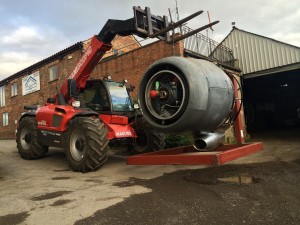
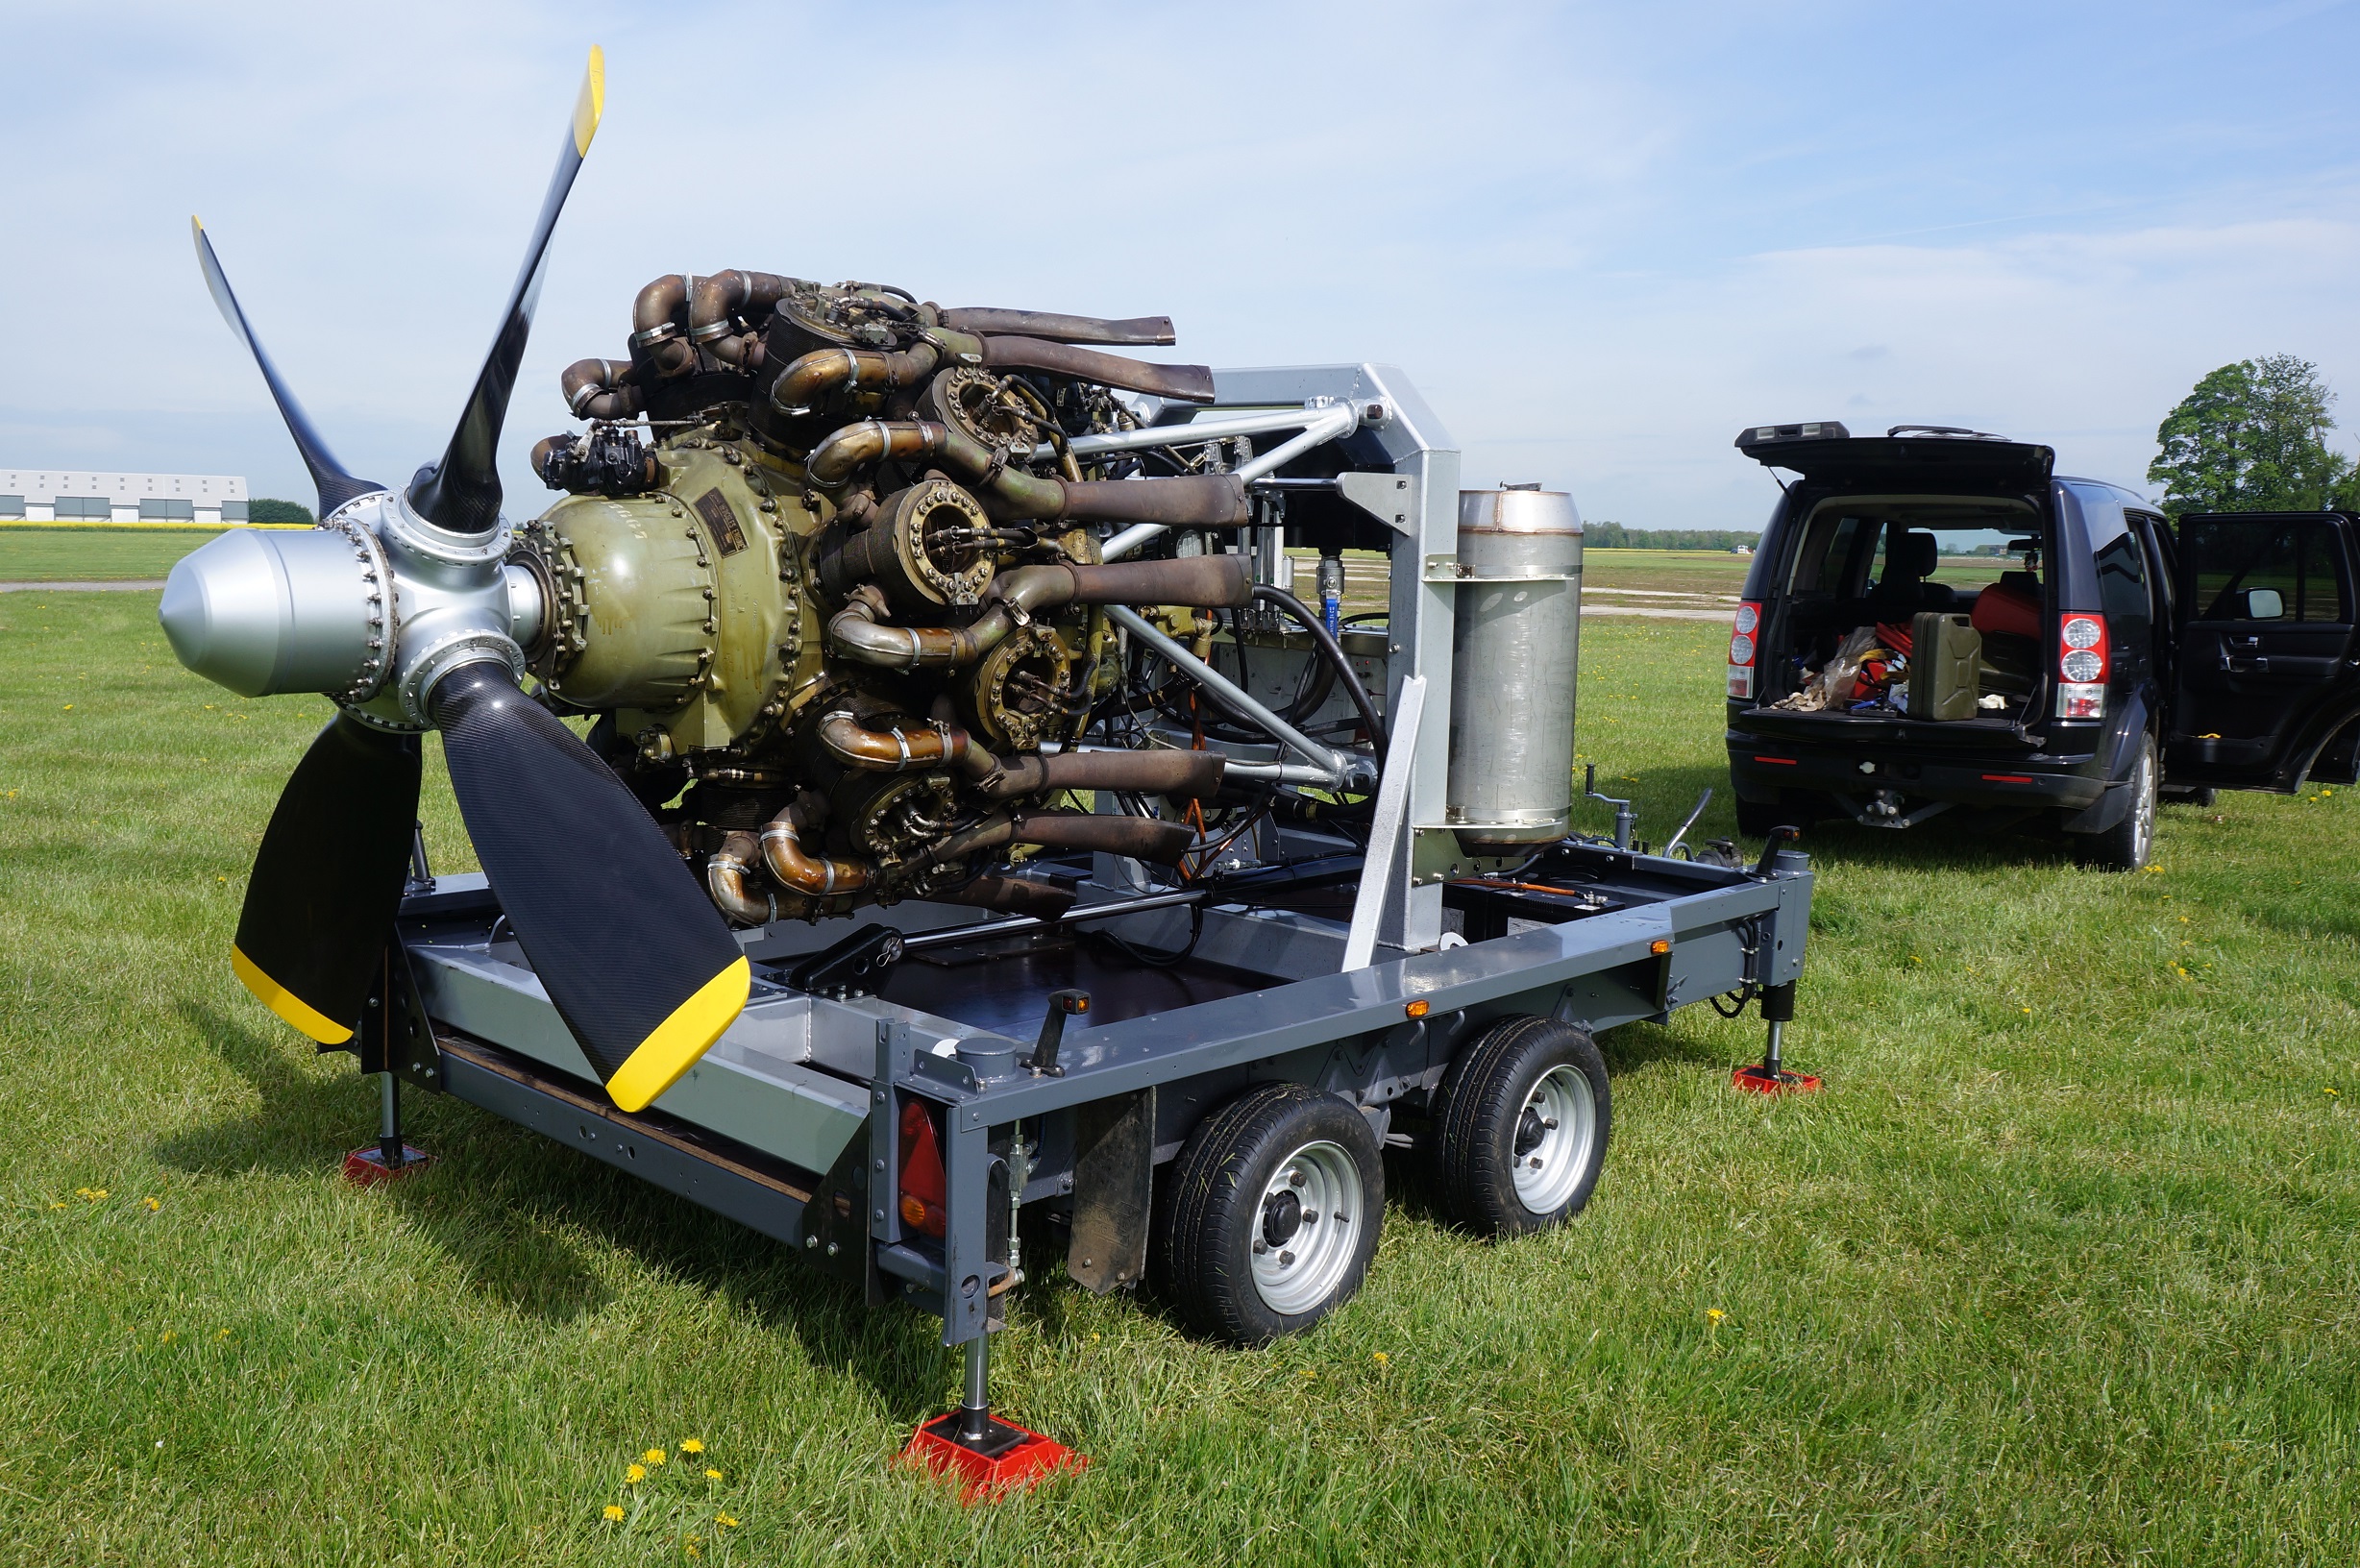
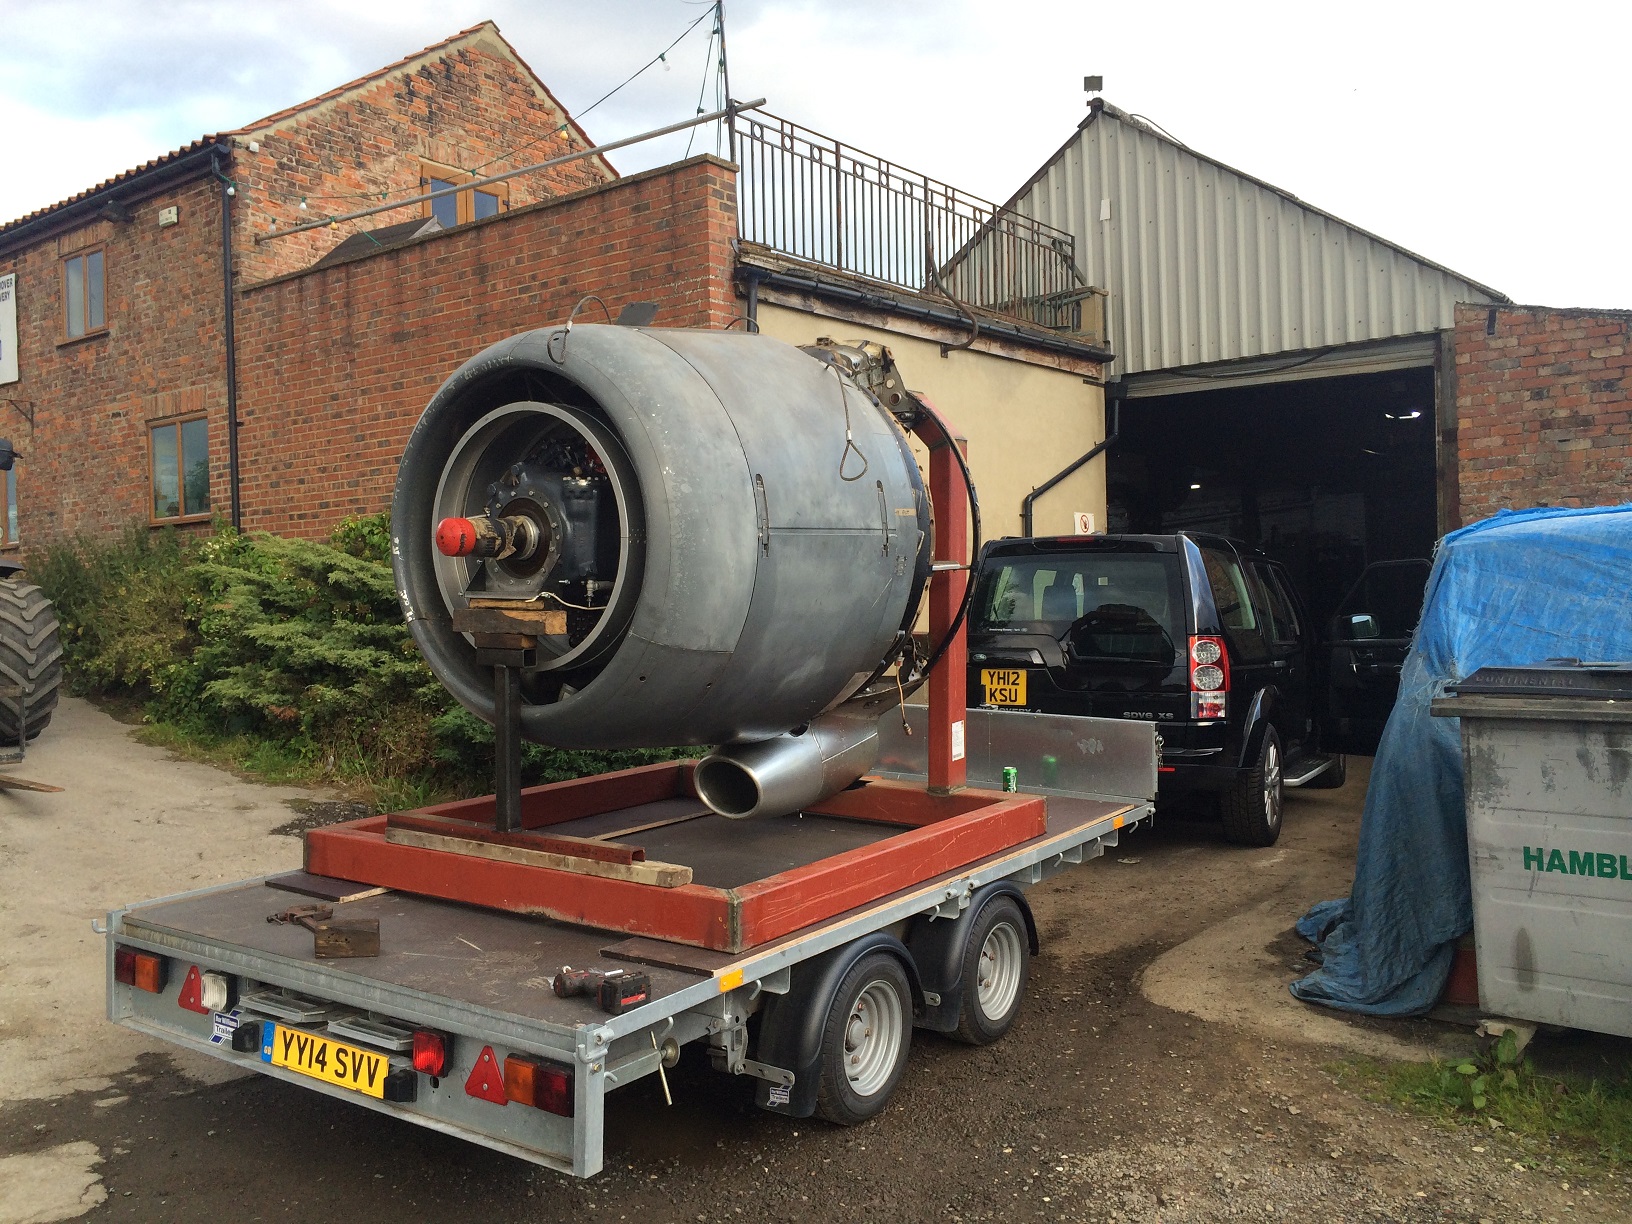
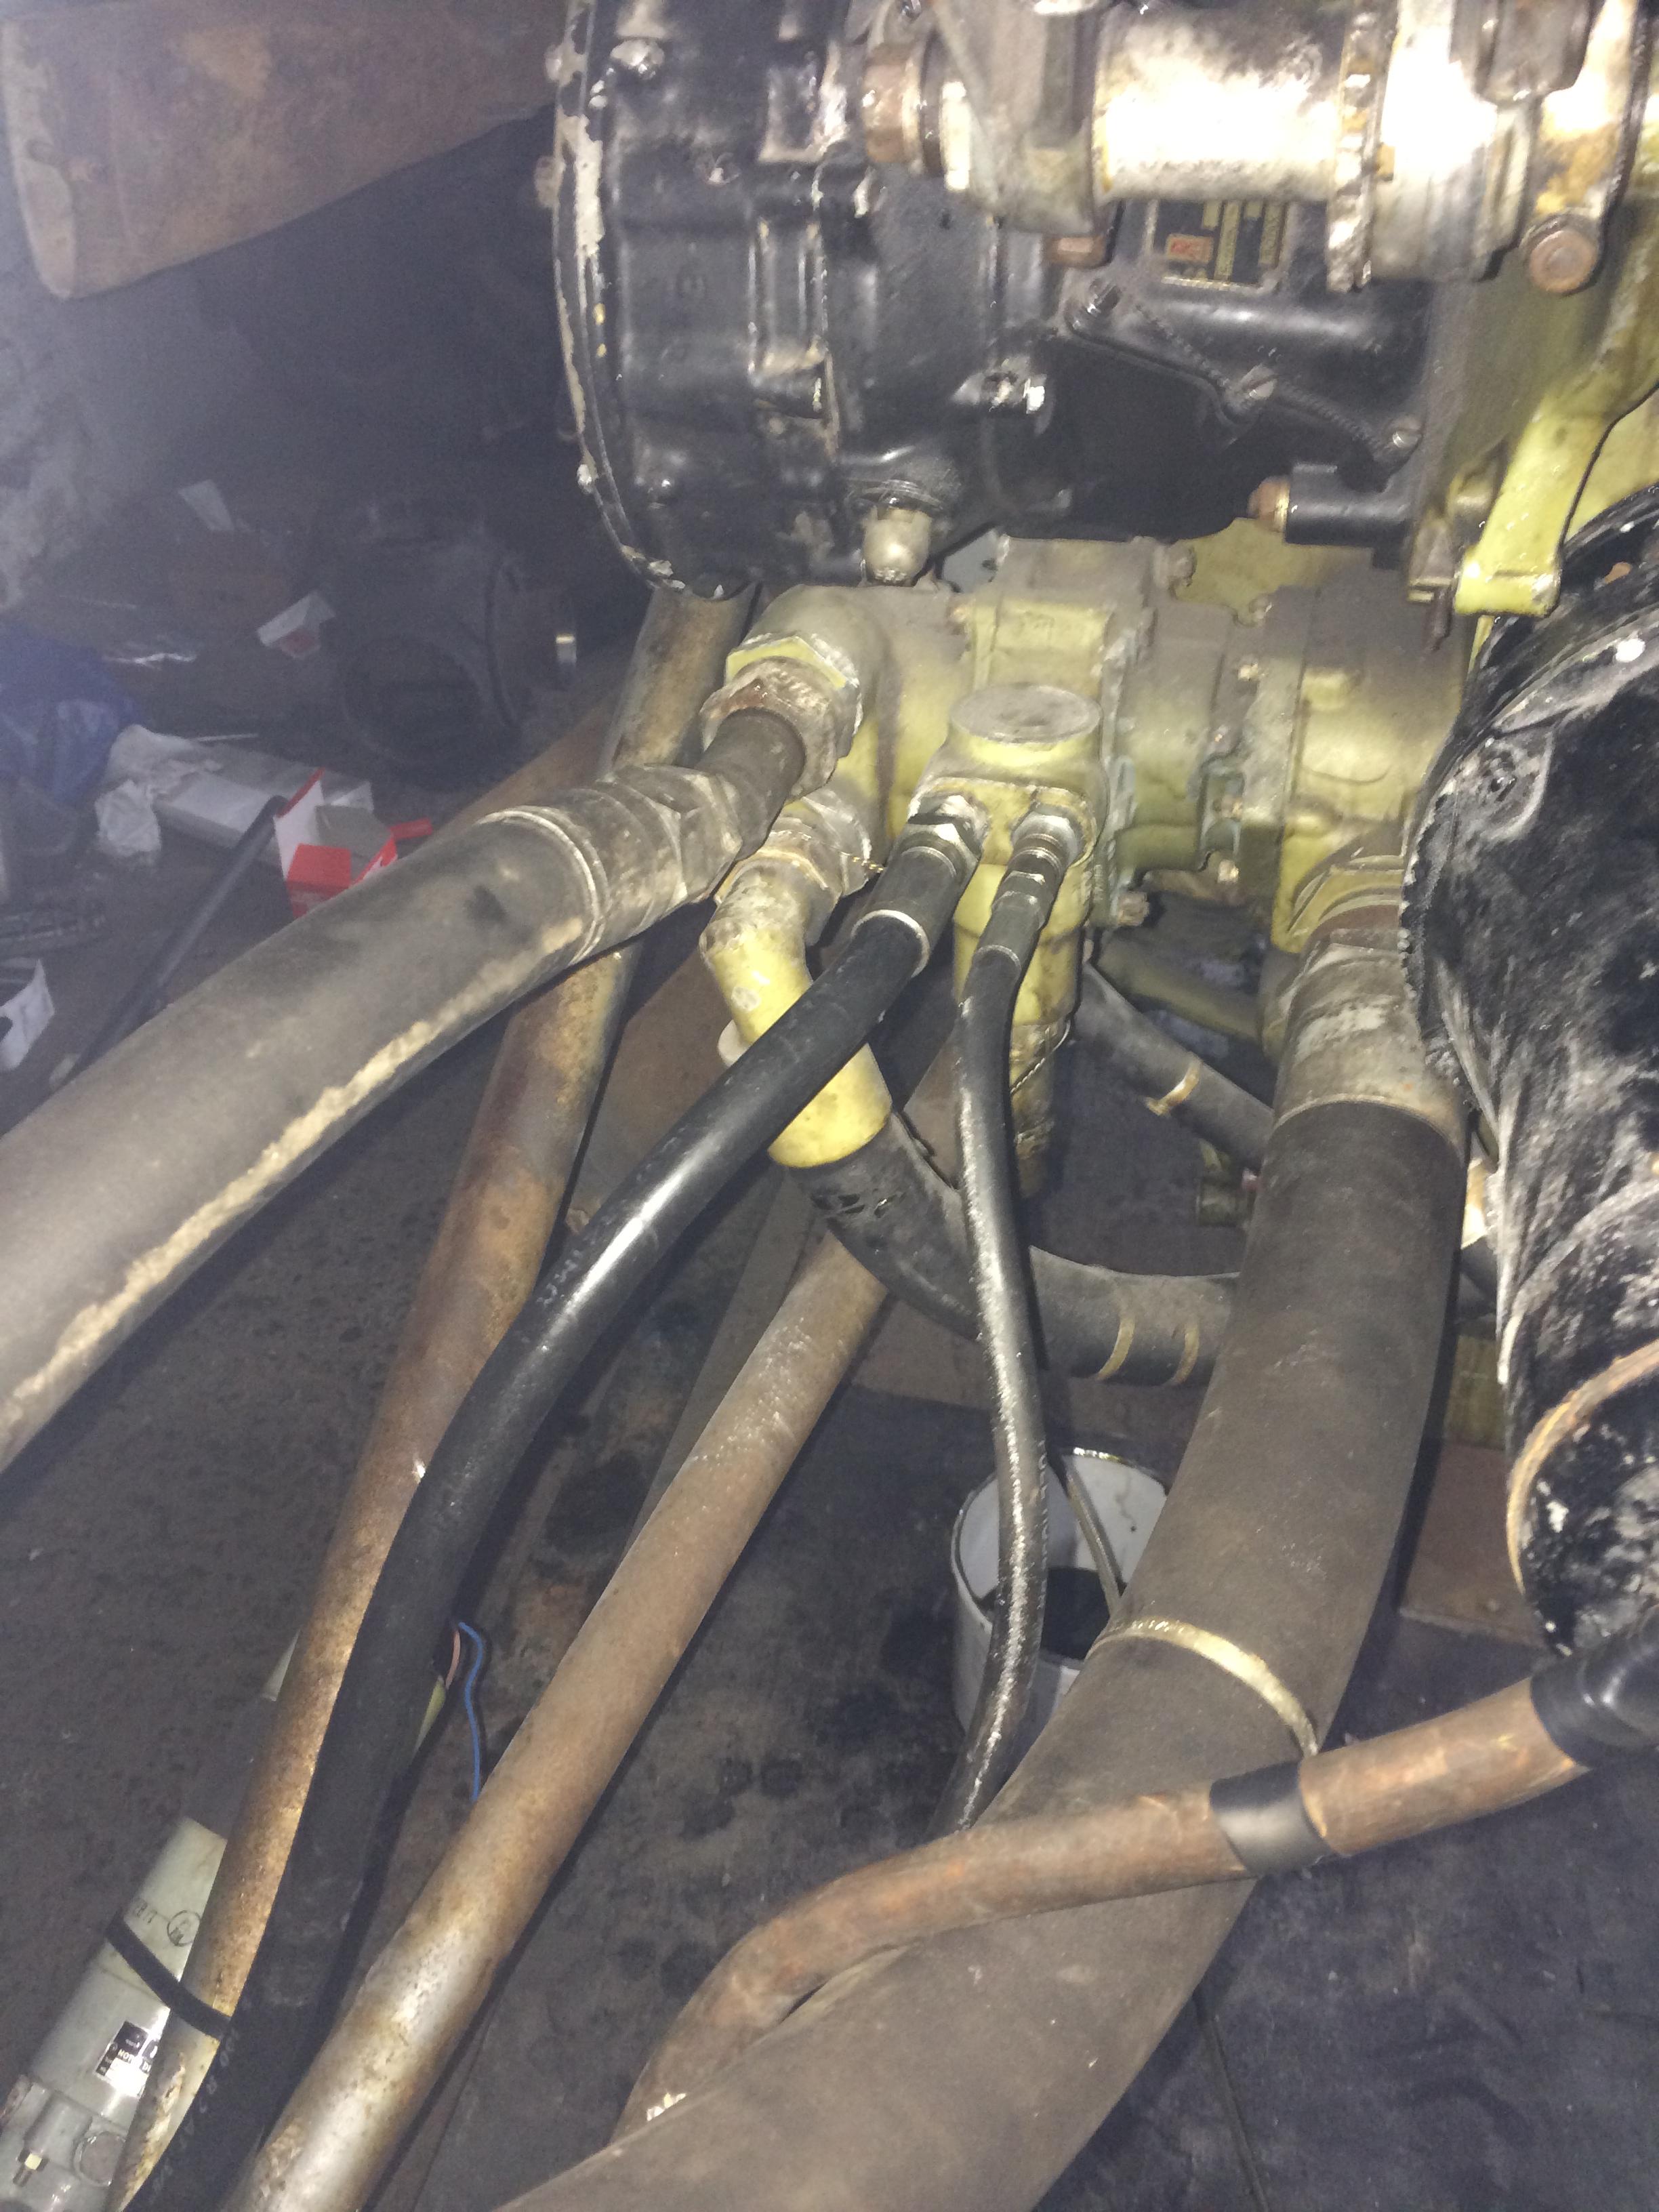
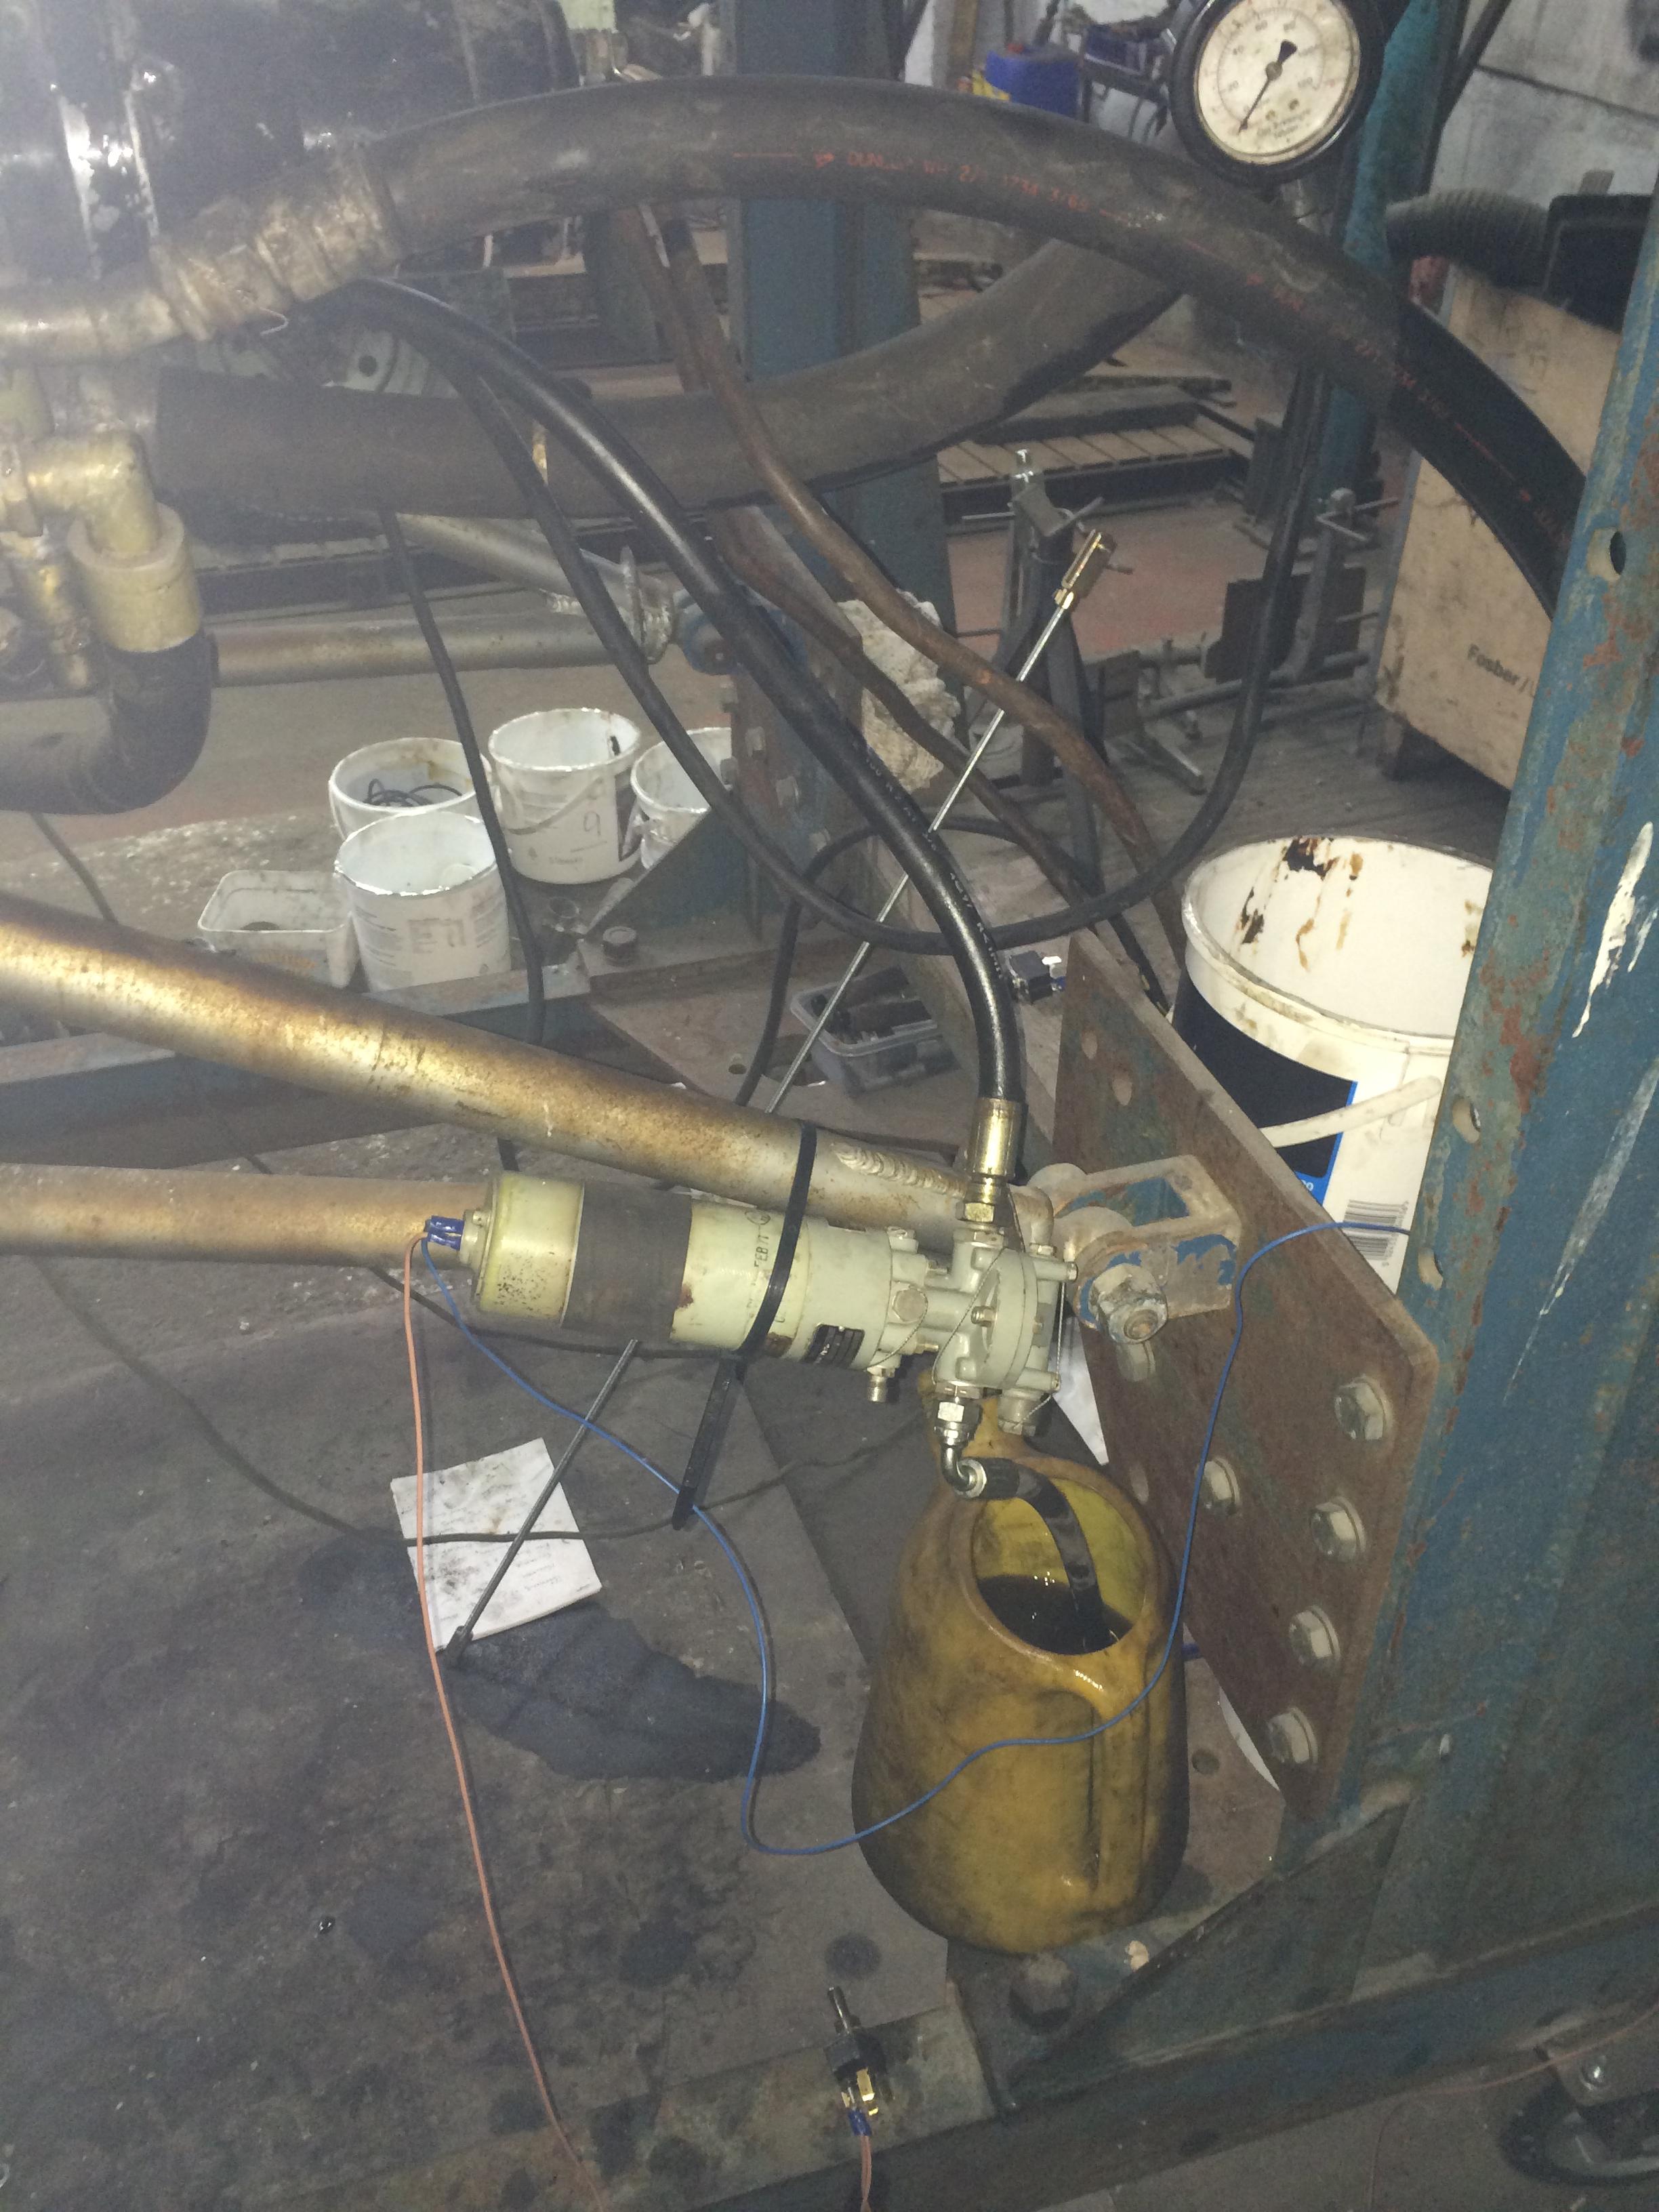
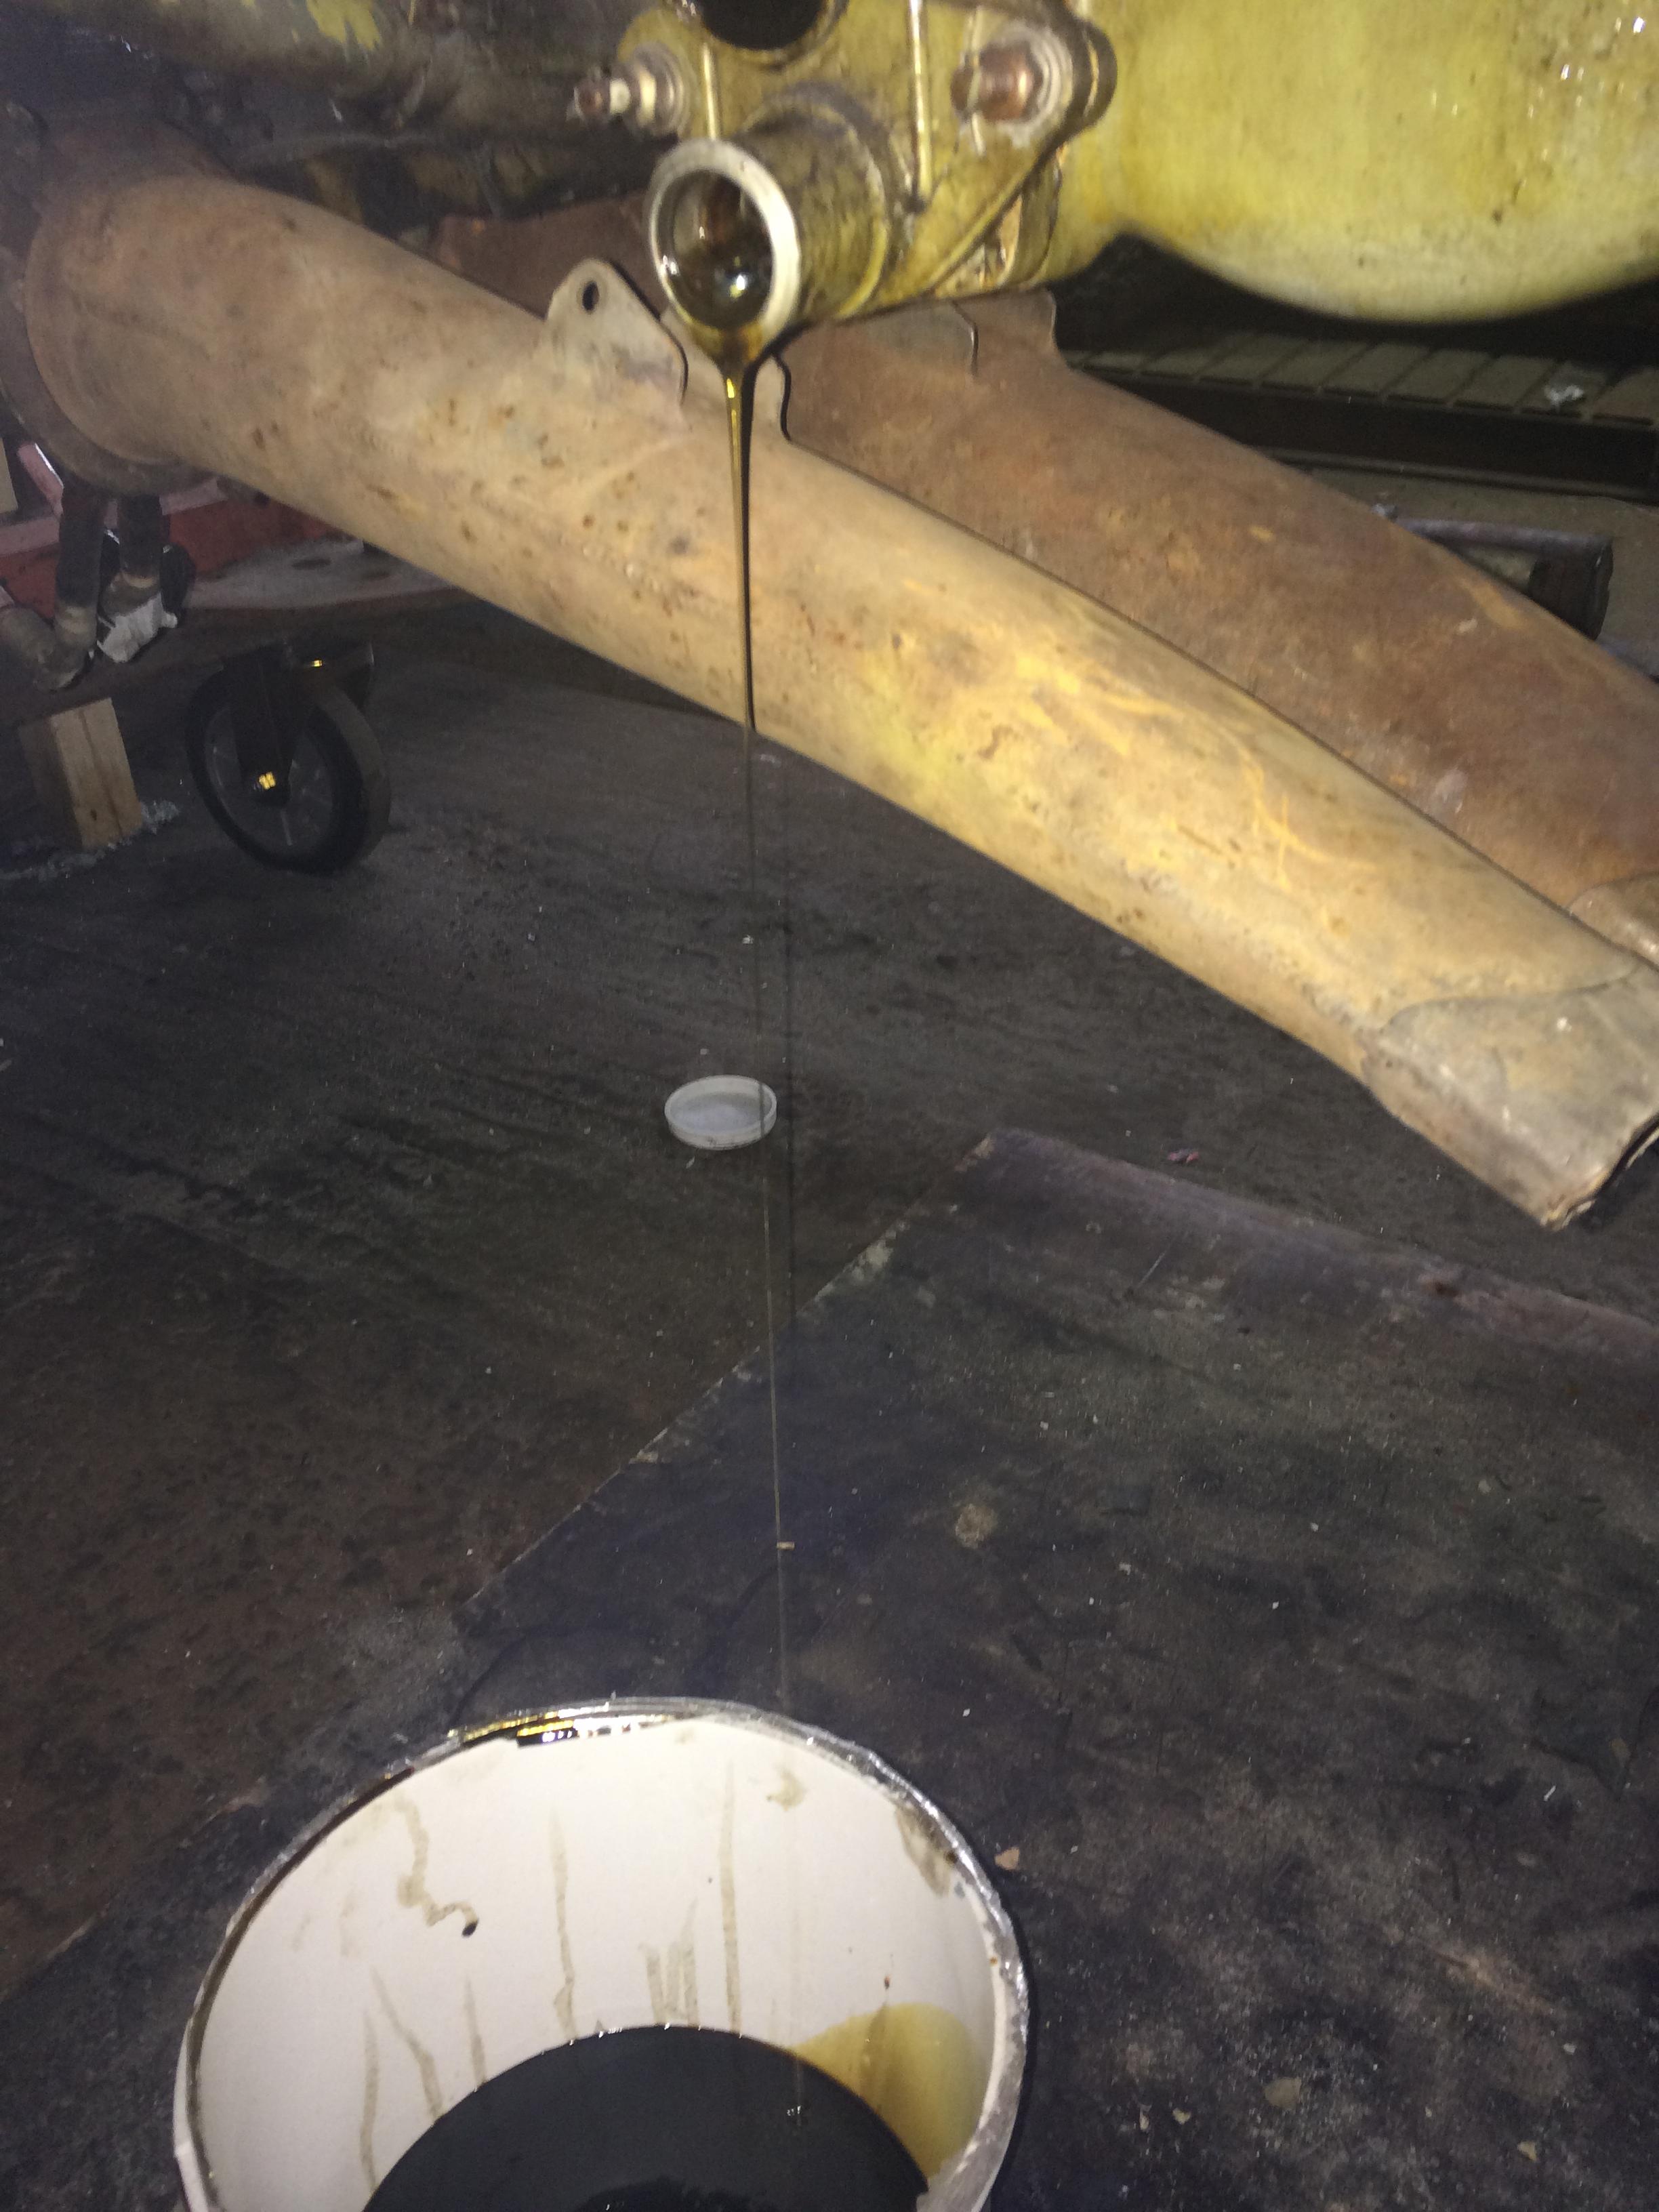
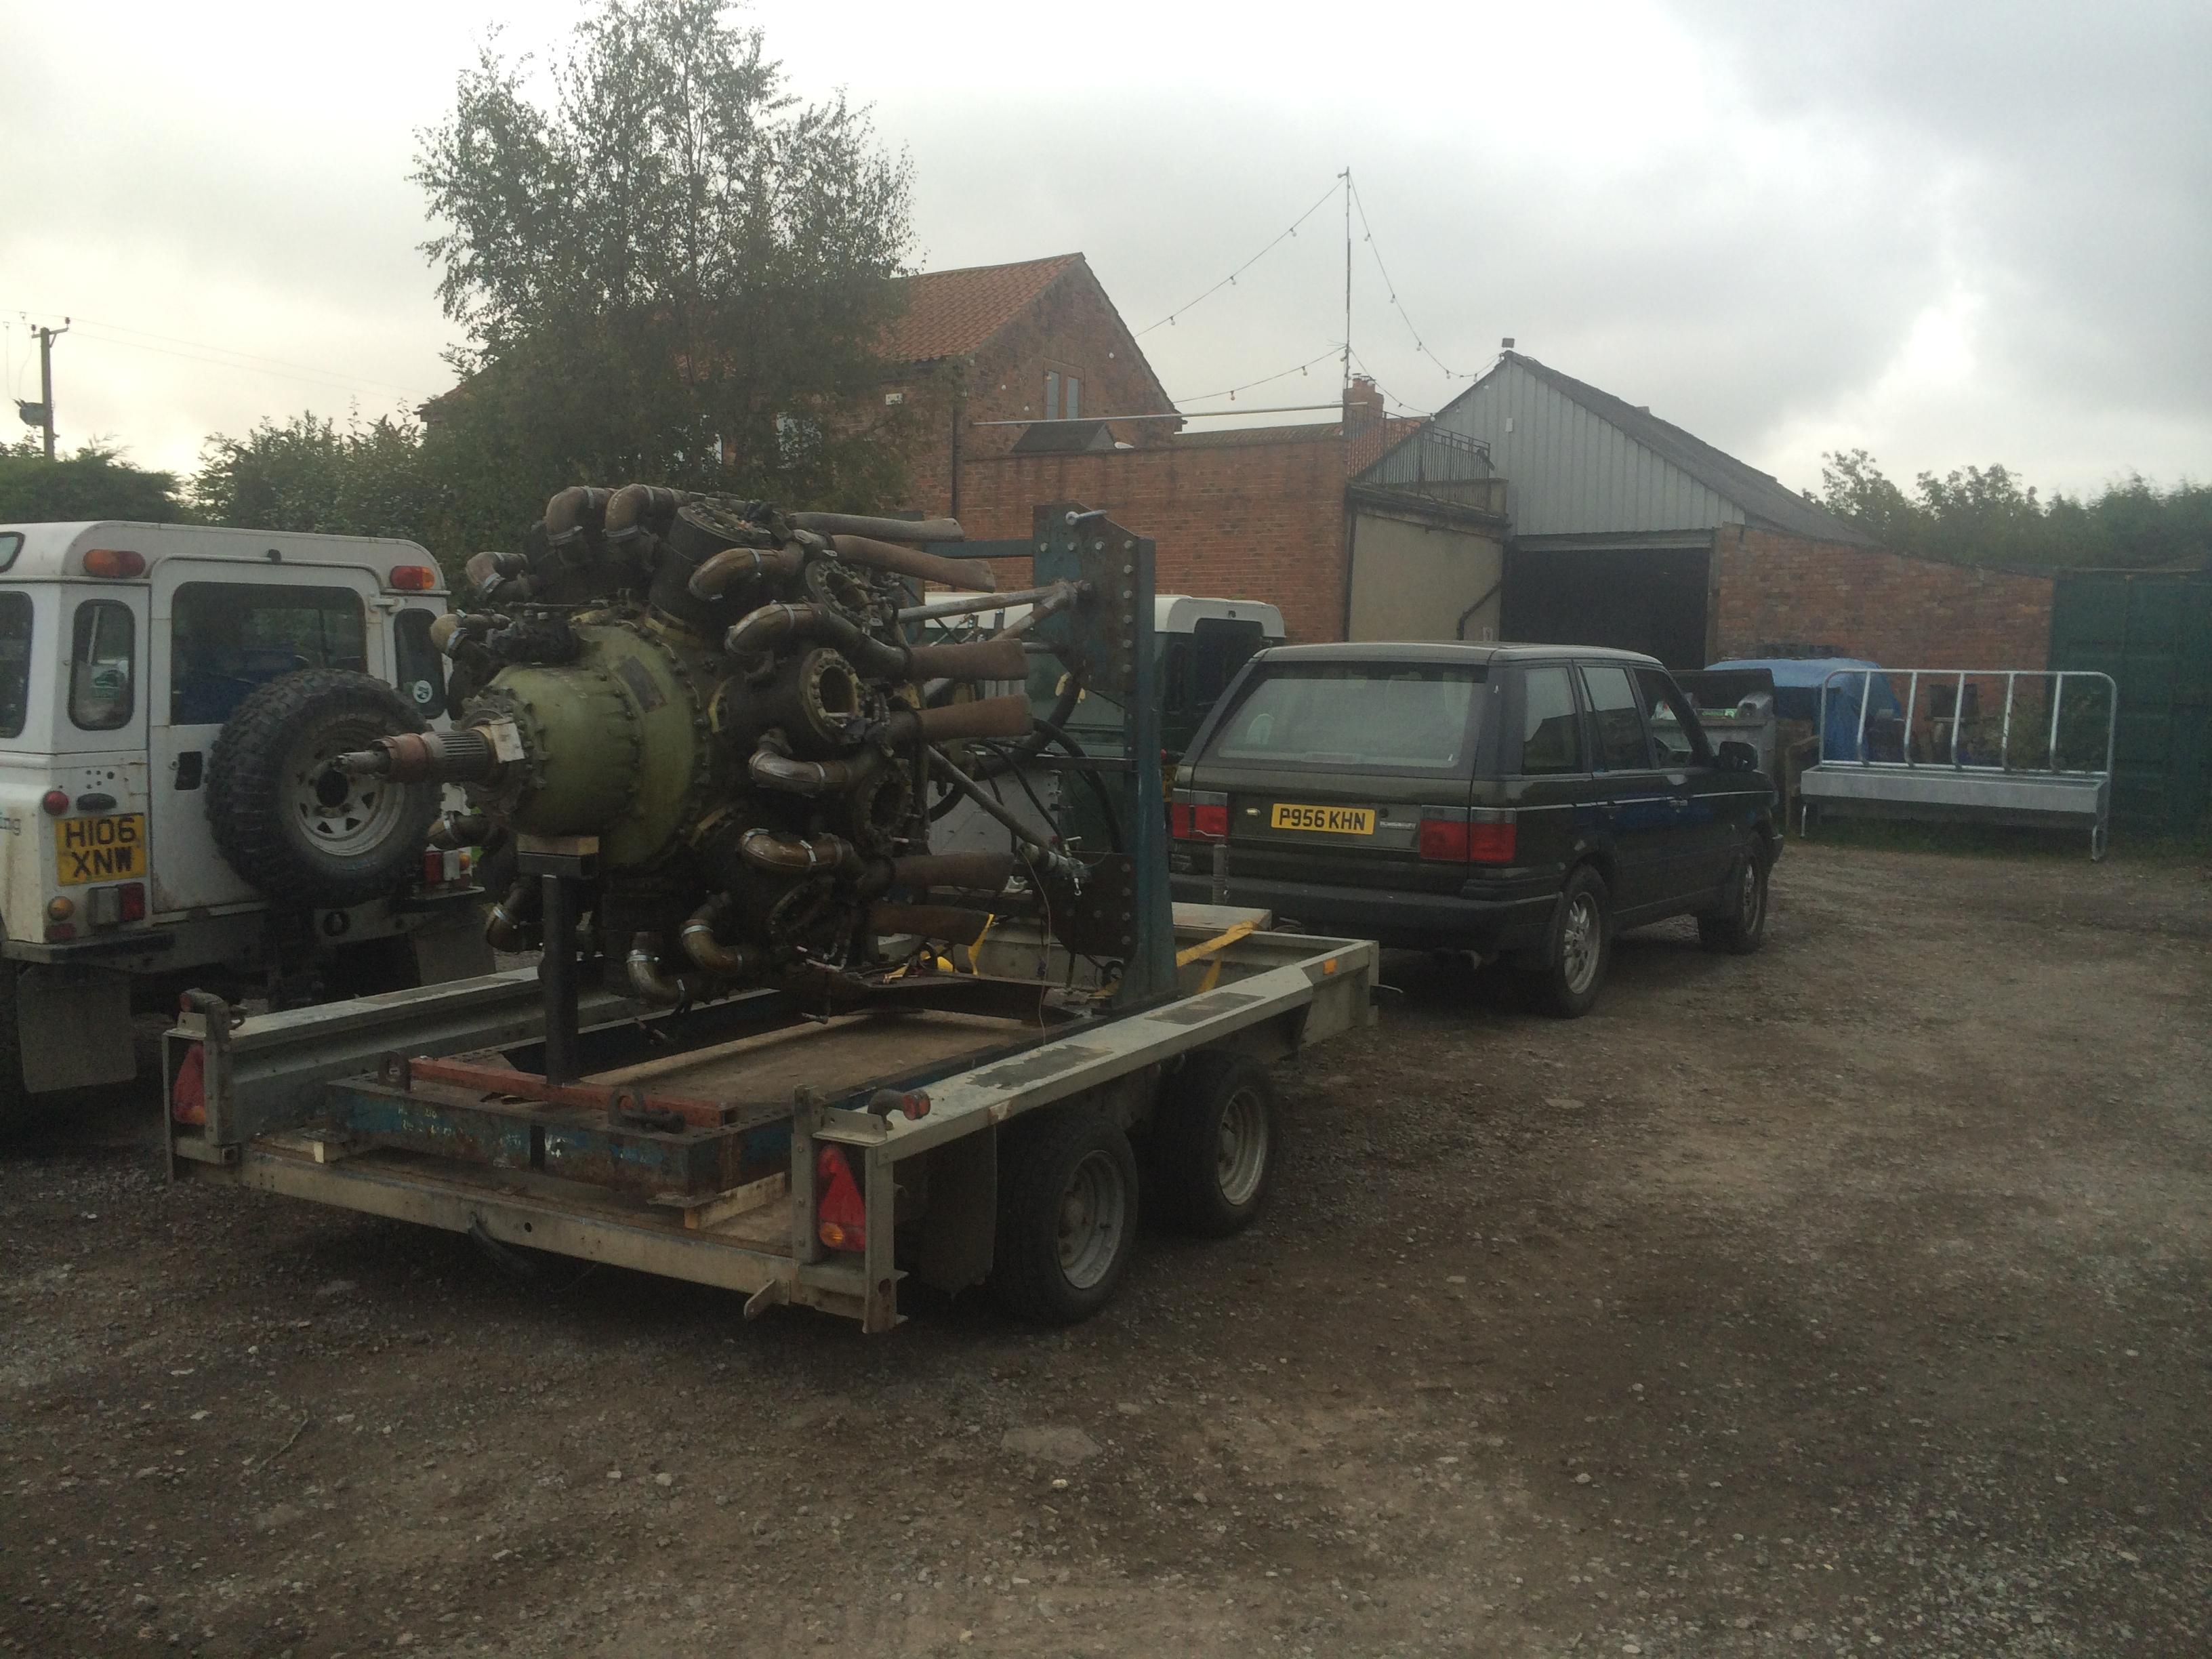
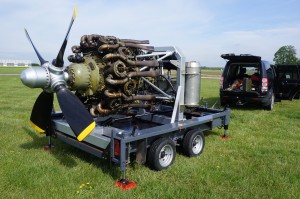
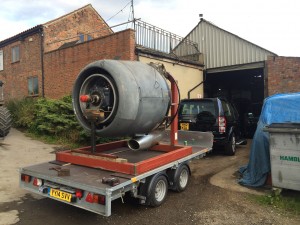
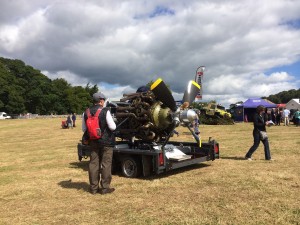
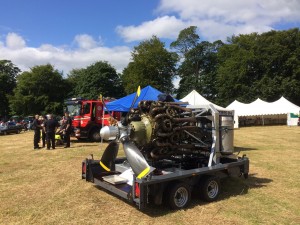
When we got the engine fitted to the frame , it was time to re-hydrate the engine before we lifted it onto a trailer ready to take to the show.

IMG_1890

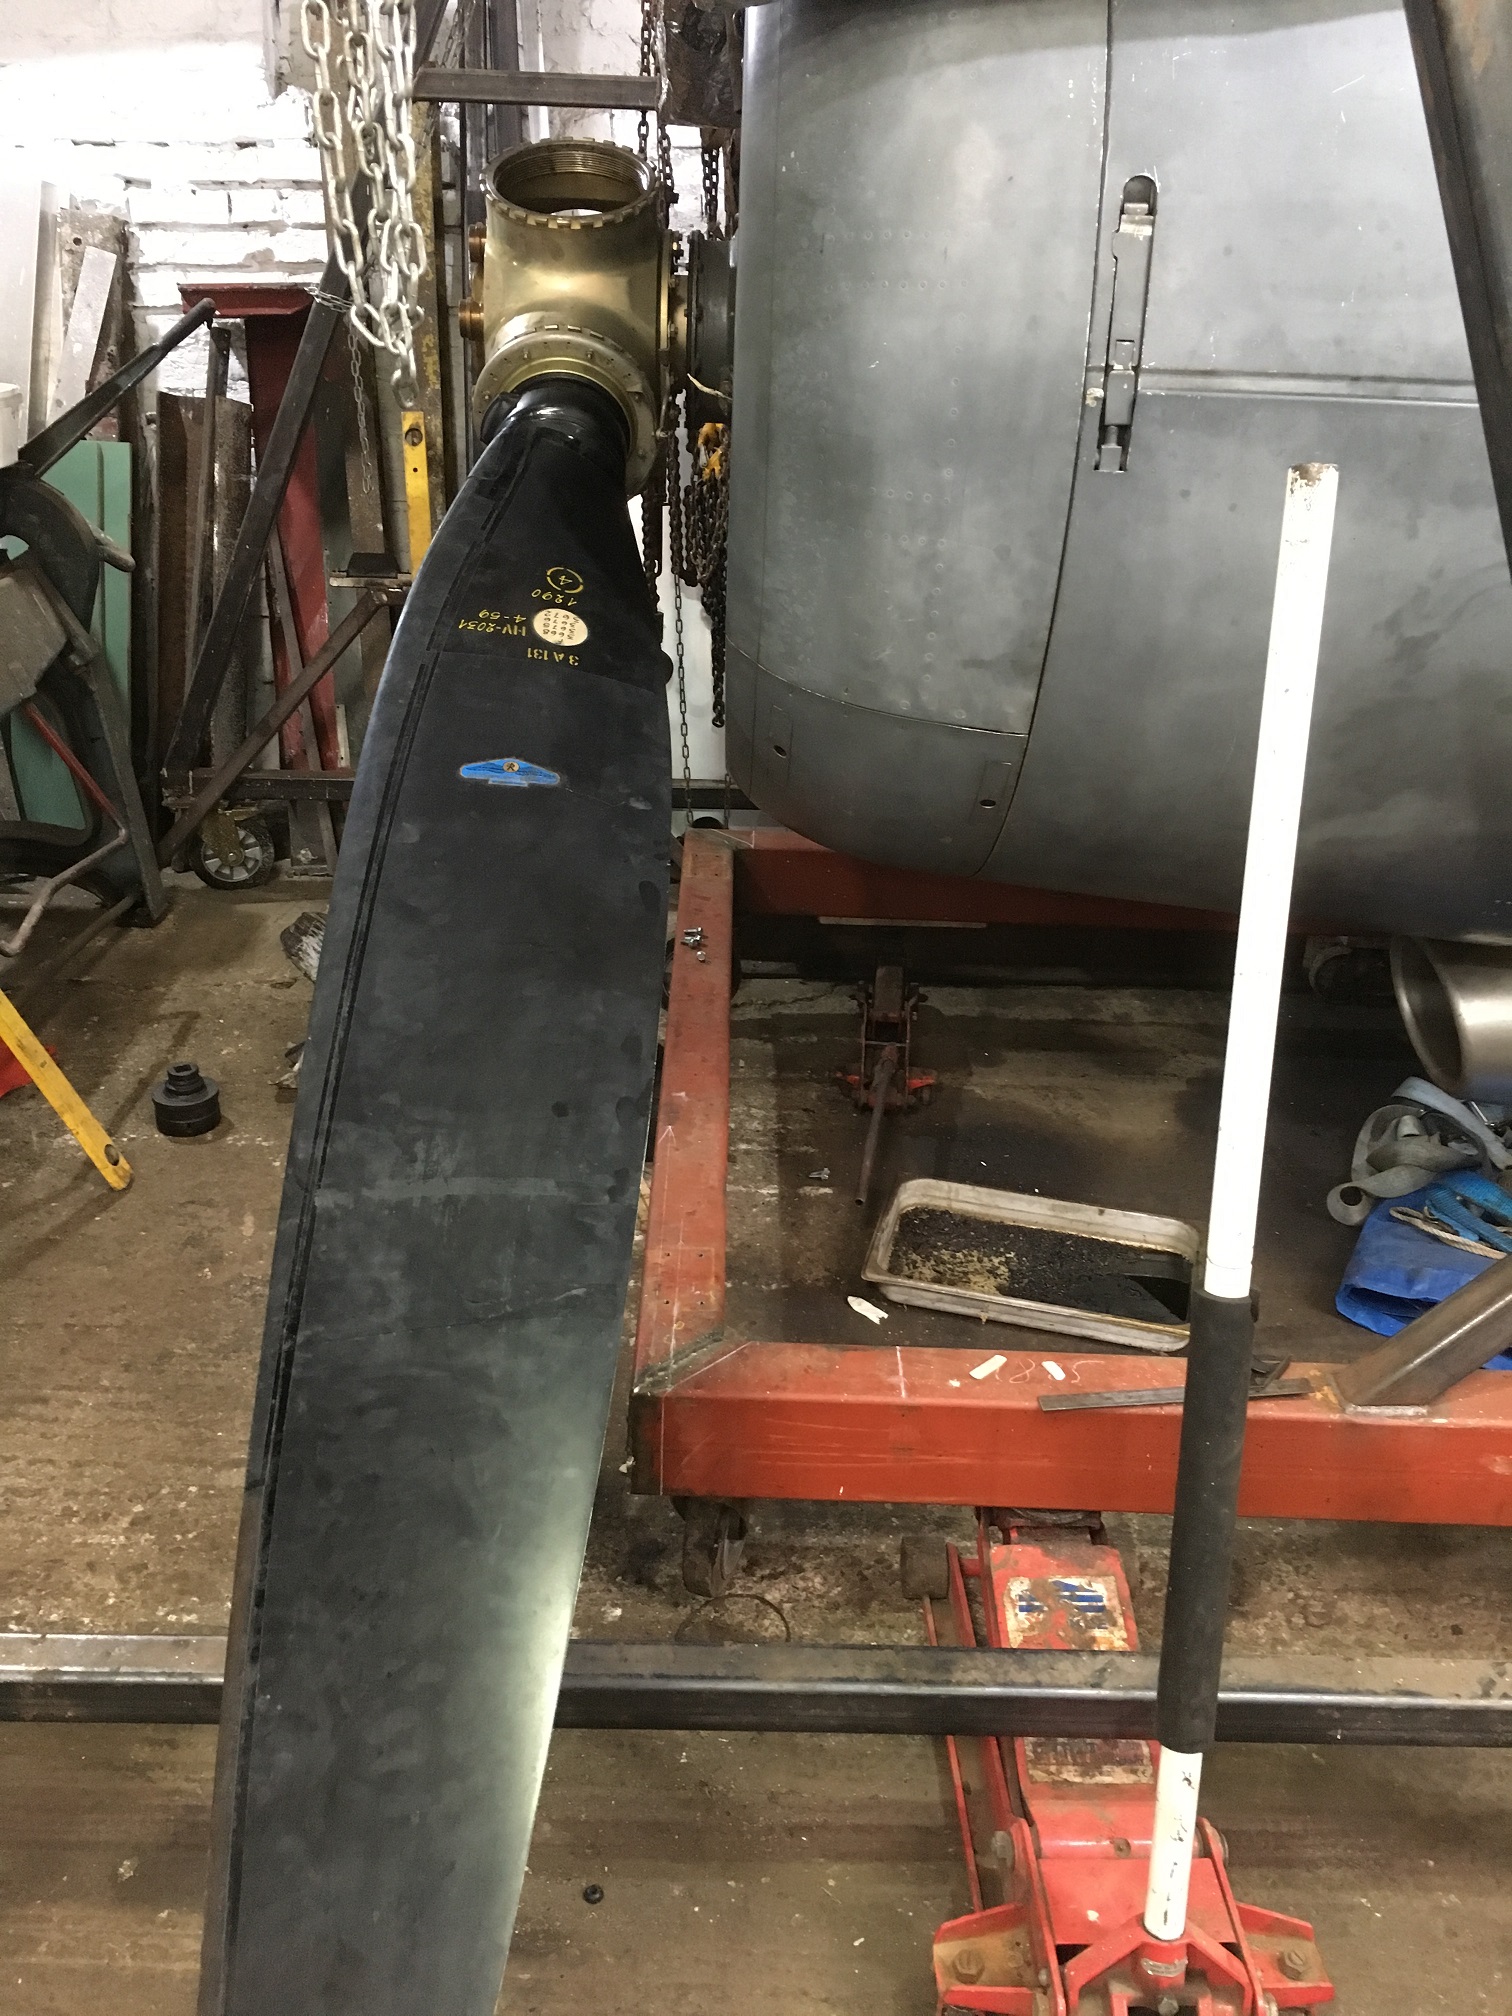
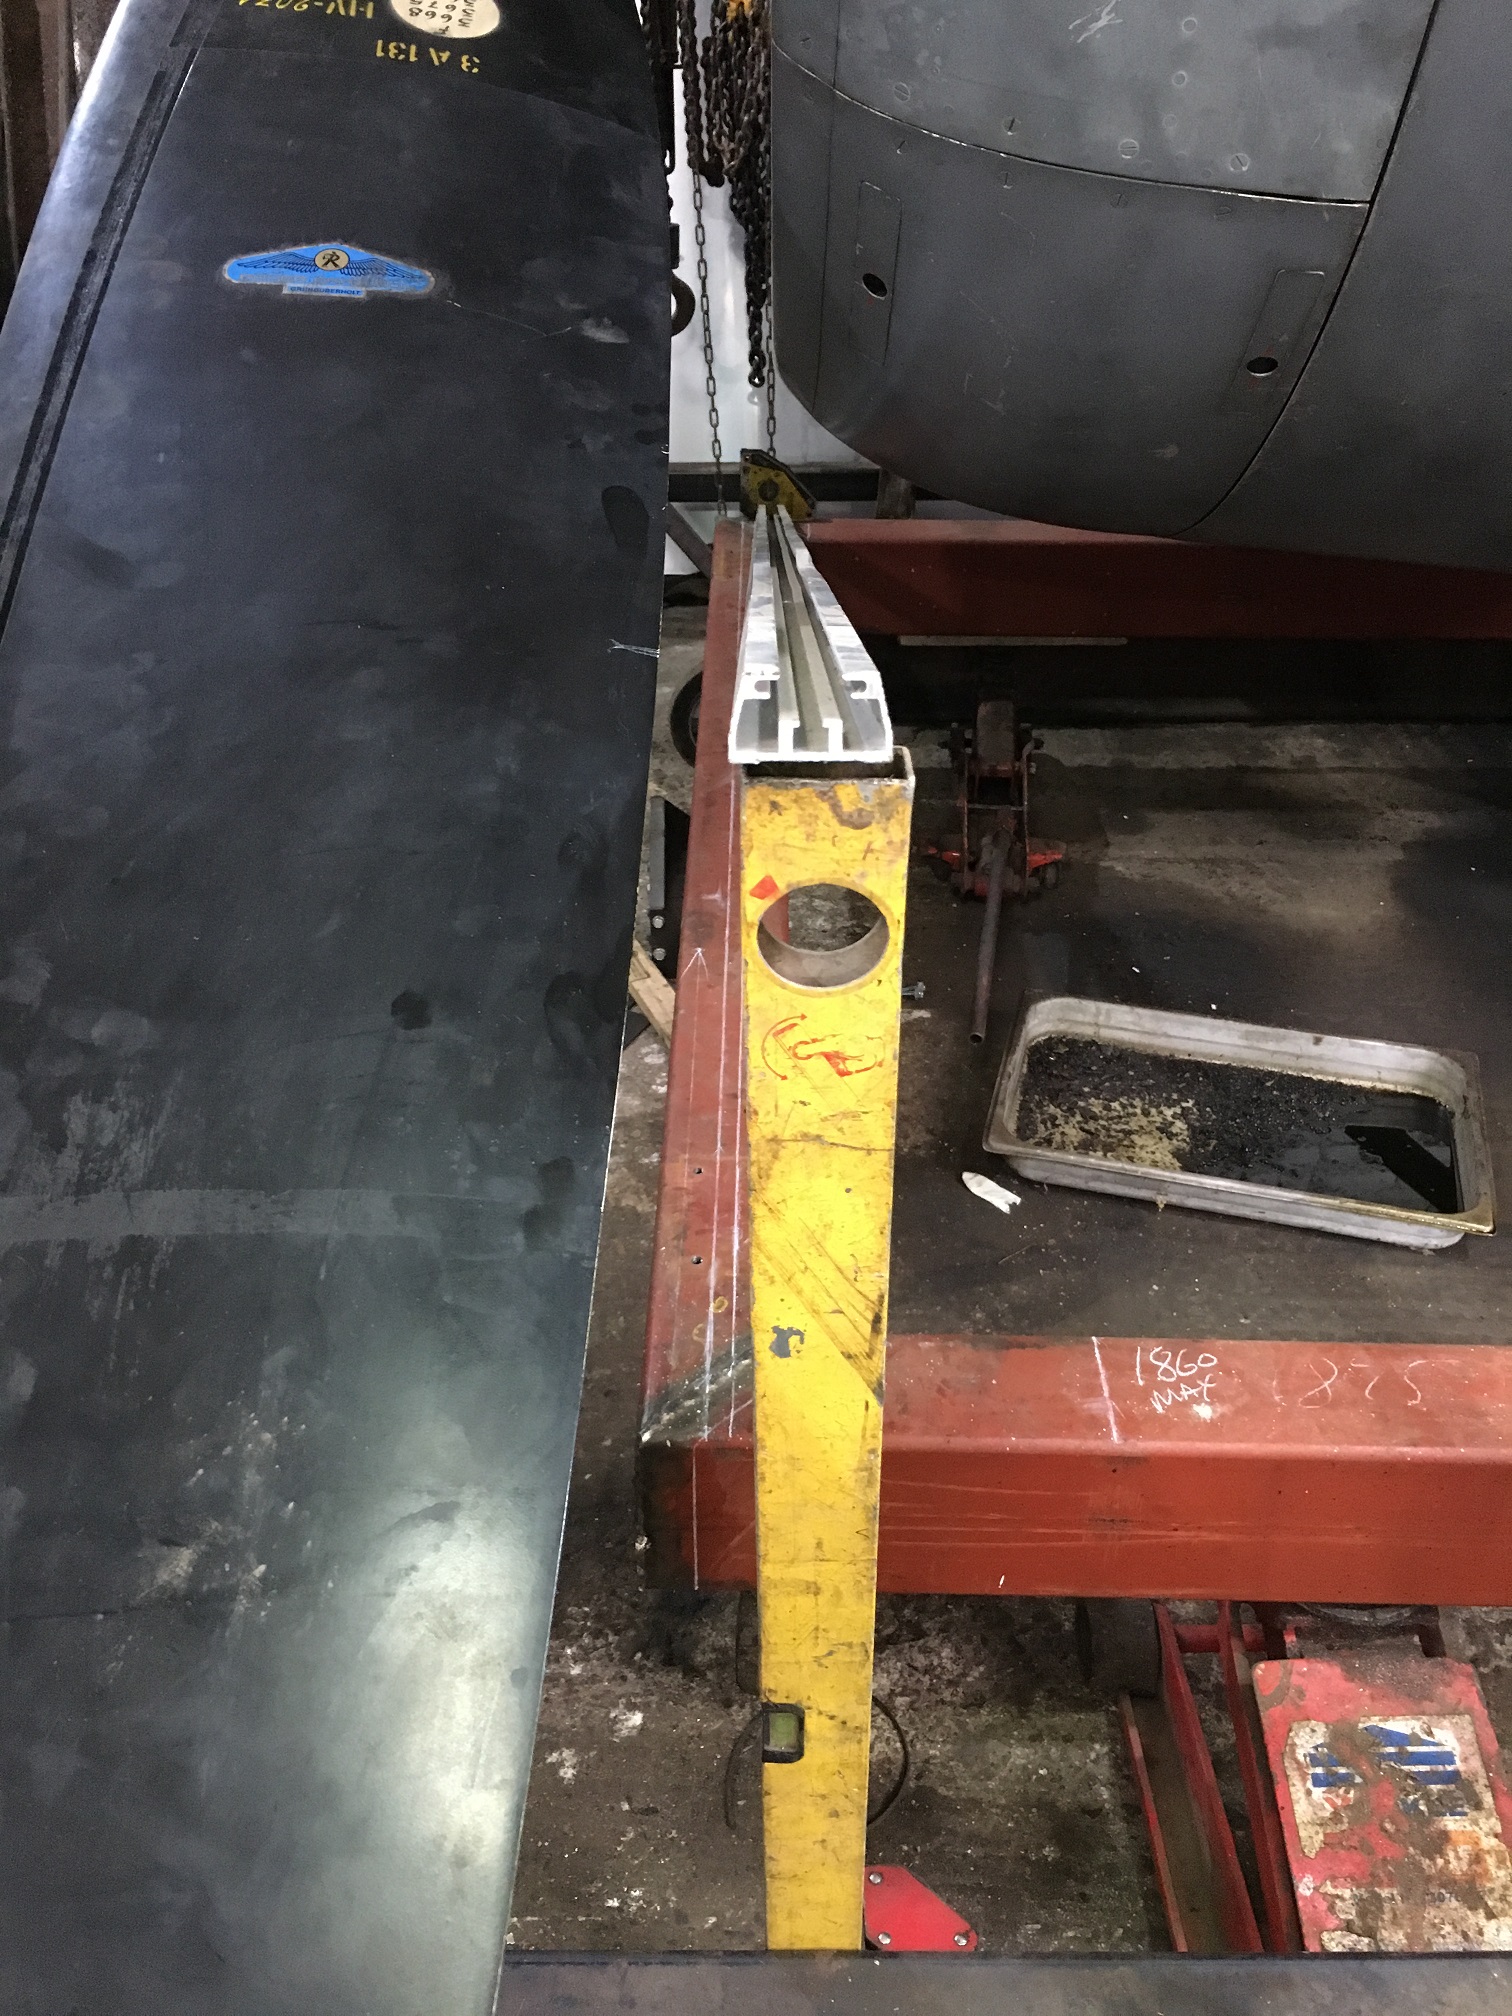
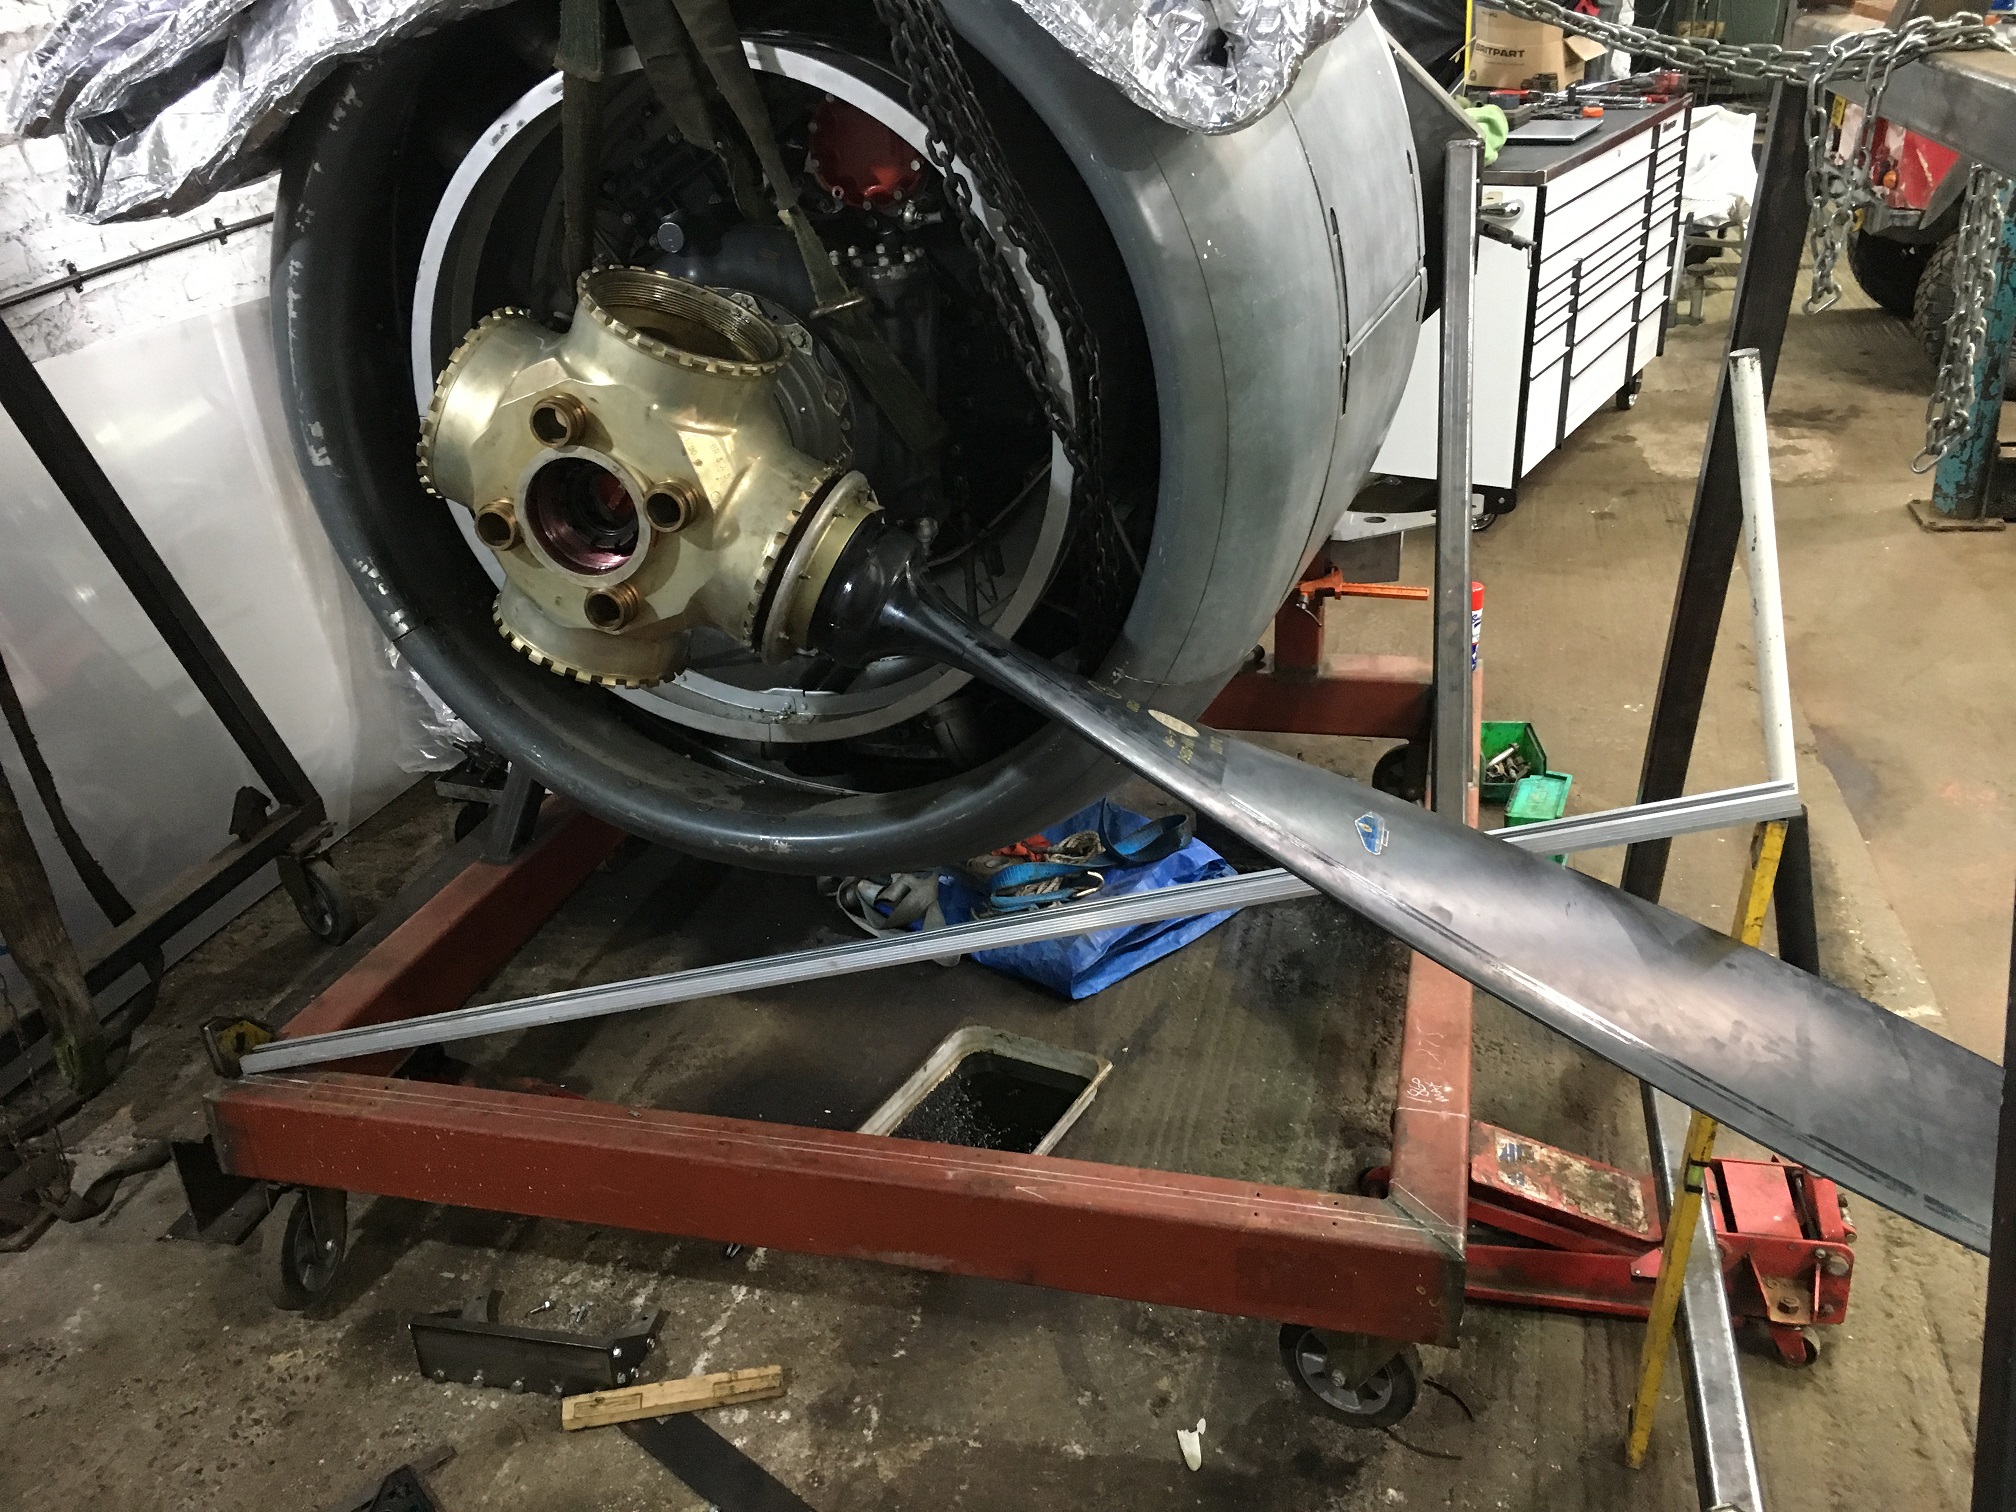
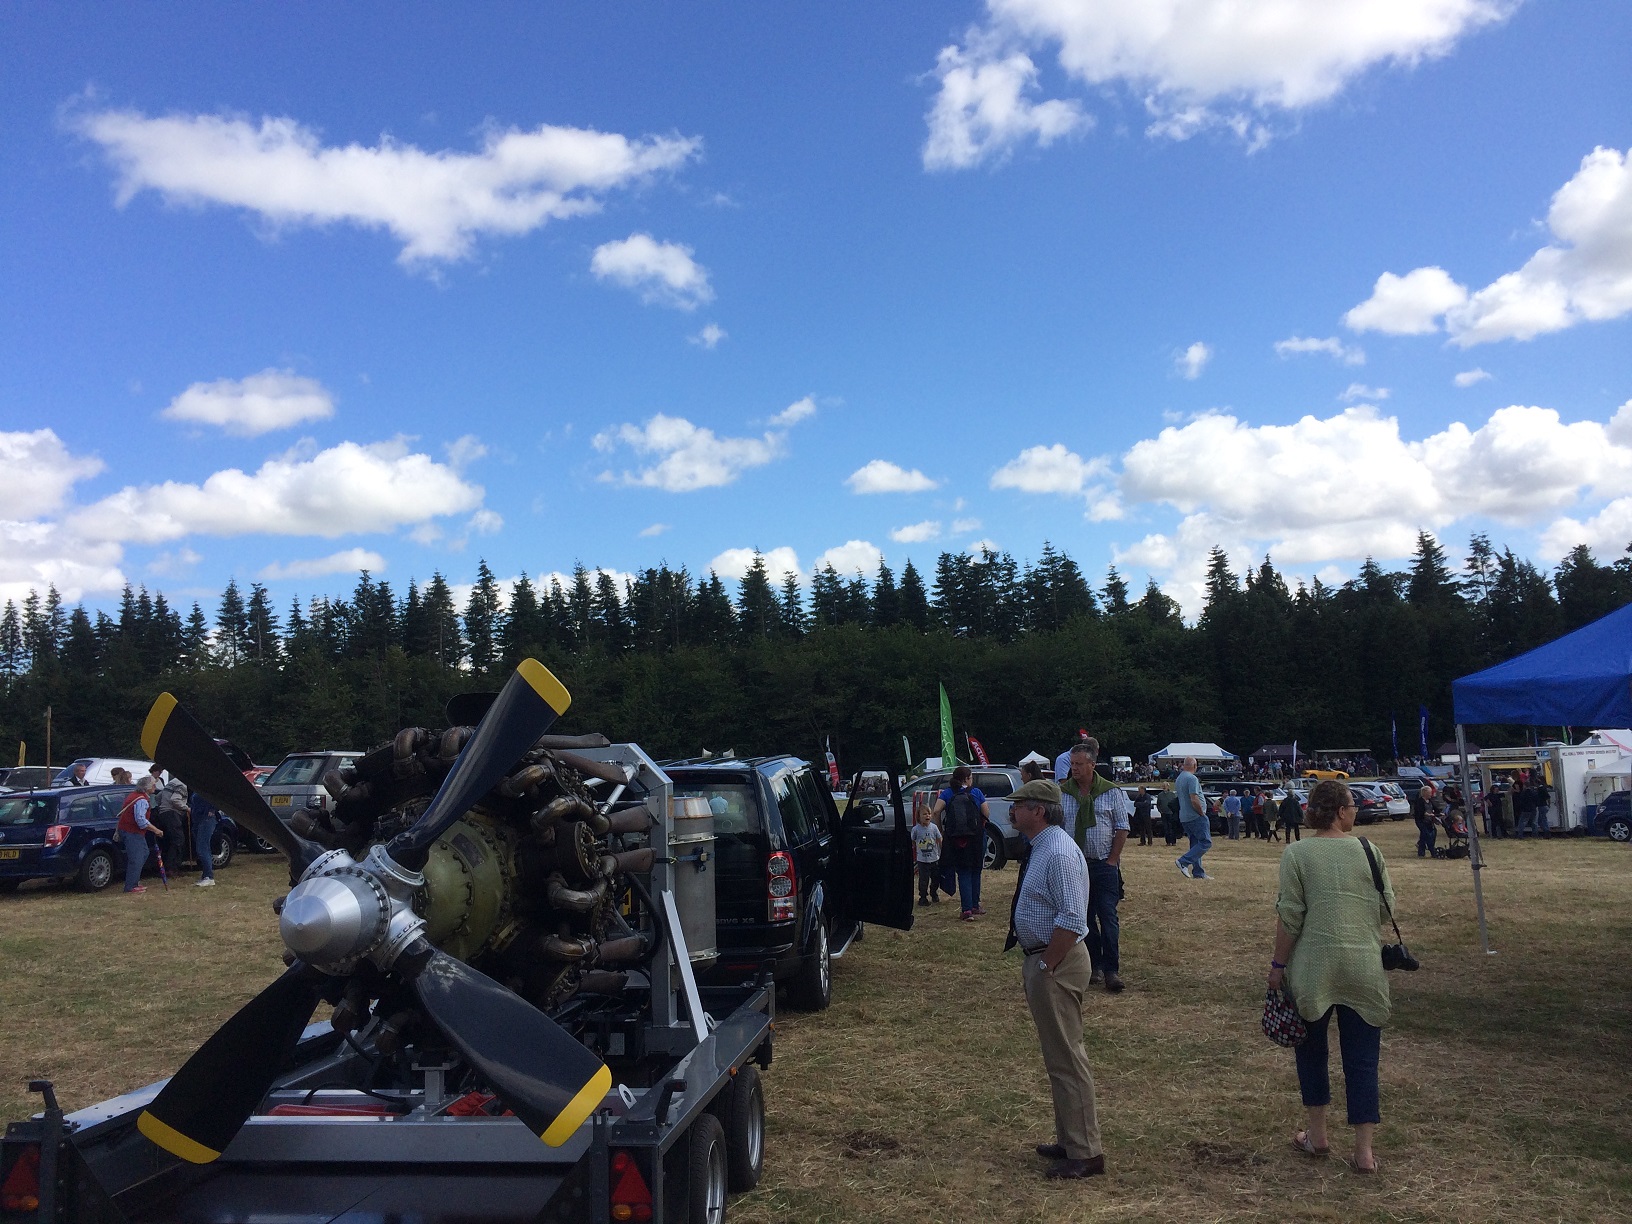
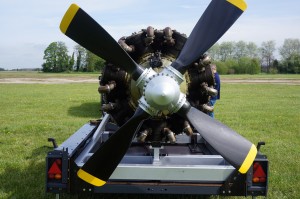
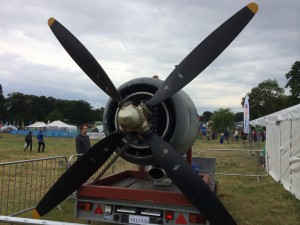
At the show we fitted a full size Rotol Prop, this has put an idea into our heads, should we design a frame to fit a 14 tonne truck so we can run a full size prop at some time!

IMG_1897 IMG_1899

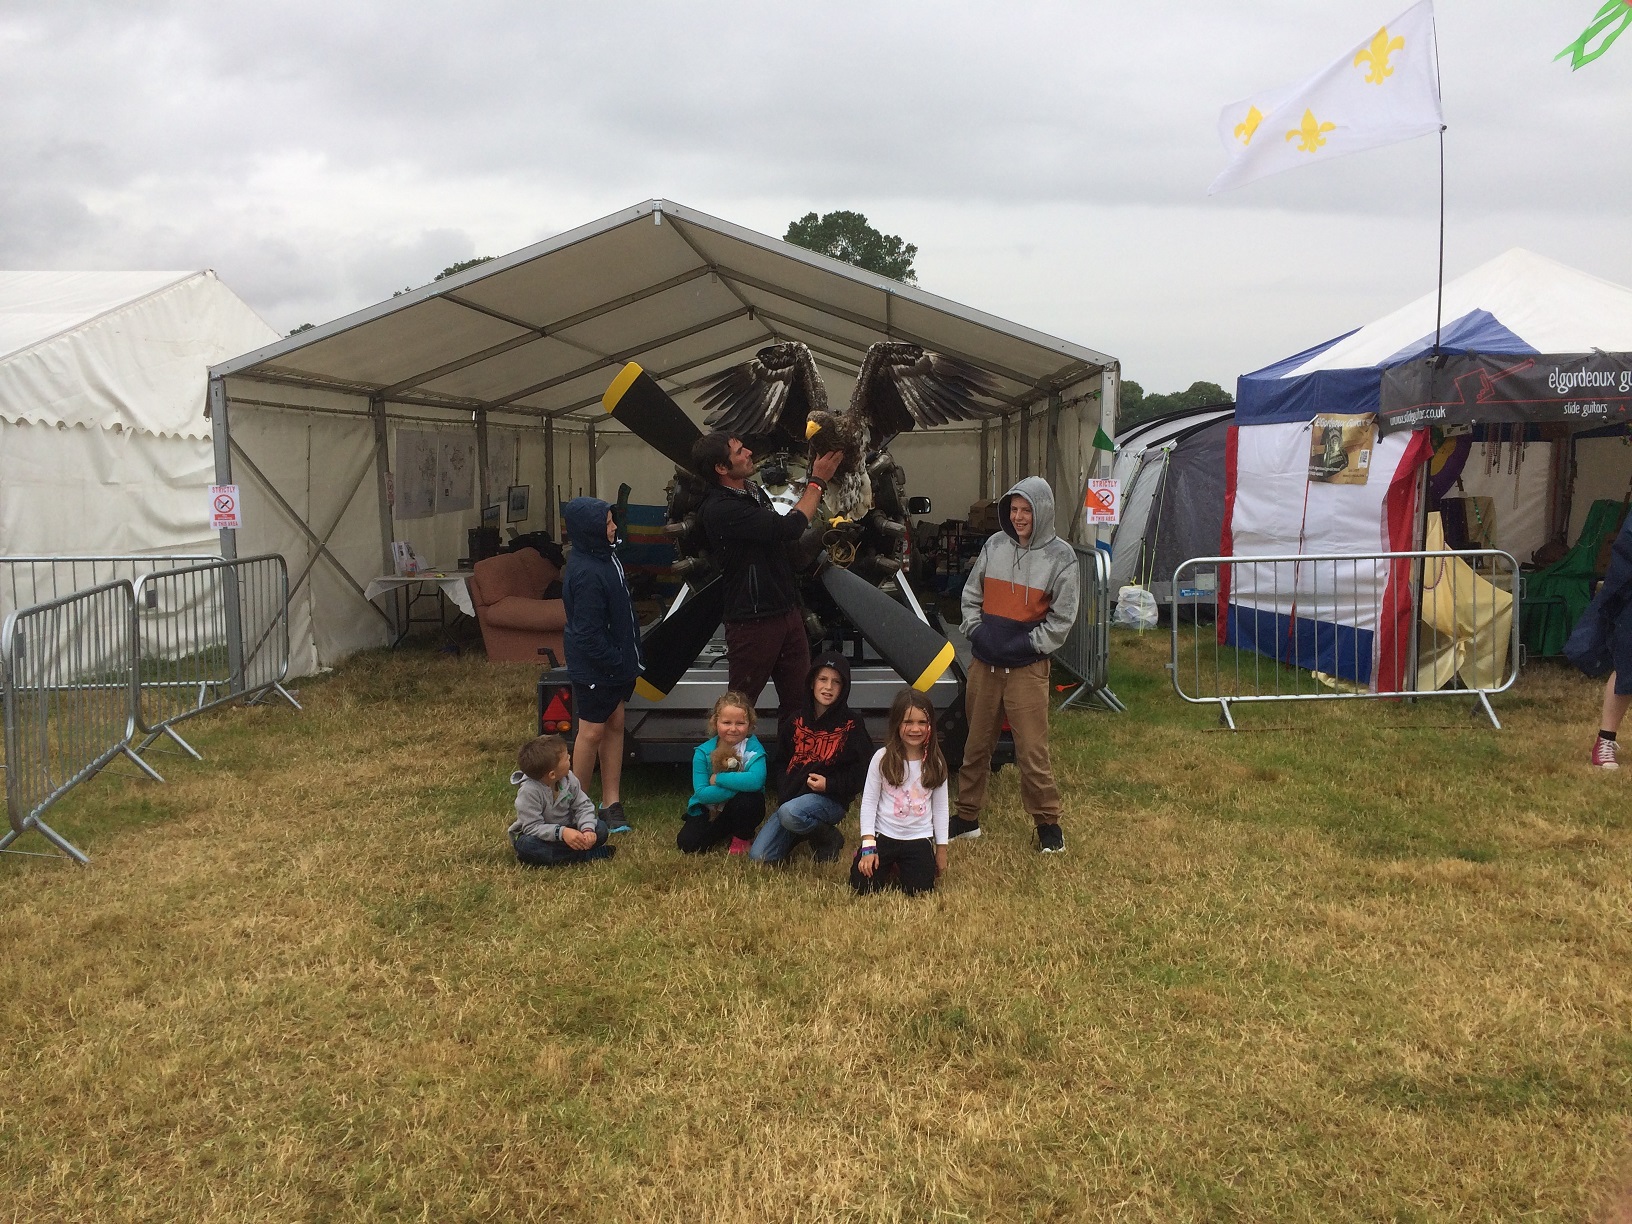
At the end of the show a friend of ours Ben Potter brought his 9 foot wingspan Steller’s Sea Eagle called Camillia over to have it’s picture taken next to the Hercules with all of our Grand Kids and friends . Ones born to fly ones built to fly!

IMG_1952


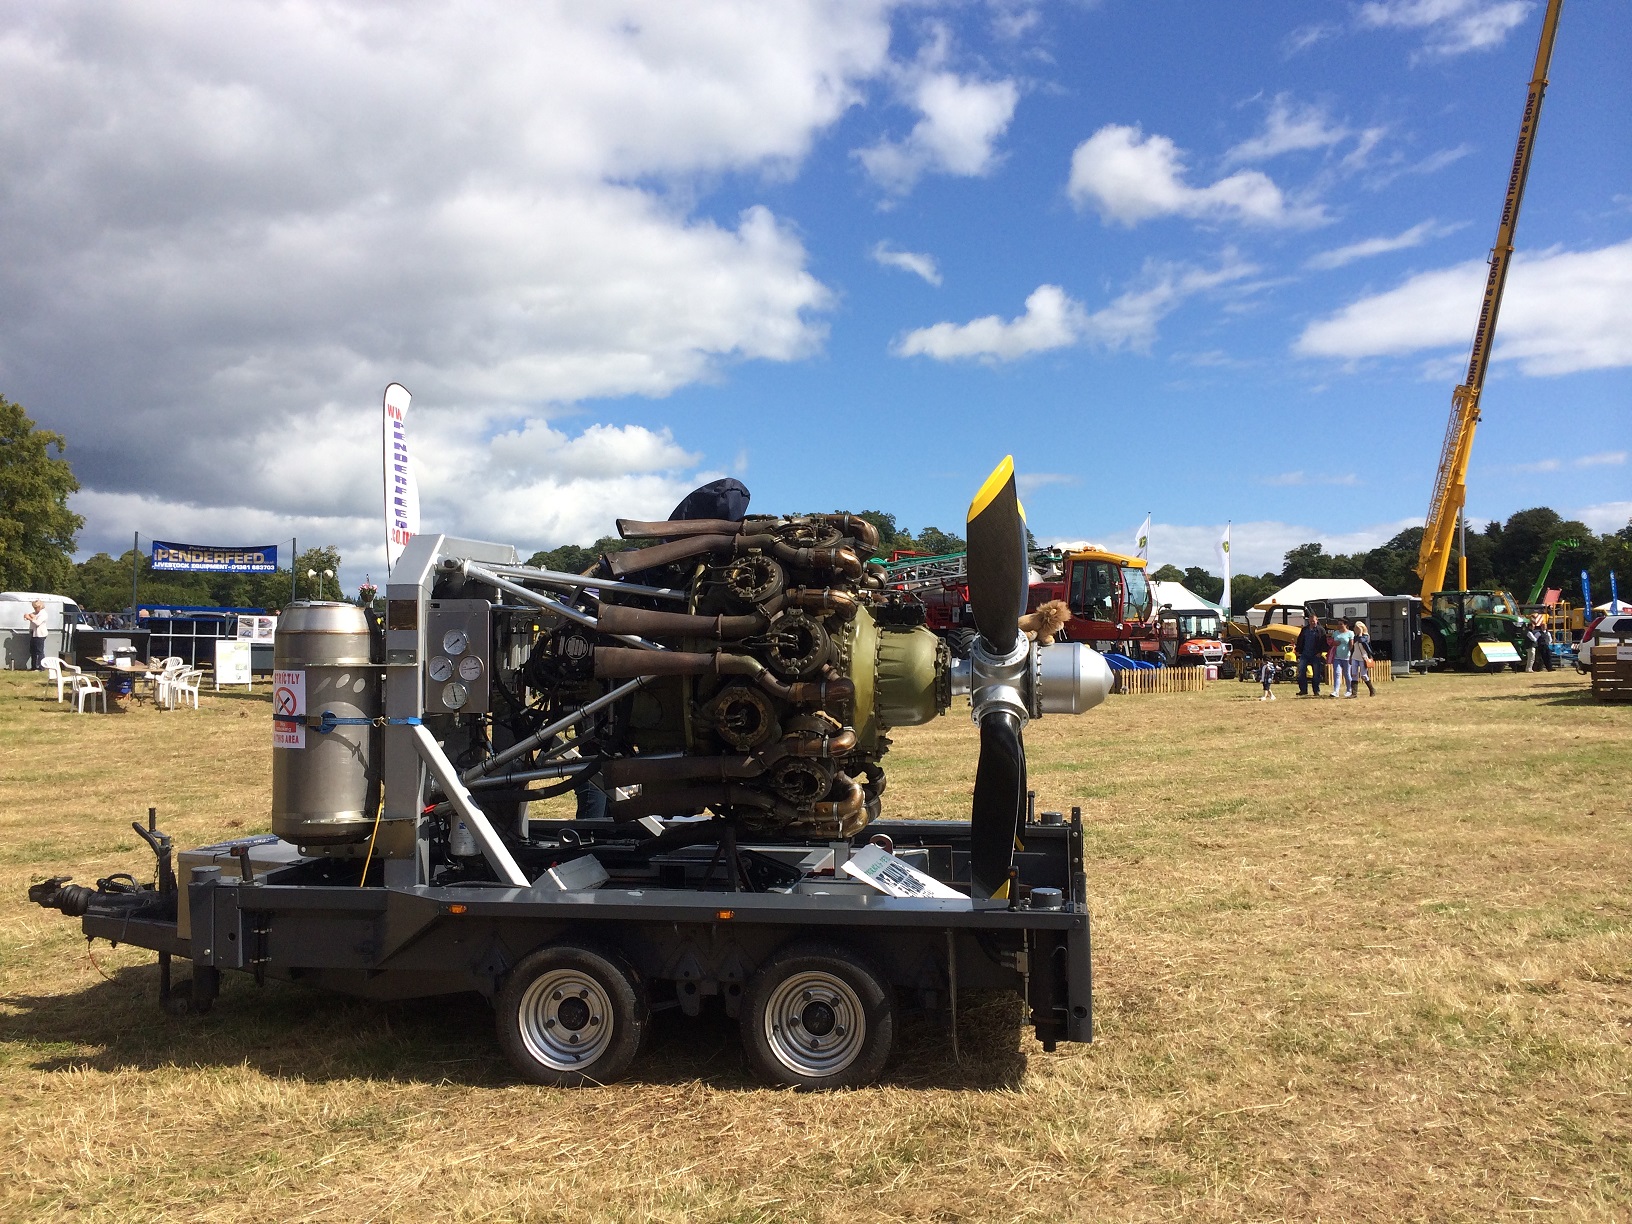
Our next trip out took us to the Scottish Borders Agriculture Show at Duns on the 1st of August.

IMG_1973 IMG_1974 IMG_1975 IMG_1979


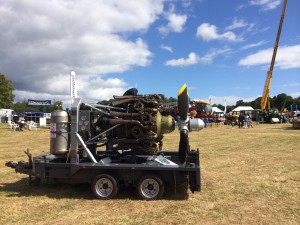
A lot of local people had a lot of knowledge of the engine as there was two local Airfields that used to be home to Beau-fighters.

IMG_1978 IMG_1977

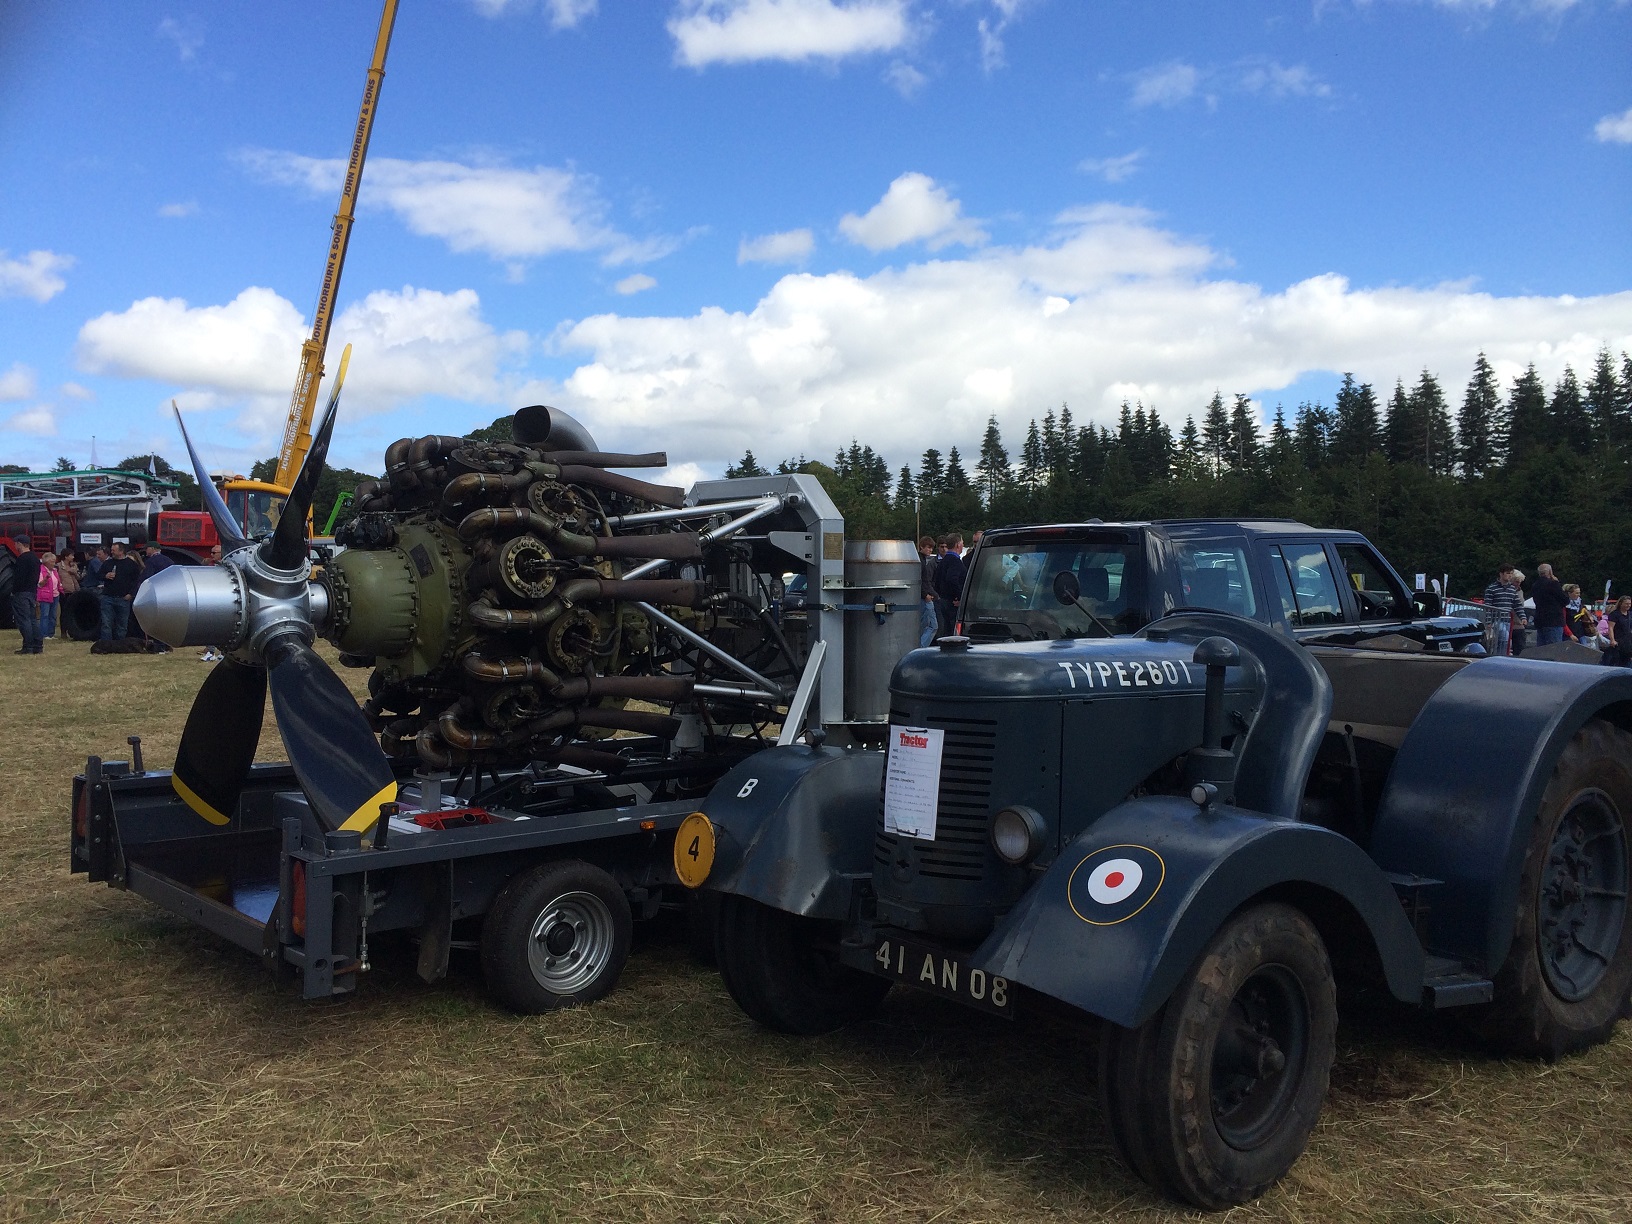
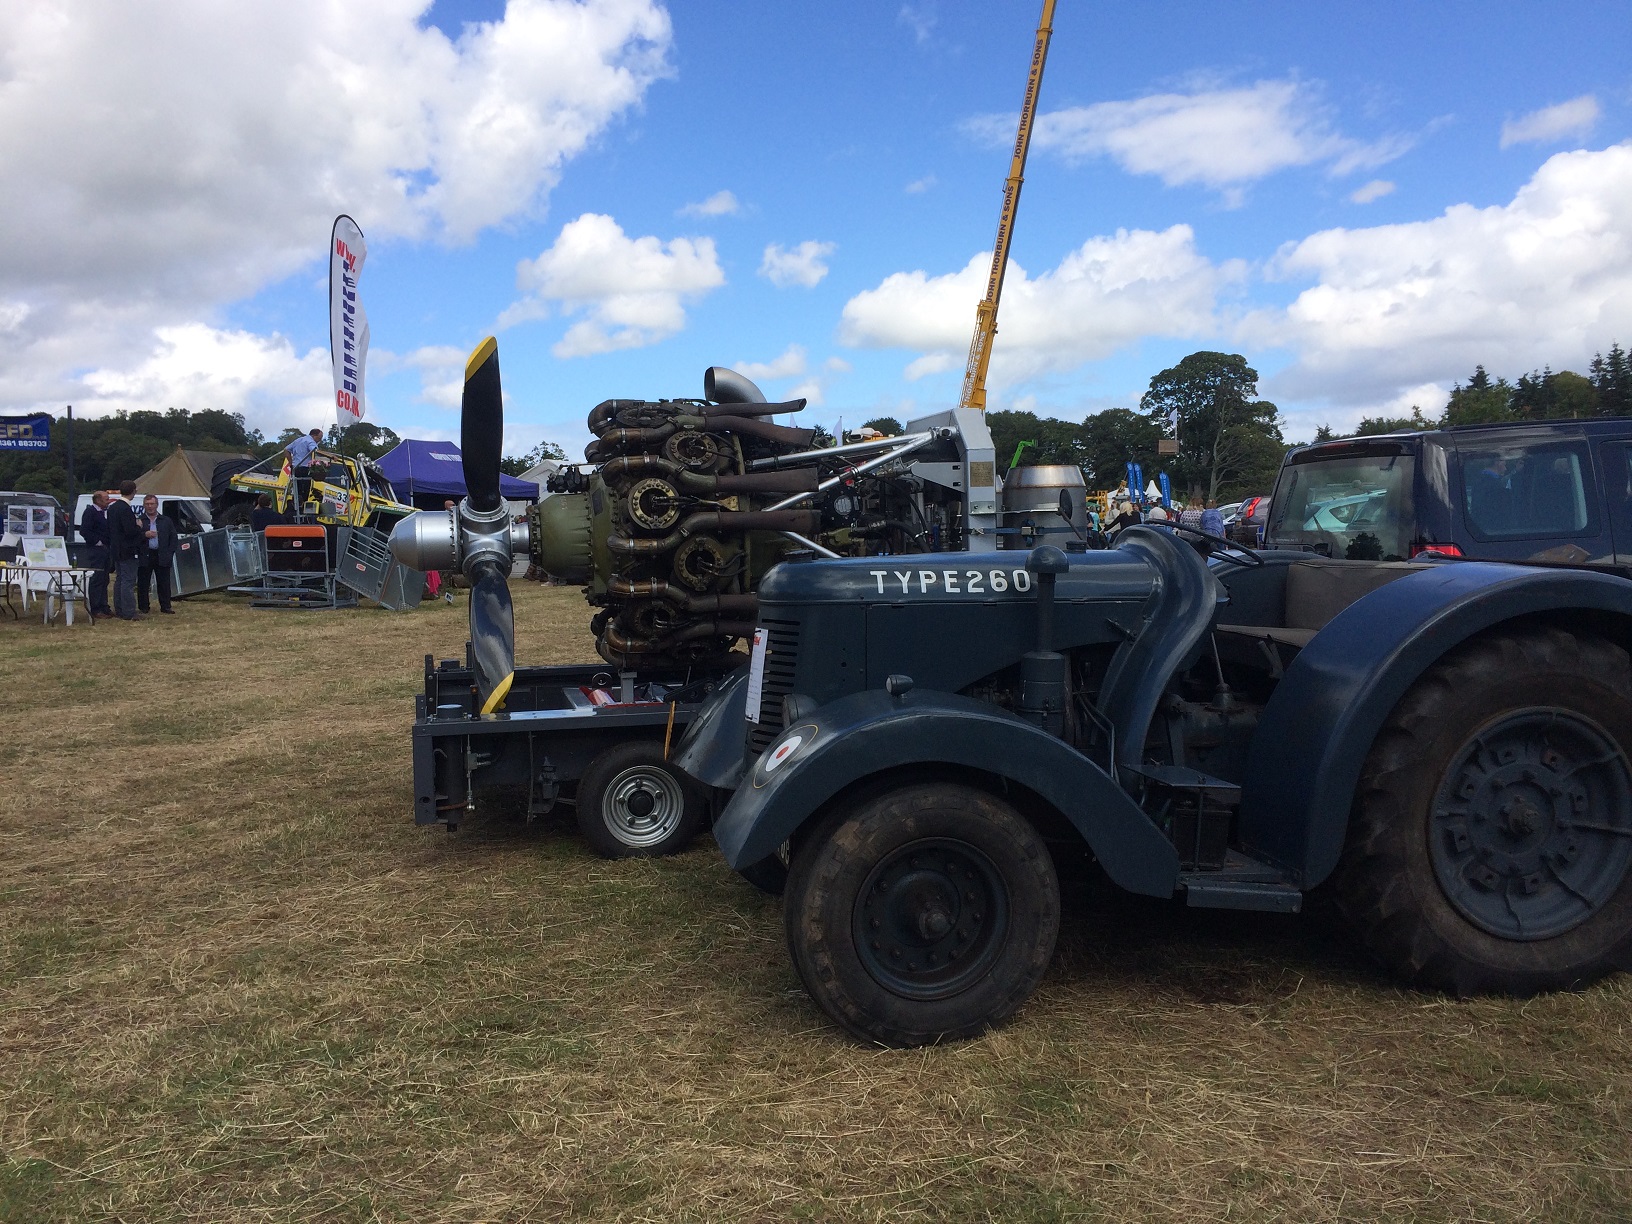
At the Show there was a 1944 David Brown Airfield tractor tug, so thought that we would introduce them!

IMG_1984

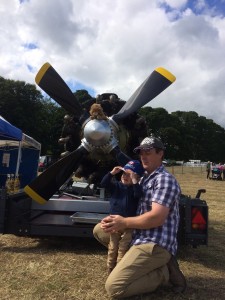
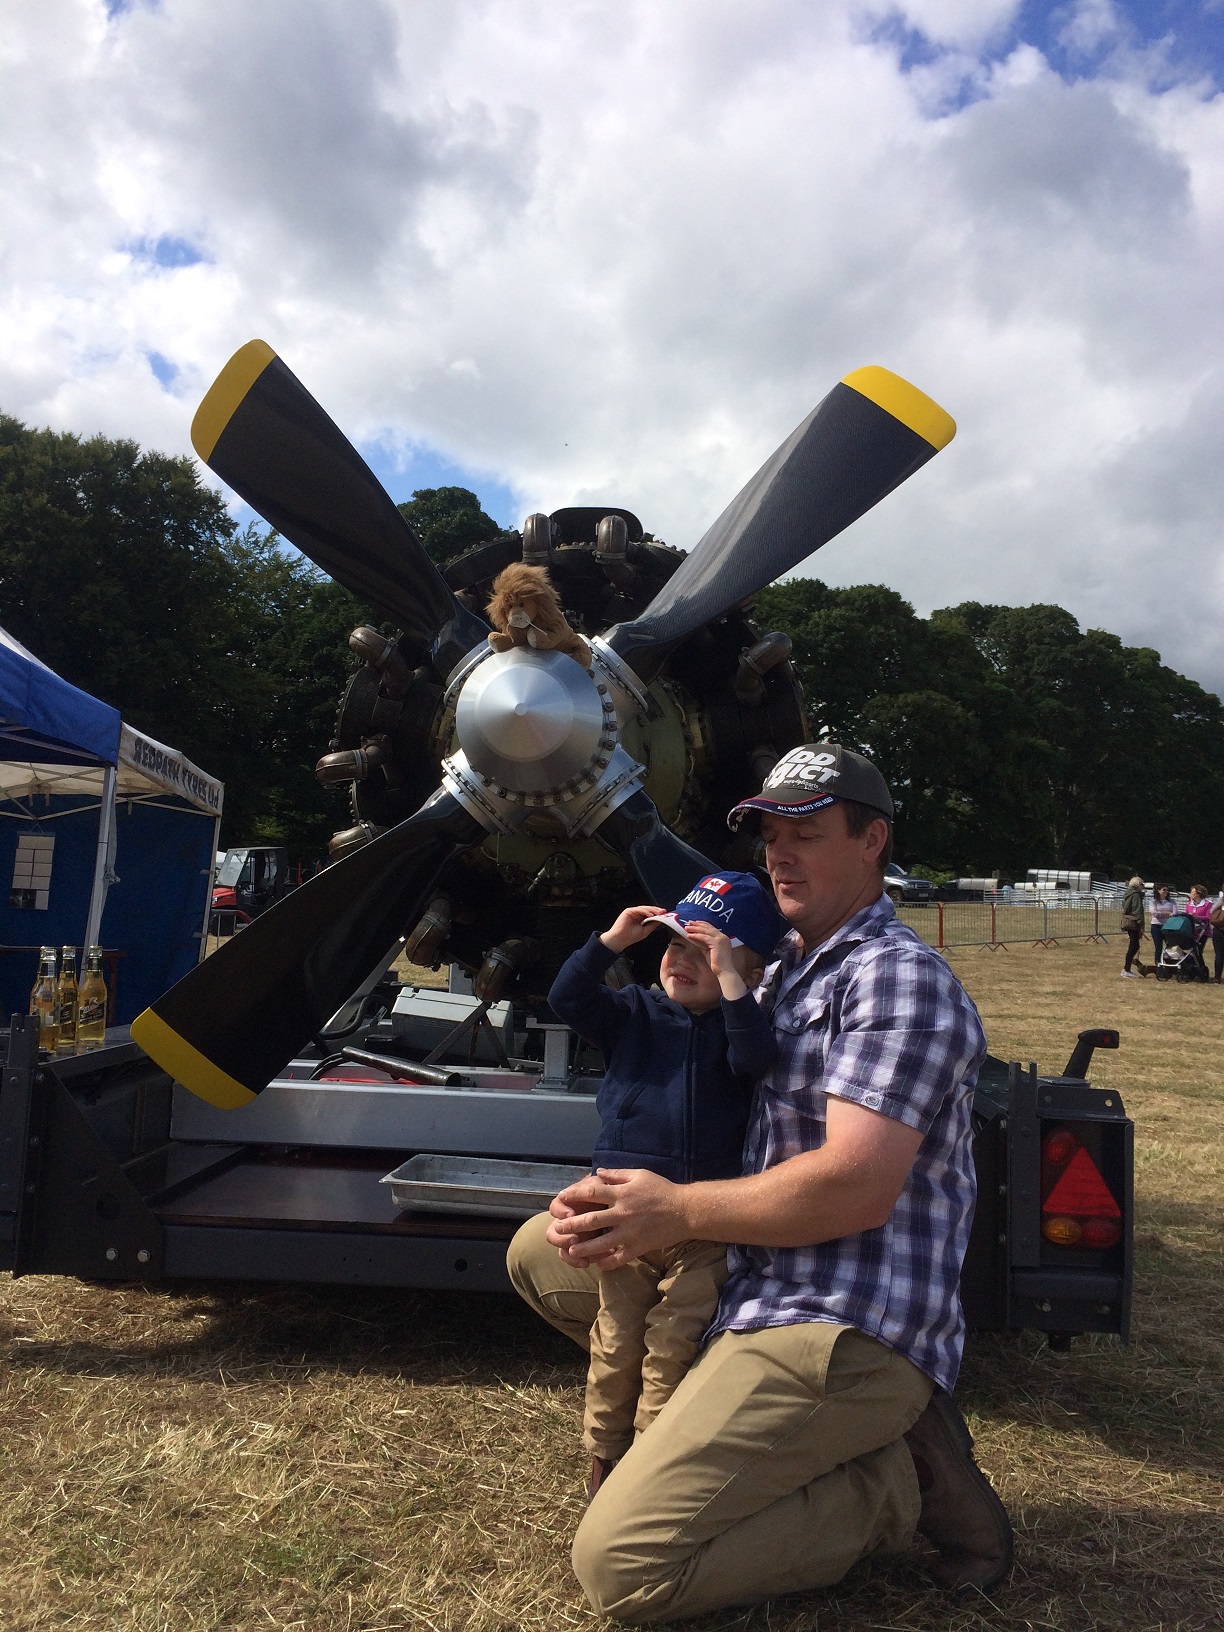
A young future pilot i think!

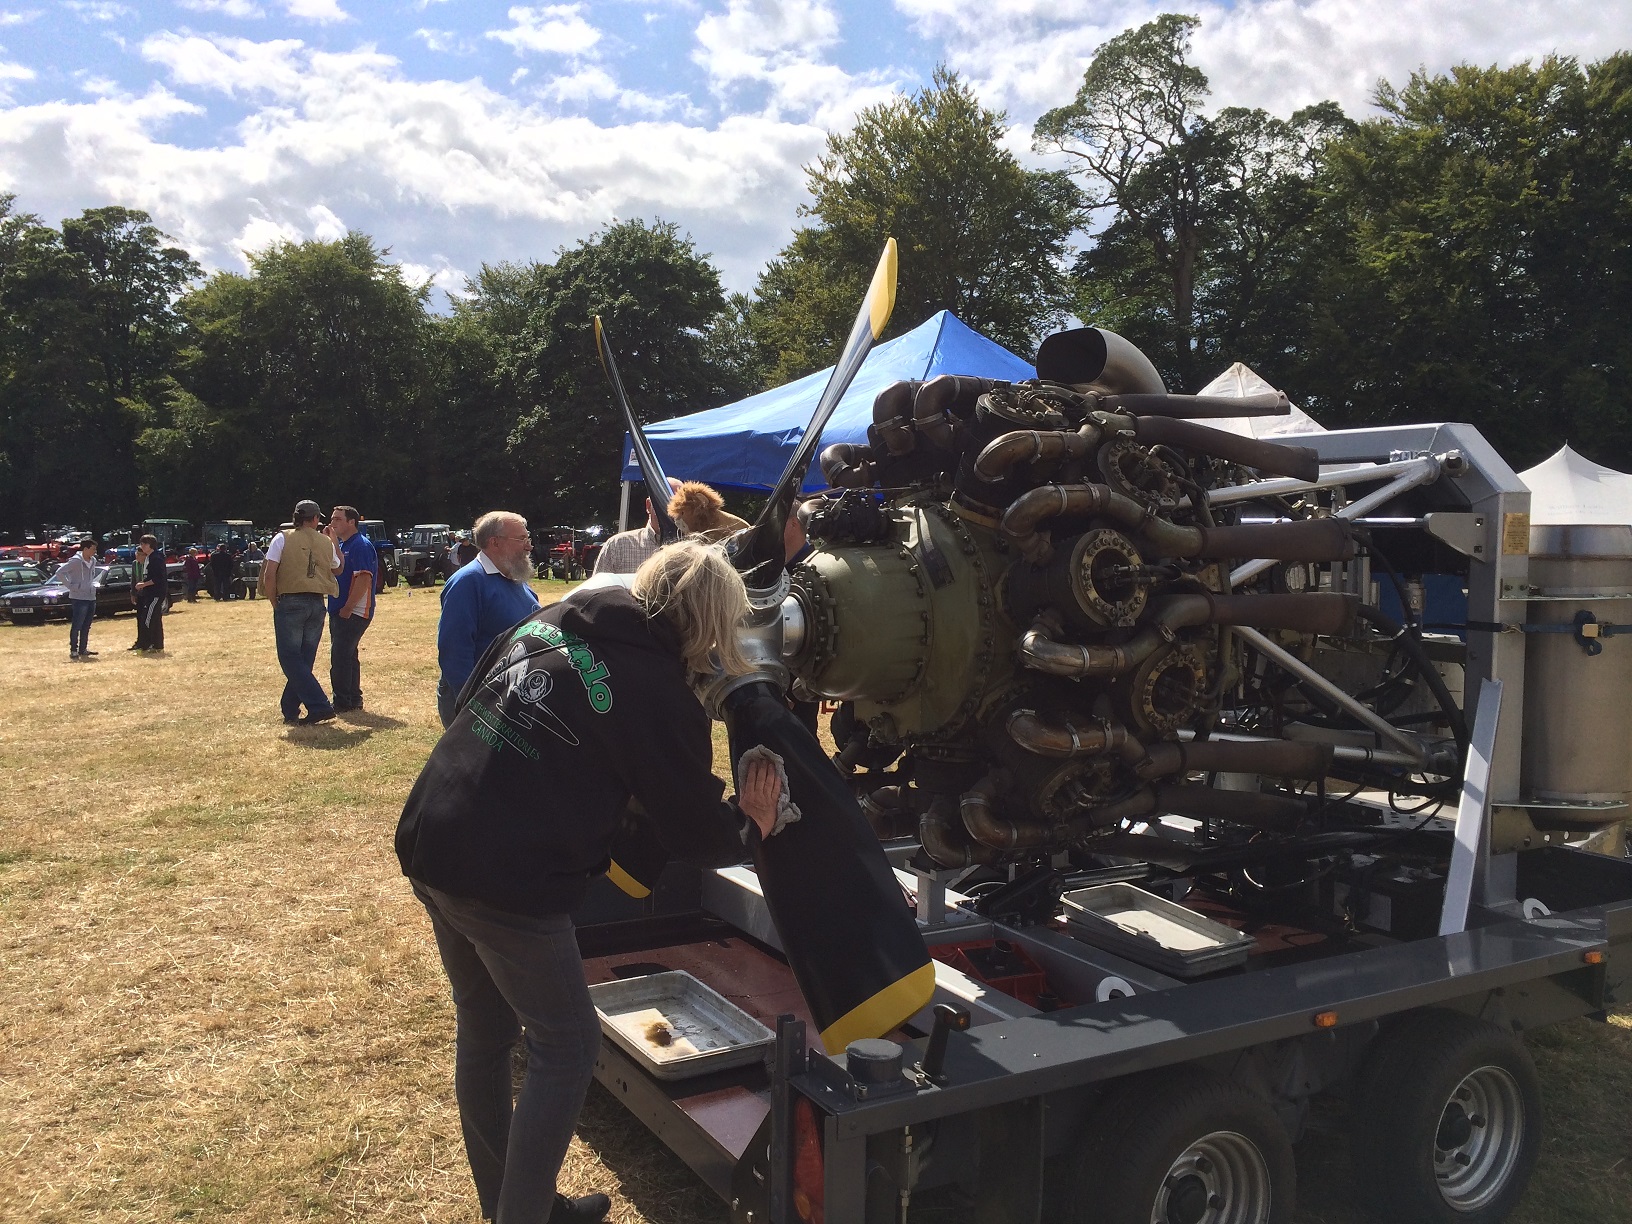
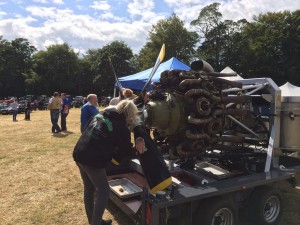
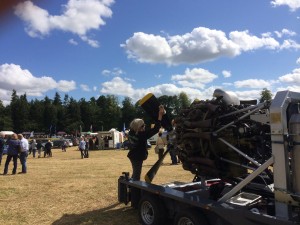
After the engine run,Gill my wife did a bit of house keeping and cleaned the prop blades.

IMG_1982 IMG_1980


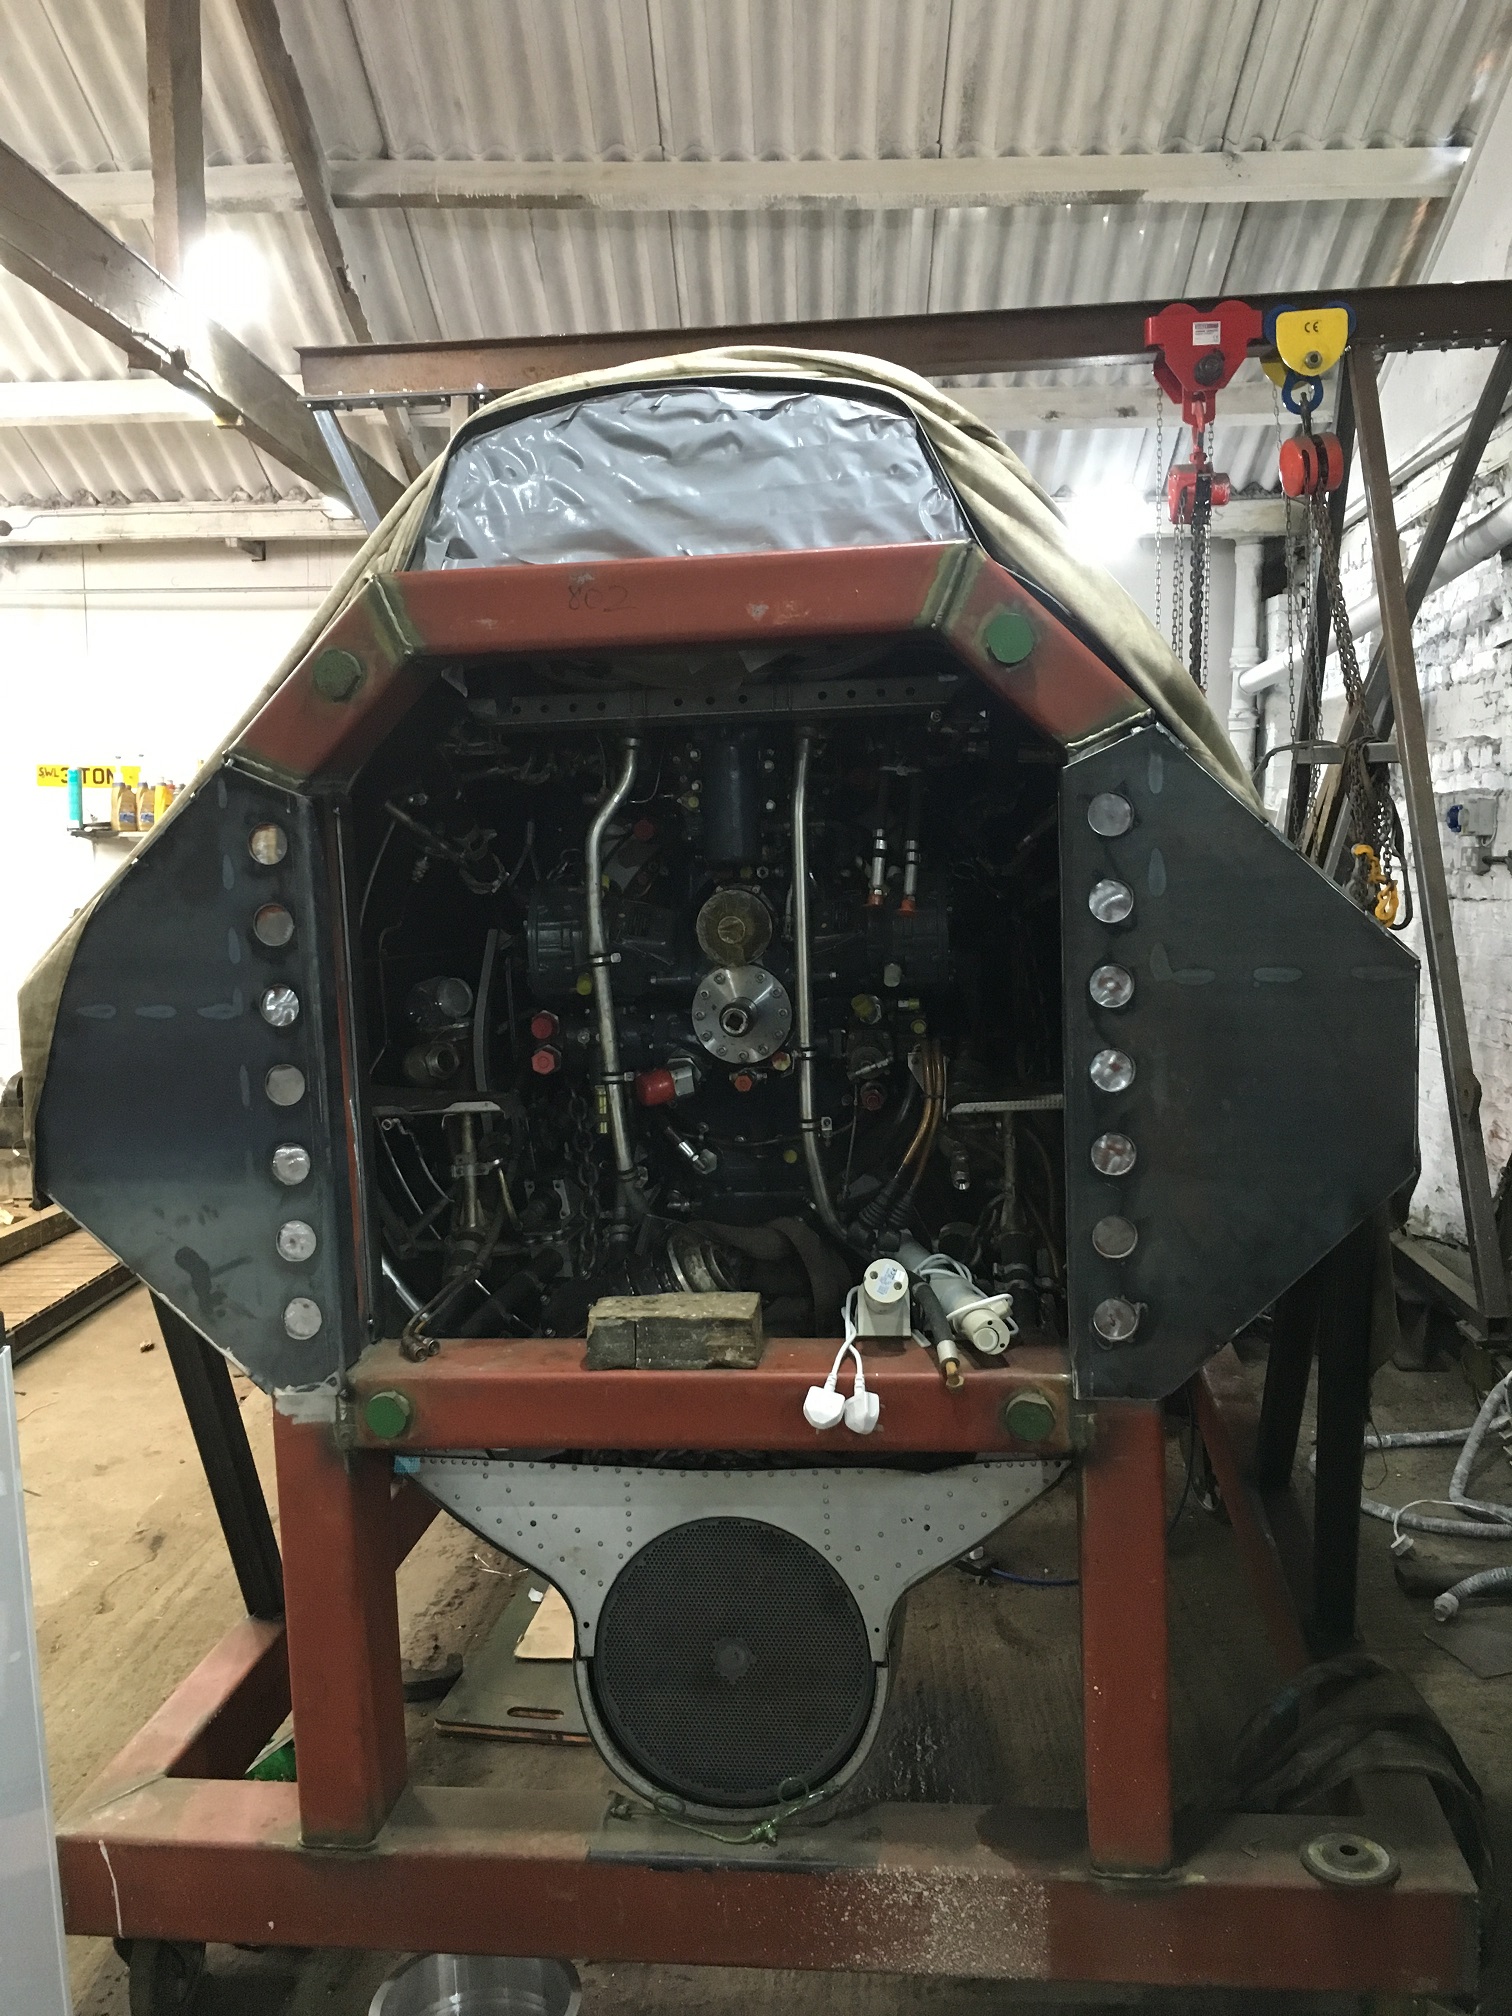
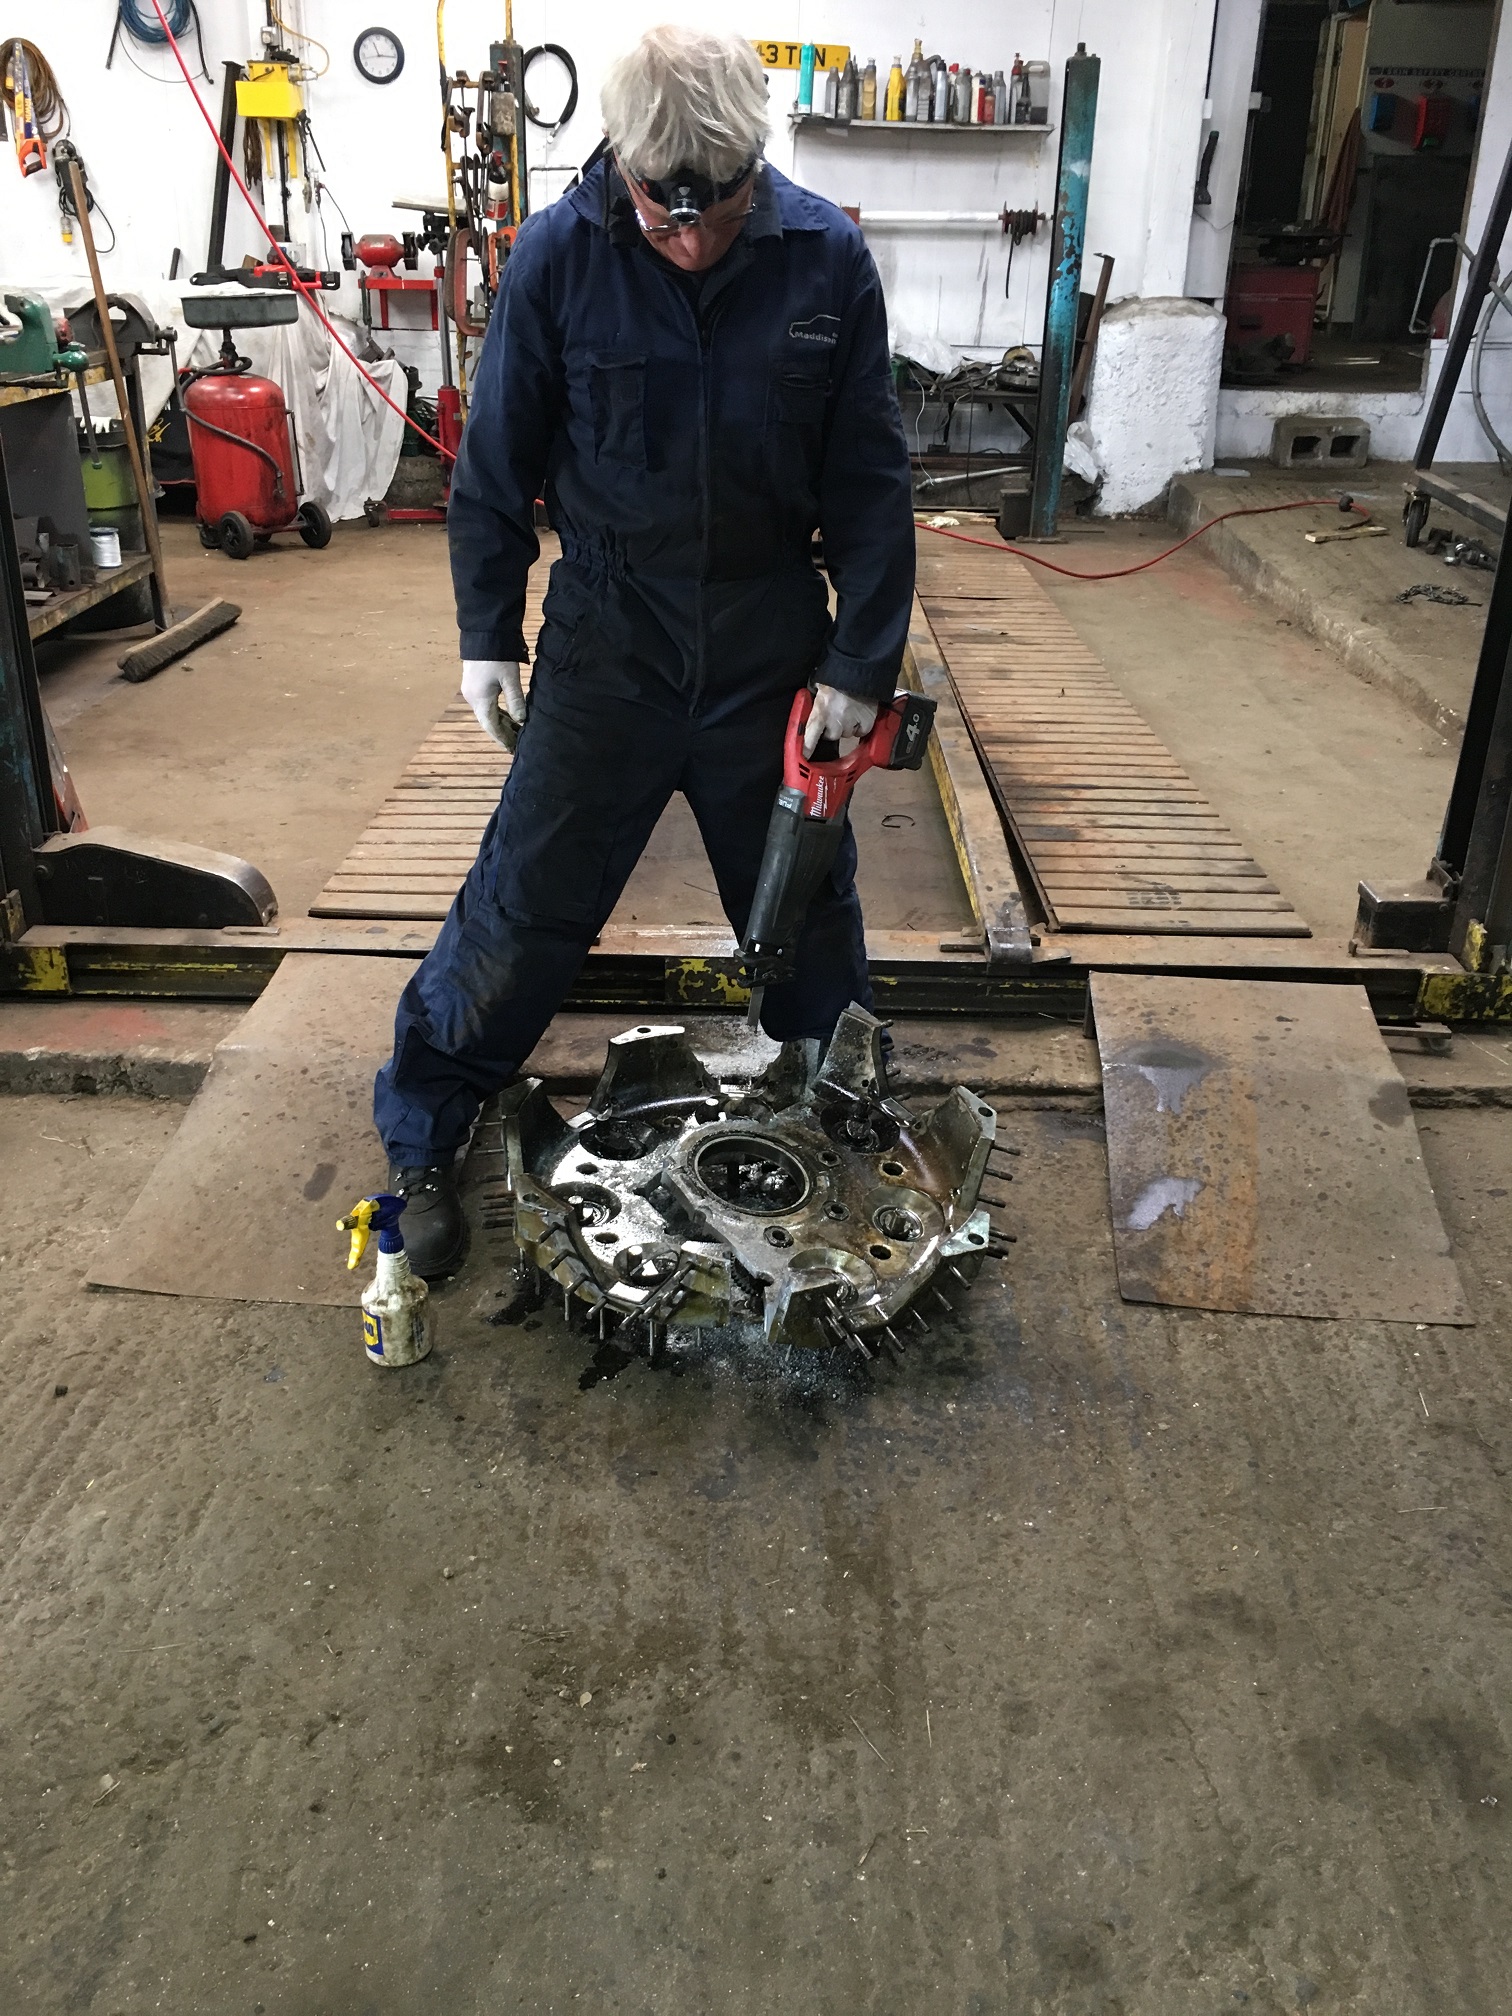
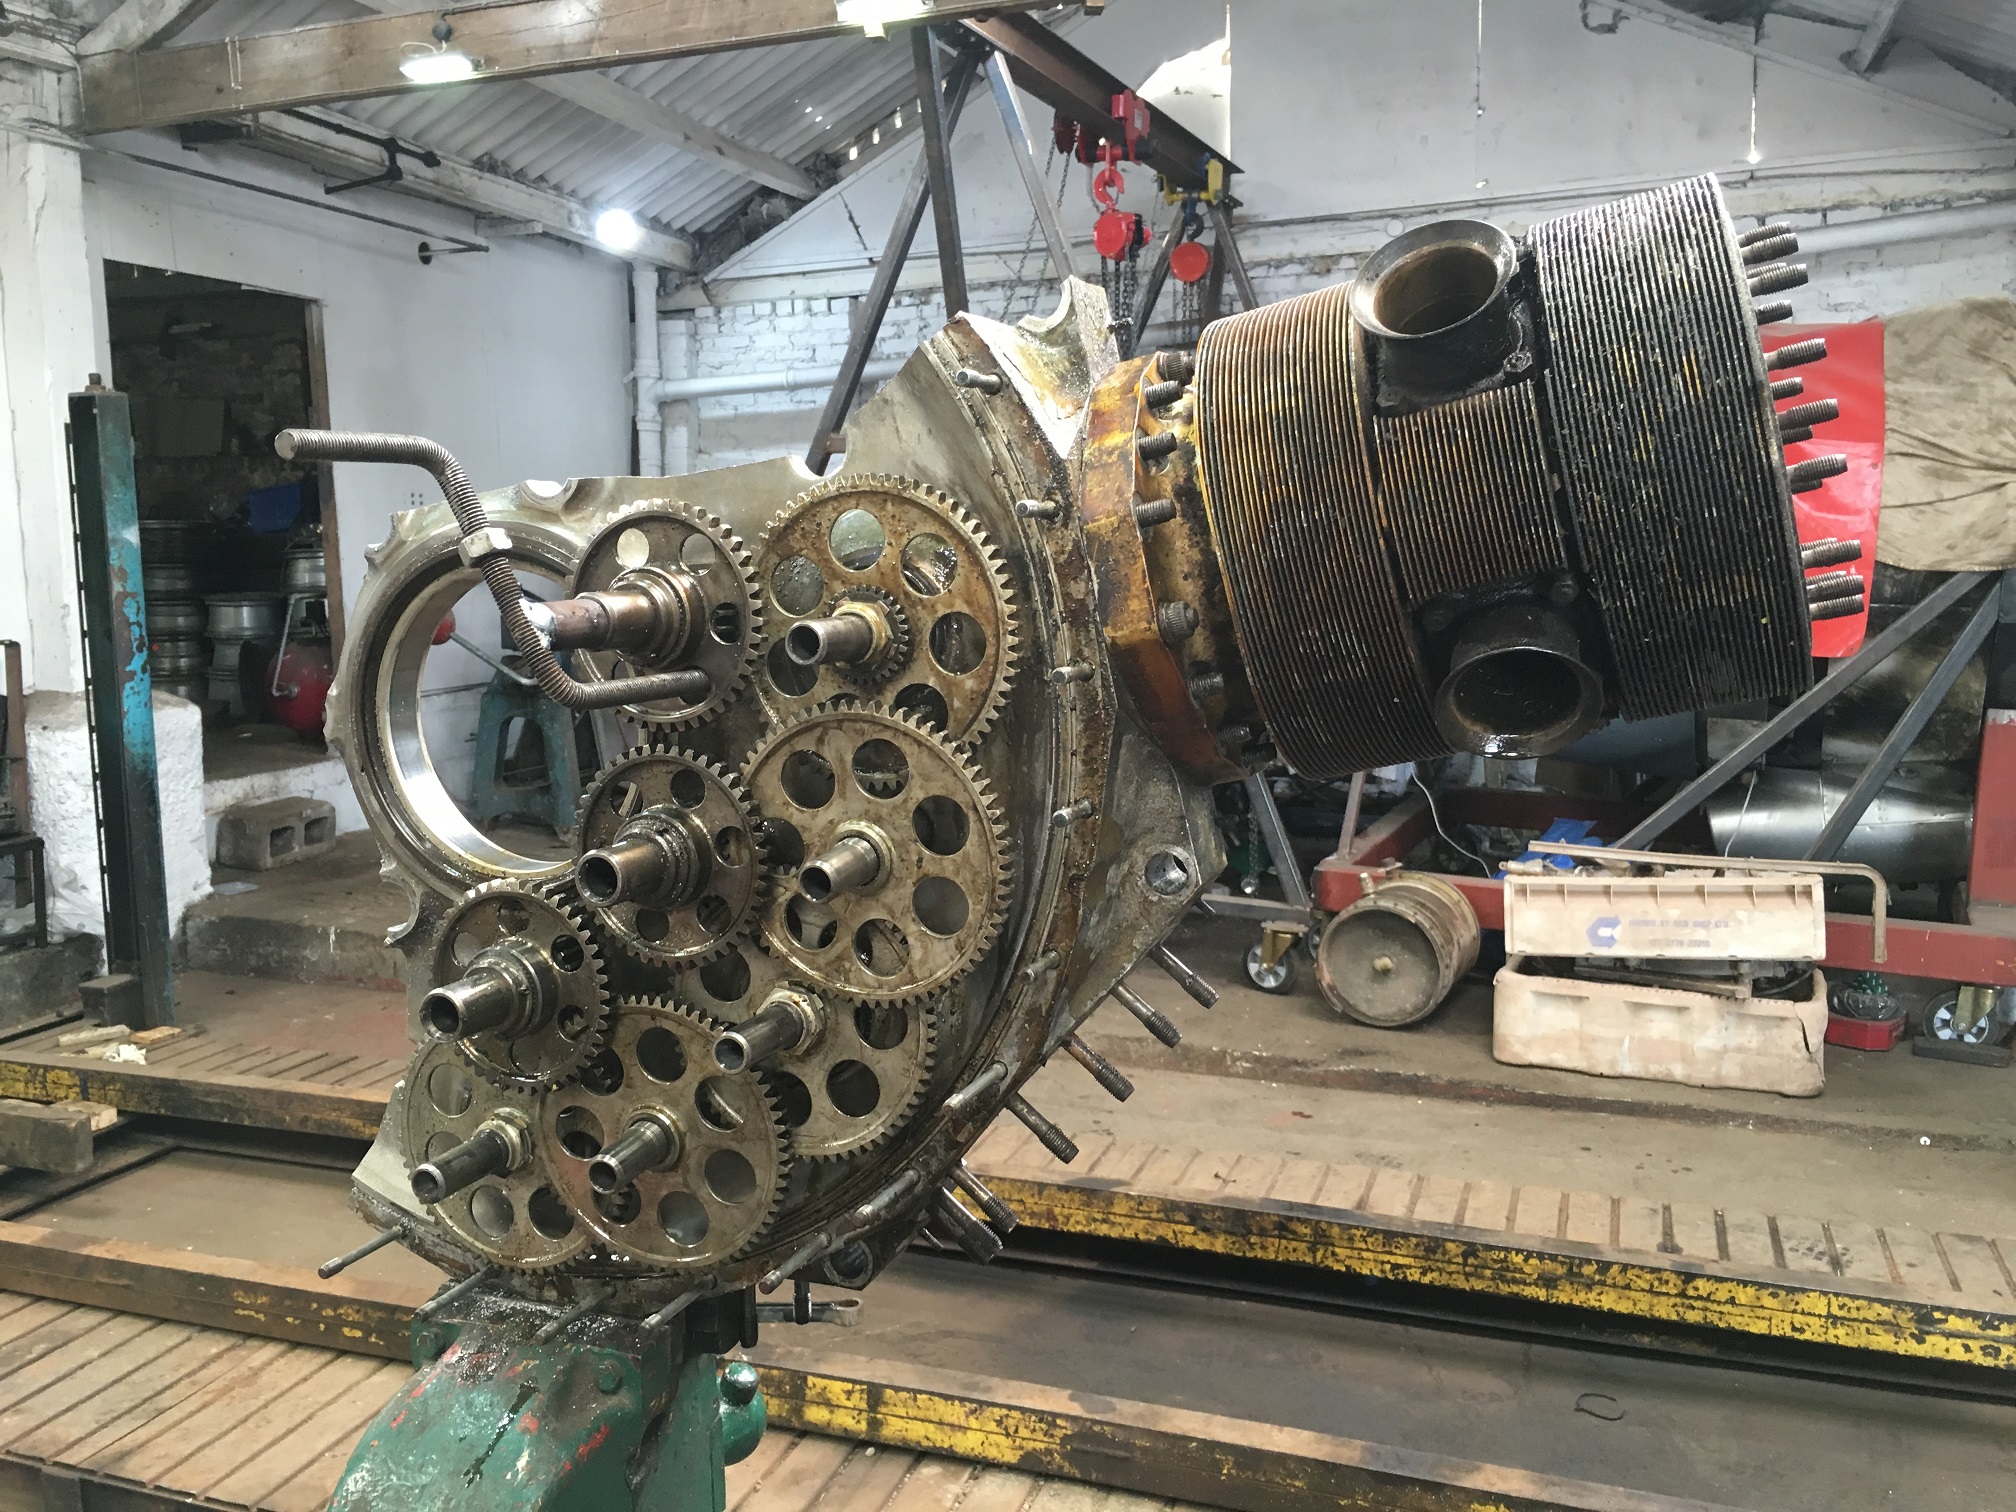
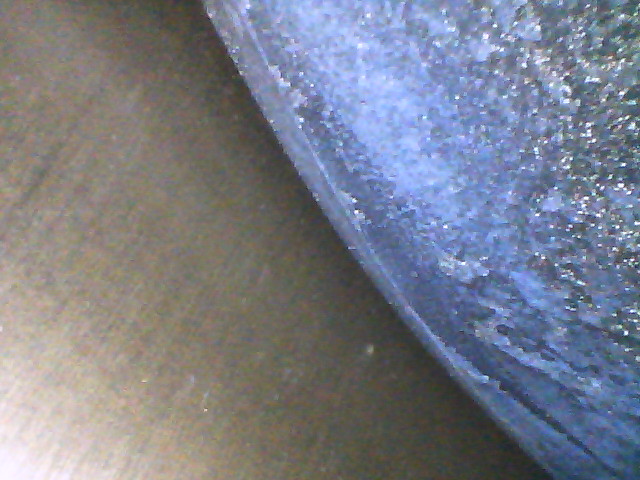
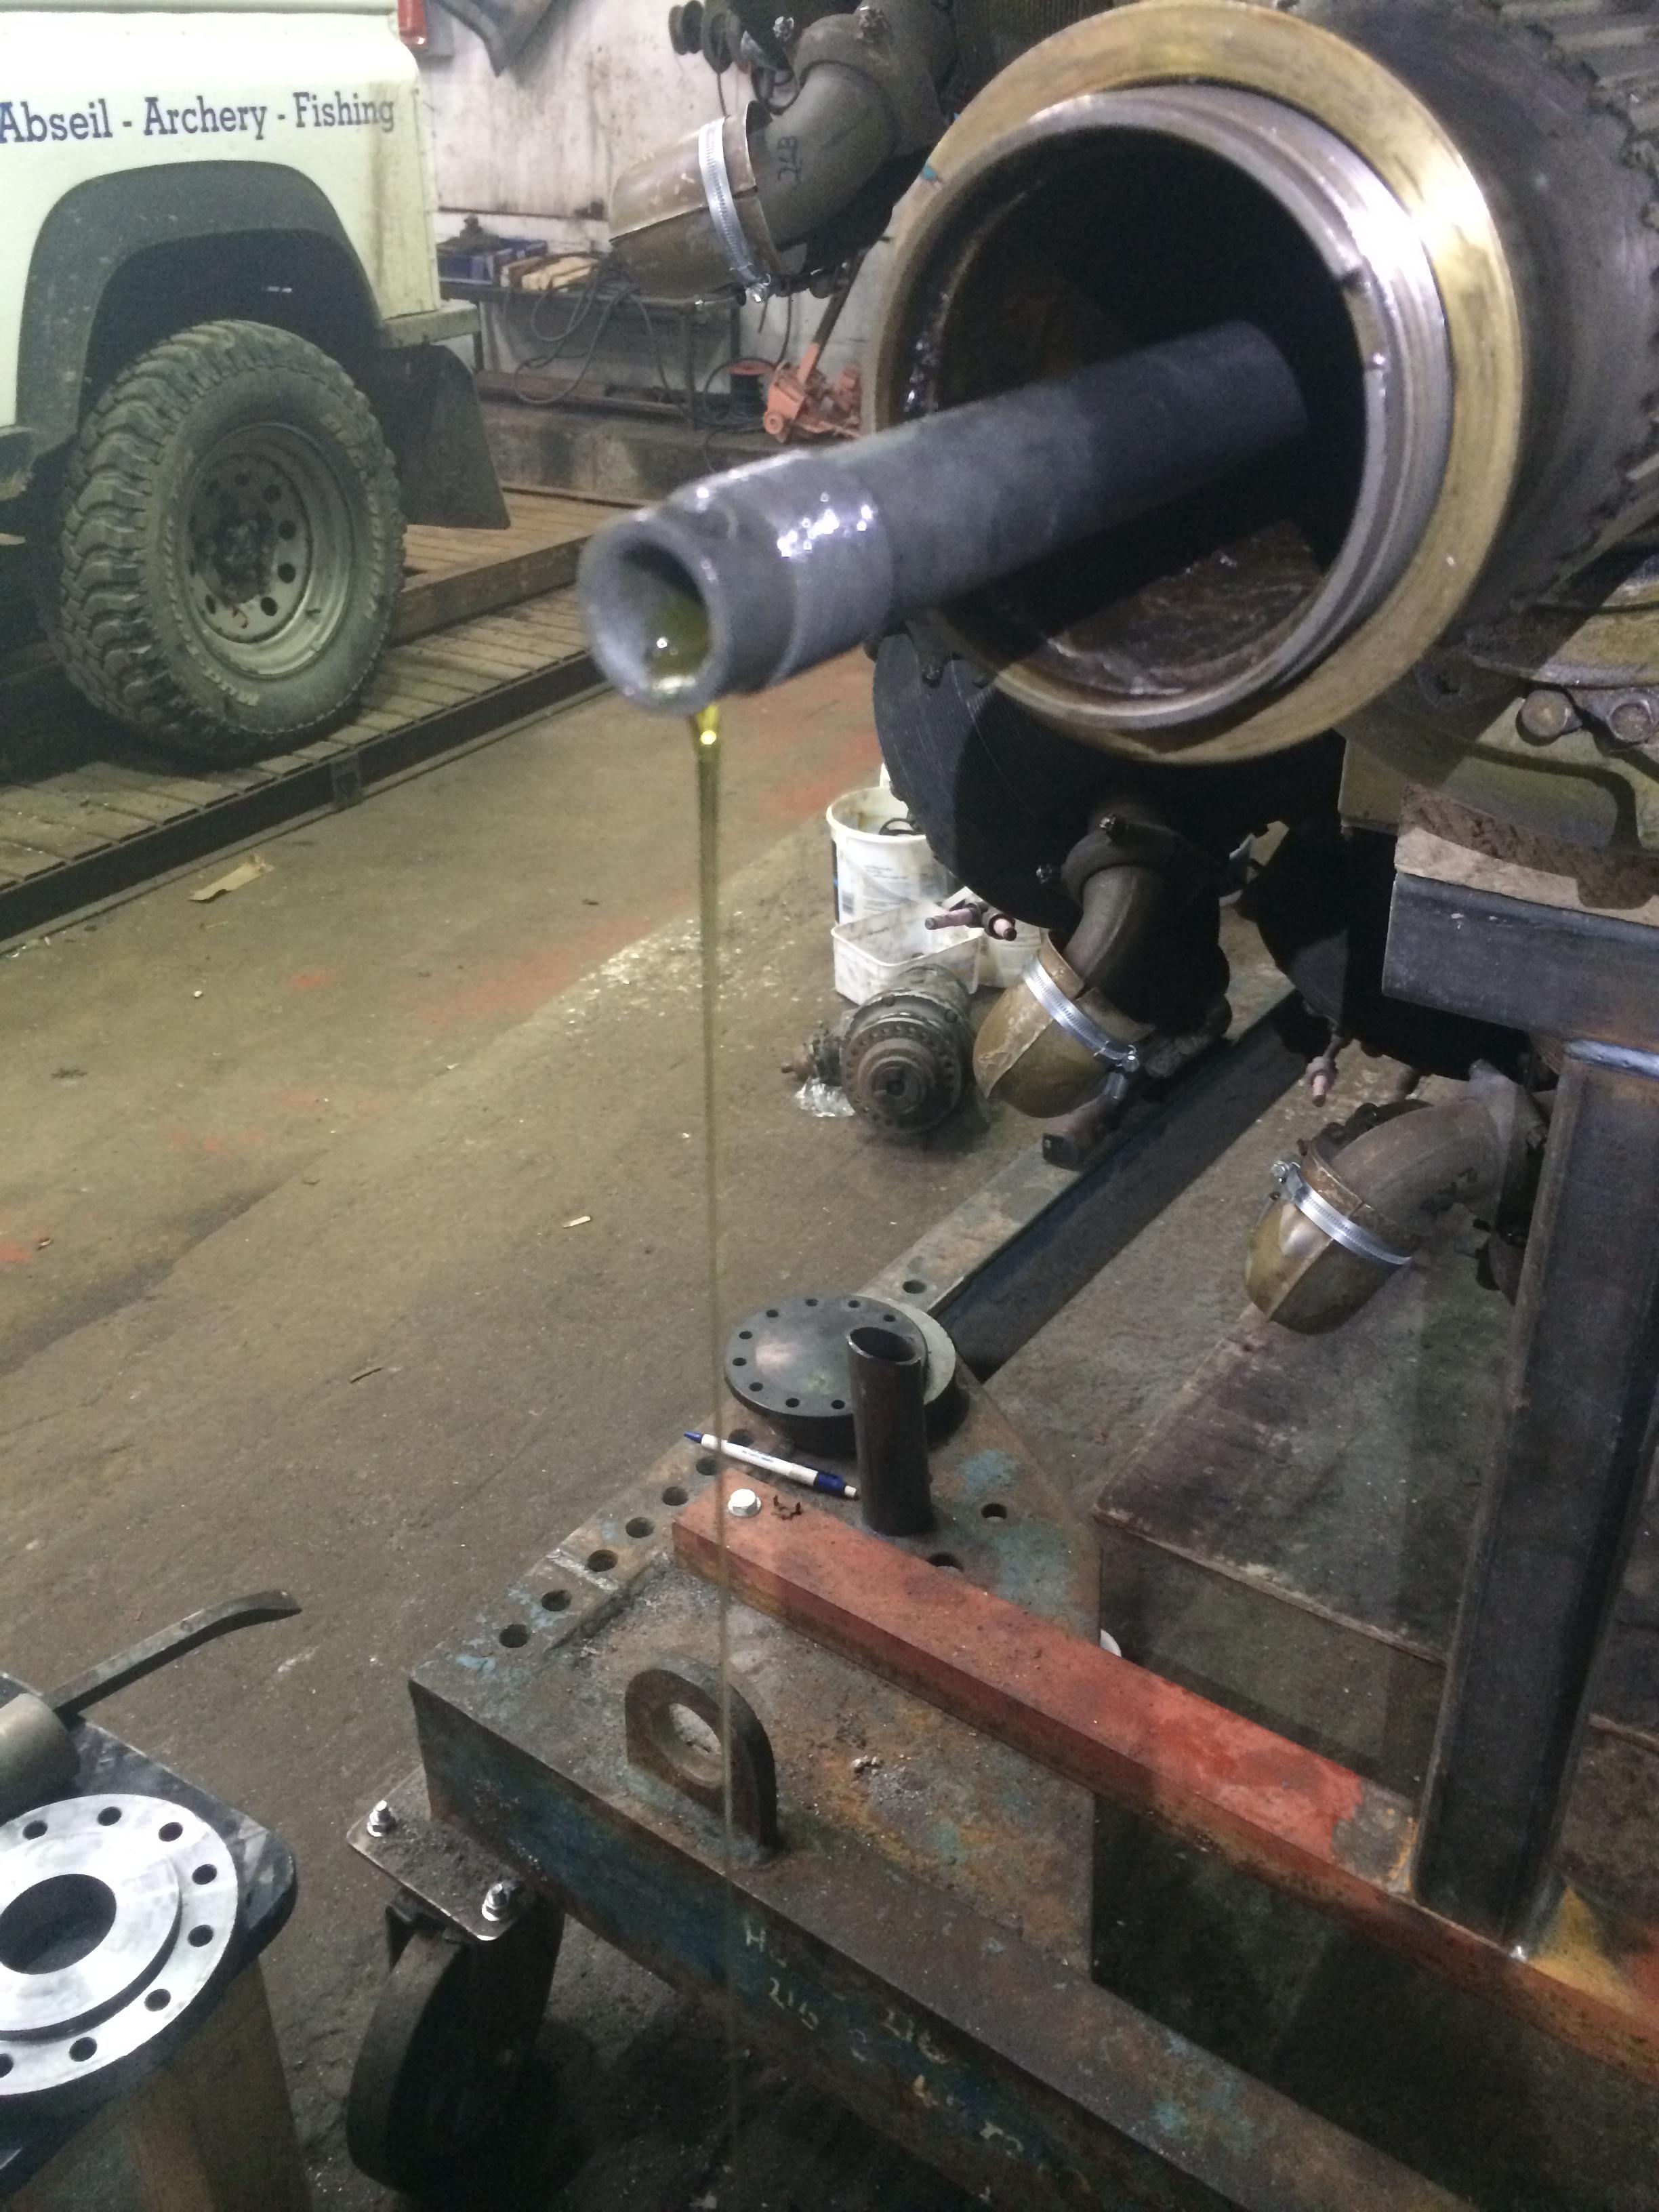
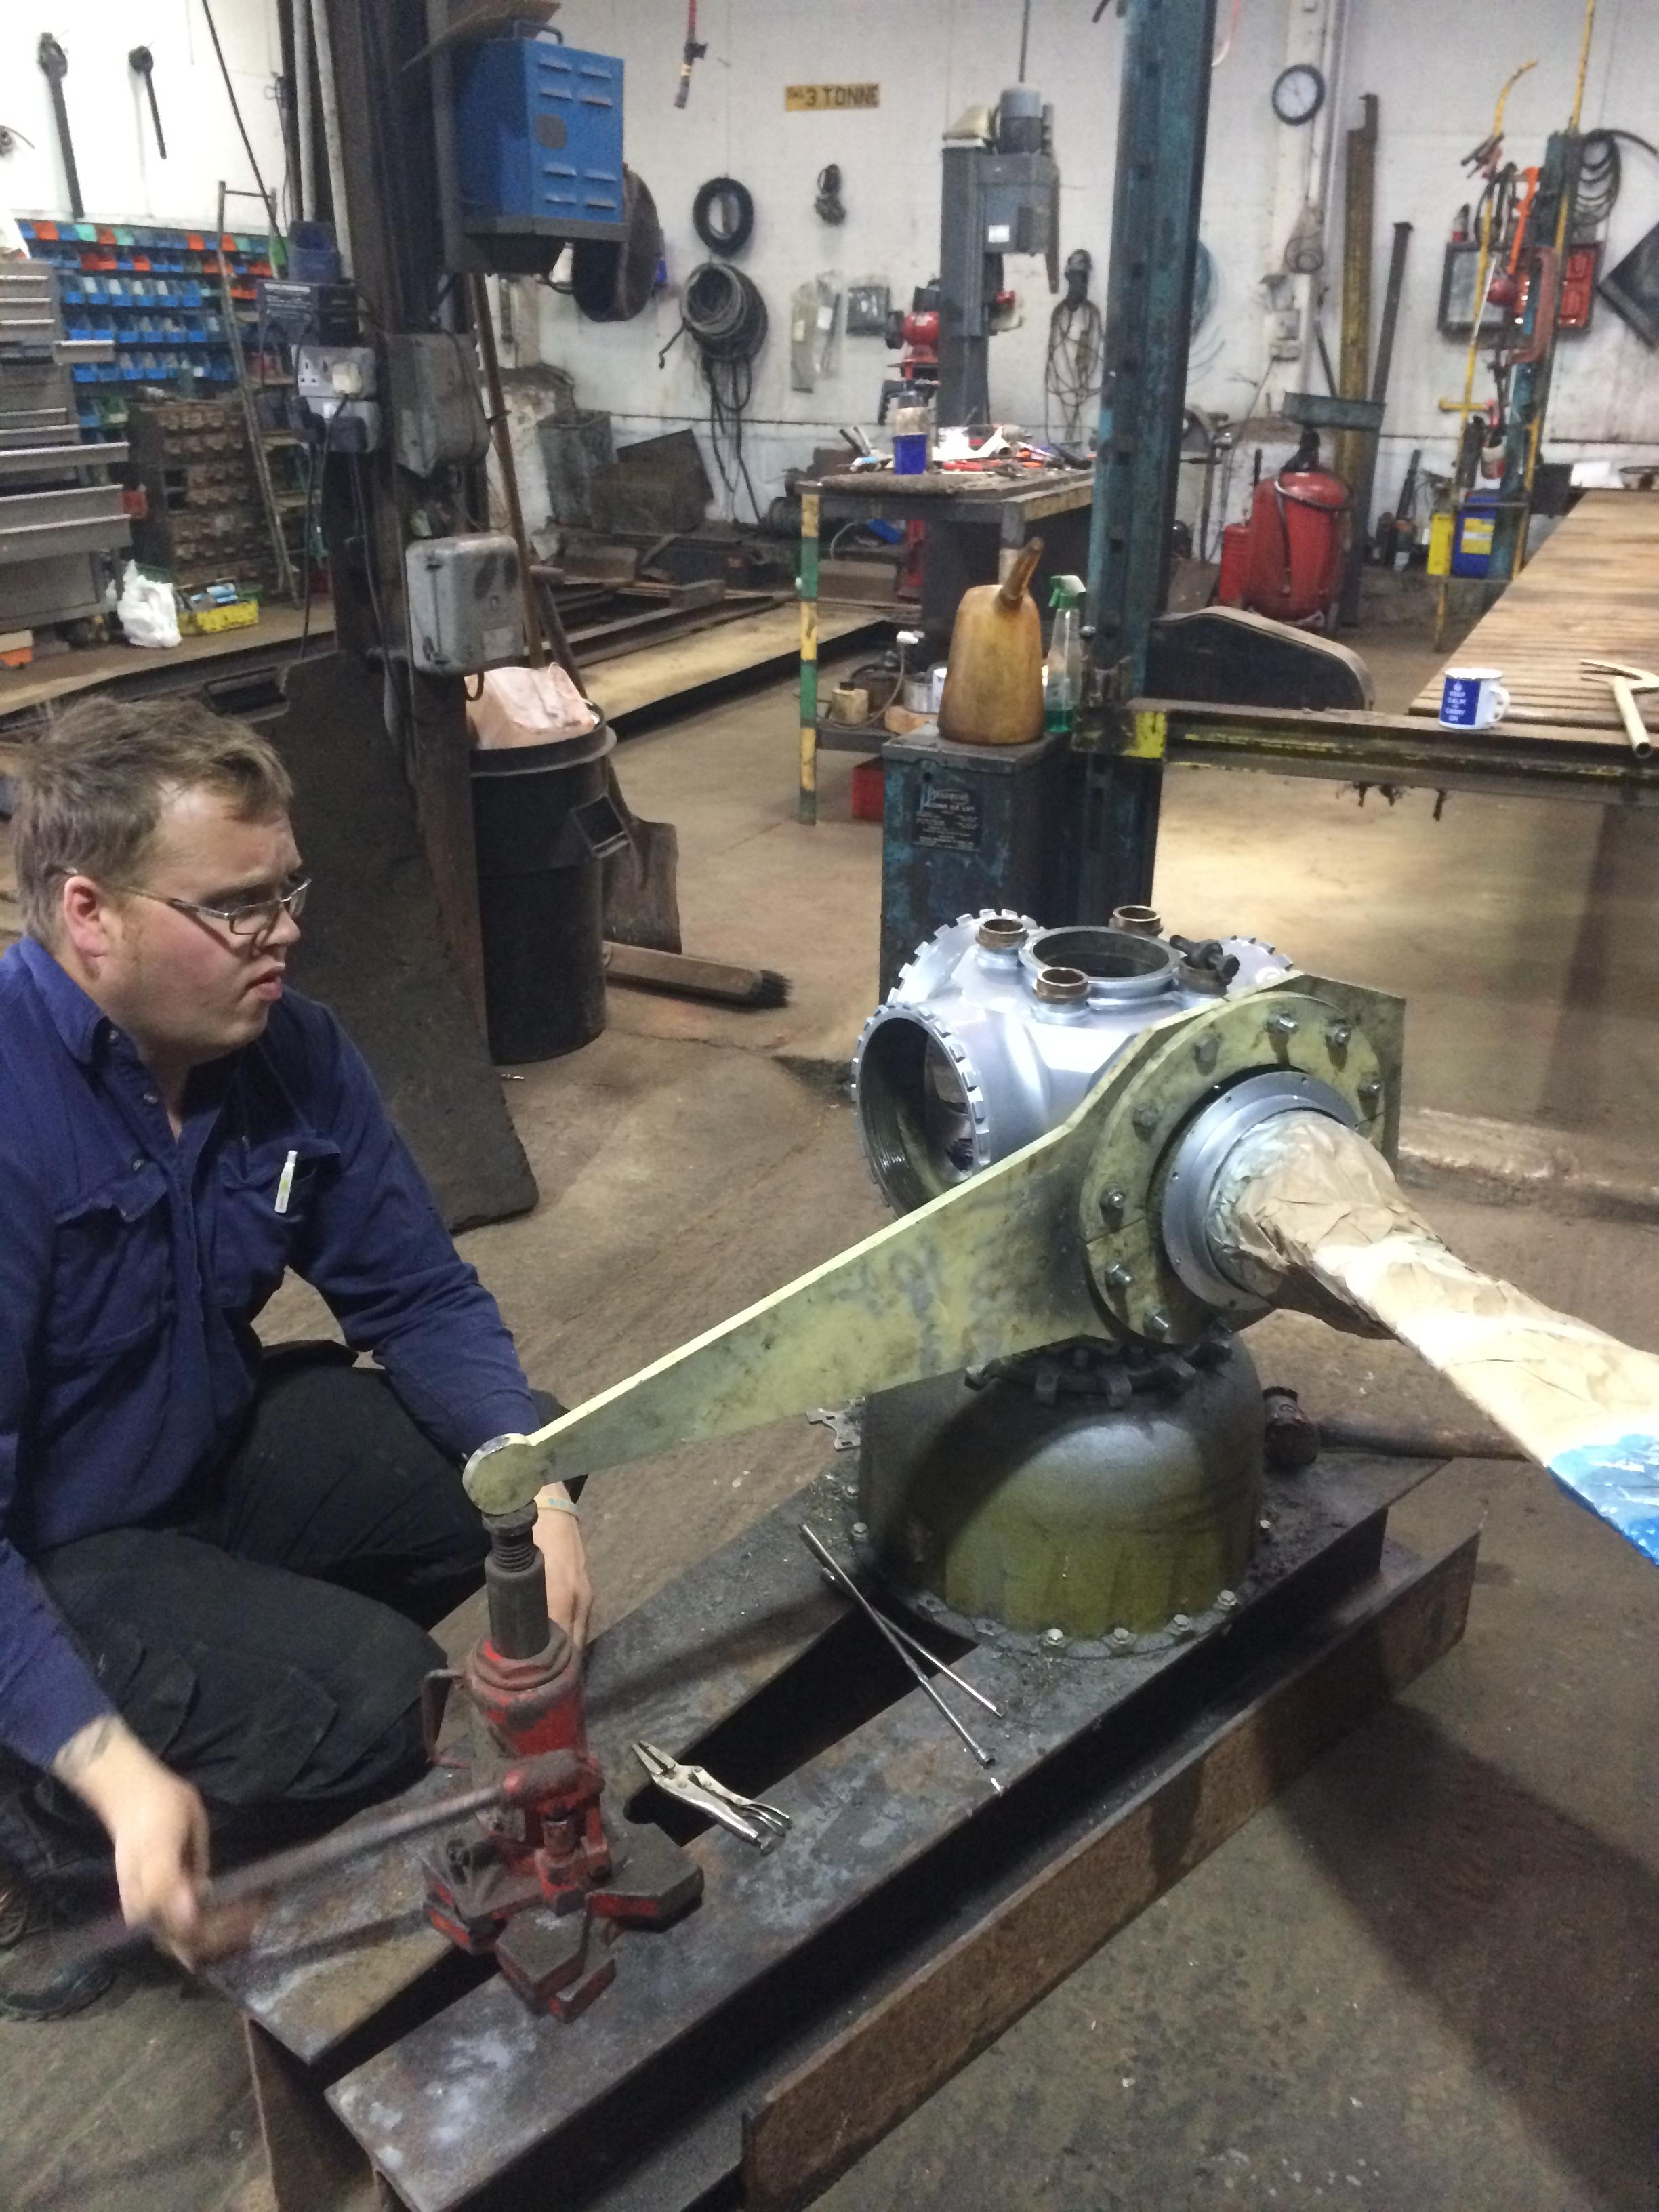
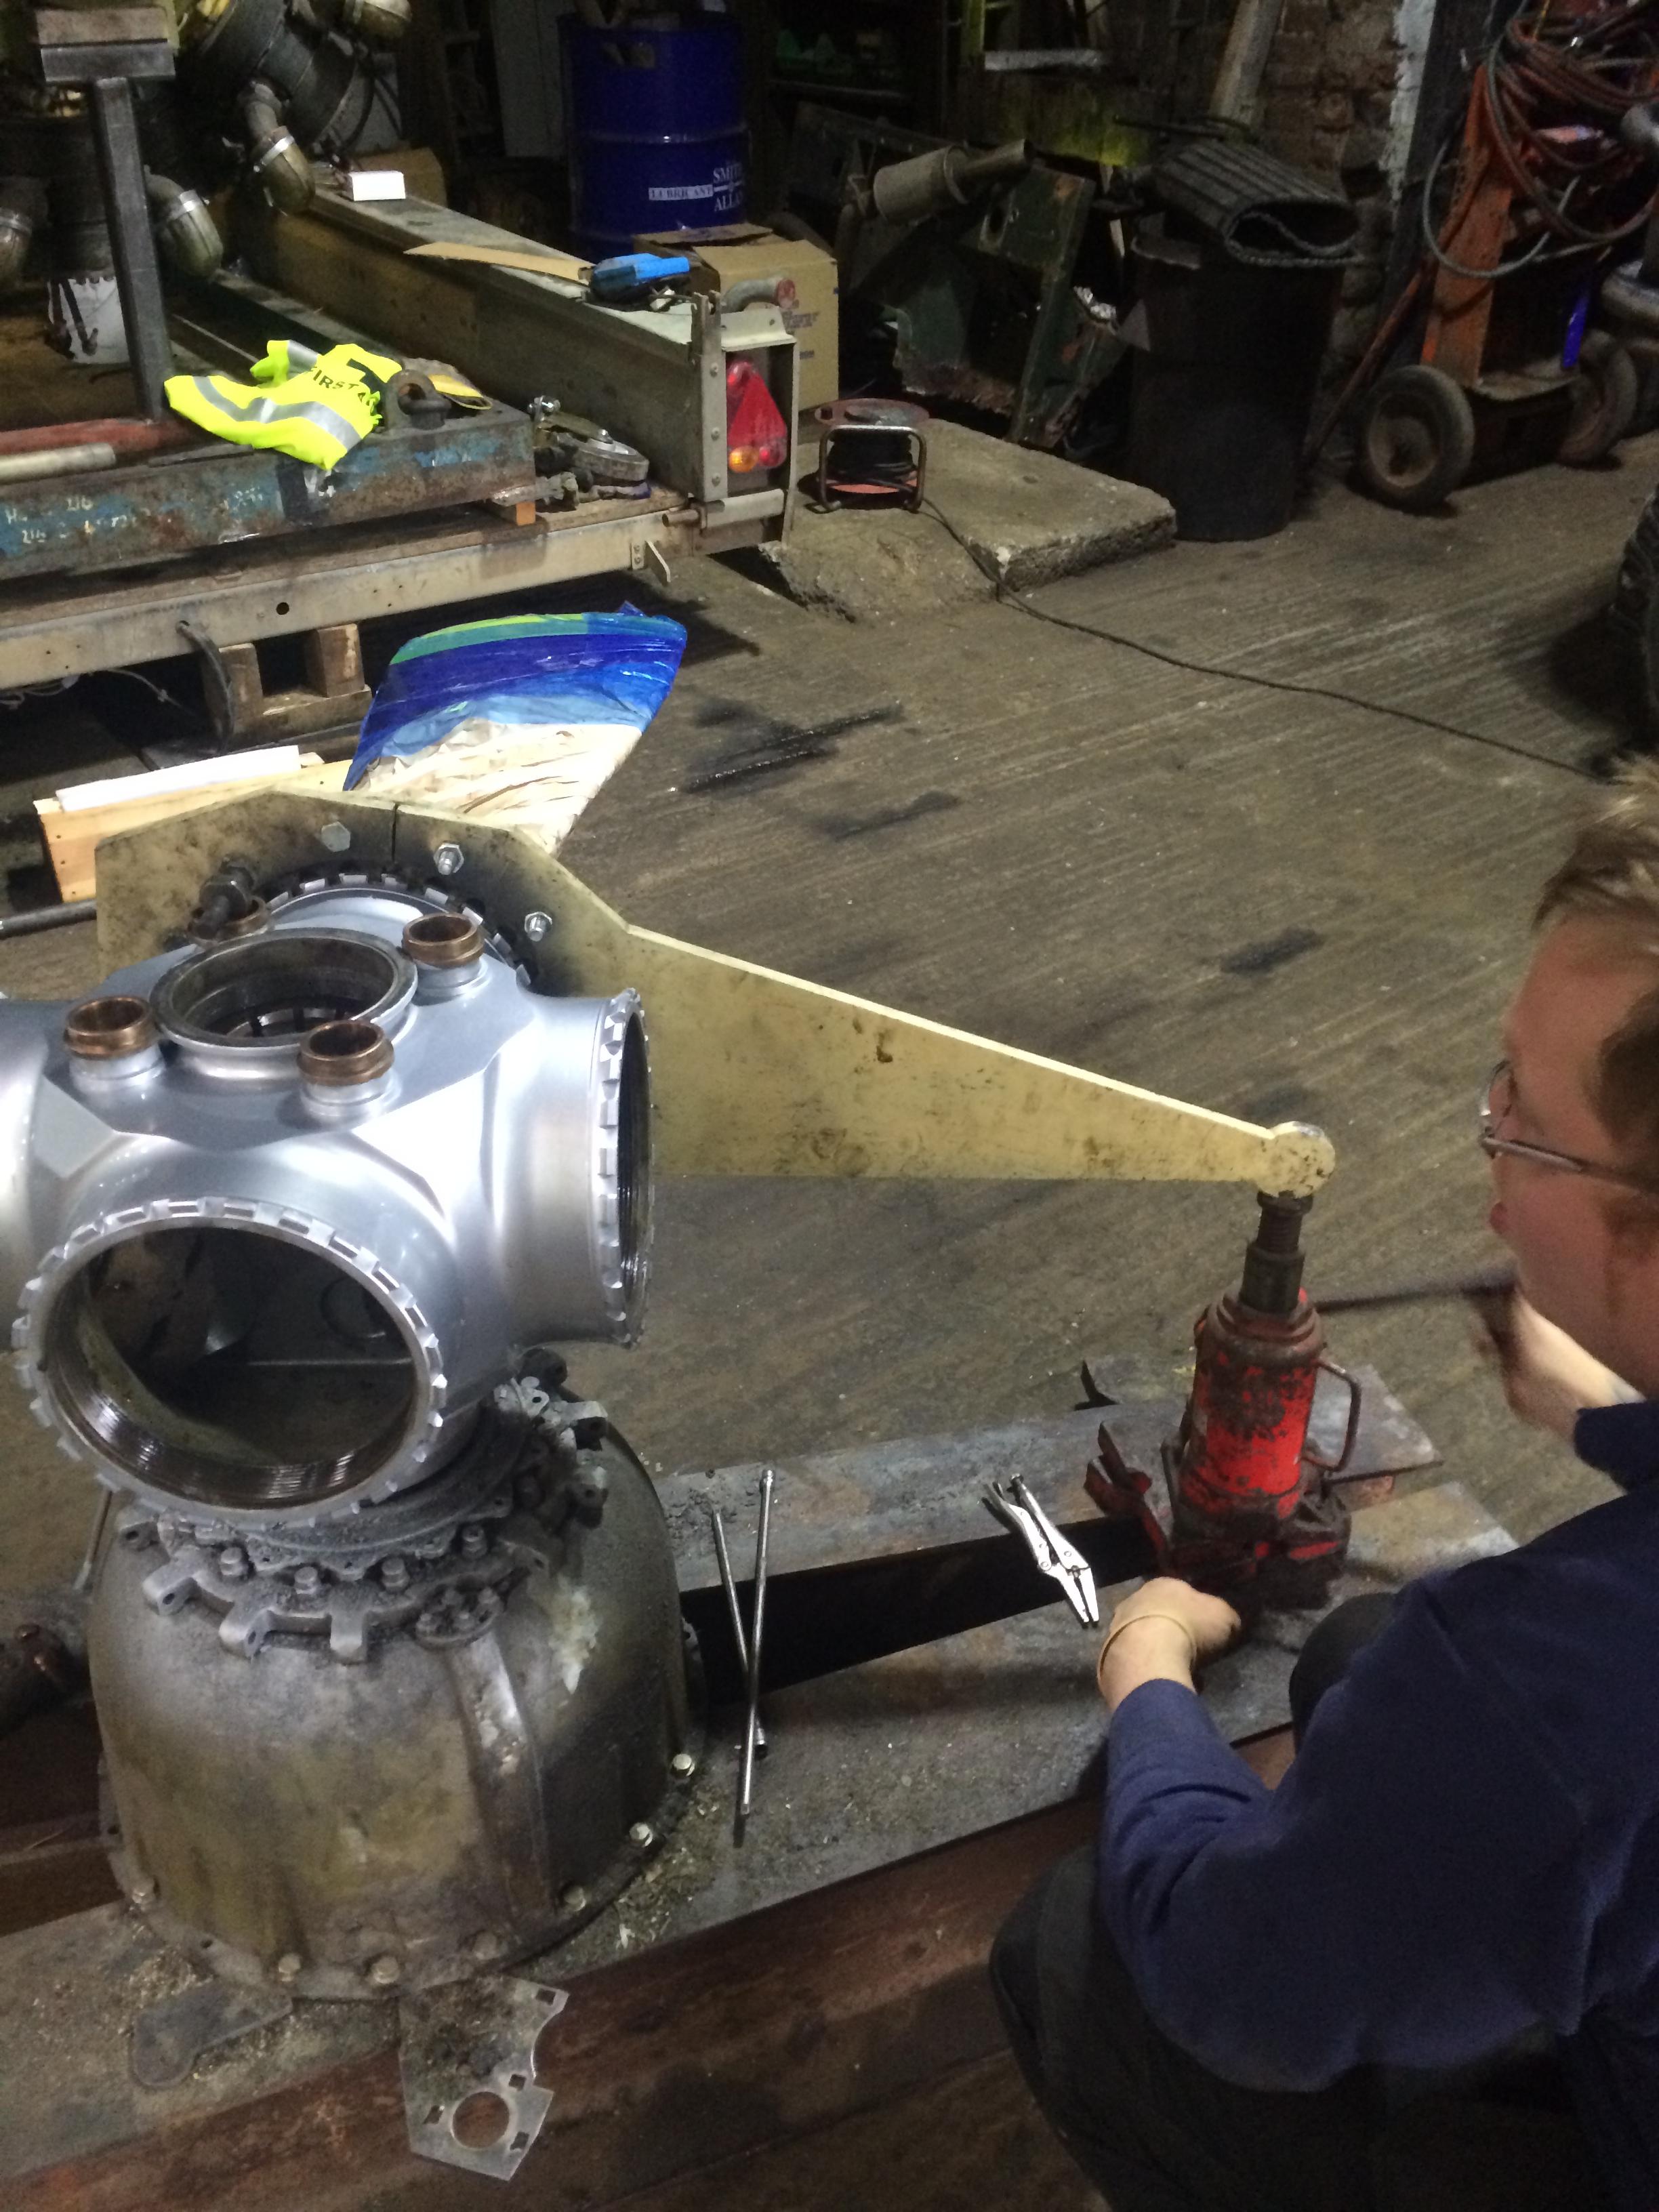
Our next job is to sort out the 759, when we had the full size prop on it , we tried to turn it, it was stuck!.

Sleeve_12 Sleeve_9 Sleeve_2


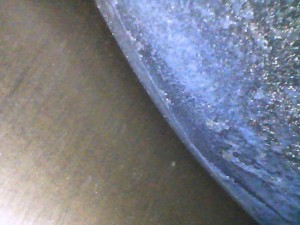
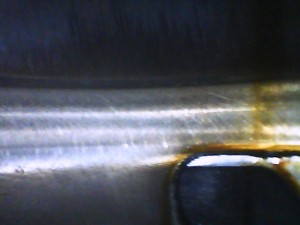
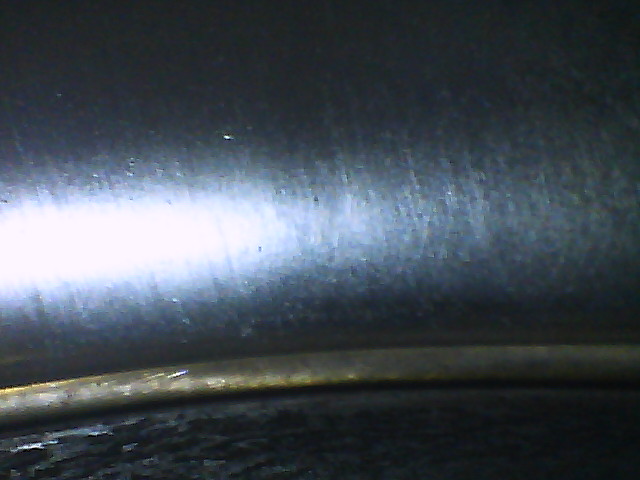
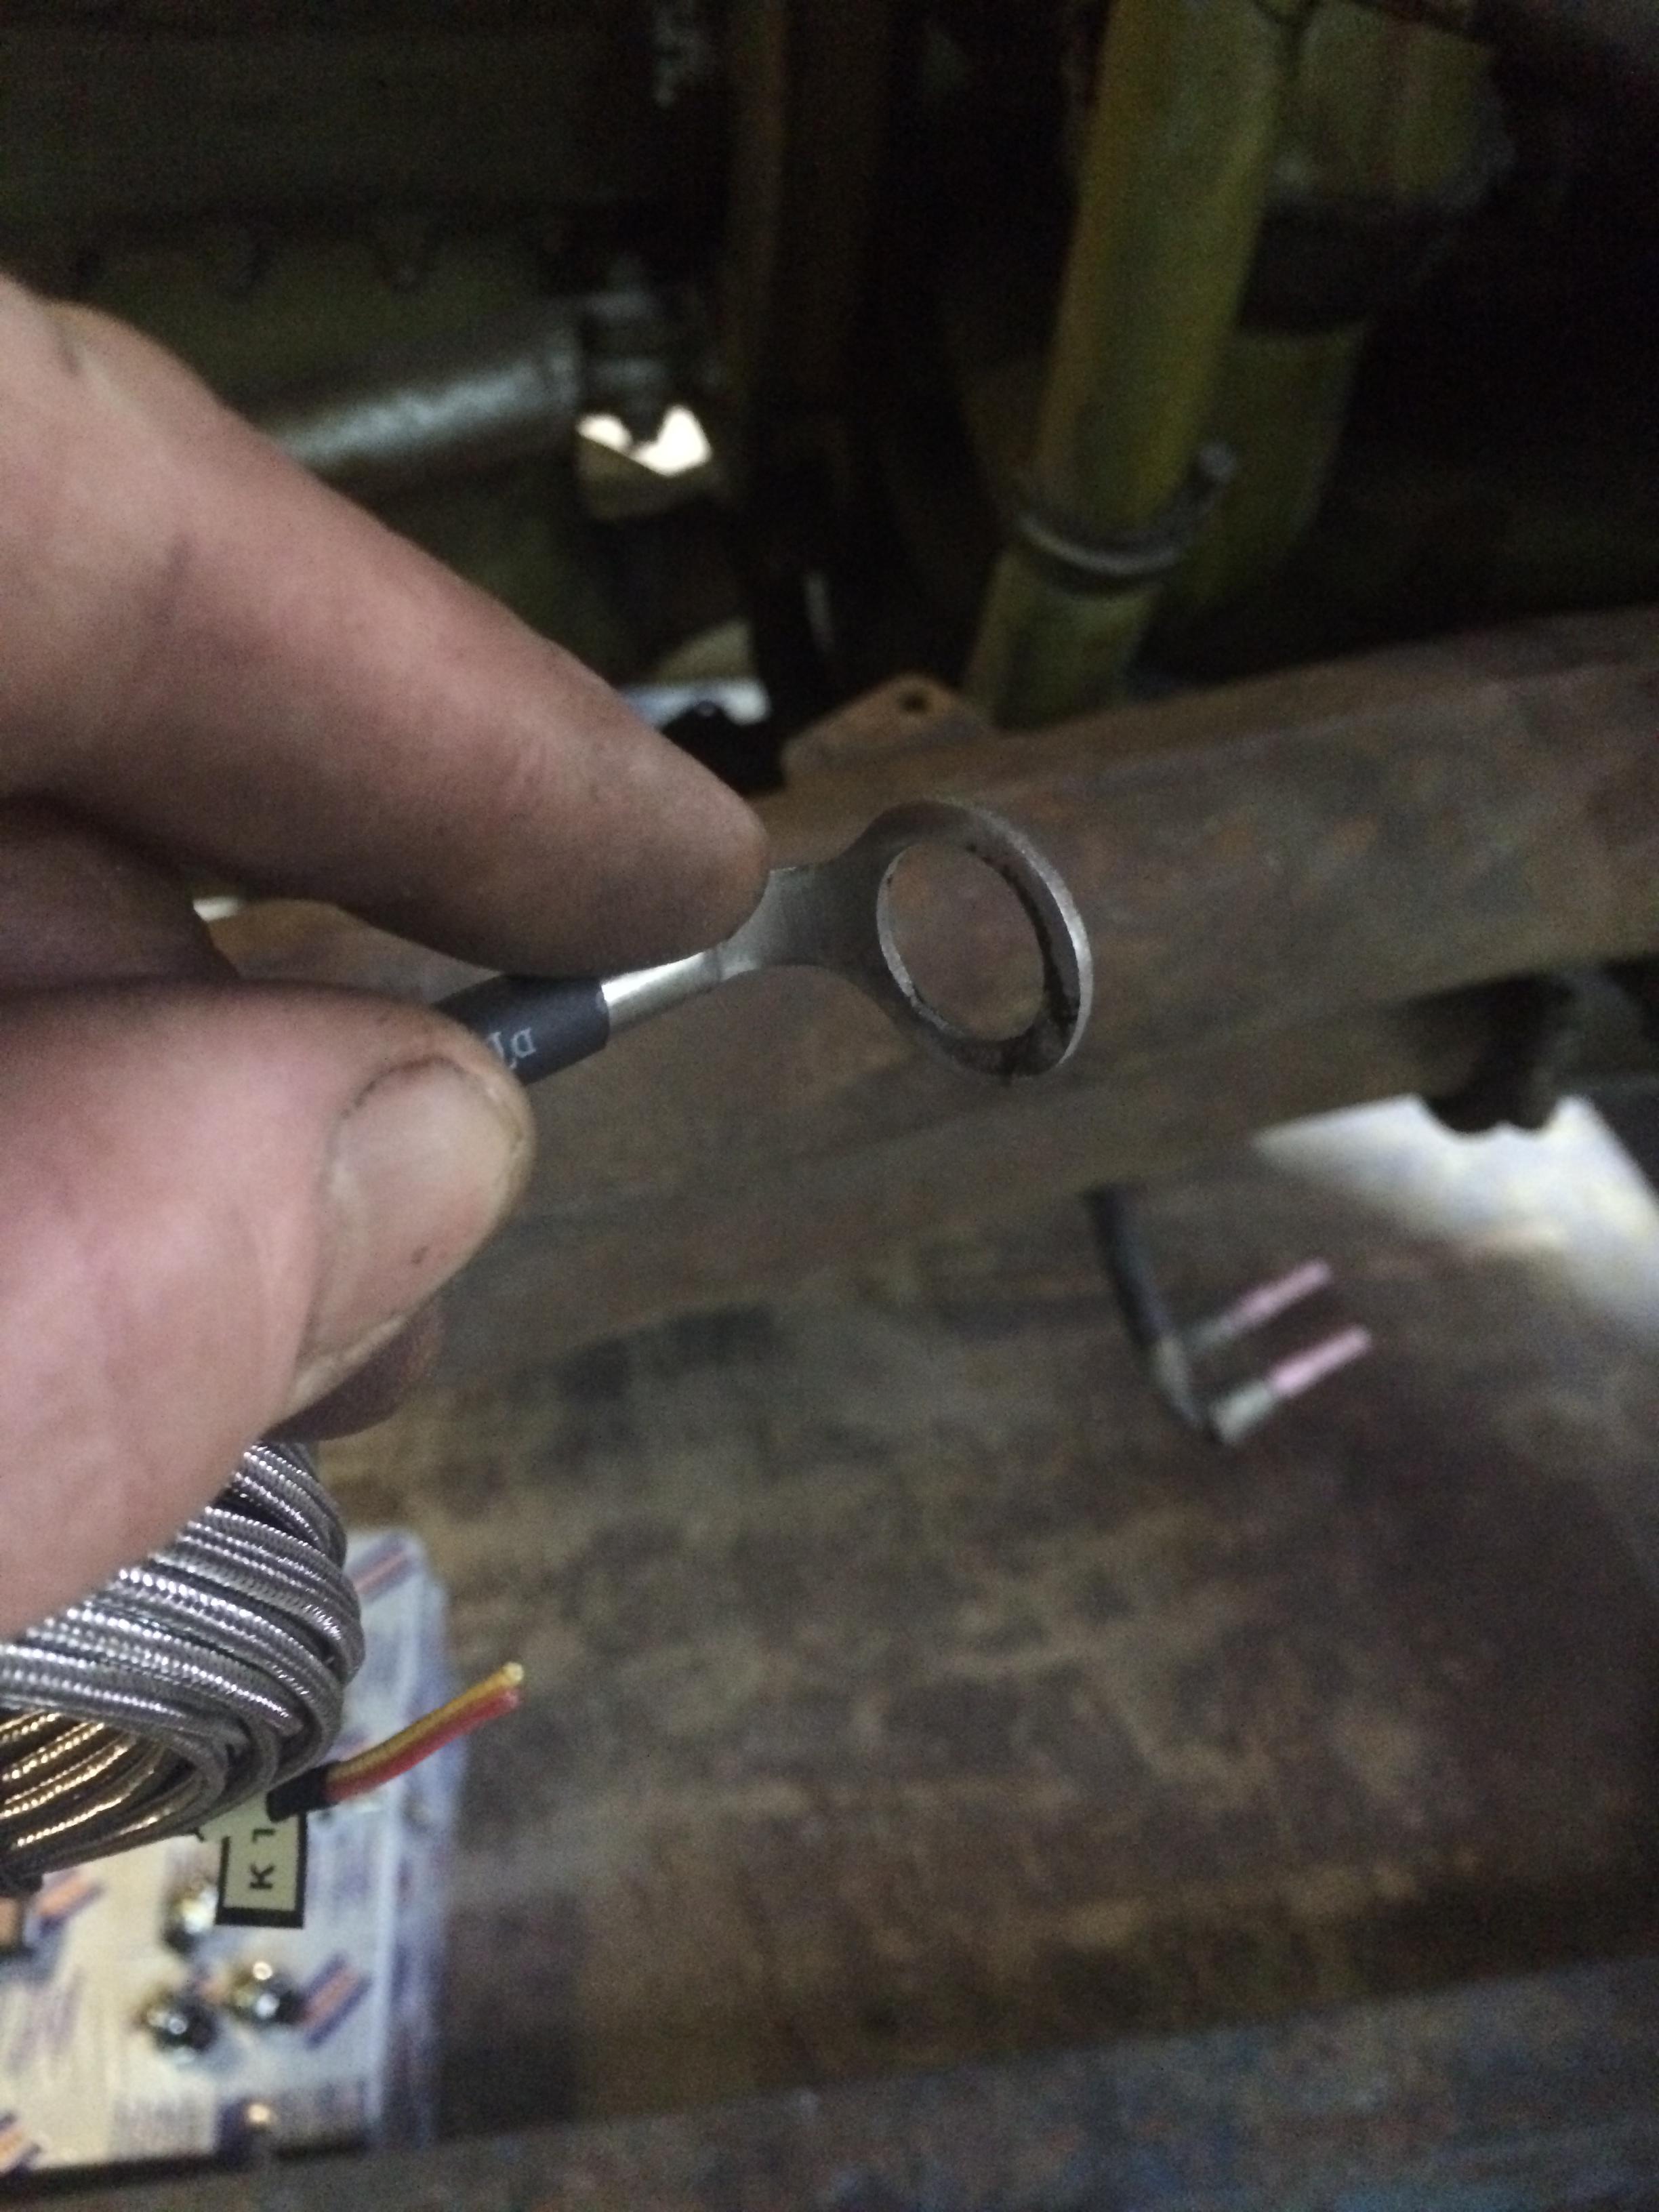
Using a Snapon endoscope camera we looked inside the cylinders, all were like new as to be expected except No.14

Sleeve_14b Sleeve_14a

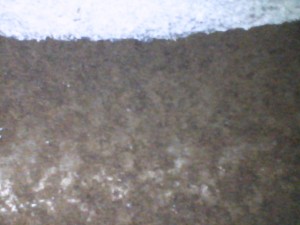
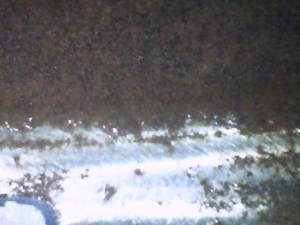
It looks like this one had missed the inhibiting oil!, we have took the head off and the sleeve is too rusty, so we will have to renew that one.

Big Push to get the 216 Started

About six weeks ago Pete and I decided to give the 216 it’s first run by the end of September, well we are burning the midnight oil to get it ready for it’s first run in a long time, and Brian Mills is bringing along his 216 . so with a bit of luck the sound of a pair of Bristol Hercules will be heard again in the Val of York. There is quite a bit to do and a lot of jobs are running alongside each other so I will touch base on a few of them.

Oil Priming the engine before a start up after laying dormant for so long is essential,

216 Oil Prime 004 216 Oil Prime 003

Basically we rigged up a Plessey pump to the priming port on the oil pump and fit a pressure gauge, fill the oil tank inlet pipe and start to prime.

216 Oil Prime 001 216 Oil Prime 006

After about ten ltr’s of oil it started to come out of the sump and CSU conections and oil pressure started to build up to over 20 psi.

We need a good ignition sparks, so after cleaning the points and checking the time with a special tool I managed to find on Ebay a few months ago, and using a brand new Rotax booster coil, we get a good spark while cranking.

09 Sept 2014 3b 09 Sept 2014 075


After Pete spent a lot of time cleaning and painting the Rotal prop hub and blades, it was finally ready to have the blades refitted and the whole assembly fitted back on the engine.

216 ELECTRICS 005

First thing tighten the blades by hand.

216 ELECTRICS 008 216 ELECTRICS 007

Then tighten them up using Brian’s Big Spanner!

216 ELECTRICS 006


Once all the blades are fitted , with the help from a willing customer Andrew, we gently rotated the whole prop and eased it onto the engine.

216 ELECTRICS 010 216 ELECTRICS 011


And once on we tighten up the securing nut and stood back to admire..

216 ELECTRICS 012


For the first few runs we lifted the engine and stand onto a plant trailer and secured it down. We will be make a new stand to fit the trailer over winter, we are making it demountable because we may have three engines in total that will run and it’s the most cost effective way of doing it.

216 ELECTRICS 002 216 ELECTRICS 001


with the aid of Grahams  Manitou we lifted the Engine and frame onto the trailer.

216 ELECTRICS 003

When Gill was’t looking I borrowed the wife’s car to move it back into the workshop.

The control and monitoring of the engine is done electrically, I have used linear actuators for the engine controls , these have a 10k built in position feed back. The starter solenoid is from a large marine engine.

216 ELECTRICS 001a 216 ELECTRICS 002a 216 ELECTRICS 003a 216 ELECTRICS 004a

Cylinder head temperature monitoring is vital, after a bit of Googling  I came across this system that has been put together for VW air cooled engines, so we ordered a pair with extra long sensor wires. The type K sensors replace the sealing washer under the Spark plugs.

216 ELECTRICS 014 216 ELECTRICS 015


After a full weekends wiring , we have a fully working control panel and remote control station.

216 ELECTRICS 016 216 ELECTRICS 017


Just the tachometer  to fit in the center of the panel.