Monthly Archives: November 2013

Heads 5, 11,12 and 13 removed also cylinder No.5 removed

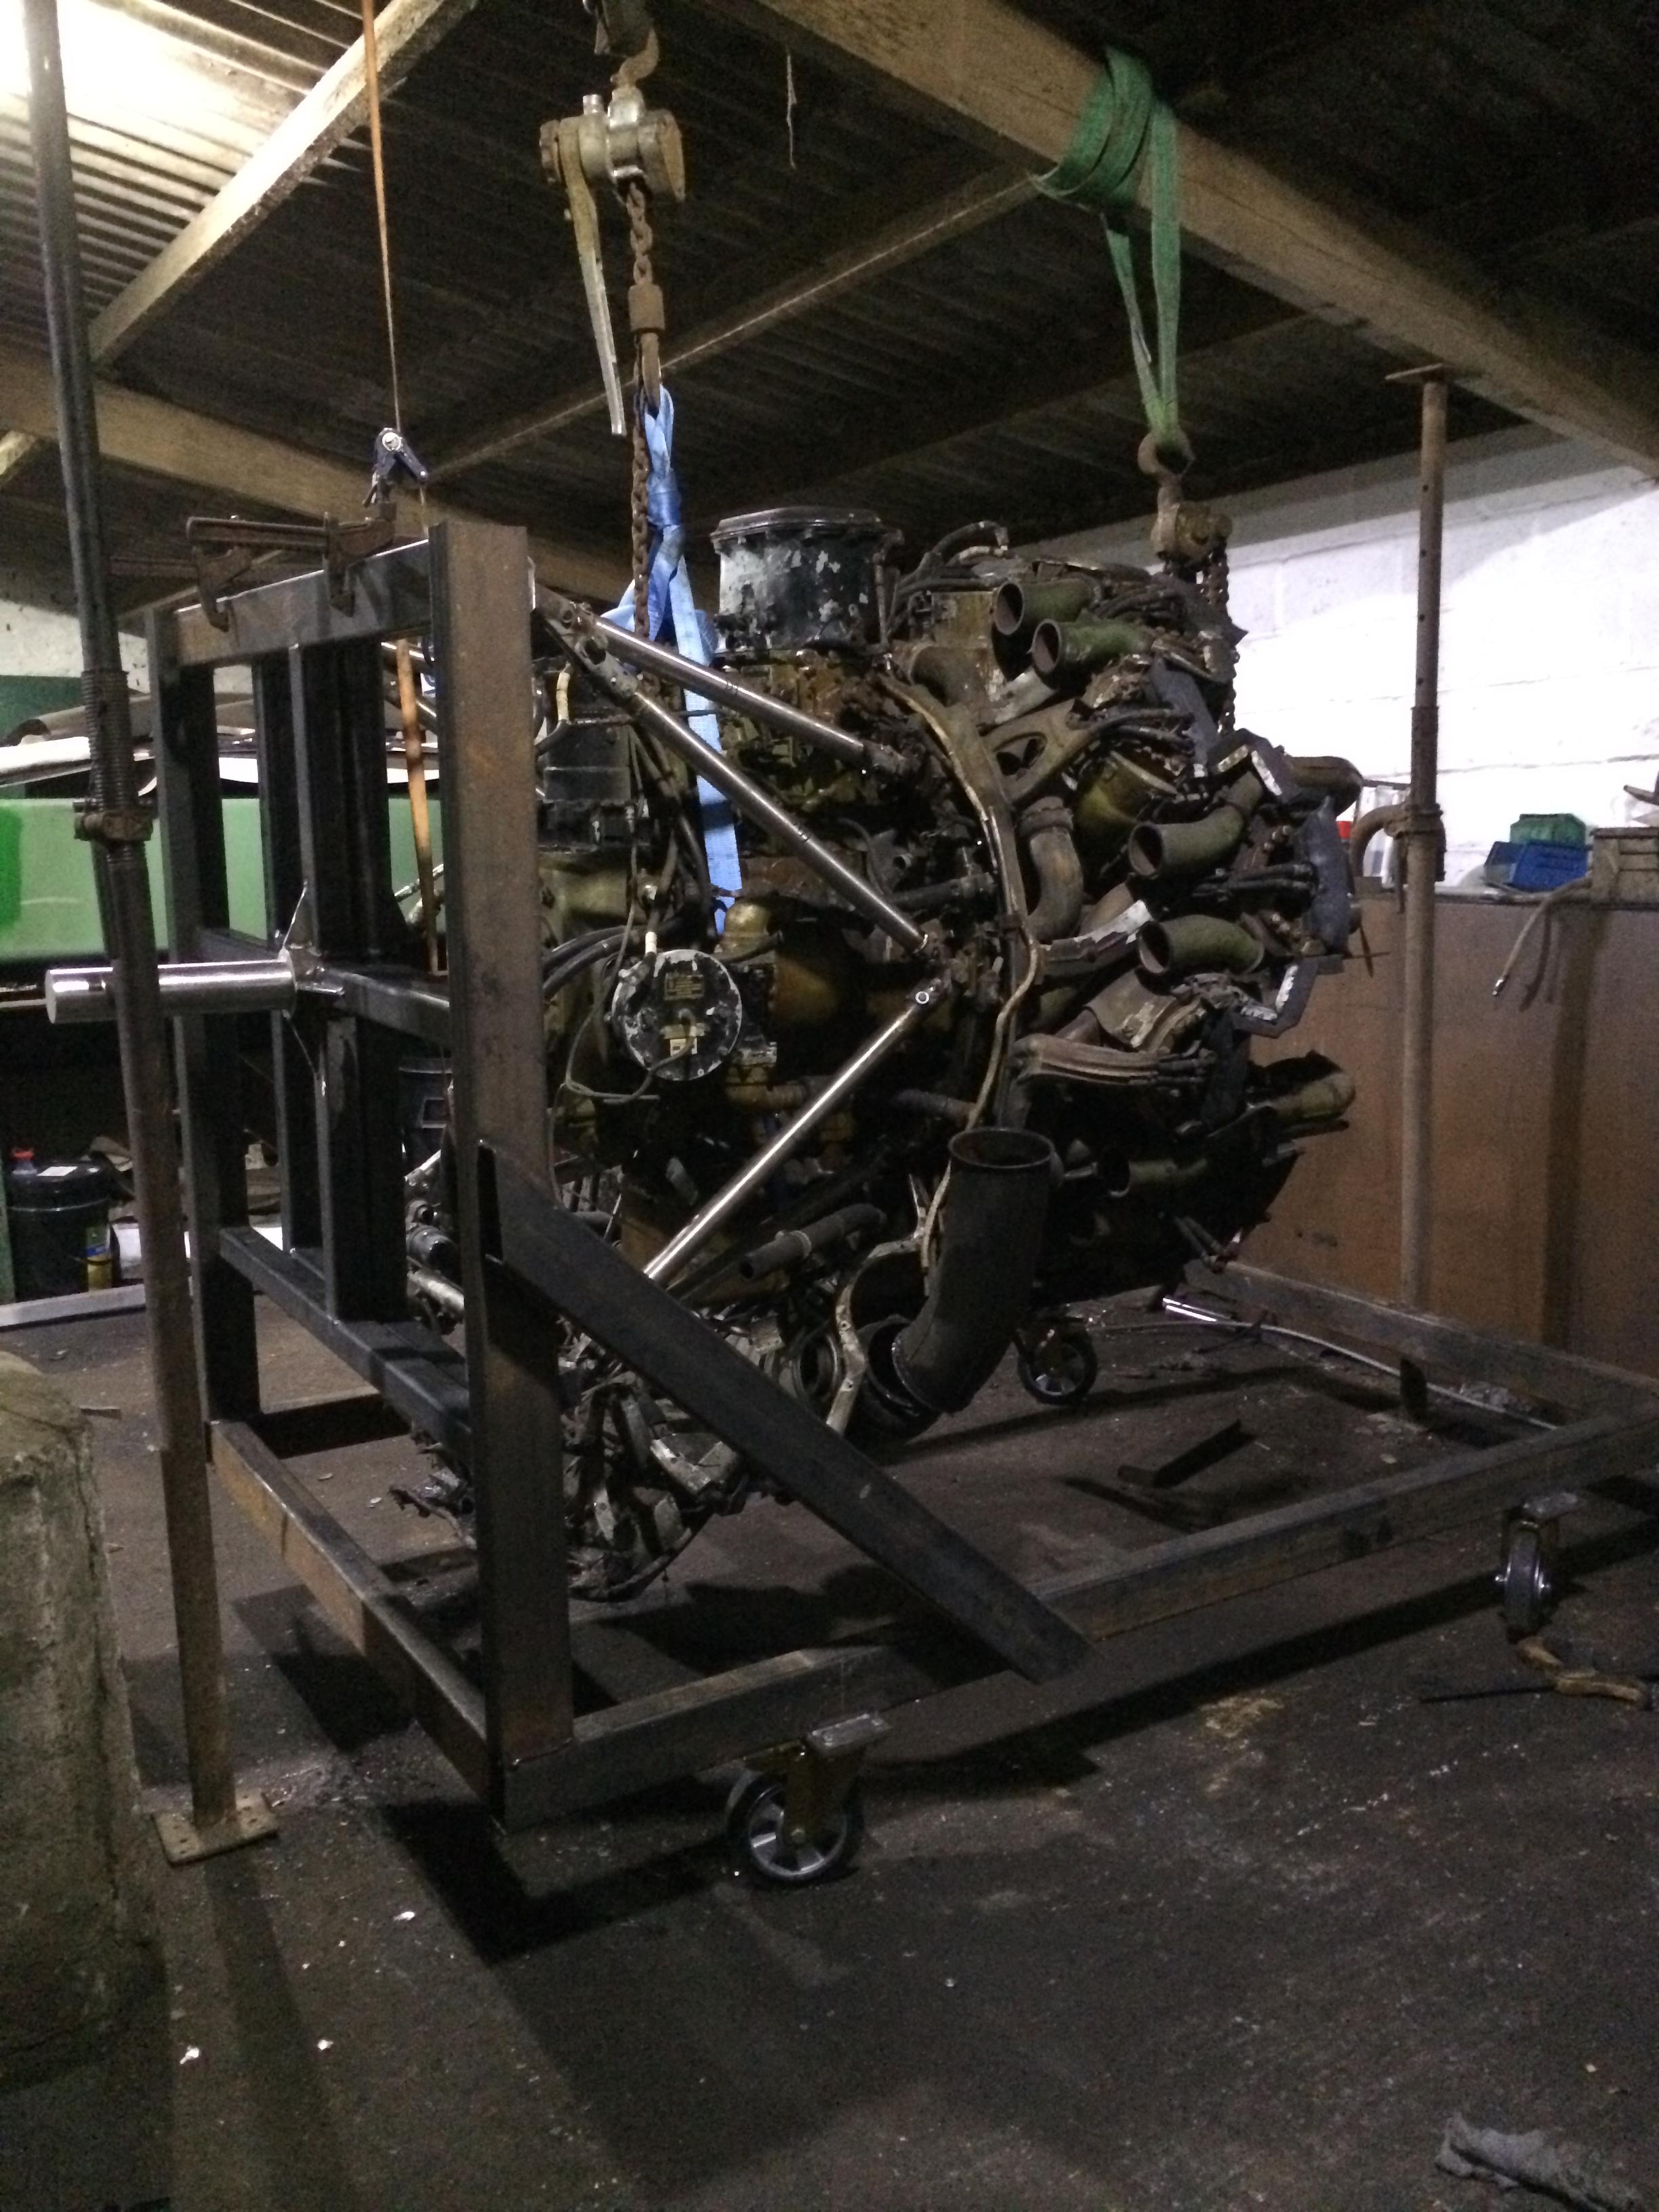
This weekend we had a good couple of days working on the 264, we managed to                        remove No. 5 , No.11 ,No.12 and No.13 cylinder heads.

24 Nov 003


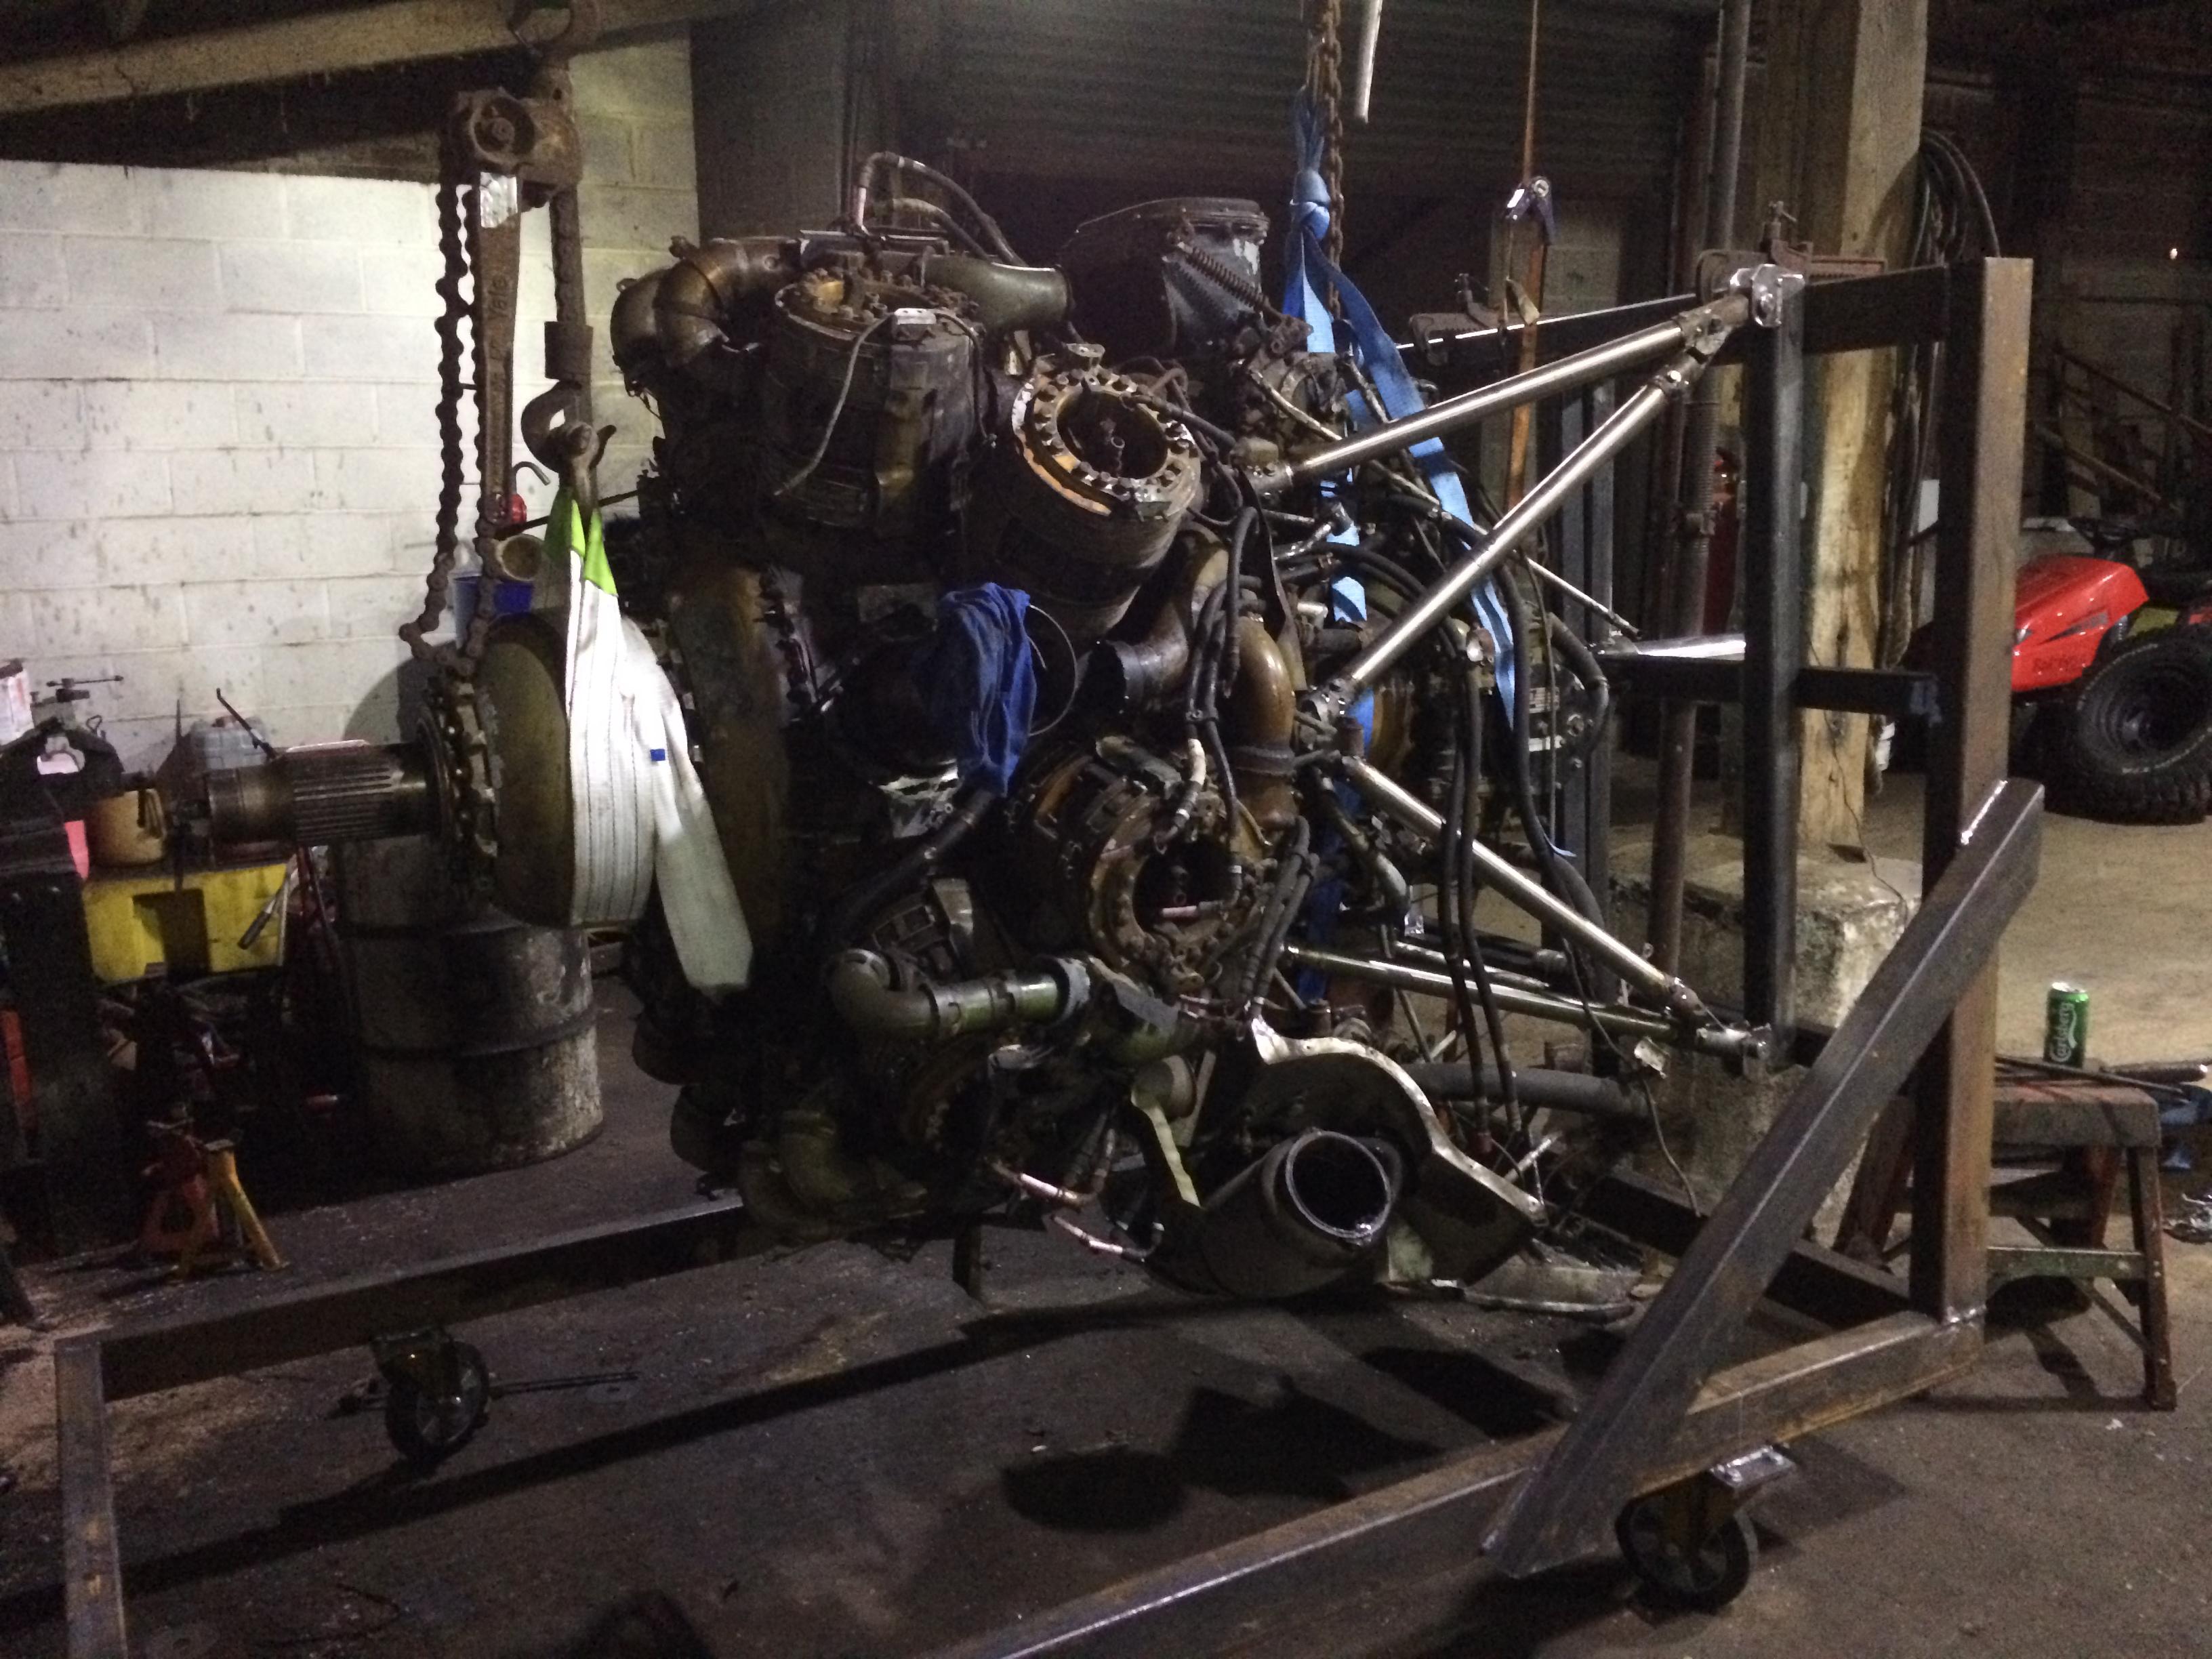
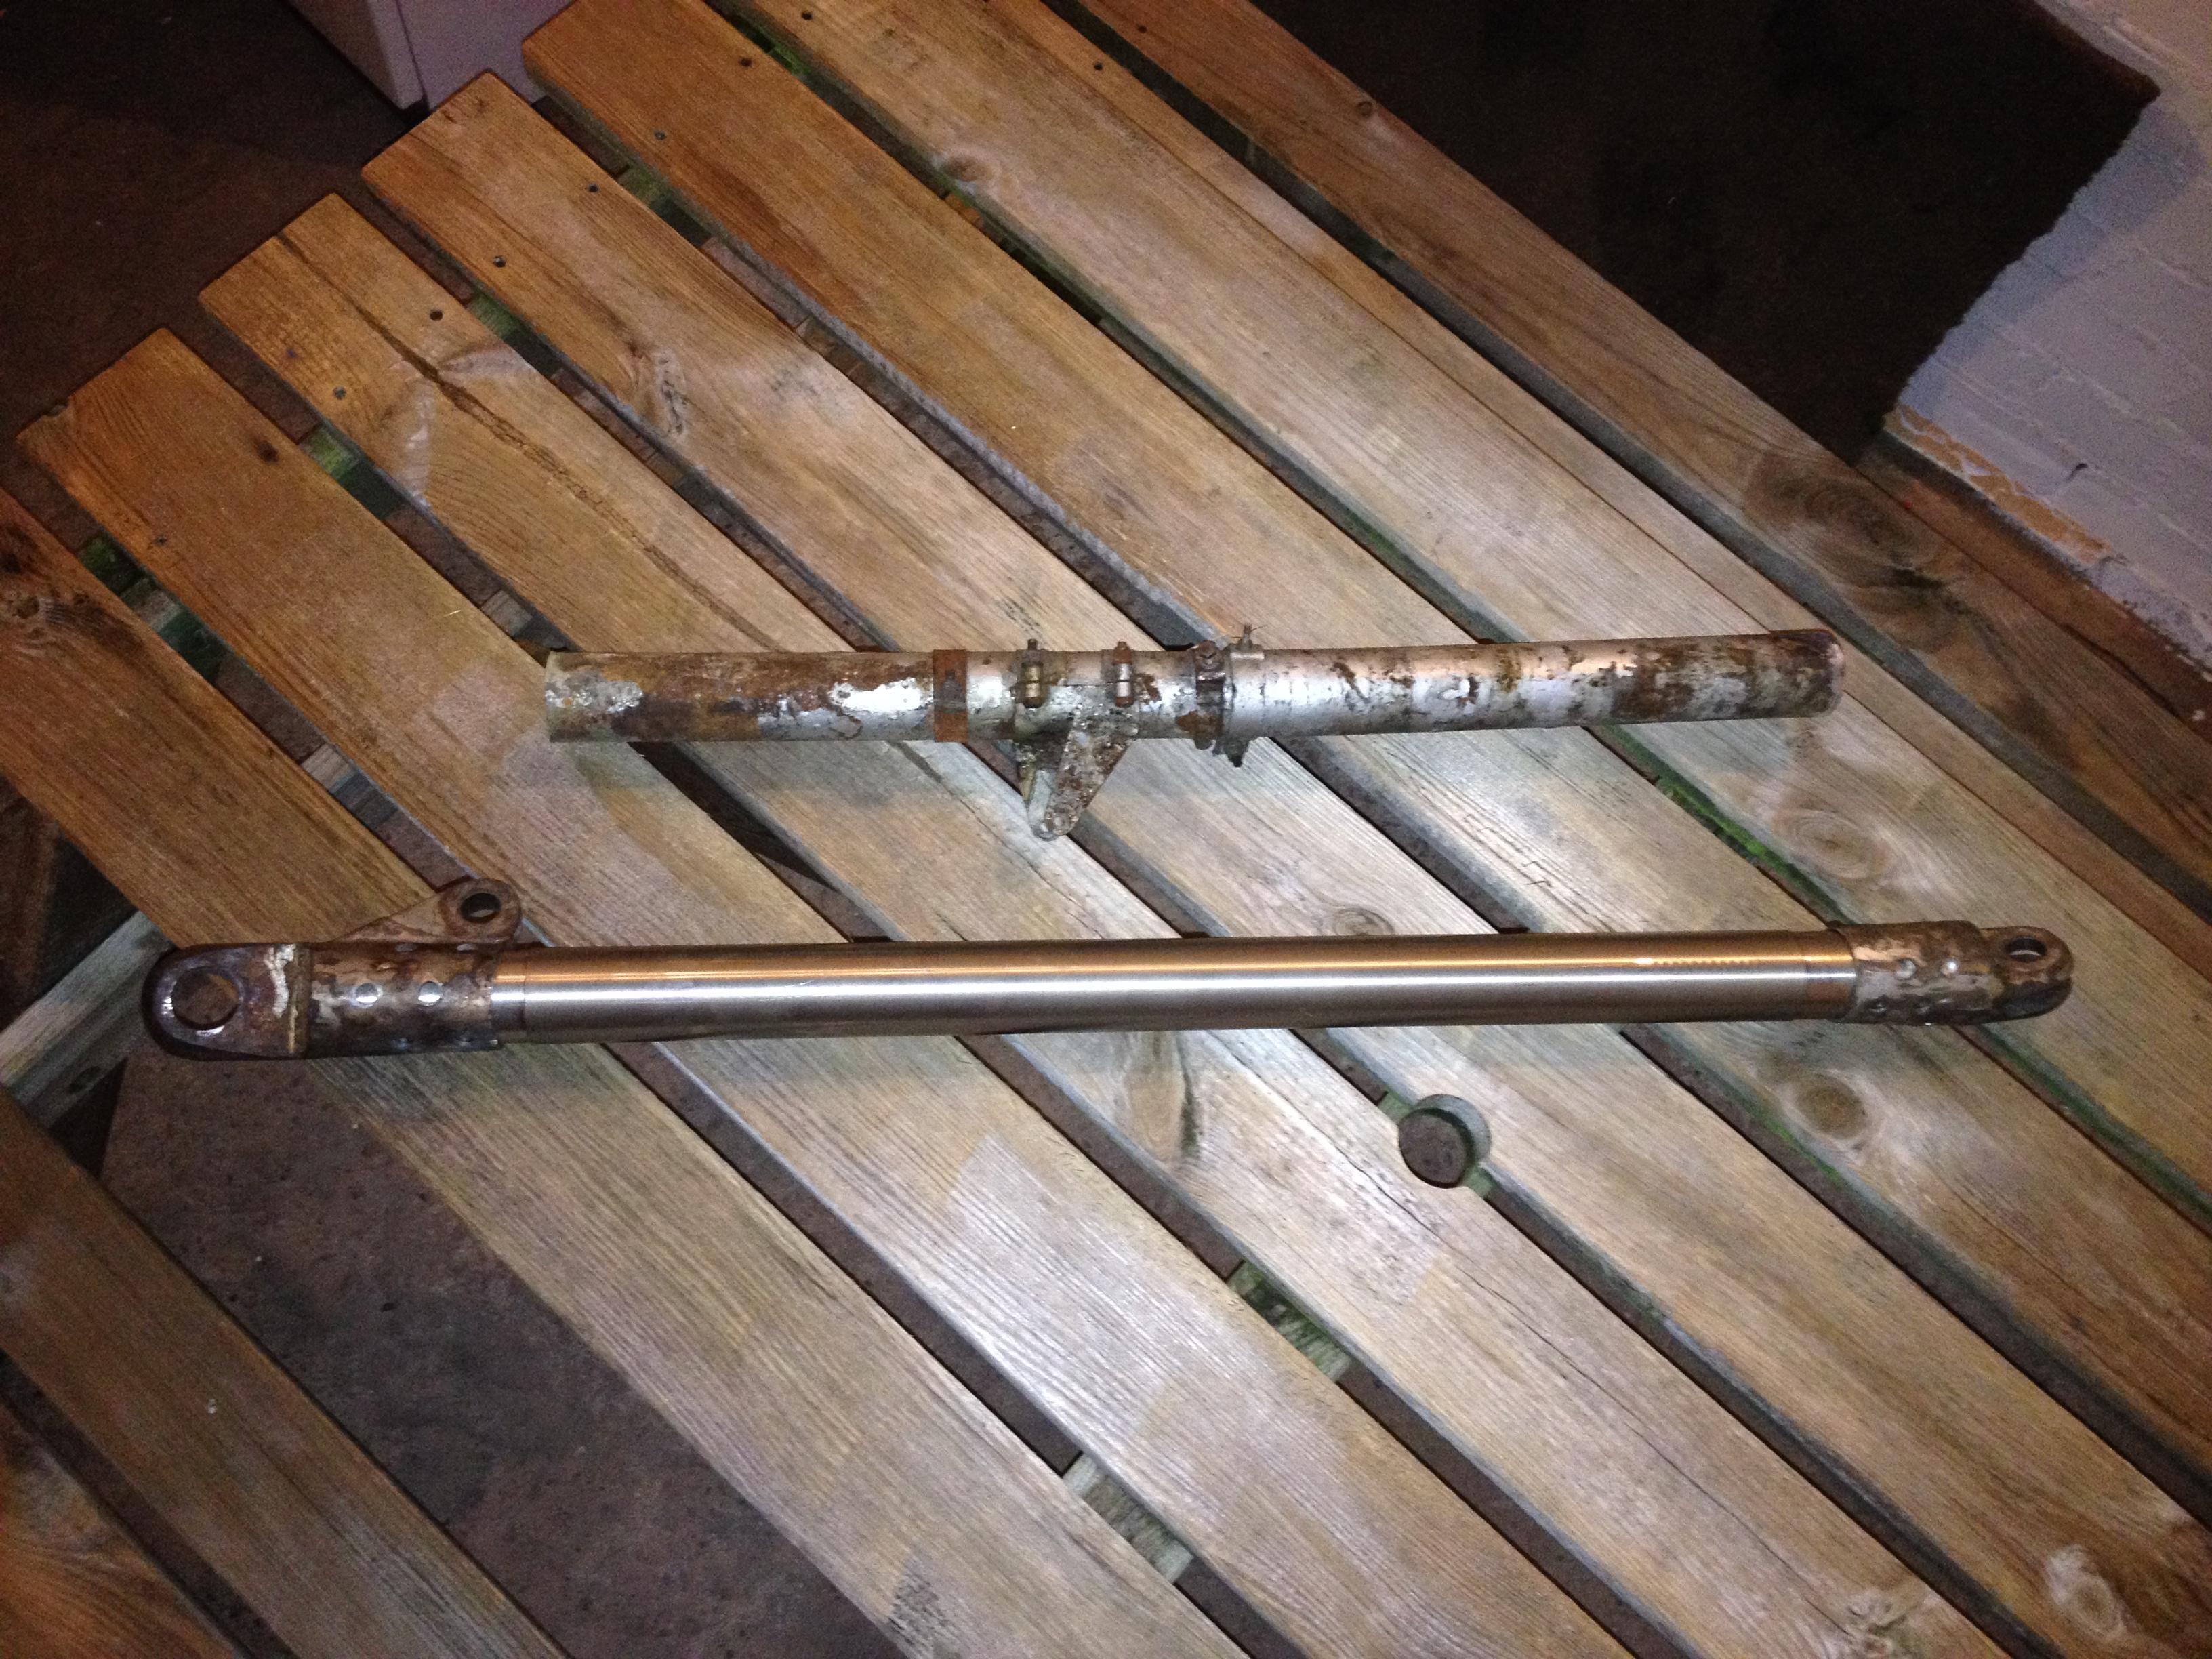
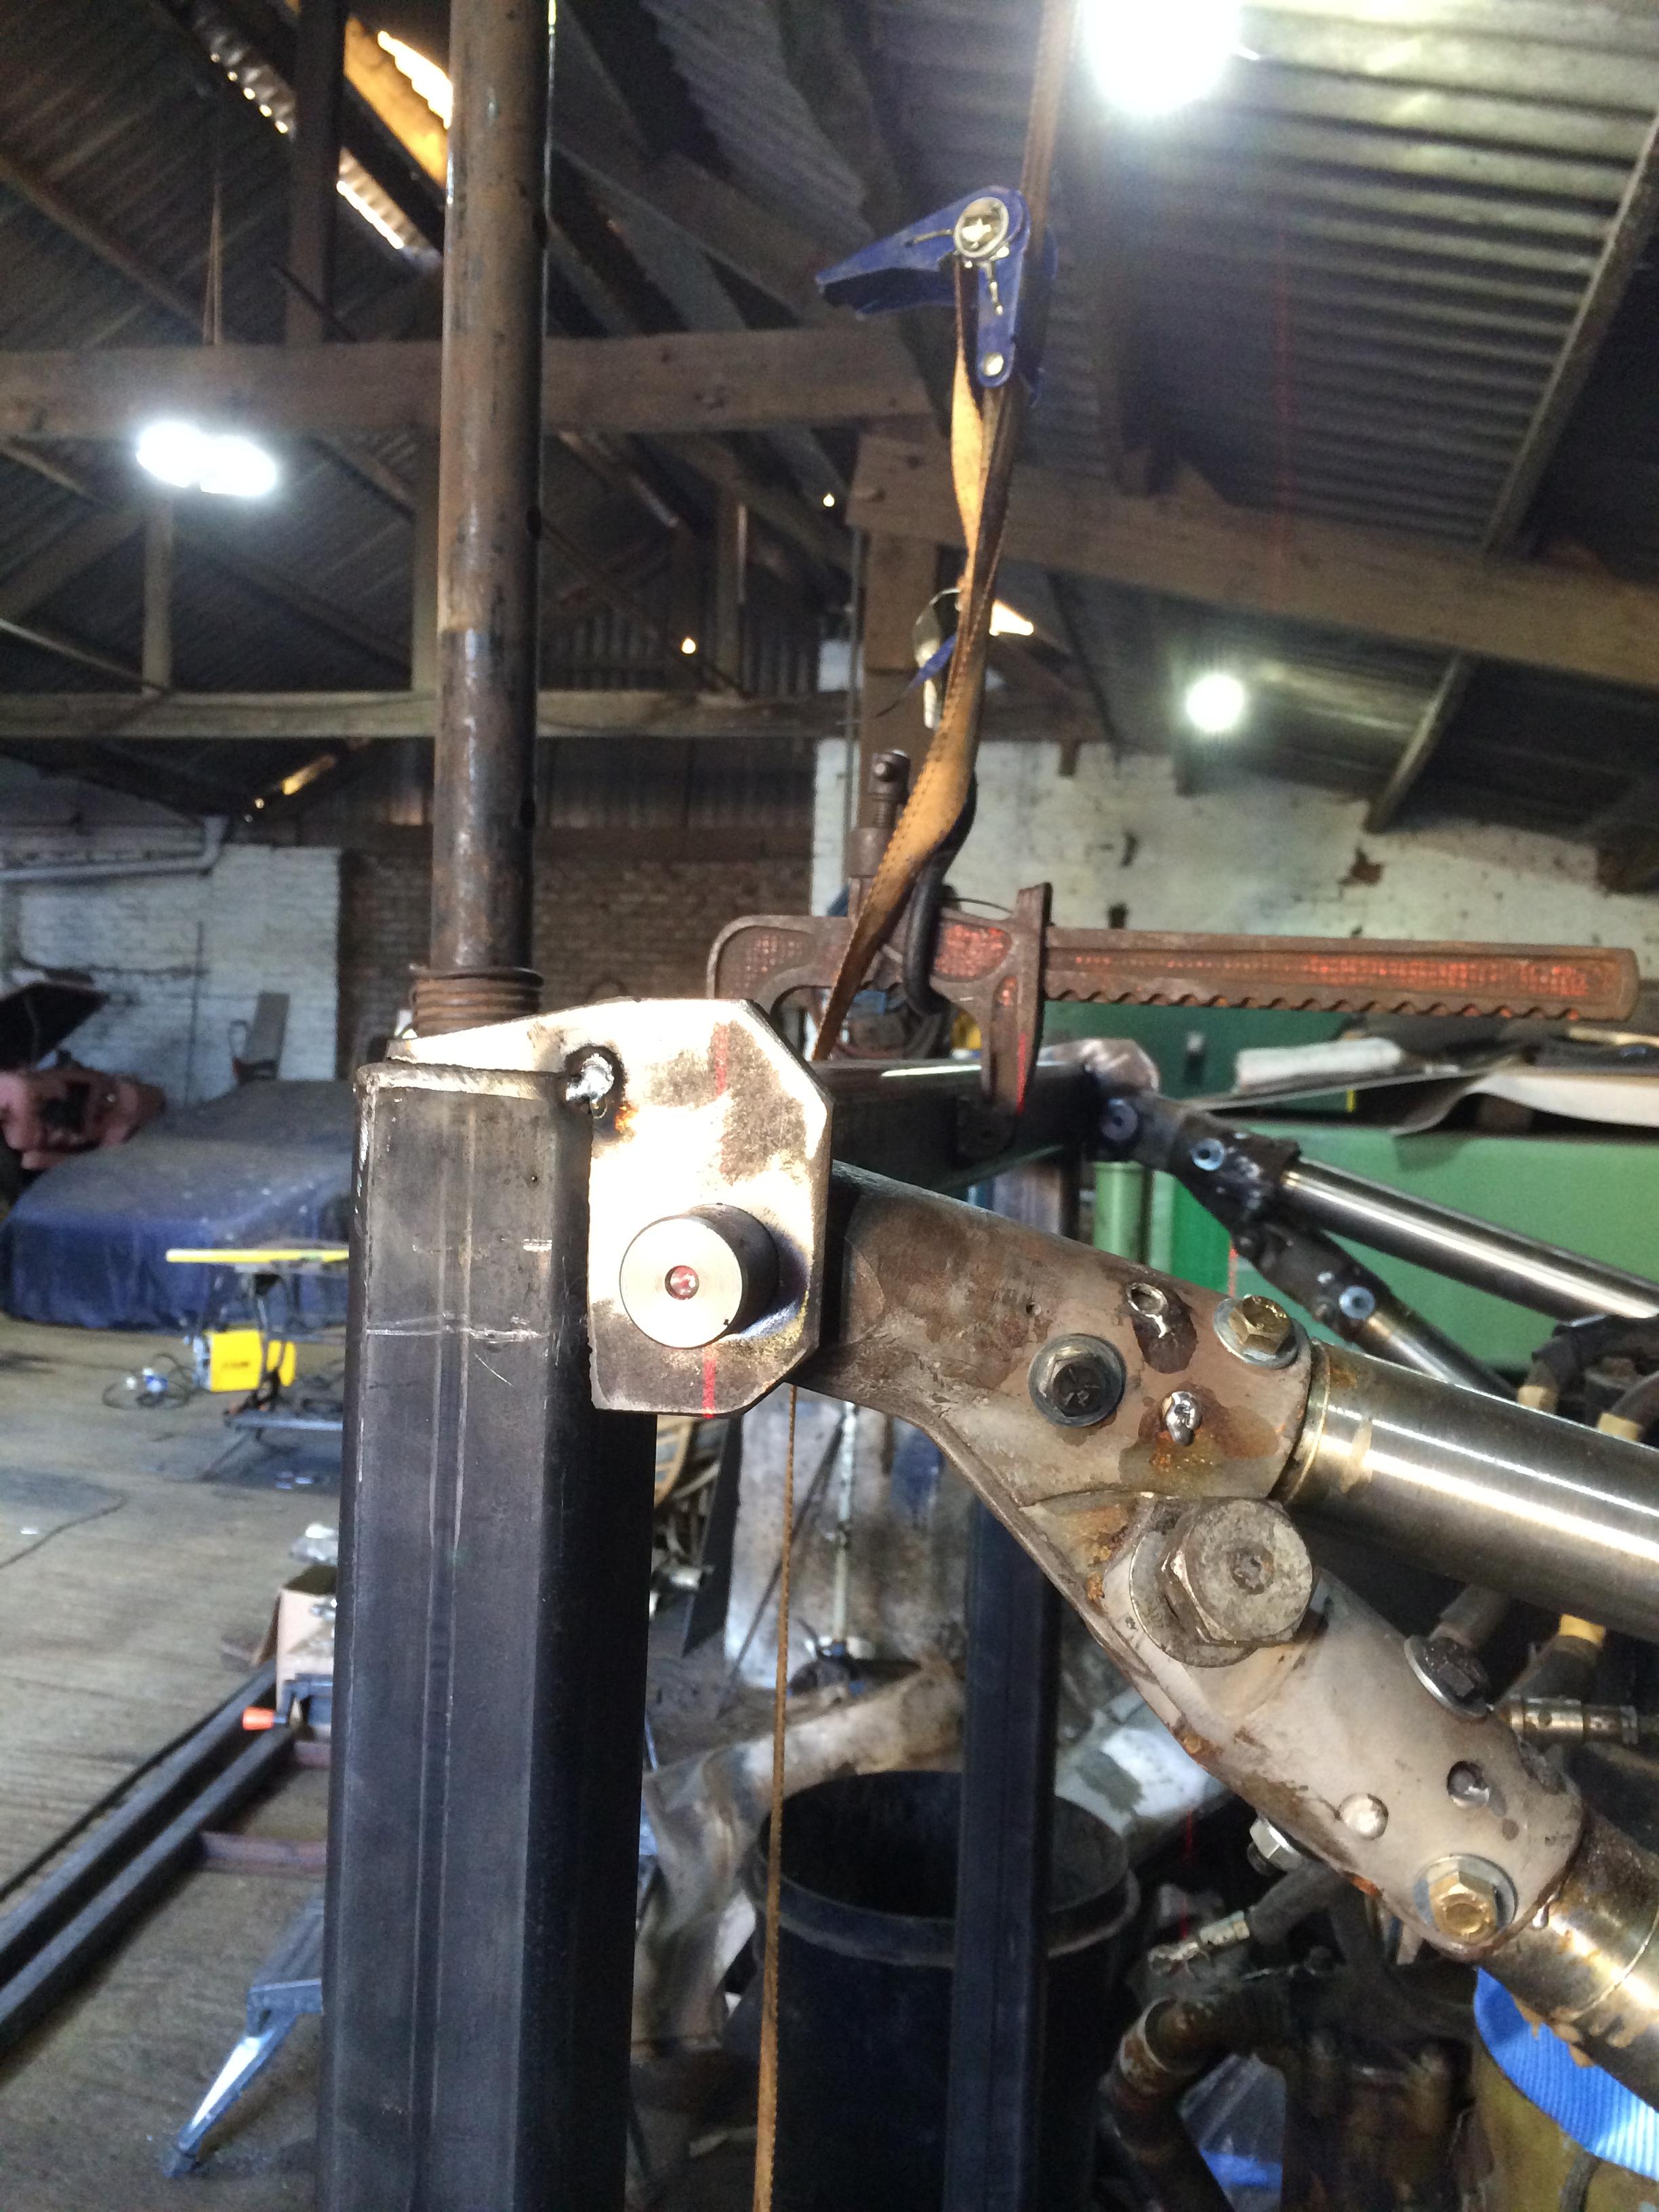
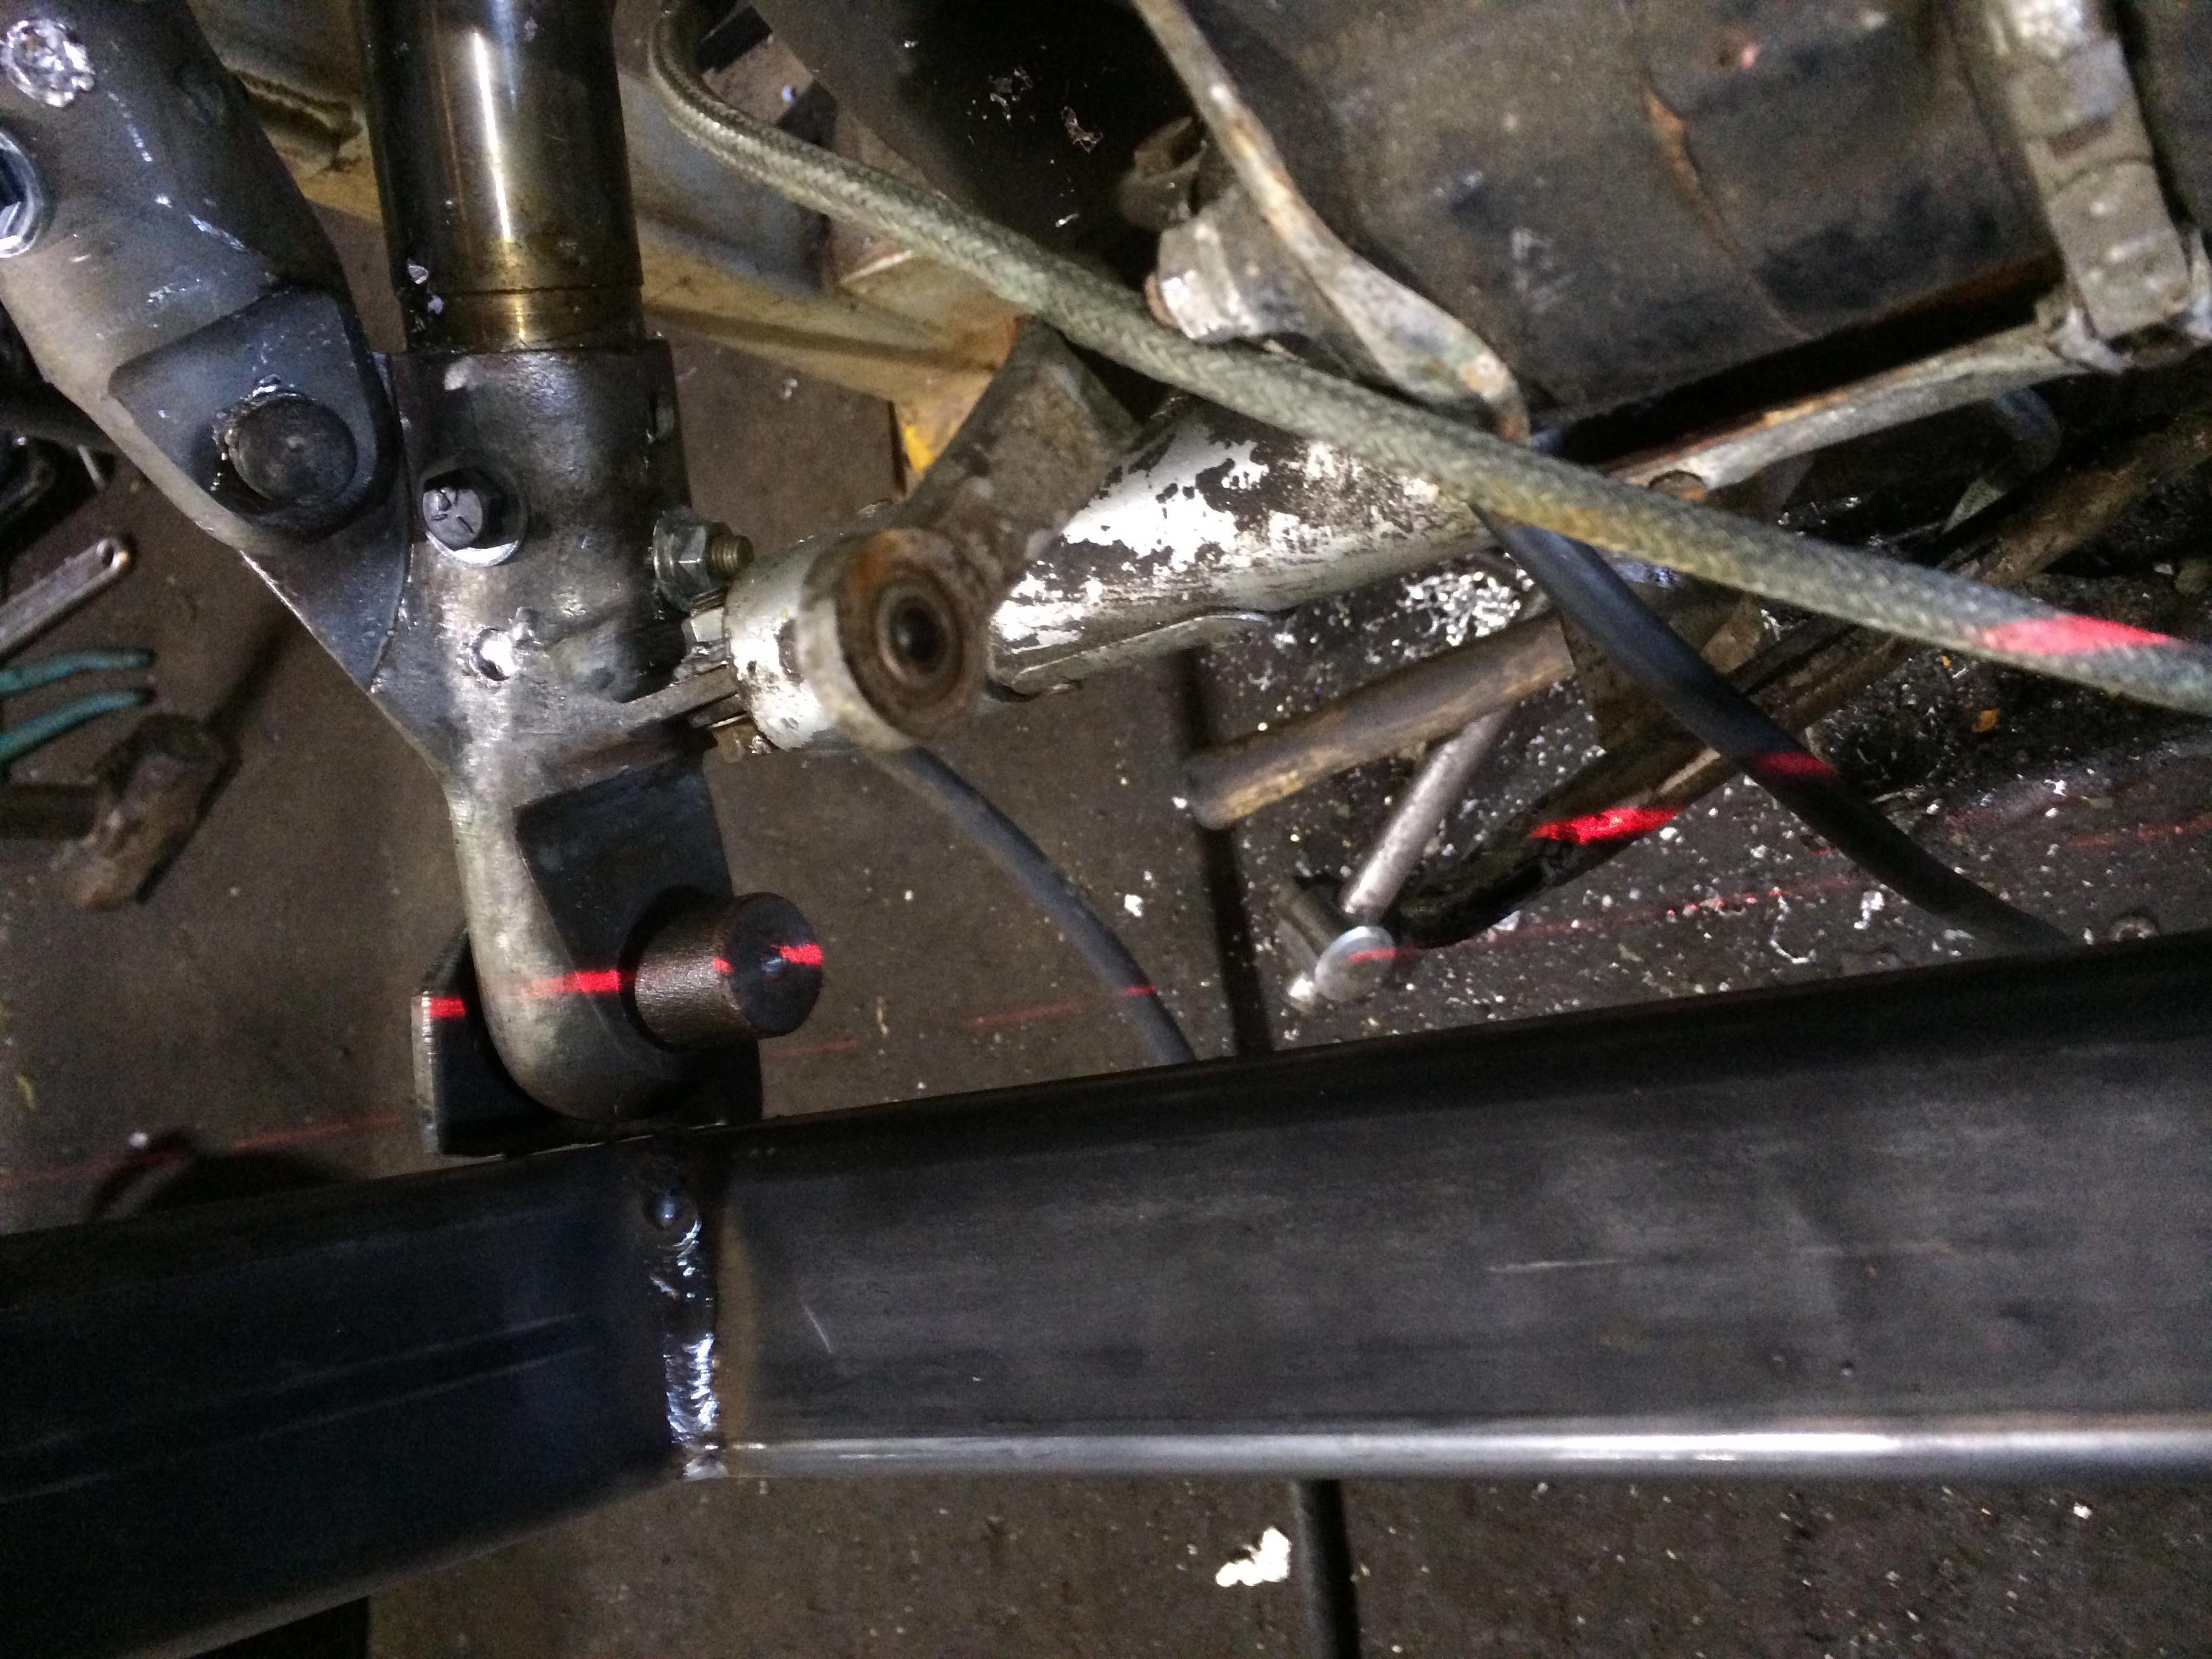
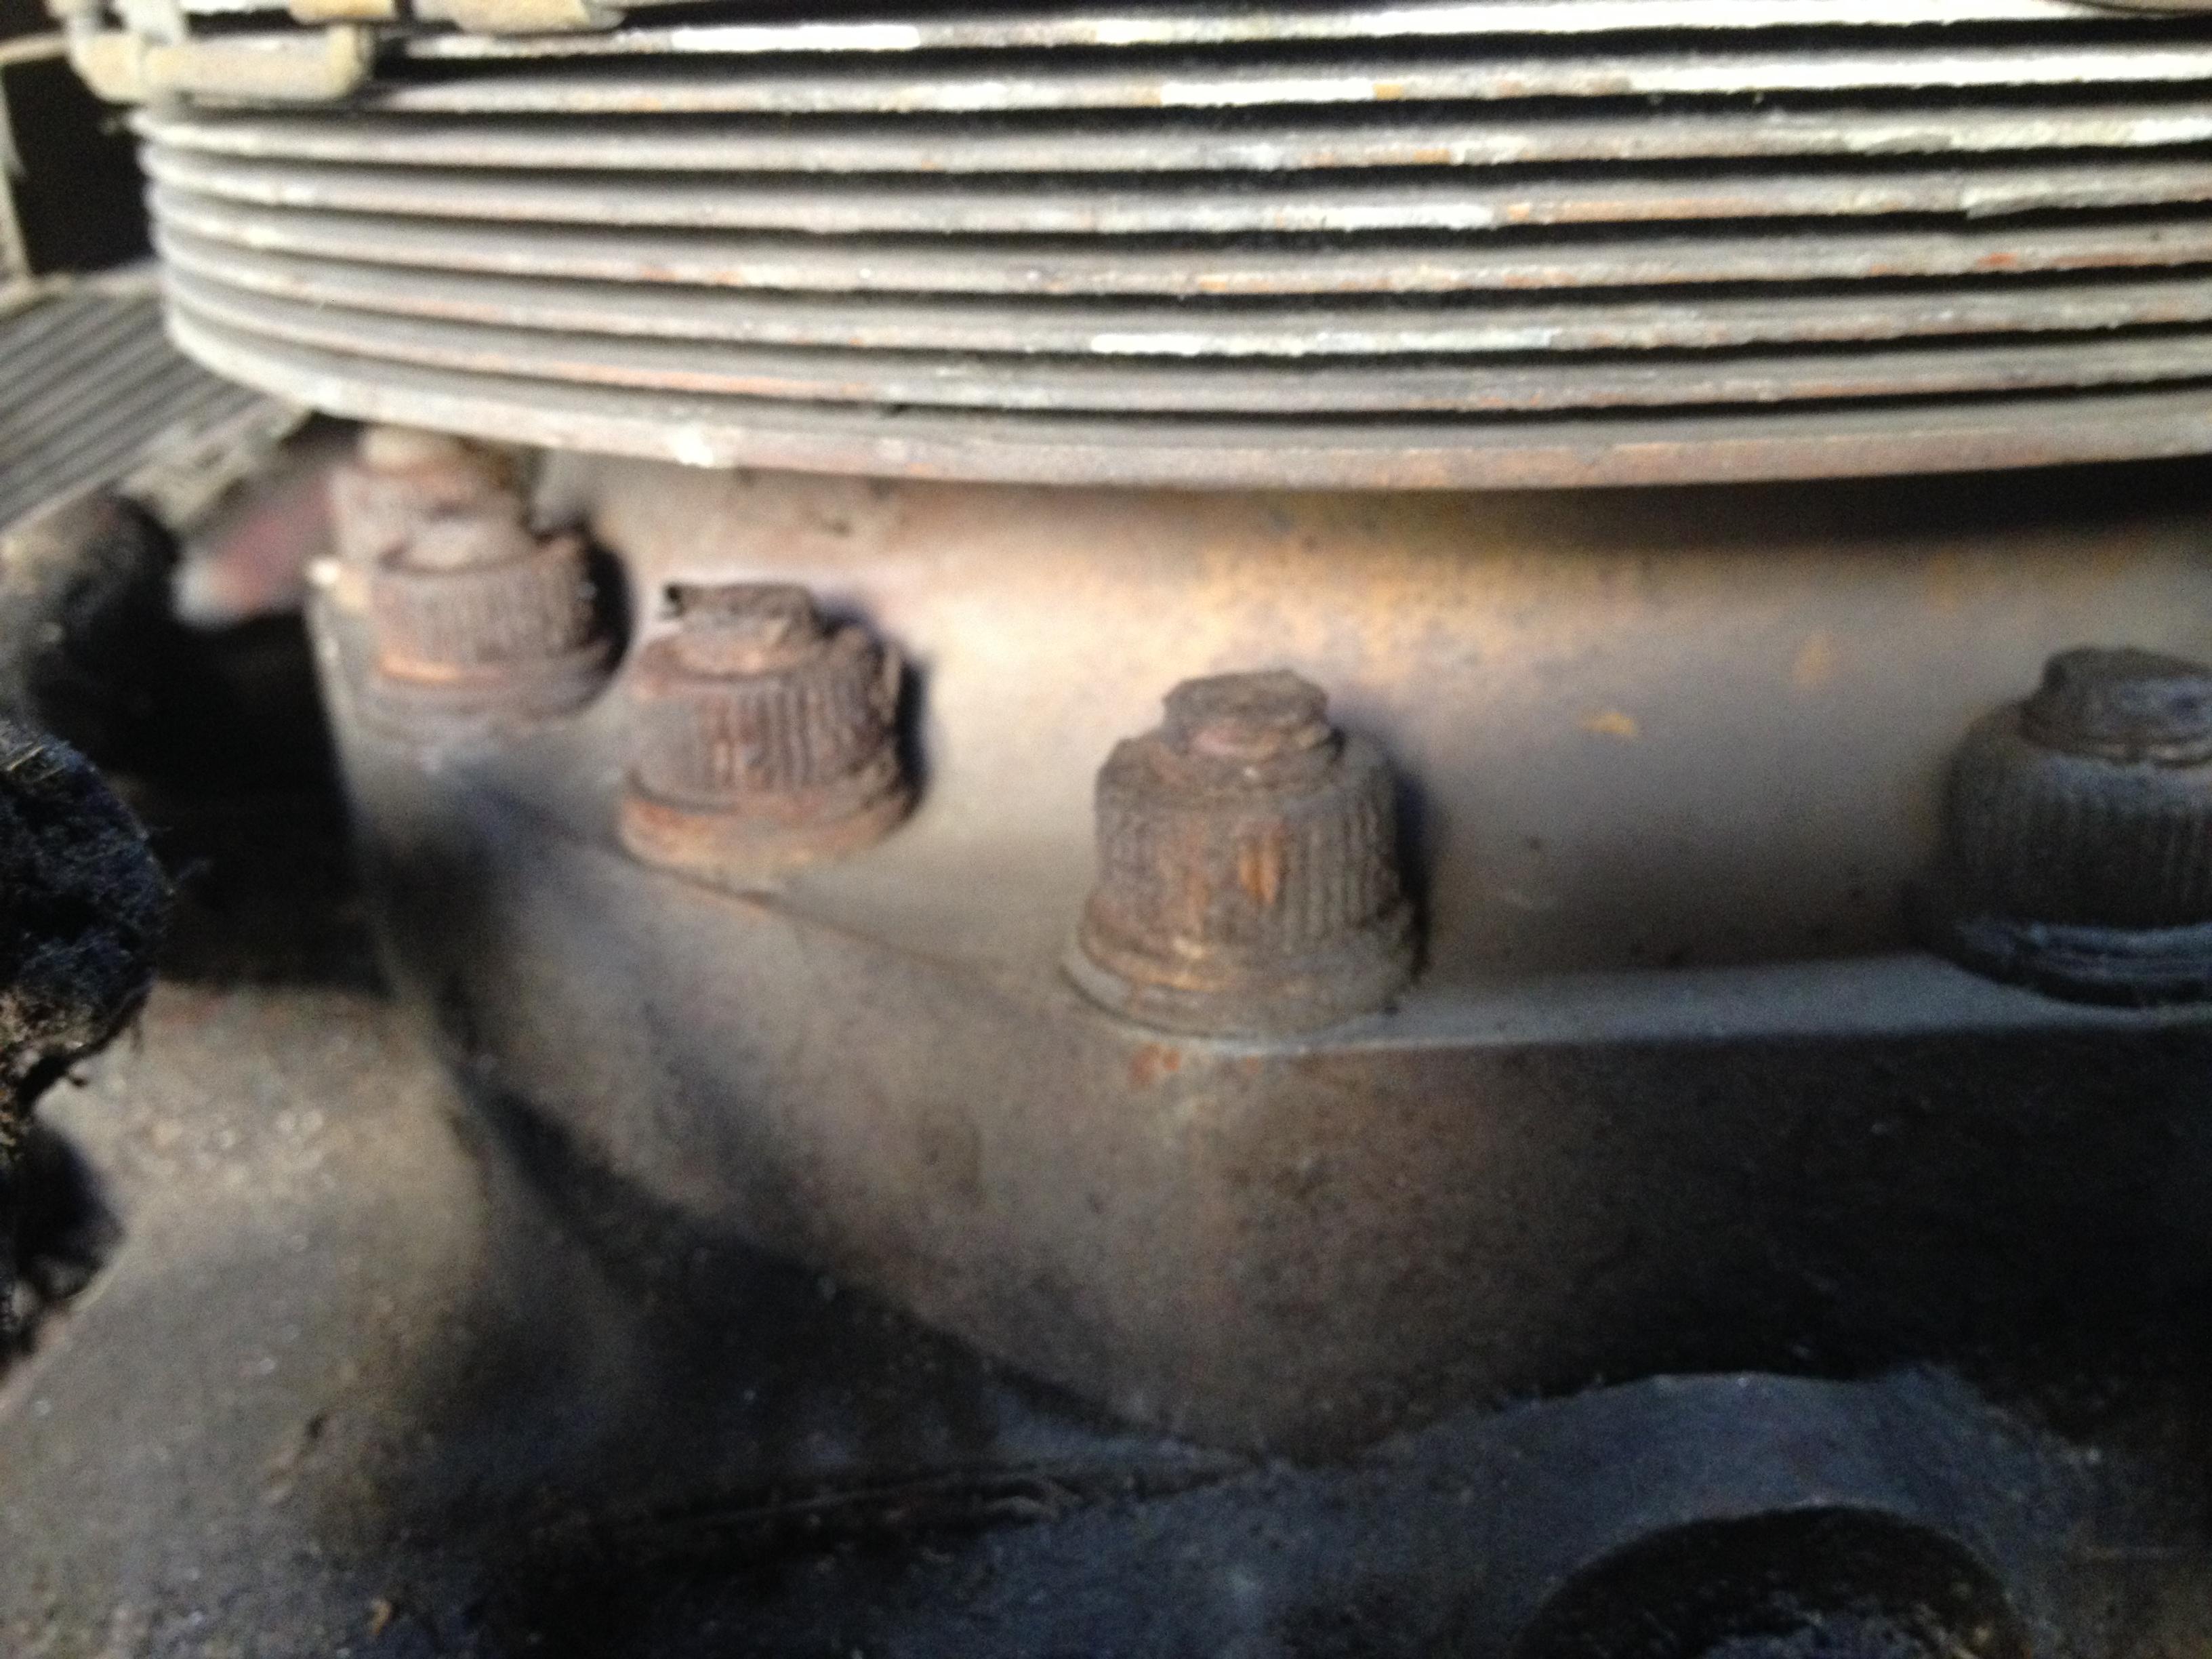
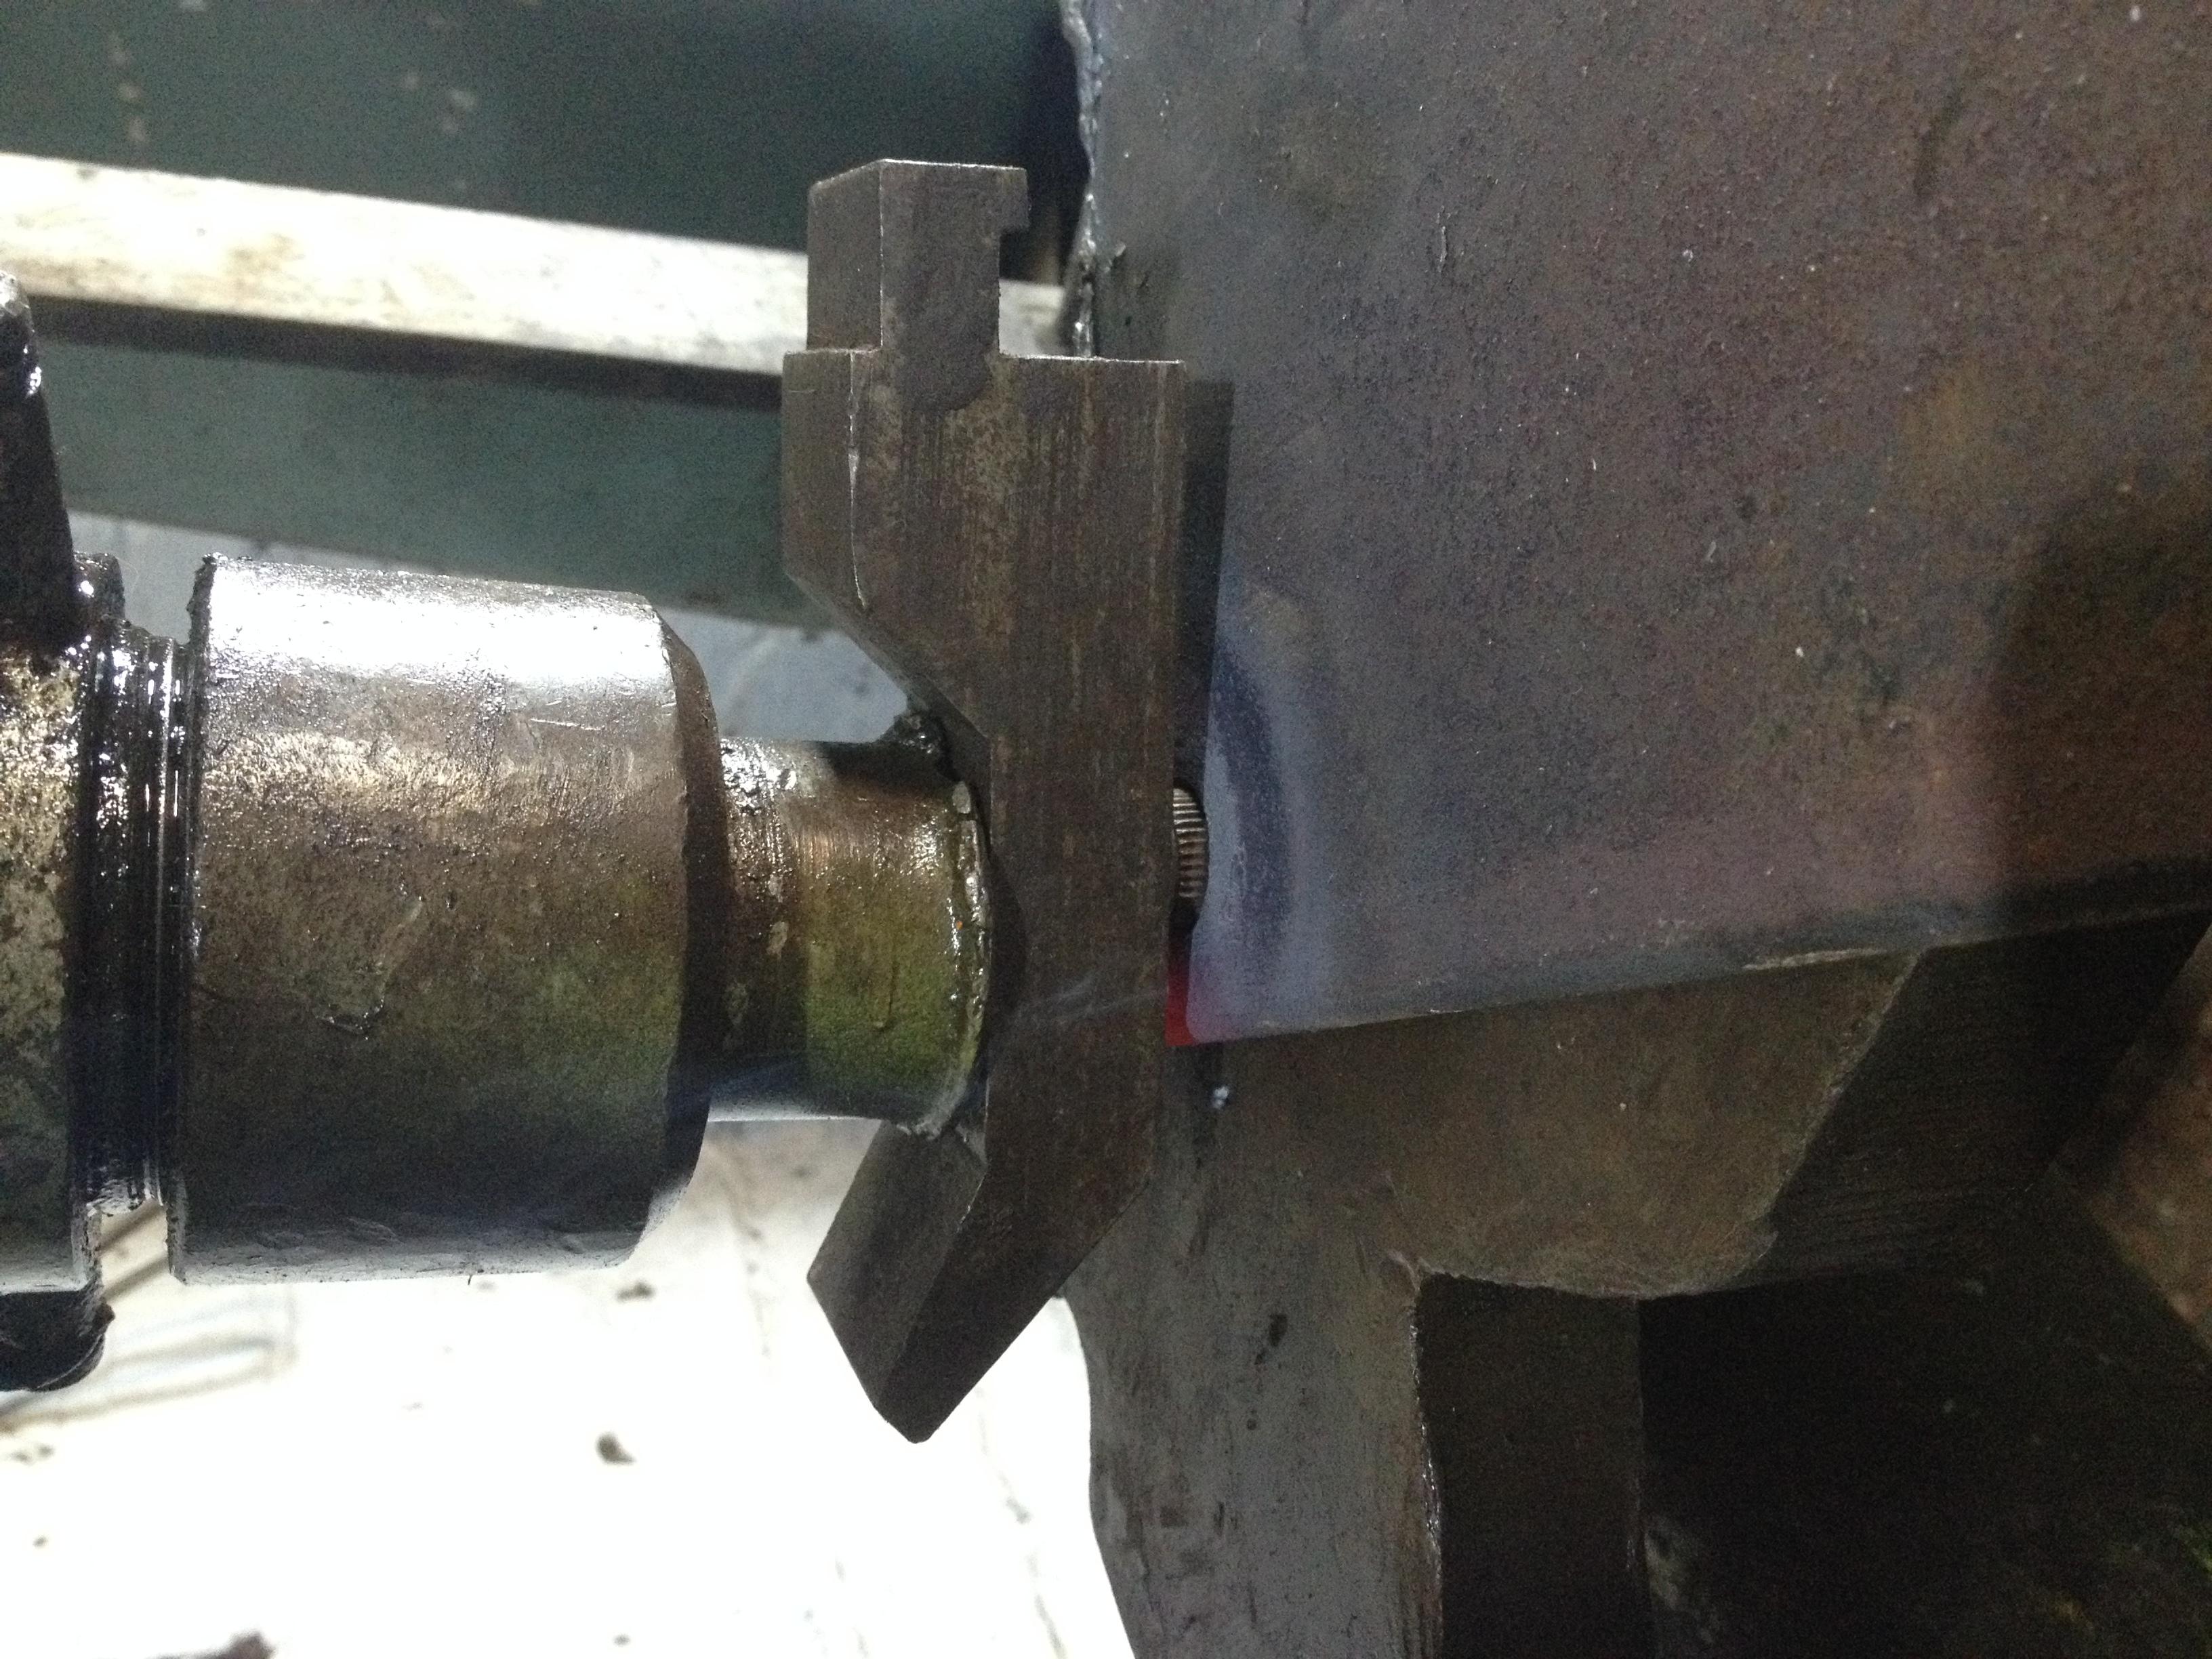
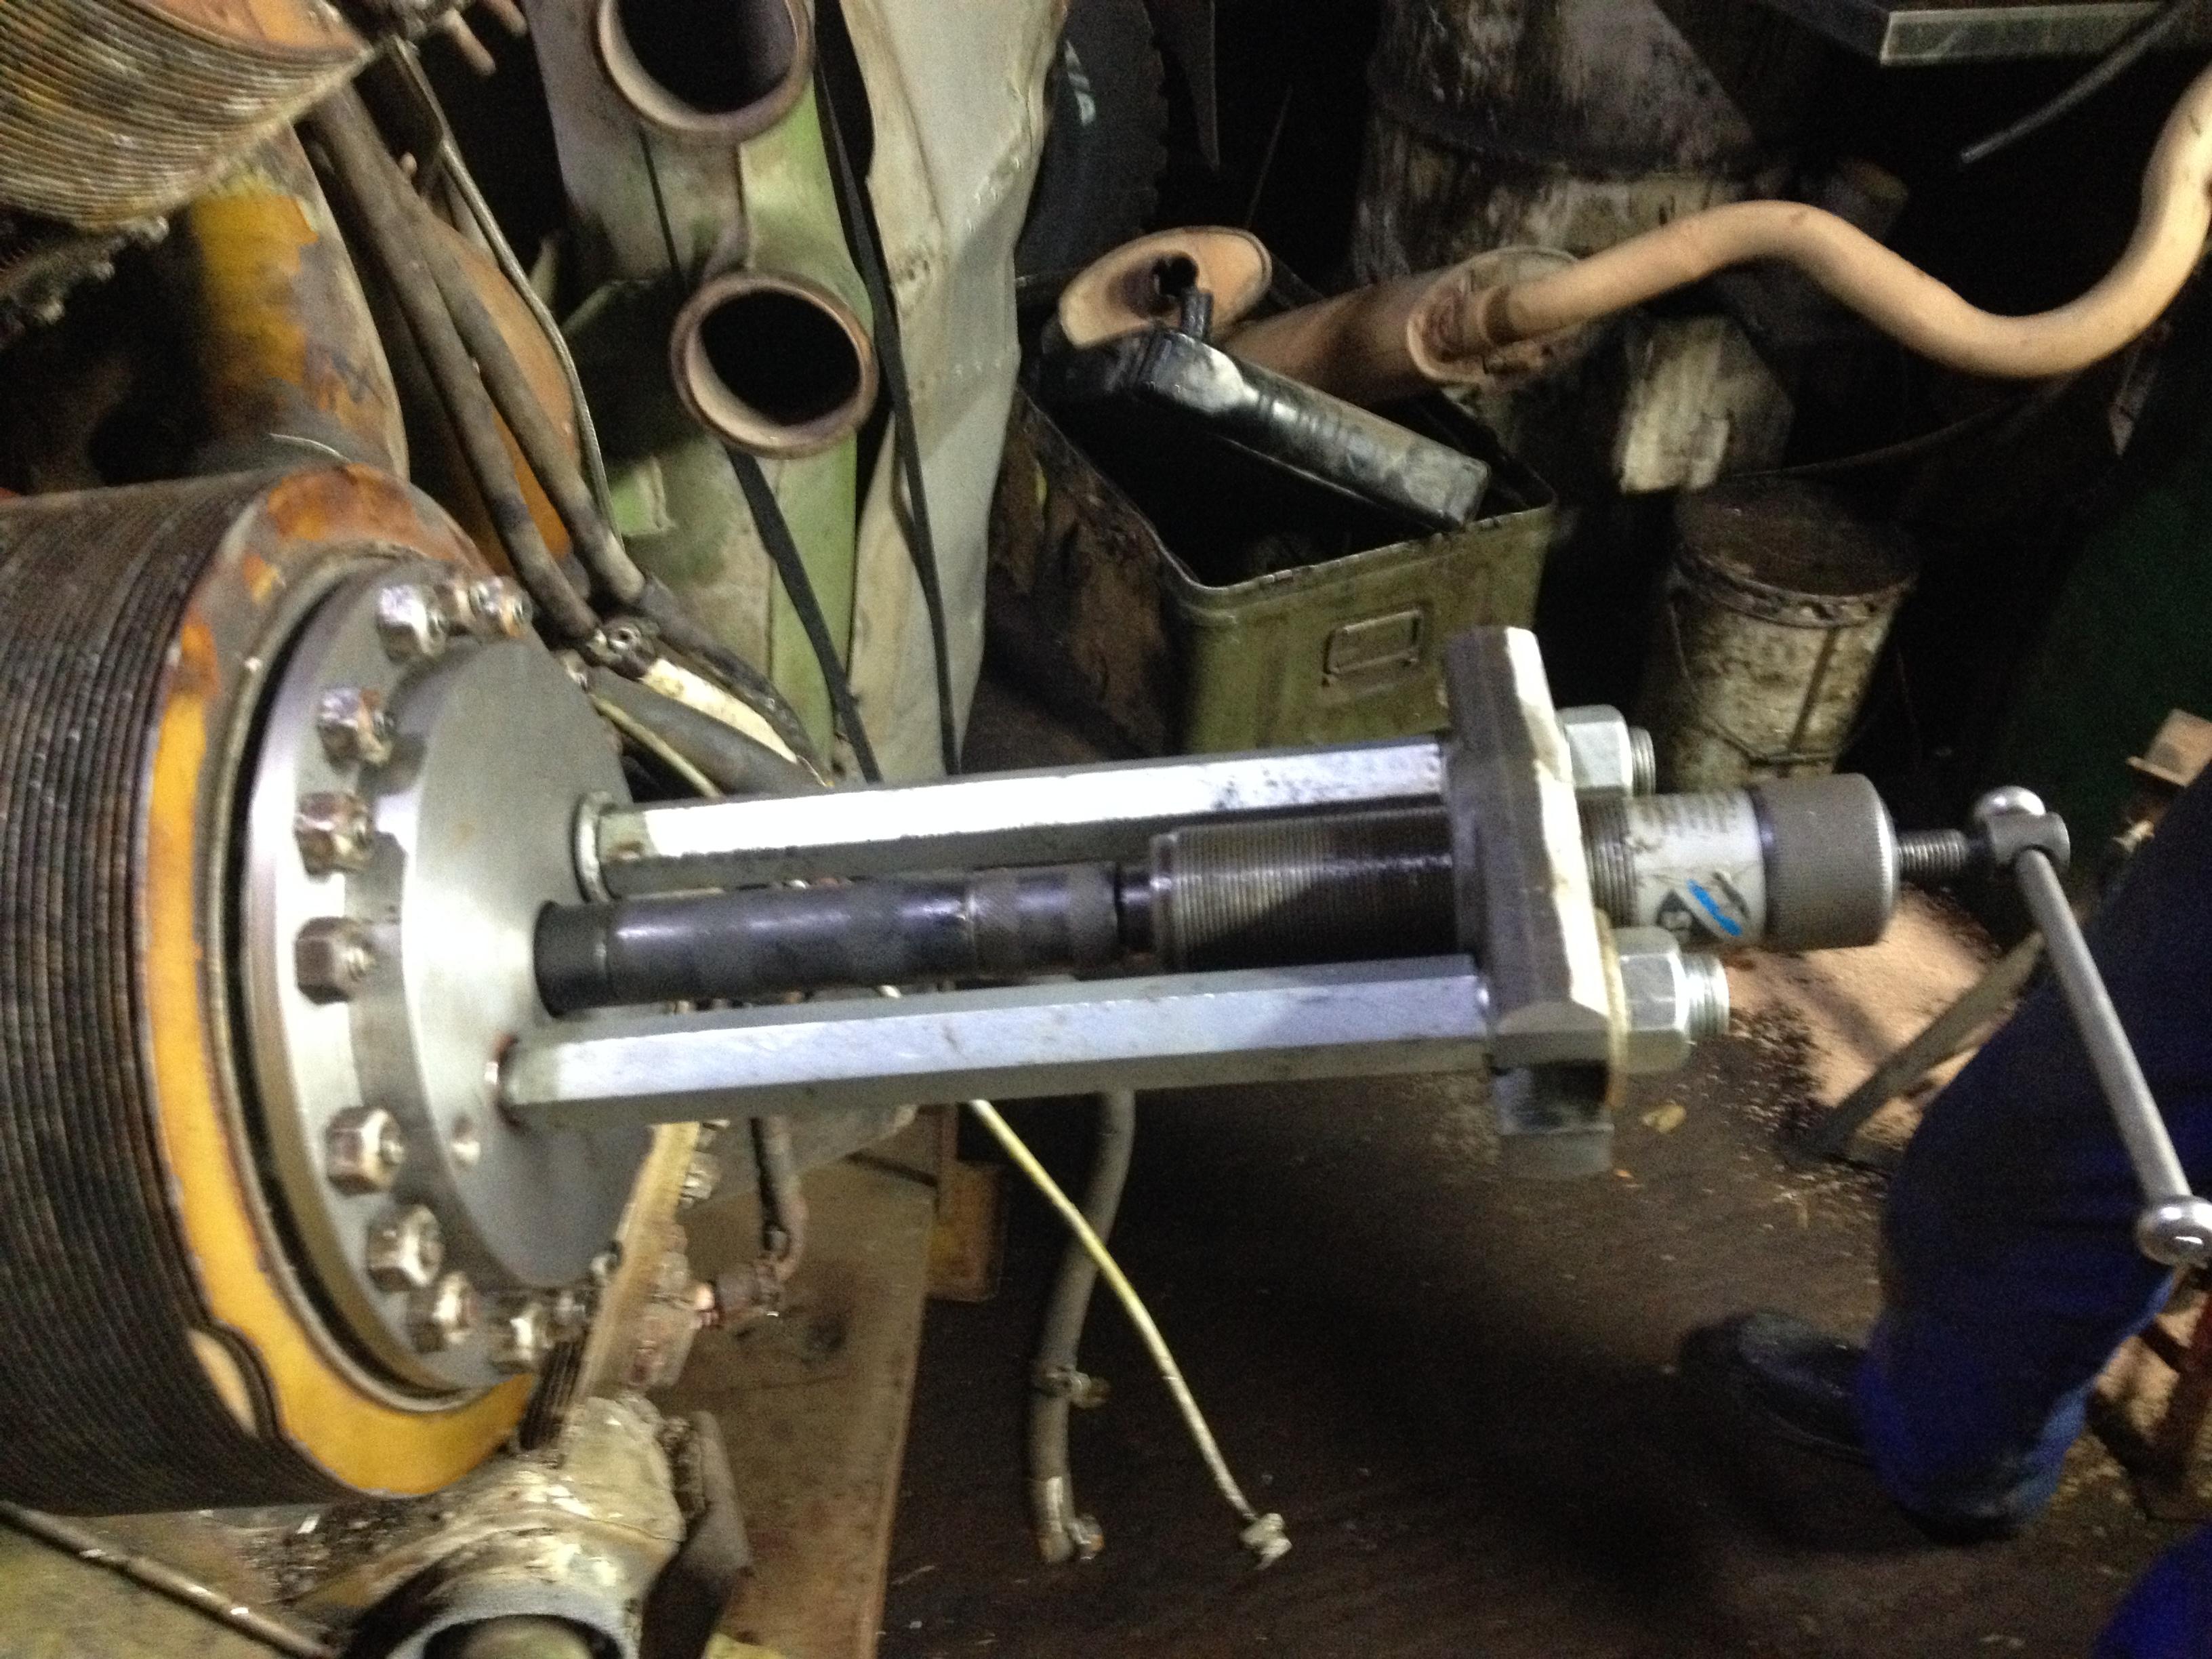
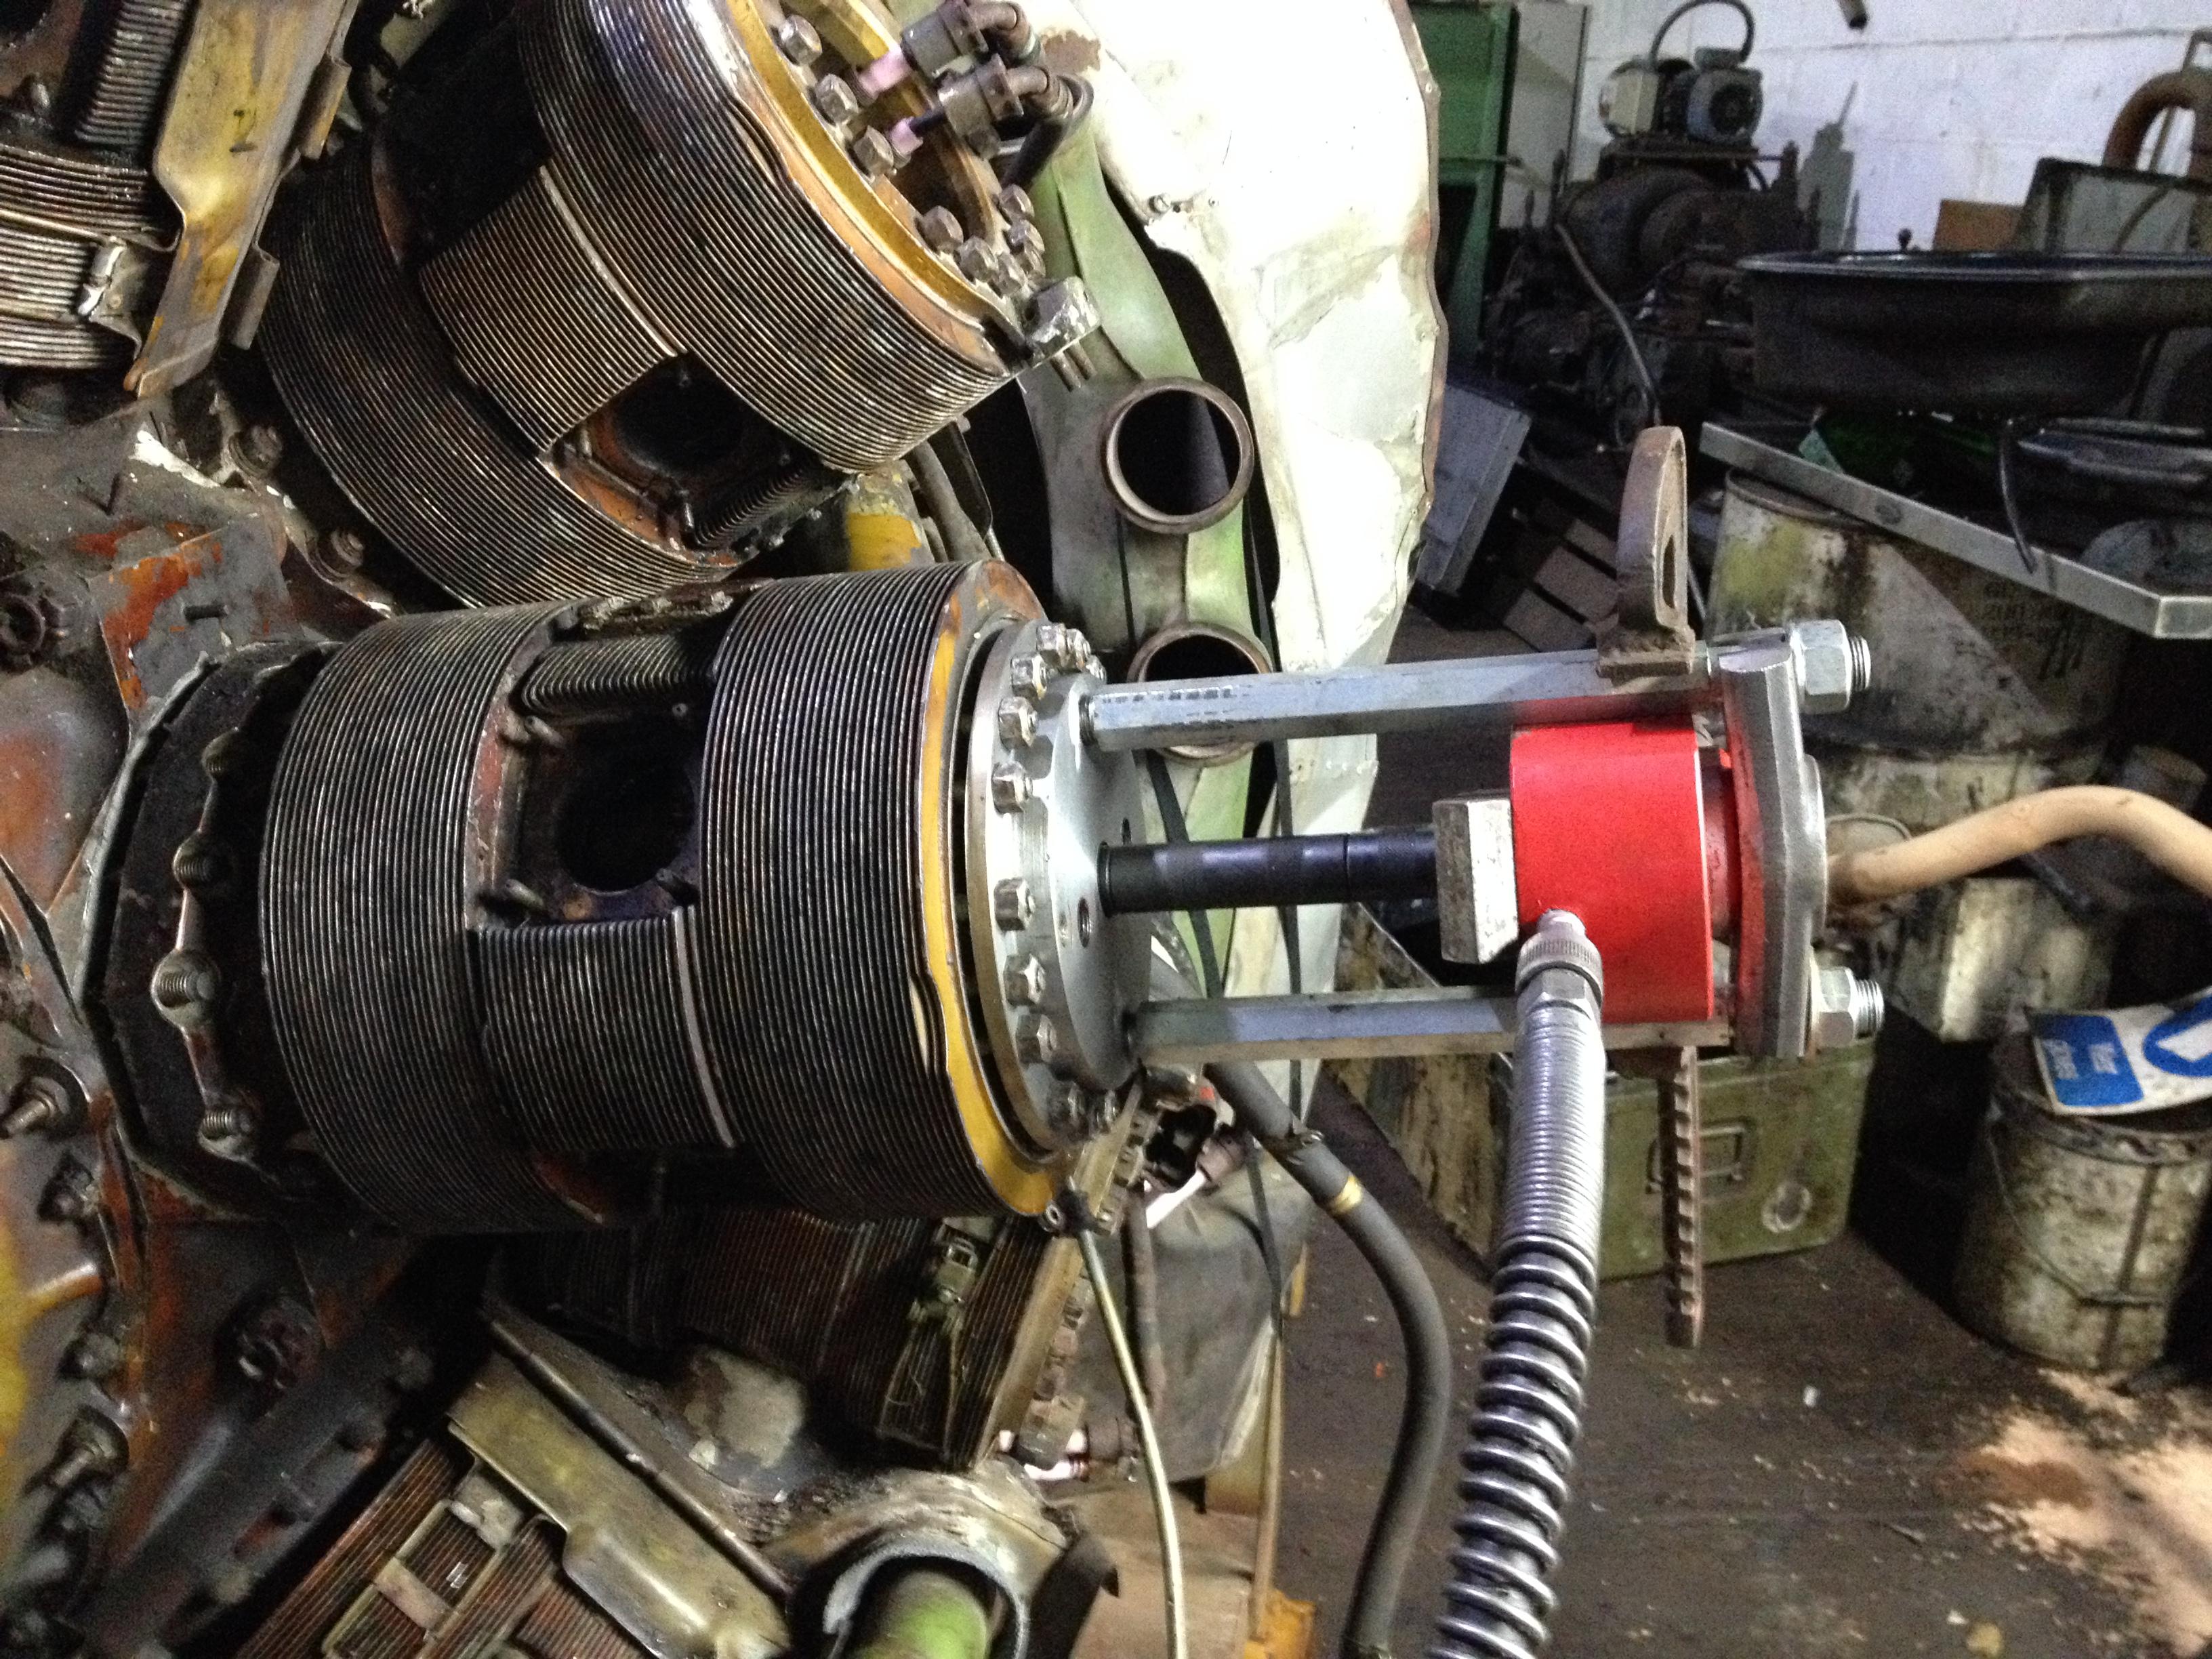
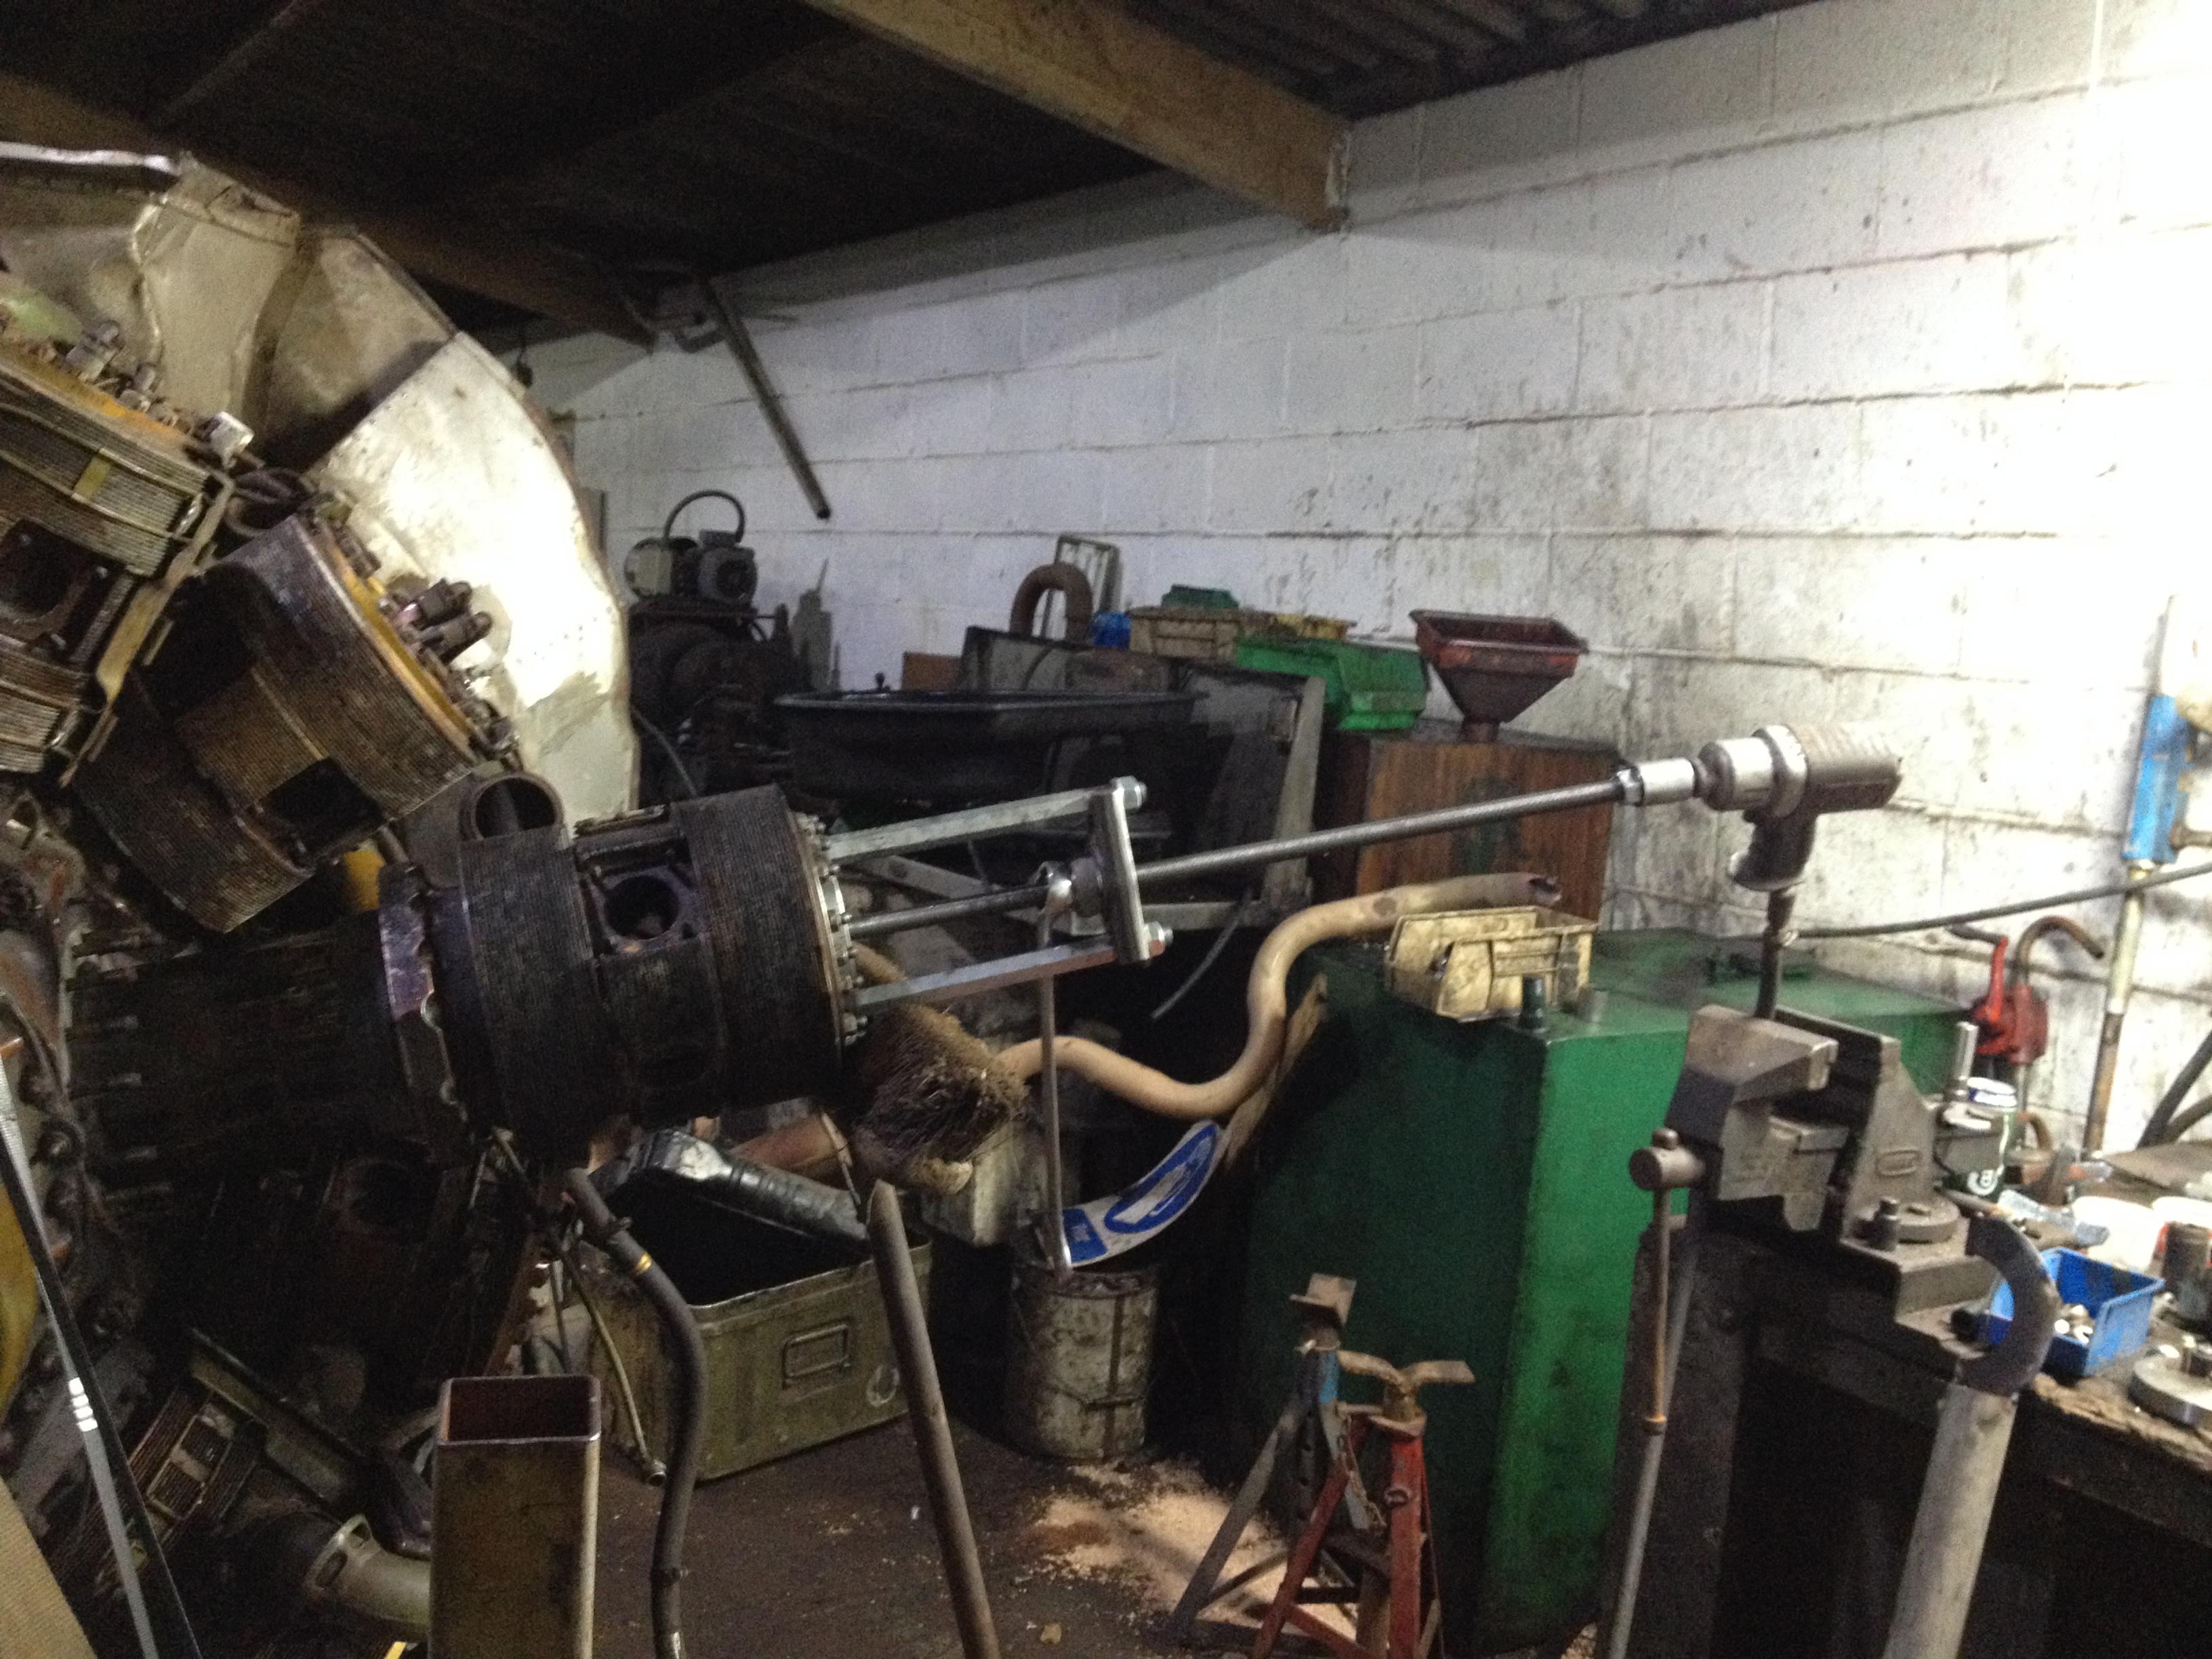
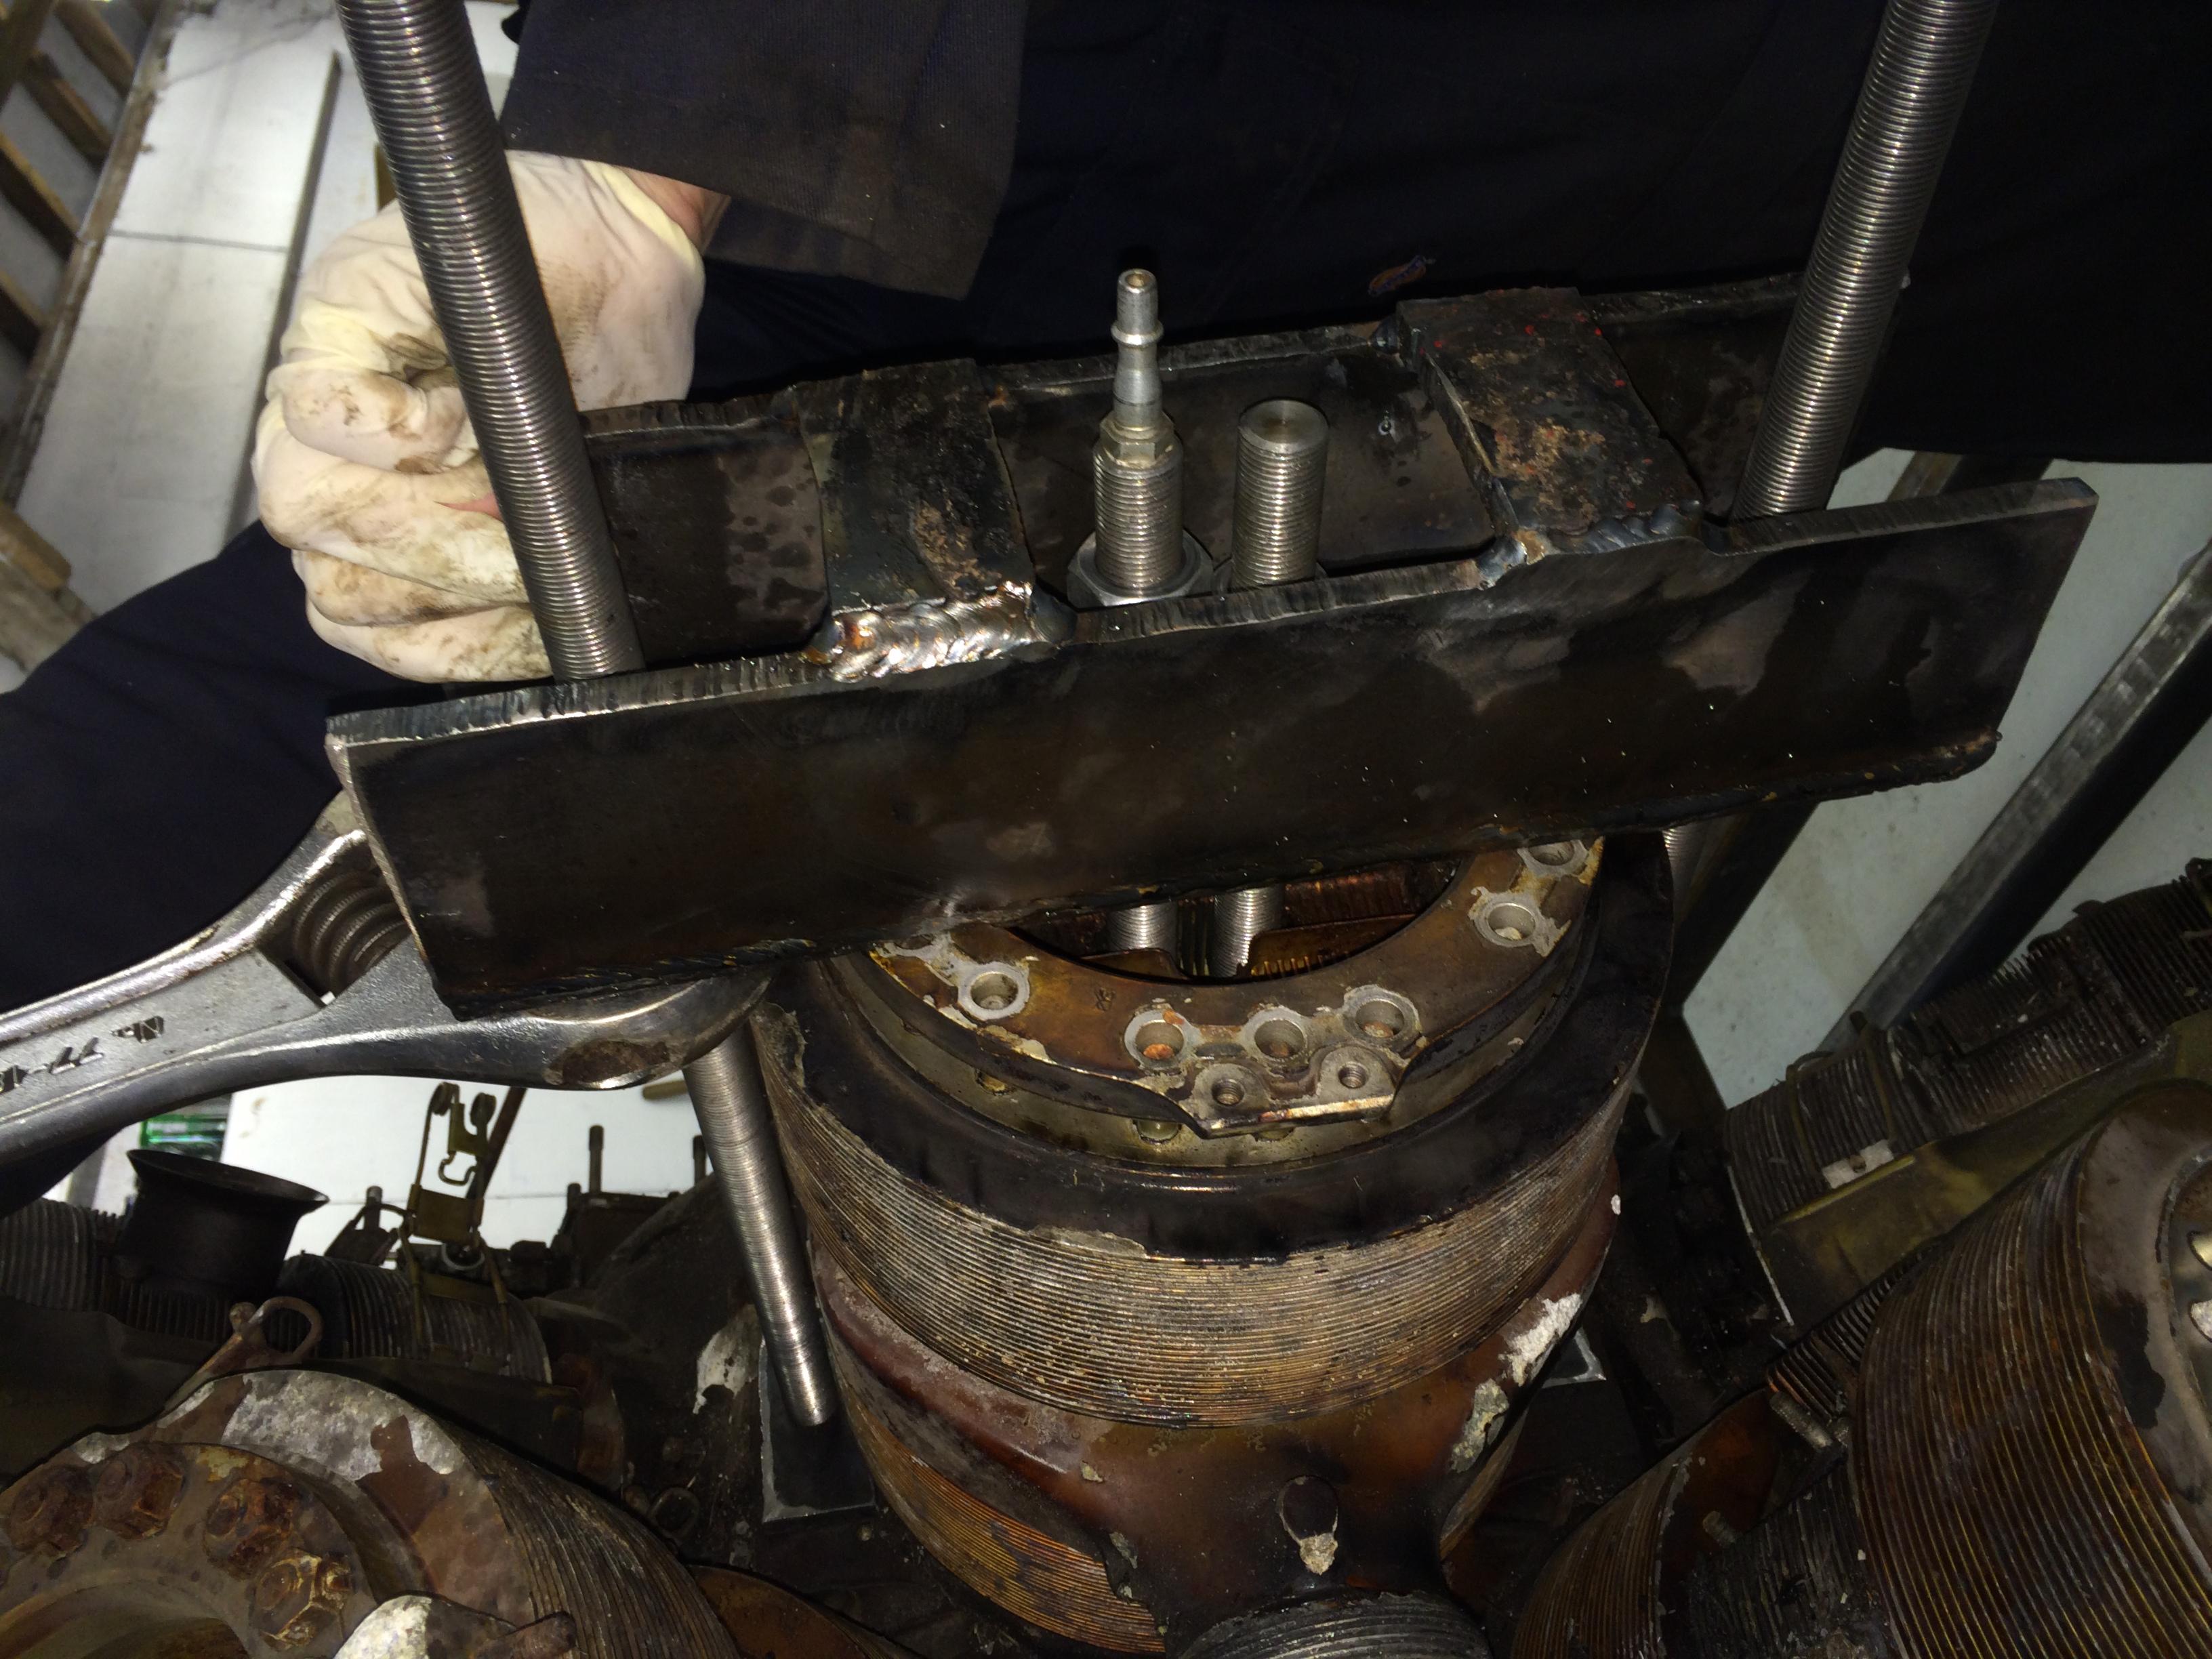
No.12 Cylinder head proved to be quite tough to remove , we pulled it off until flush with the head studs,

24 Nov 004

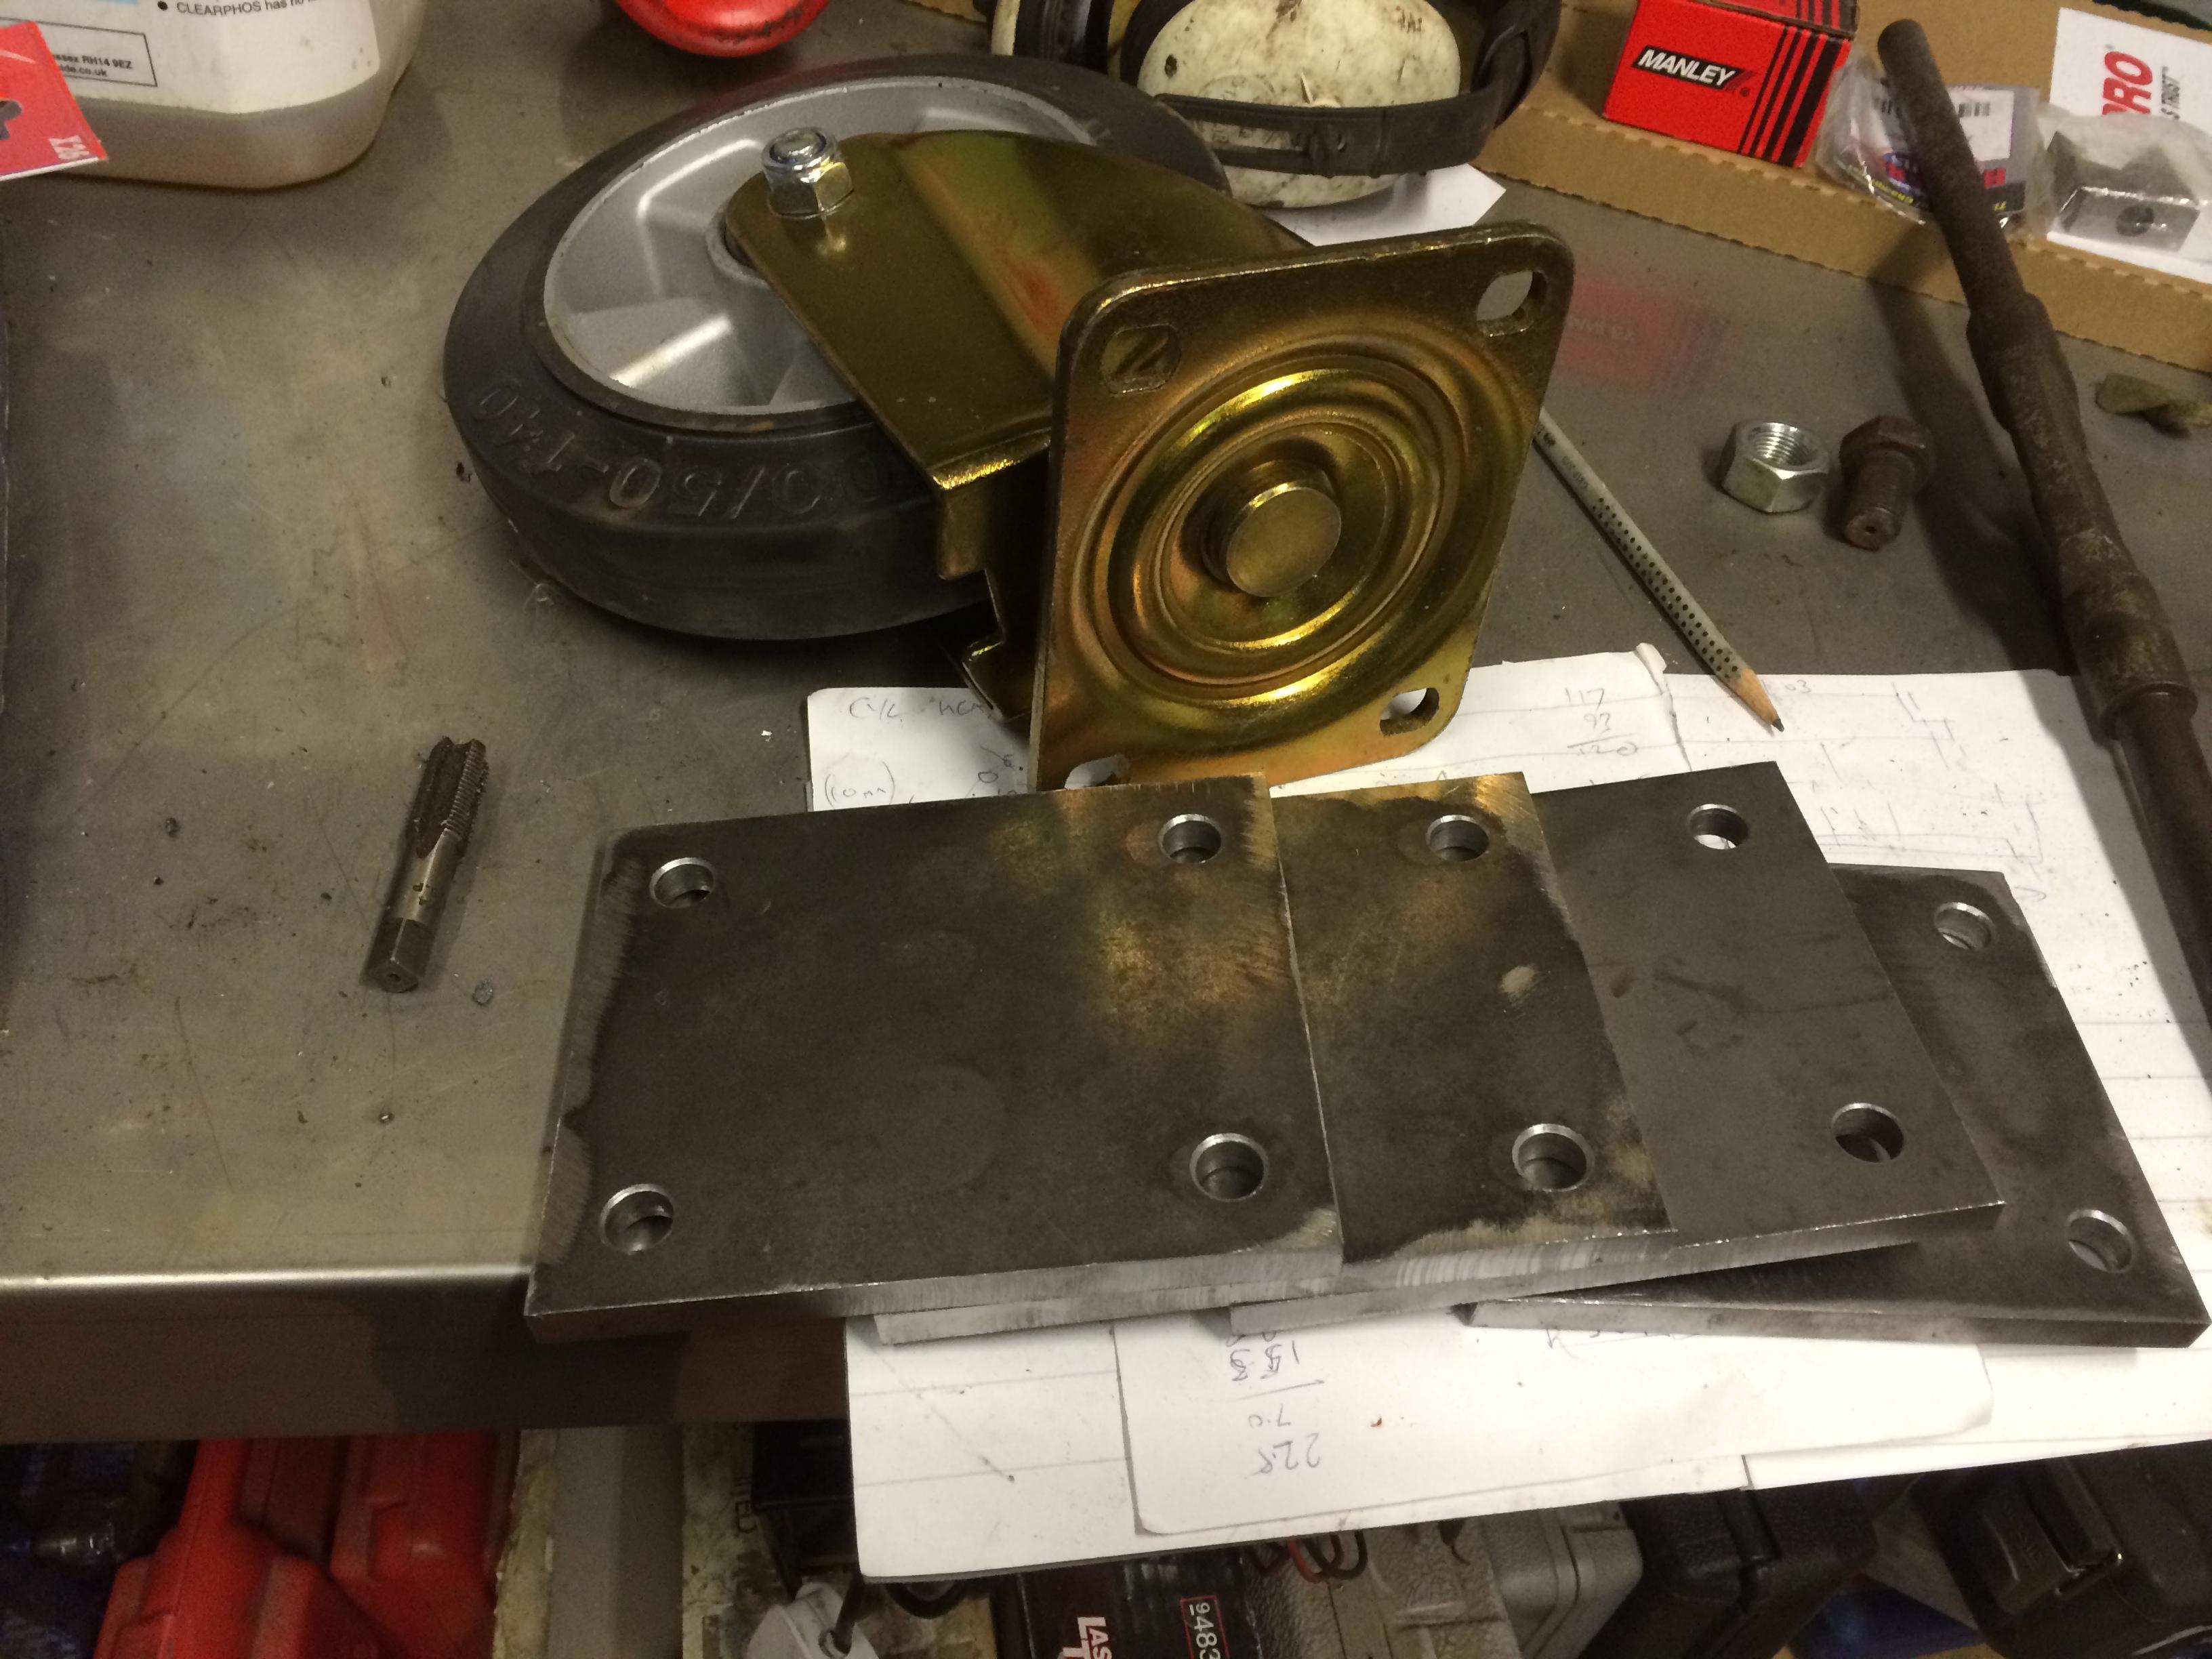
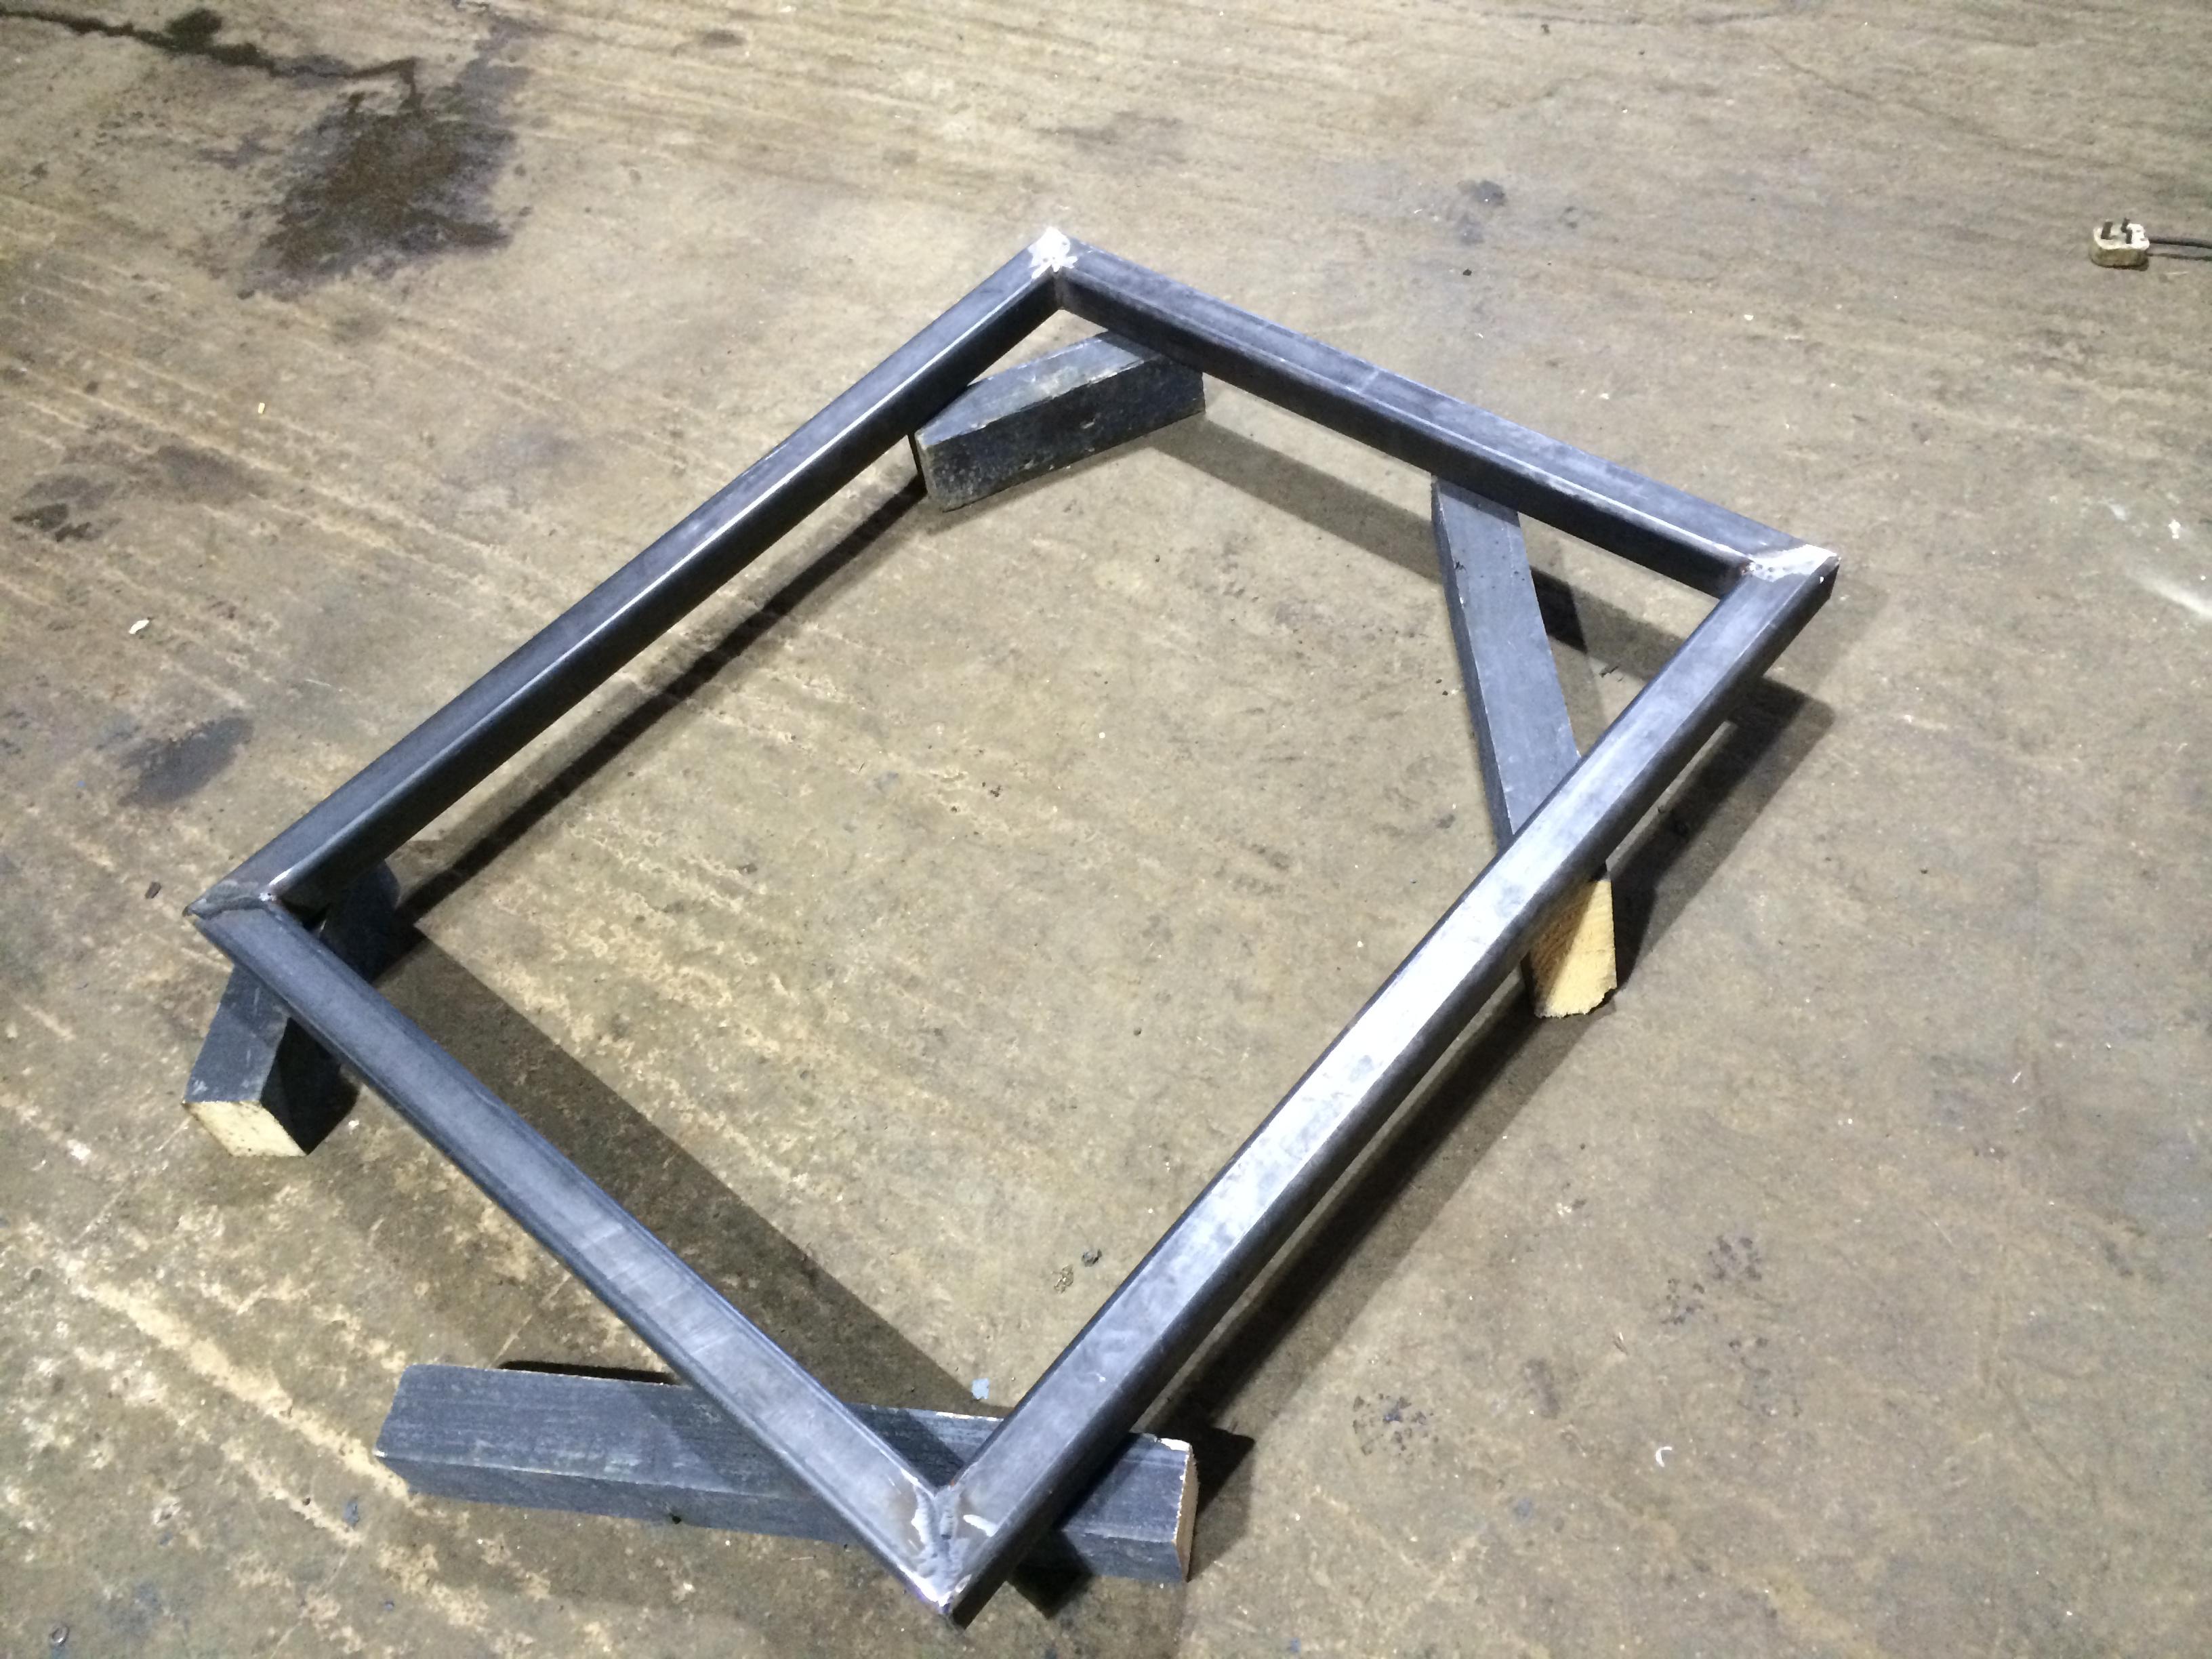
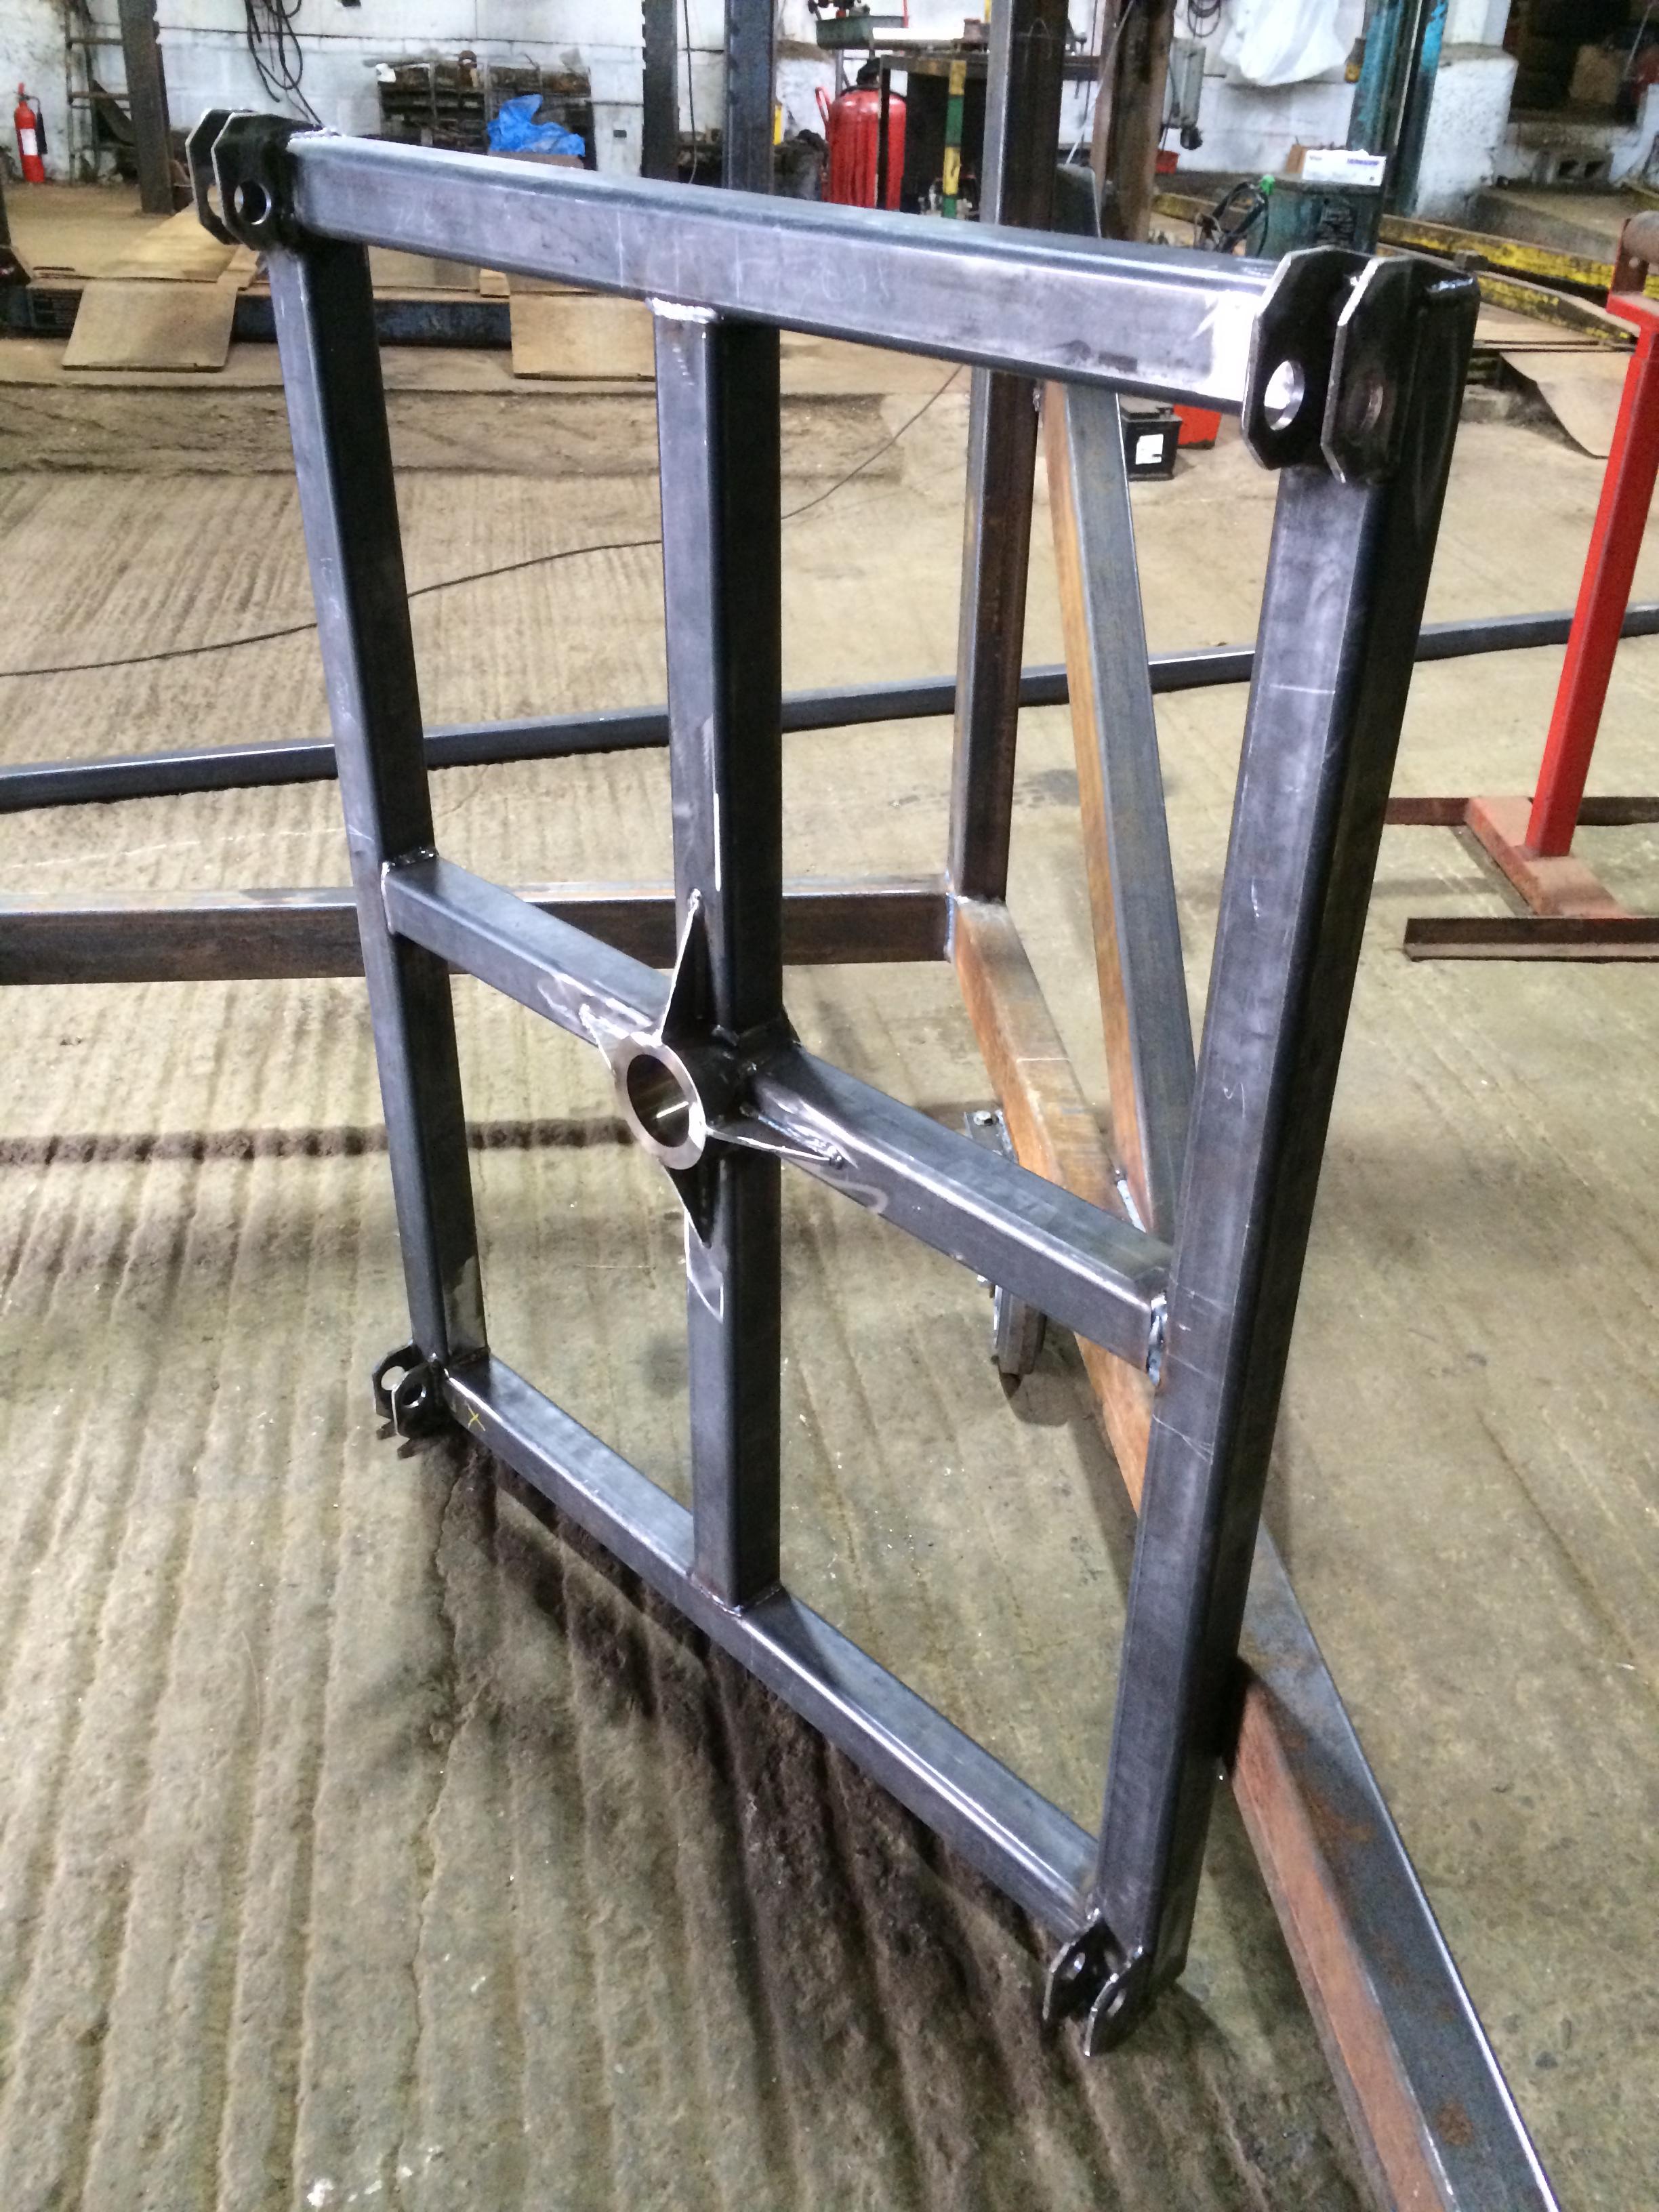
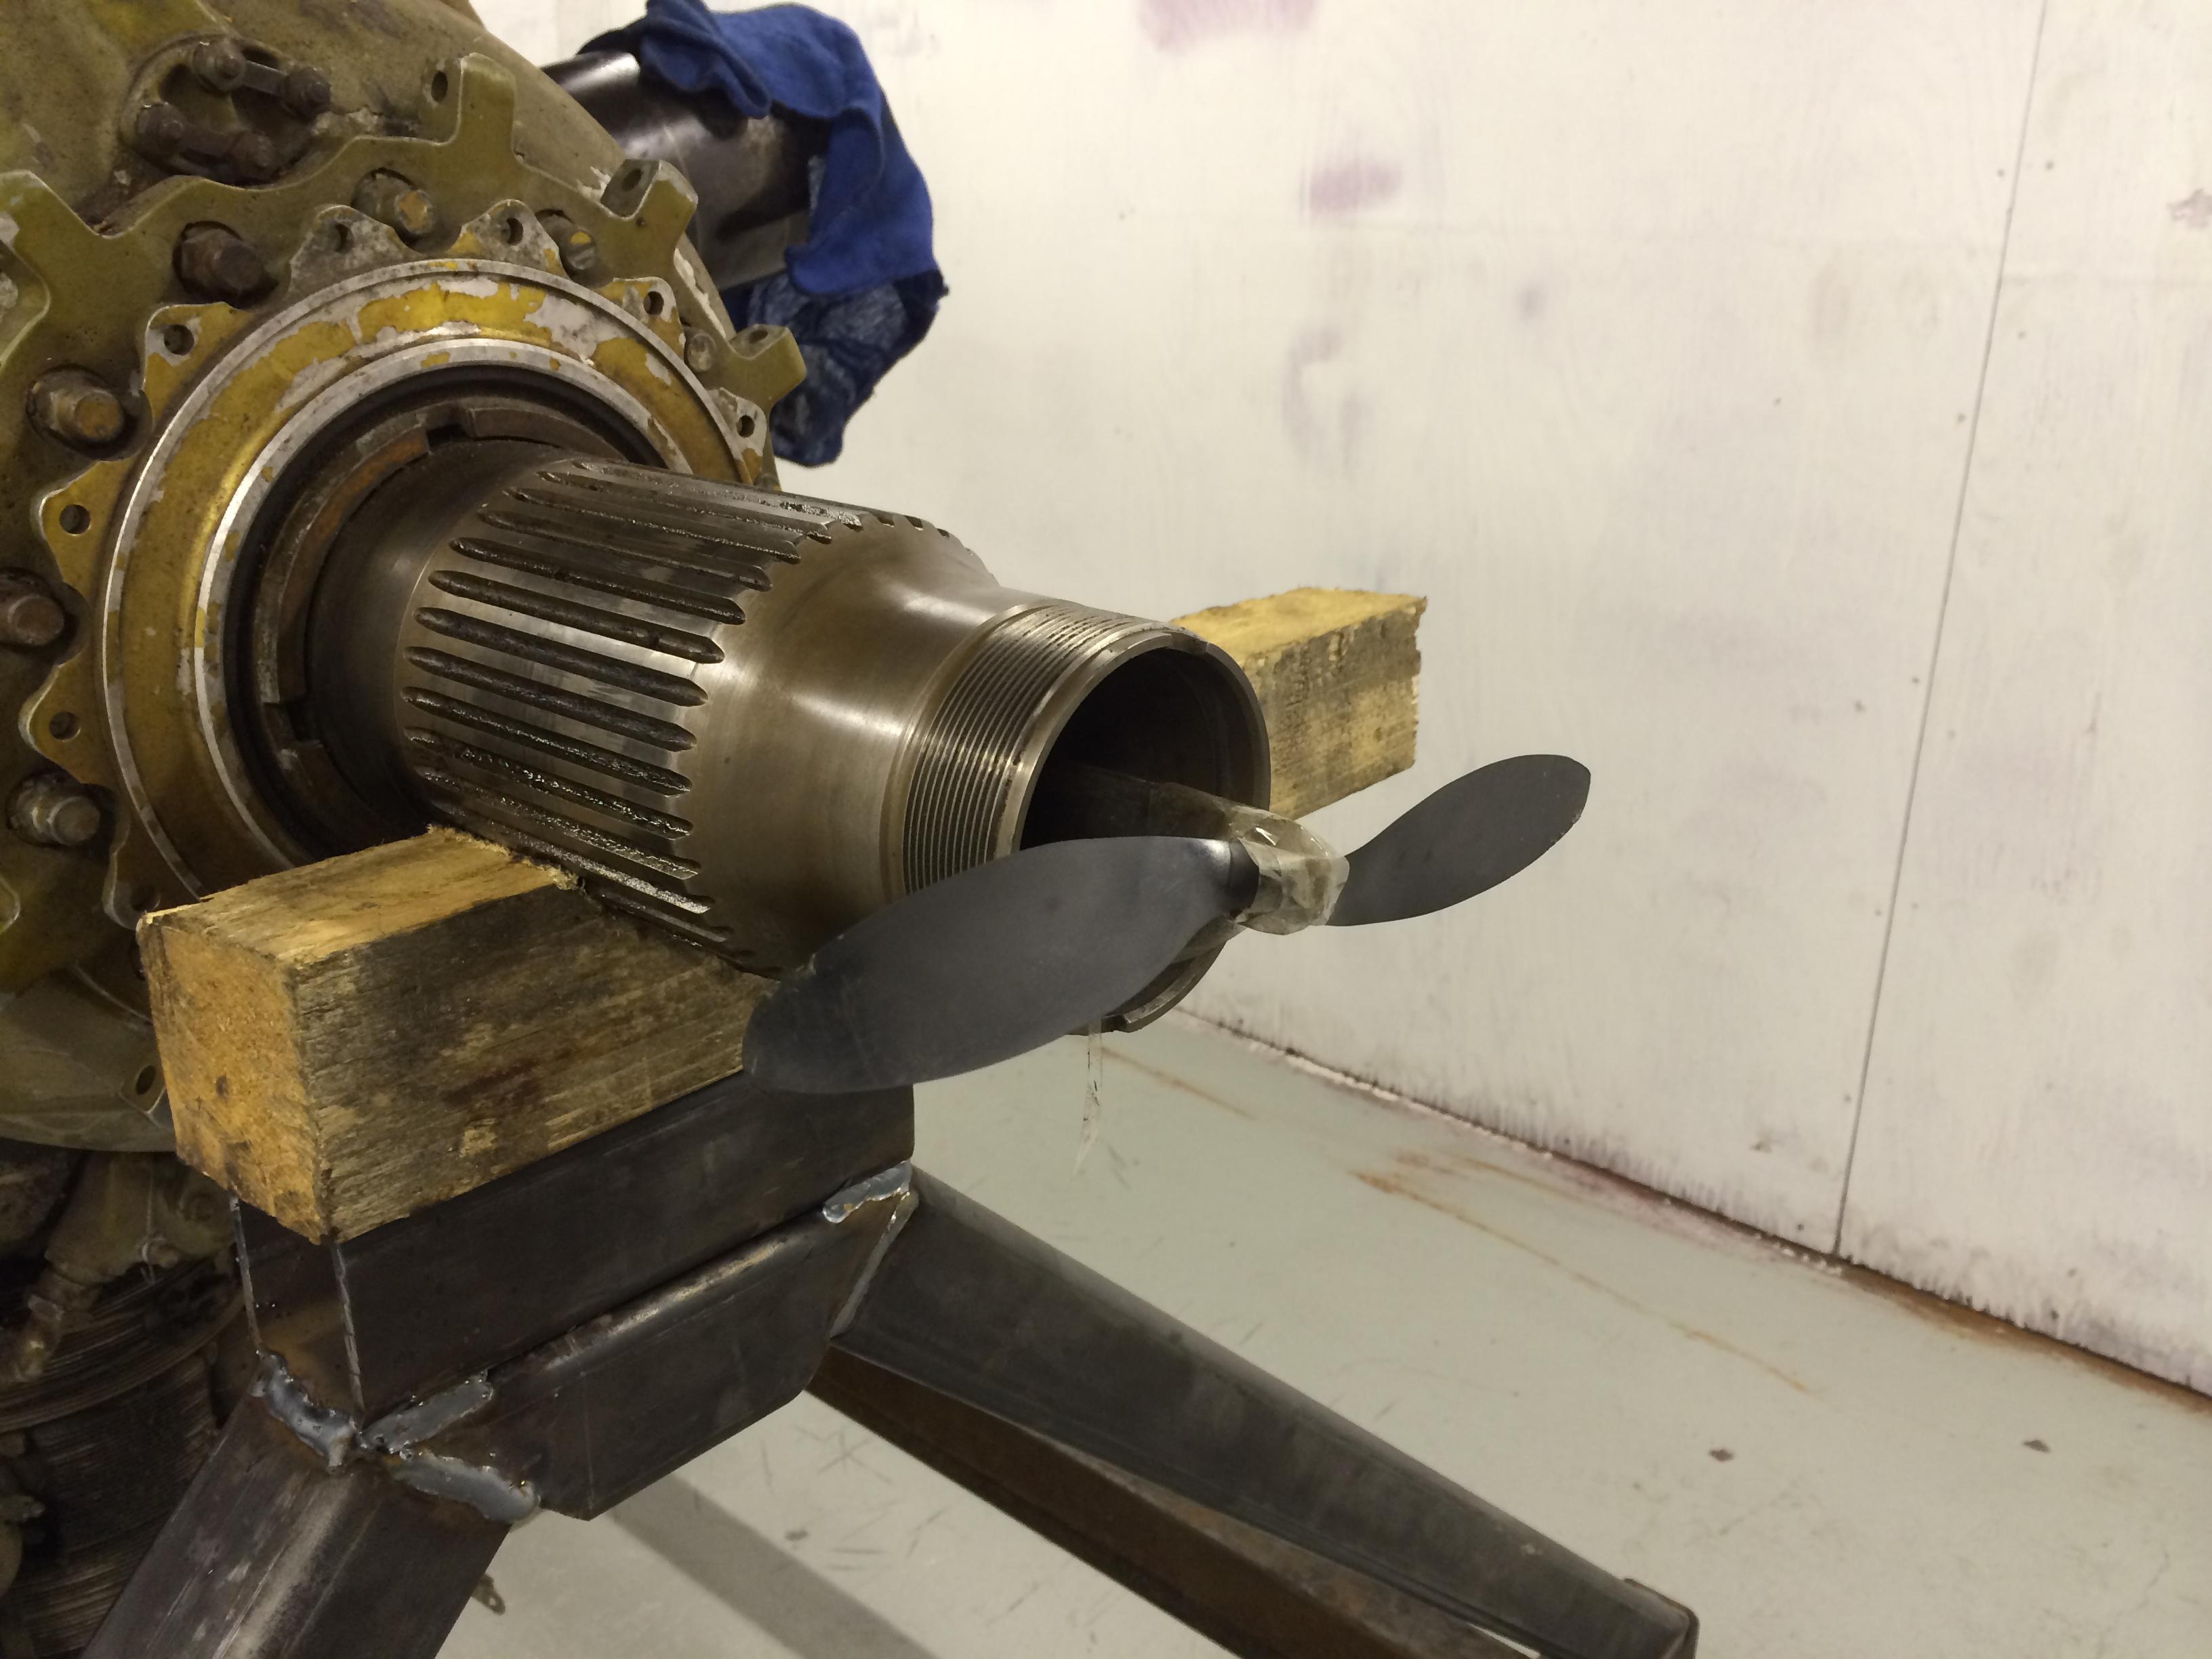
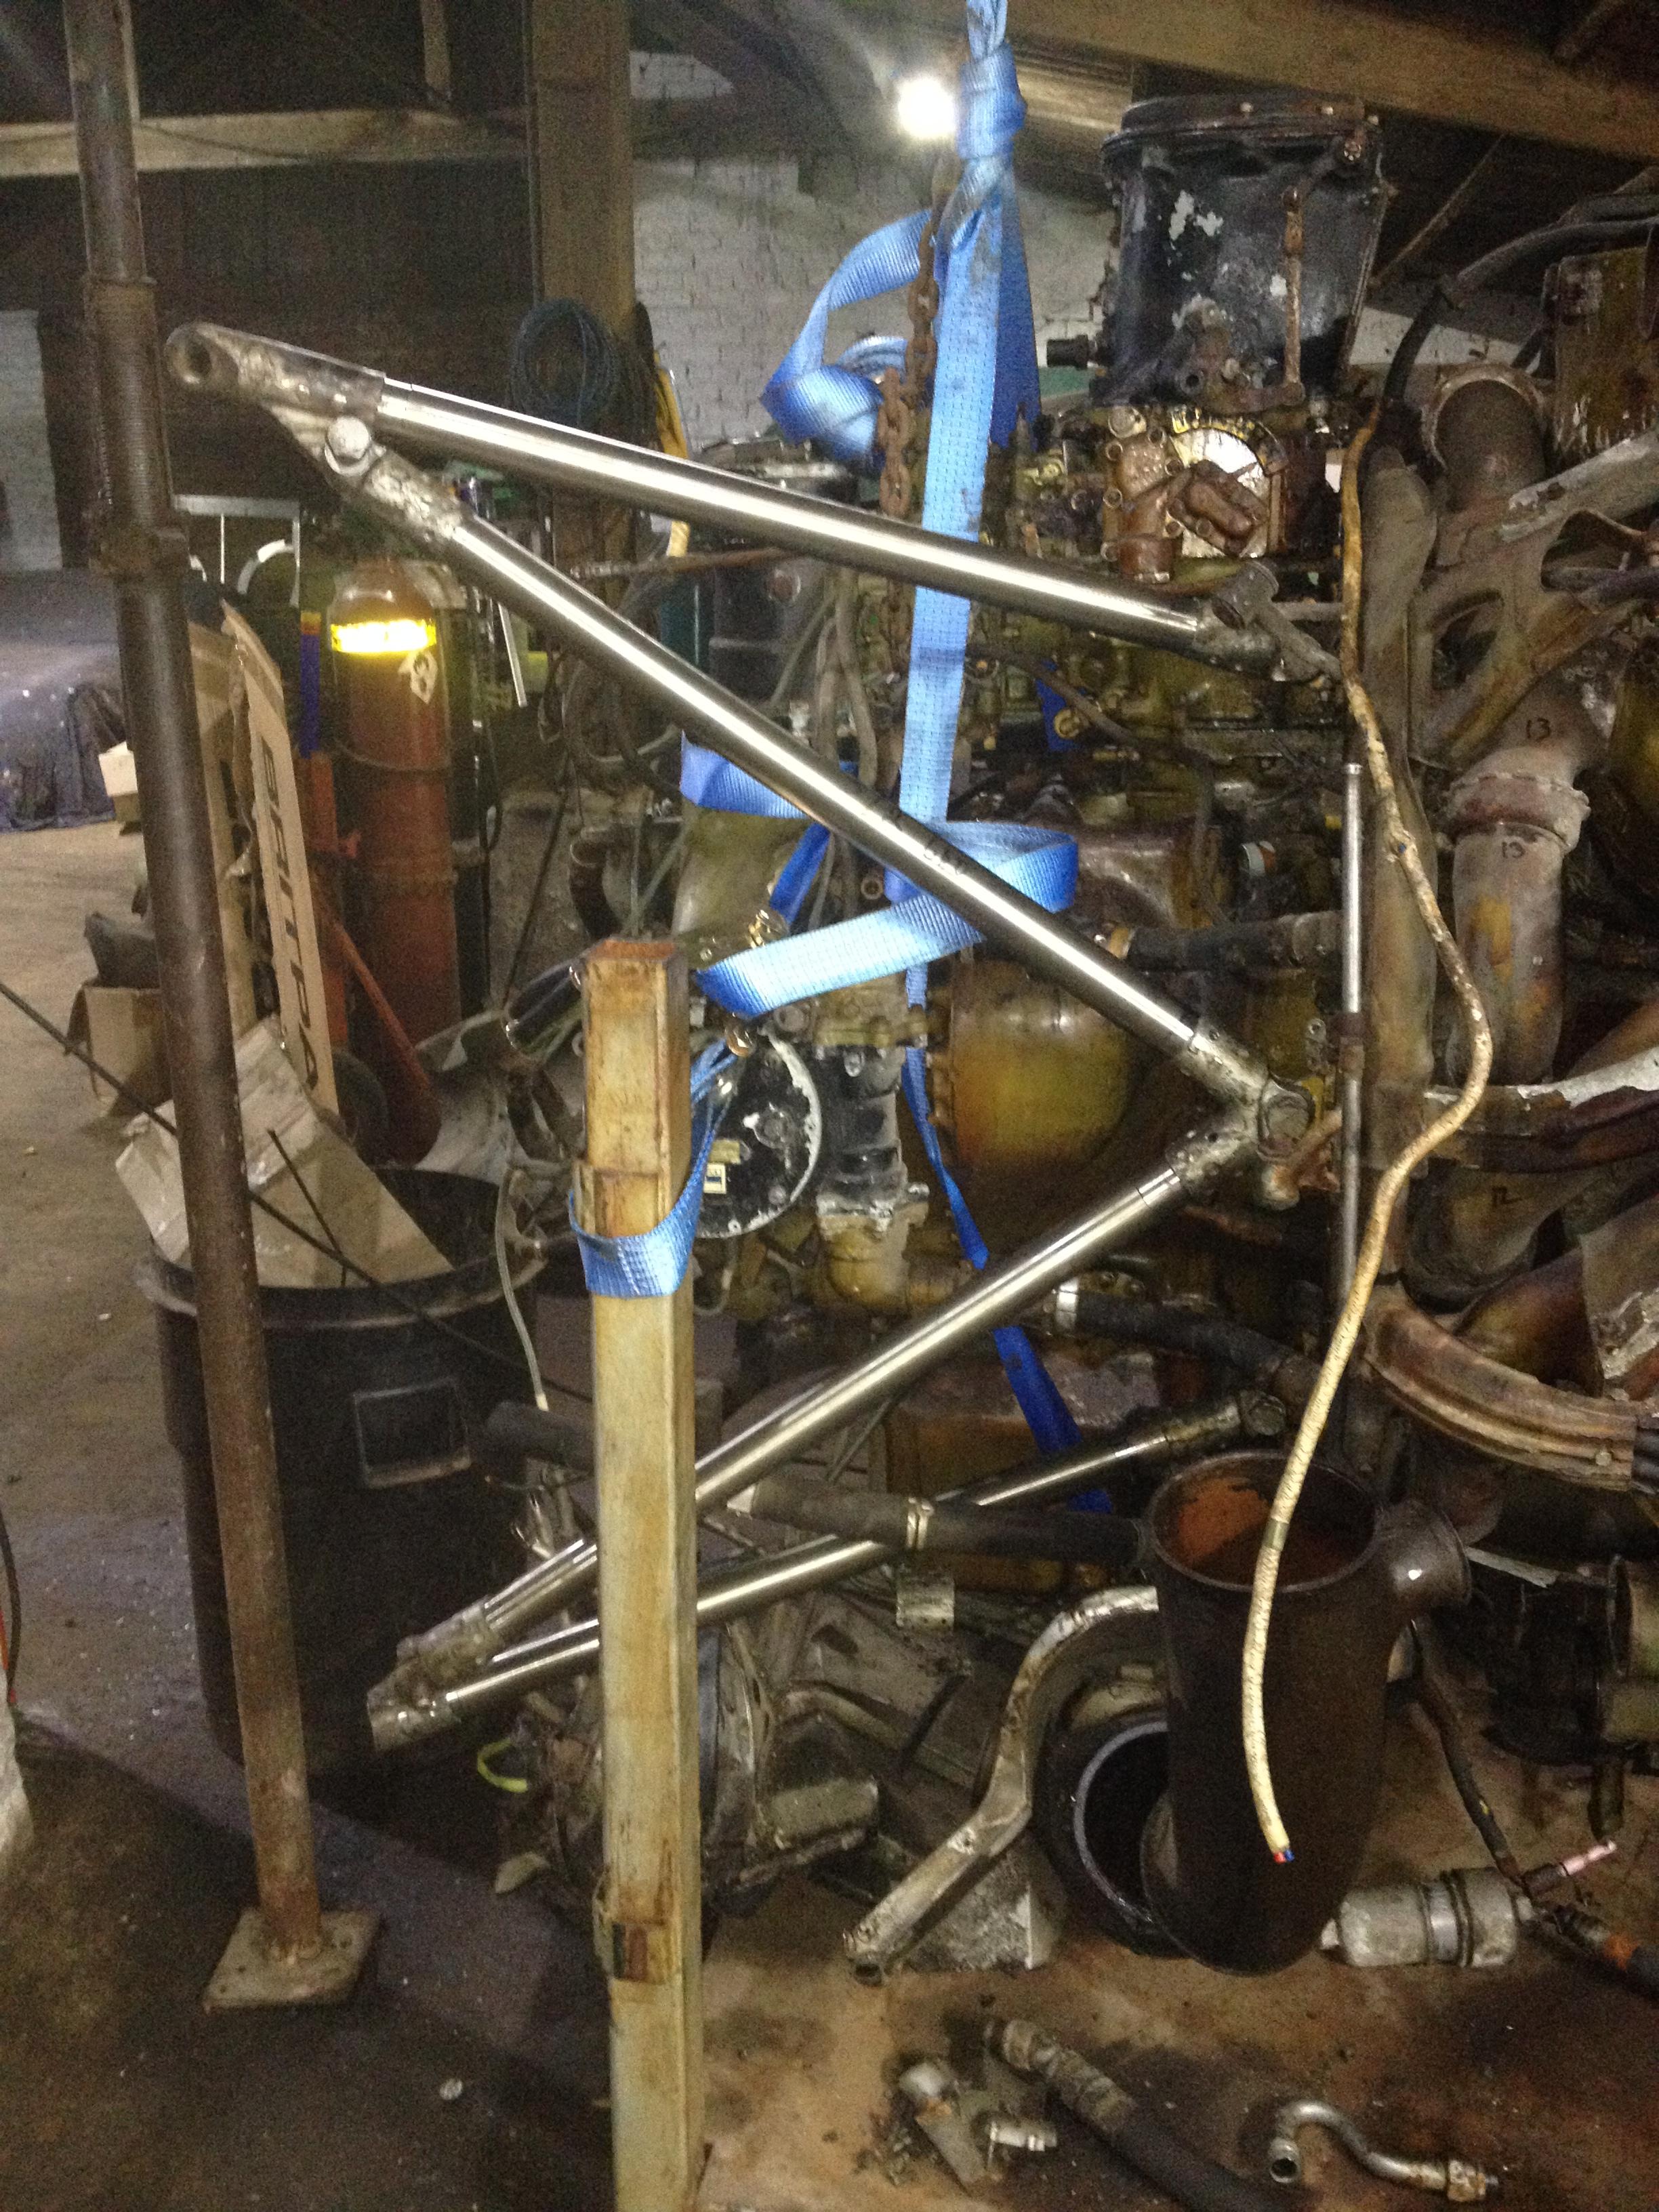
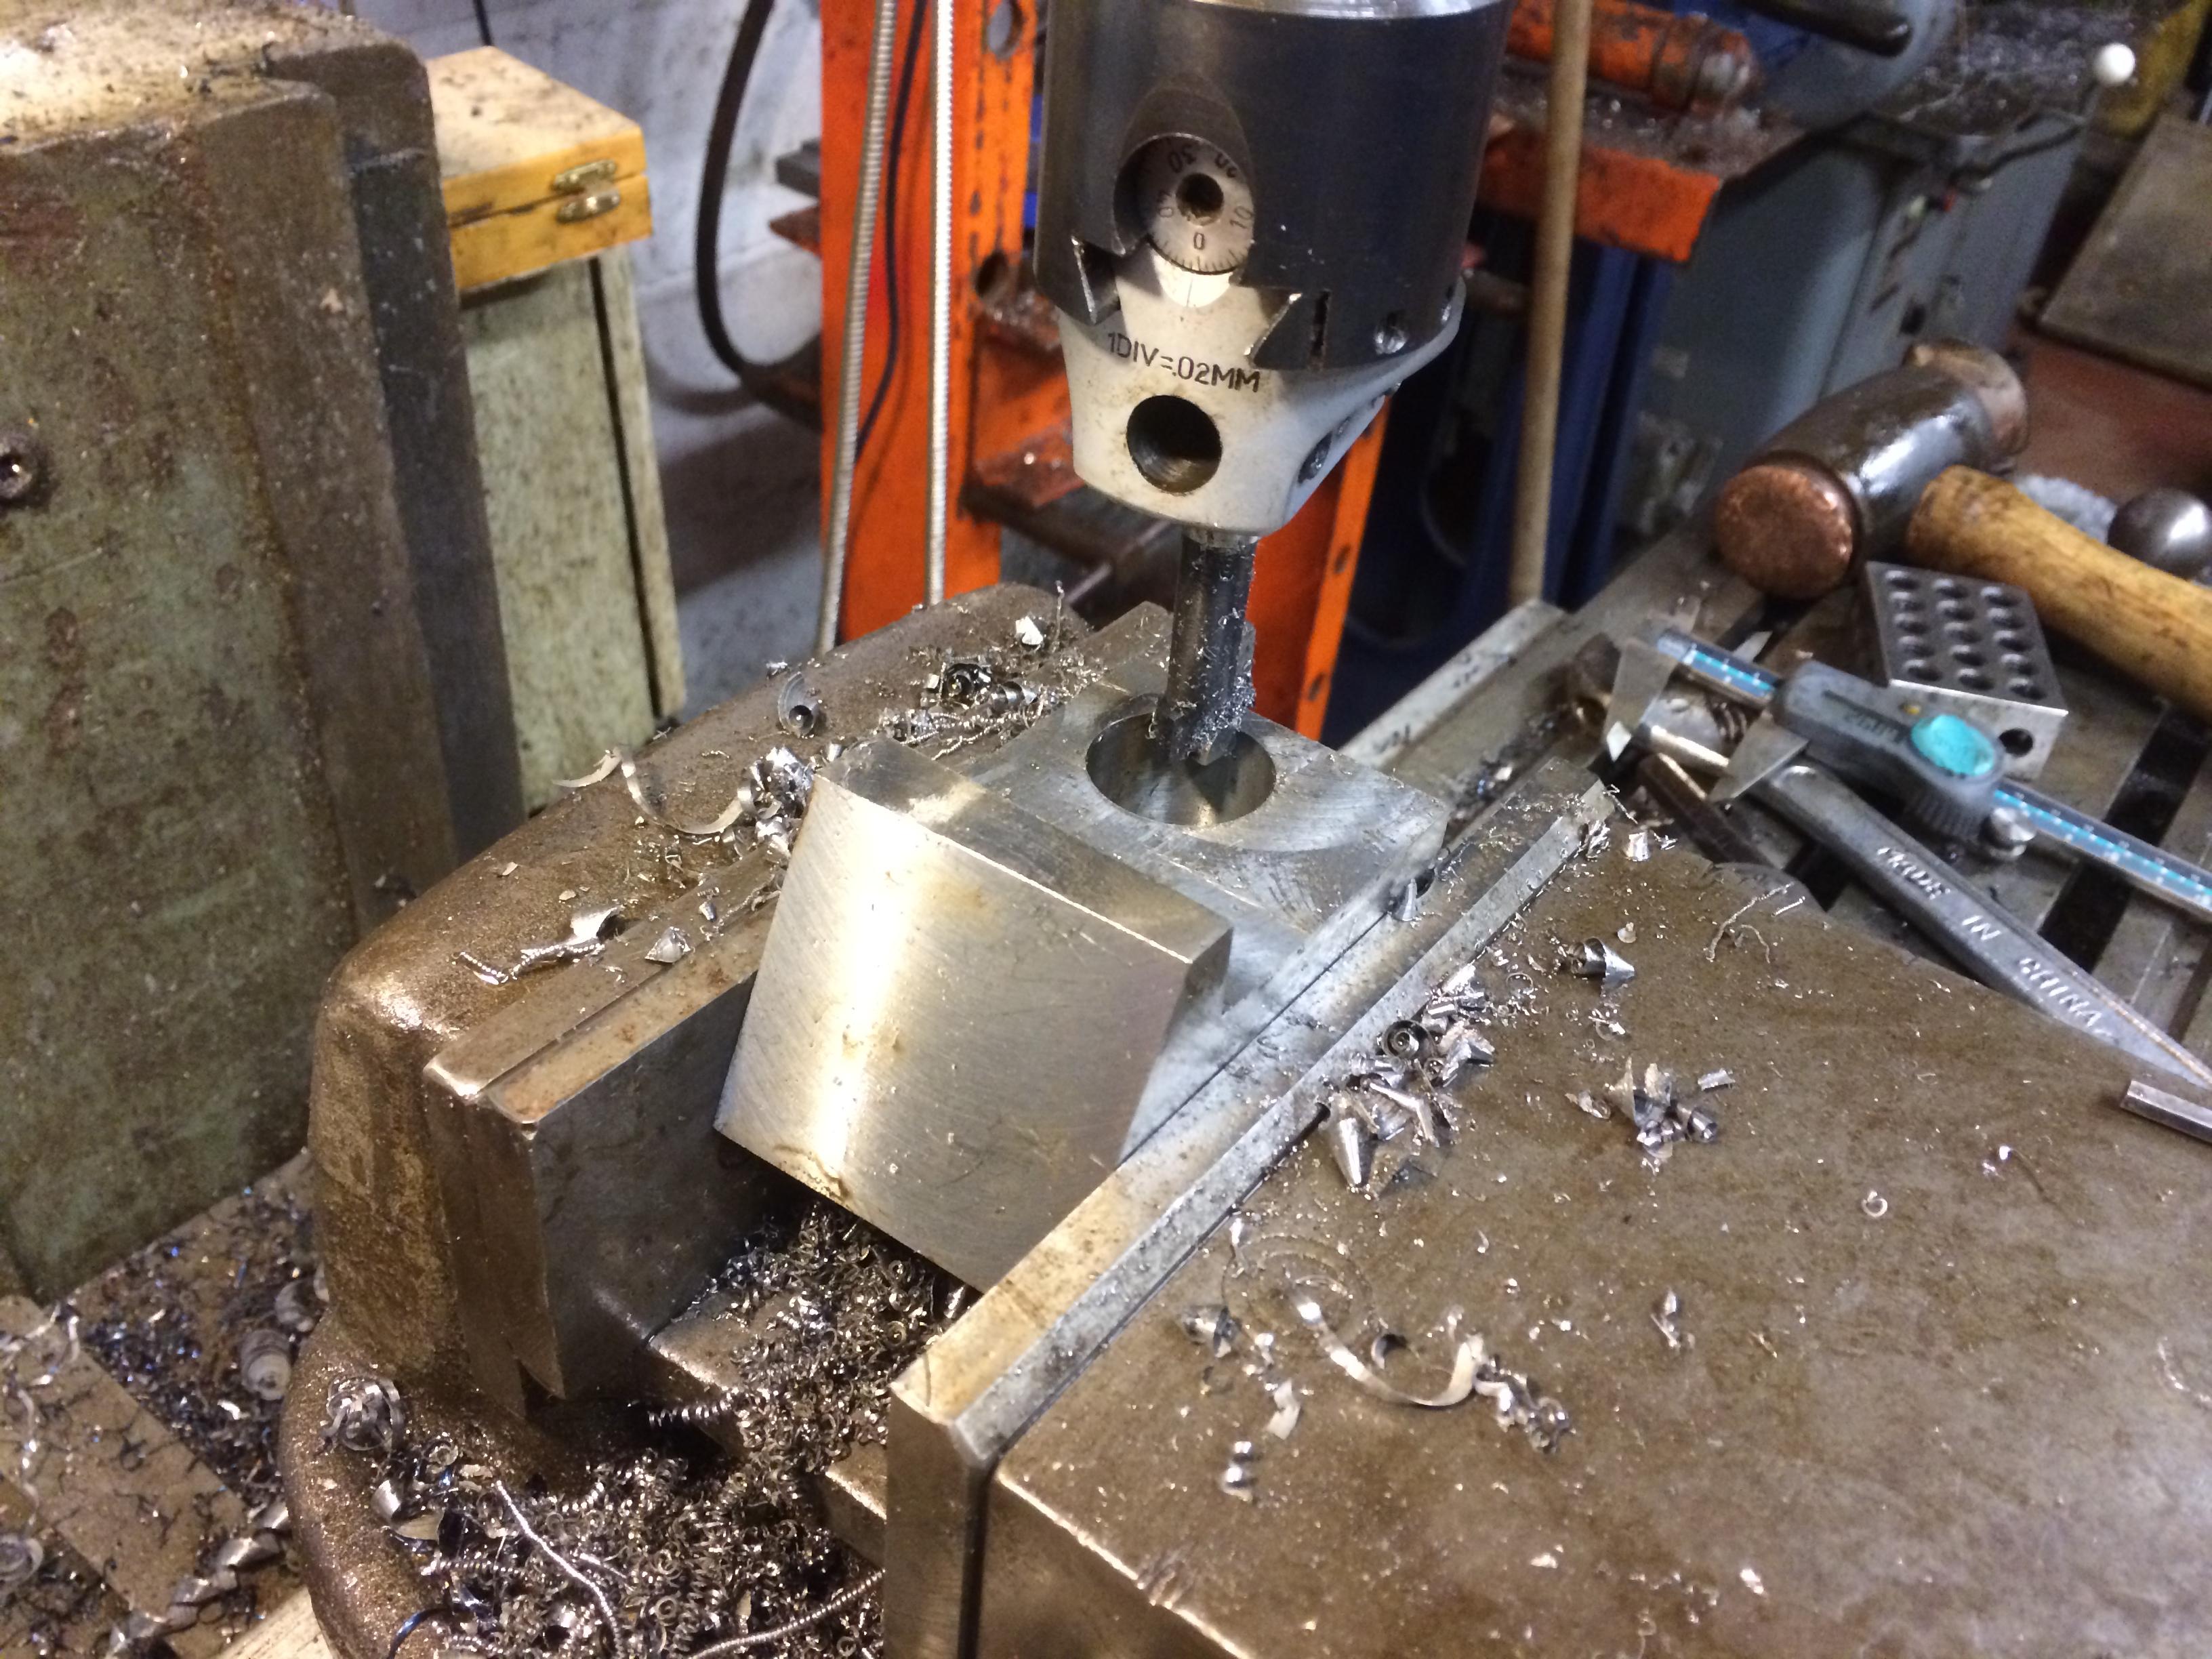
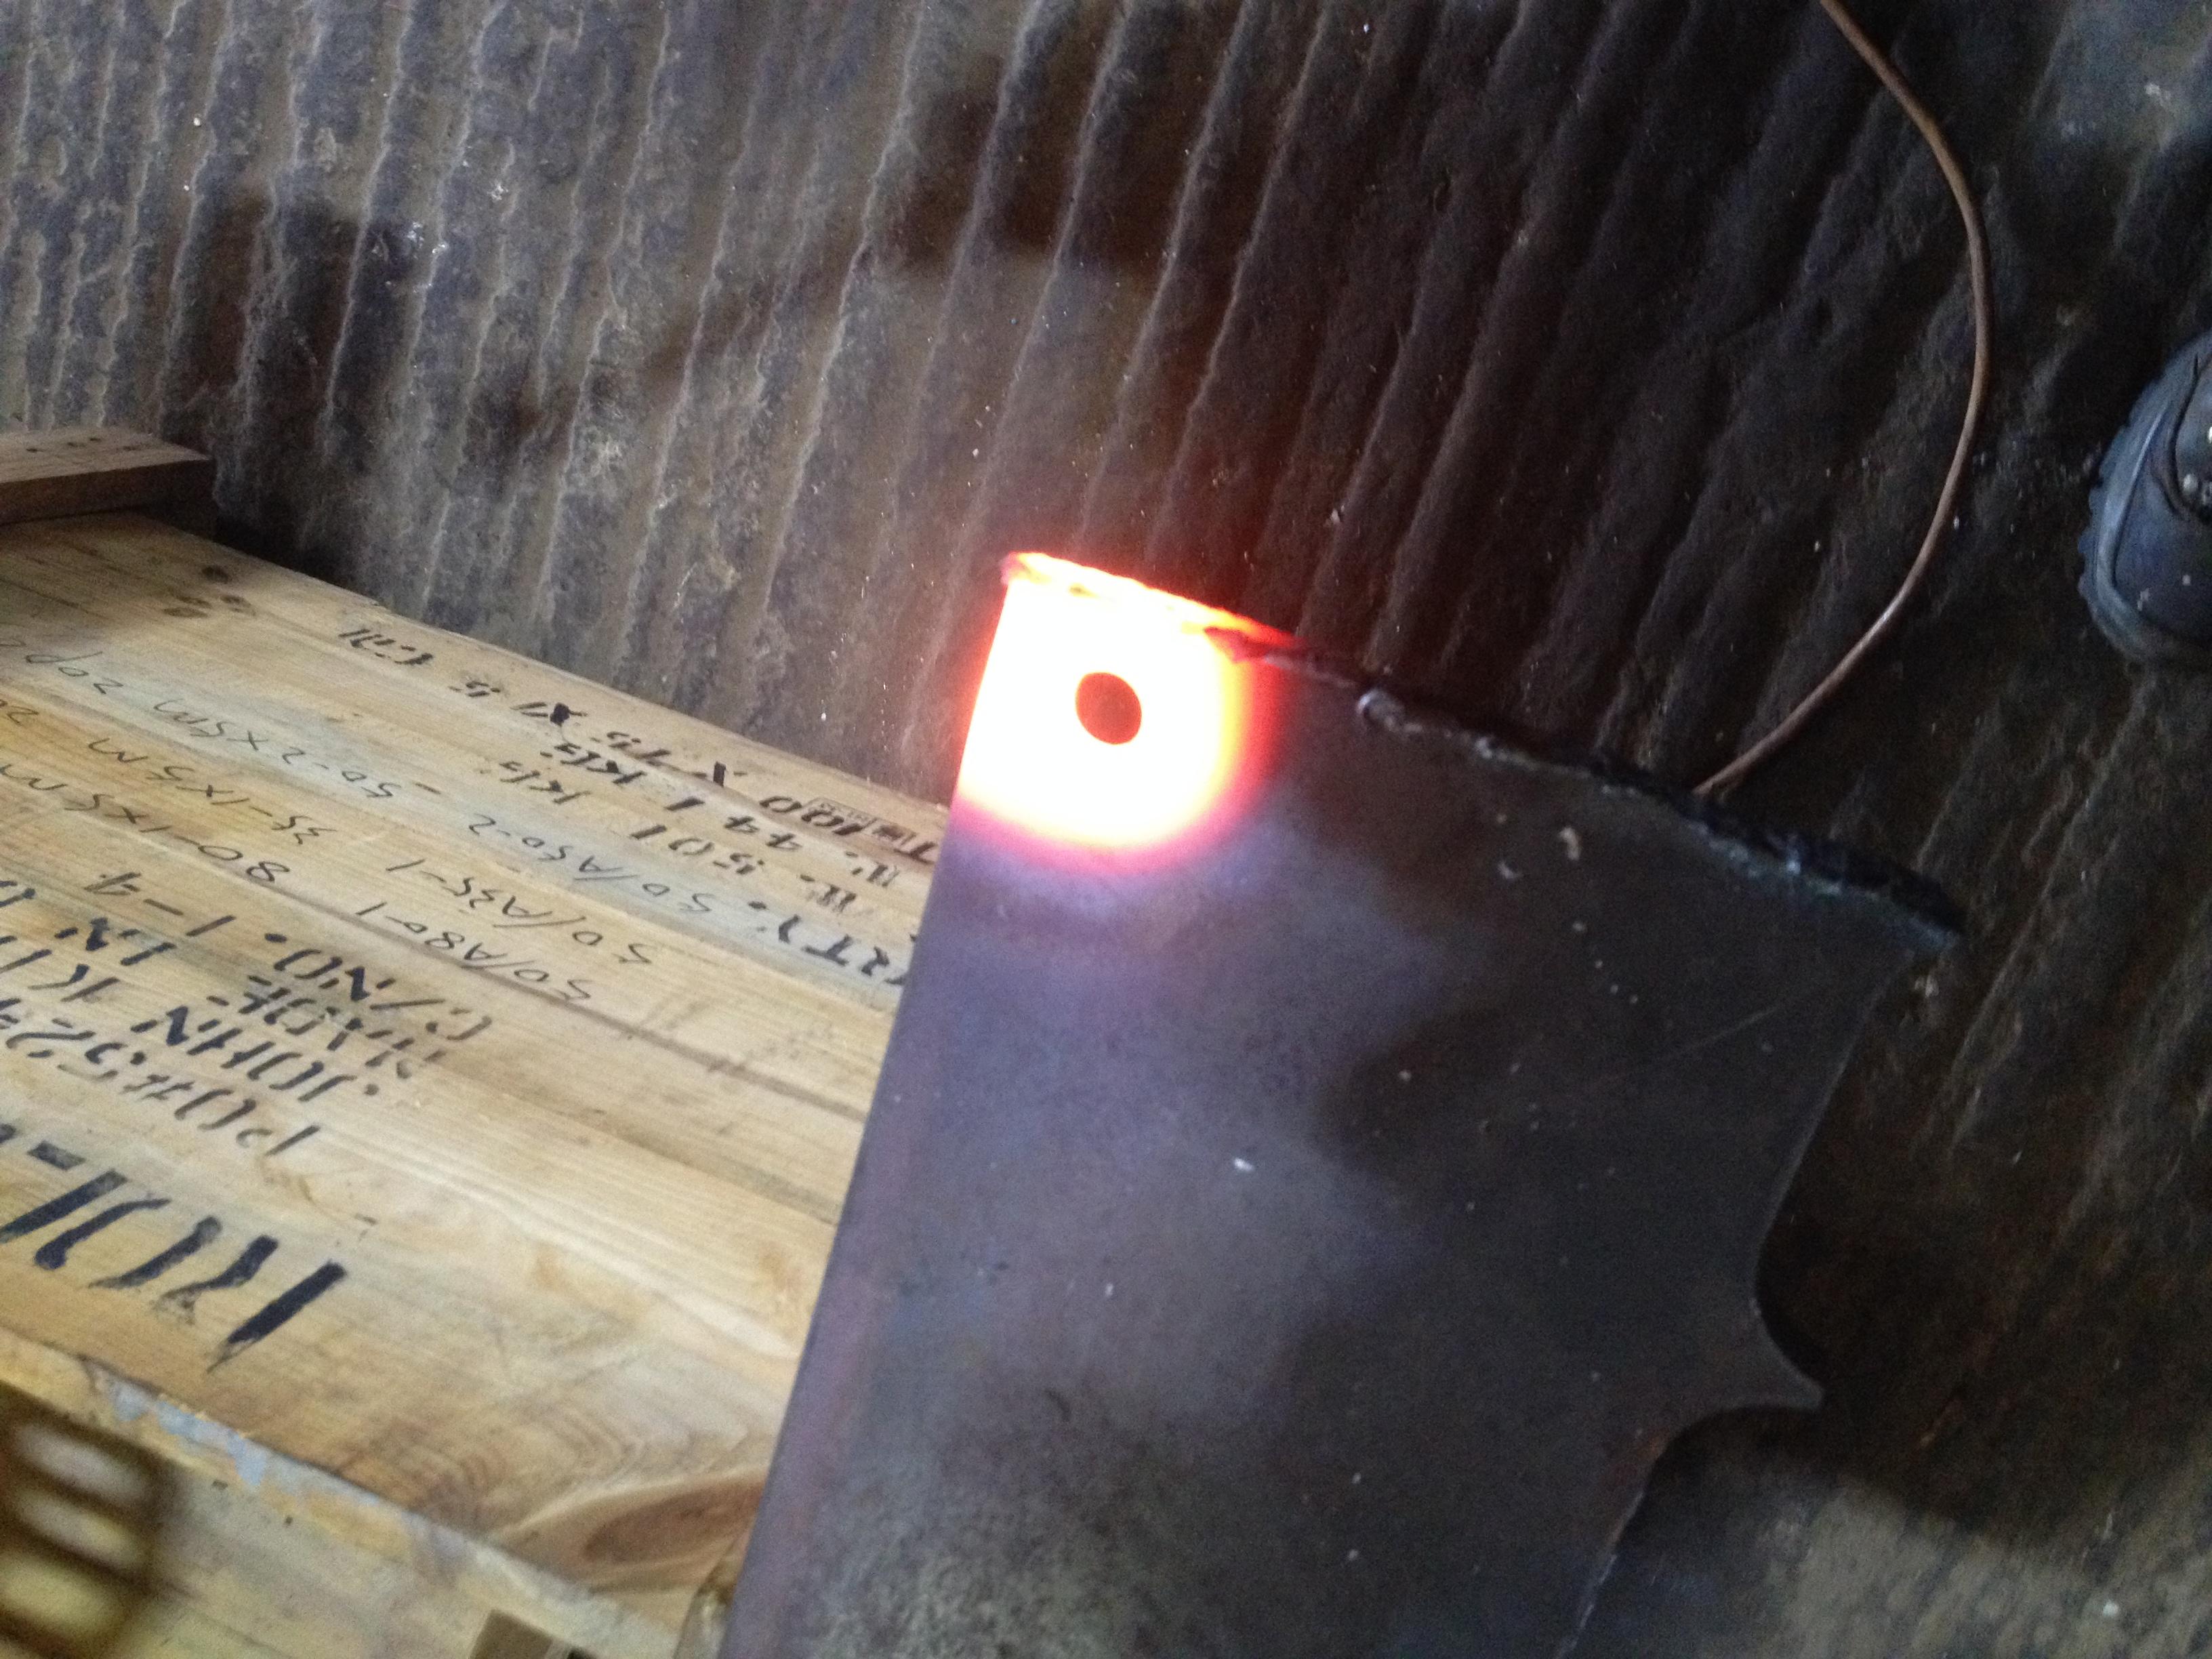
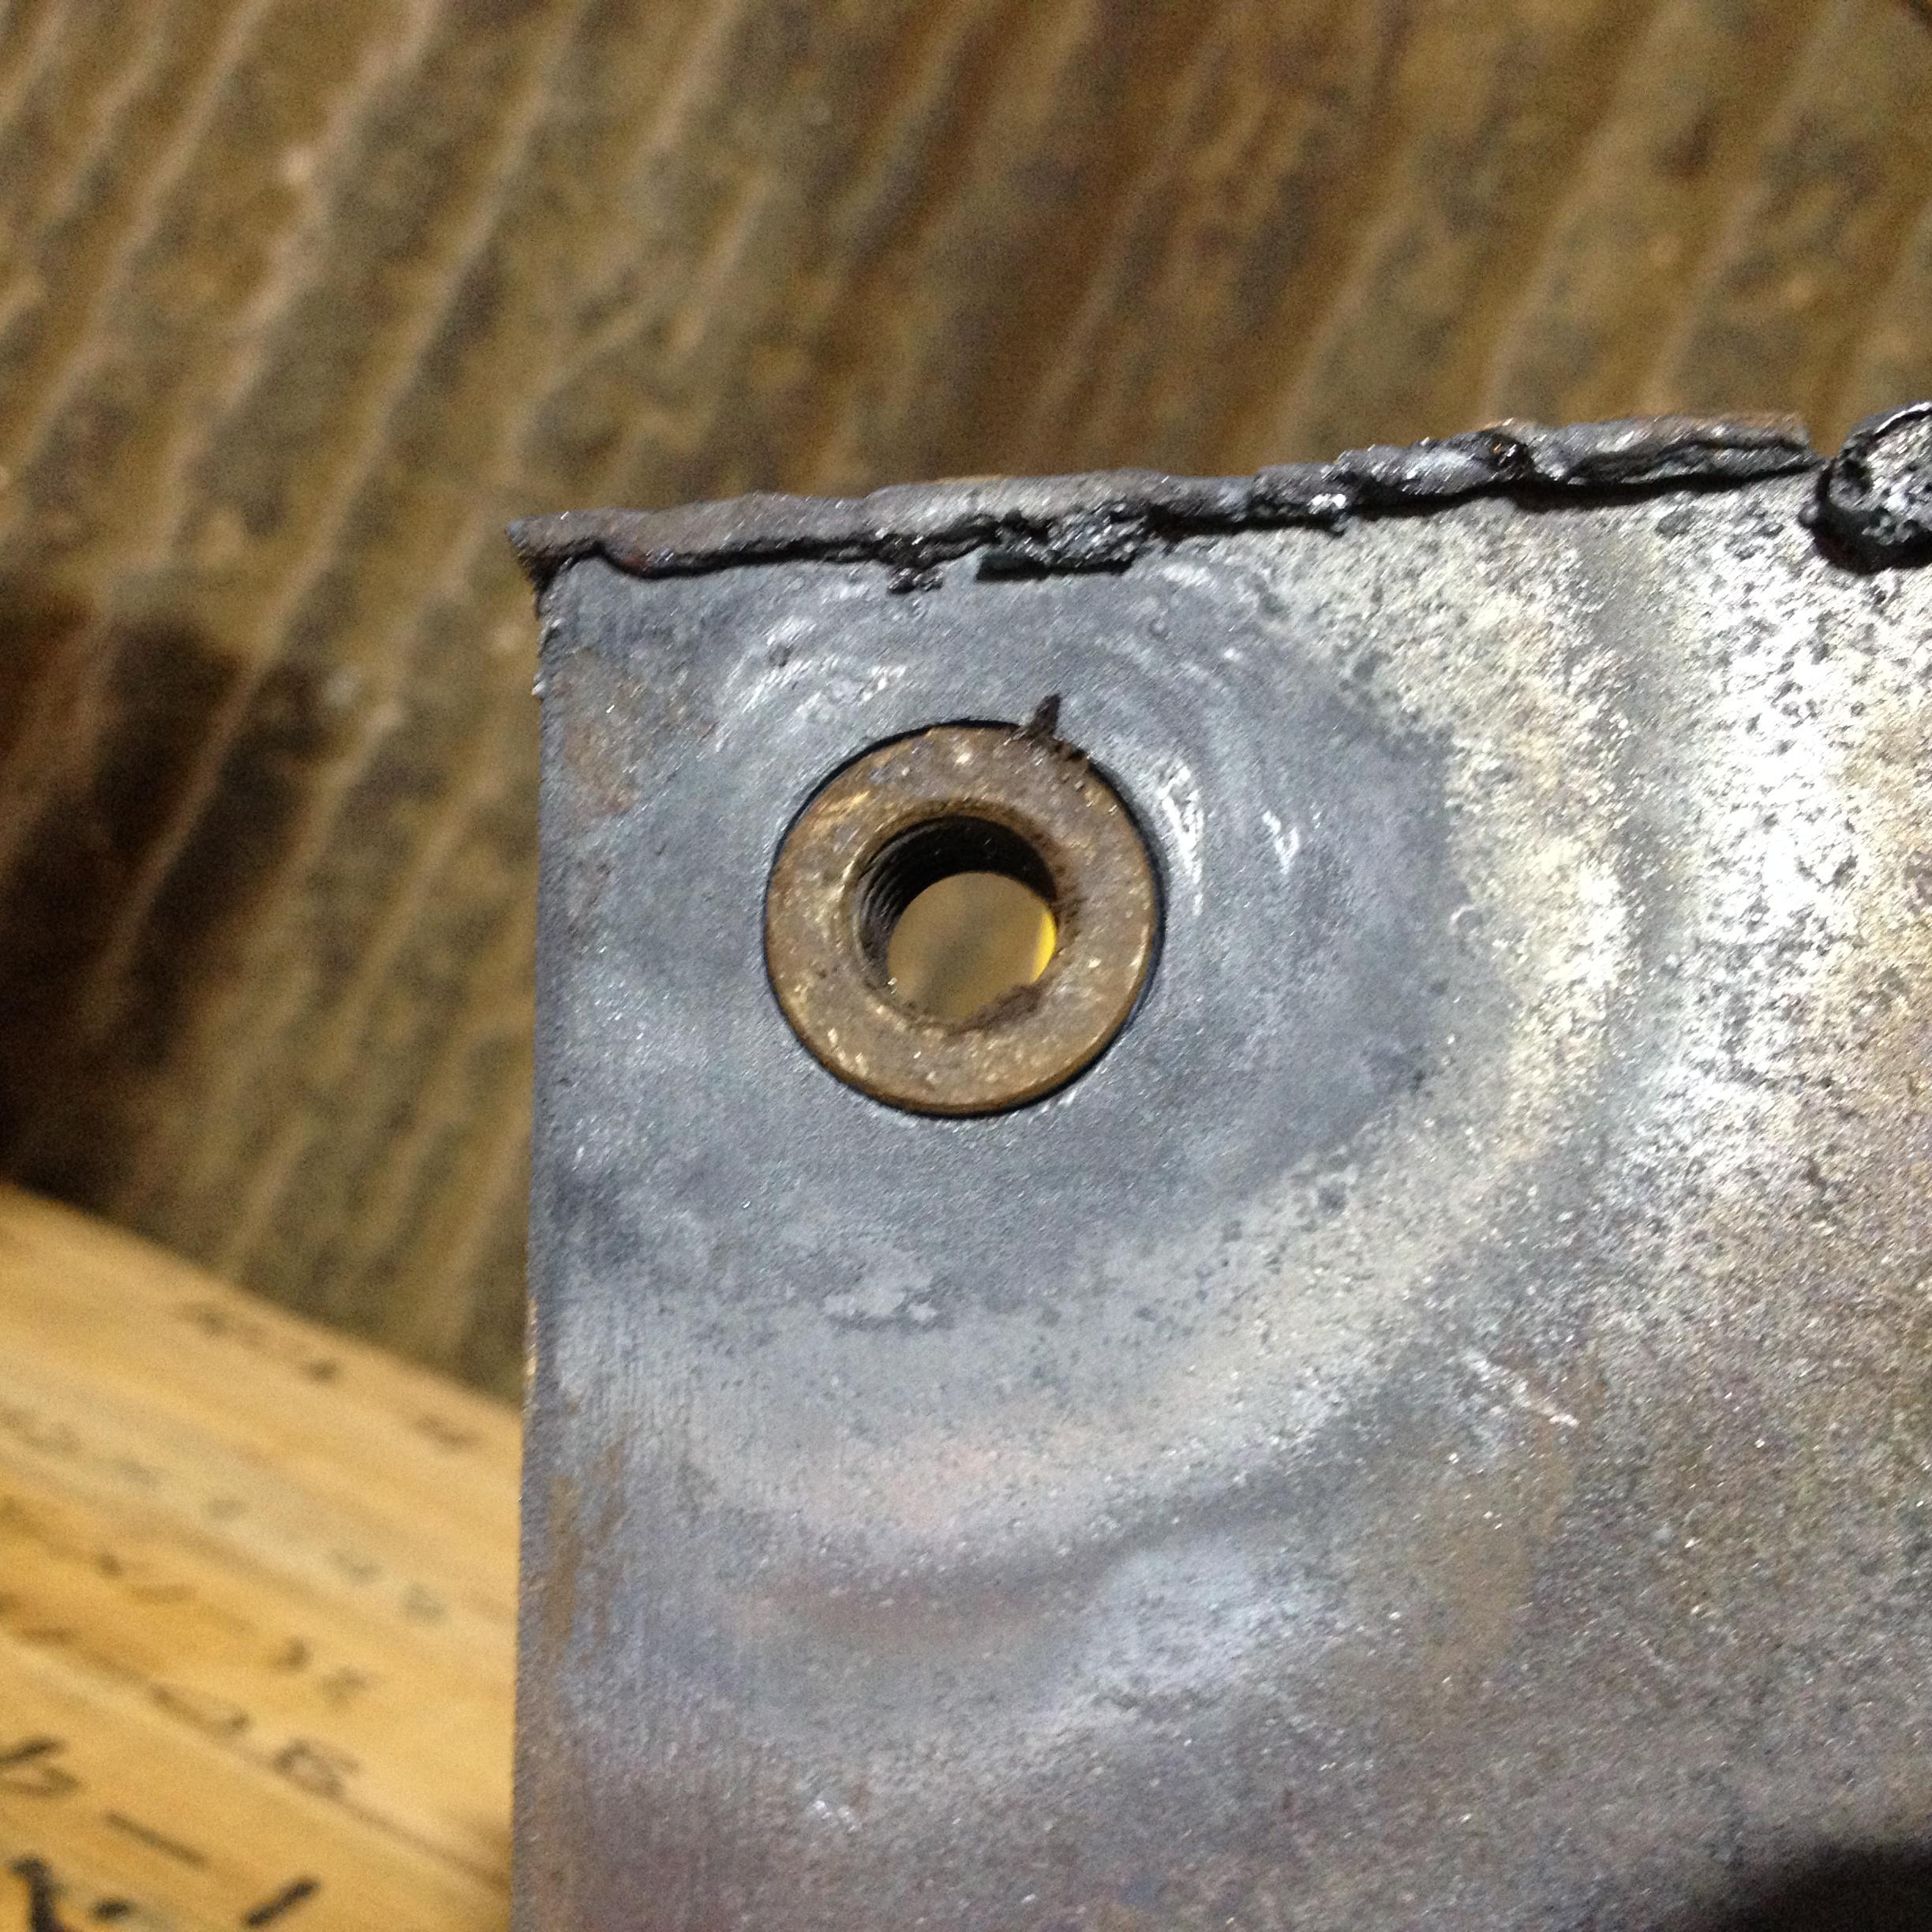
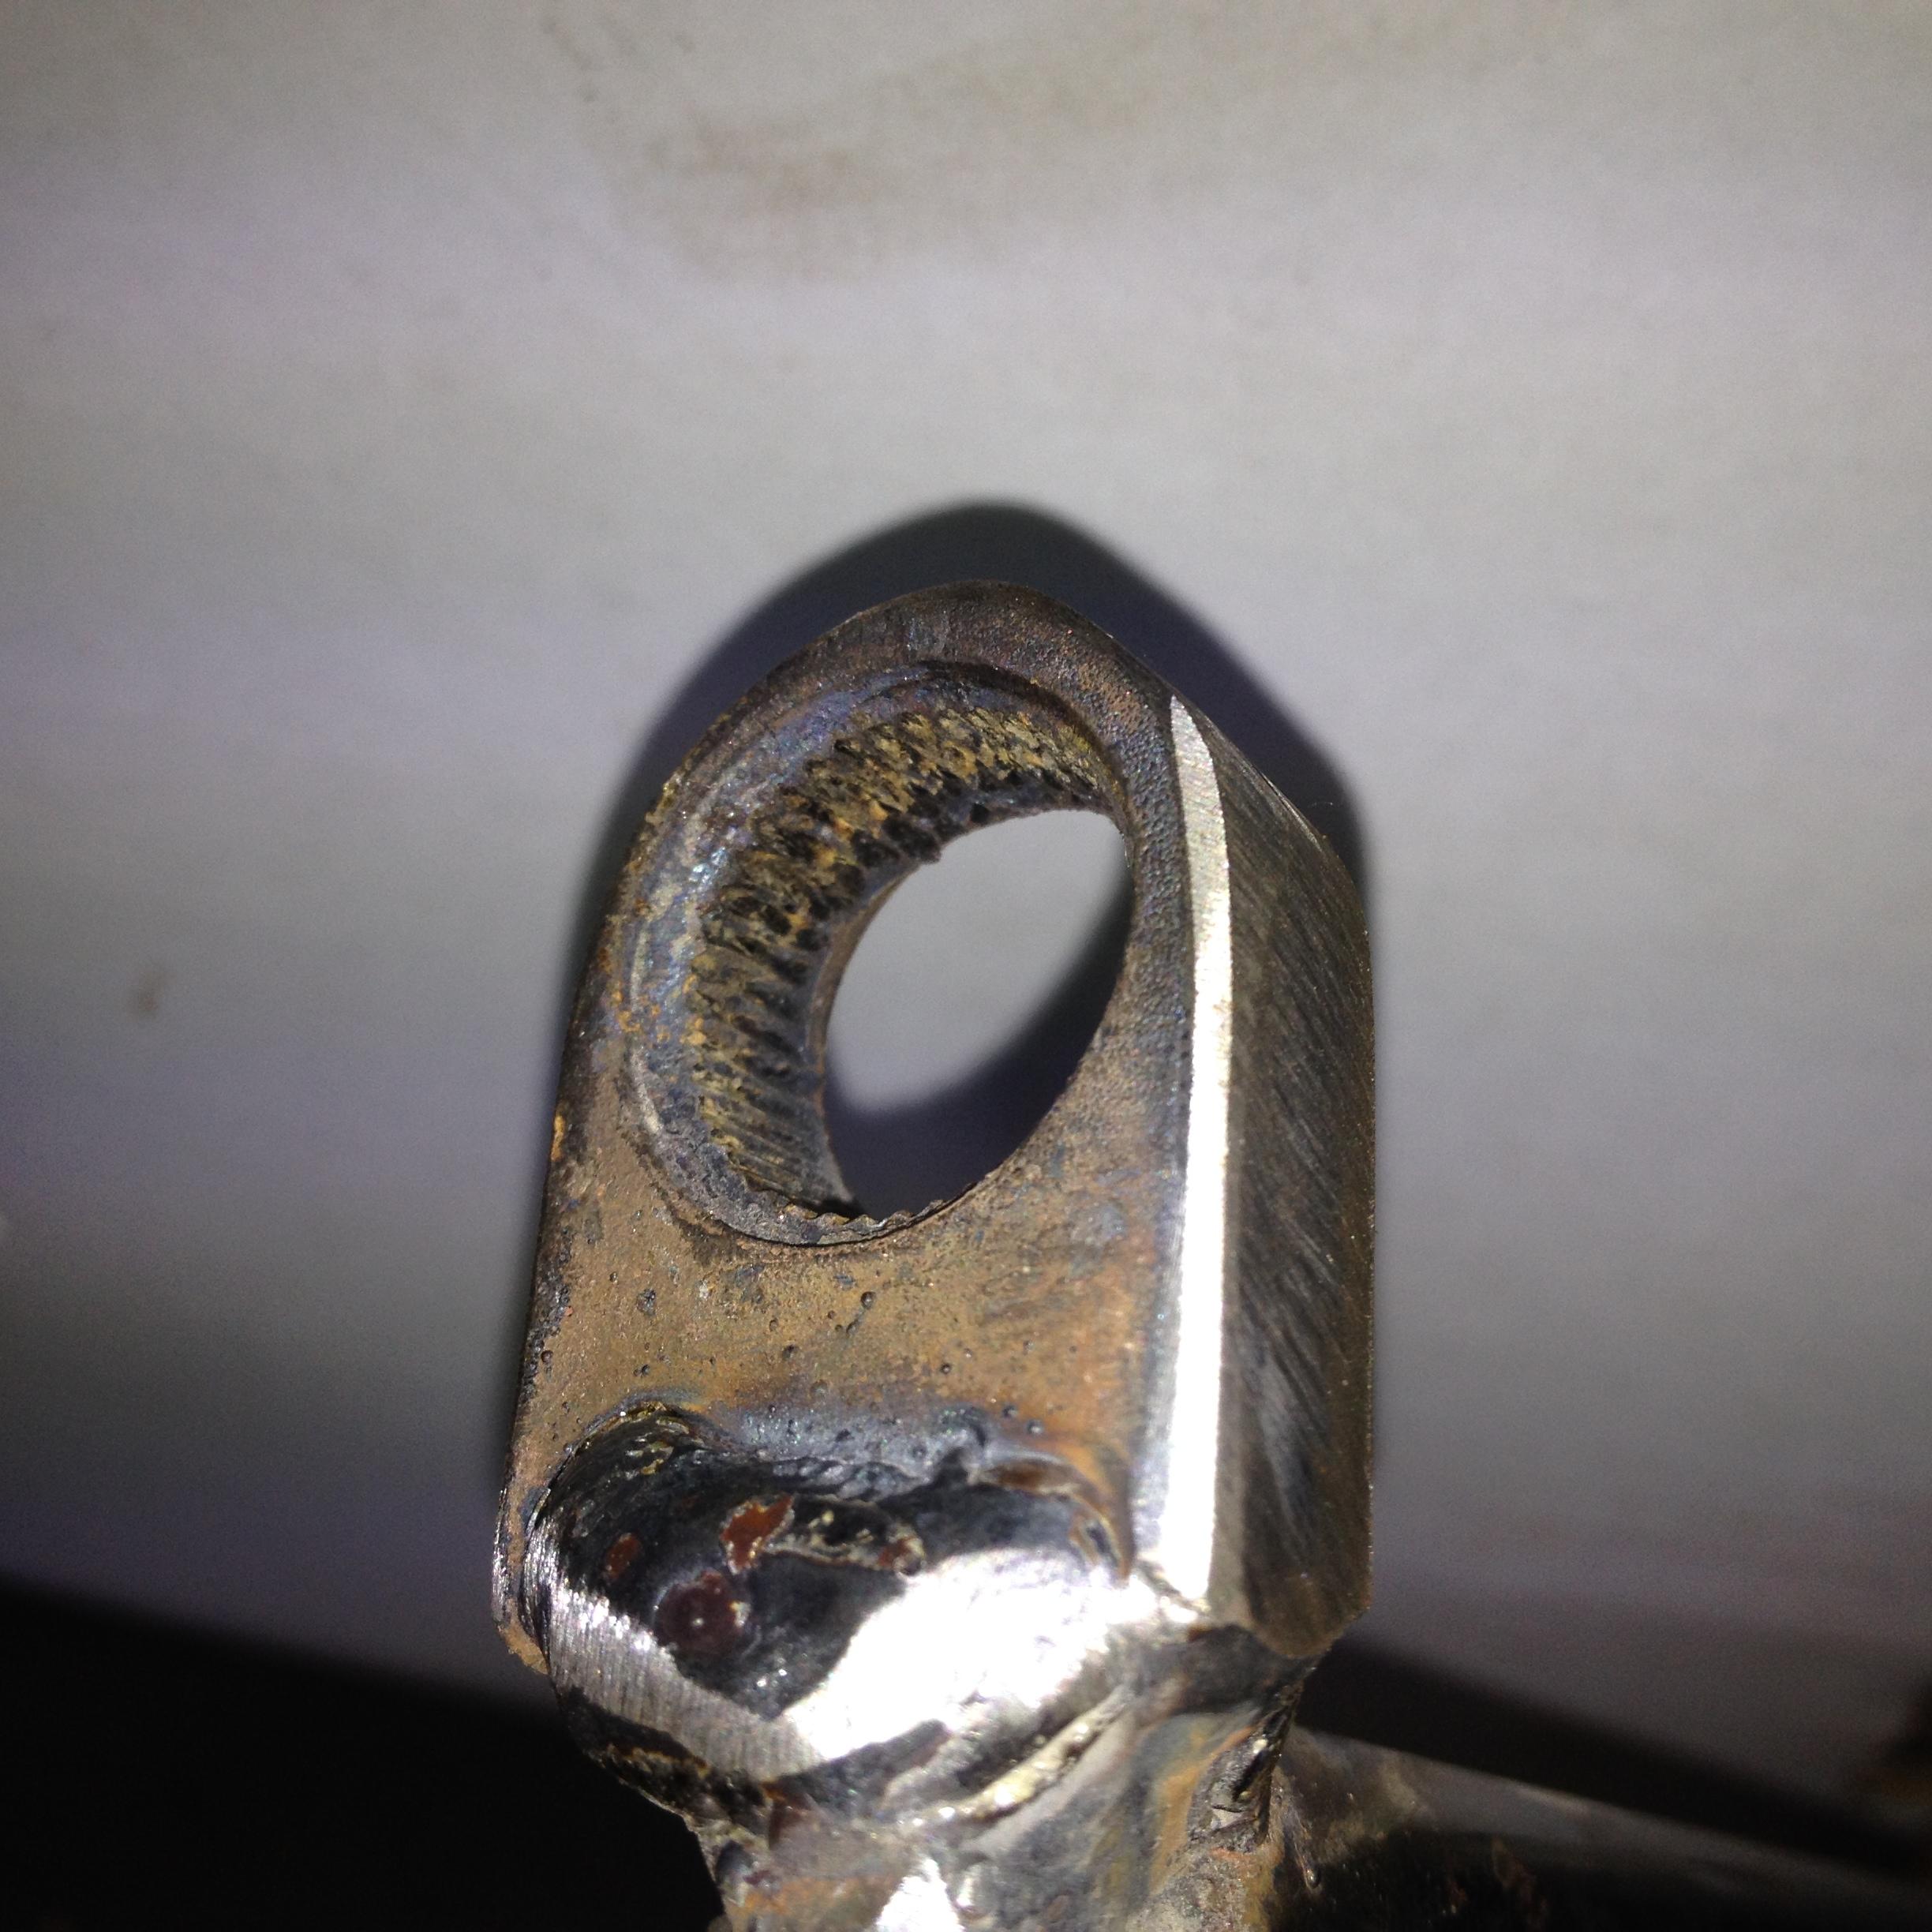
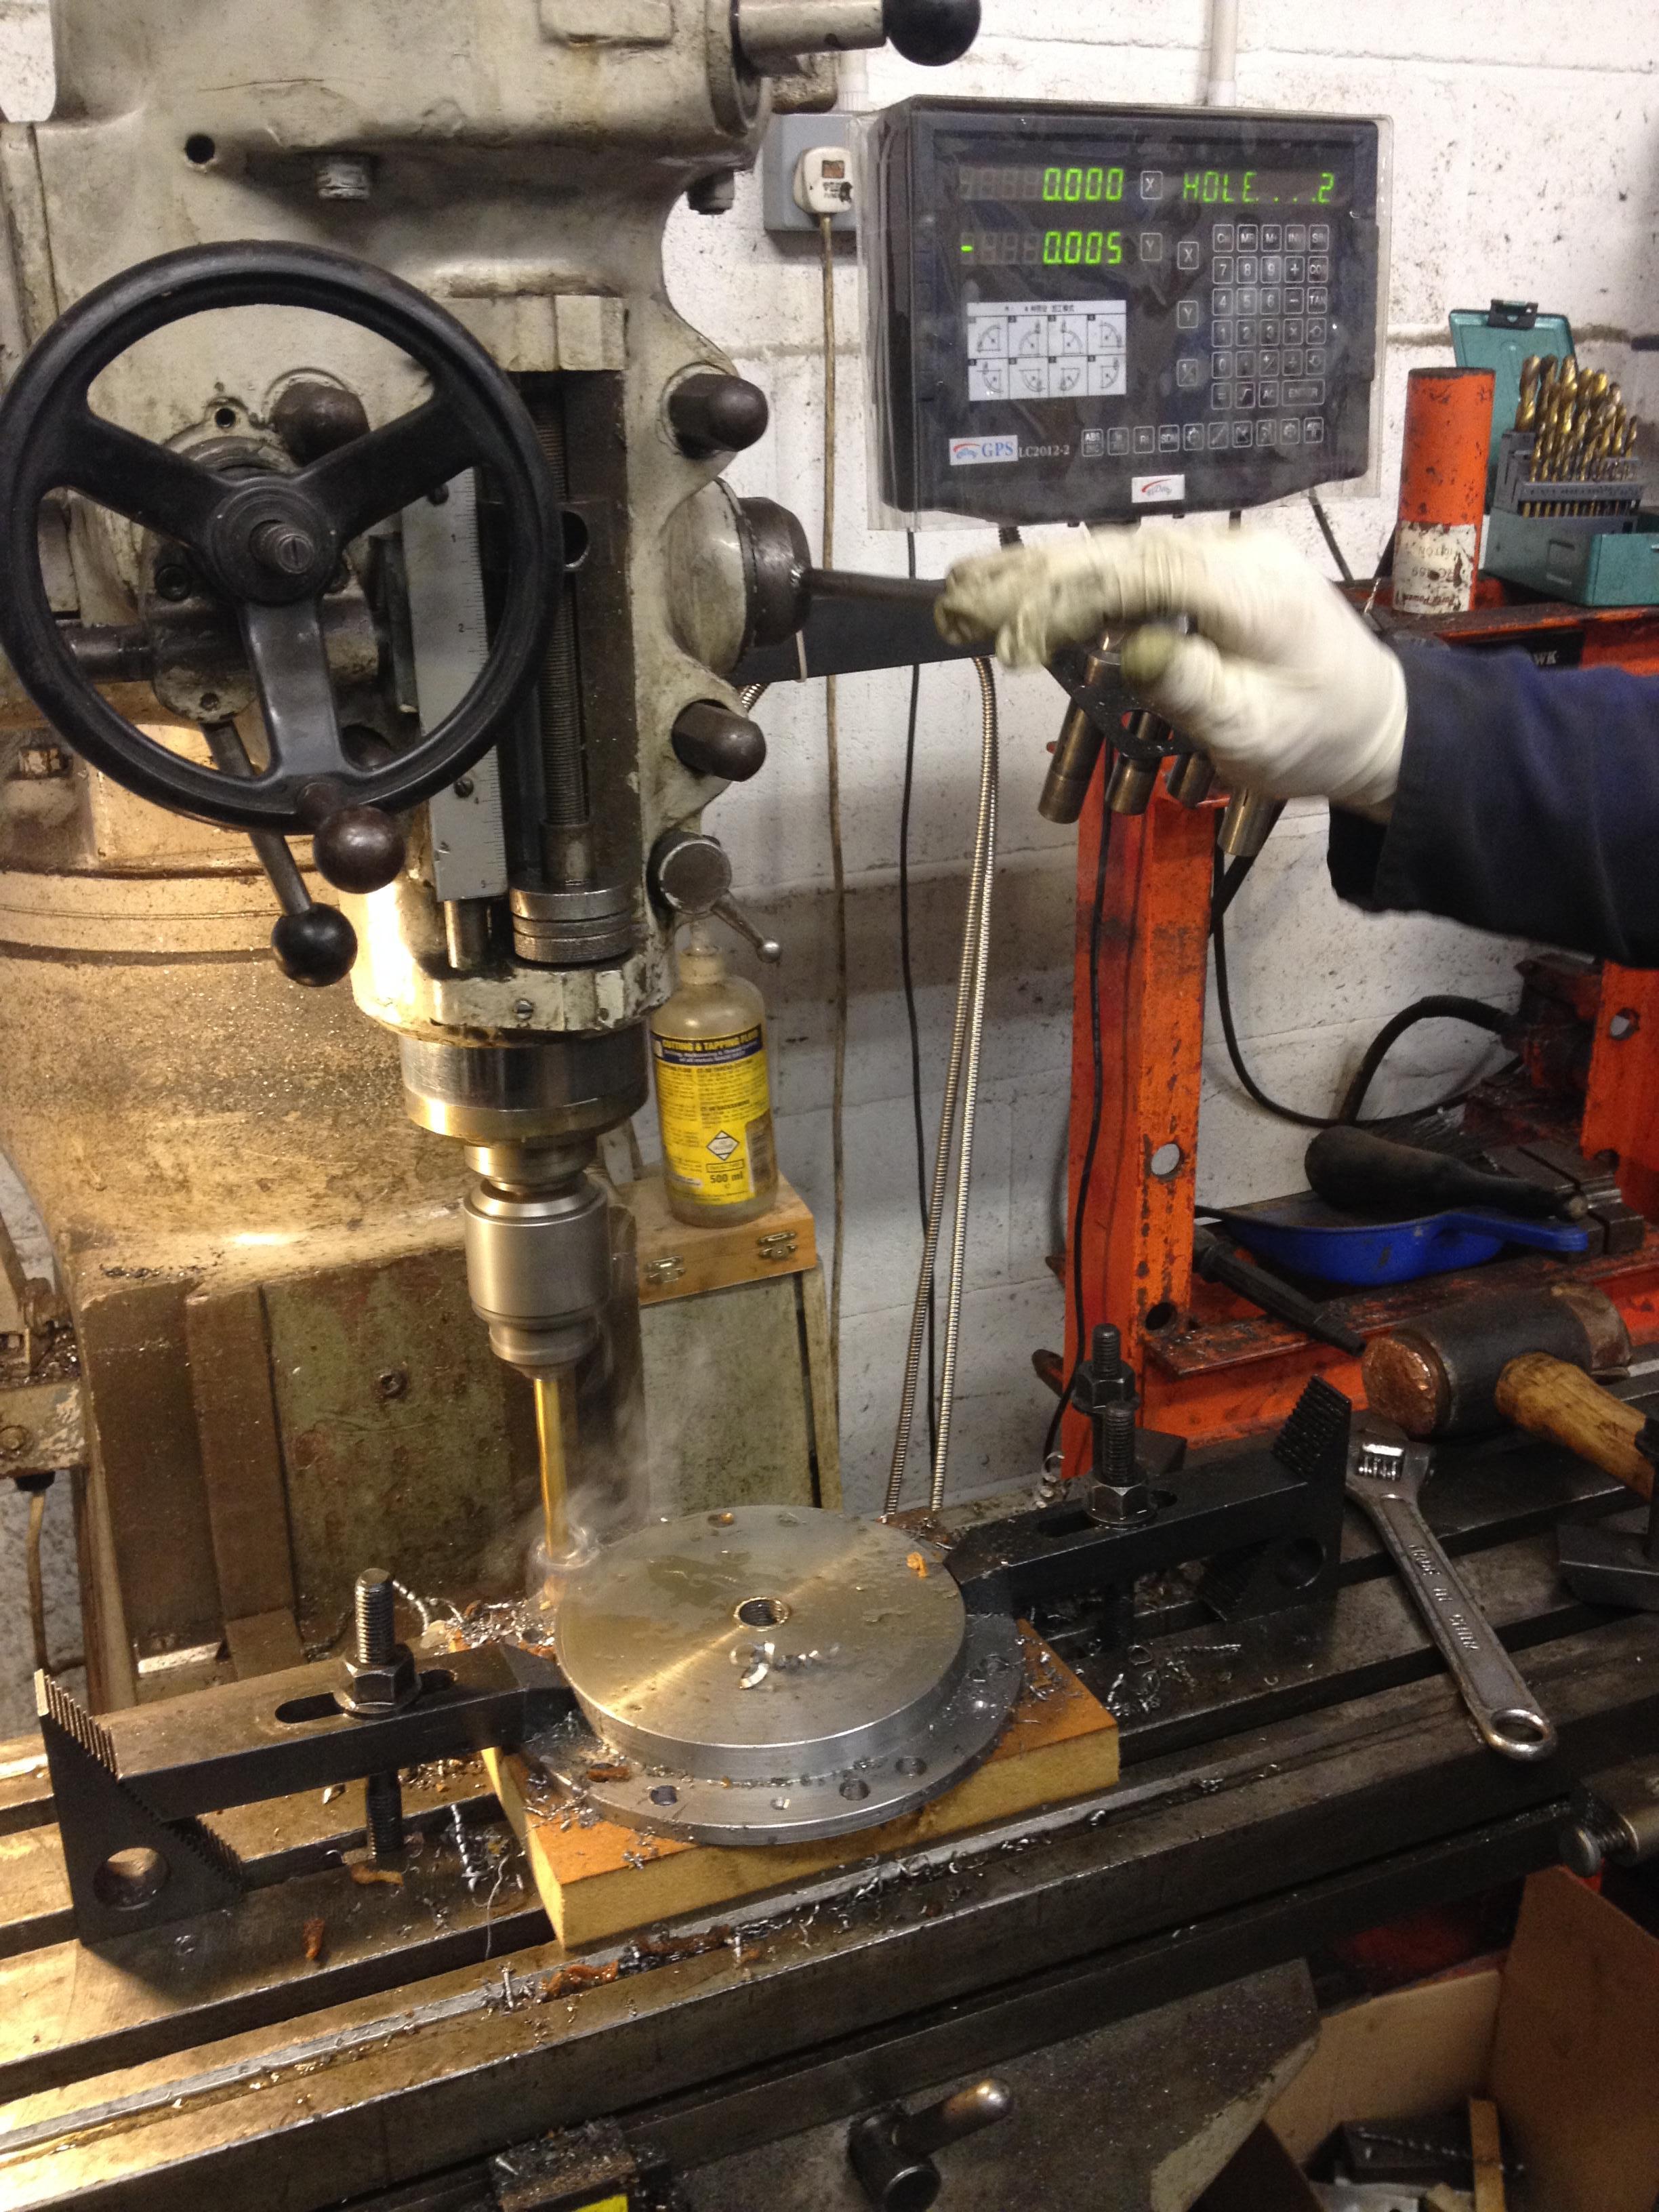
then made a new beam so we could push the head off from the main engine casing.

24 Nov 006

Cylinders No.s 5 and 11 came straight off with a slide hammer, these cylinders had a lot more oil present.

24 Nov 005 24 Nov 009


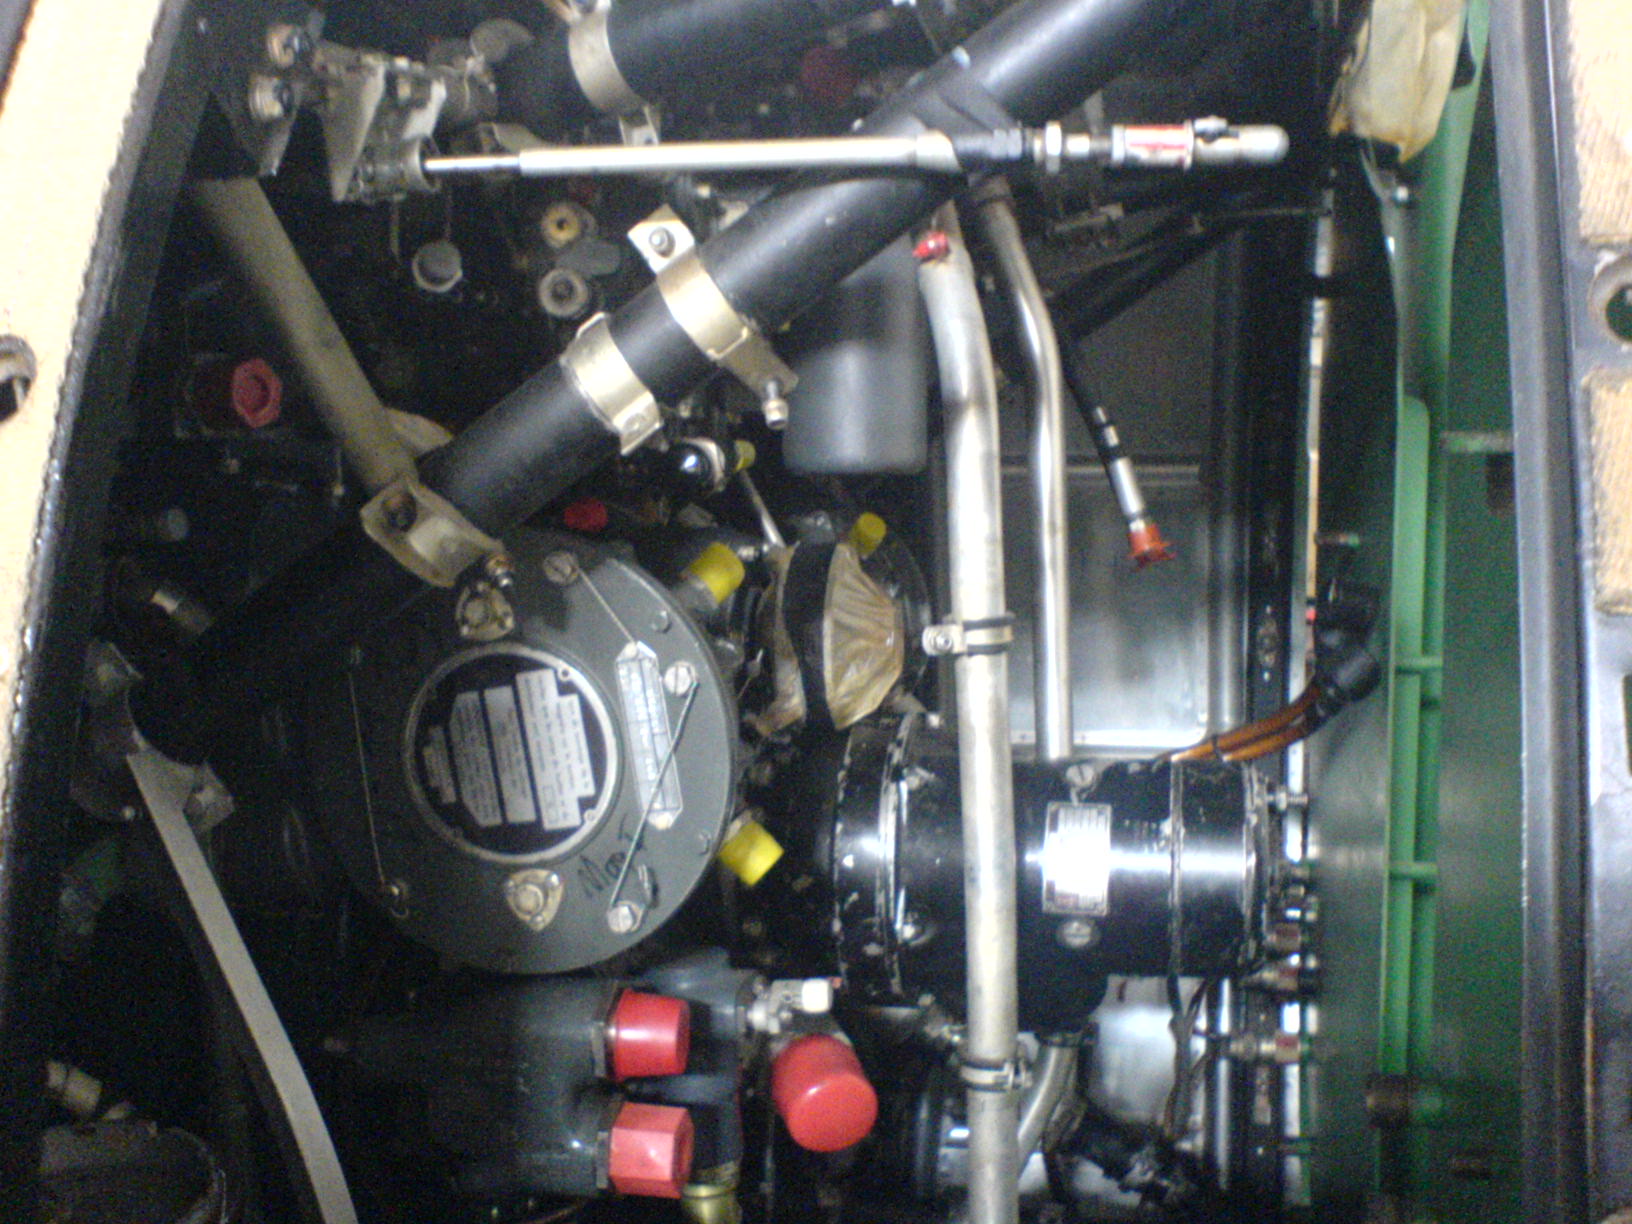
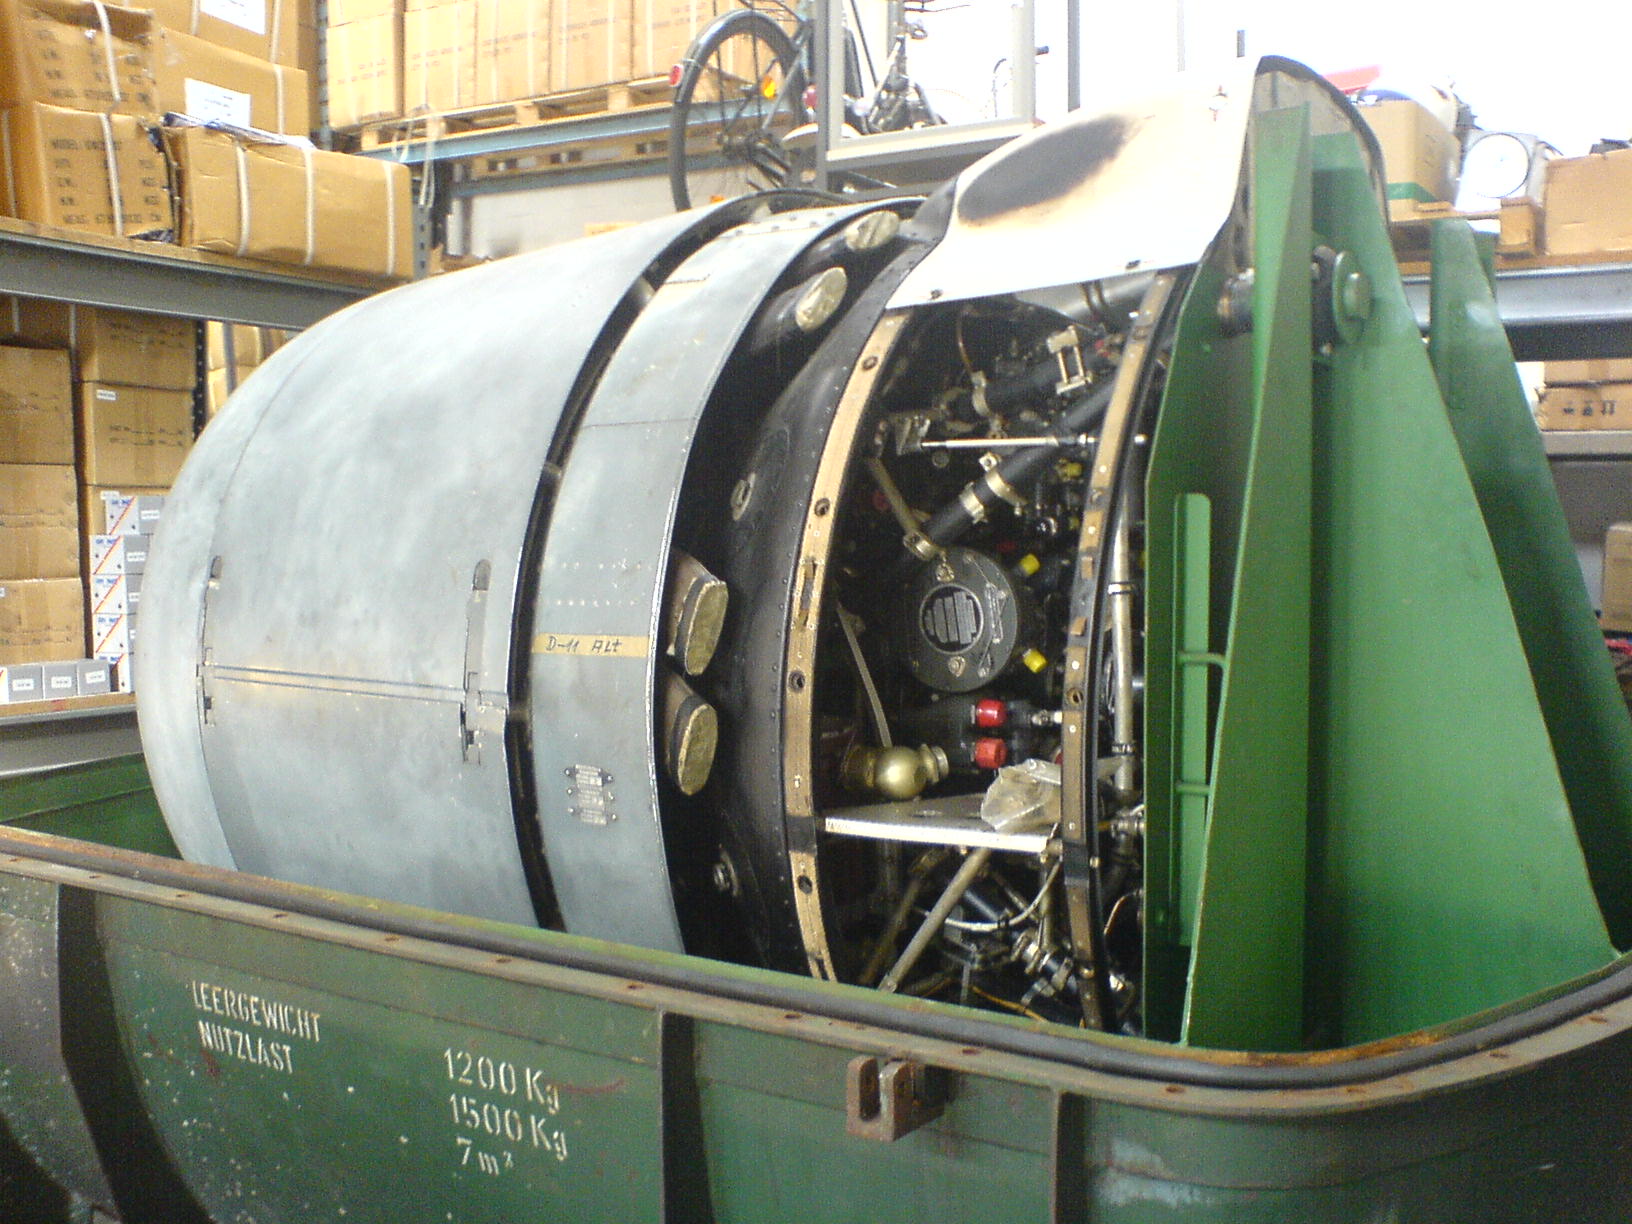
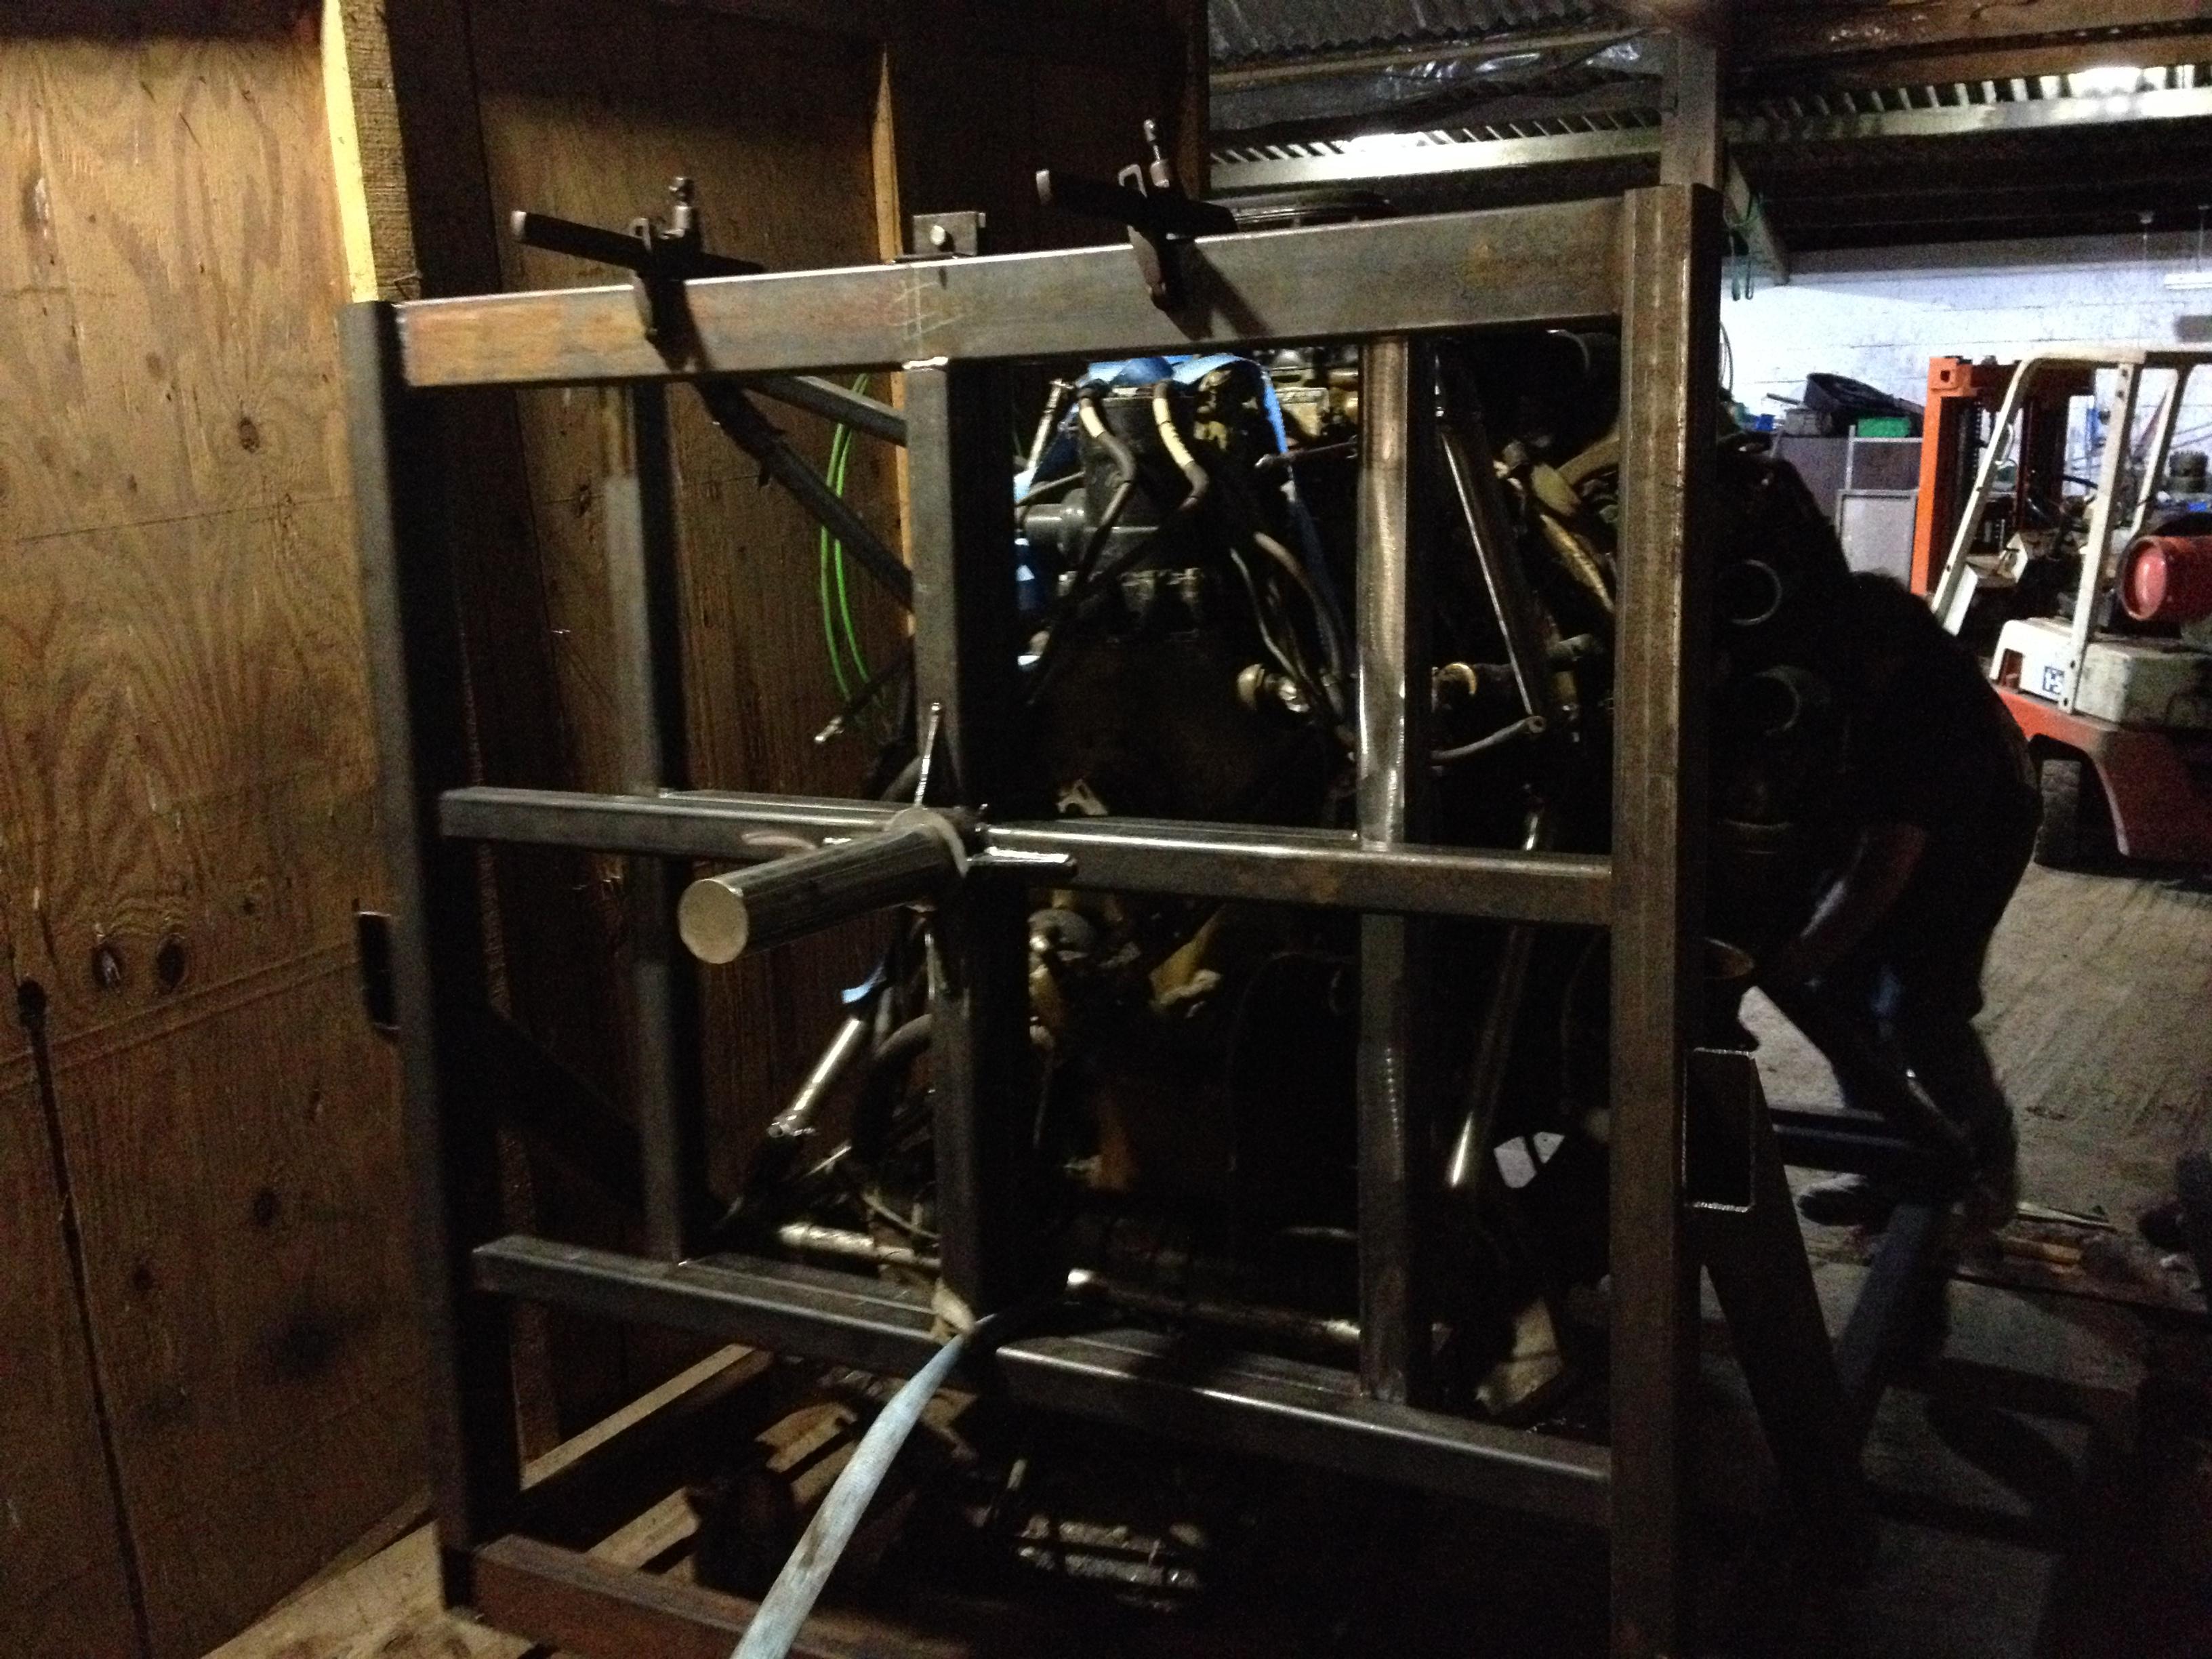
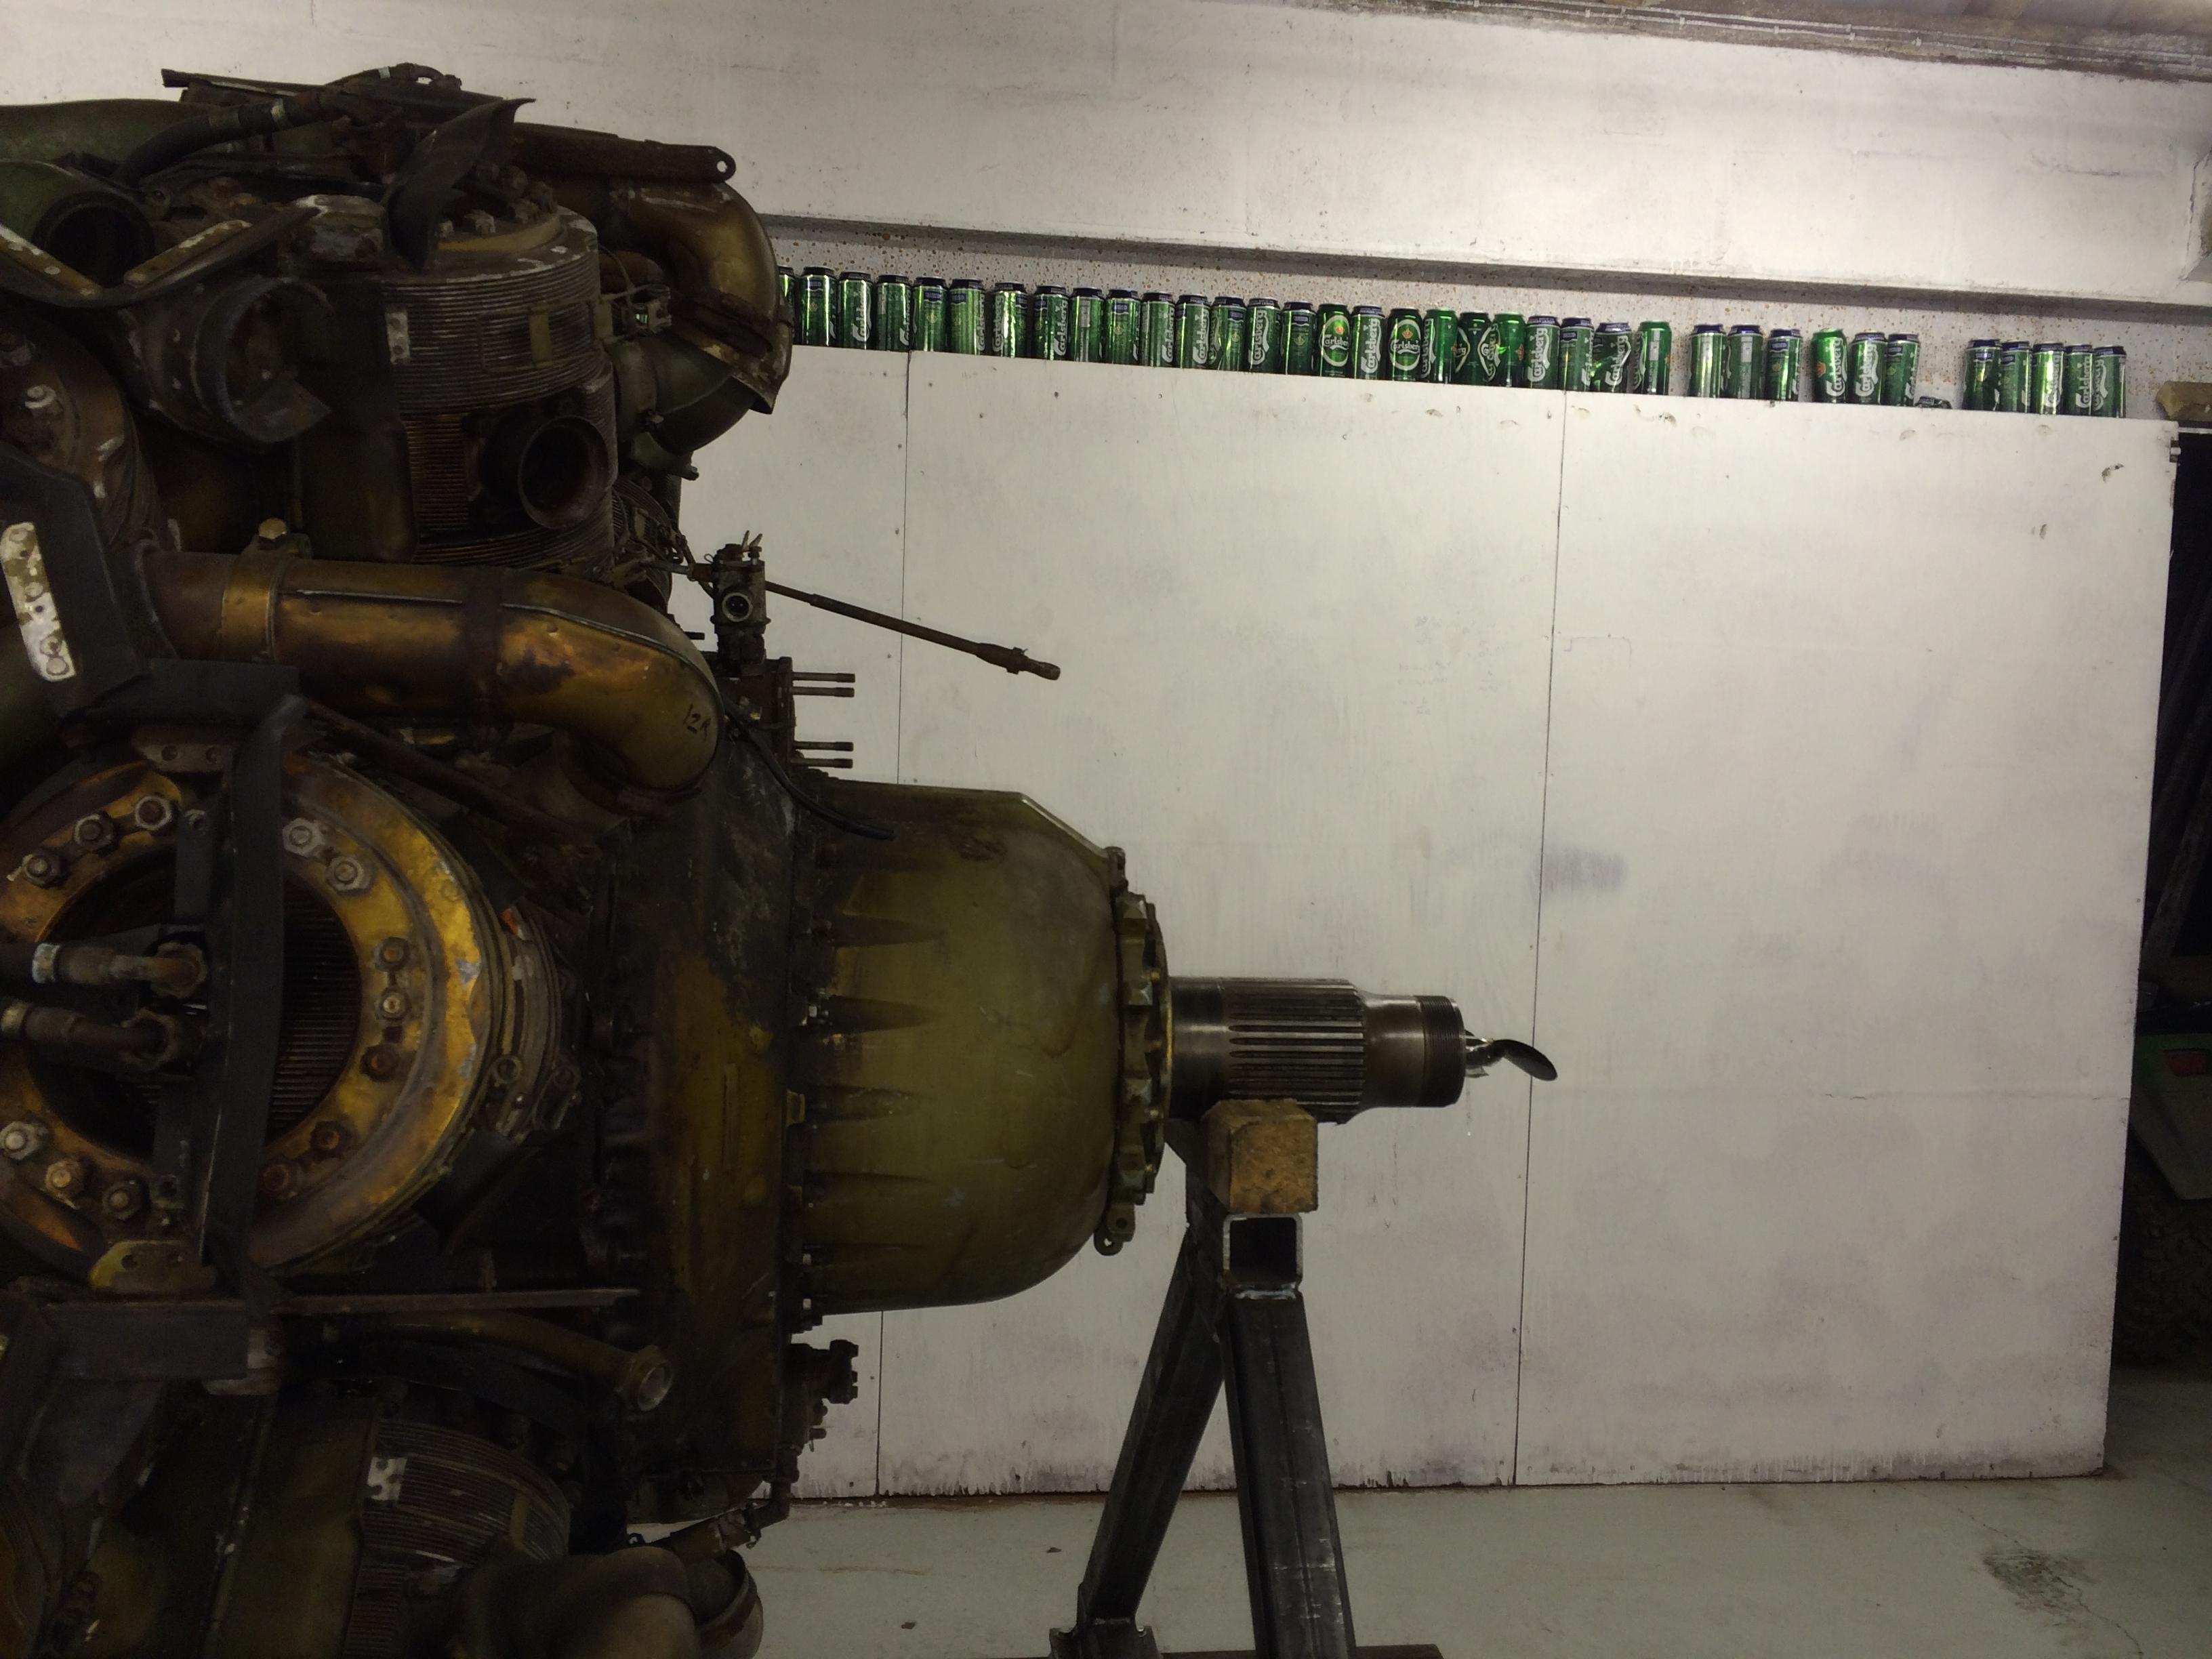
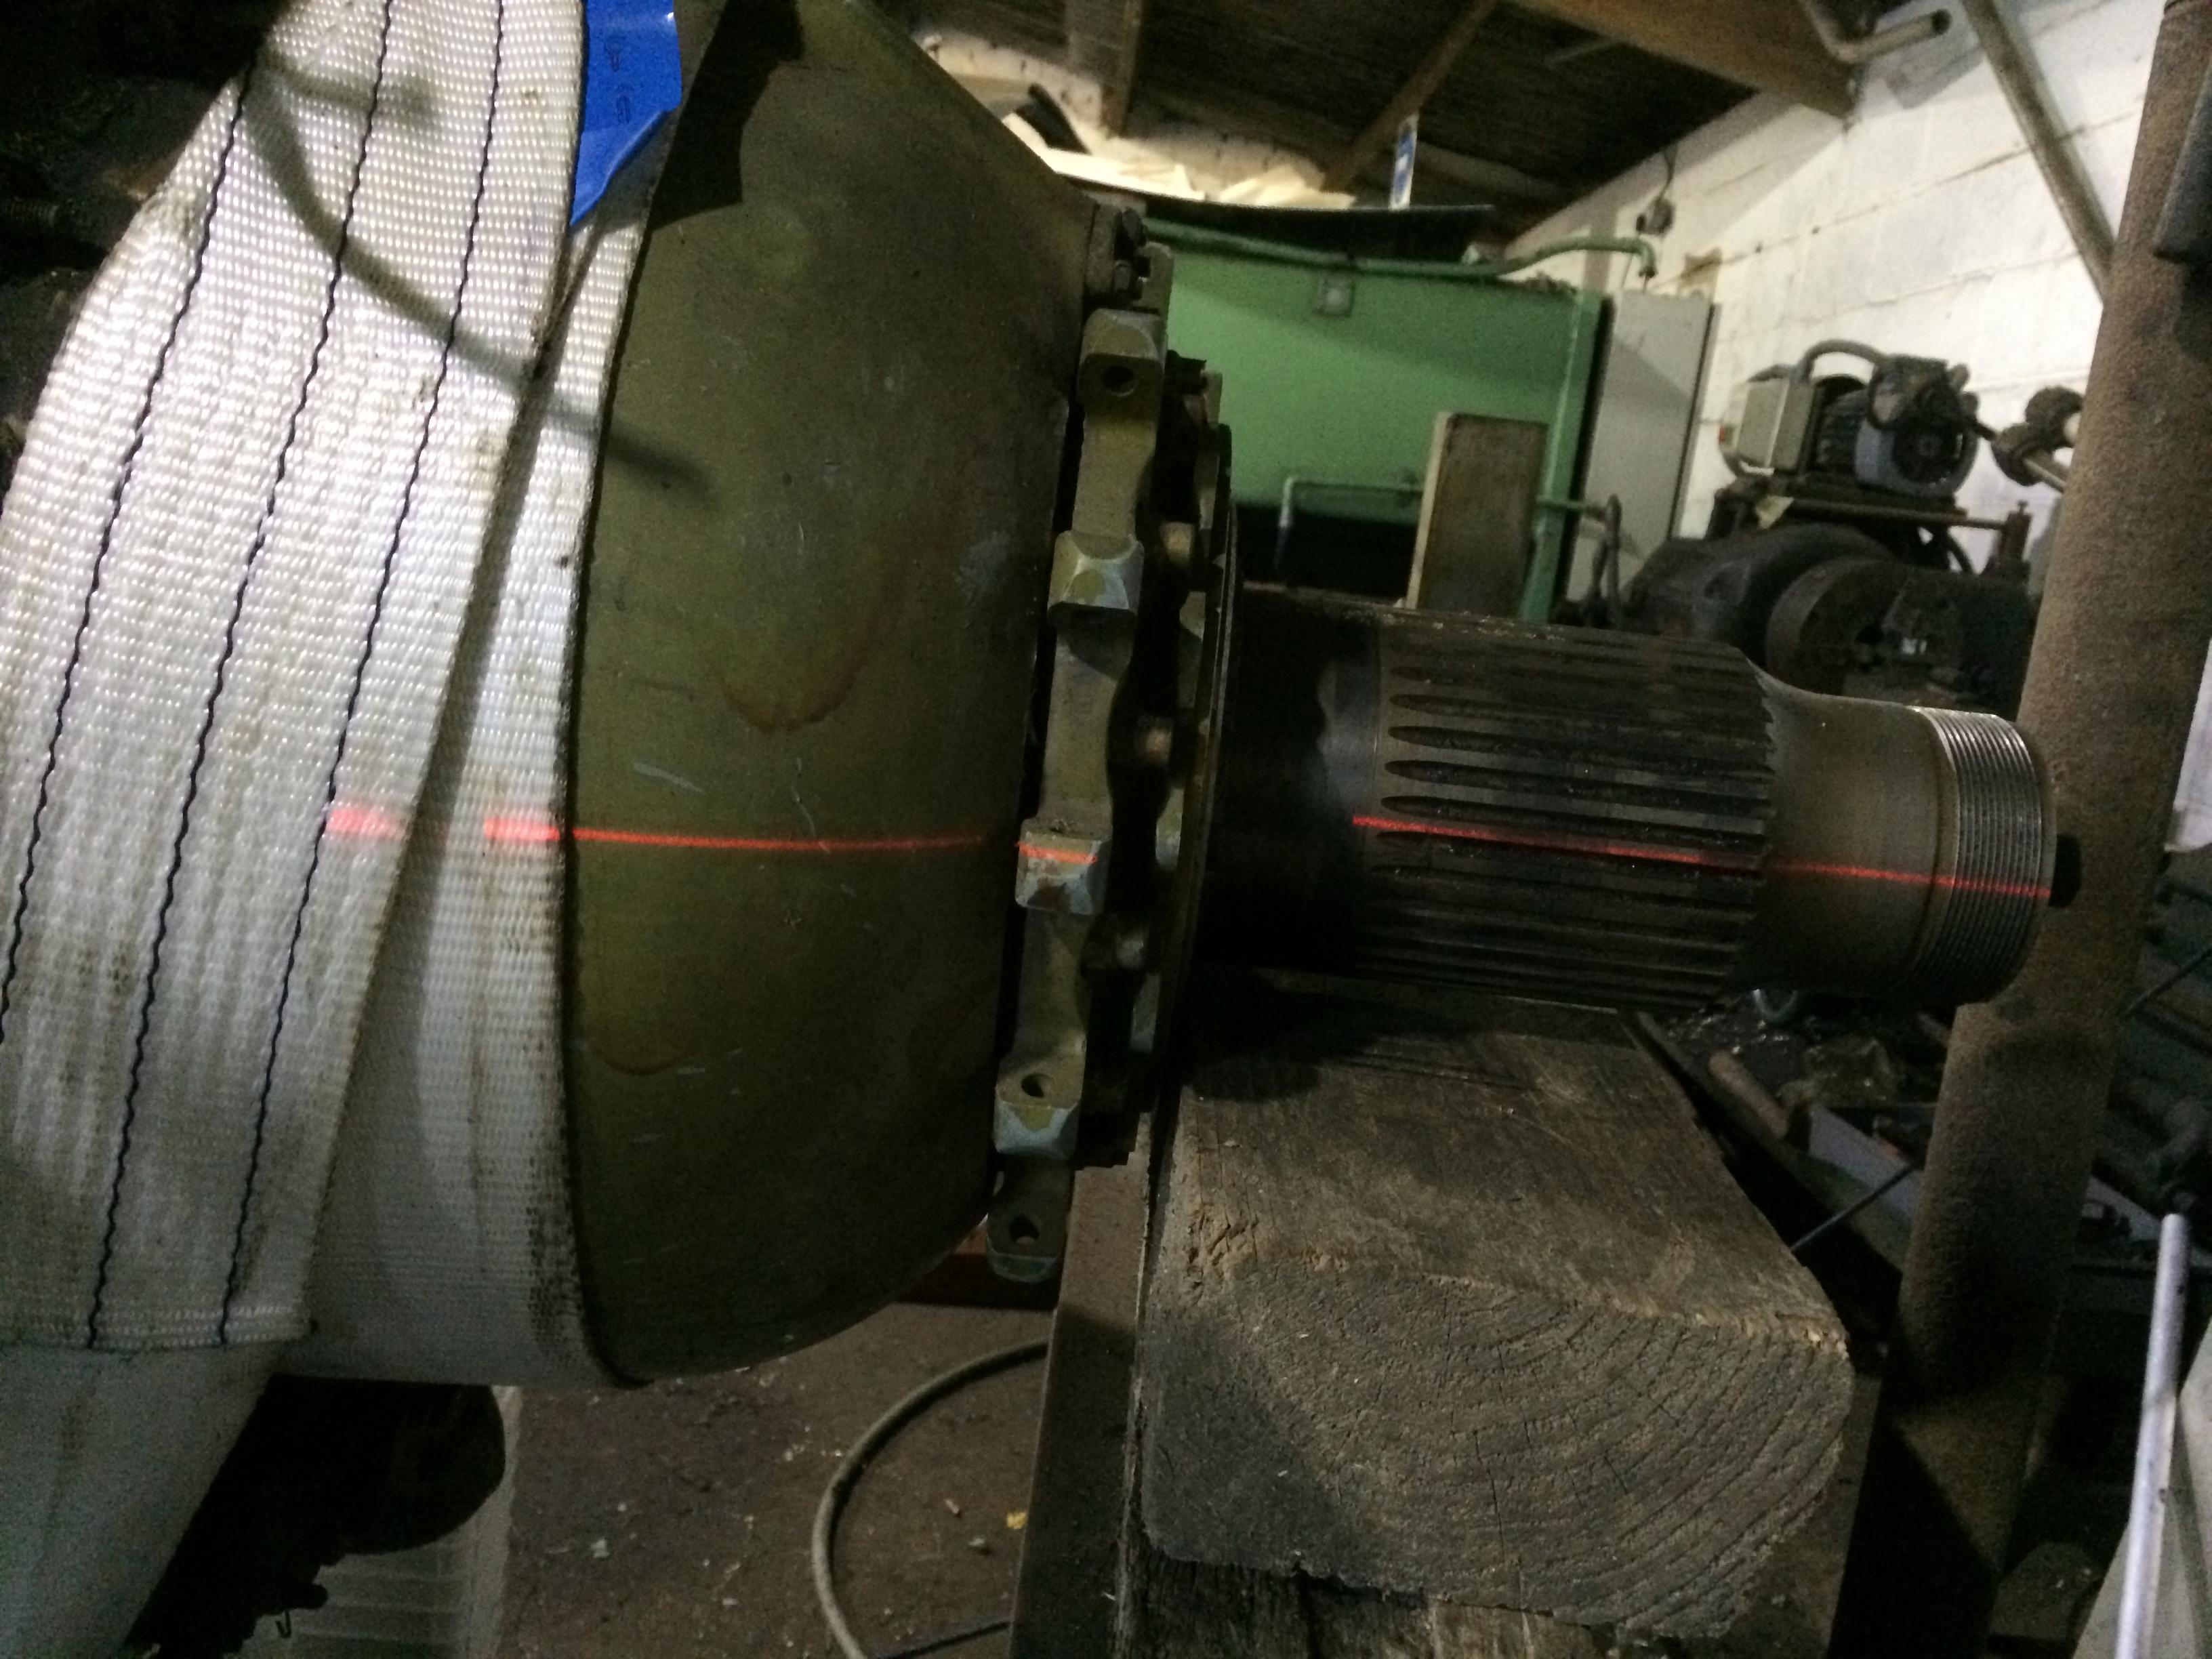
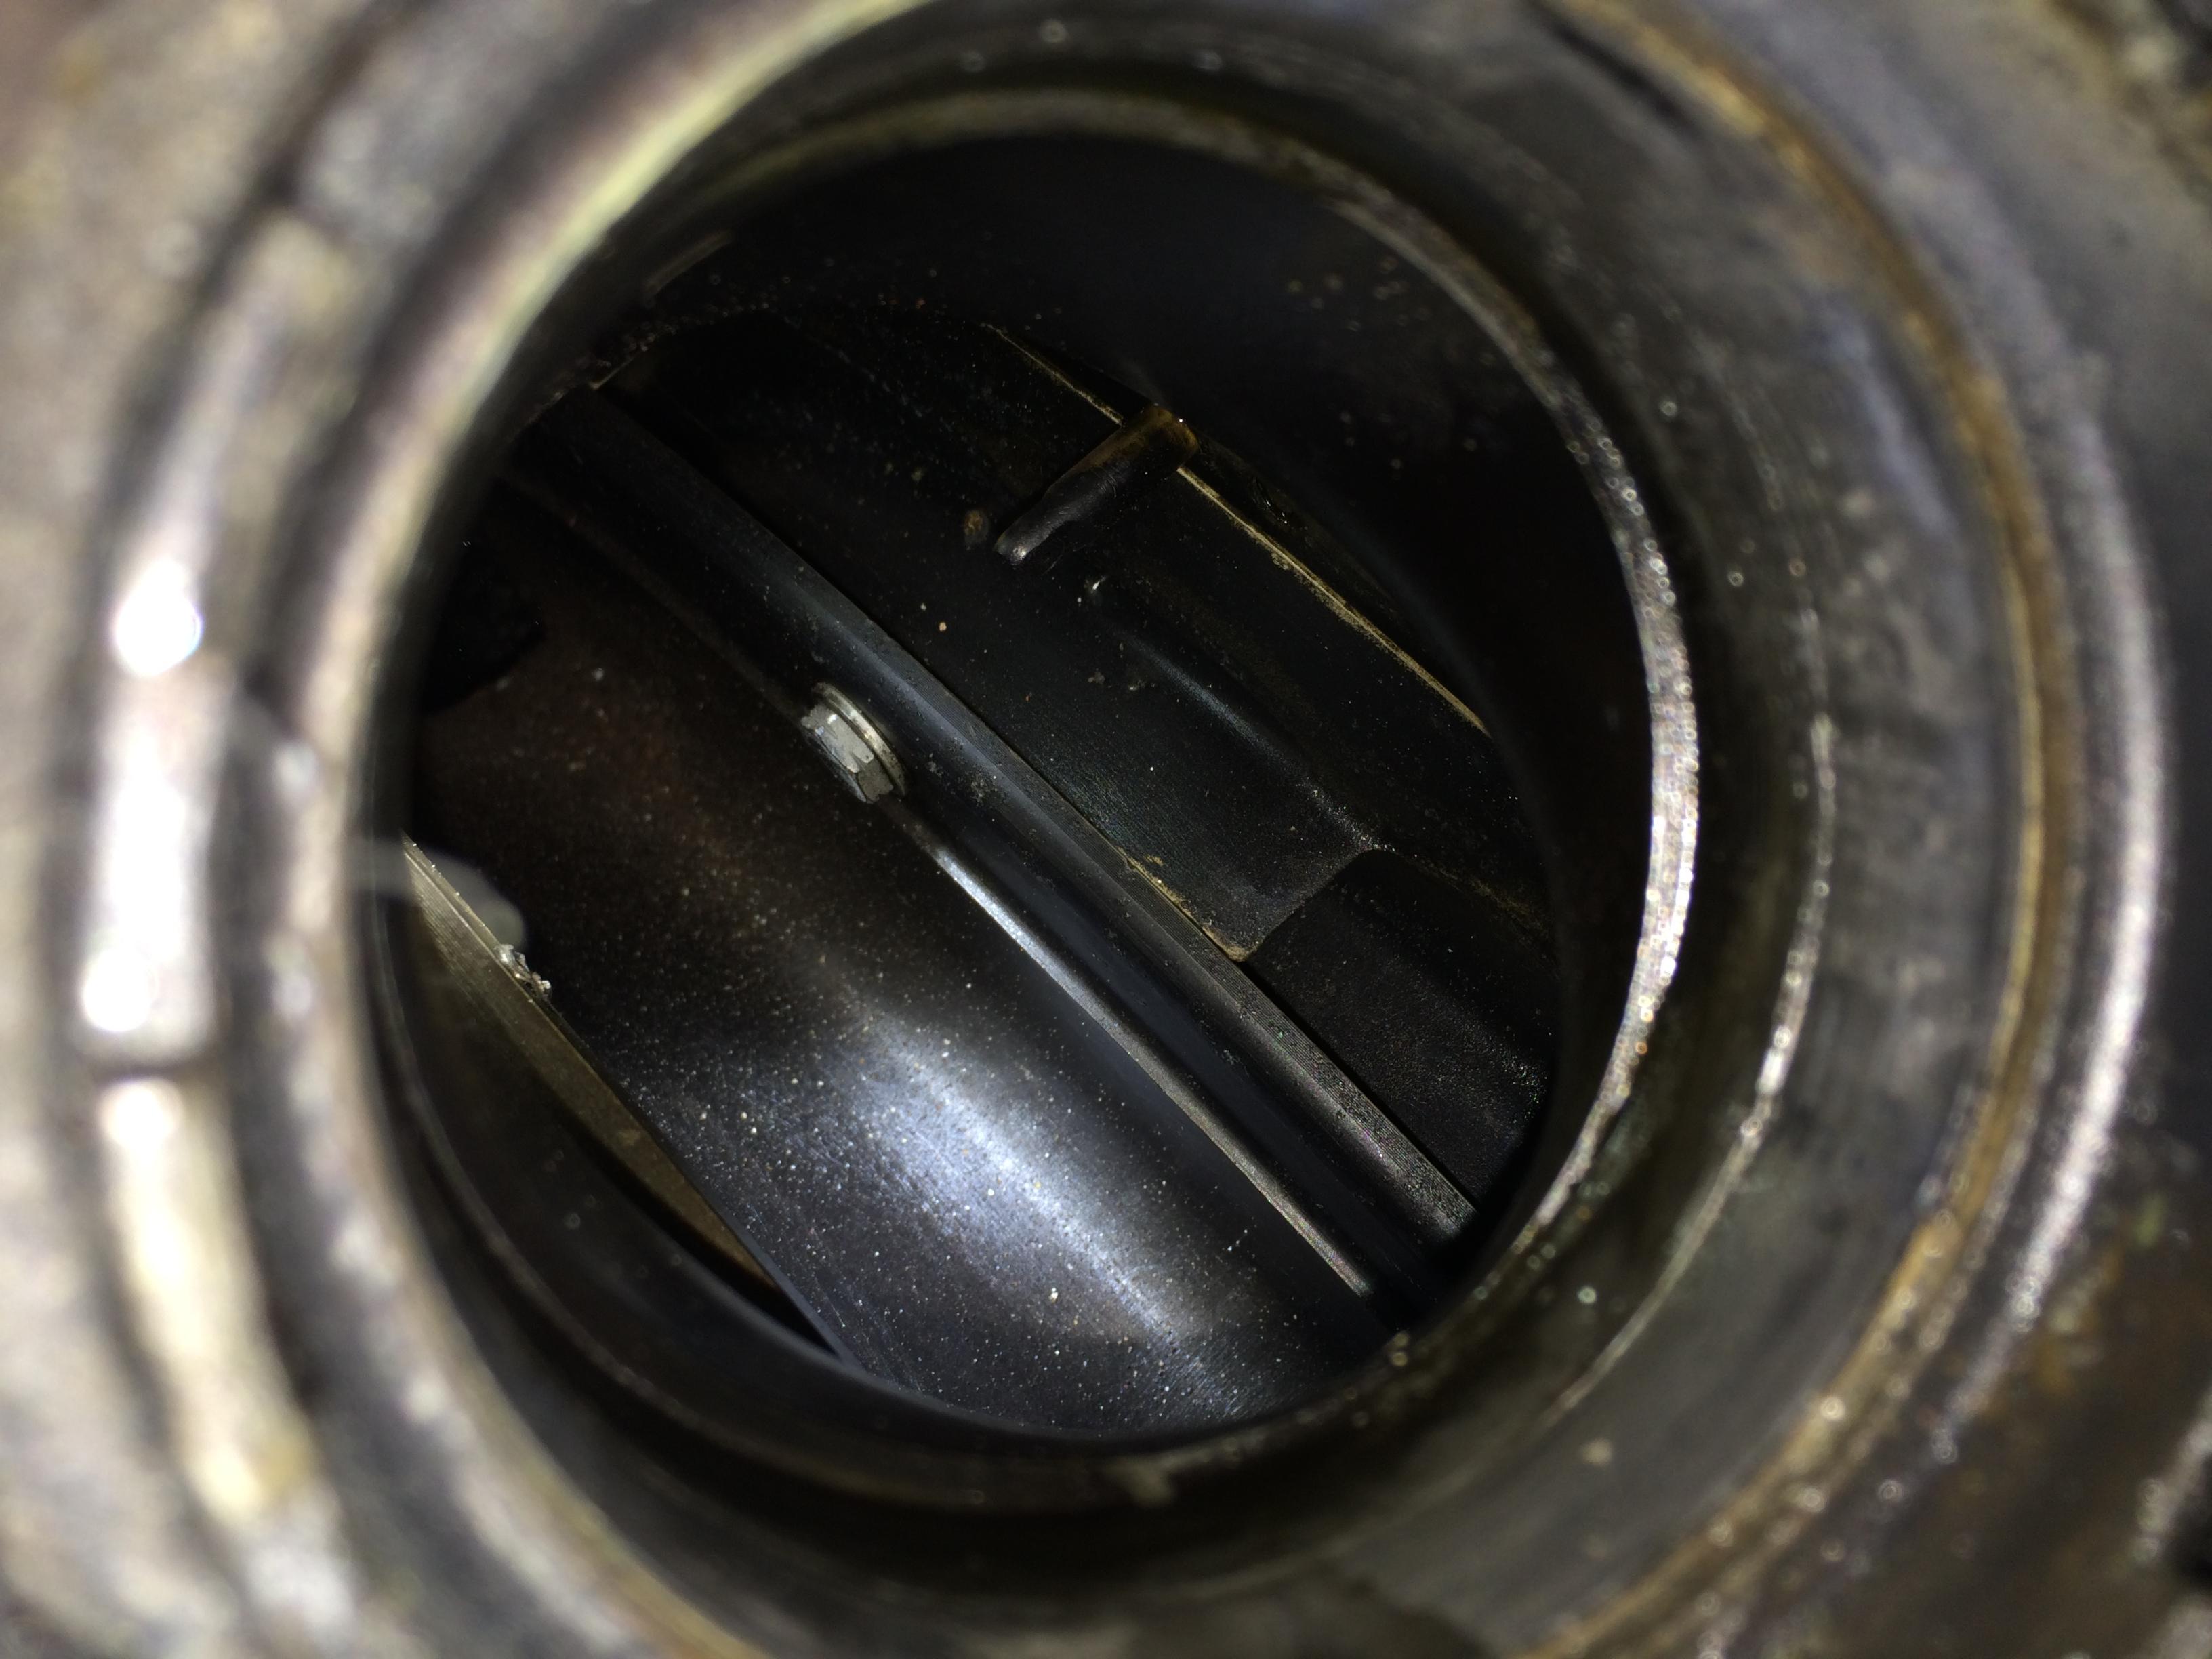
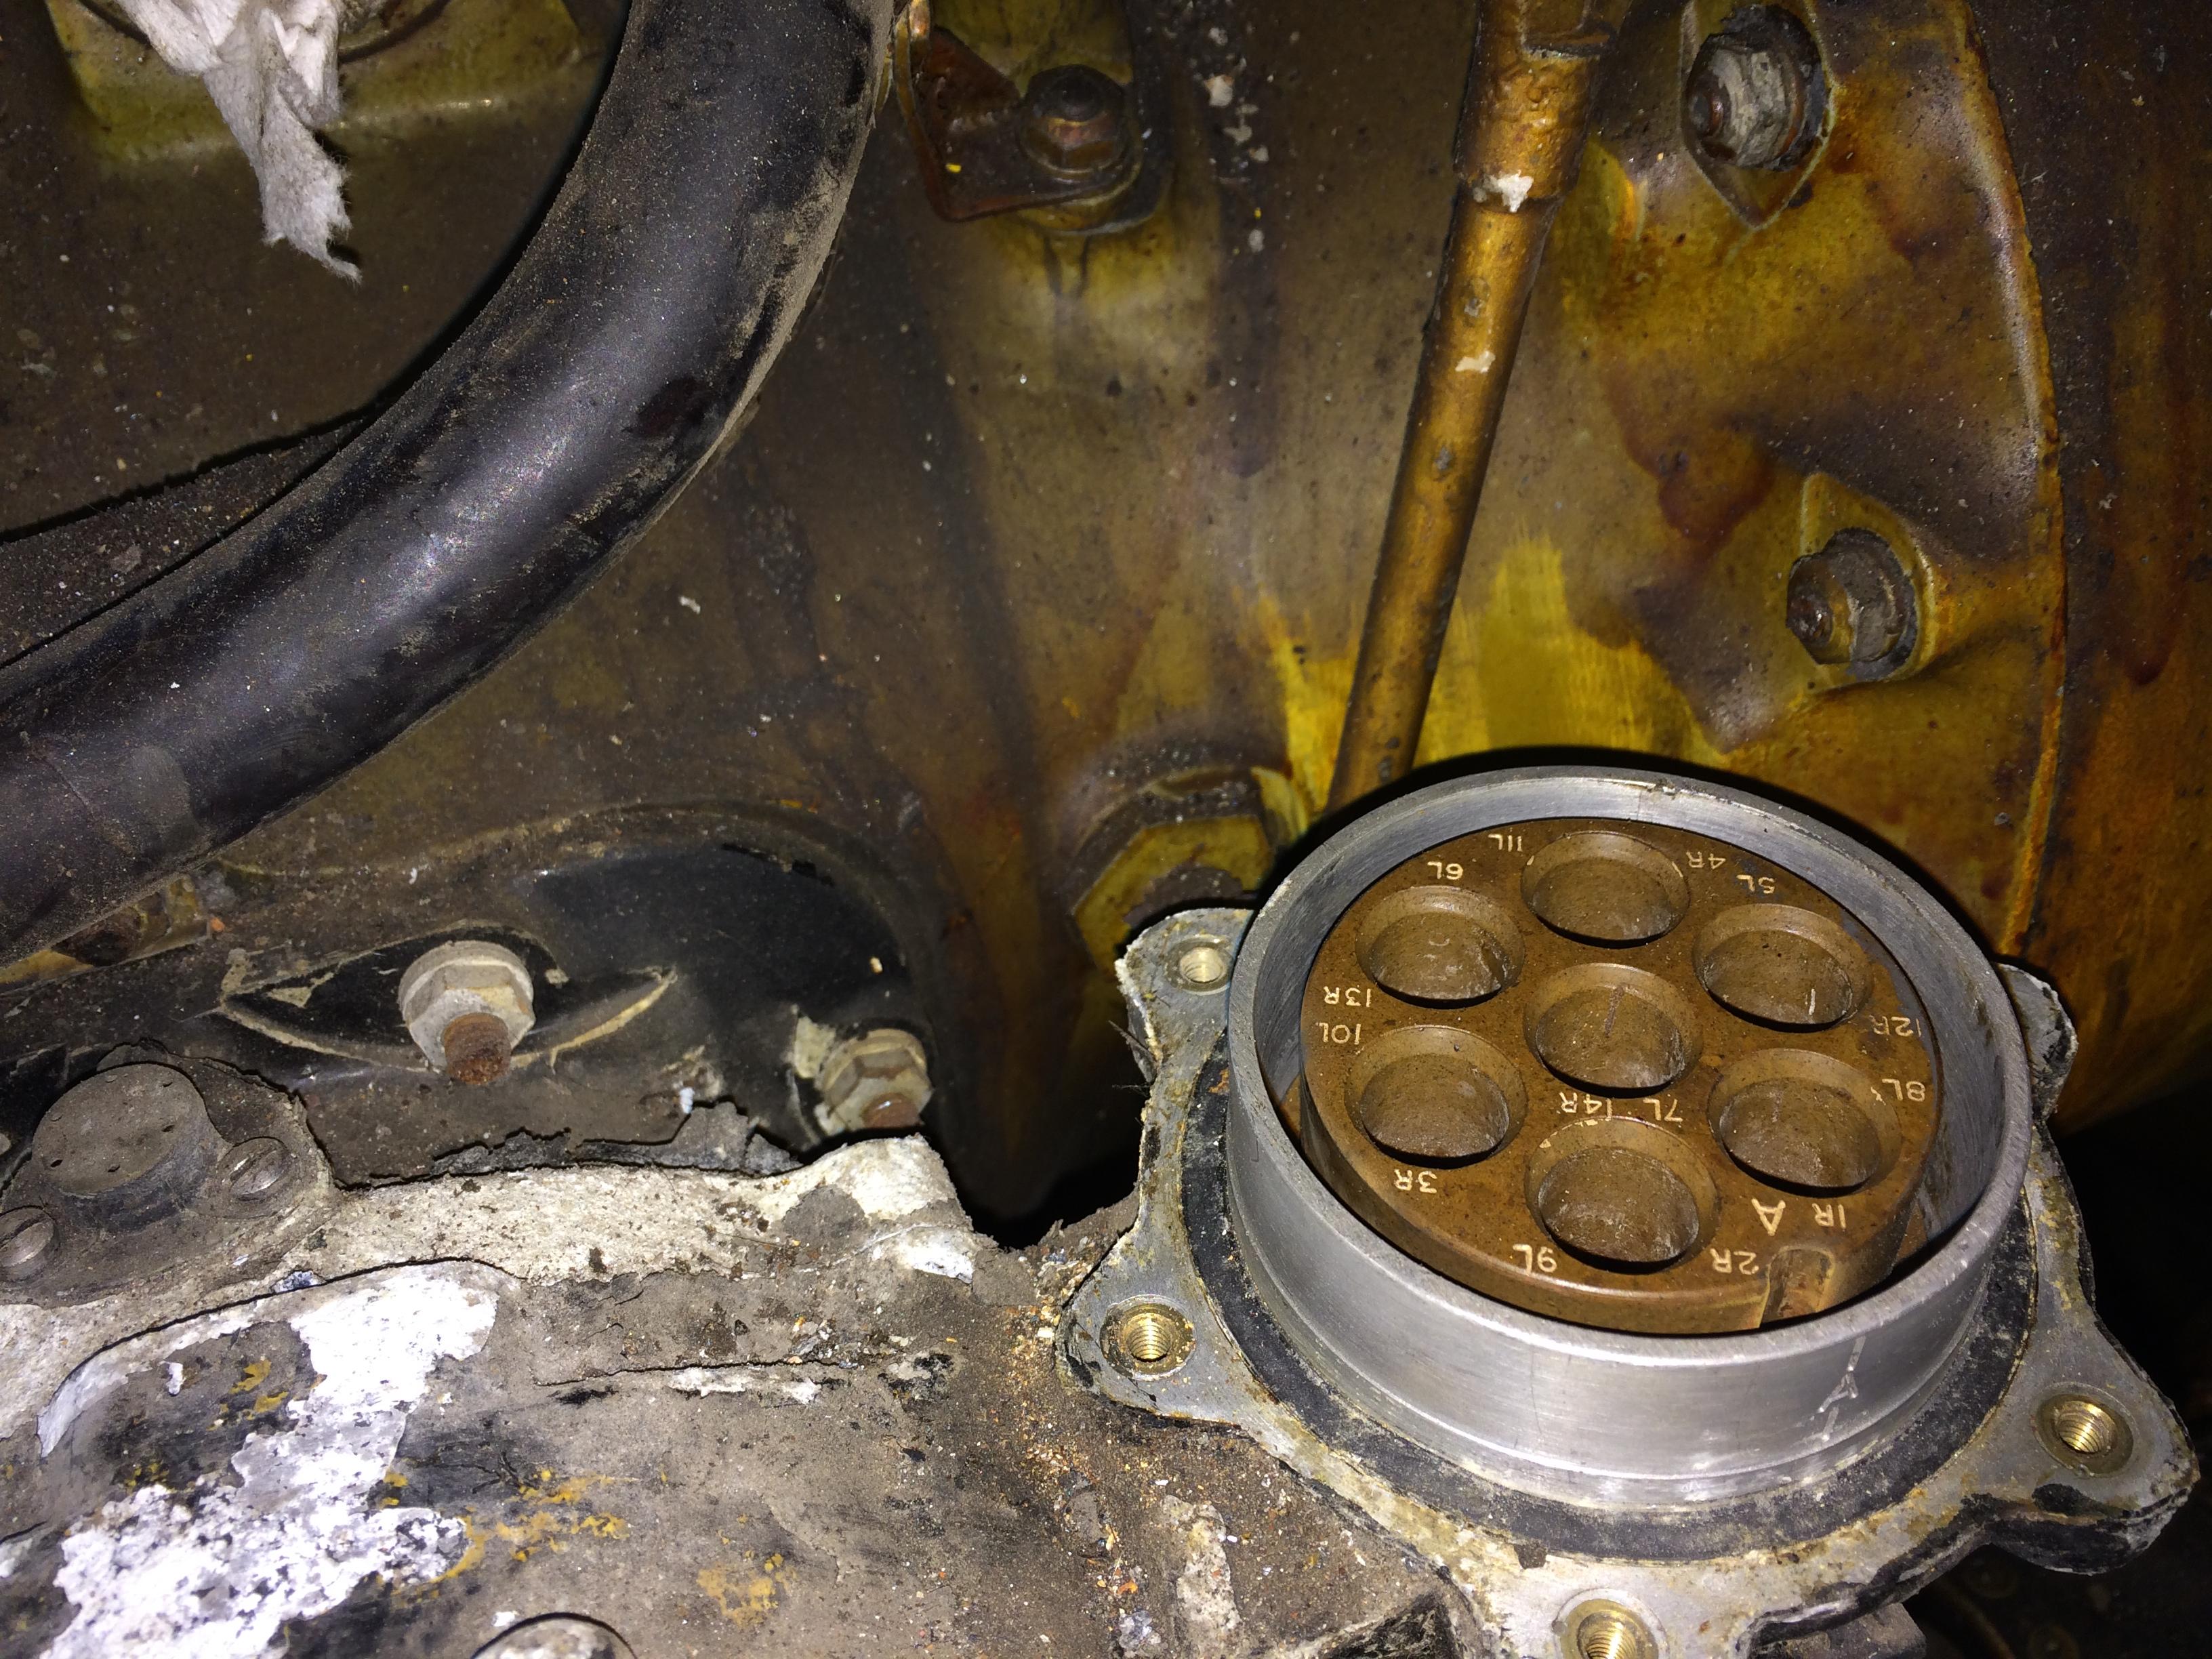
Here you can see the supercharge inside the rear casing, it looks in very good condition.

24 Nov 007

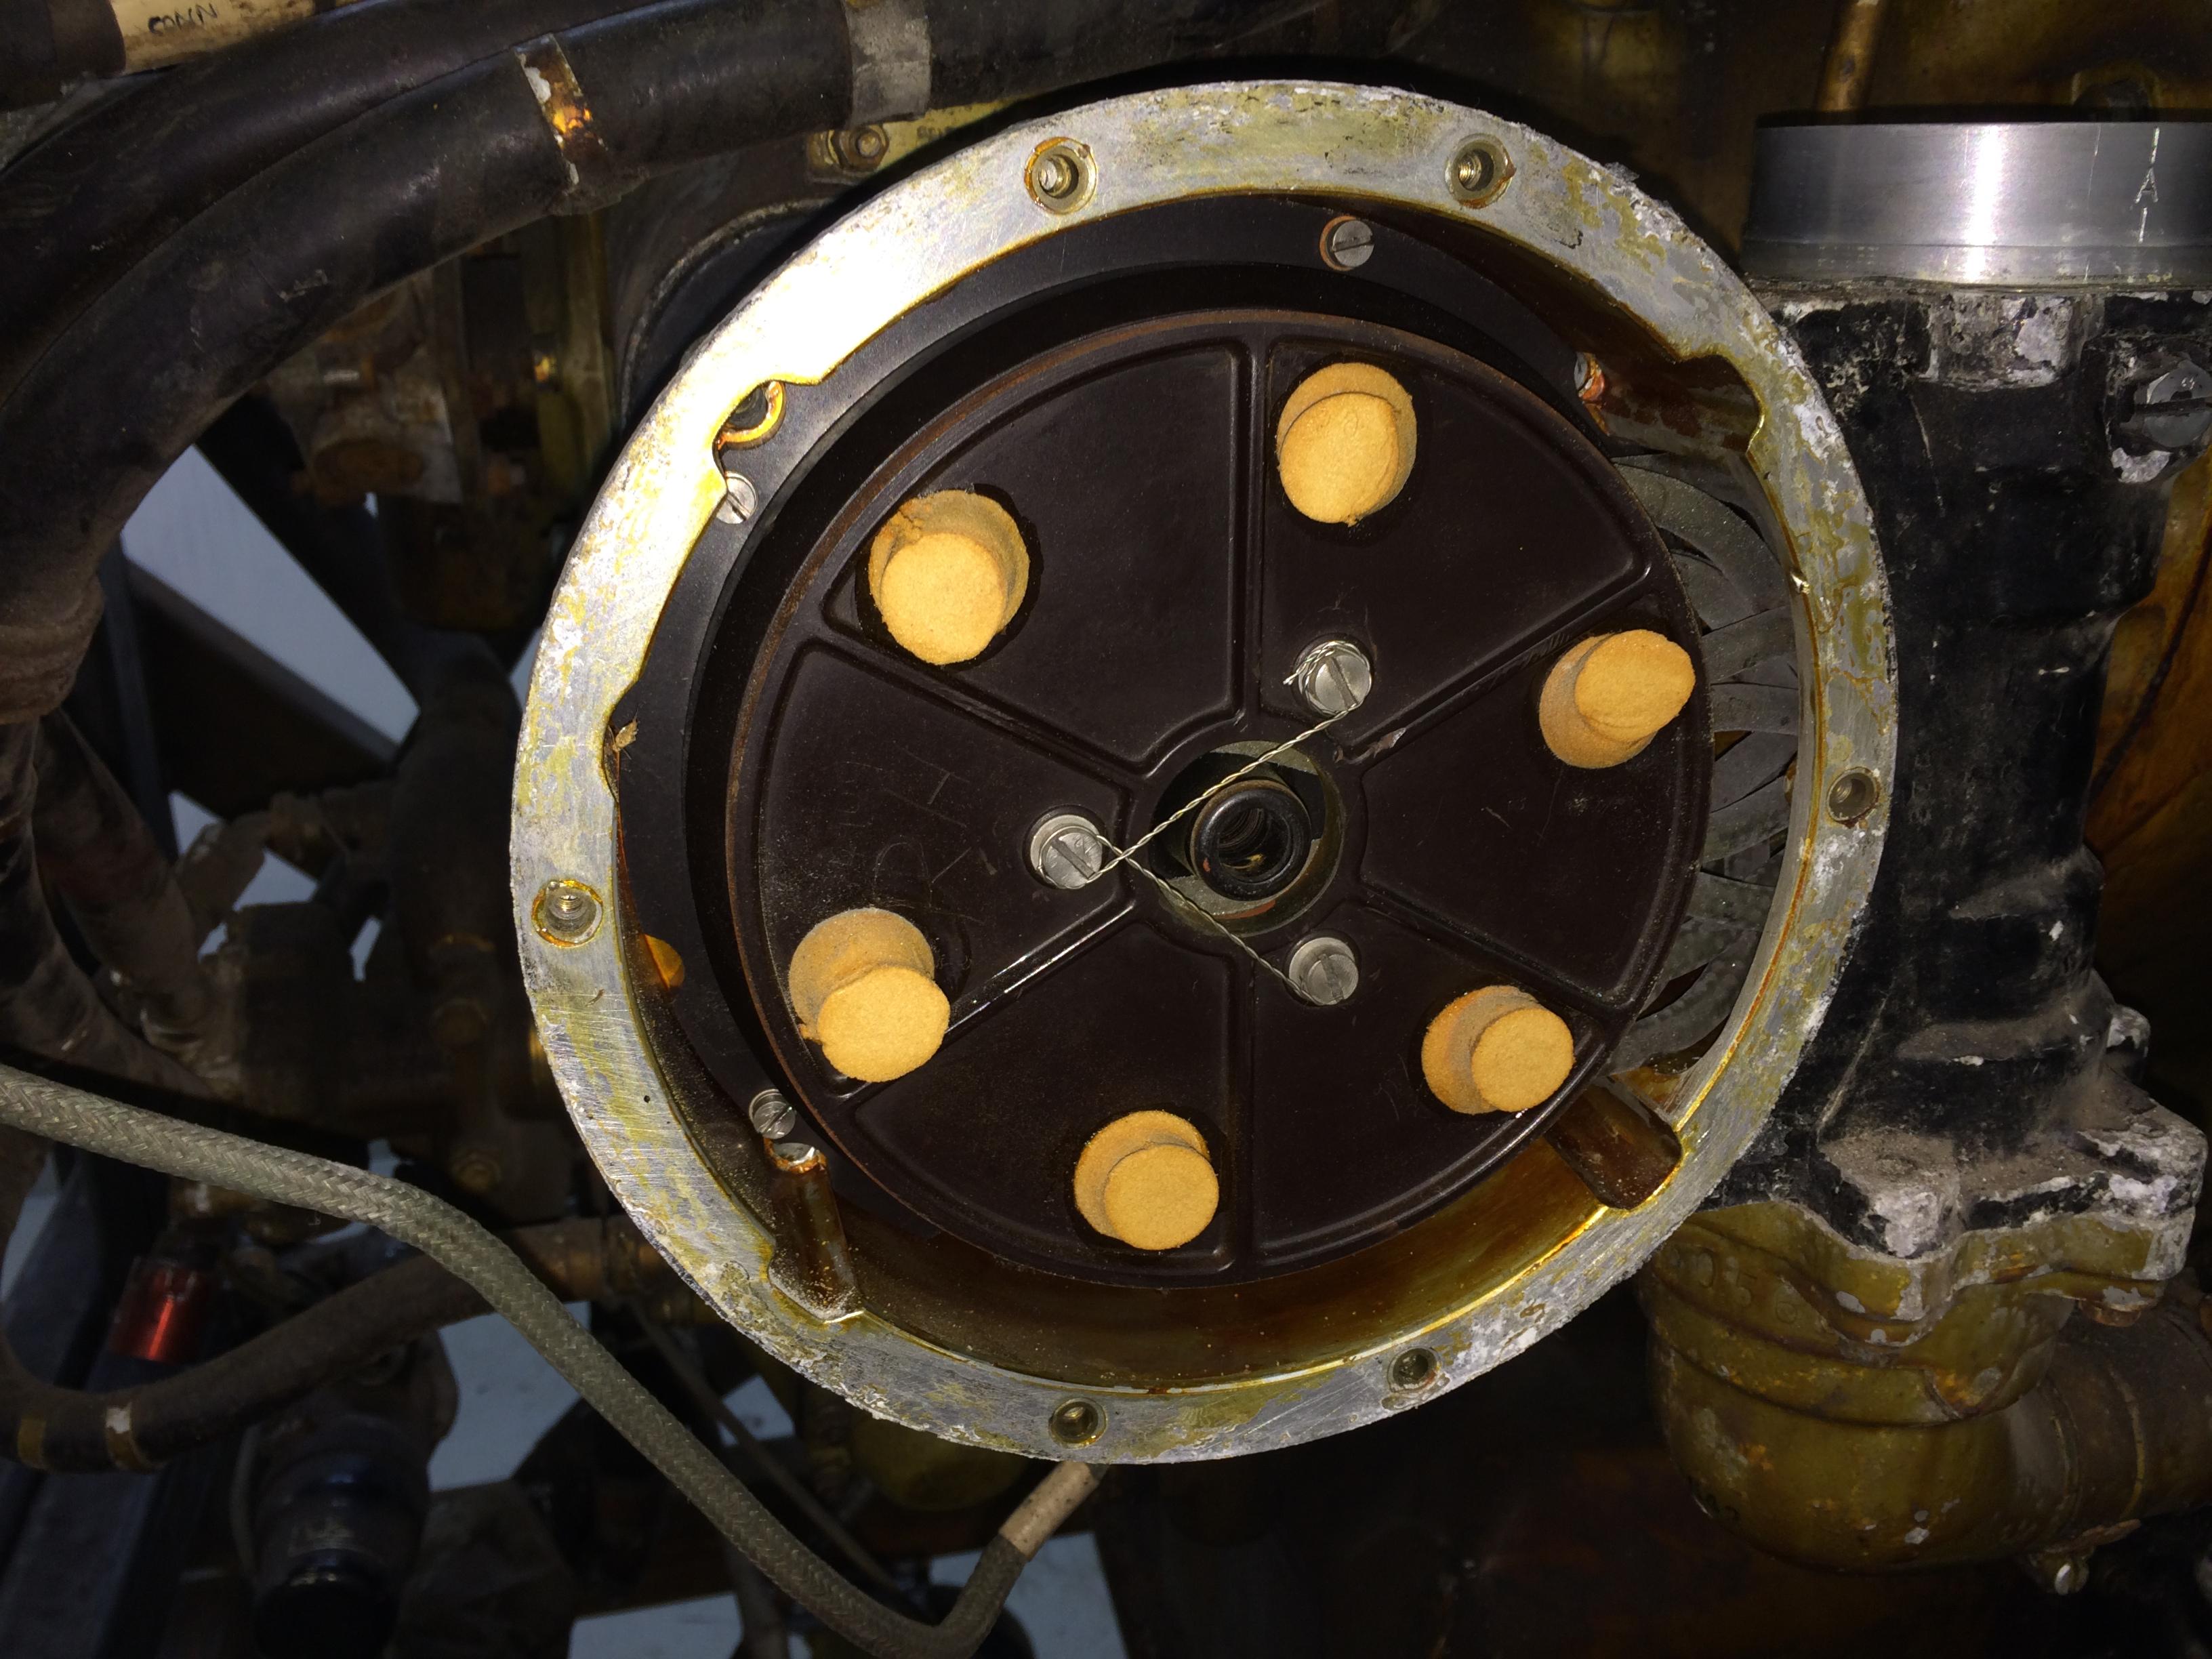
Also we had a look inside the magnetos , they are absolutely in perfect condition.

24 Nov 002 24 Nov 001


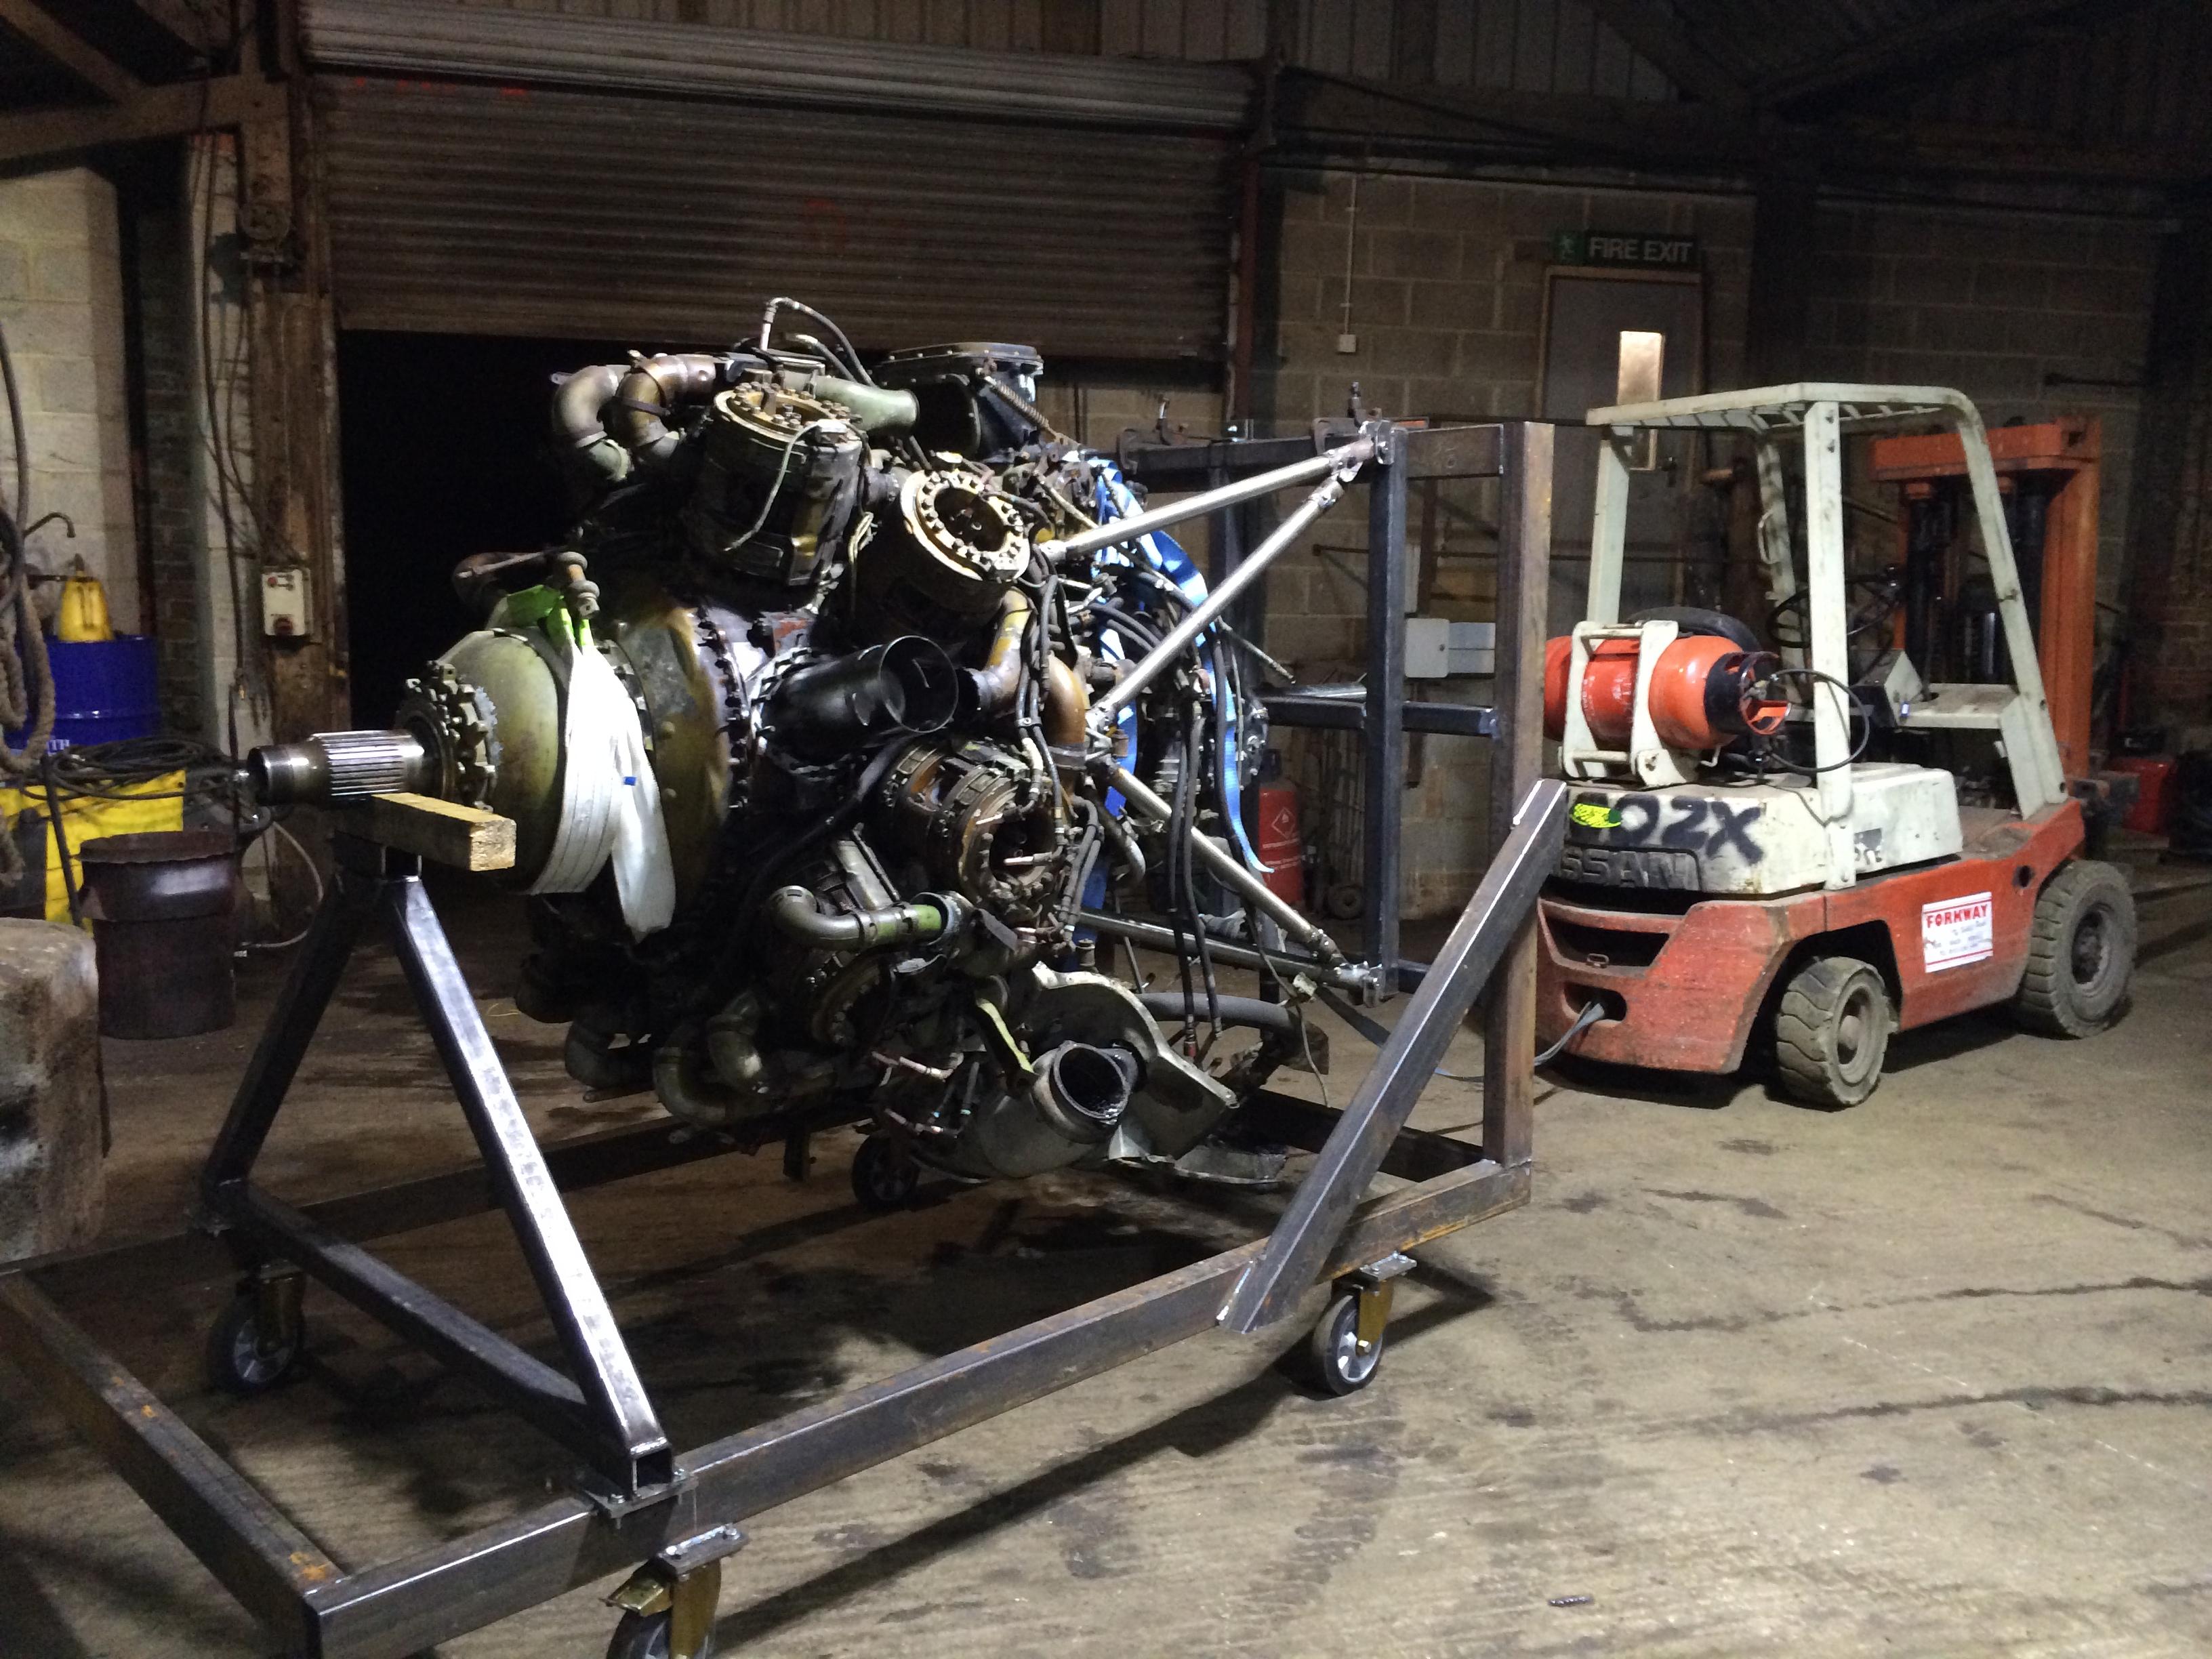
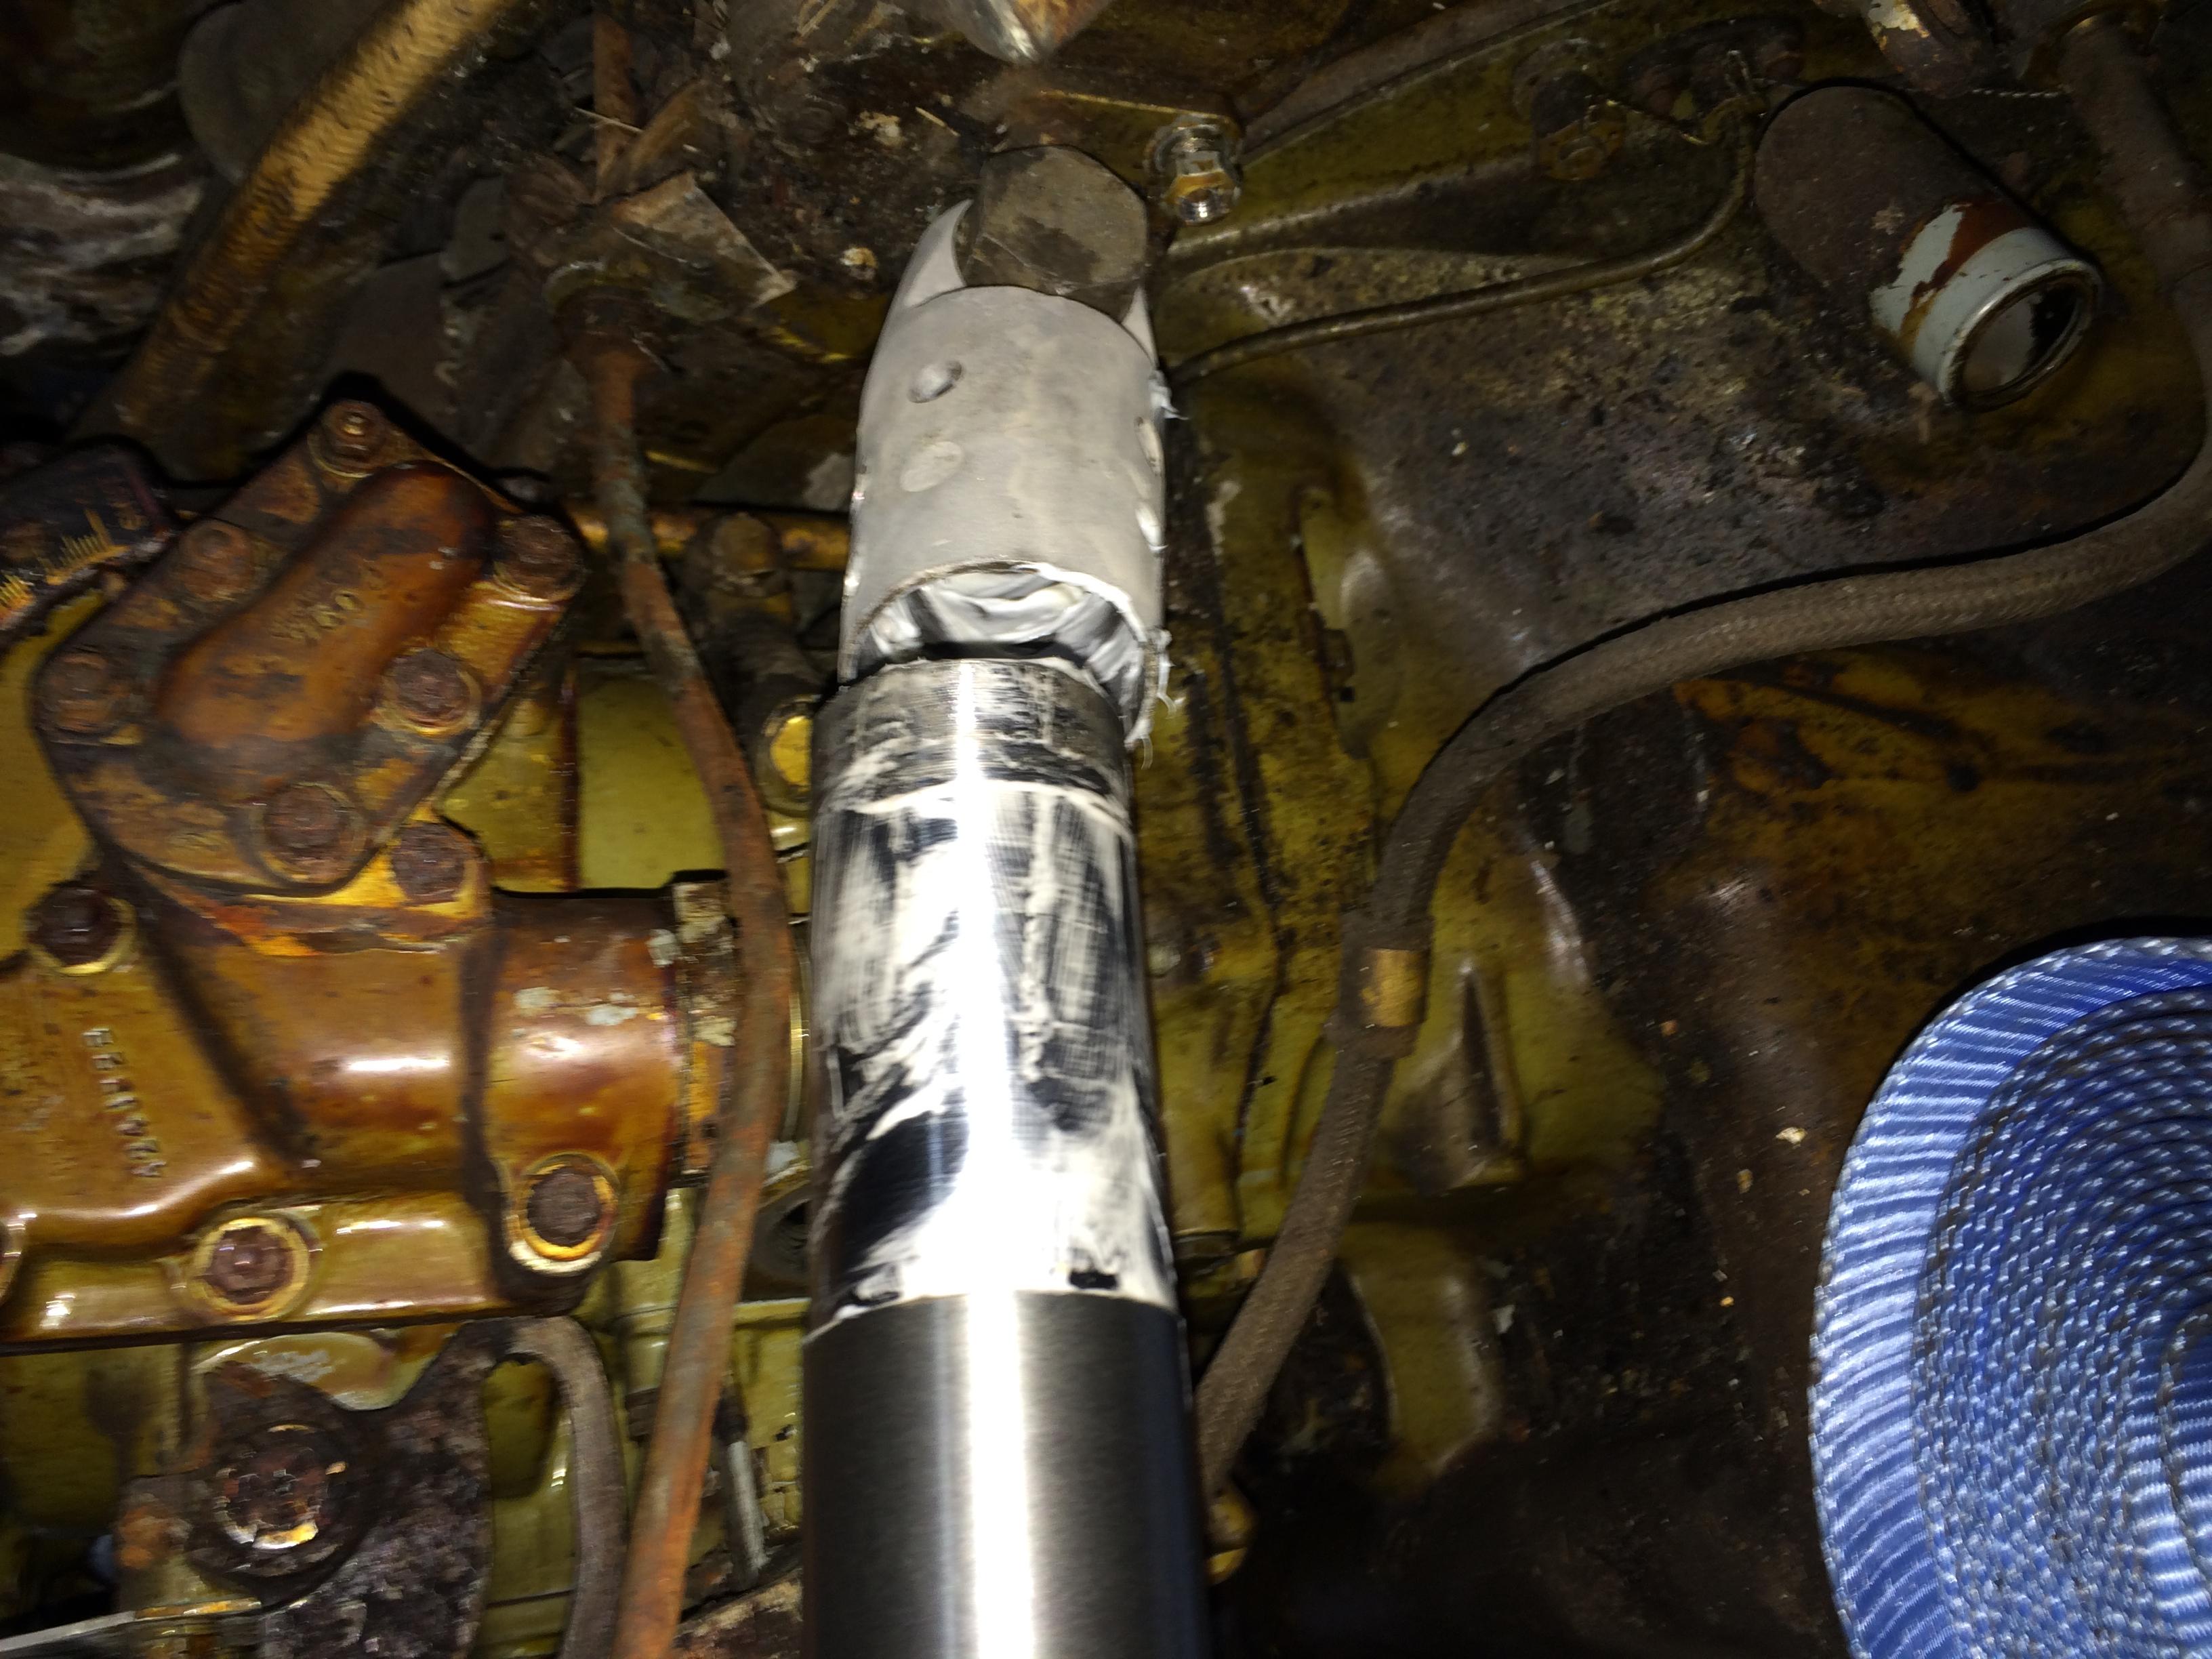
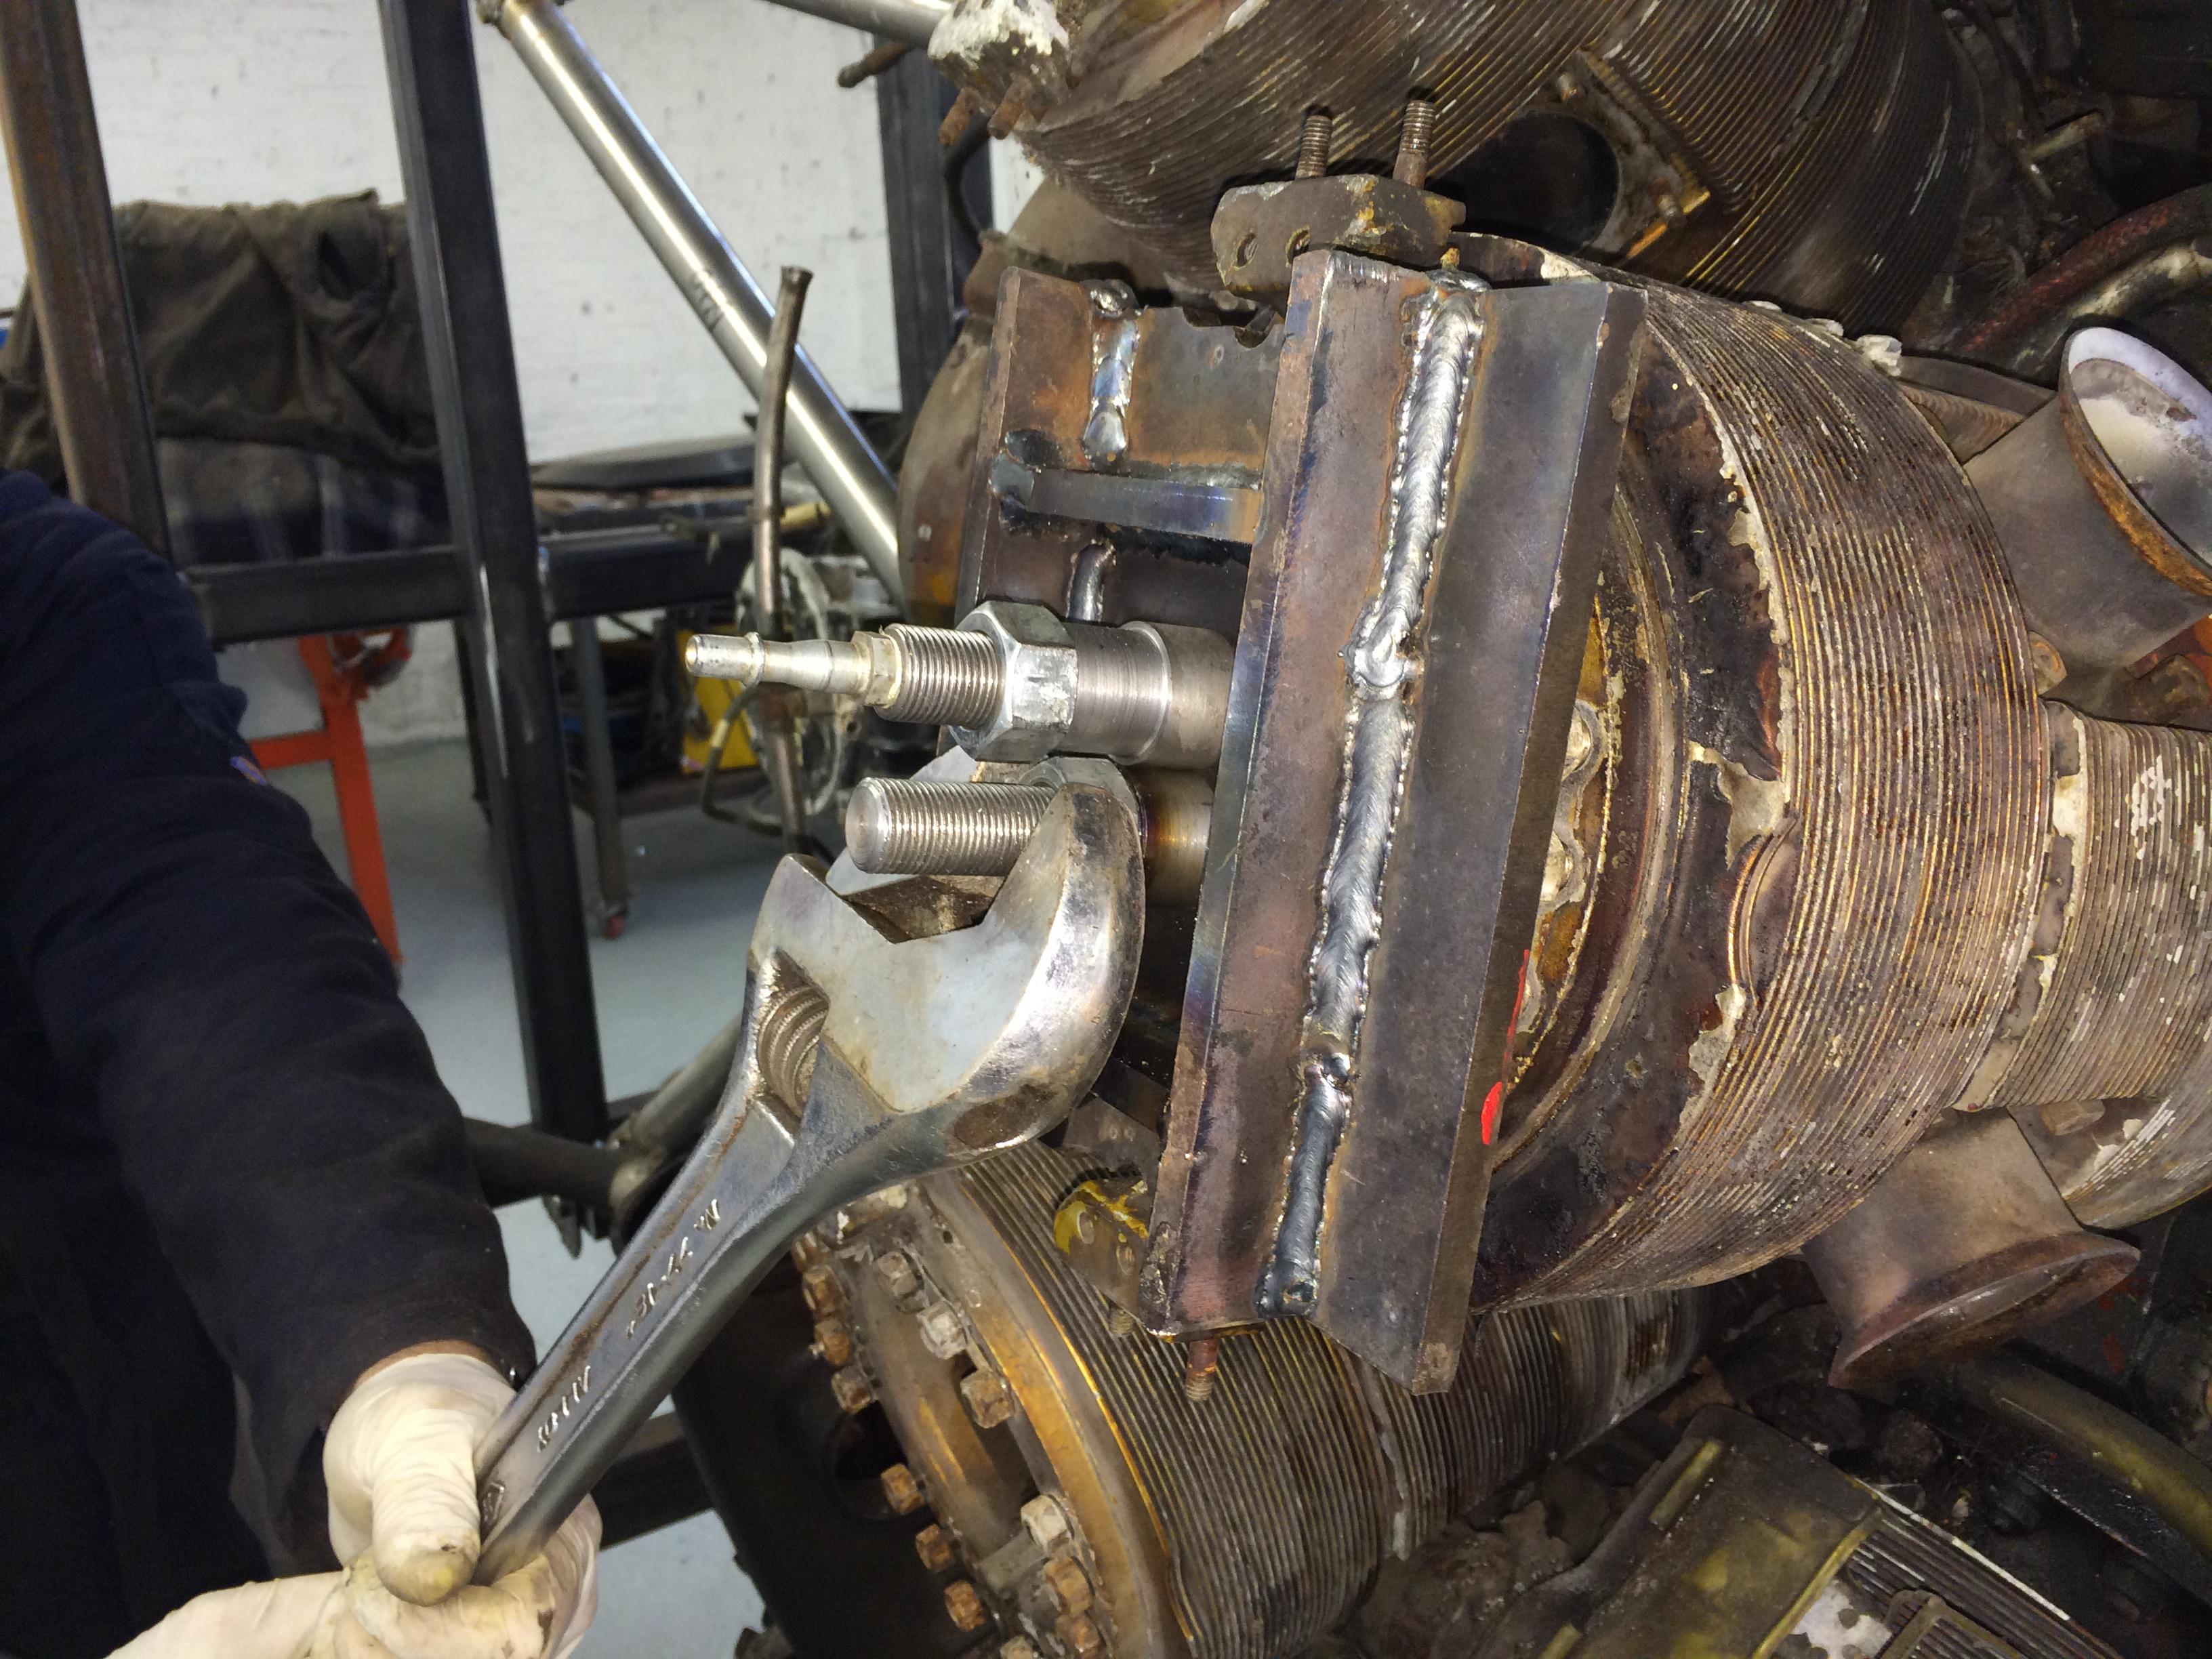
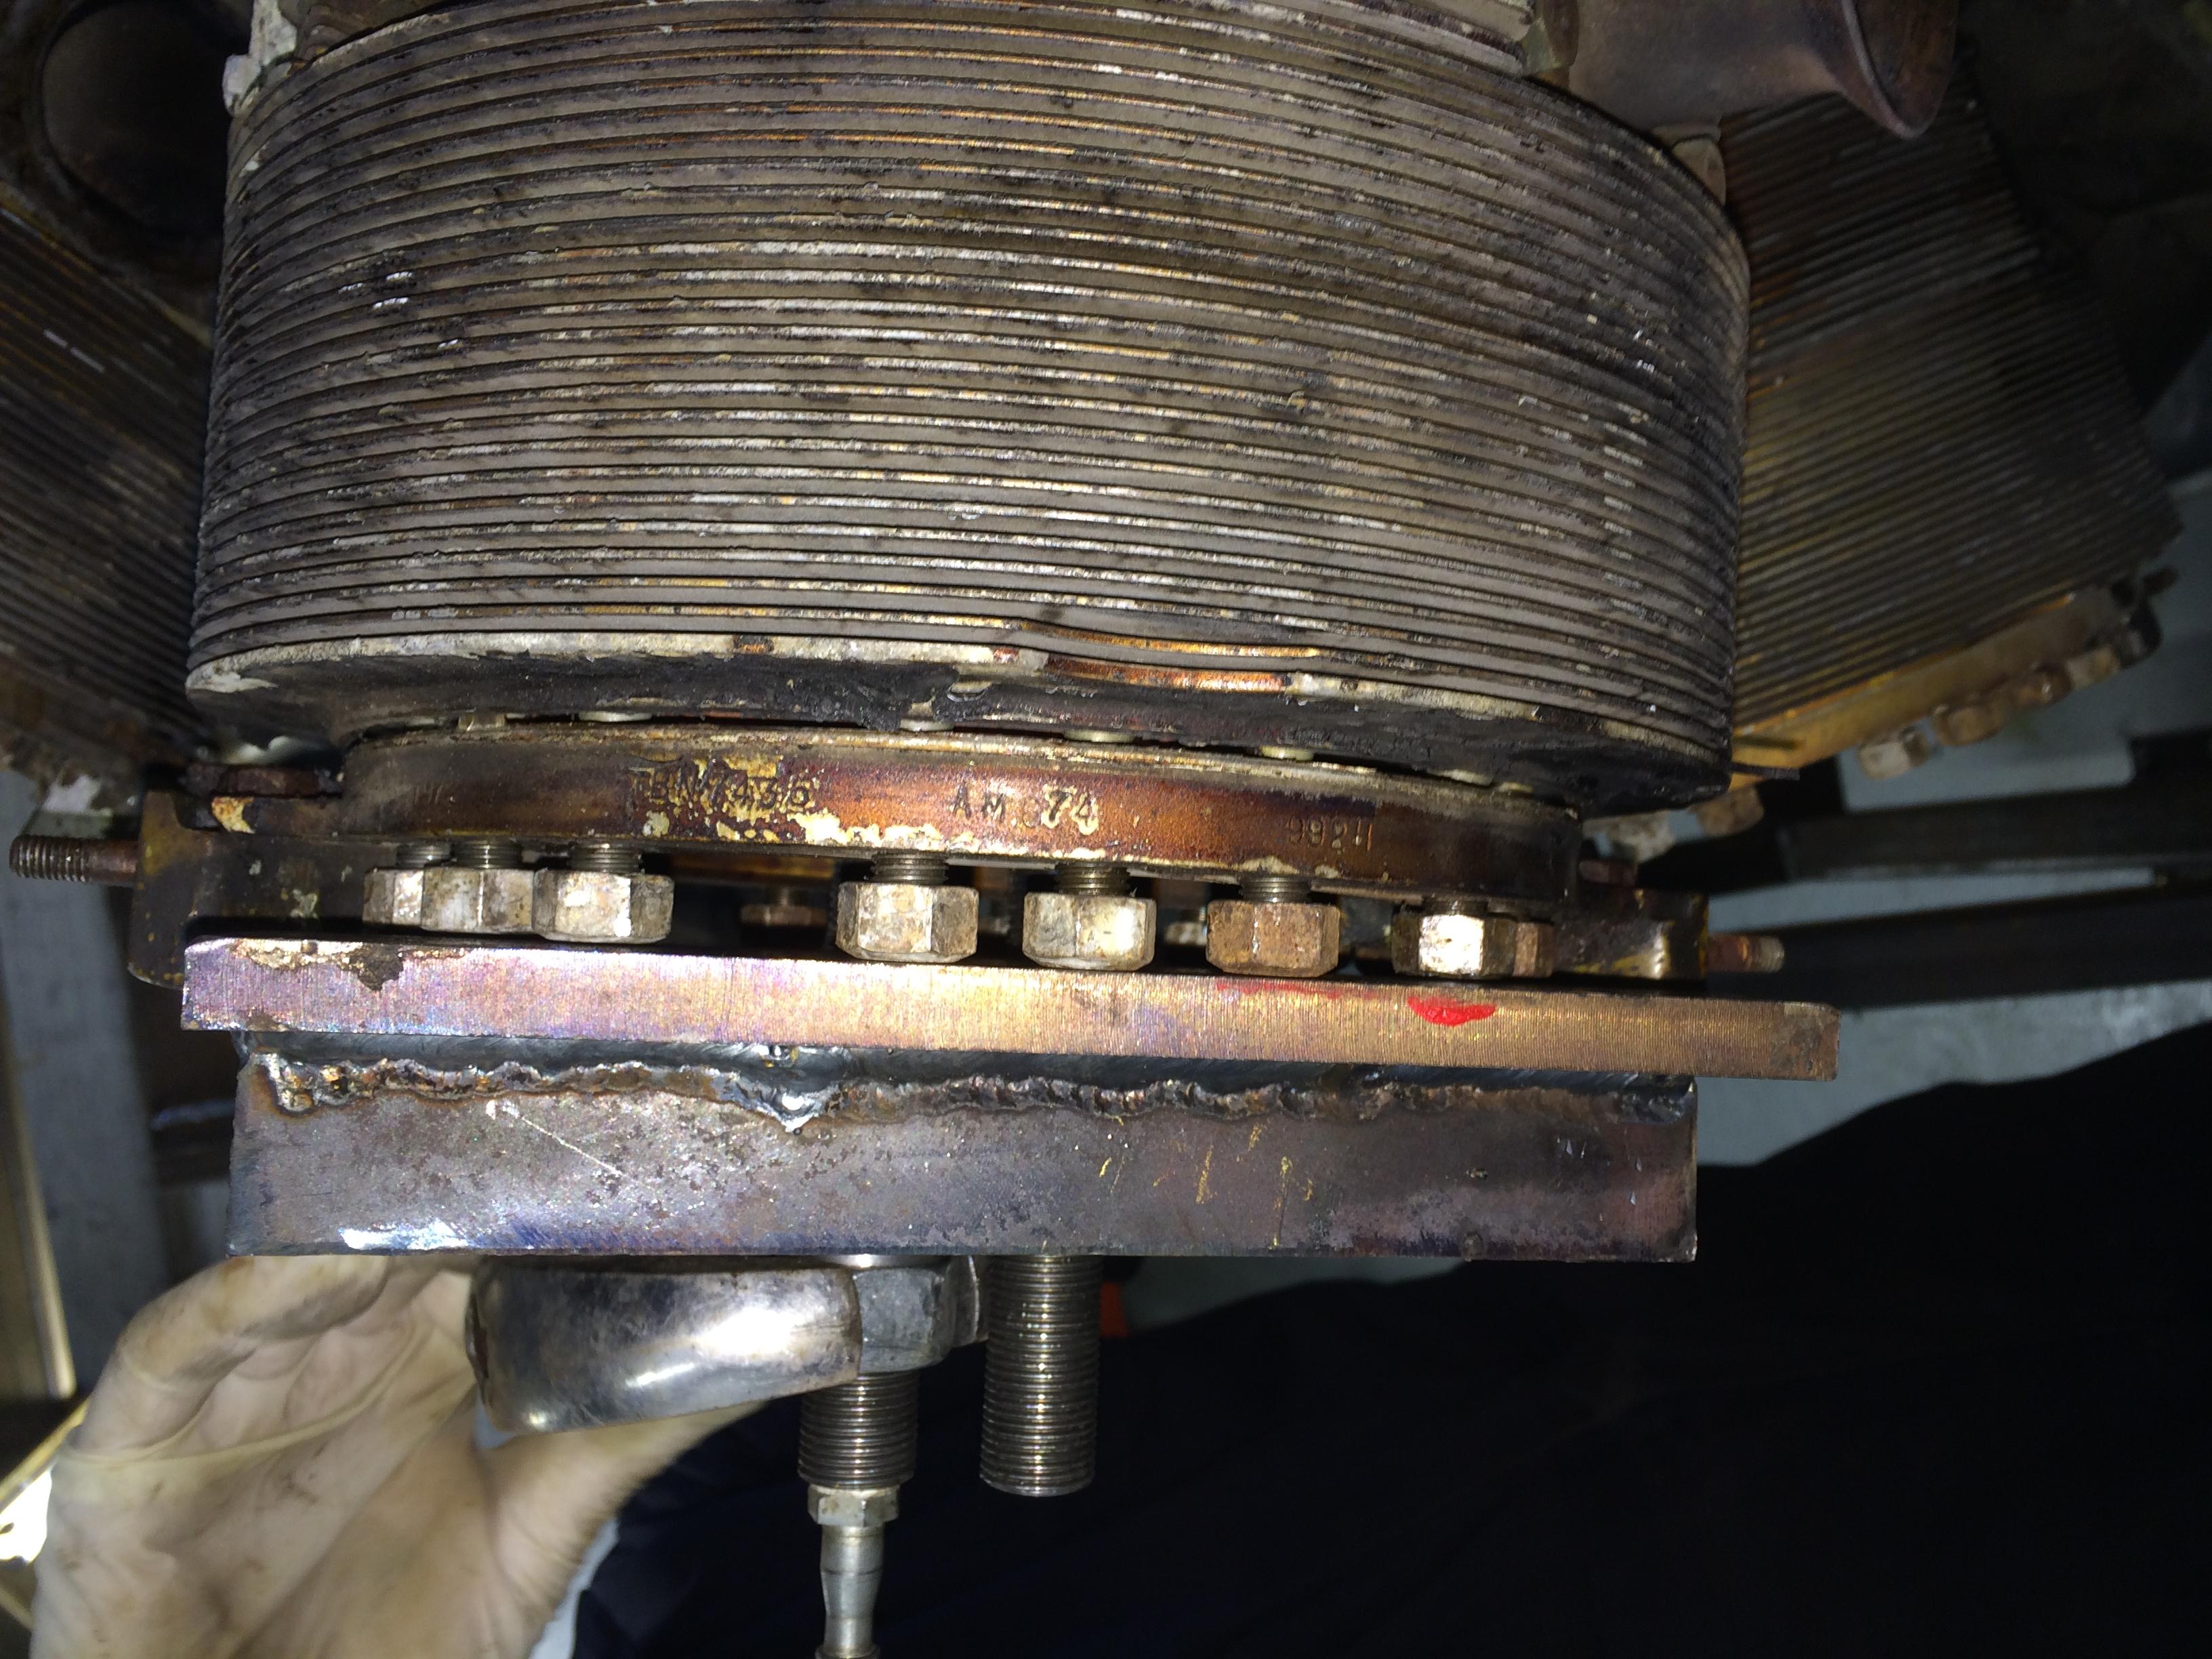
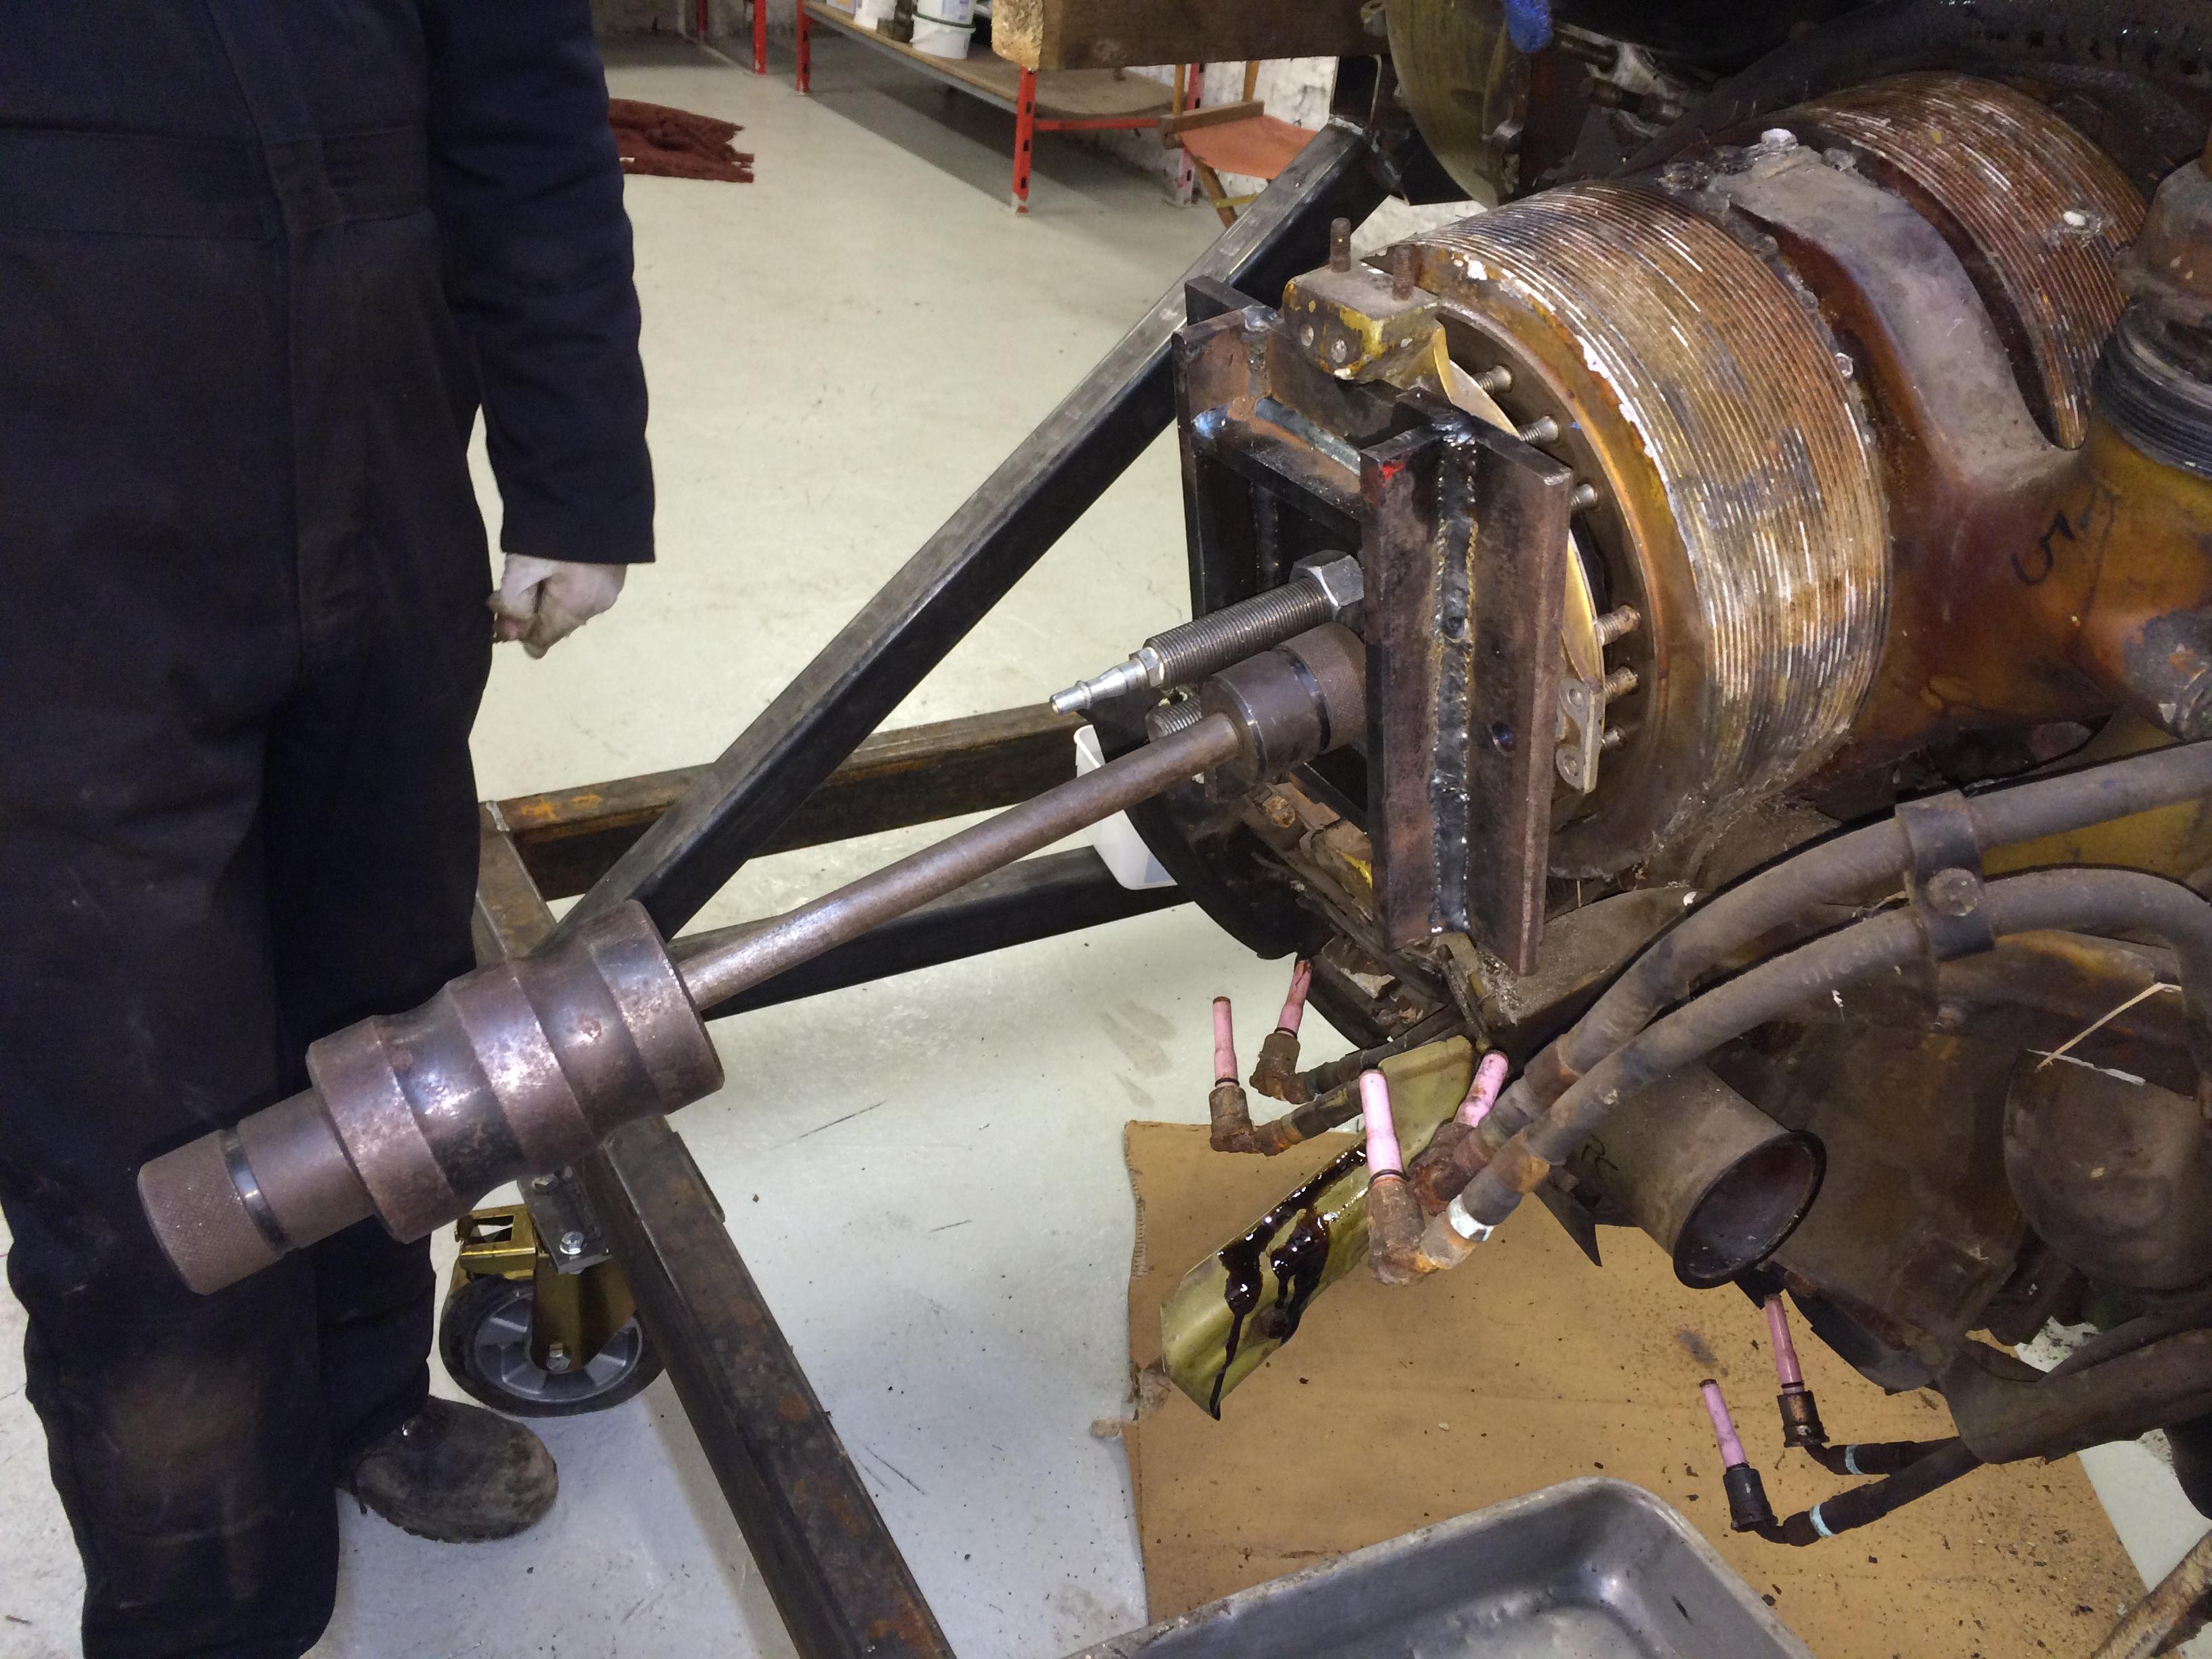
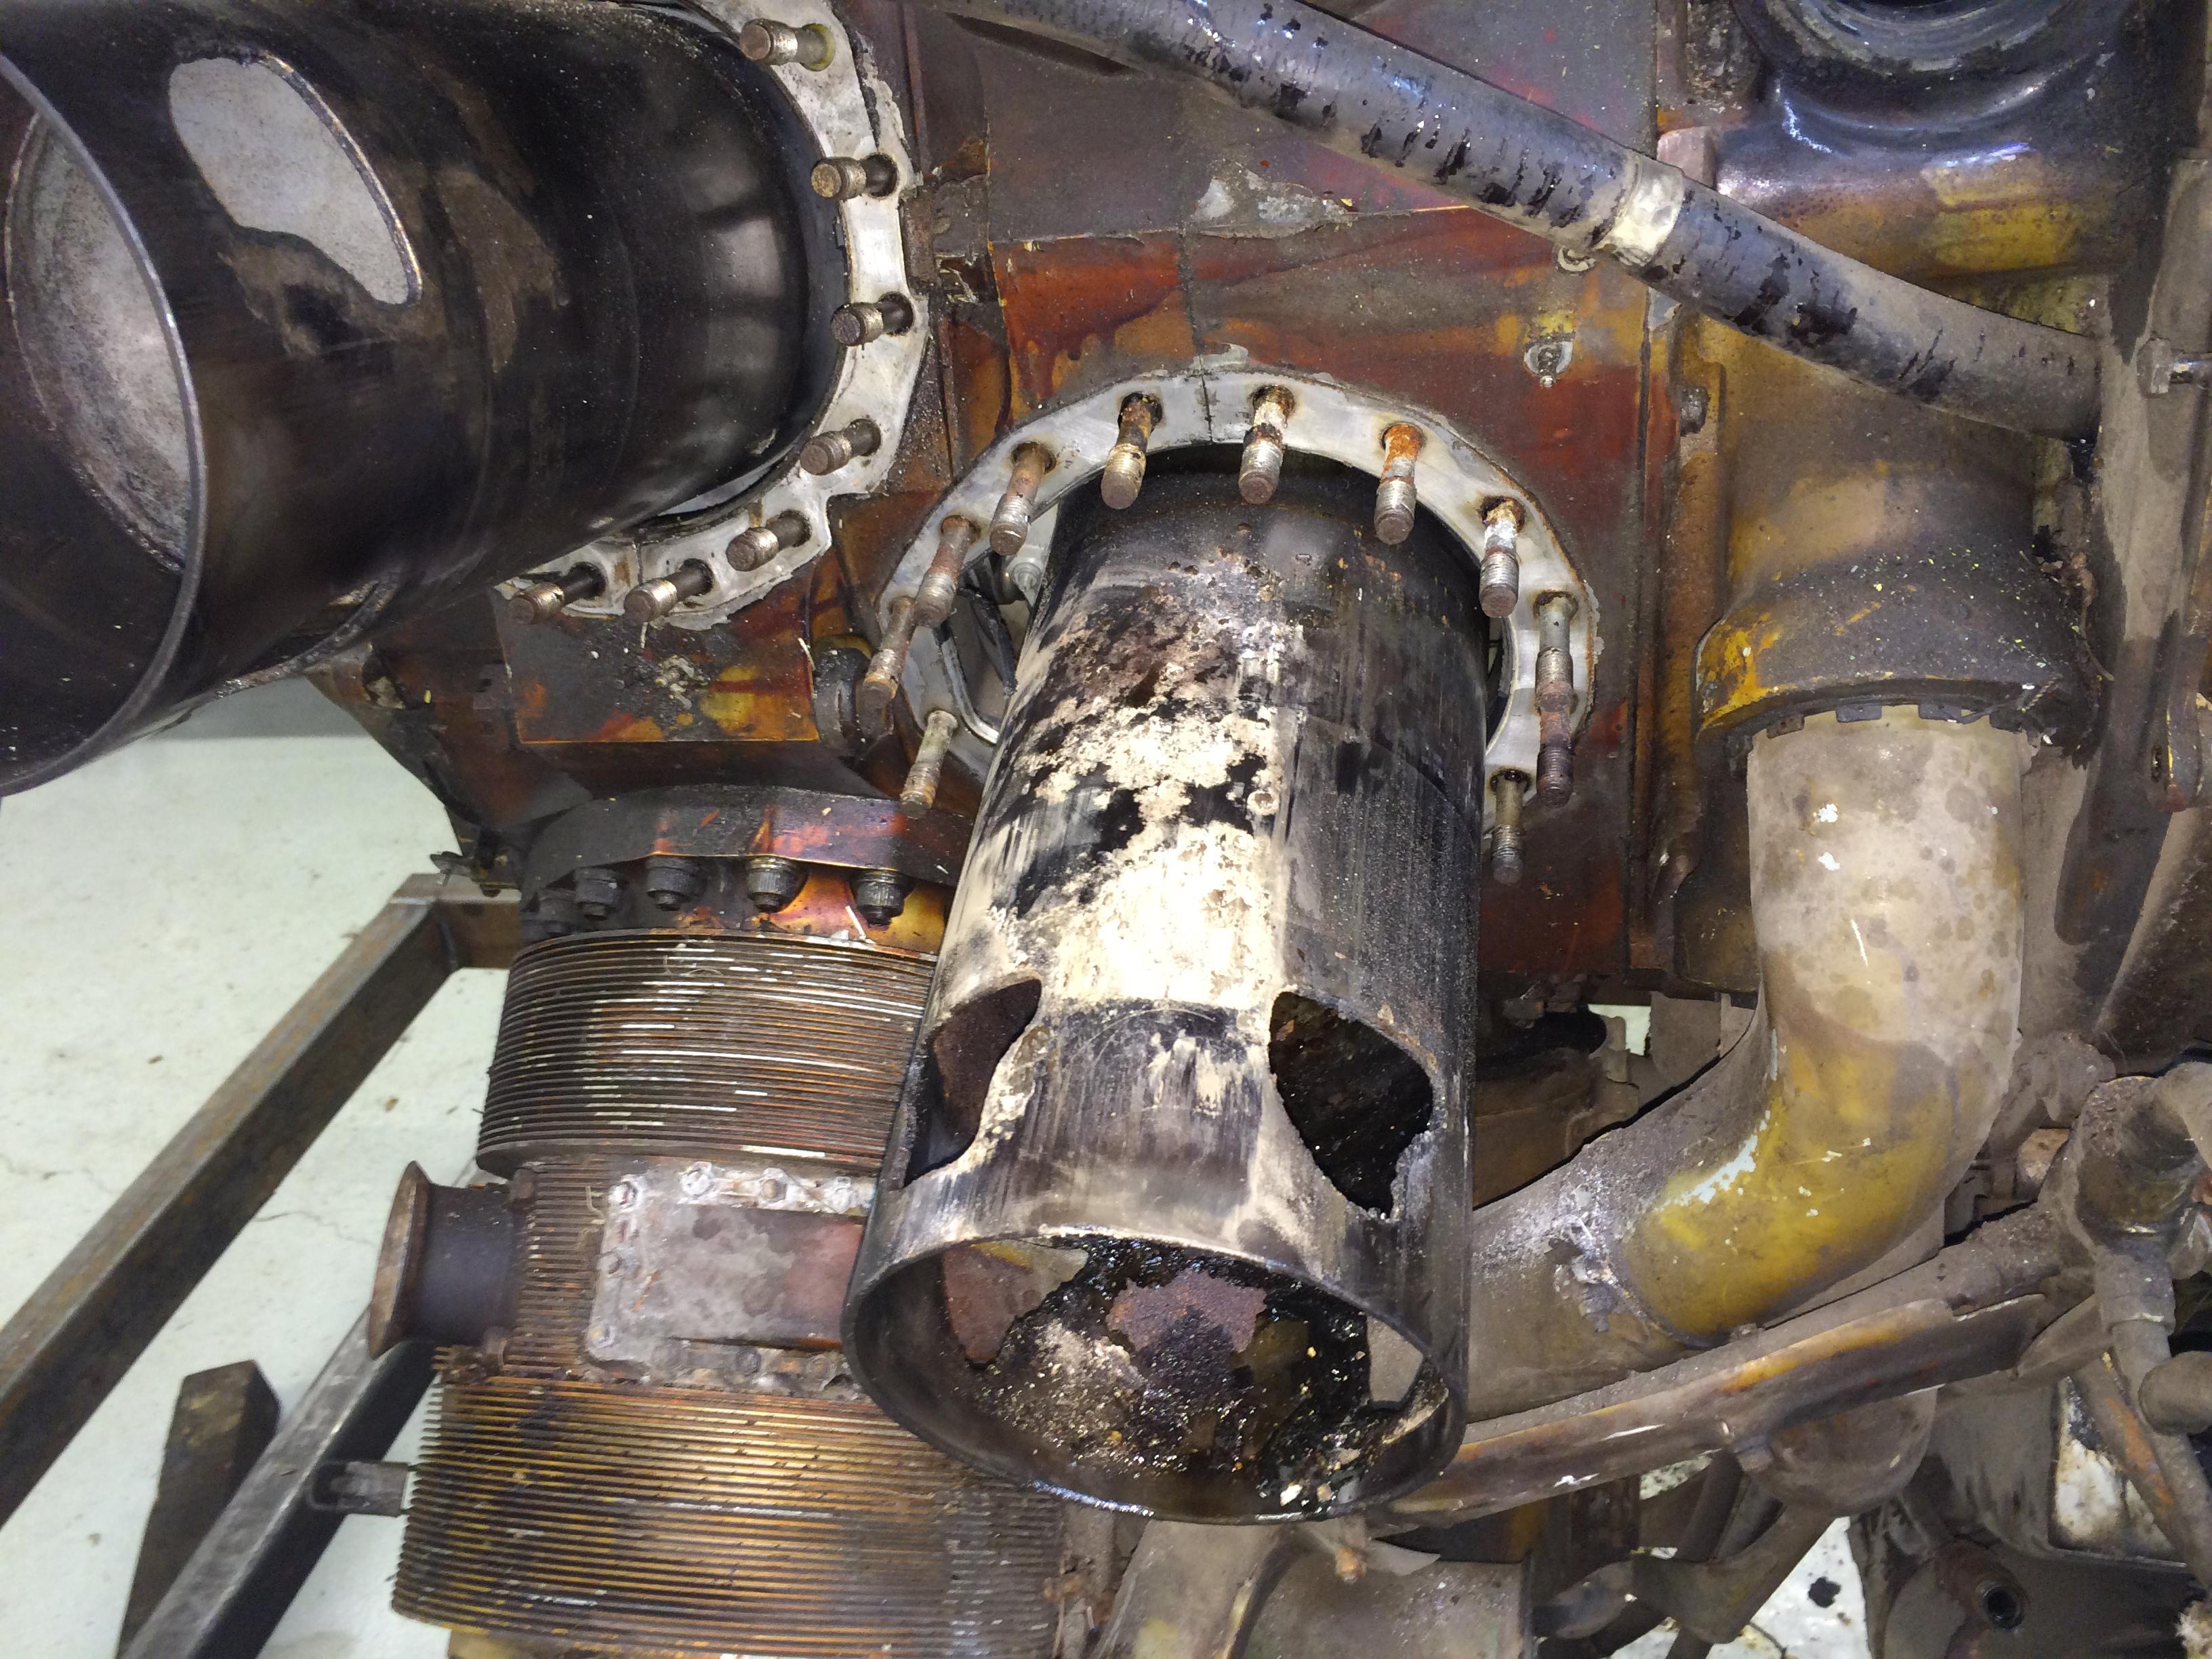
We then pulled off No.5 Cylinder, even though it looks bad, it came of with little effort, just used the jack once to brake the hold on the rings then used the 3/4″ UNF threaded rod to tease it off.

24 Nov 008 24 Nov 009


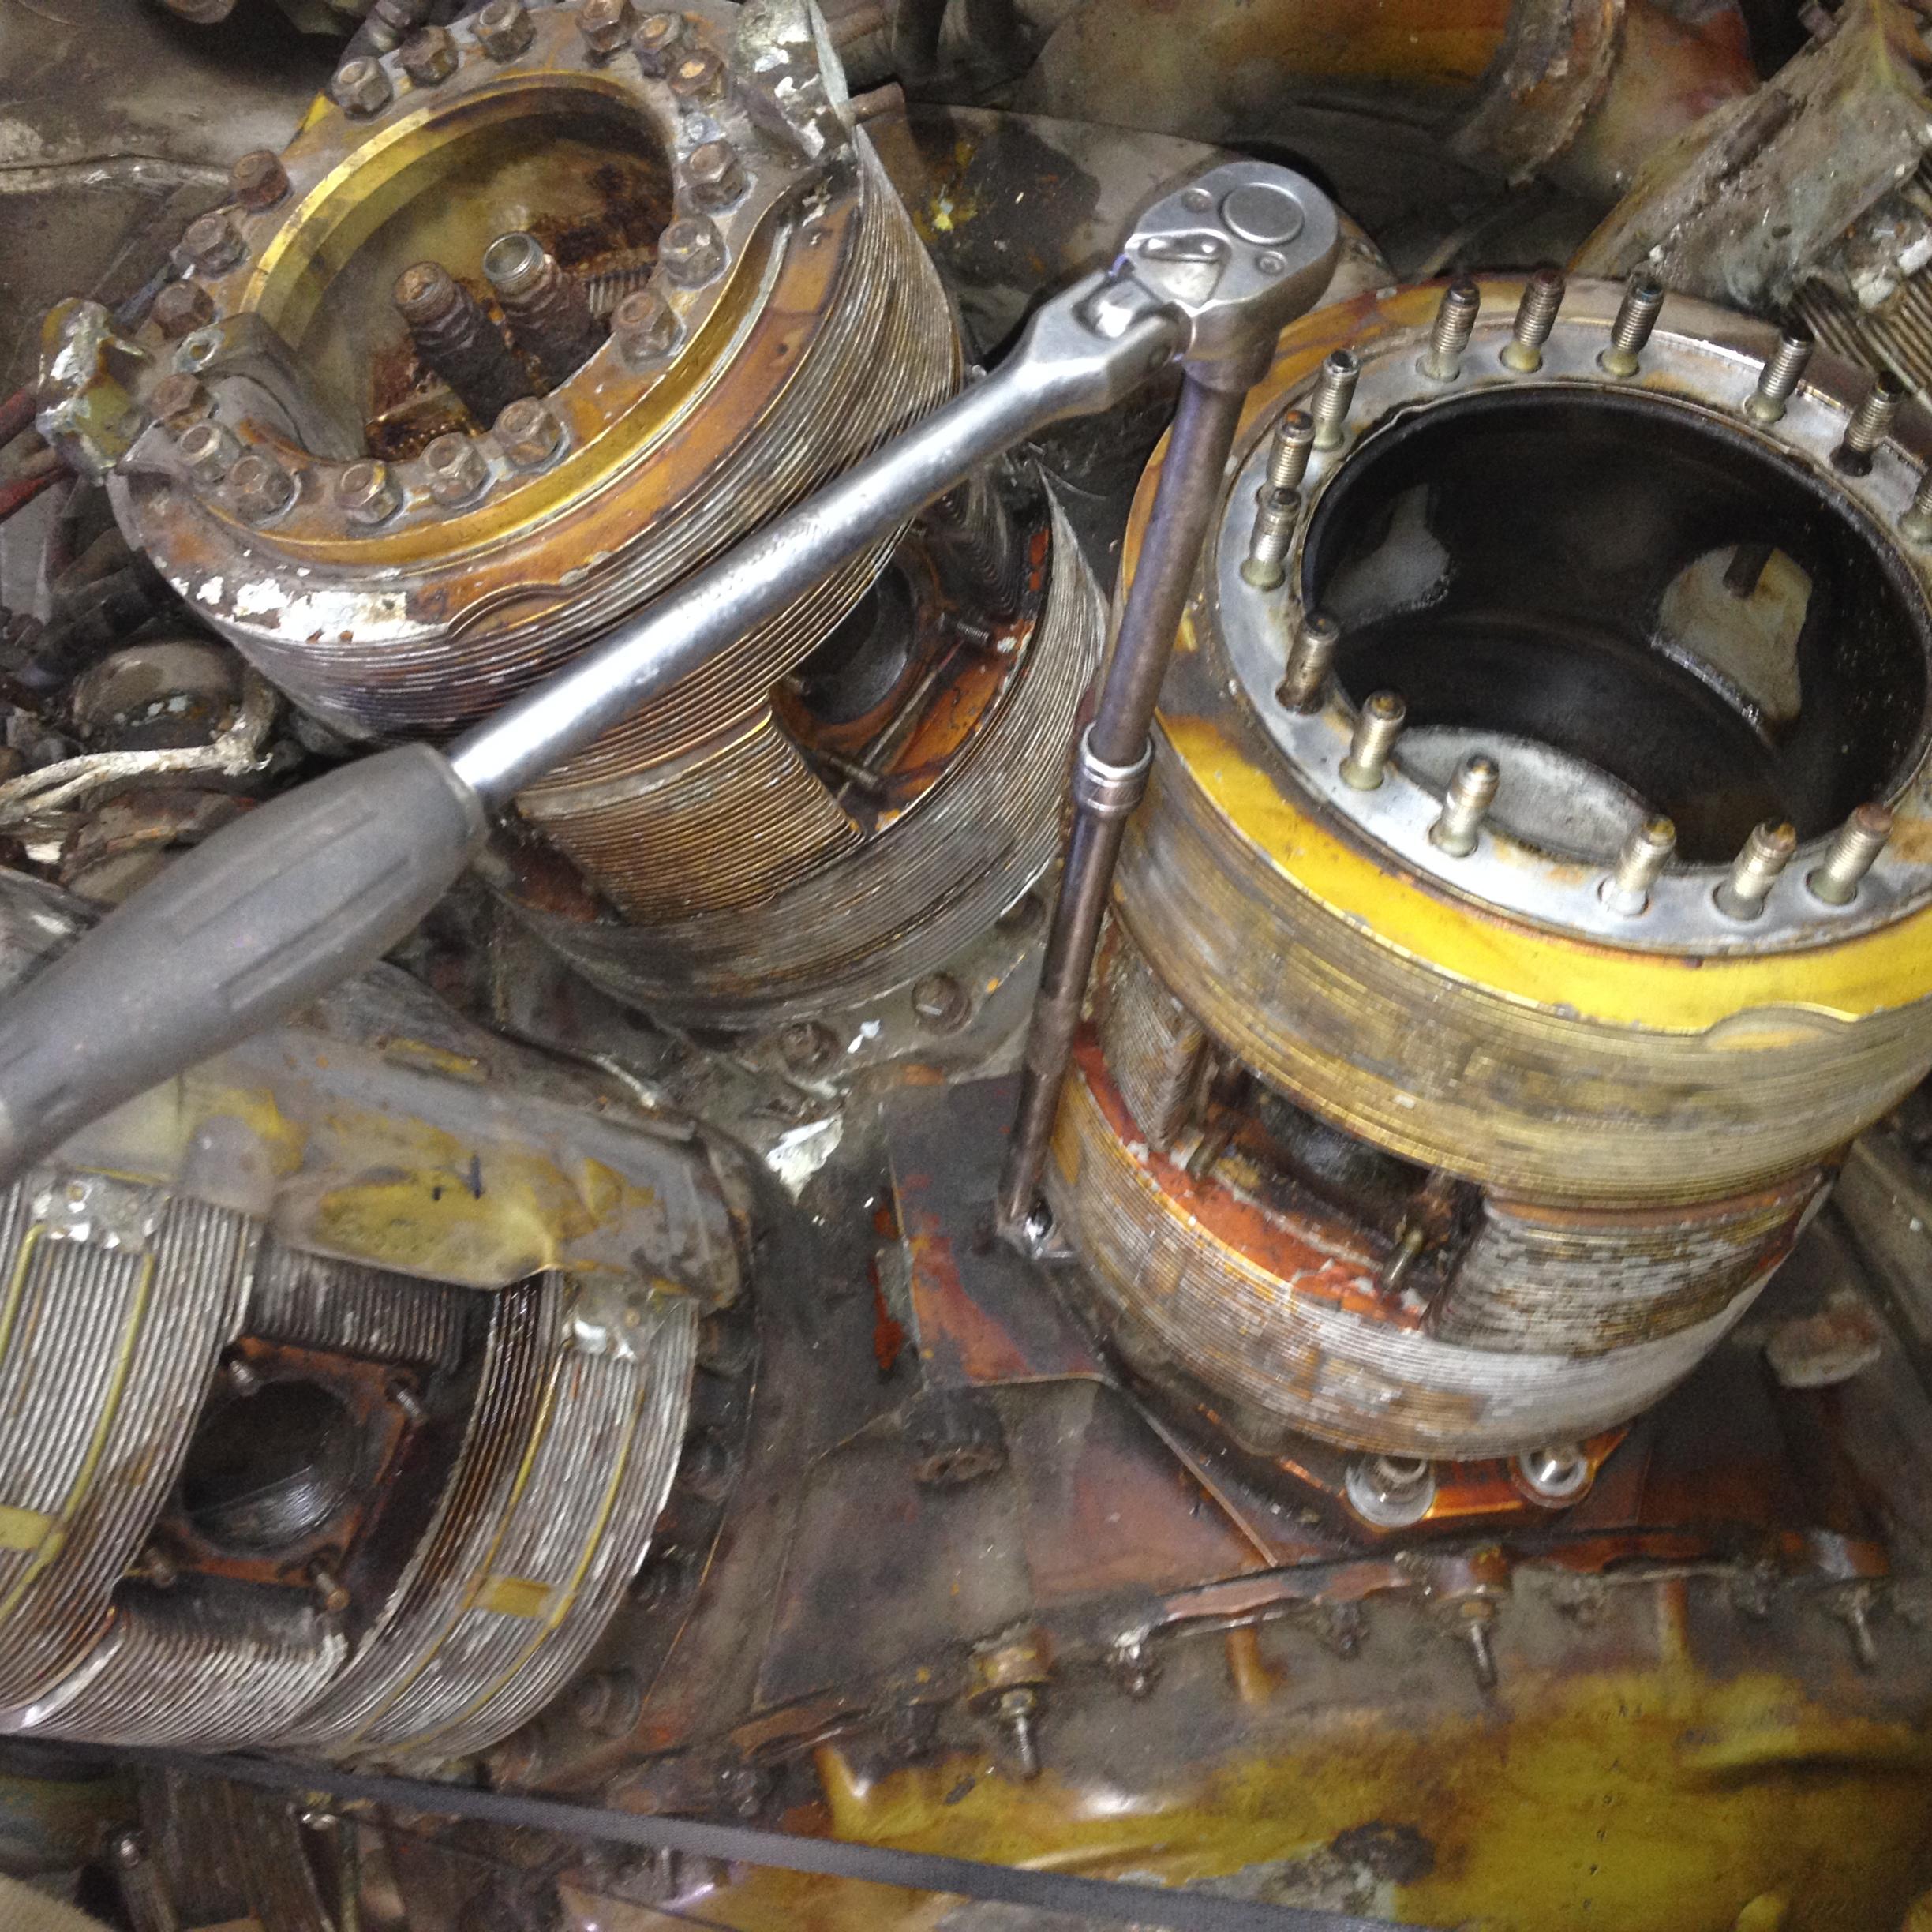
Cylinders 11,12 and 13 ready to be removed.

24 Nov 010


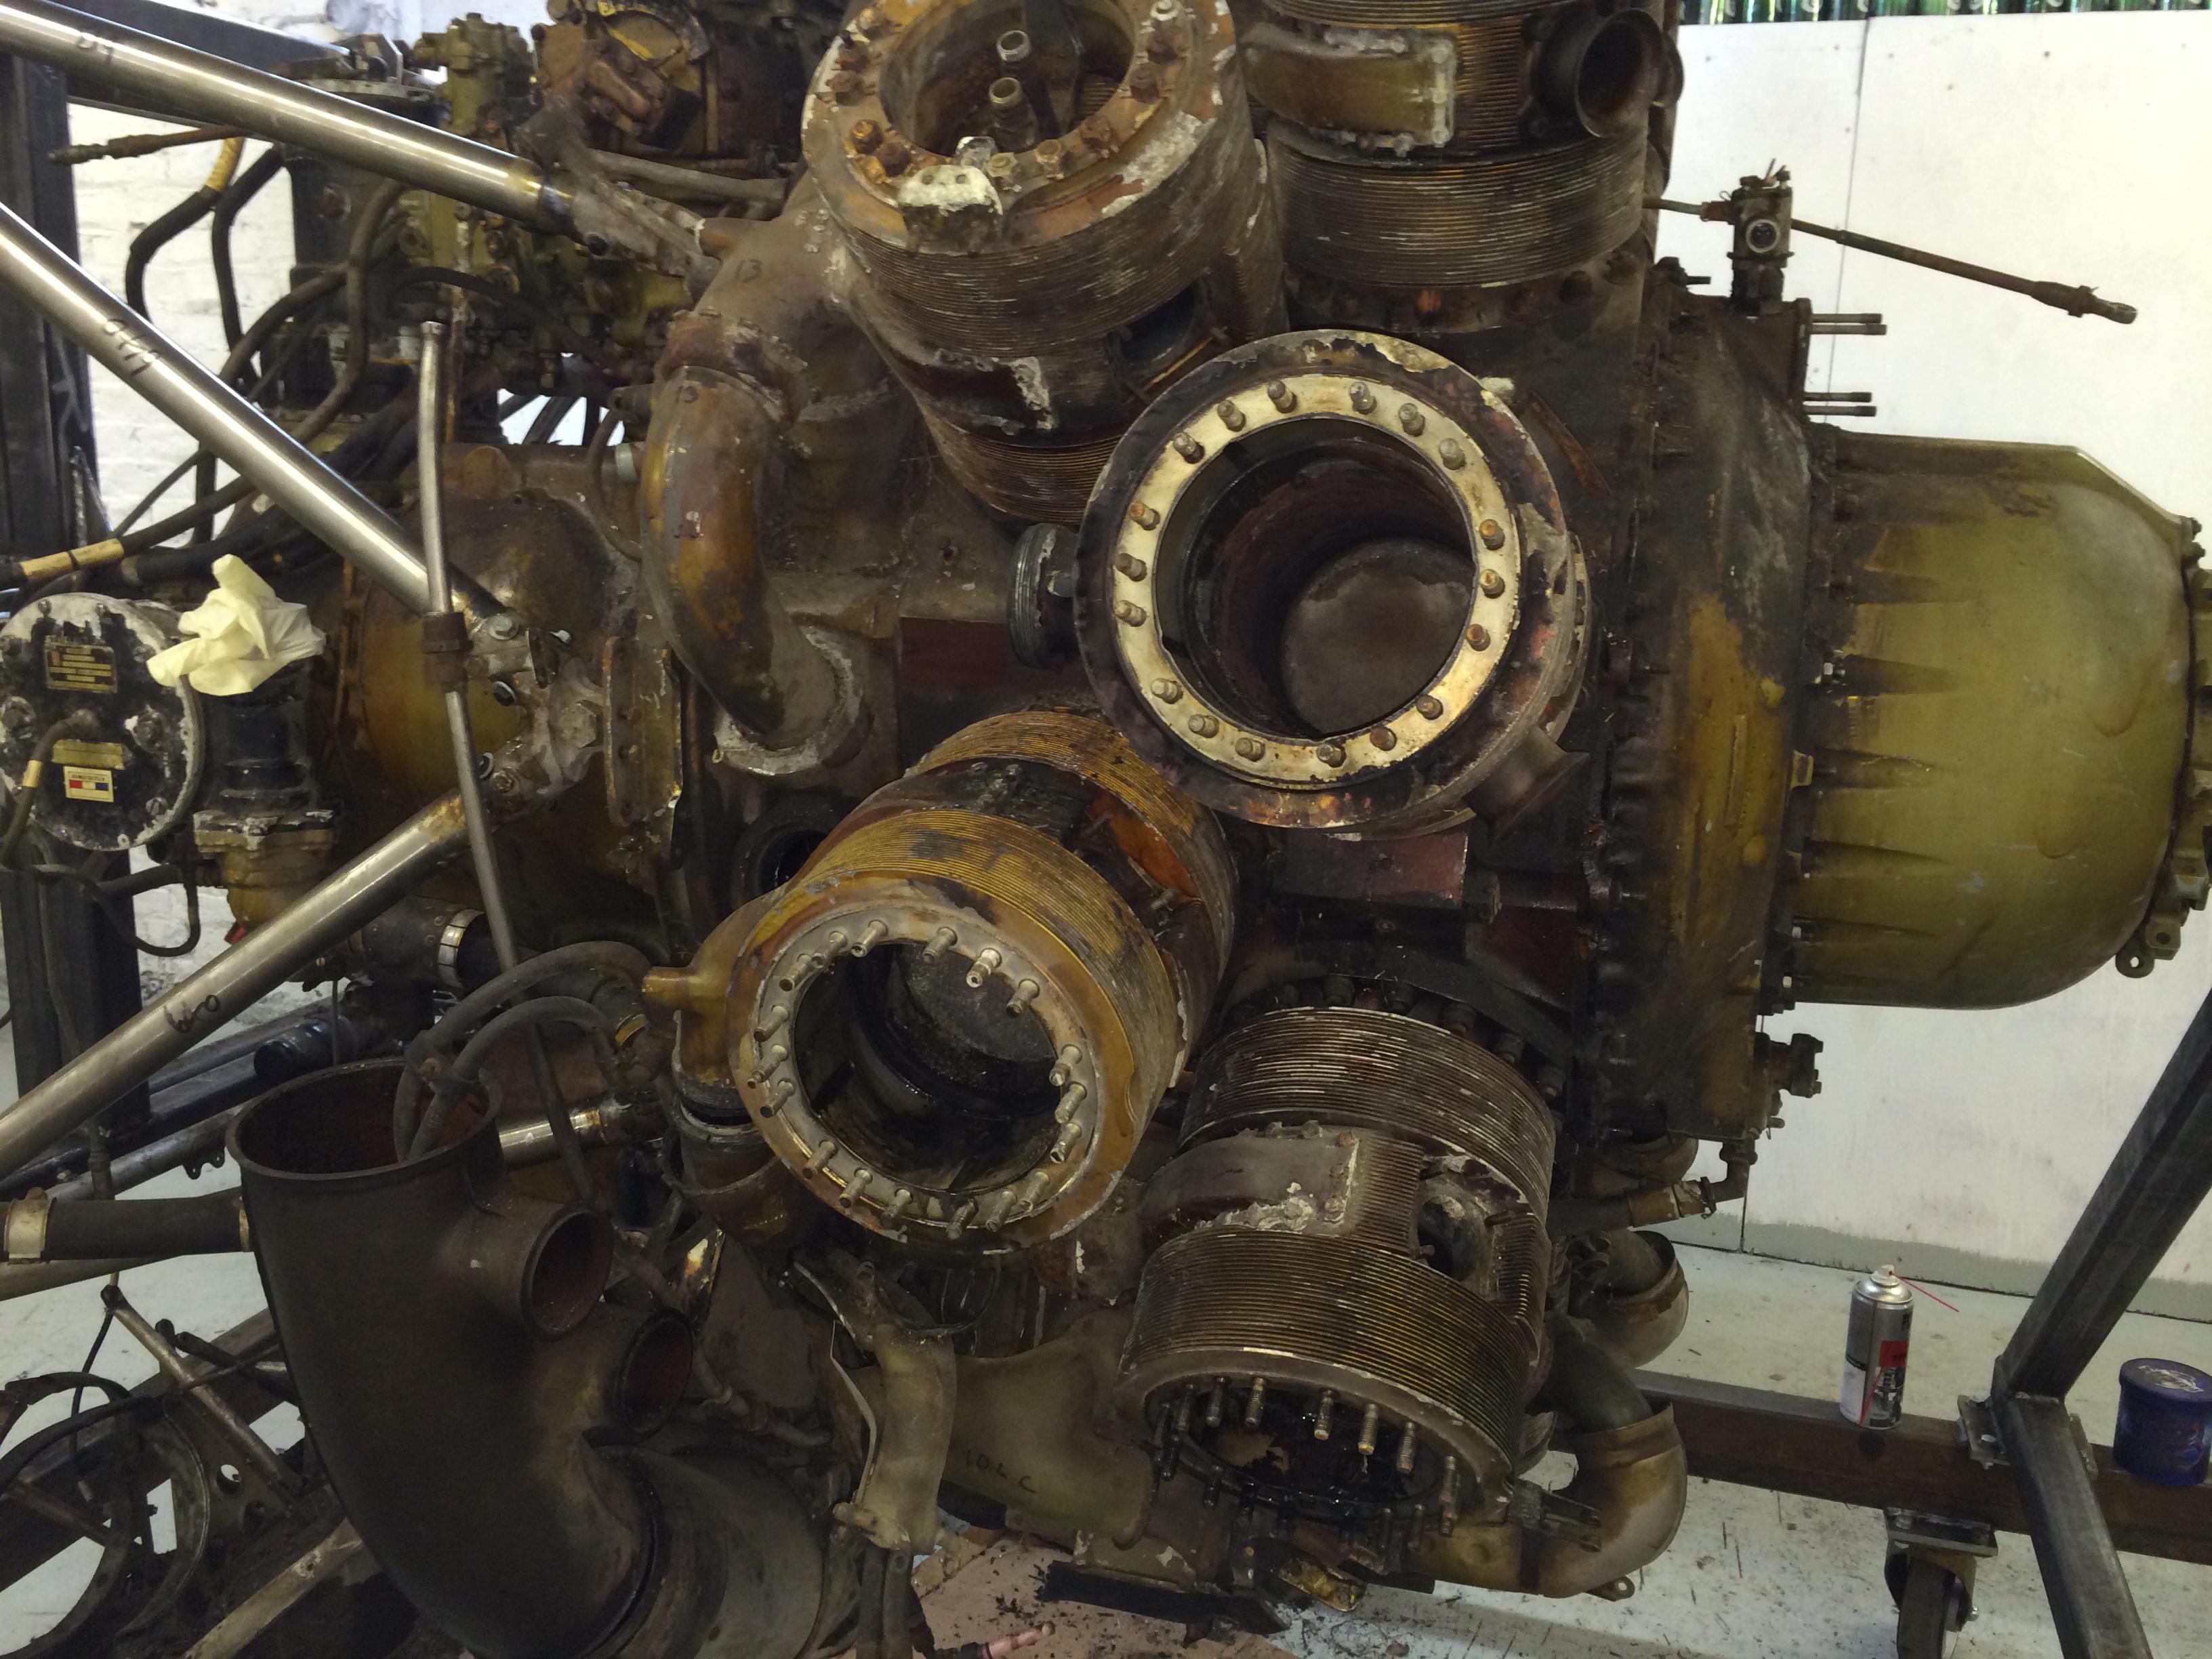
Only a few more to go!

Engine Stand

For us to strip down the 264 we decided to make a engine stand that would allow us to rotate the engine through 360′.First we bought some castors rated at 750 kg’s each, then make some mounting plates for them.castor

Next we fabricated the front frame to attach to the engine mount and add a 3″ bush to allow us to rotate the engine.

front framebush 1hole cutterfront frame 2 front frame2a

Next we test fit the frame to the main engine stand to make sure we have got our clearances  worked out right.

front + back frame1front + back frame 2 front + back frame 3


All seems good, so lets pop the old Bristol On!

test fit 3 test fit 2

We then fabricated an “A” frame support for the front of the engine ready for its short trip up into the top shed.

frame + a frame

With the aid of the Kawasaki Quad and forklift truck and Big “G”  (AKA Graham Potter) we move the engine into the top shed.

ramp 2 ramp 1

top shed 1It was a tight squeeze but she made it.

Big G asking Pete, where the hell do you start dismantling!

Big G where do you start


Every project should have a beer wall!

beer wall

I think we may need to address the size of the prop we have acquired!

Small prop

Here we are having a small refreshment to re-hydrate!

crew + big G


Engine Mount Rebuild

The engine mount was quite badly damaged so we stripped it down and fabricated new tubes.

mount 1 

One side done.

mount 2

The original tubes as well as pinned they wear soldered so we did the same.

mount 3

After making the new mount we mounted it onto the first part of our engine frame we are making, which will allow us to rotate the engine to make it easier to dismantle. We used a laser to align every thing up.

mount 5mount 6mount 7mount 8 The last job to do on the mount was to fabricate a replacement pin mount for one that had been hacked off when the engine was removed from the plane.

mount 4

In between doing these jobs we have re-roofed our top shed ready for the Bristol’s to be moved in once the maintenance frame is completed, just not enough hours in a day!

shed 2shed 1a


No4 Cylinder Removal

Base Nut

The first problem to over come to remove cylinder, is the 40 point spline nuts used by Bristol to secure the cylinder, we tried for many hours to track down a base nut spanners , so in the end we decided to make one.

First remove one of the nuts using vice grips , then measure the size of the spline and drill some plate to suit, heat up to red hot

Base Nut Spanner 2

Then use the nut as a broach and press into the plate,

Base Nut Spanner 3Base Nut Spanner 4

Cut out and weld to an old 3/8″ extension

Base Nut Spanner 5

Next heat up to cherry red and submerge into carbon , in our case some crushed up BBQ bricks! and allow to cool to case harden.

Base Nut Spanner 9

Job done works a treat.

Next job was to make a puller plate to attach to the cylinder and a plate that fits down the bore so we can push on the piston evenly.

cylinder 1cylinder 2

A bit more milling work for Pete!

cylinder 7


First we tried 15 tonnes to remove the cylinder.

cylinder 4


No movement, so we stepped up to 30 tonnes!

cylinder 5

That did the trick, as soon as it started to move we could use threaded rod and a windy gun to pull off the cylinder.

cylinder 6


That’s one down , thirteen to go!