Category Archives: 759 Rebuild Starts

Bristol Hercules 759 Rebuild Completed

As the Christmas holiday break is nearly here I decided to push on and get the 759 put back together and sealed up, as this weather we are experiencing cold then very mild is causing a lot of condensation and that is the last thing we need inside a Hercules Engine.

IMG_2378

As with all of the sleeves, plenty of grease was applied to protect them.

IMG_2371 IMG_2373

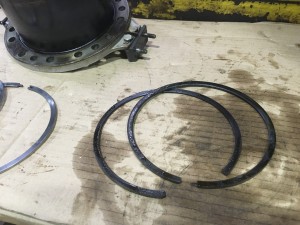
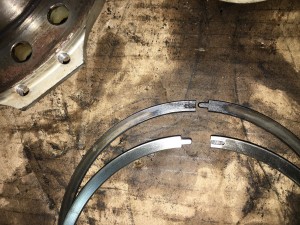
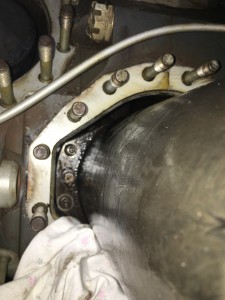
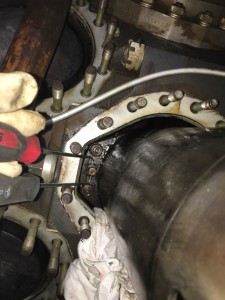
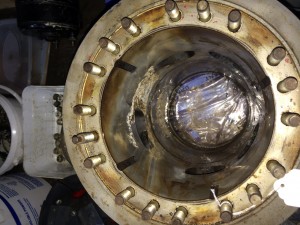
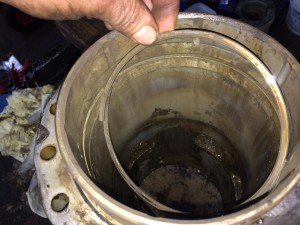
On No. 4 cylinder head, we found that part of one of the sealing rings was missing, this has been missing for quit a while, but no damage to the sleeve was found.

IMG_2372

We have plenty of new head rings in stock , so new ones were fitted.

IMG_2380

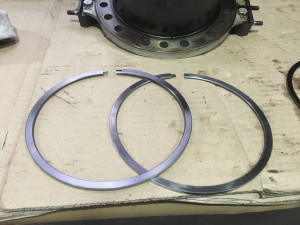
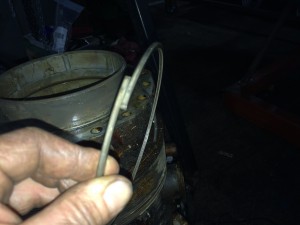
There was only one more head that had worn rings, as you can see from this picture the original ring has lost a bit of it’s shape compared to a new one.

IMG_2382IMG_2406


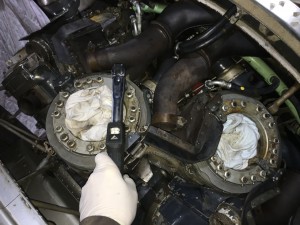
Once all the heads had been fitted and torqued down, all of the lock tabs were set again.

IMG_2401 IMG_2402 IMG_2403

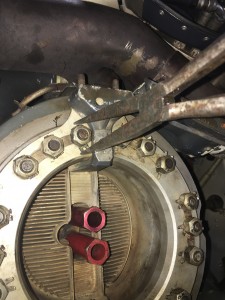
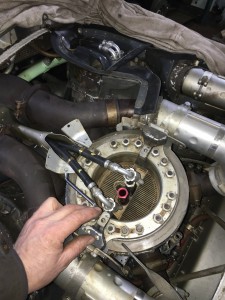
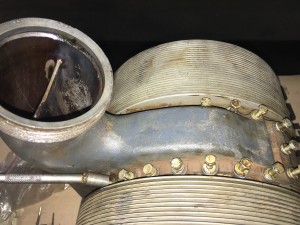
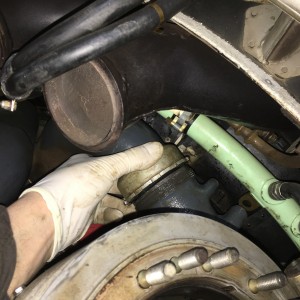
Next is was the painstakingly steady job of refitting all of the air defectors and exhaust, it’s not a quick job but once you figure out the order of assembly it’s straight forward….

IMG_2407

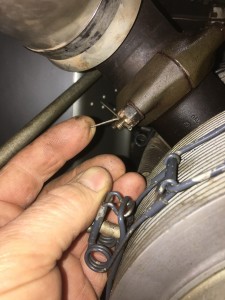
Finally the last split pin is fitted and the exhaust is complete!.

IMG_2408 IMG_2411


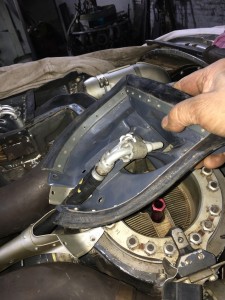
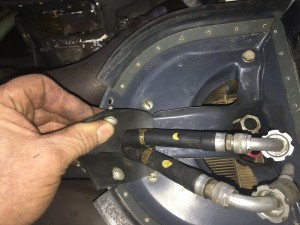
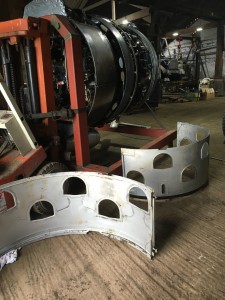
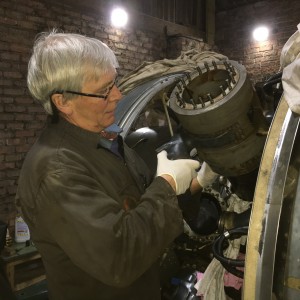
Next job was to reassemble the nacelle. The inner panels were cleaned and then fitted.

IMG_2416 IMG_2417 IMG_2413

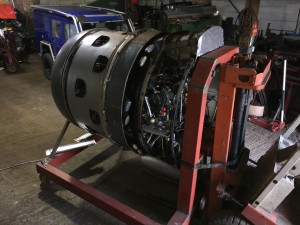
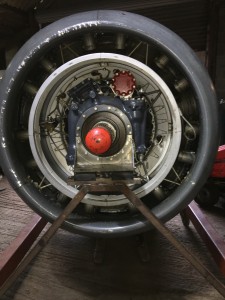
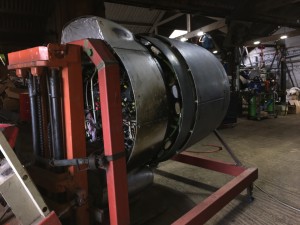
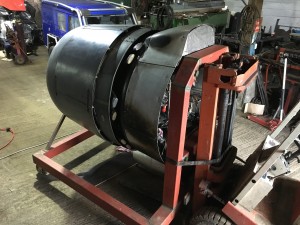
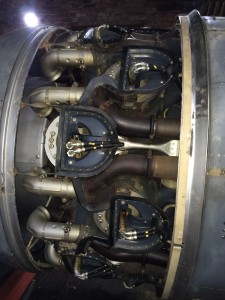
And there we have it , all re-assembled and seal up , now we can get back to finishing off the ground running frame for the 759.
759 Rebuild

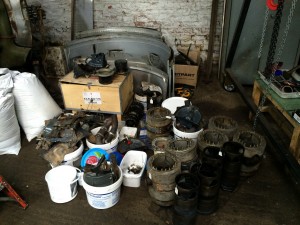
After speaking to our friends over in Canada, we managed to acquire two spare sleeves and pistons.
IMG_2323

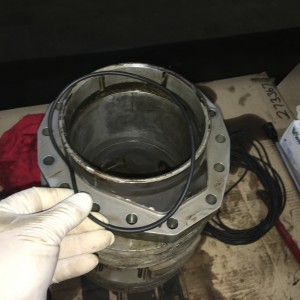
First job was to make a new “O” ring for the base of the cylinder.

IMG_2307

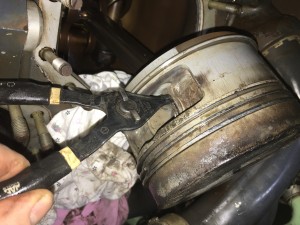
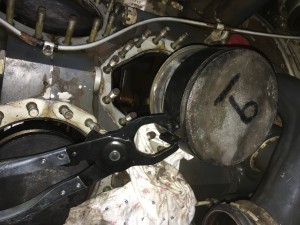
Using a pair of modified cir clip pliers , swapping the piston was a quick job.

IMG_2308

We got a new piston ring compressor from Snap-on , It works a treat.

IMG_2310 IMG_2311

IMG_2312IMG_2313


The replacement sleeve was fitted and secured.

IMG_2315


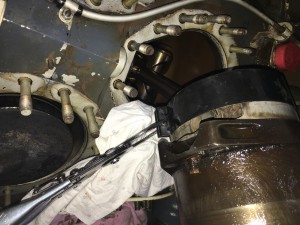
Before the cylinder could be fitted, the induction belt was refitted.

IMG_2330

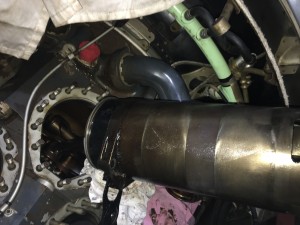
No.3 cylinder being refitted, plenty of EP2 grease was smeared allover the sleeve as it may be a few months before we fire this old girl up.IMG_2331

After the base nuts were tightened down the induction pipe was tightened up, time for another beer. The next cylinder to be fitted is No. 5 and that will complete the back row.


759 Strip Down

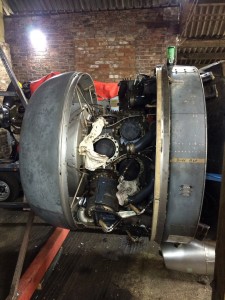
After finding out we had a couple of rusty sleeves in the 759 it was time to do a partial strip down and fix the problem.

IMG_2058 - Copy


First job was to remove the center section of the nacelle, this was done in minutes as these are attached with quick release catches.

IMG_2062 - Copy

First we pulled off No.14 head as we knew that this was one of the affected cylinders.

IMG_2067IMG_2066 - Copy

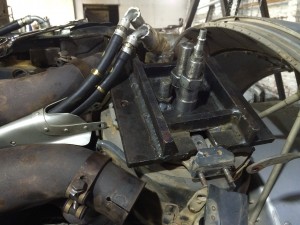
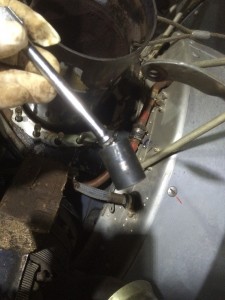
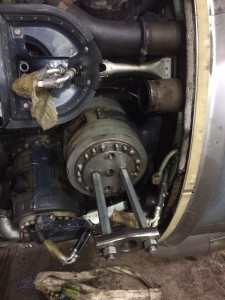
After we took the head of we removed the cylinder which came off easily, then we removed the two nuts securing the sleeve to the sleeve drive joint. Tip of the day tape on your socket so it cn not drop off into the bottom of the engine case.

IMG_2071 - Copy

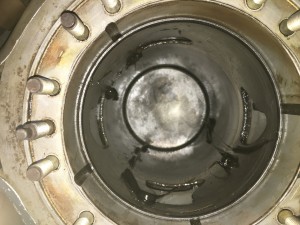
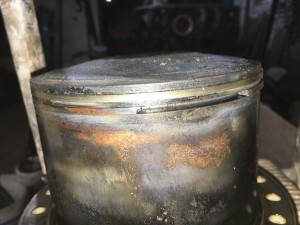
This is when we encountered our first problem, the sleeve was seized onto the piston , we managed to pull it up so far but we could not rotate the sleeve to get it lined up with the opening of the engine case. The engine was still seized , so we had to start removing more cylinders to allow the engine to turn enabling us to remove no. 14 sleeve.

IMG_2097 - Copy

We realized that No.5 was also stuck so we started to remove that one.

IMG_2098

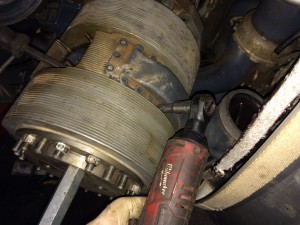
The problem we had here is that even though the cylinder was coming off quite easily, we could not turn it to clear the nacelle. So the induction belt was removed to give us clearance.

IMG_2124

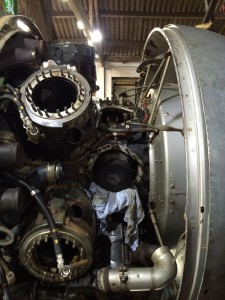
I the end we had to remove six cylinders before the engine would turn, besides No.14 and No. 5 sleeves being rusty , it was the fact that the oil had dried out between the sleeves and the cylinders on the upper cylinders.

IMG_2120

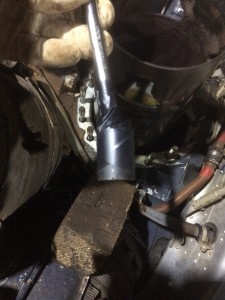
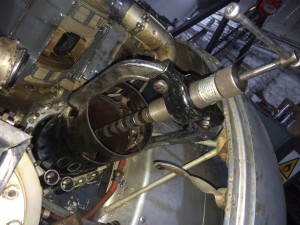
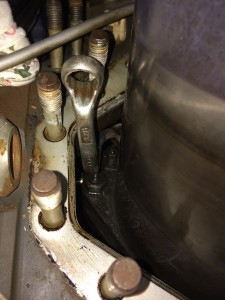
We had to make a very strange looking spanner to get one of the sleeves off.

IMG_2114 IMG_2128 IMG_2130

After cleaning all of the cylinders, one of the cylinder rings had to be replaced, we used one from a spare 264 cylinder, it was a bit fiddly but we got the ring replaced. As you can see in the upper picture the bit of surface corrosion build up on the cylinder, this did not take much effort to remove.

IMG_2127


Considering we thought that the 759 was a quick fix, we had to take off a lot of parts, time for a beer I think.

IMG_2125