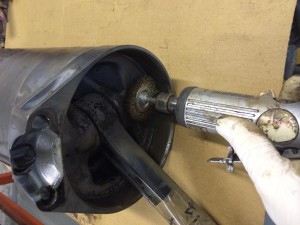
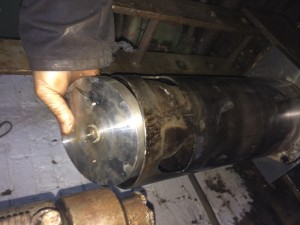
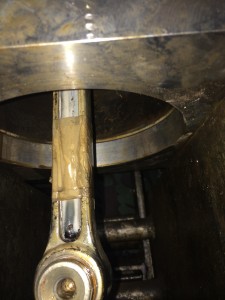
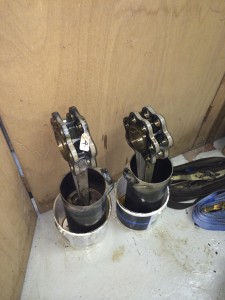
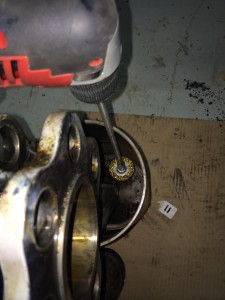
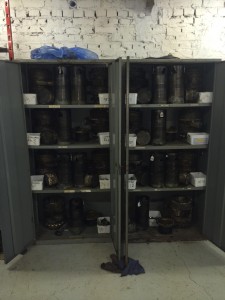
The first job is to clean the bore of the sleeve below the piston,
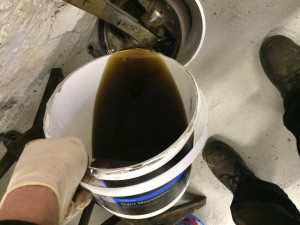
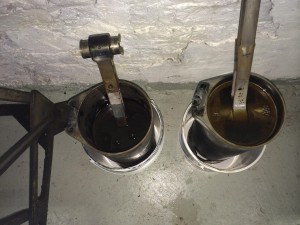
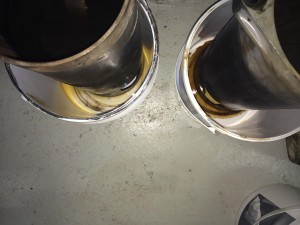
then placed the sleeves in containers and flooded the back of them with our Special Brew.
After only a couple of hours the Special Brew had started to work its way through.
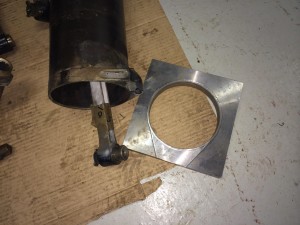
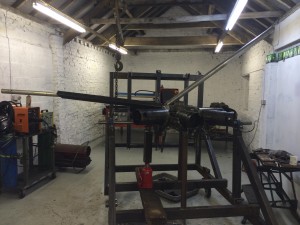
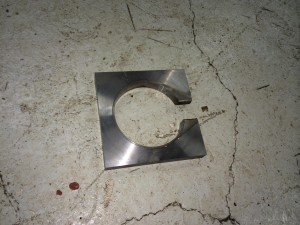
While these are soaking, Pete machined up a base plate to fit our 20 tonne press, so the sleeves will sit square and hopefully we can push the pistons down out of the sleeves.
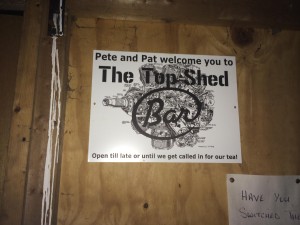
Since it’s New Years Eve, the top shed got a new sign, time for a little light refreshment,
Happy New Year everybody….
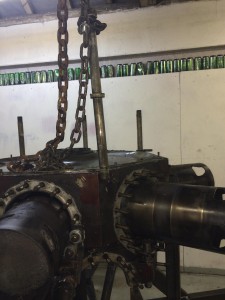
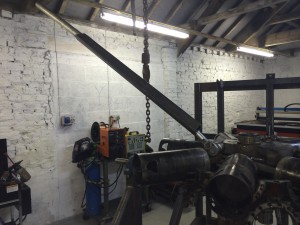
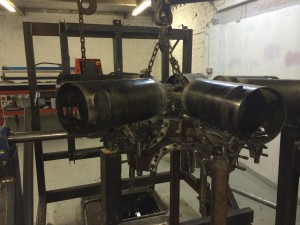
The rear case came of quite easily, we used a chain pull to extract the case through bolts.
Once all of the bolts are extracted the rear case is lifted off, then the rear maneton bolt is removed, now that was tight!
The rear row of cylinders can now be lifted off.
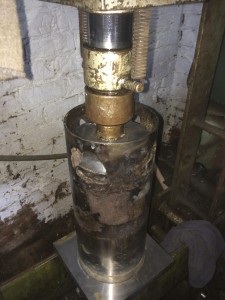
Now it is time to remove the pistons. First we placed in a 20mm spreader plate on top of the piston, this should spread the up to 20 tonne pressure across the face of the piston.
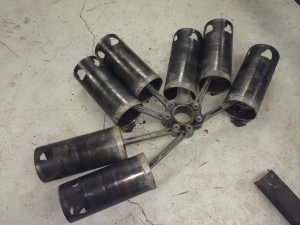
After a little pressure the first sleeve gave birth to a piston!
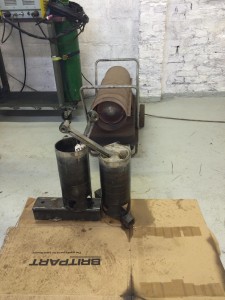
A couple of the pistons were a bit on the tight side,so we filled the sleeves with special brew and warmed them up in front of the space heater, which worked a treat.
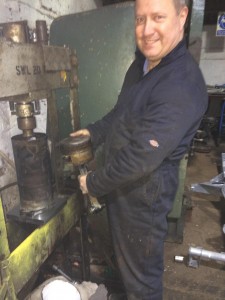
The last pistons to remove was the master rods 4 and 11, these were a little bit more tricky to clean, as there was less space to work in.
Pete altered the base plate to allow for the master rod.
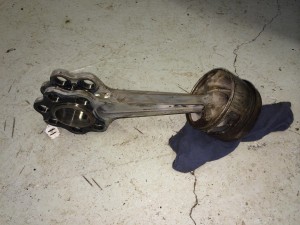
And there we have it, the final piston removed.
All the children safely tucked up in bed ready for cleaning.
