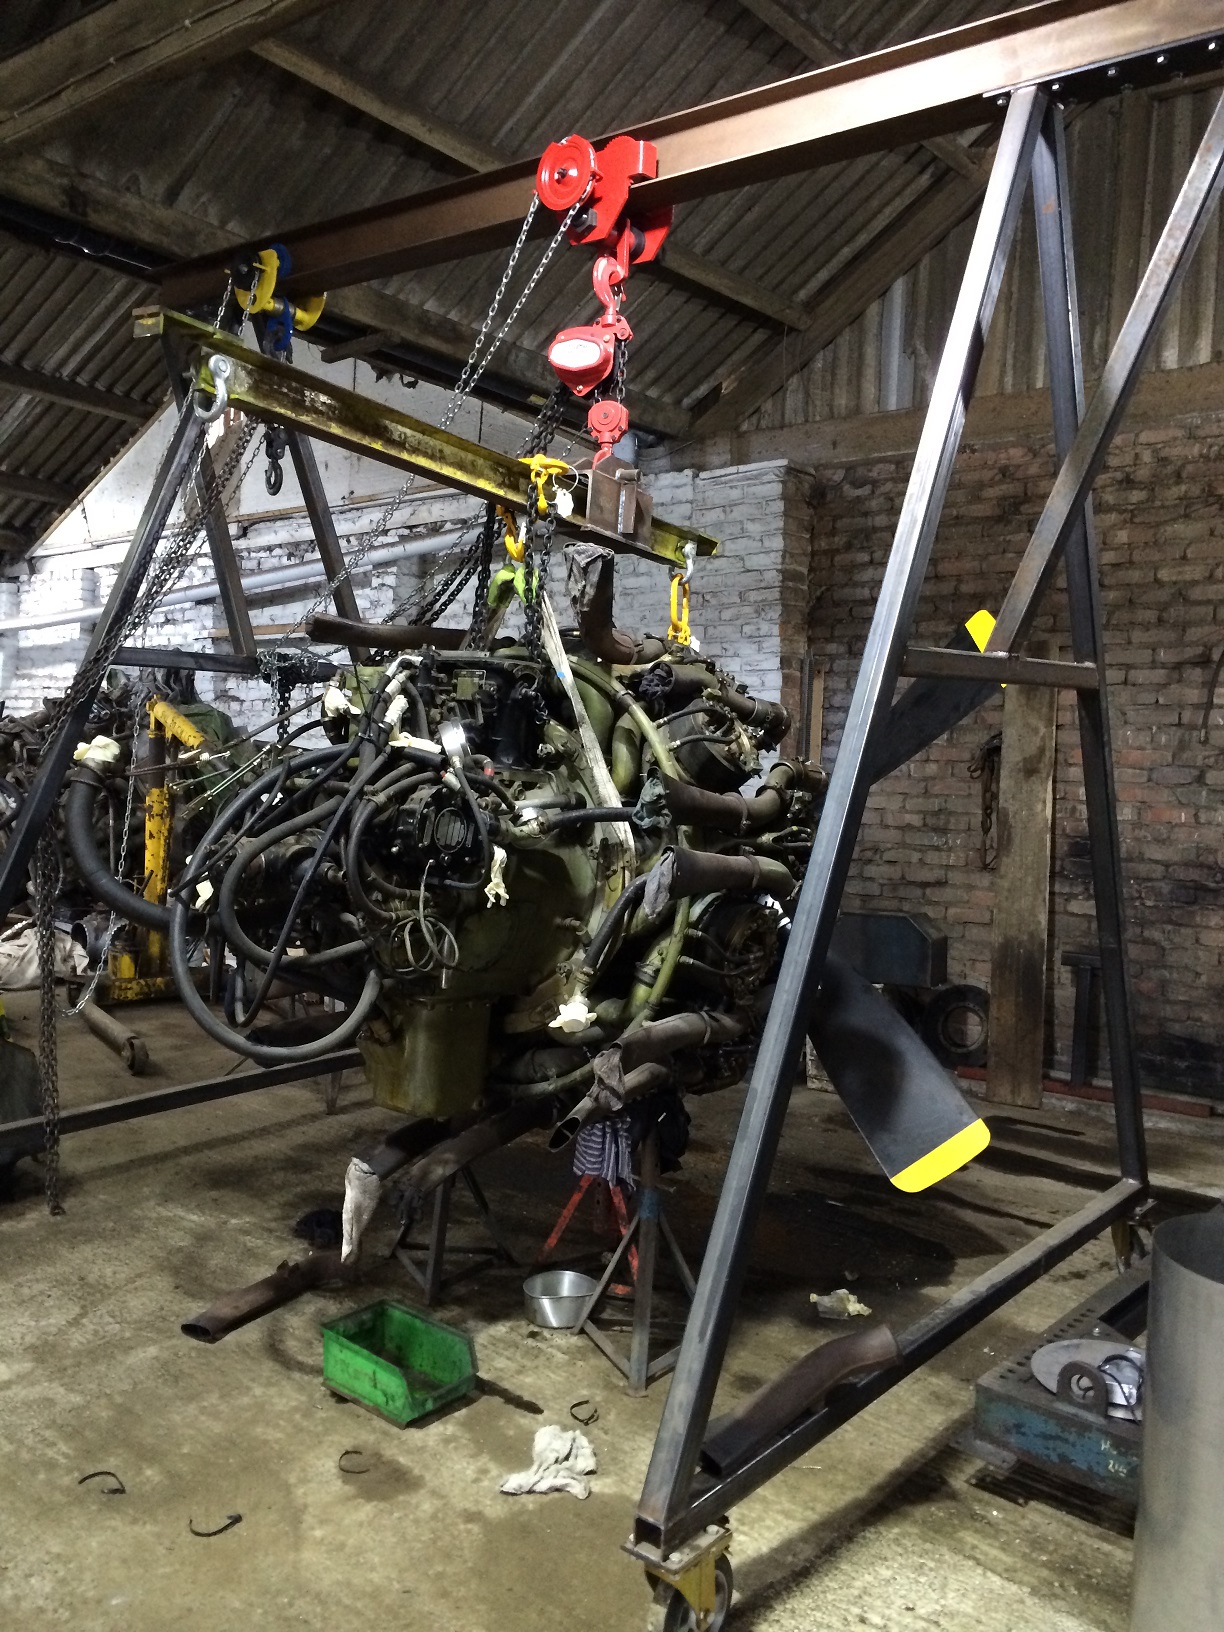
First we lifted the engine off the new stand.

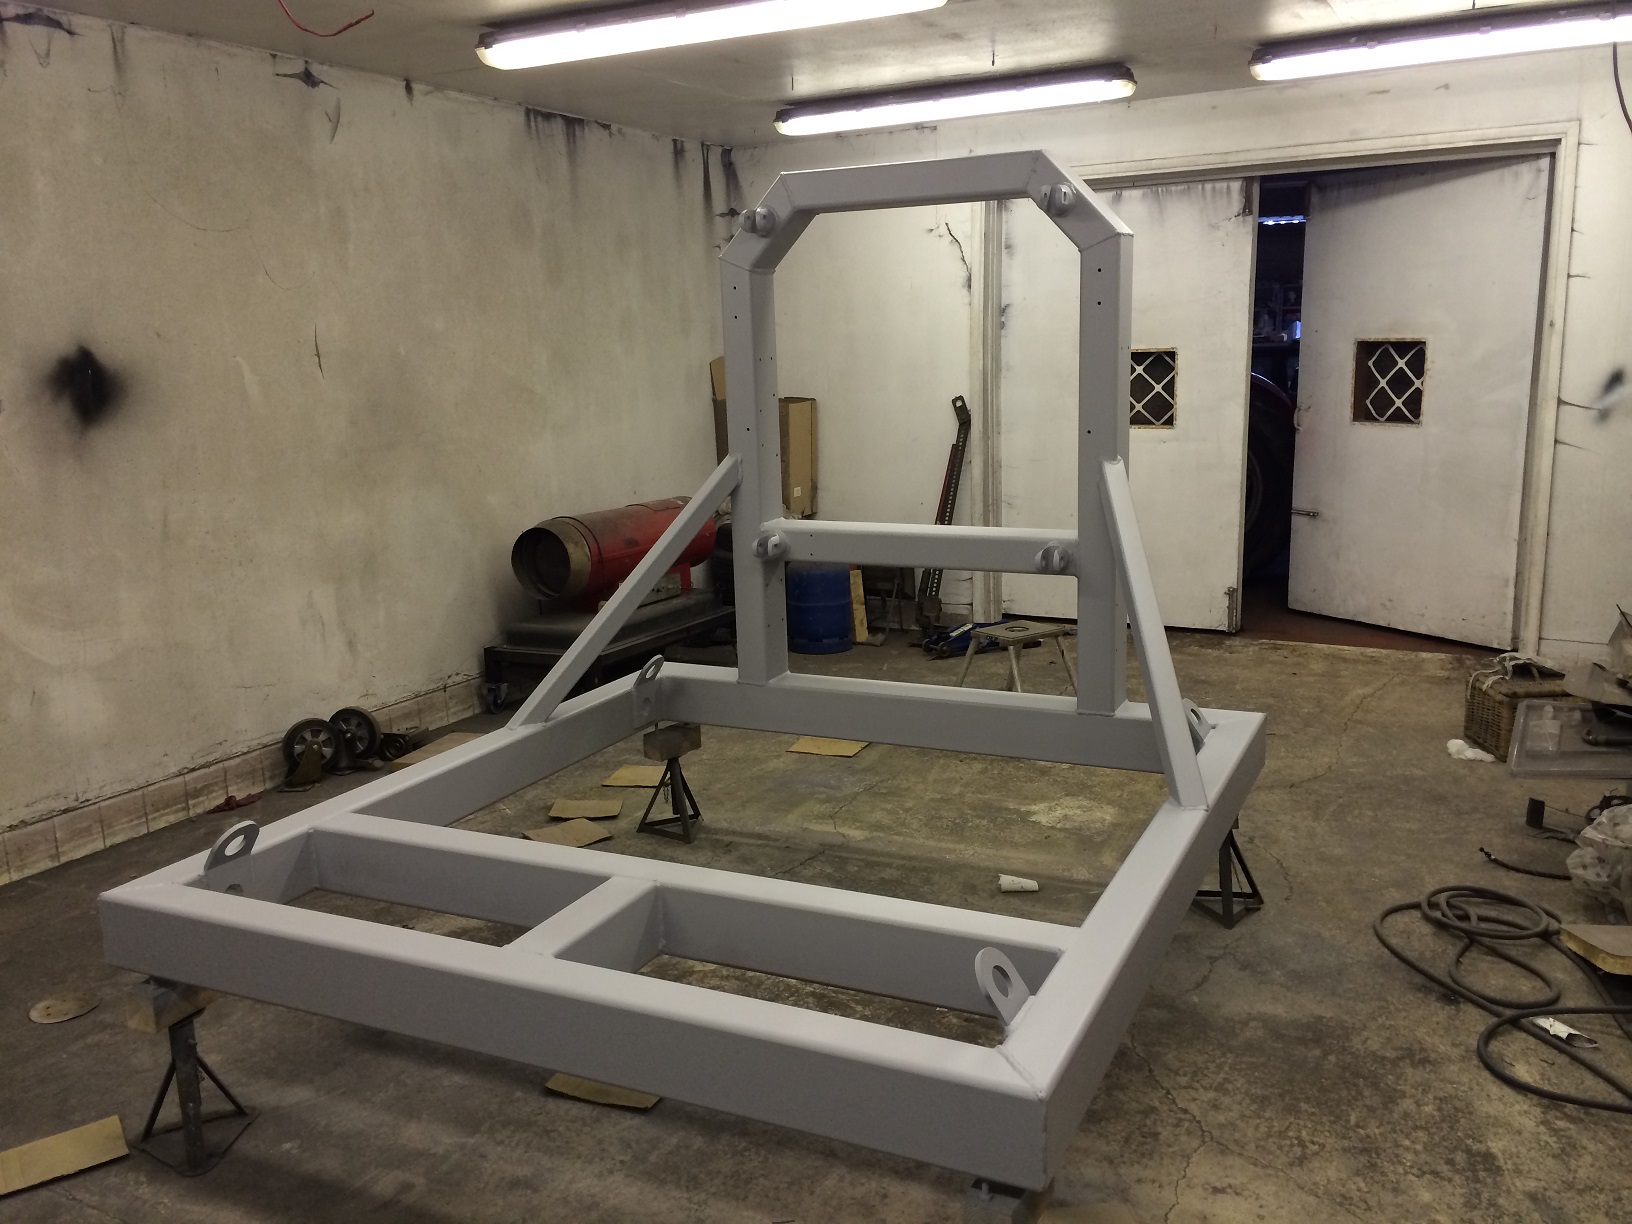
Then we prepped and primed the new stand.
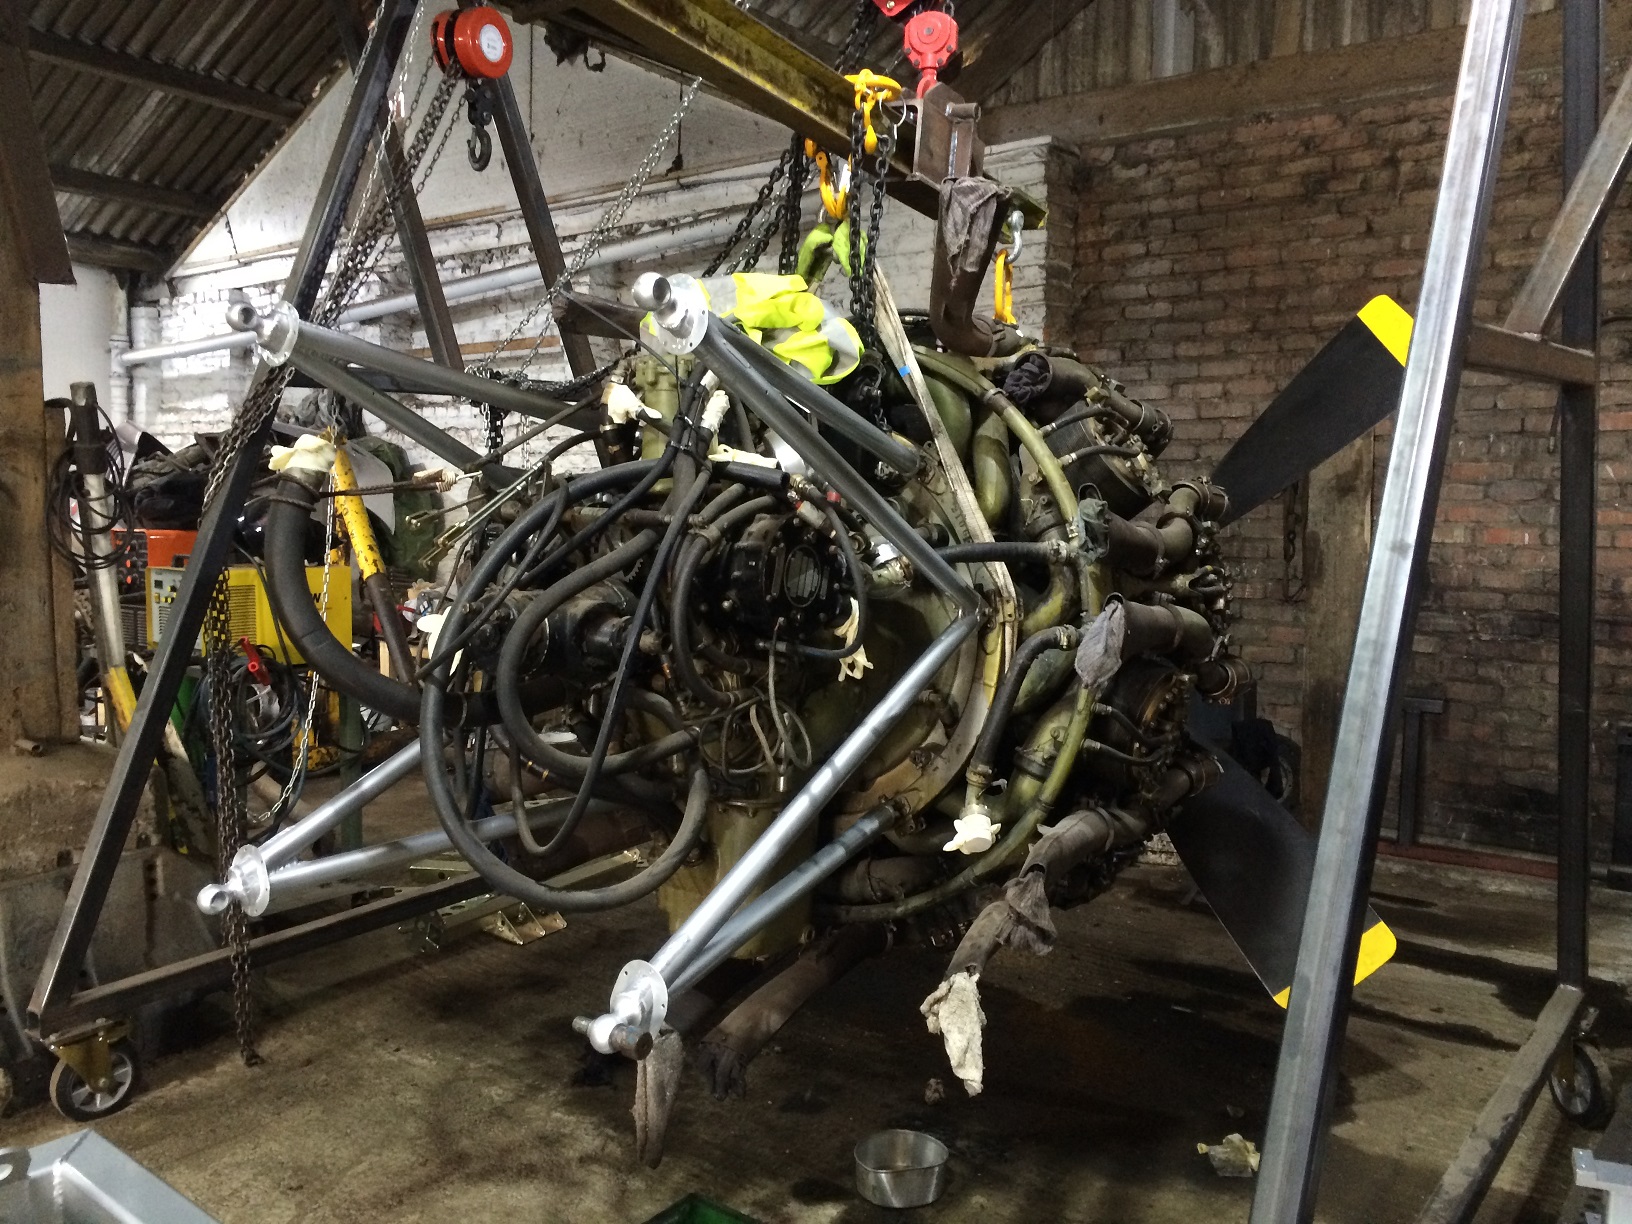
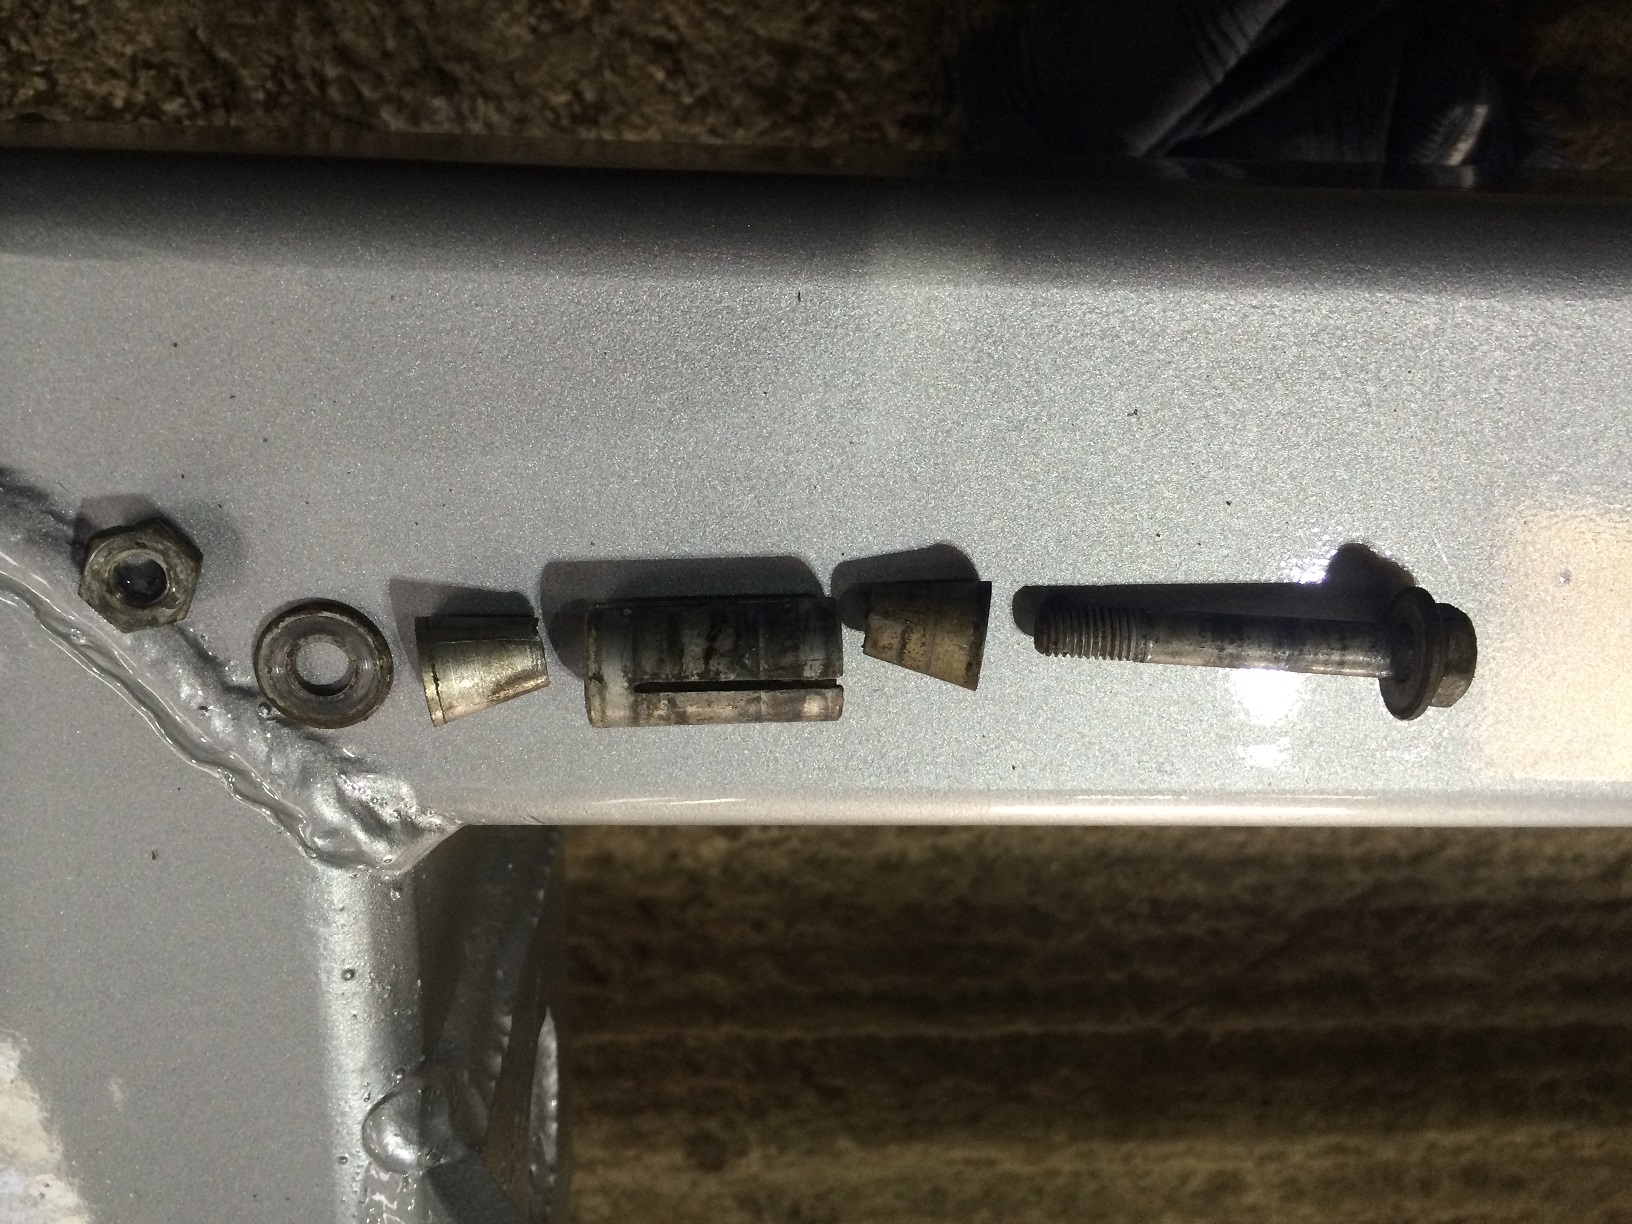
After the engine mounts wear cleaned and painted we refitted them using a very clever mounting pins.
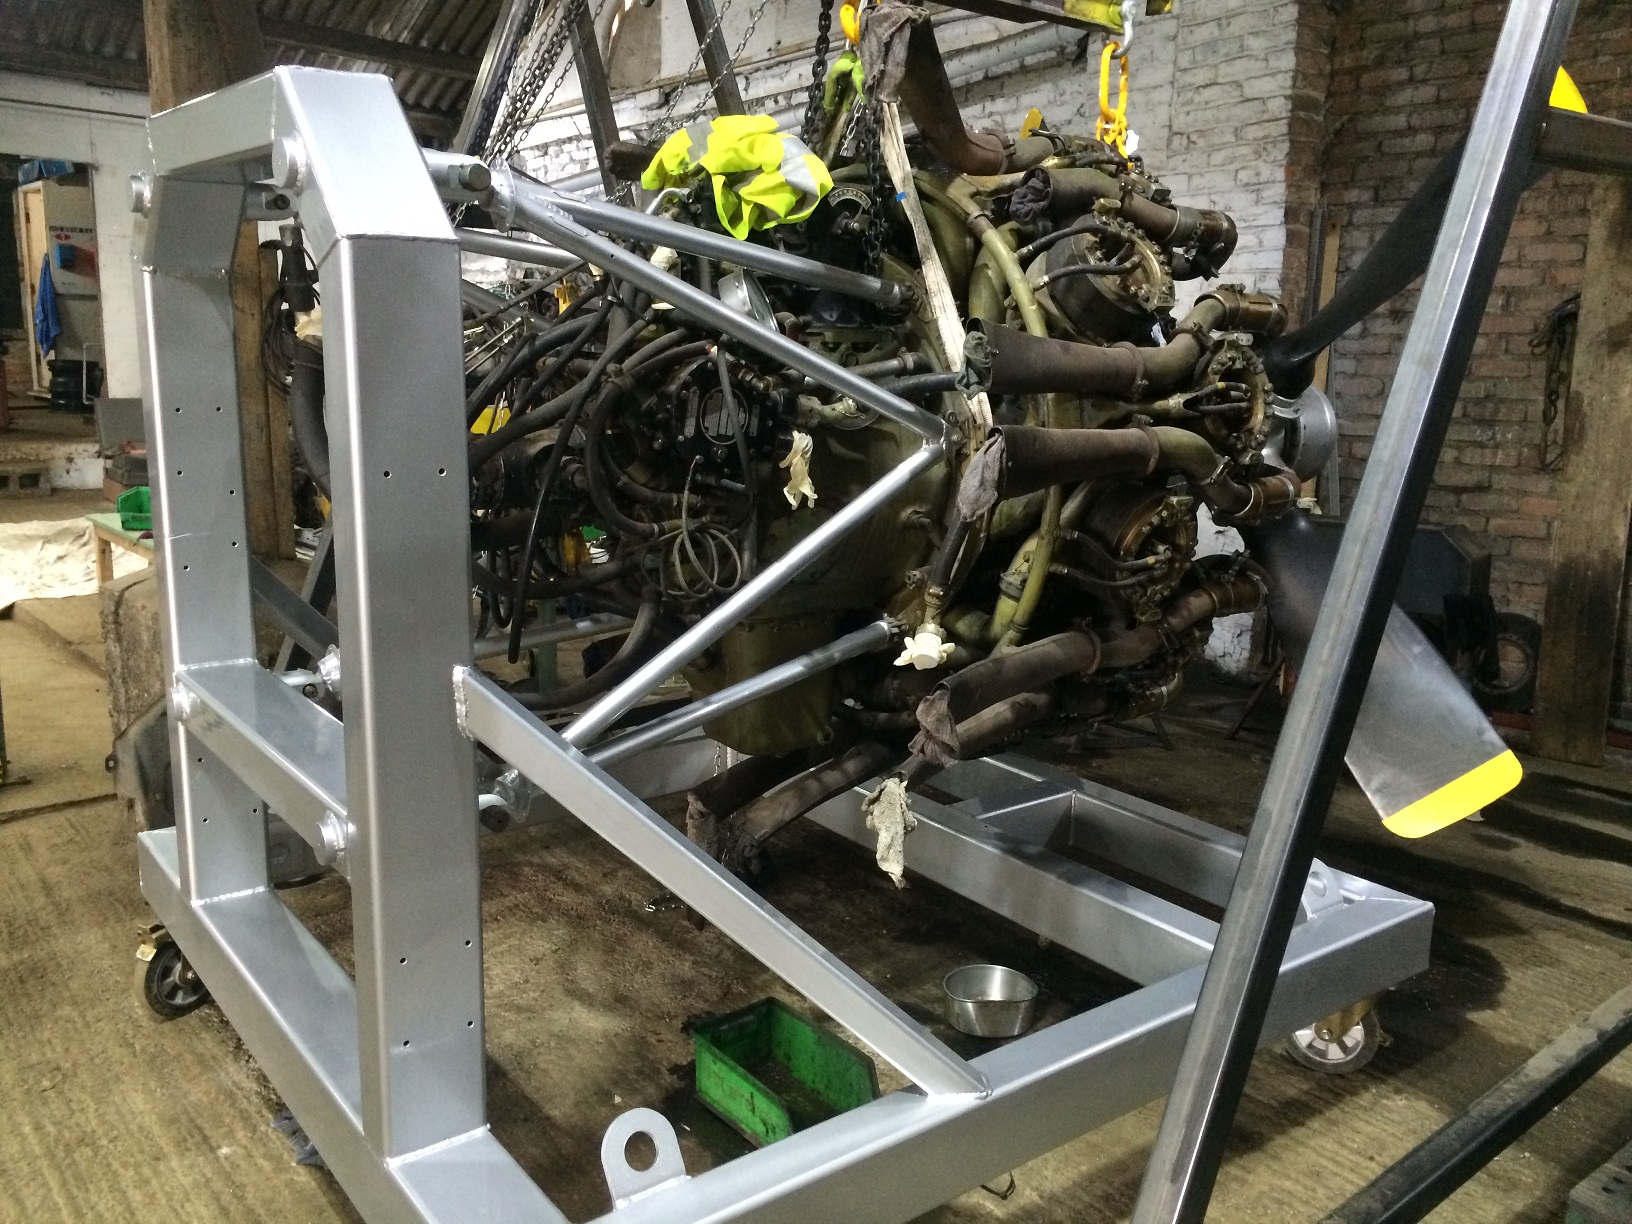
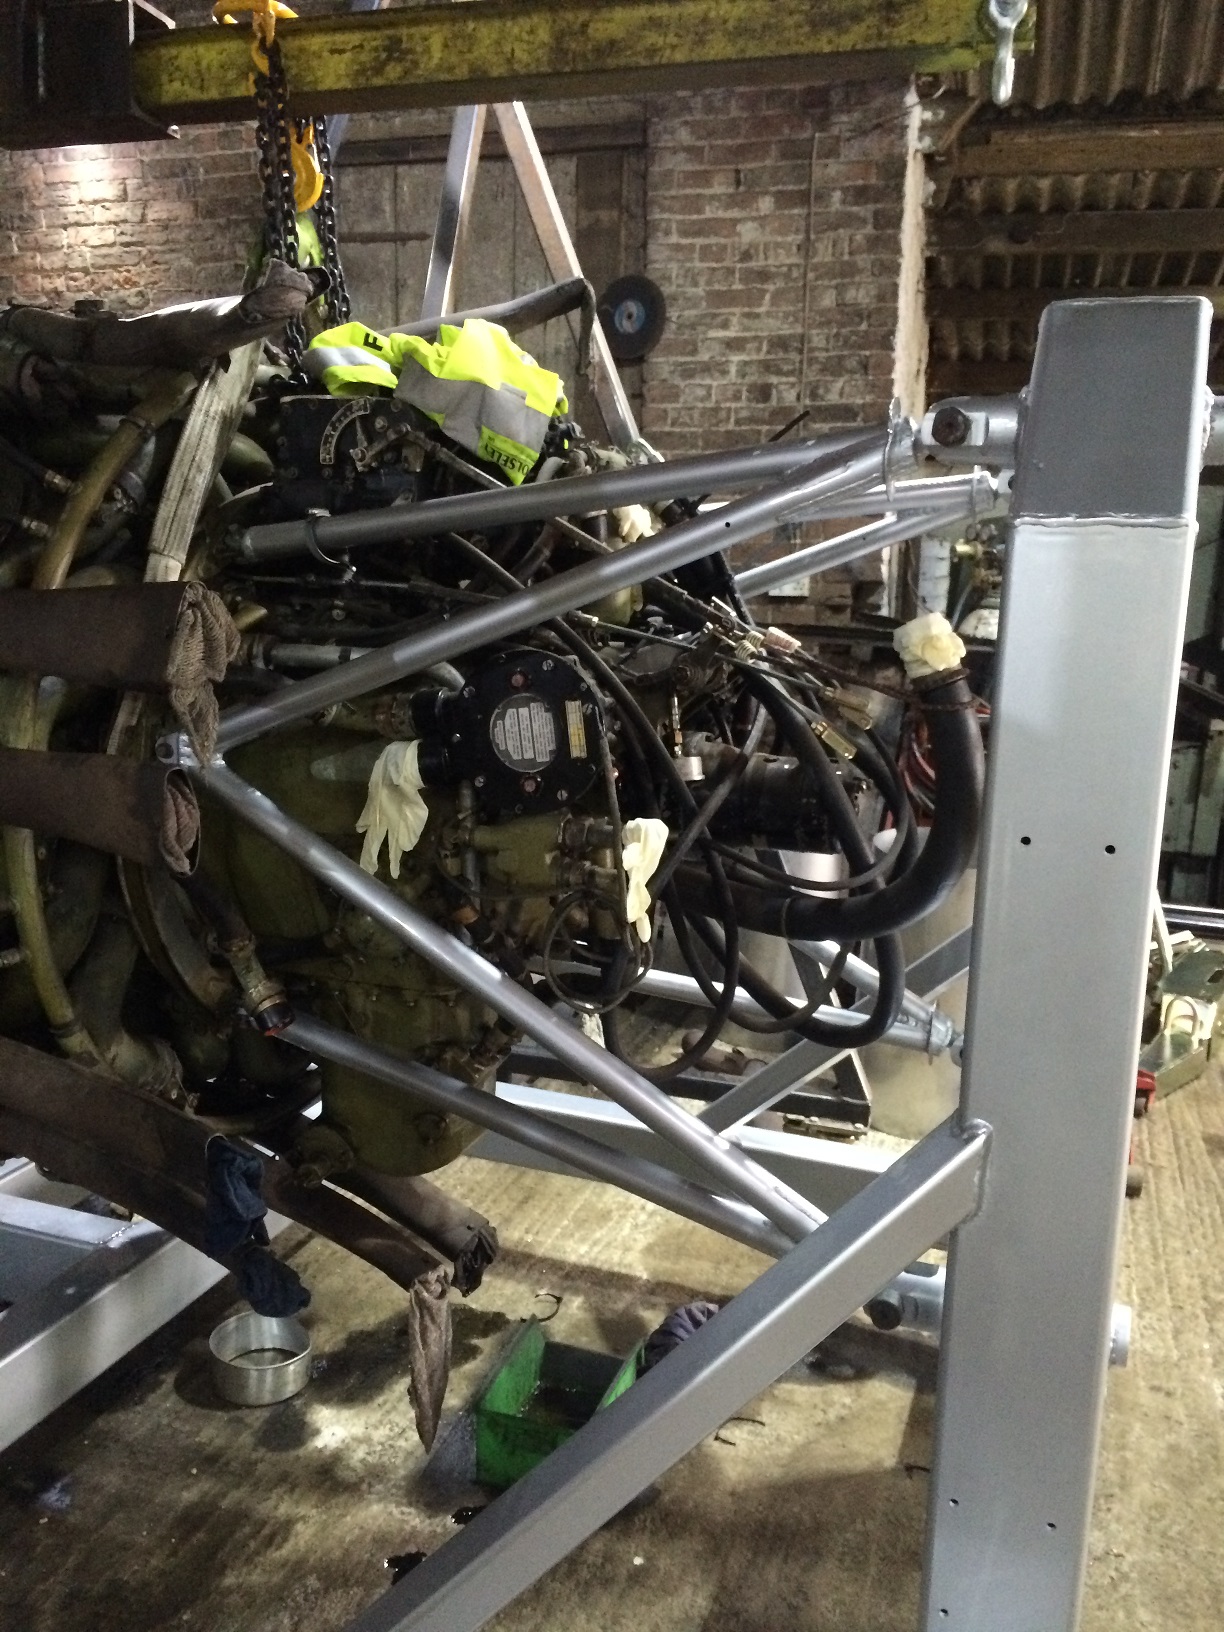
After the frame get its top coat silver and lacquer, we refit the engine.
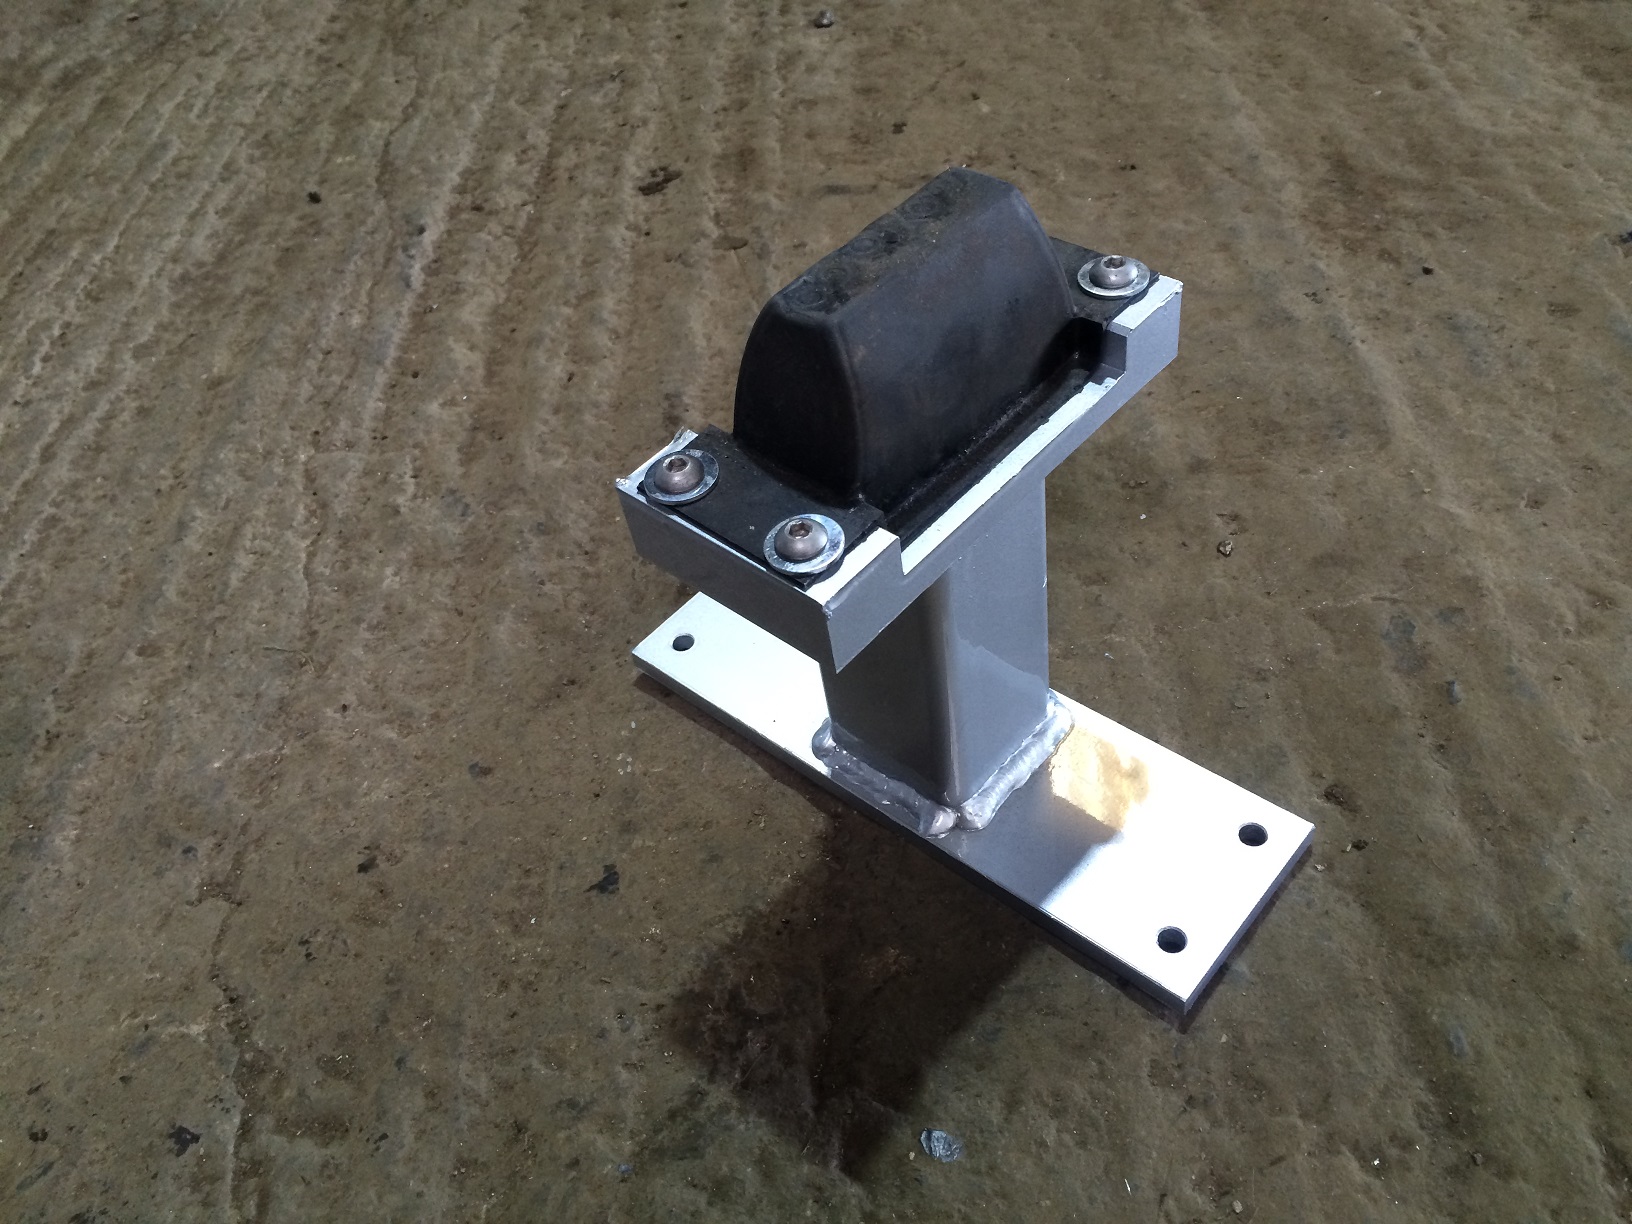
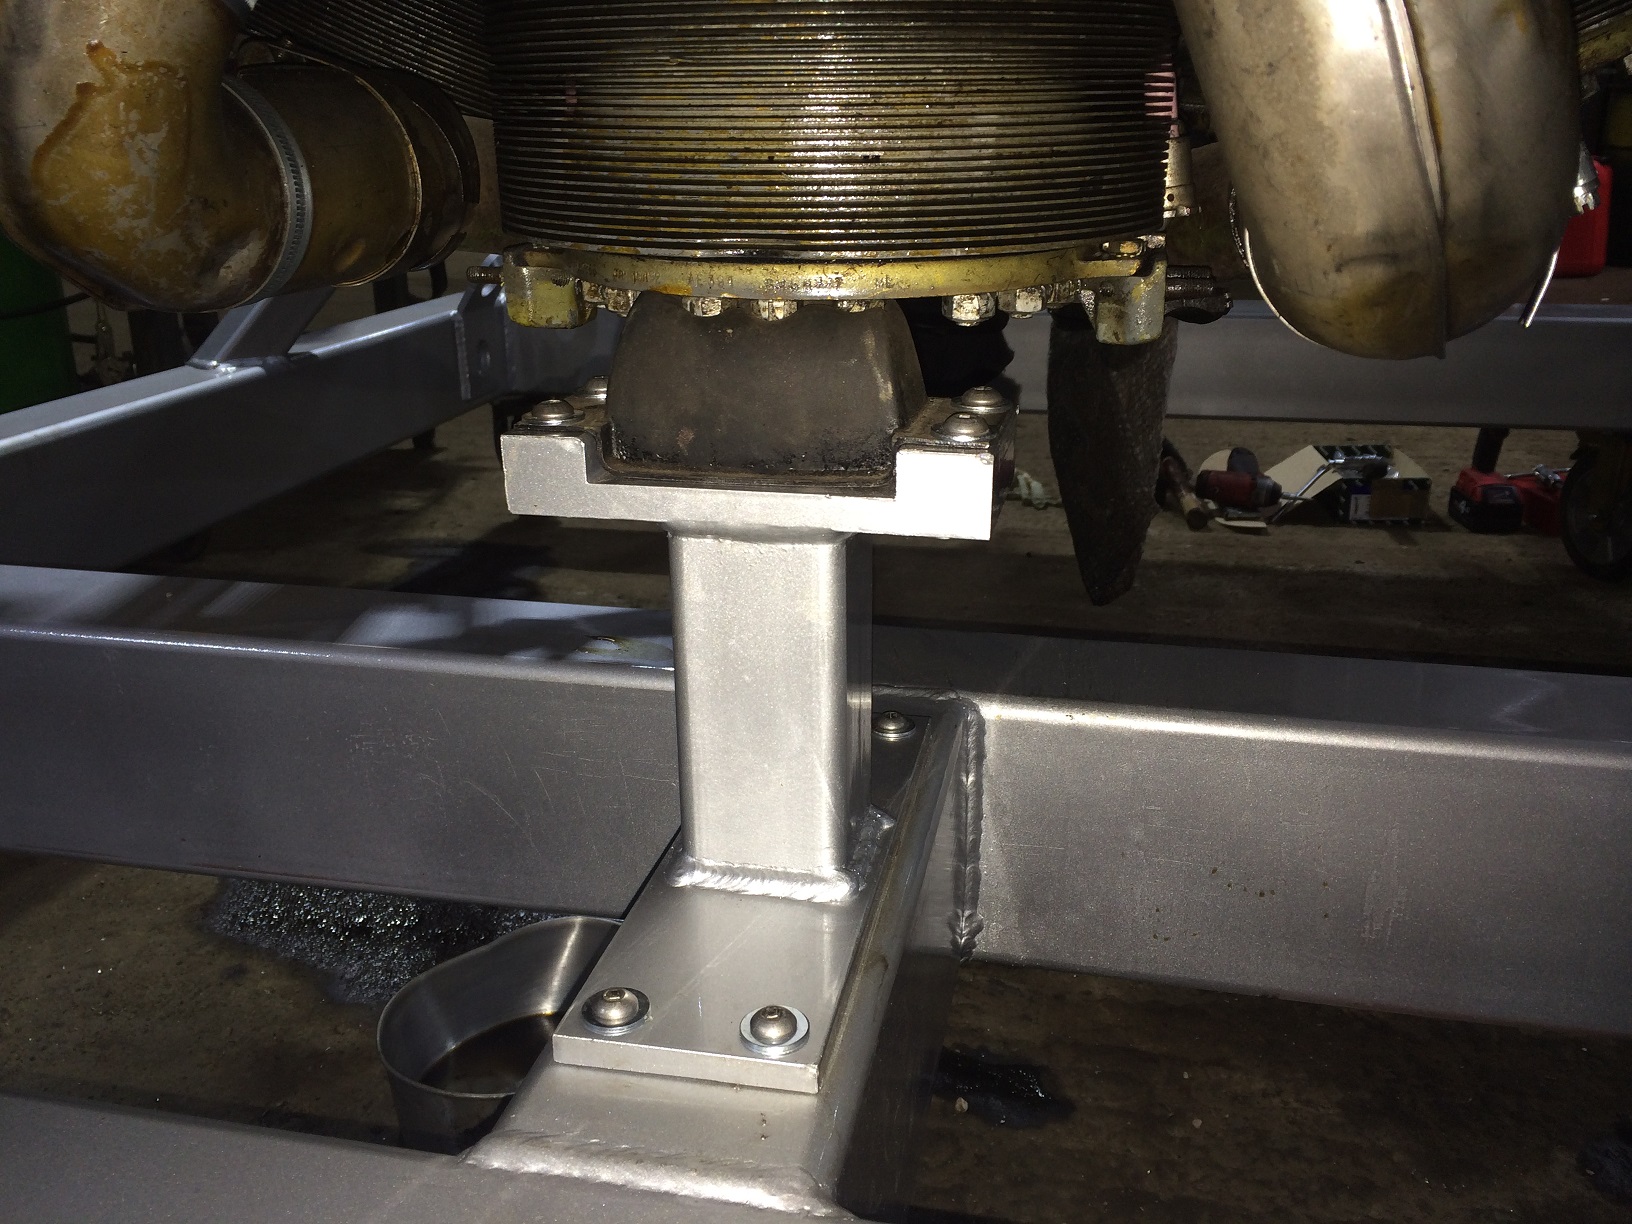
Also we refitted the bump stop underneath the engine to absorb shock loads while on the road.
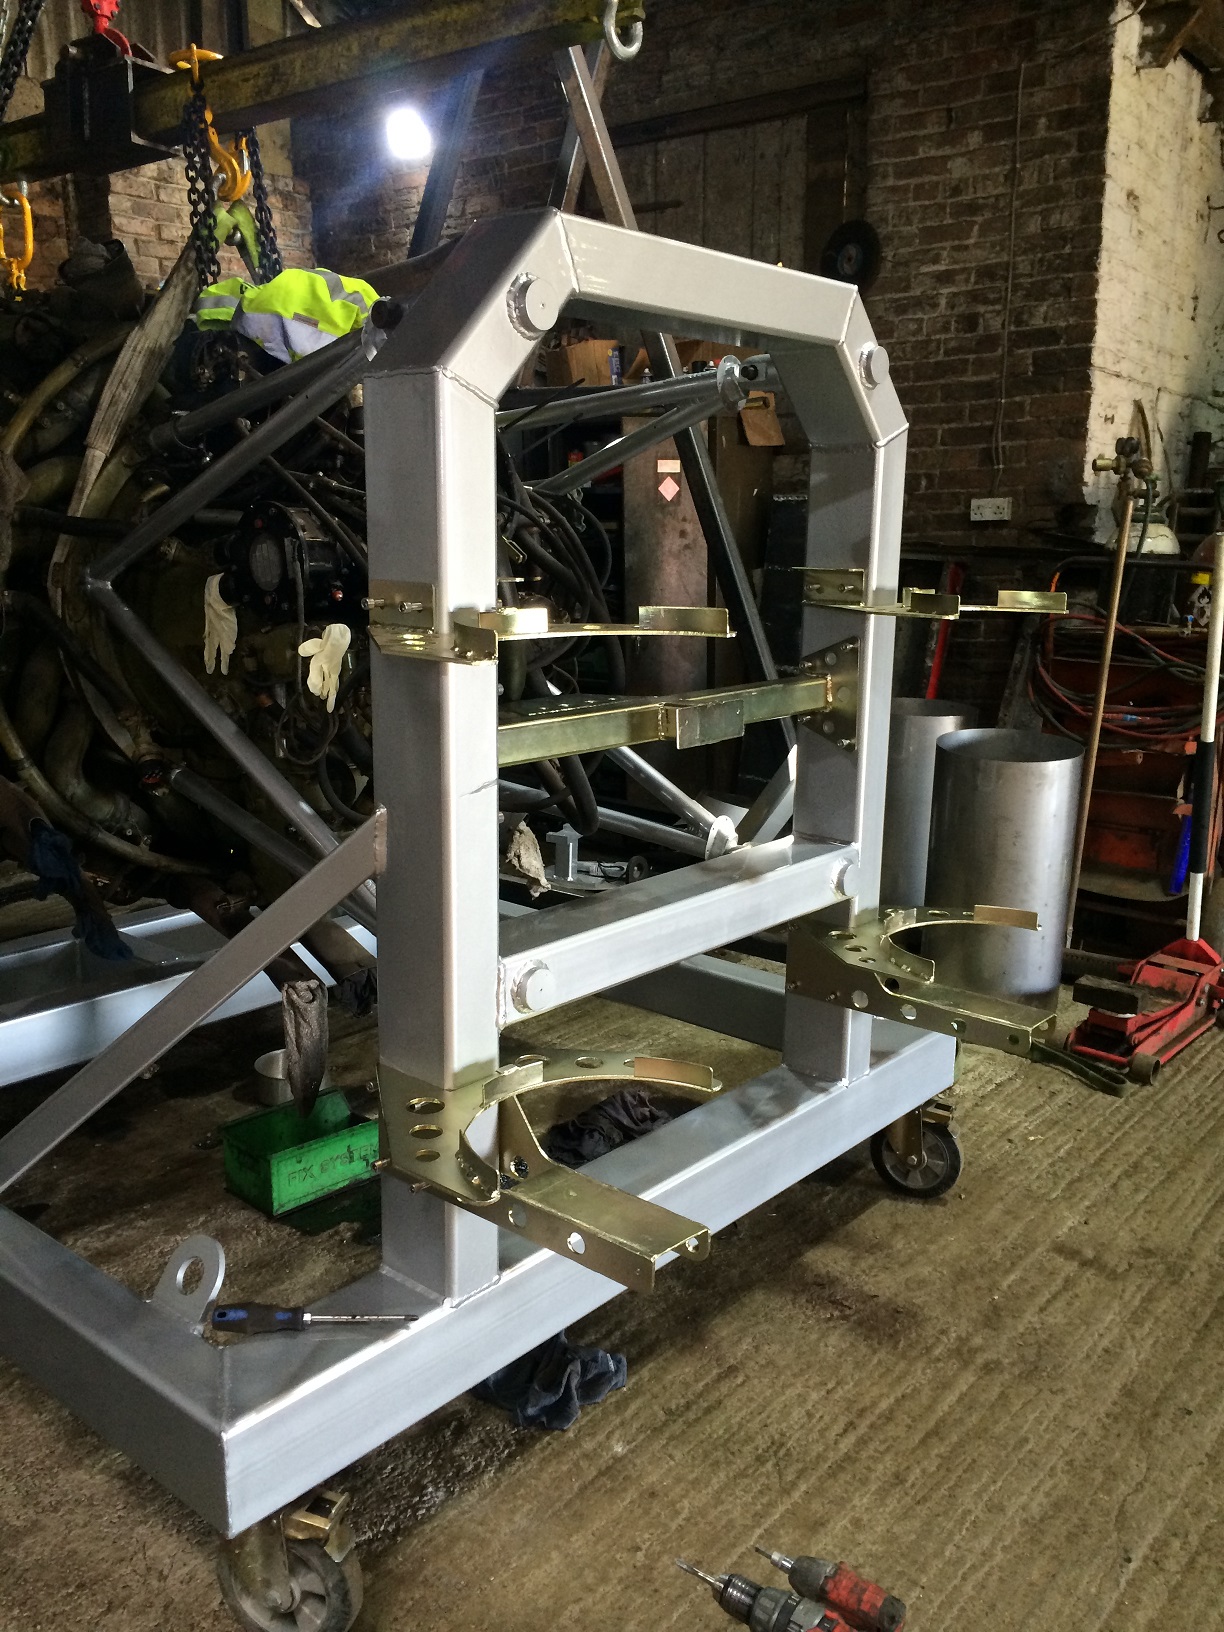
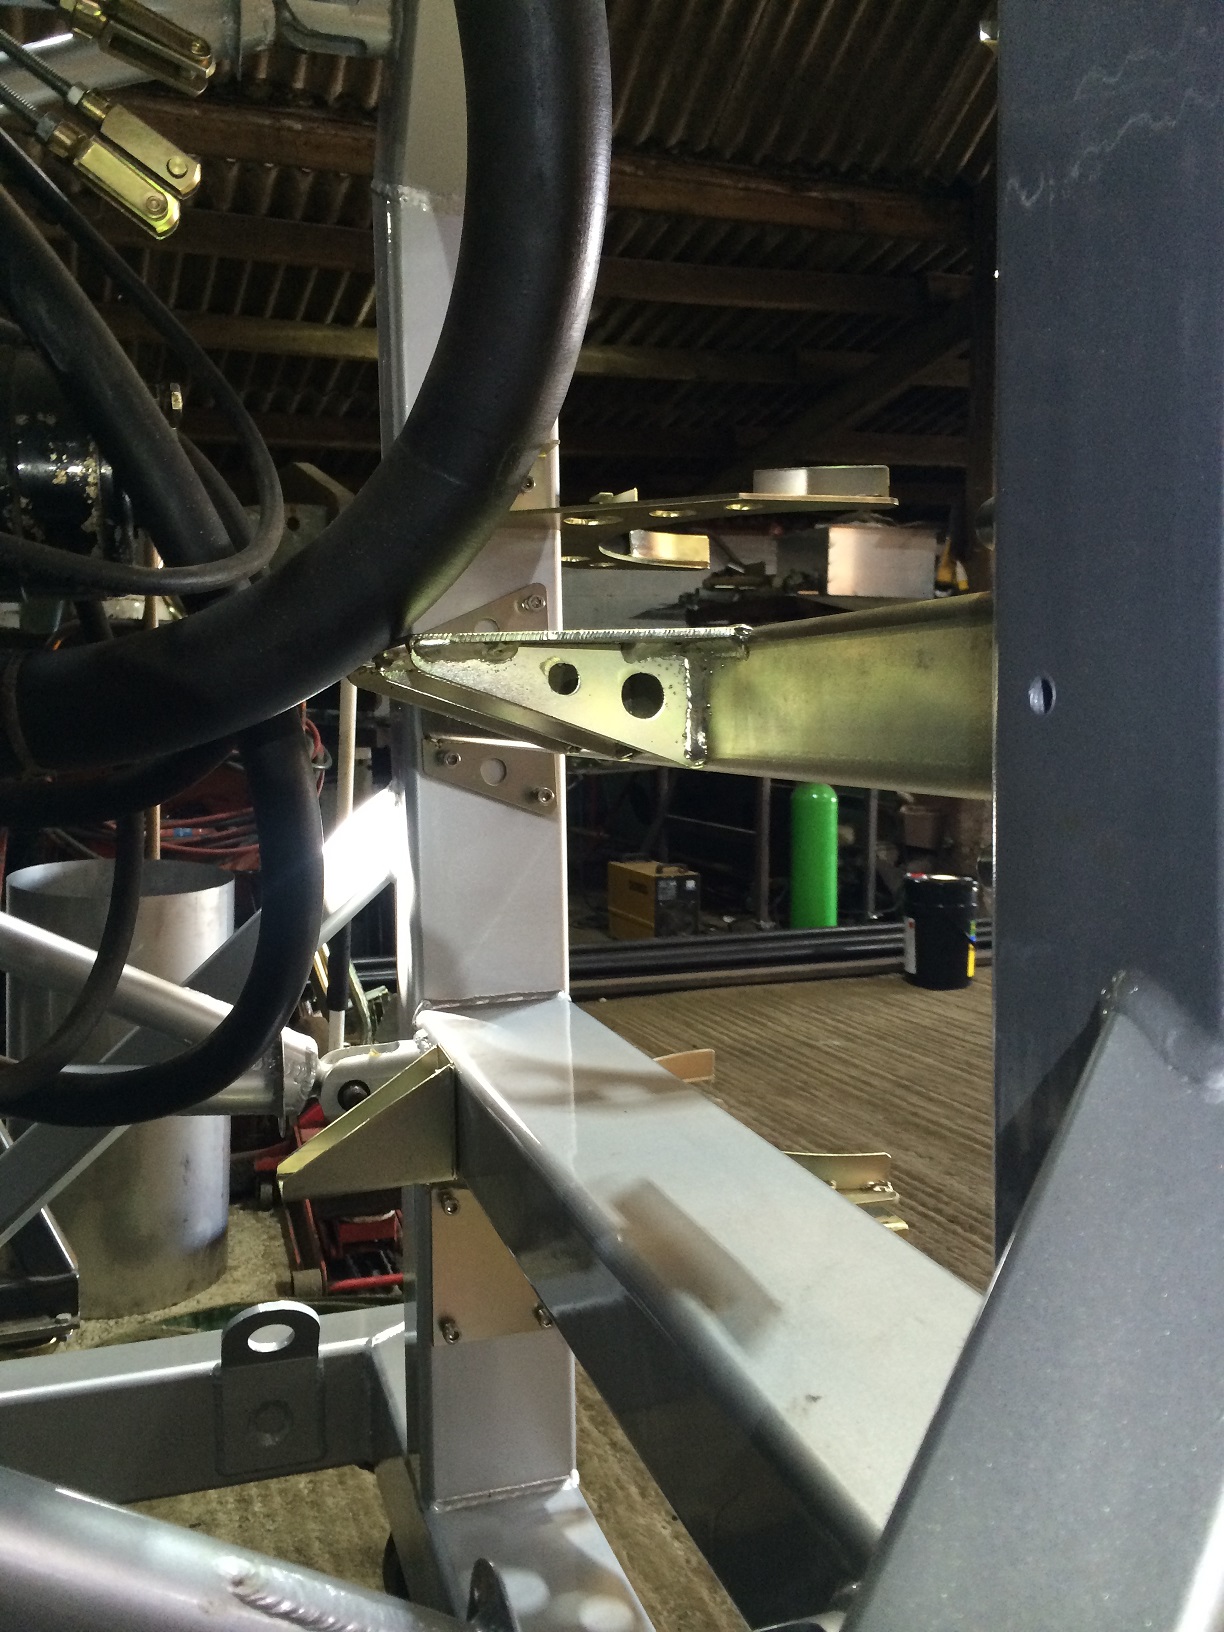
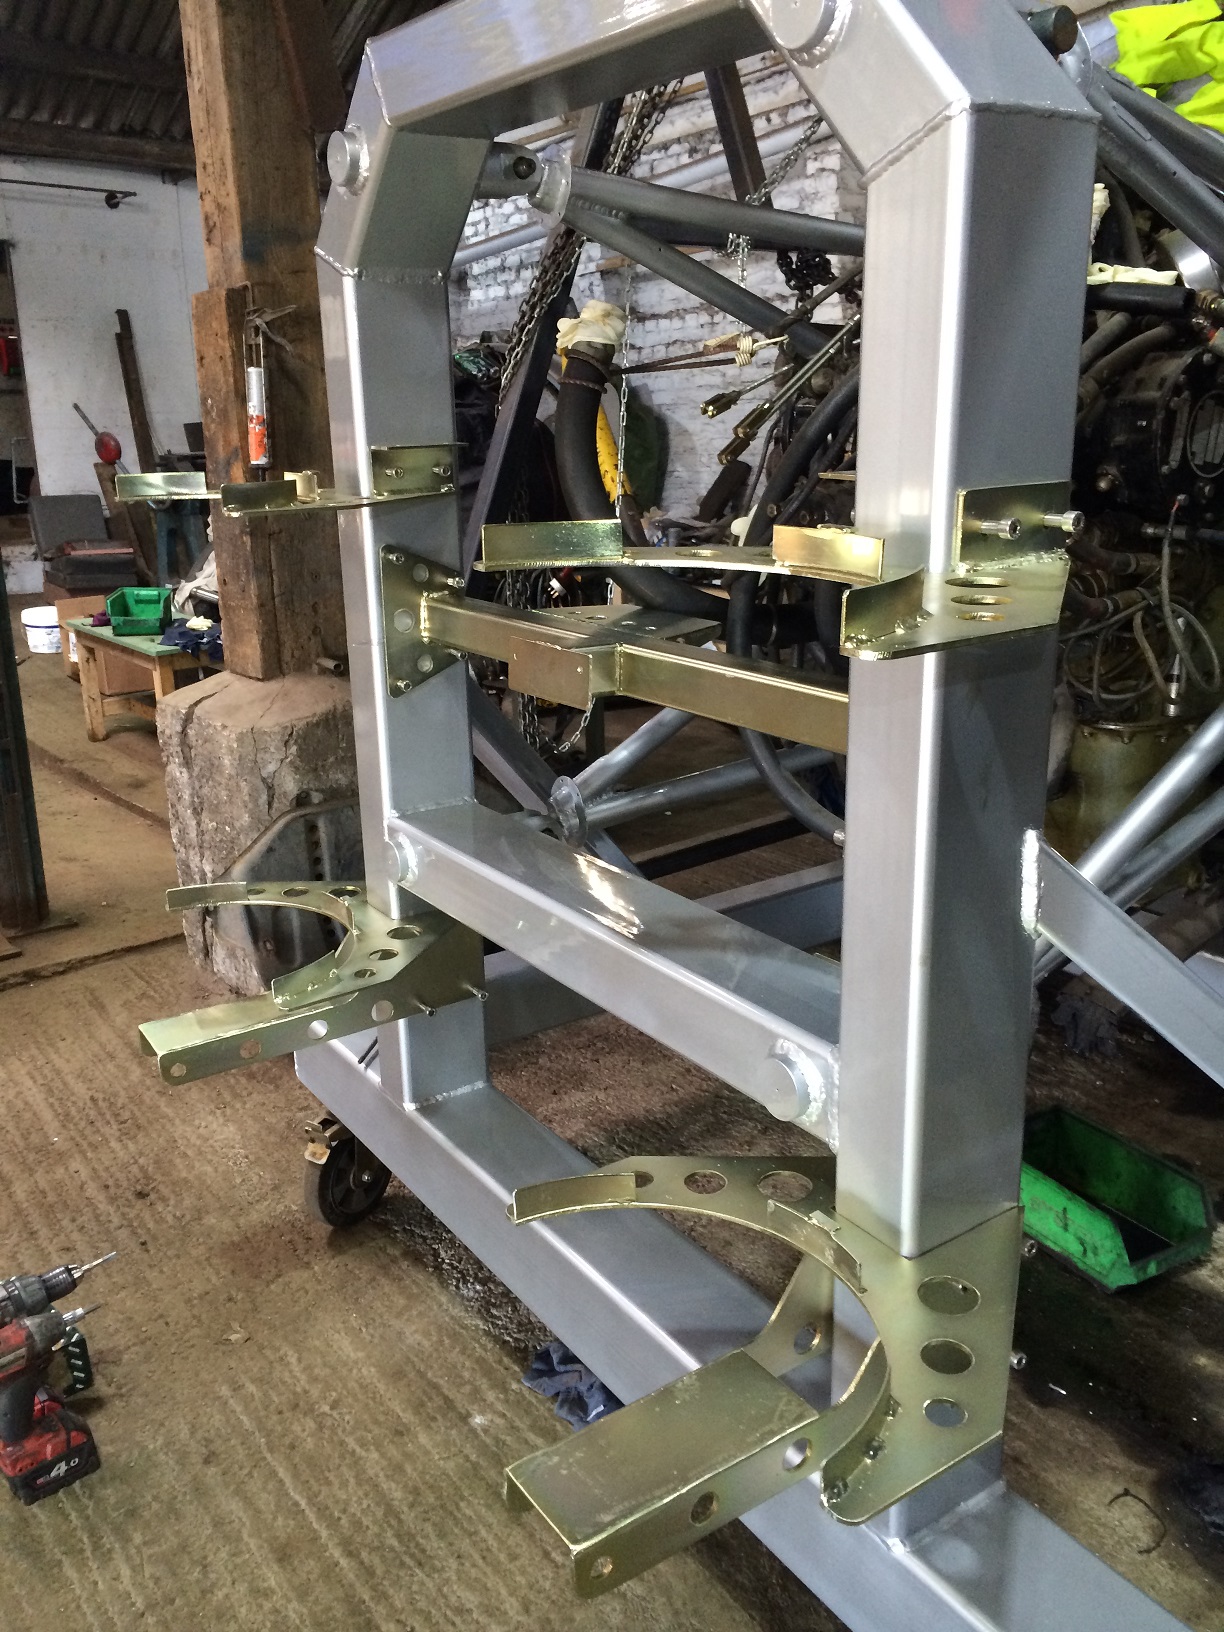
Next we refitted the tank and actuator mounts after being zinc plated coated.
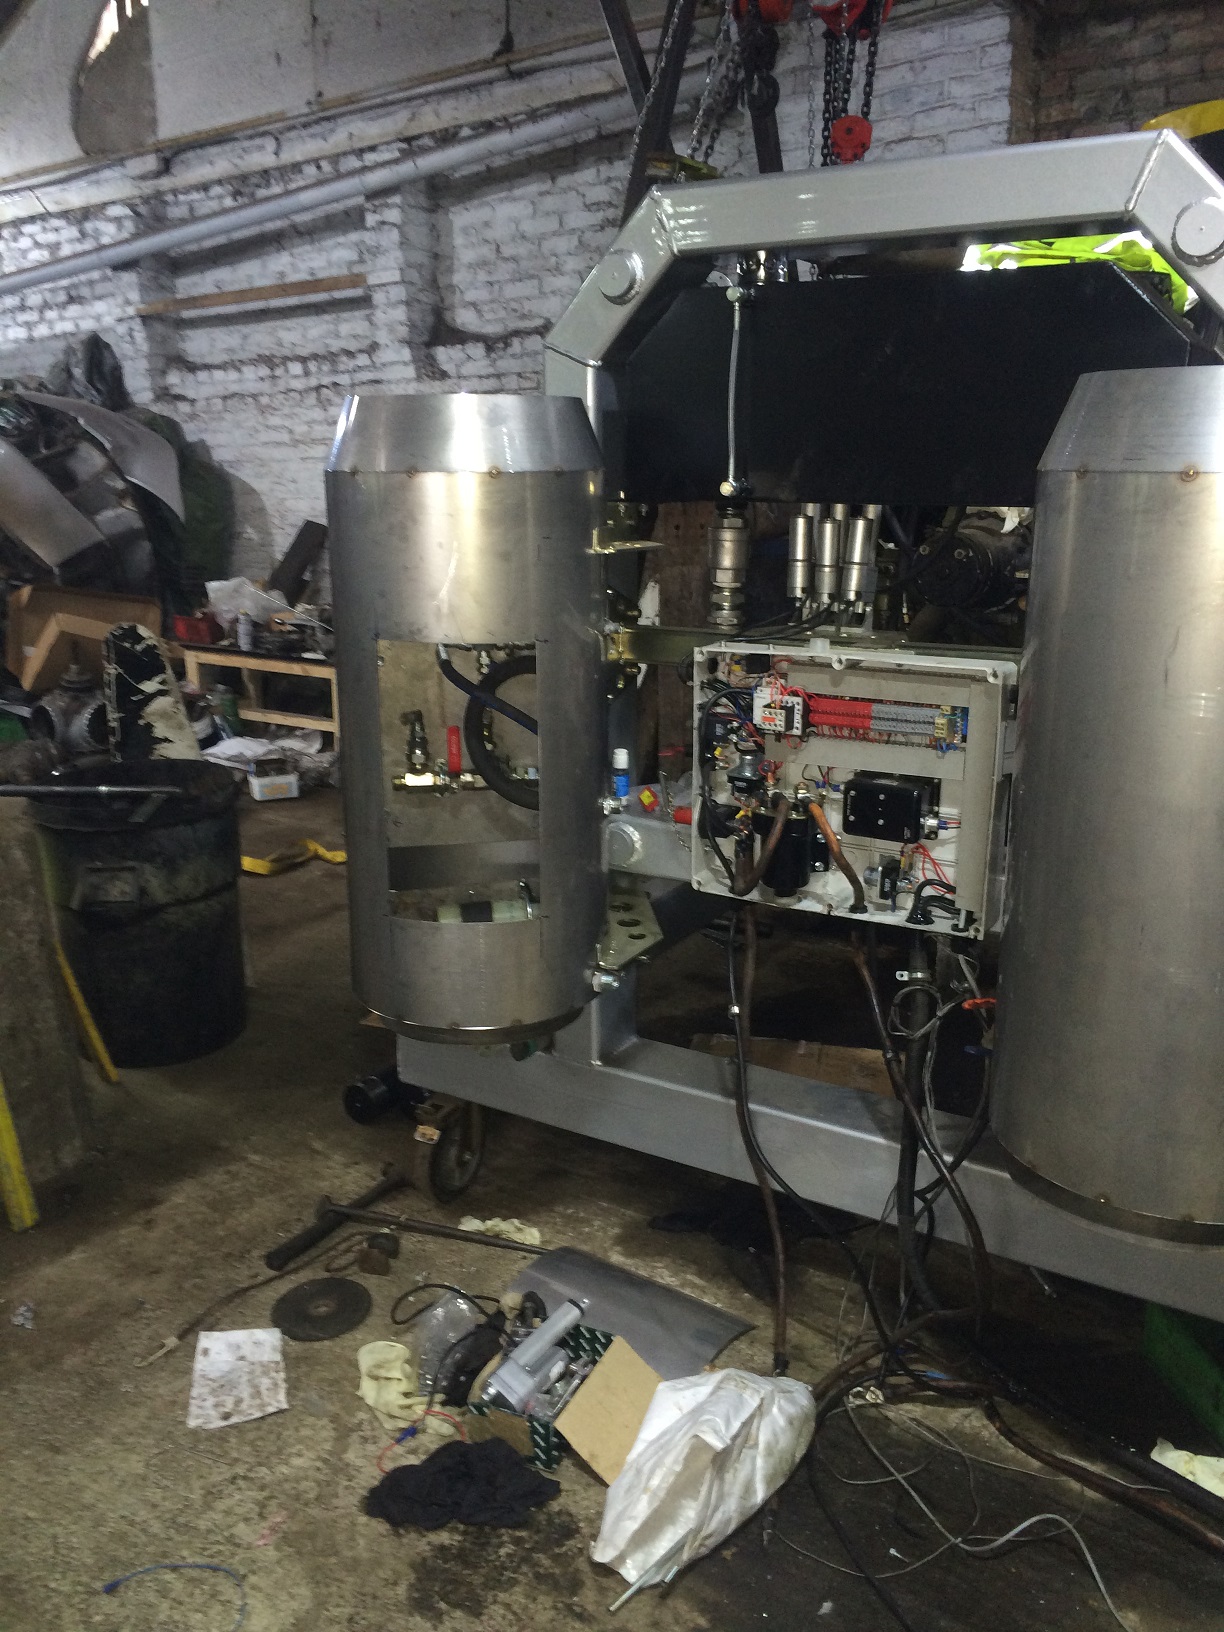
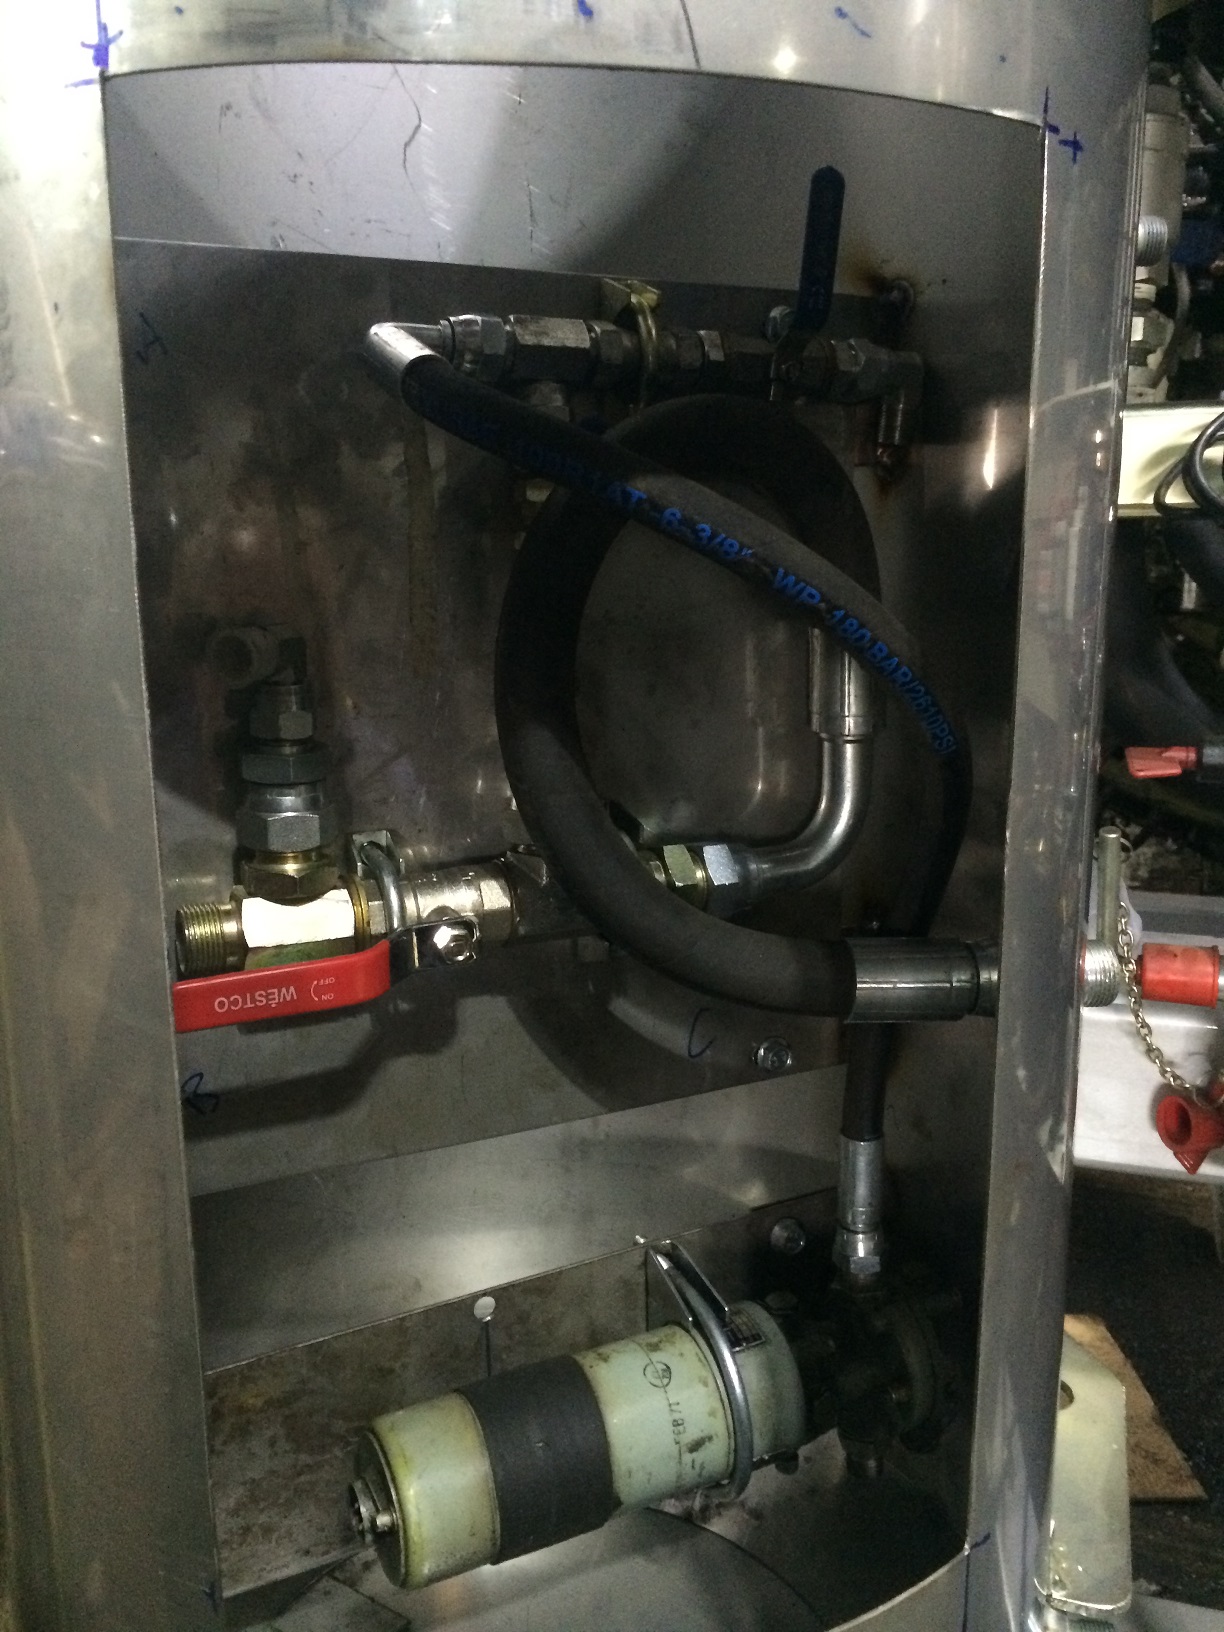
Now it was time to assemble the fuel control tank and the fuel tank. The left hand tank houses the priming pump and control valves.
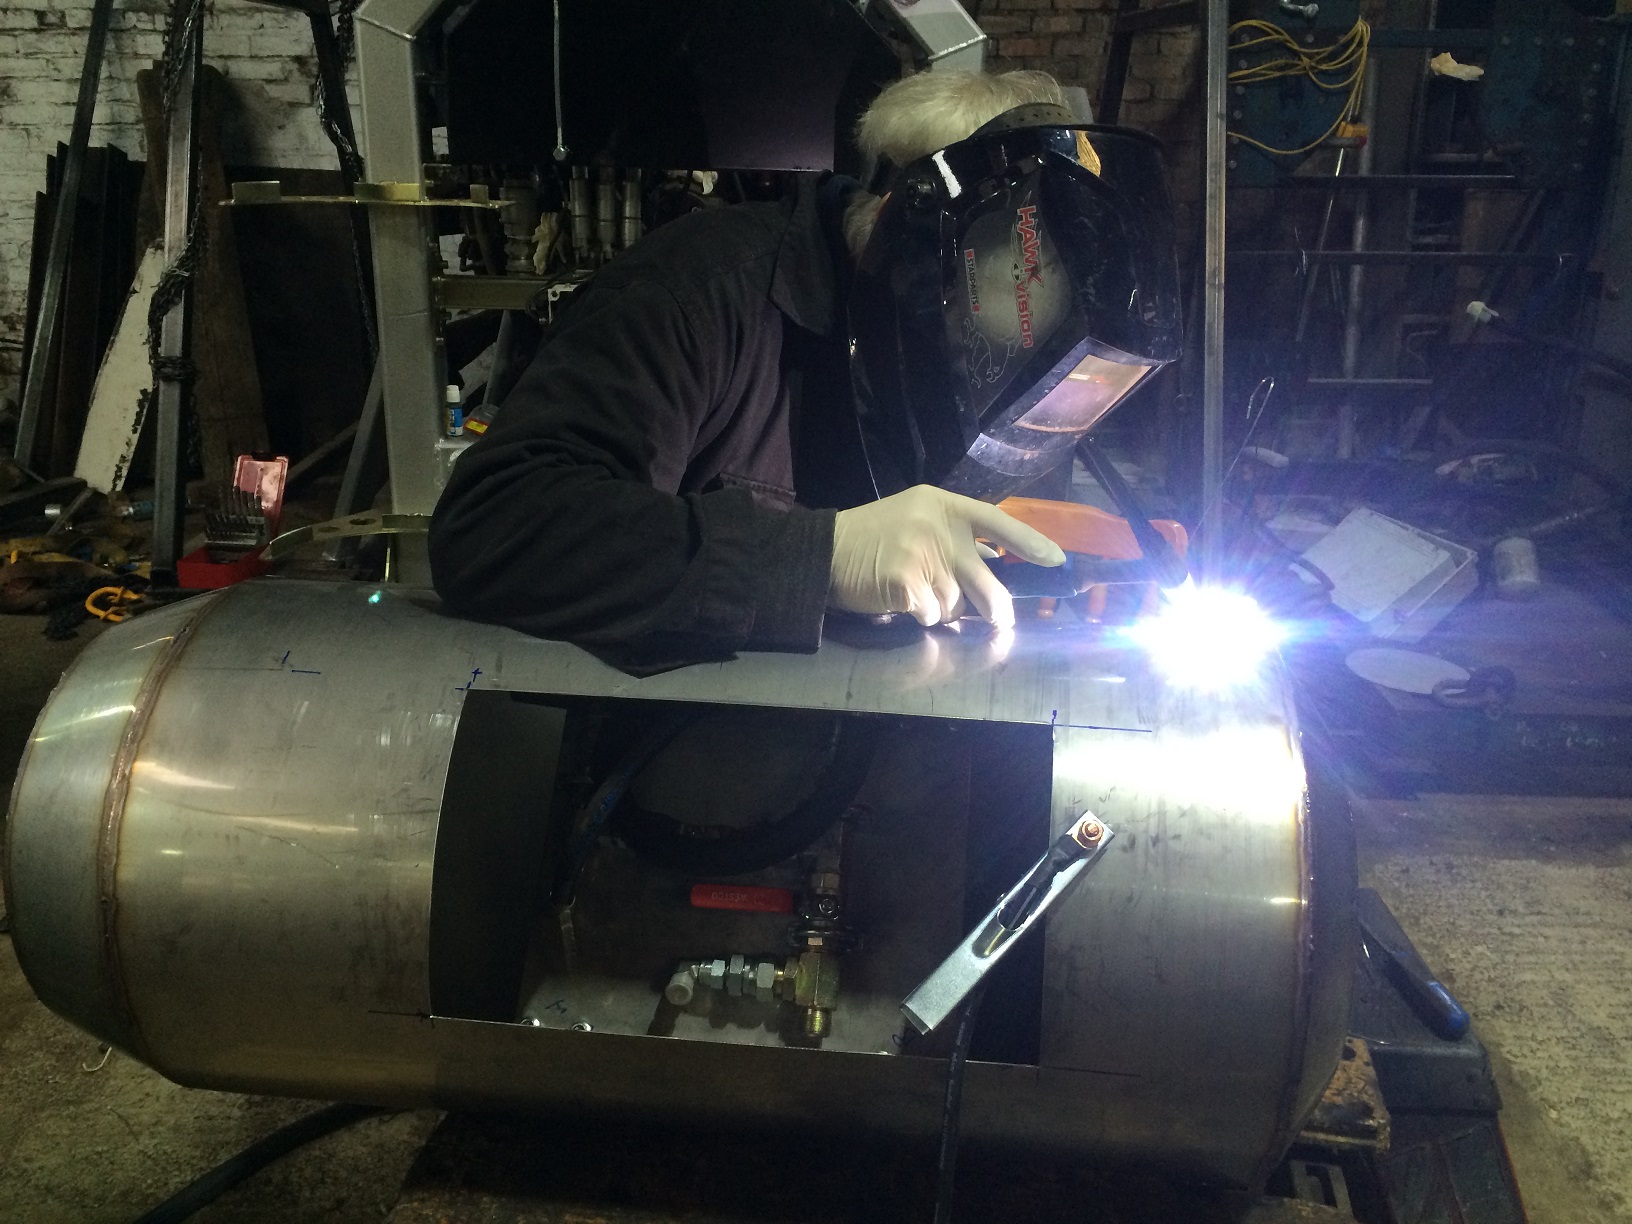
After quite a few hours welding we had them finished.
.
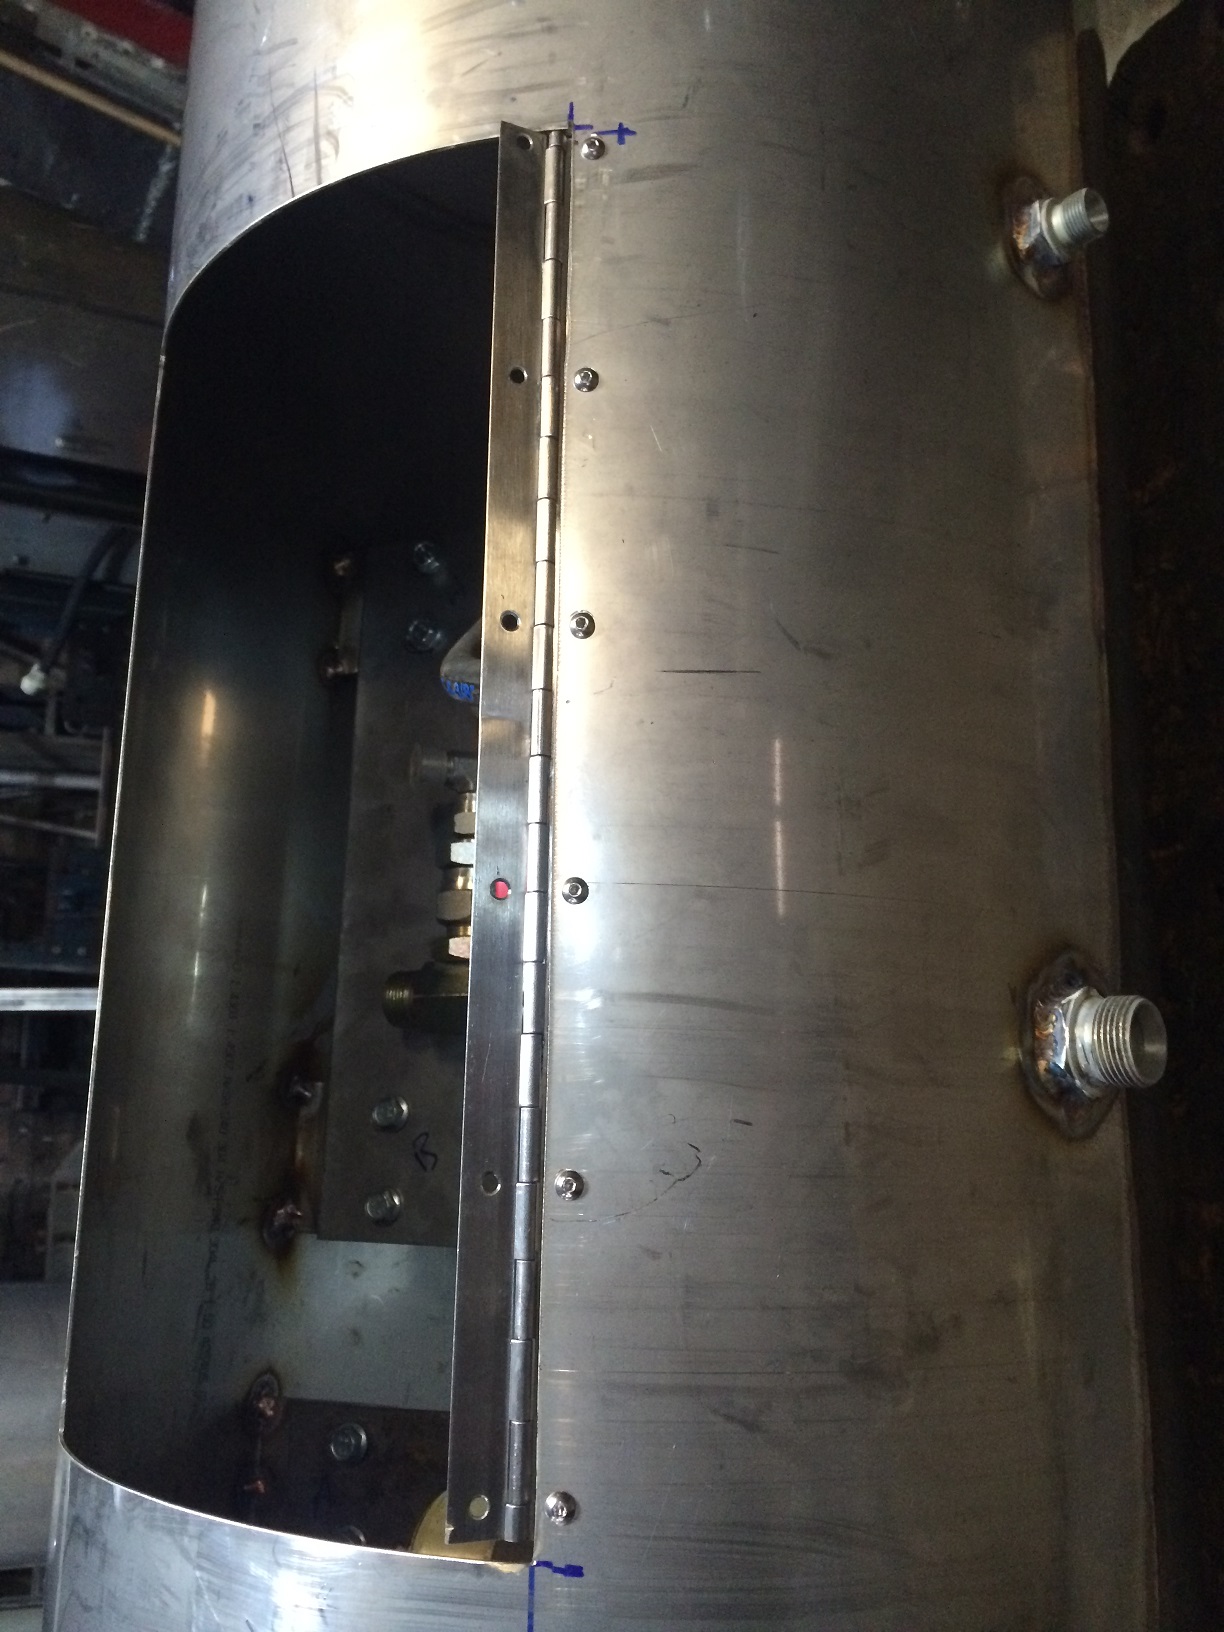
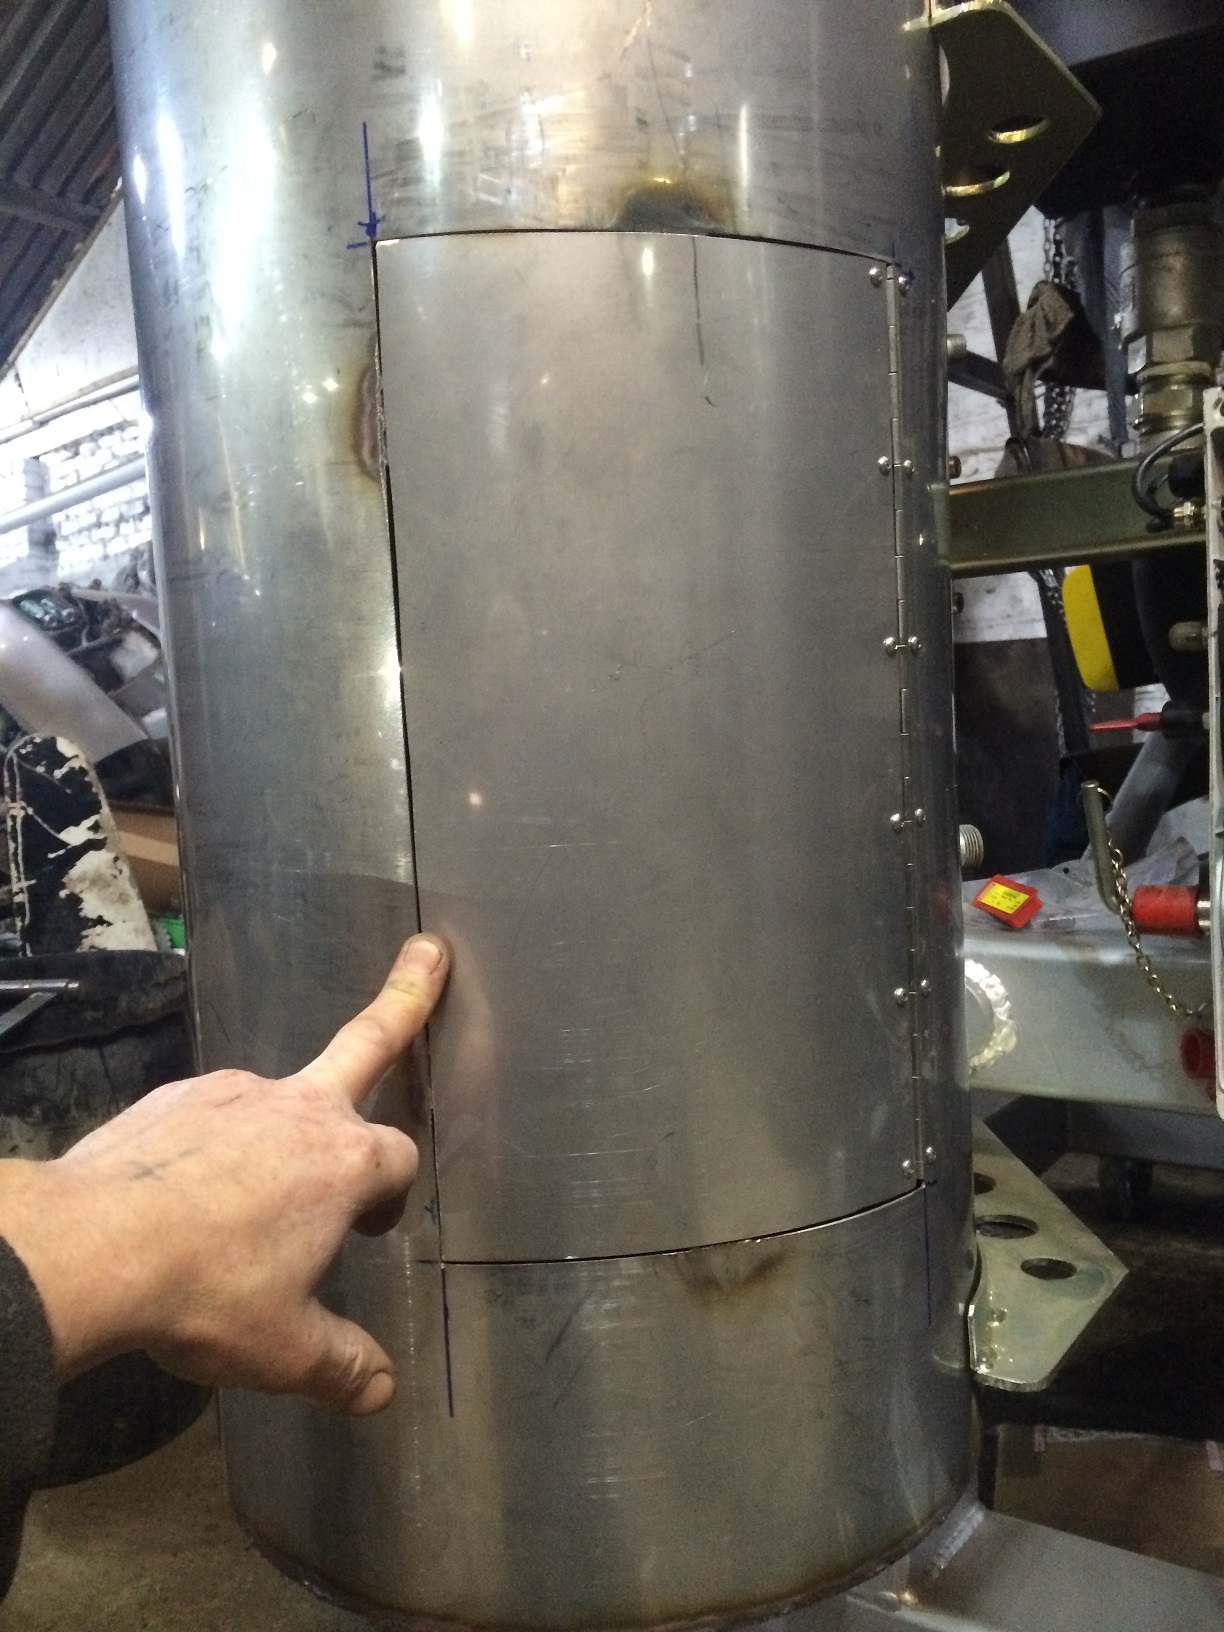
Last job on the left hand tank was to fit the access door.
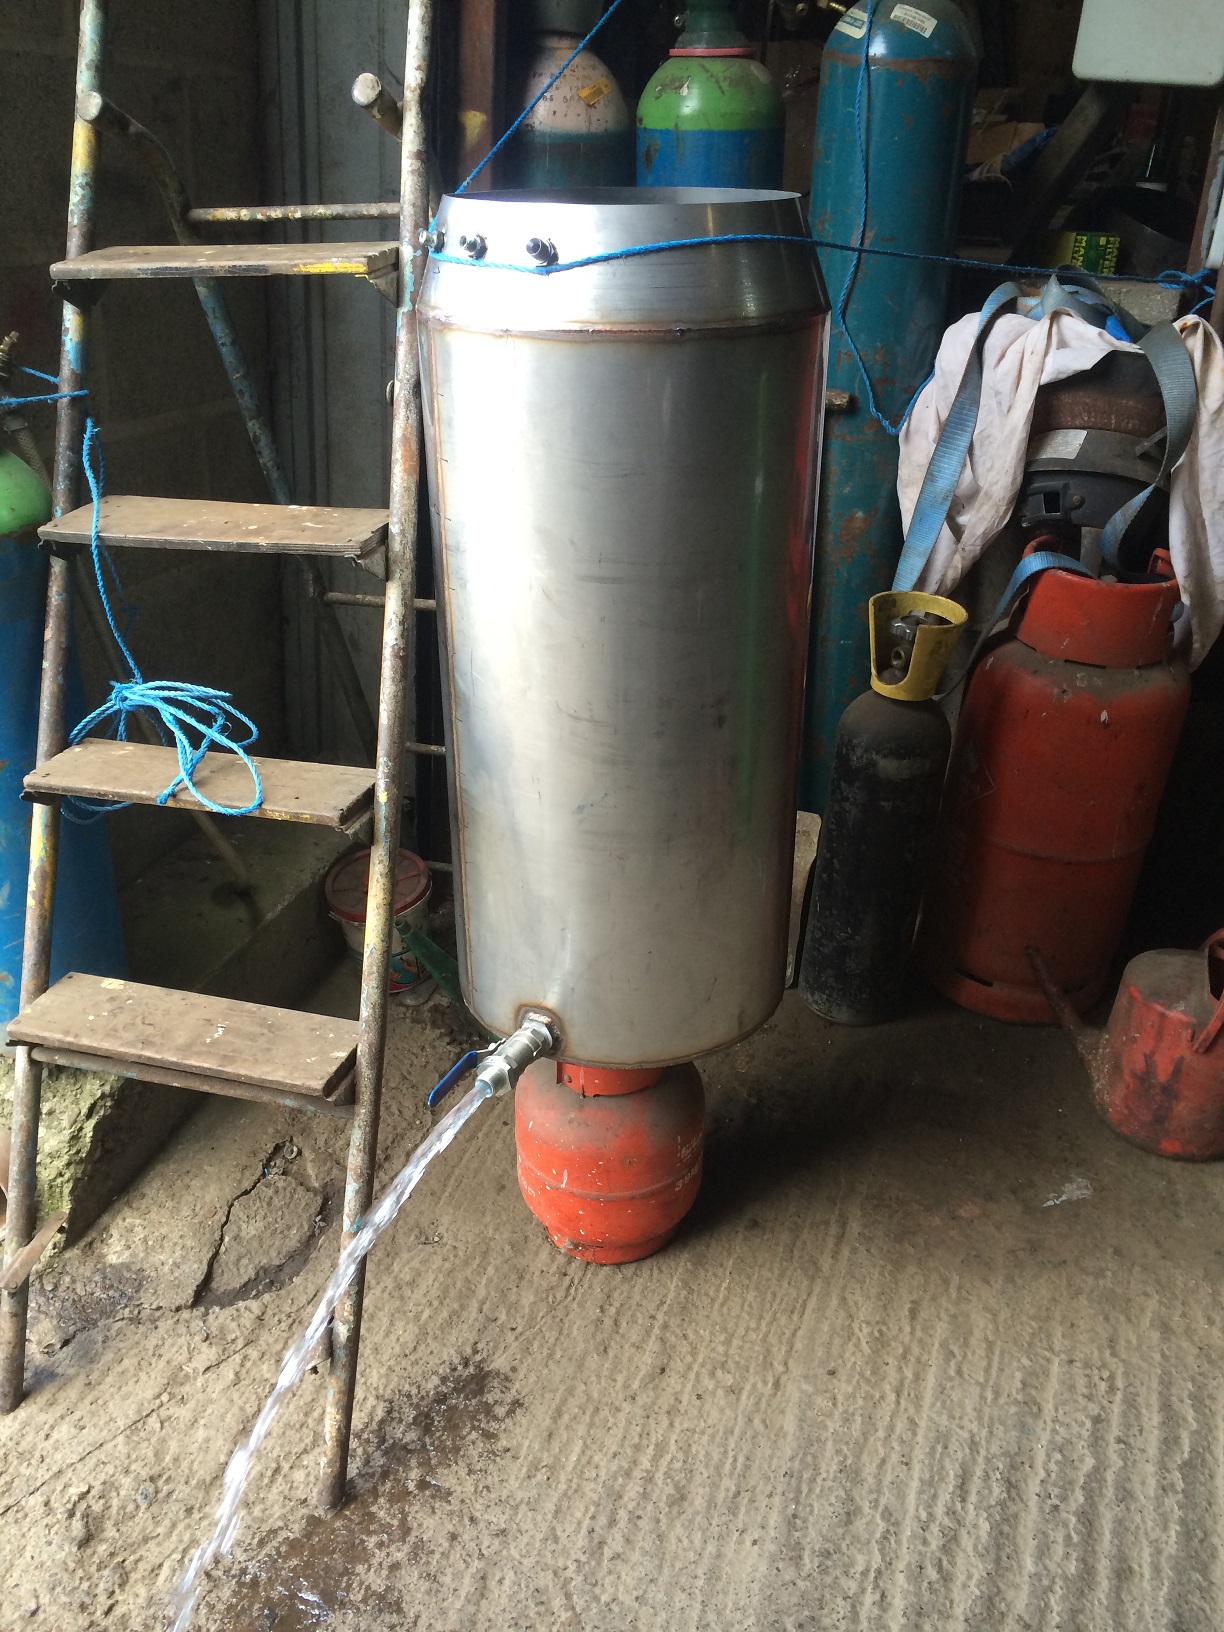
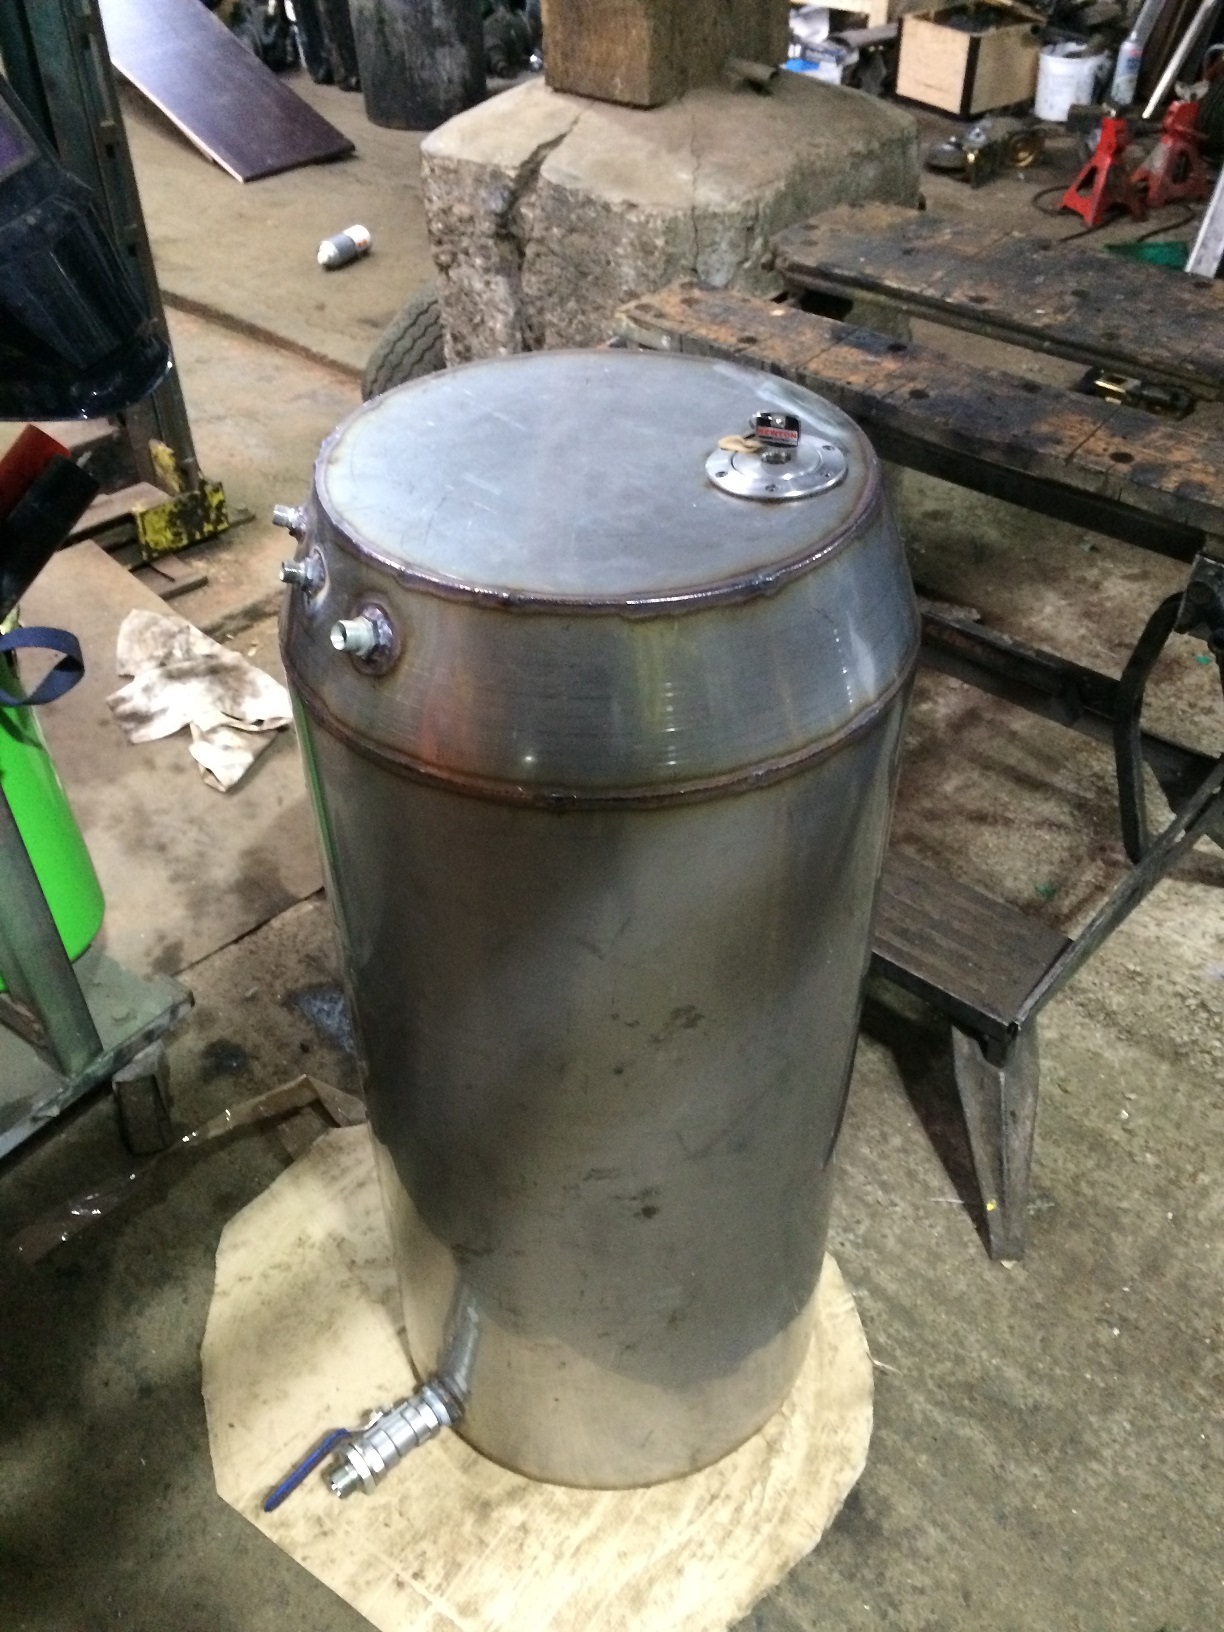
After testing the fuel tank for leaks, the tp was welded on and the filler cap fitted.
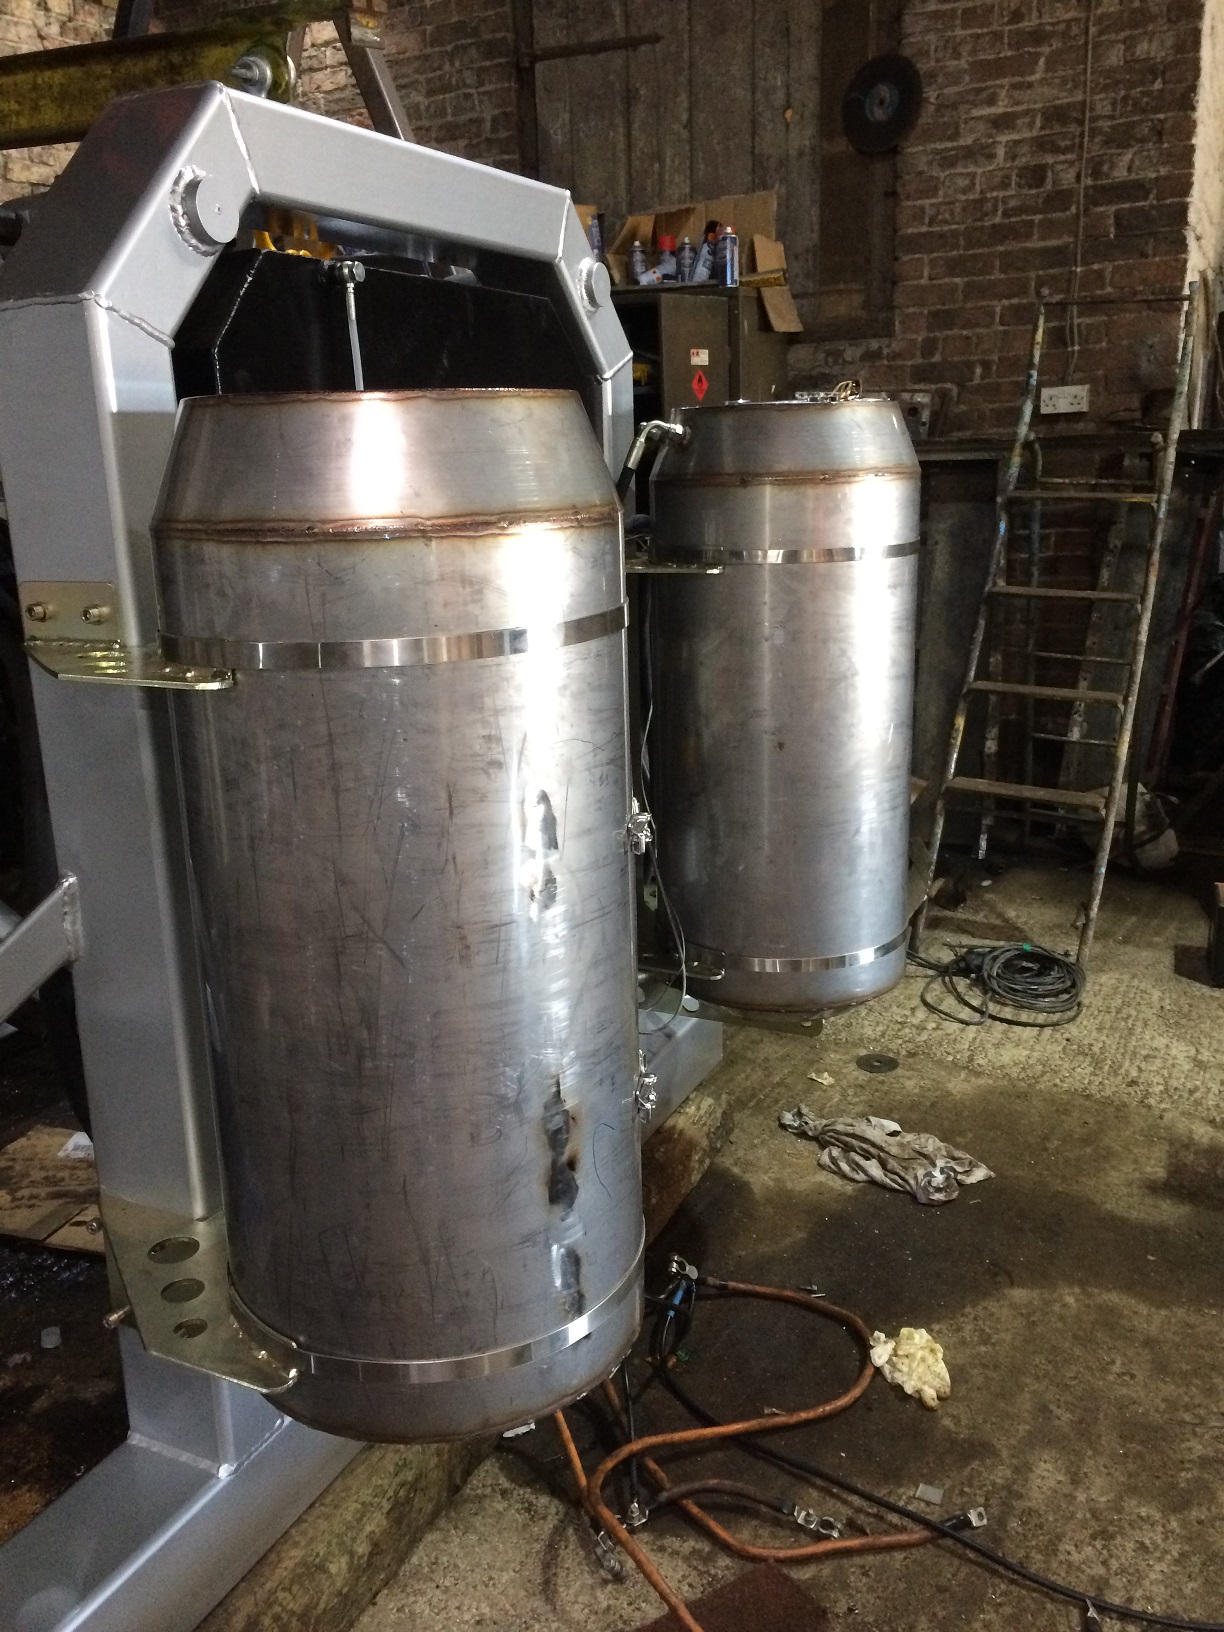
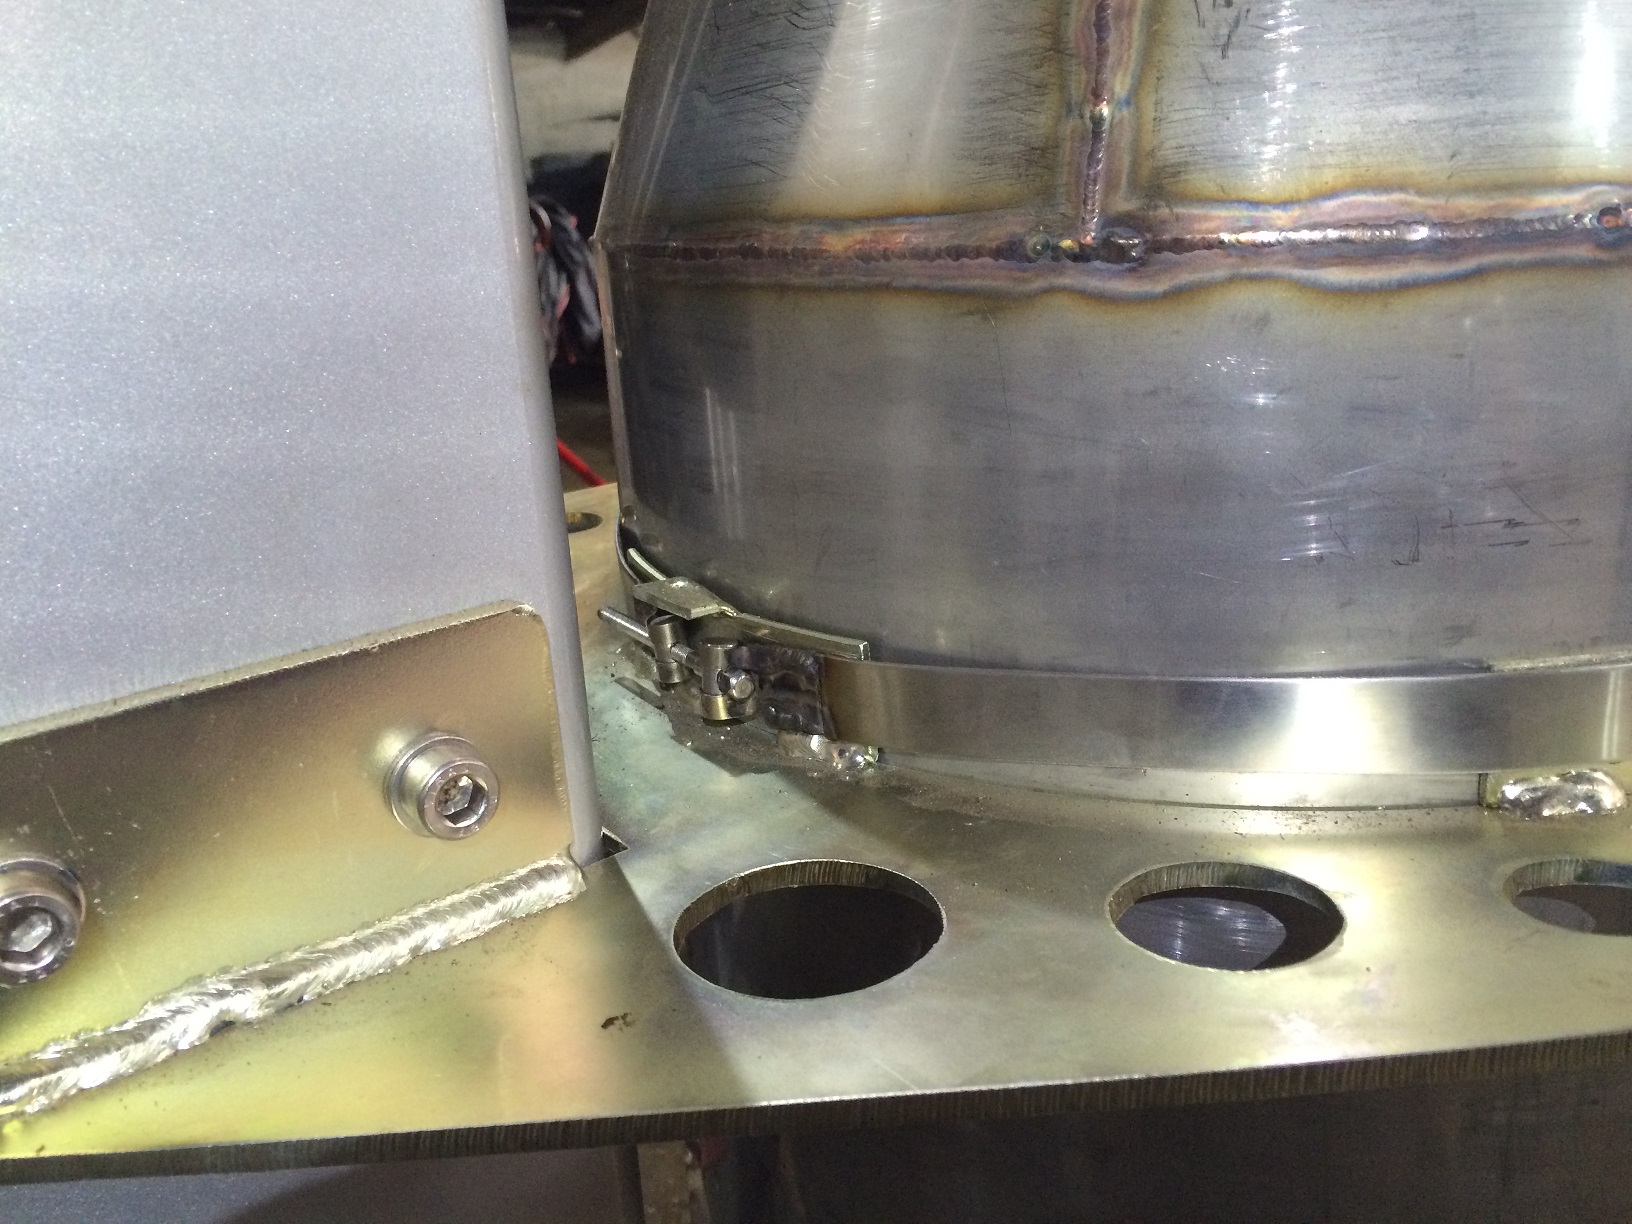
The tanks were now fitted to the stand using stainless steel straps.