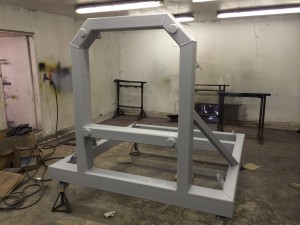
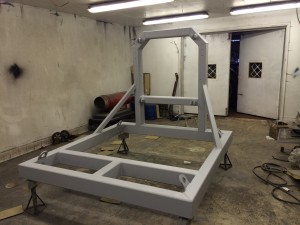
Well Since September we have being busy building a new engine stand for the 216
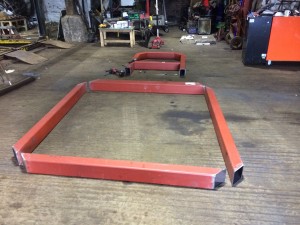
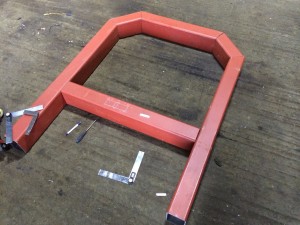
We Got the Steel cut to size by a local steel supplier which saved us a lot of time and effort.
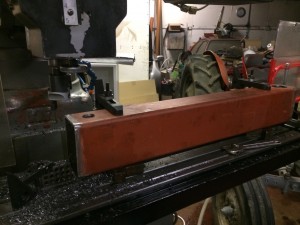
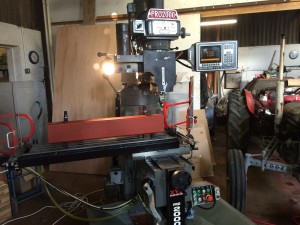
Pete has added another toy! to his workshop, a CNC milling machine, he quickly got stuck in and bored the holes in the box section for the mounting pins.
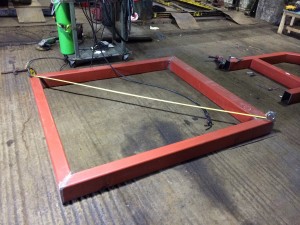
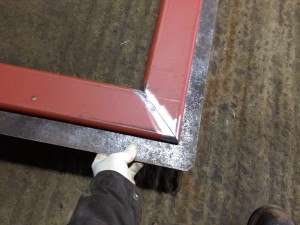
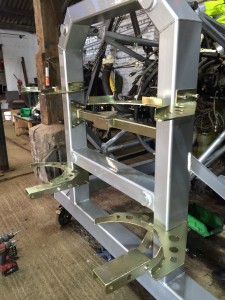
Ensuring everything is square before welding the base together.
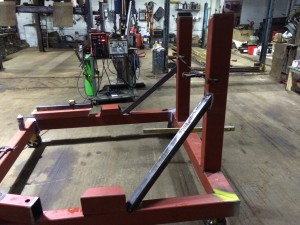
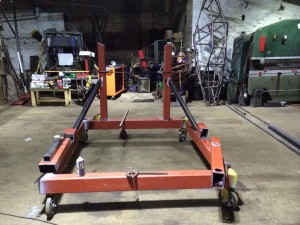
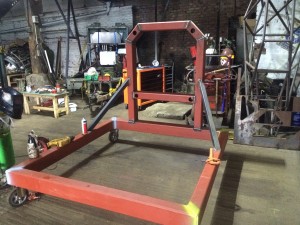
Next we put together the rear mounting arch, which is designed to take our already fabricated oil tank.
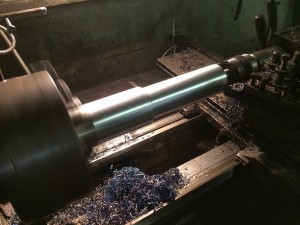
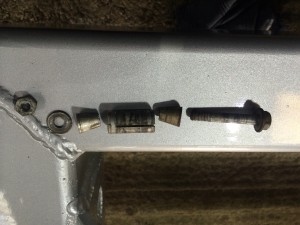
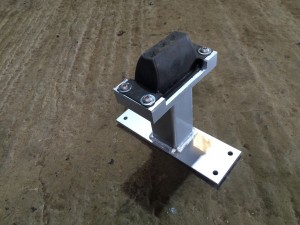
While I was fabricating the frame, Pete started making the four mounting pins.
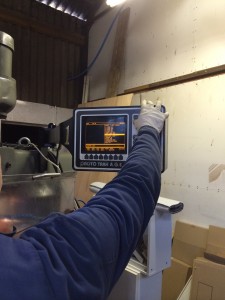
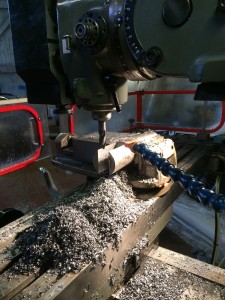
After tuning the pins down they were then slotted and shaped on the milling machine.
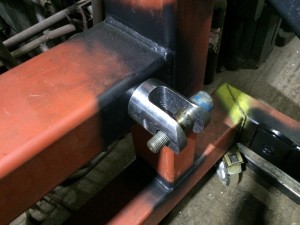
One of the finished mounting pins being test fitted.
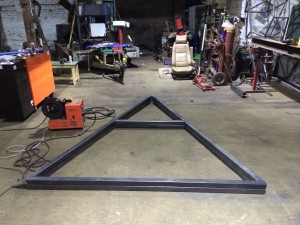
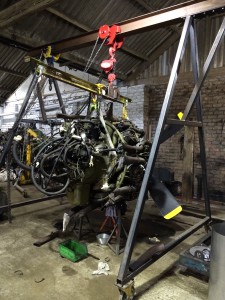
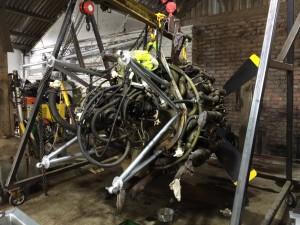
After the engine stand was put together, we made a “A” frame to all us to lift the engines on and off the engine stand, It was designed also to lift and engine mounted stand, this will allow us to lift the stand with engine on and off the trailer.
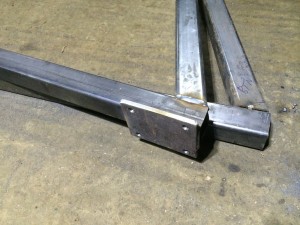
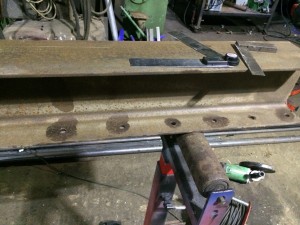
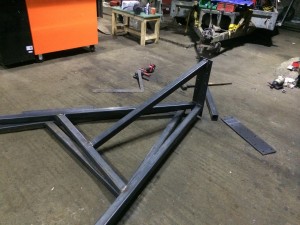
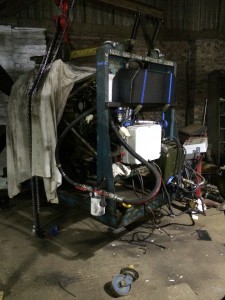
The first job for the “A” frame was to lift off the old engine stand with engine from the trailer.
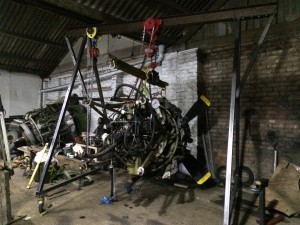
The next thing to do was lift the engine off the old stand.
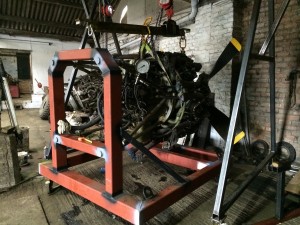
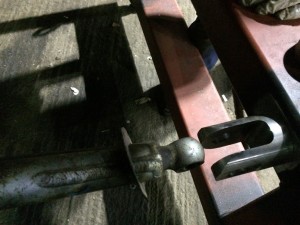
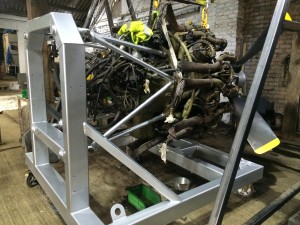
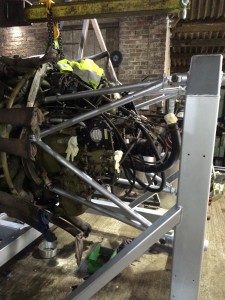
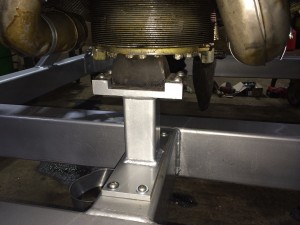
Now we can fit the engine to the new stand.
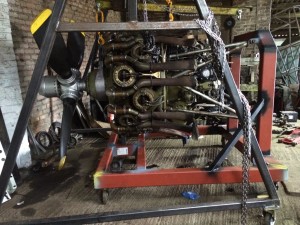
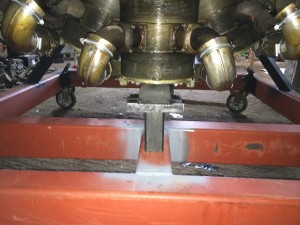
To allow for shock loads while the engine is moved on the road, we fitted a rubber front support.
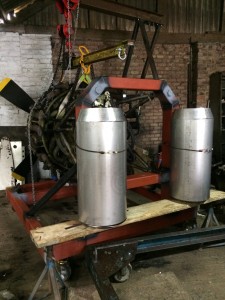
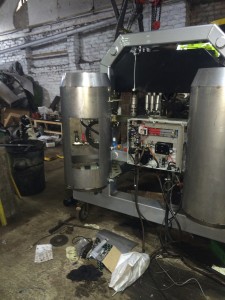
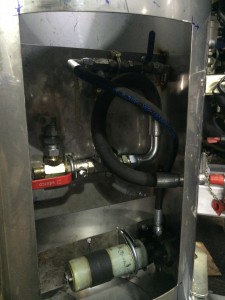
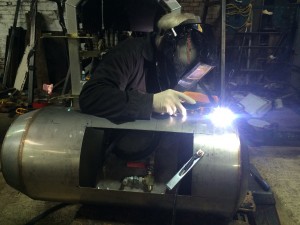
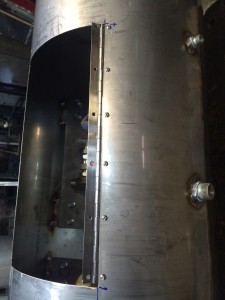
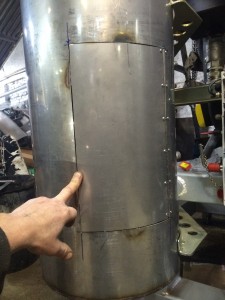
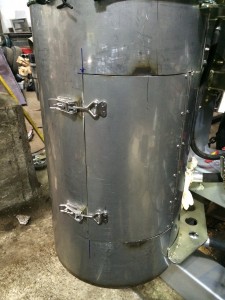
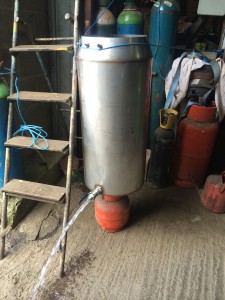
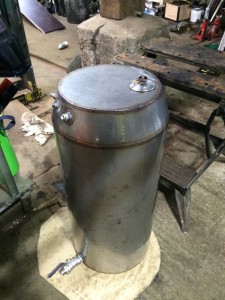
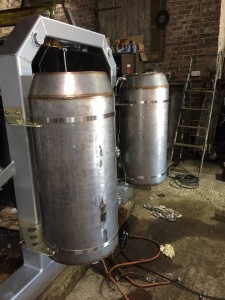
We decided to design and make two cylindrical tanks for the rear of the engine frame, one for fuel, and the other to house priming pumps and valves etc.
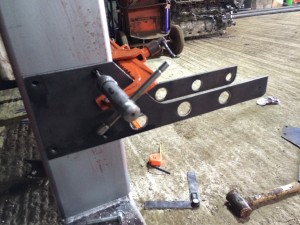
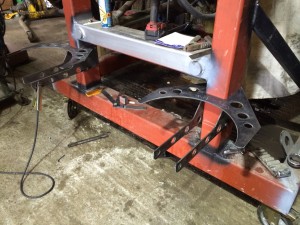
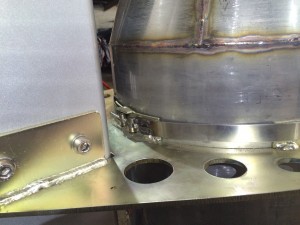
Dominic made up some brackets for the tanks on his CNC Plasma cutter.
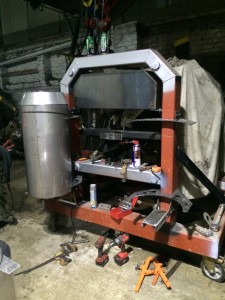
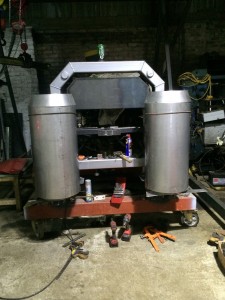
At the same time we made up the oil tank,control box and linear actuator mounts.
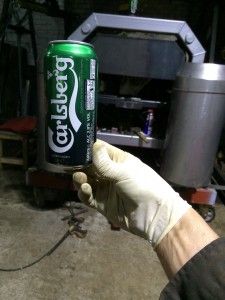
Now you can see what the tanks are going to look like!
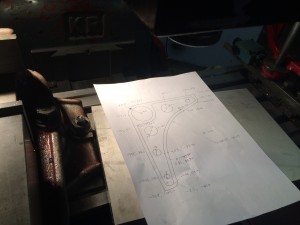
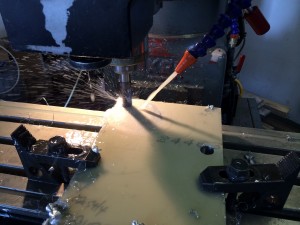
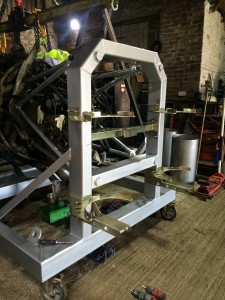
We decided to make some new control cranks or the throttle, constant speed control and fuel shut off.
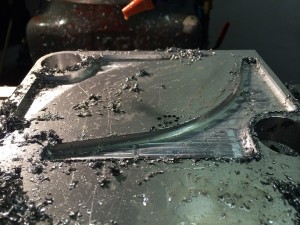
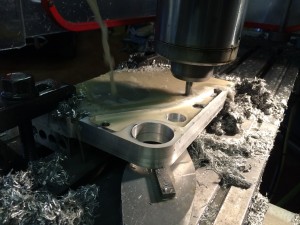
Pete enjoyed getting stuck unto his CNC milling tasks!
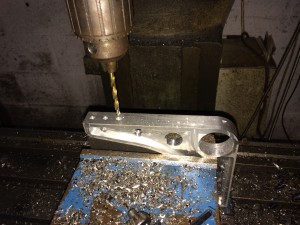
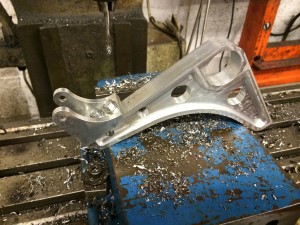
After the cranks were made he then mounted the actuator mounts.
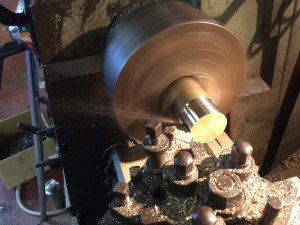
Next Pete made some brass bushing for the cranks.
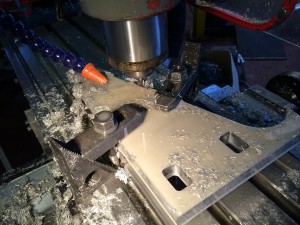
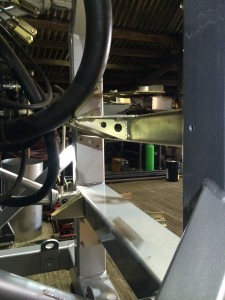
The next job for Pete was to make the crank control shaft mounts.
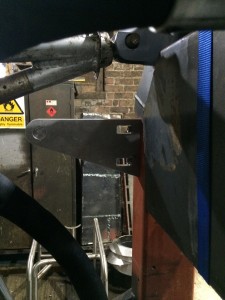
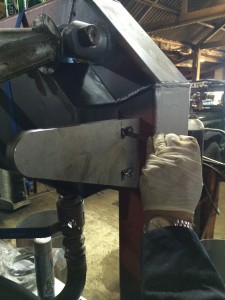
Test fitting the mounts.
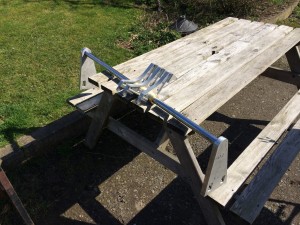
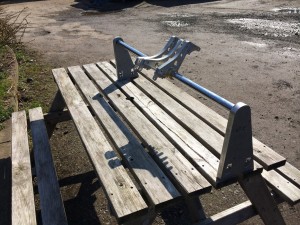
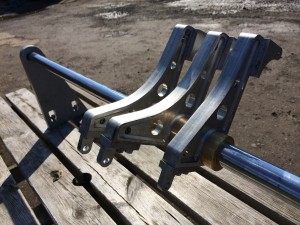
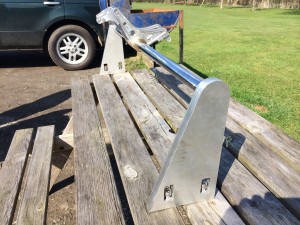
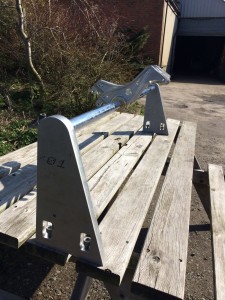
And there we have it, ready to be fitted to the new stand.
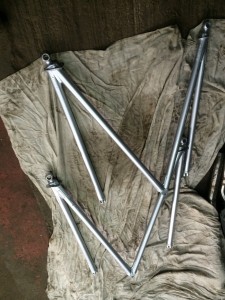
The next job is to remove the engine from the frame and paint it, also remove the engine mount tubes and have them cleaned and painted, while this is being done we will finish off the tanks ready for assembly. We hope to have it all done by the first week of May 2015.
