Category Archives: The Big Clean

Cleaning and Re-fiting Super Charger and Gearbox

super_charger_refit 002super_charger_refit 001

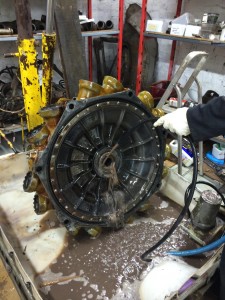
The first job this weekend was to clean out our parts washer, as you can see  we have removed a lot of muck and crud from this old girl!

super_charger_refit 005

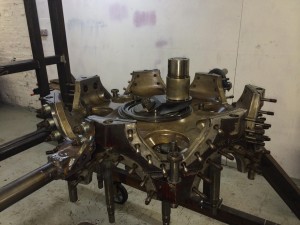
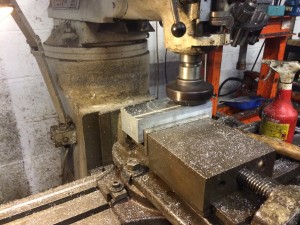
After flattening down the out side of the super charger we flushed out all the oil ways.

super_charger_refit 004


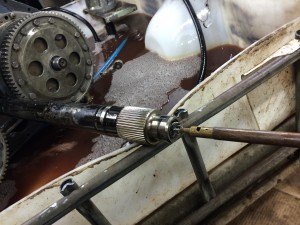
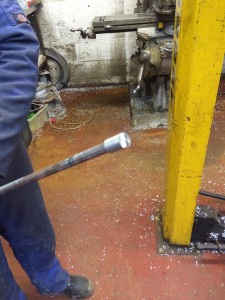
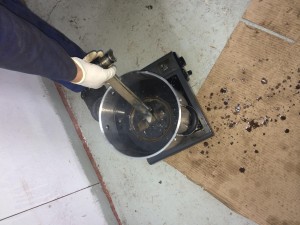
The gear box drive shaft took some cleaning, as there is an inner tube inside the the drive shaft to create an annular oil gallery, this was well bunged up with muck but using the 12 bore shot gun barrel cleaner we soon had it cleaned out.

super_charger_refit 003

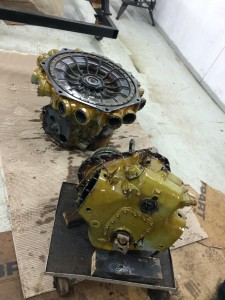
After a couple of hours work we had the Super charger and Gearbox ready to be refitted.

super_charger_refit 006 super_charger_refit 007

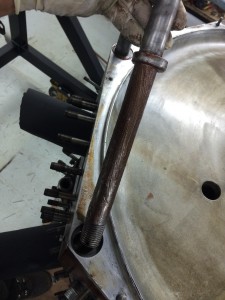
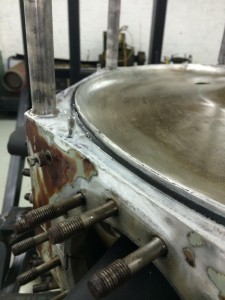
After cleaning the rear crankcase bolts, we lubed them with grease and refitted them, then refitted the “O” ring and applied new sealant ready for the Super charger.

super_charger_refit 008 super_charger_refit 009    

Peter looking serious here as we get ready to fit the Supercharger, must be time for a beer!

super_charger_refit 010super_charger_refit 011


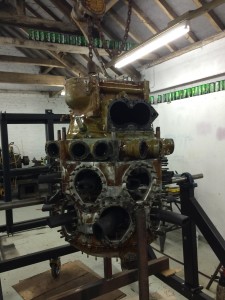
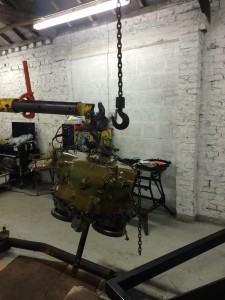
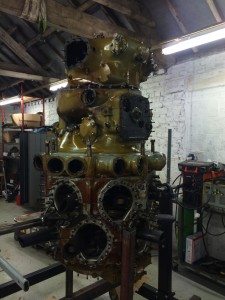
And on she goes, next job rejig the chain pull higher up in the roof to lift the gearbox on.


264 gearbox refit 010

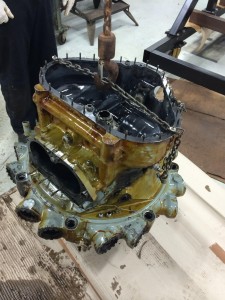
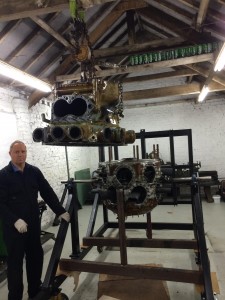
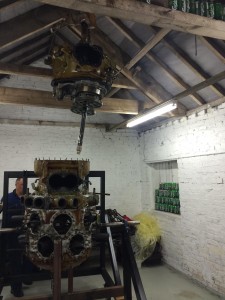
Here we have to pass the gearbox over to the chain hoist and lift it way into the roof!

264 gearbox refit 011 264 gearbox refit 012


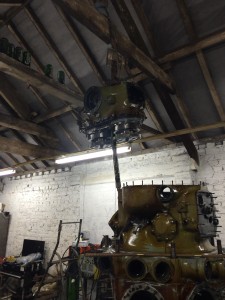
We had just enough height to clear the engine…

264 gearbox refit 013 264 gearbox refit 014


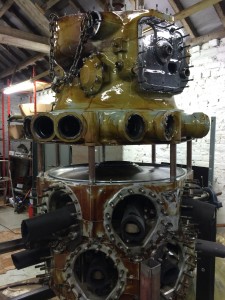
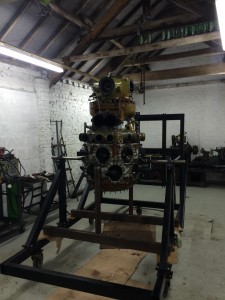
And there we have it, next job is to paint the engine mount ring and engine mount frame.

264 gearbox refit 016 264 gearbox refit 015


Engine mount frame painted, just the engine mount ring to do now then we can etch prime the back half of the engine, fit the engine mount and rotate the engine back to the horizontal position.
The Big Clean up

jan 11 004


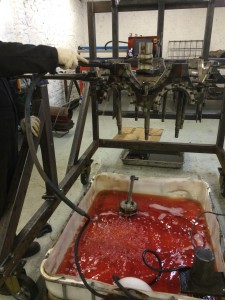
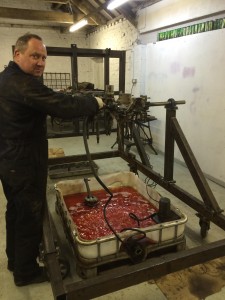
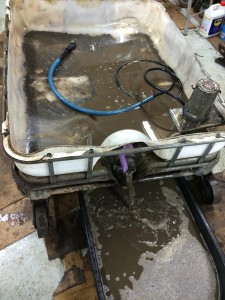
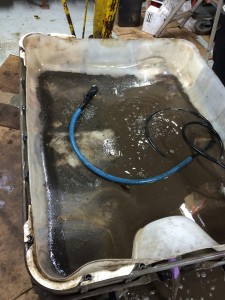
The first thing we did was to make a suitable sized parts washer.

jan 11 005


Initially  we are using red diesel to clean the crud off and flush out the oil ways. As you can see, one of the children couldn’t resist going  for a swim.

jan 7 027


The main bearing is silky smooth after being cleaned

jan 11 005


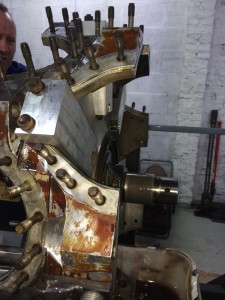
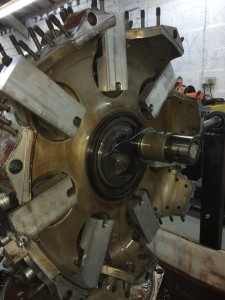
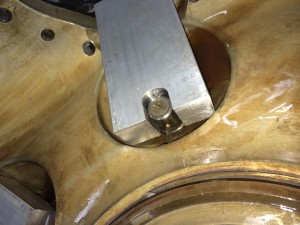
The next job we had to do was make some locking blocks for the sleeve drive shafts, to stop them drooping to one side when we rotate the engine, if this happens the rollers drop out from the sleeve drive shaft bearings and they are quite fiddly to get back in!

jan 11 008 jan 11 007

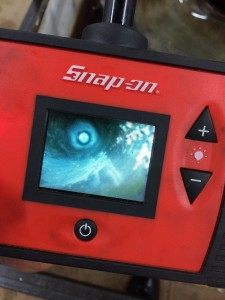
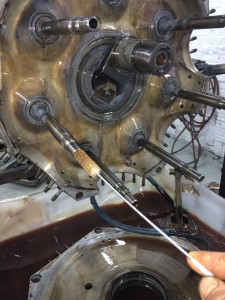
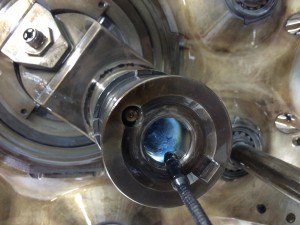
Using a endoscope you can see the amount of muck down the center of the drive shafts, all this needs to be cleaned out.

jan 11 026

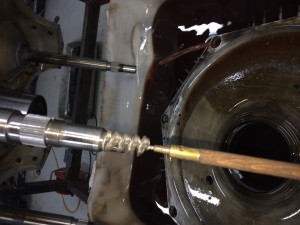
Using various 12 bore shot gun cleaning tools they cleaned up a treat.

jan 11 025 jan 11 009

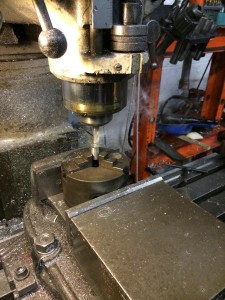
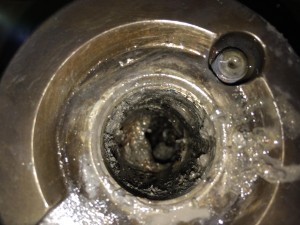
At the bottom of the shaft there still was a bit of muck stuck near the oil way so we made a special tool to clean the bottom face out.

jan 11 029jan 11 031  

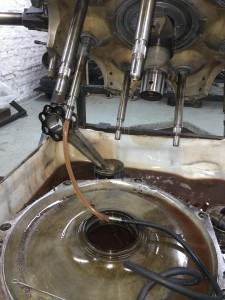
Using the engine cleaning bath pump to flush out all of the oil ways.

jan 11 012 jan 11 011

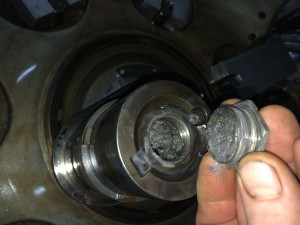
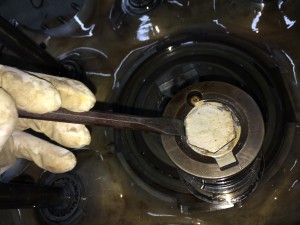
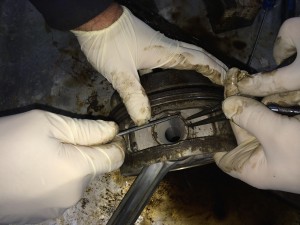
Next job was to clean out the crank oil ways, after removing the crank blanking plugs you can see the amount of crap that has  formed  since the engine last ran.
jan 11 033 jan 11 036


After fully cleaning the internals and oil jets of the crank and flushing out it was time to put the first bit of the engine back together!

jan 11 034 jan 11 037


The next task was to remove the pistons from the con rods, quite a simple job just remove the snap rings and immerse in hot oil for a minute and tap out the gudgeon pins.
jan 11 016 jan 11 023

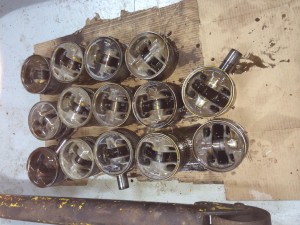
Half an hour later the kids are all lined up for a roll call!

jan 11 024

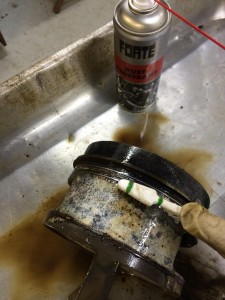
Now comes the long job of cleaned the pistons.

jan 11 003