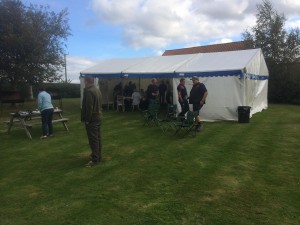
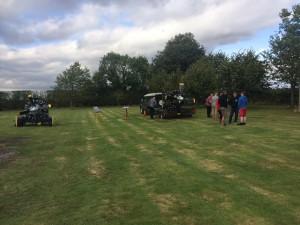
On the 27th September 2014 we asked a few friends and Bristol Hercules fans to come along and enjoy a beer or two and a bit of a Bar BQ.
Brian Mills brought his 216 along to keep ours company..
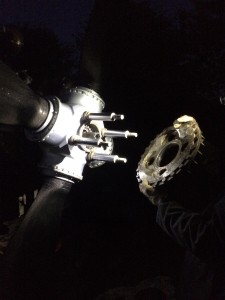
We had a practice start the previous night just to test all of the control systems and we developed a major oil leak from the prop hub. So there was only one thing to do, put a pair of head torches on and strip it down in the dark!
The problem was the seals that the four actuating rods go through wear split, luckily we had some spare ones from the other prop hub.
Here is a clip of the first start up and you can see when the oil seals let go, as the oil gets sprayed all over the exhausts.
This next clip is the final run of the day when we had both 216’s running together, now that is a moment in time everybody there won’t forget in a hurry. Brian had a bit of a technical start up issue, he forgot to turn on the fuel, easily done as we made the same mistake the previous night!
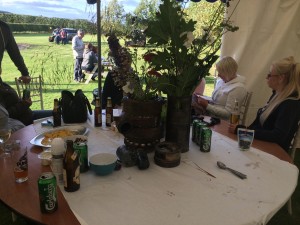
After the final run we retied to the marque and enjoyed a few beers and food.
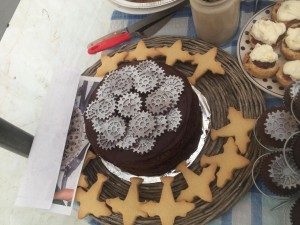
Peters wife Jackie did a great job of the cakes they look familiar!
Also the table decorations consisted of a Cylinder , Sleeve, Cylinder Head and Piston from the 264, Thanks again Jackie for your green finger touch.
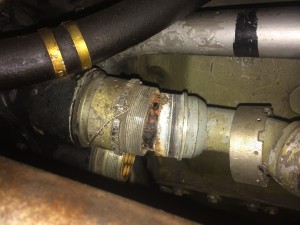
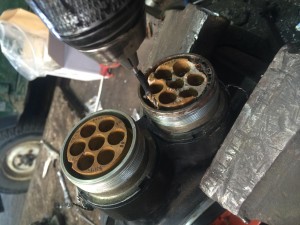
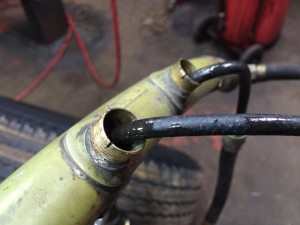
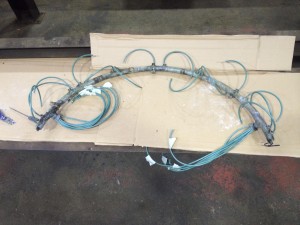
For all you Bristol Hercules buffs you may of noticed that our 216 was running a bit rough! well to tell you the truth is was only running on 8 cylinders!. There was not a lot we could do about it on the day but we found out that it was one of the mags was hardly working and the upper ignition harness was badly corroded and had water in it. That’s what happens when you leave these old girls outside!!!
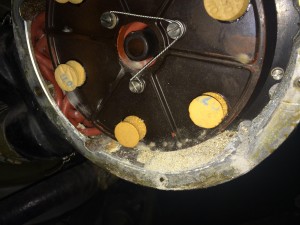
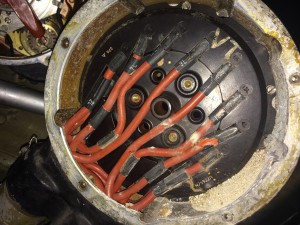
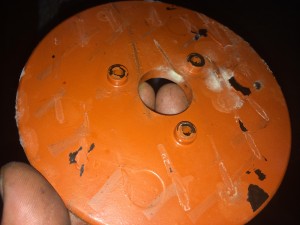
On first inspection, the upper ignition harness was corroded and seized into the distributor top on both sides.
There was only one way to get it off and that was to brake it off!
We chain drilled the remnants out with the view of making a new insulator.
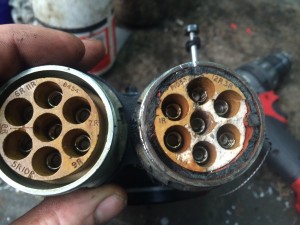
But as luck would have it , in and among our 264 parts we acquired when we got our first 264 there was a lower ignition harness for a 216! with one good magneto connector on it.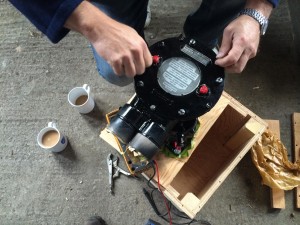
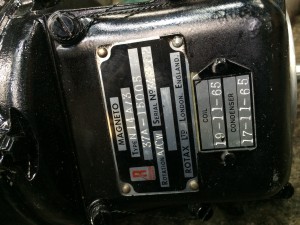
Because we only had one harness to Mag connector we contacted Chris at Jet Art as we new he had one new mag and a few good serviceable ones. We acquired the new left hand one and a good right hand one. A big thank you to Chris on letting us have a good look round his big boys sweetie shop.
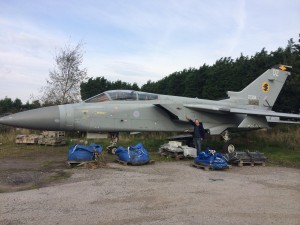
Oh and look what we found! a Tornado F3 that Pete had flown in his RAF career, we thought we better not bring that home as the Gillian and Jackie might not of been to pleased!
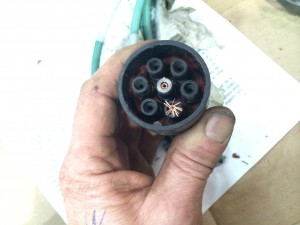
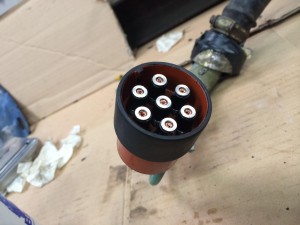
Once we had the new magnetos, we stripped down one of them to retrieve the missing connector.
Once we got the coupling off, we slit it down the the side and teased it apart to get the coupling out.
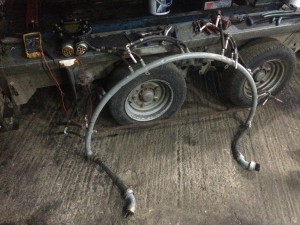
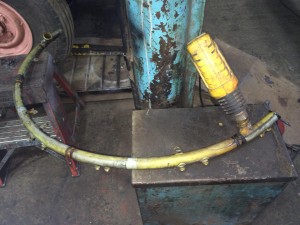
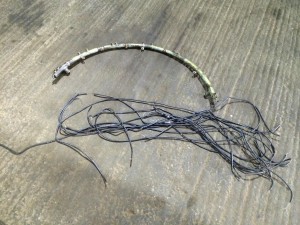
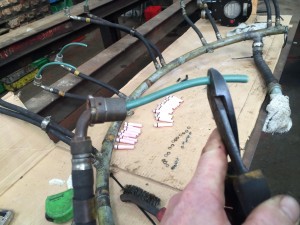
We got the upper harness removed then stripped it down.
As you can see there was evidence of water everywhere!
Once stripped, the upper conduit was fully dried out.
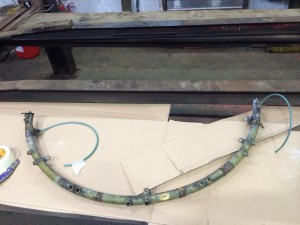
Threading the new HT cable down the conduit was straight forward, just follow the instructions in the manual and label them as you go.
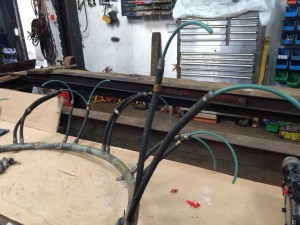
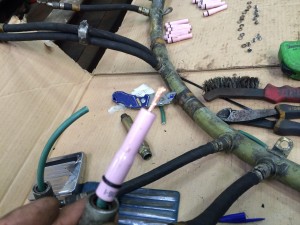
Now you can fit the spark plug conduits and elbows.
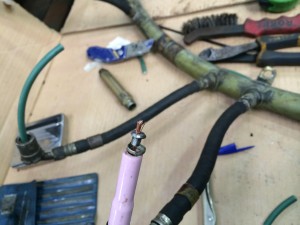
Now we can fit the spark plug insulators.
Its a bit fiddly, but one you get the hang of it, it doesn’t take to long to complete.
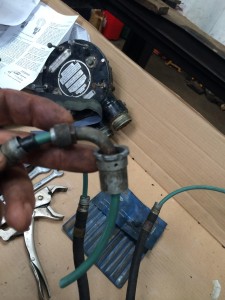
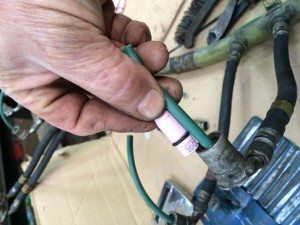
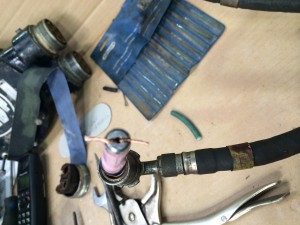
After fitting the magneto flexible conduit, it was time to terminate the magneto connectors.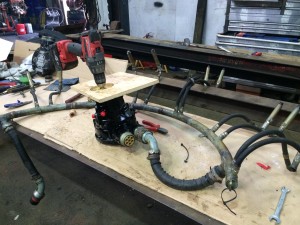
We fitted a set of plugs and tested it we the new magneto and a cordless drill drive! It.
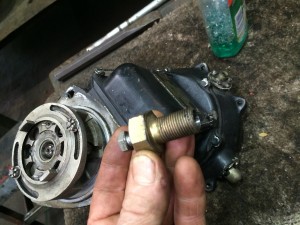
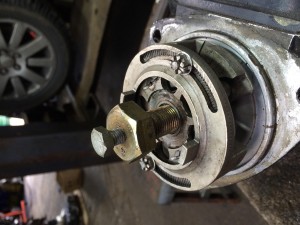
Pete made a nice little puller to remove the automatic advance unit of the back of the old magneto.
Once we had fitted the replacement magnetos and rewired harness, there was only one thing left to do, test it.
So sit back and turn the speakers up and listen to a Bristol Hercules running on 14 cylinders , we peaked at about 2000 rpm and -2 psi of boost.
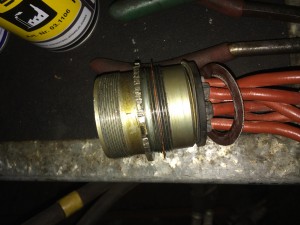
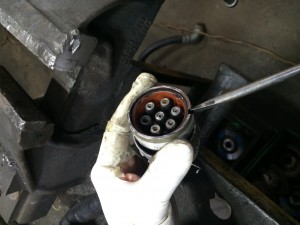
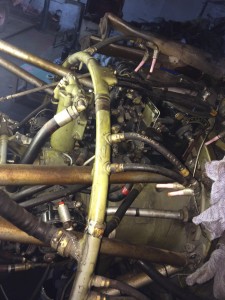
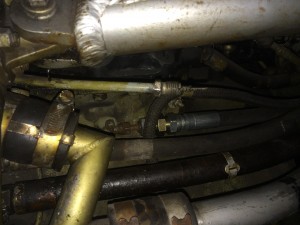
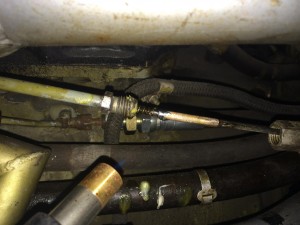
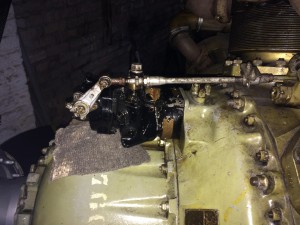
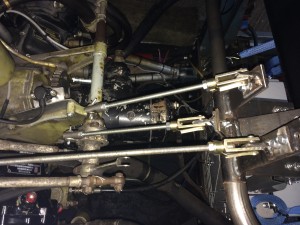
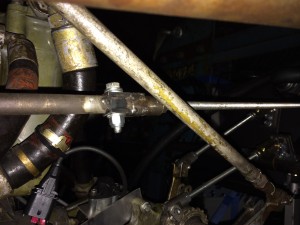
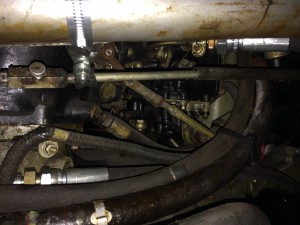
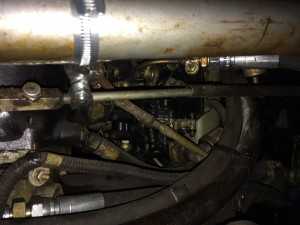
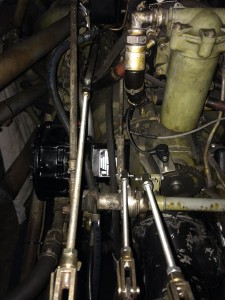
The last job to do before we start building the new engine running stand is to connect up the constant speed unit control cable.
As you can see the control cable had been cut off near the engine mount ring.
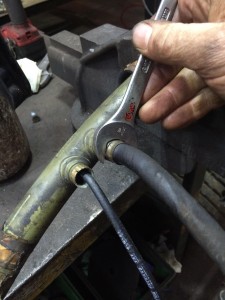
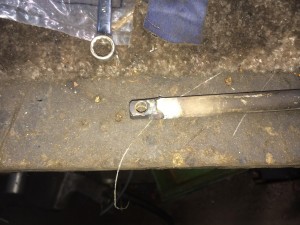
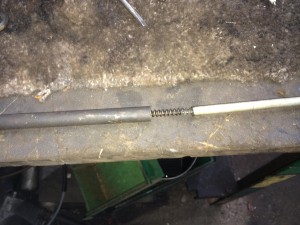
After rummaging around the workshop I found an old Land Rover Defender wiper rack cable that had a eye at one end and a piece of power steering pipe that fitted over the cable and a length of Land Rover wiper rack tube.
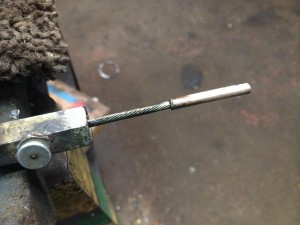
After stripping back a bit of the outer wound spring on the rack to reveal the center cable, I found that a piece of 3/16″ brake pipe fitted perfectly over the center cable and fitted inside the CSU outer control tube.
After tinning the cables , the two parts wear soldered together.
And there we have it, we have full control of the Constant Speed Unit.


Patrick,
All I can say is absolutely brilliant, to stand between those two engines chattering away must have been quite a moment.
please give my regards to your main sponsor…….
All the best
Malcolm
Hi Malcolm
Yes it was well worth the effort , next big mile stone is to have Four running together! hopefully
next year that will happen, just need to find a couple of more props.
Pete and I will certainly pass your regards on to the main sponsor!!
Cheers
Patrick
Hi Patrick,
I’m oneof the volunteers at Drakelow Tunnels in Kidderminster, the old Rover Shadow Factory that made Bristol Mercury, Pegasus, Hercules and Centaurus engine parts during WWII.
We are currently restoring the complex to a museum, and are seeking complete engines or parts of the engines to display, Conn Rods, Artic Pins, Gudegeon Pins, Cam Shafts & Sleeves etc etc.
Is there any chance you might be able to assist us in sourcing parts or complete engines? Any help you could give us would be greatly appreciated.
Fantastic work by the way.
Kind regards
Paul.